
Free online course—Spring Quarantine 2020 Spin-Along
$0.00
SKUCO0008
All the Details

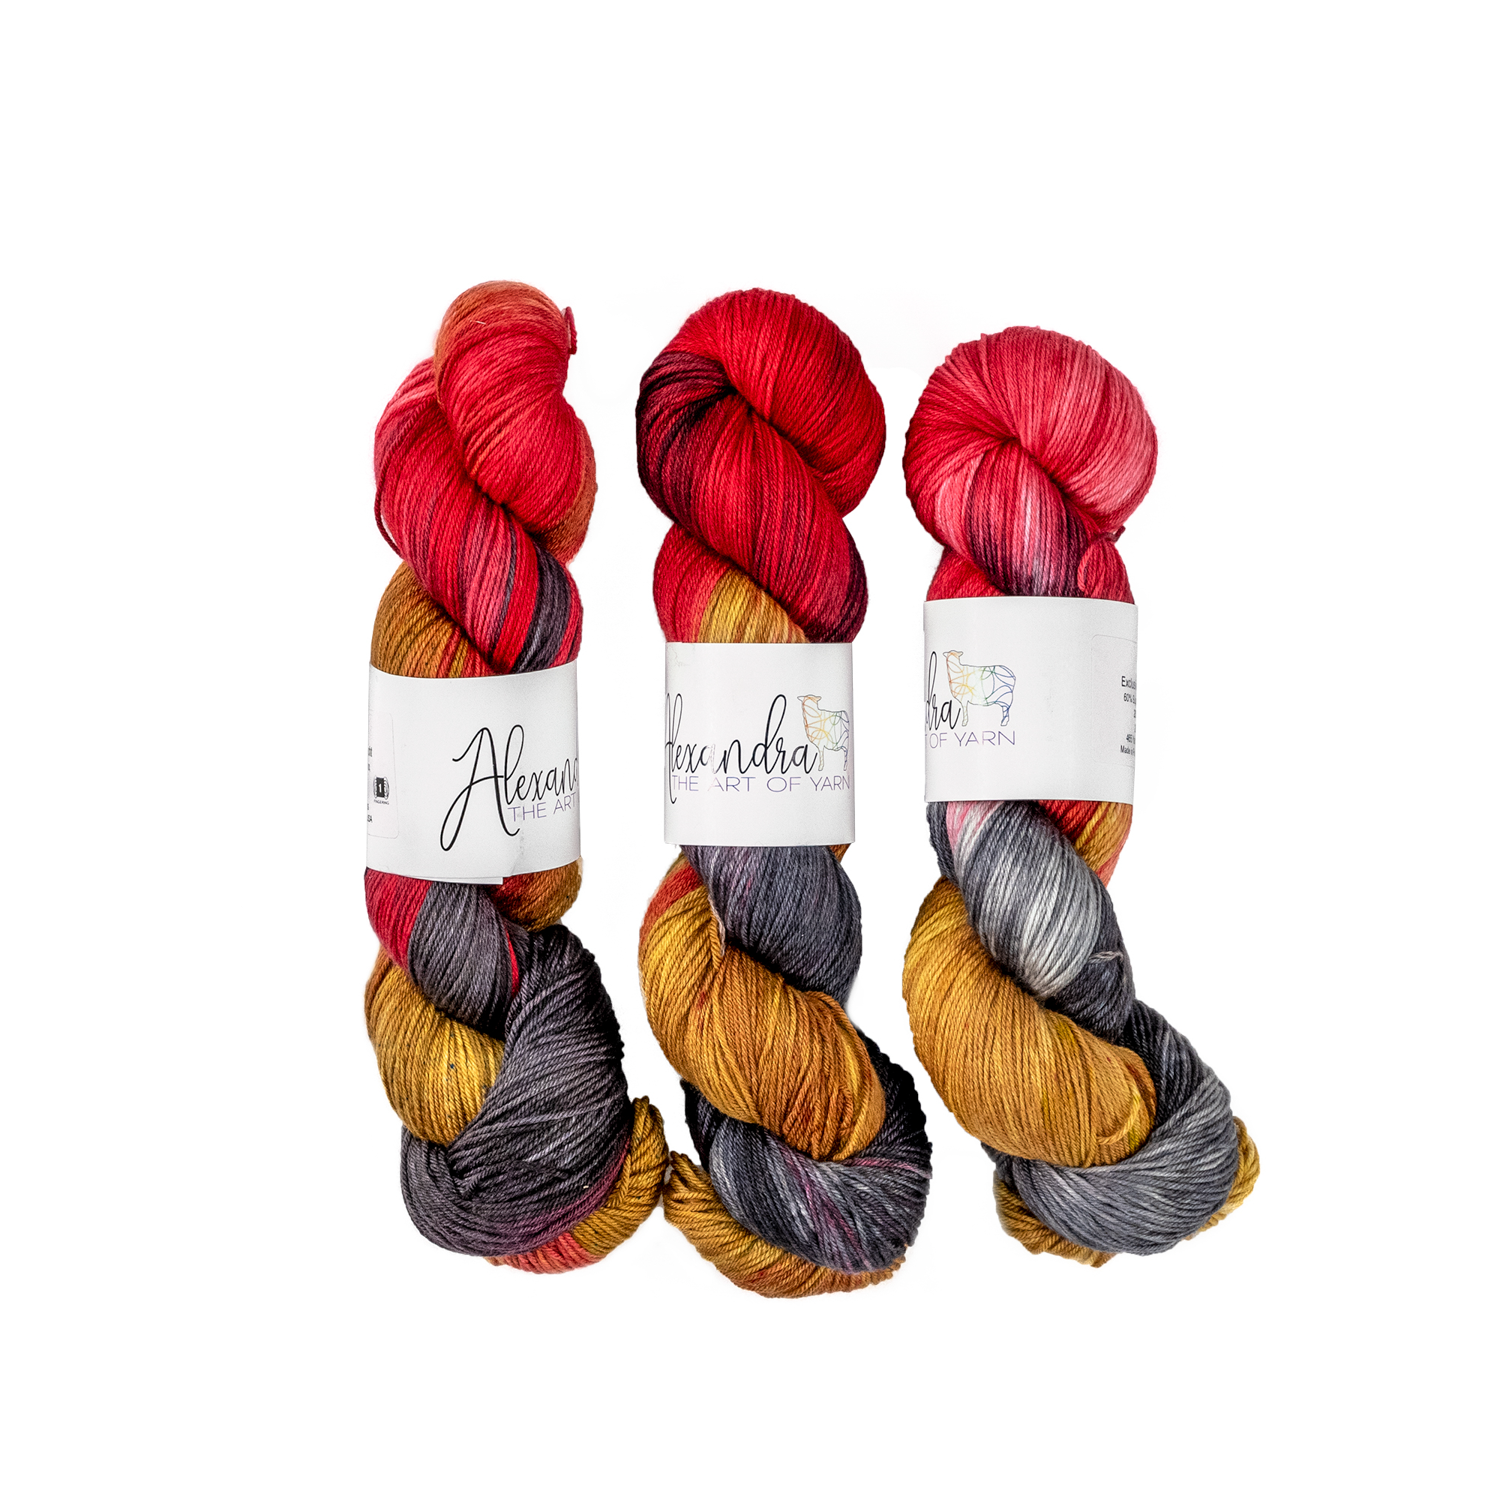
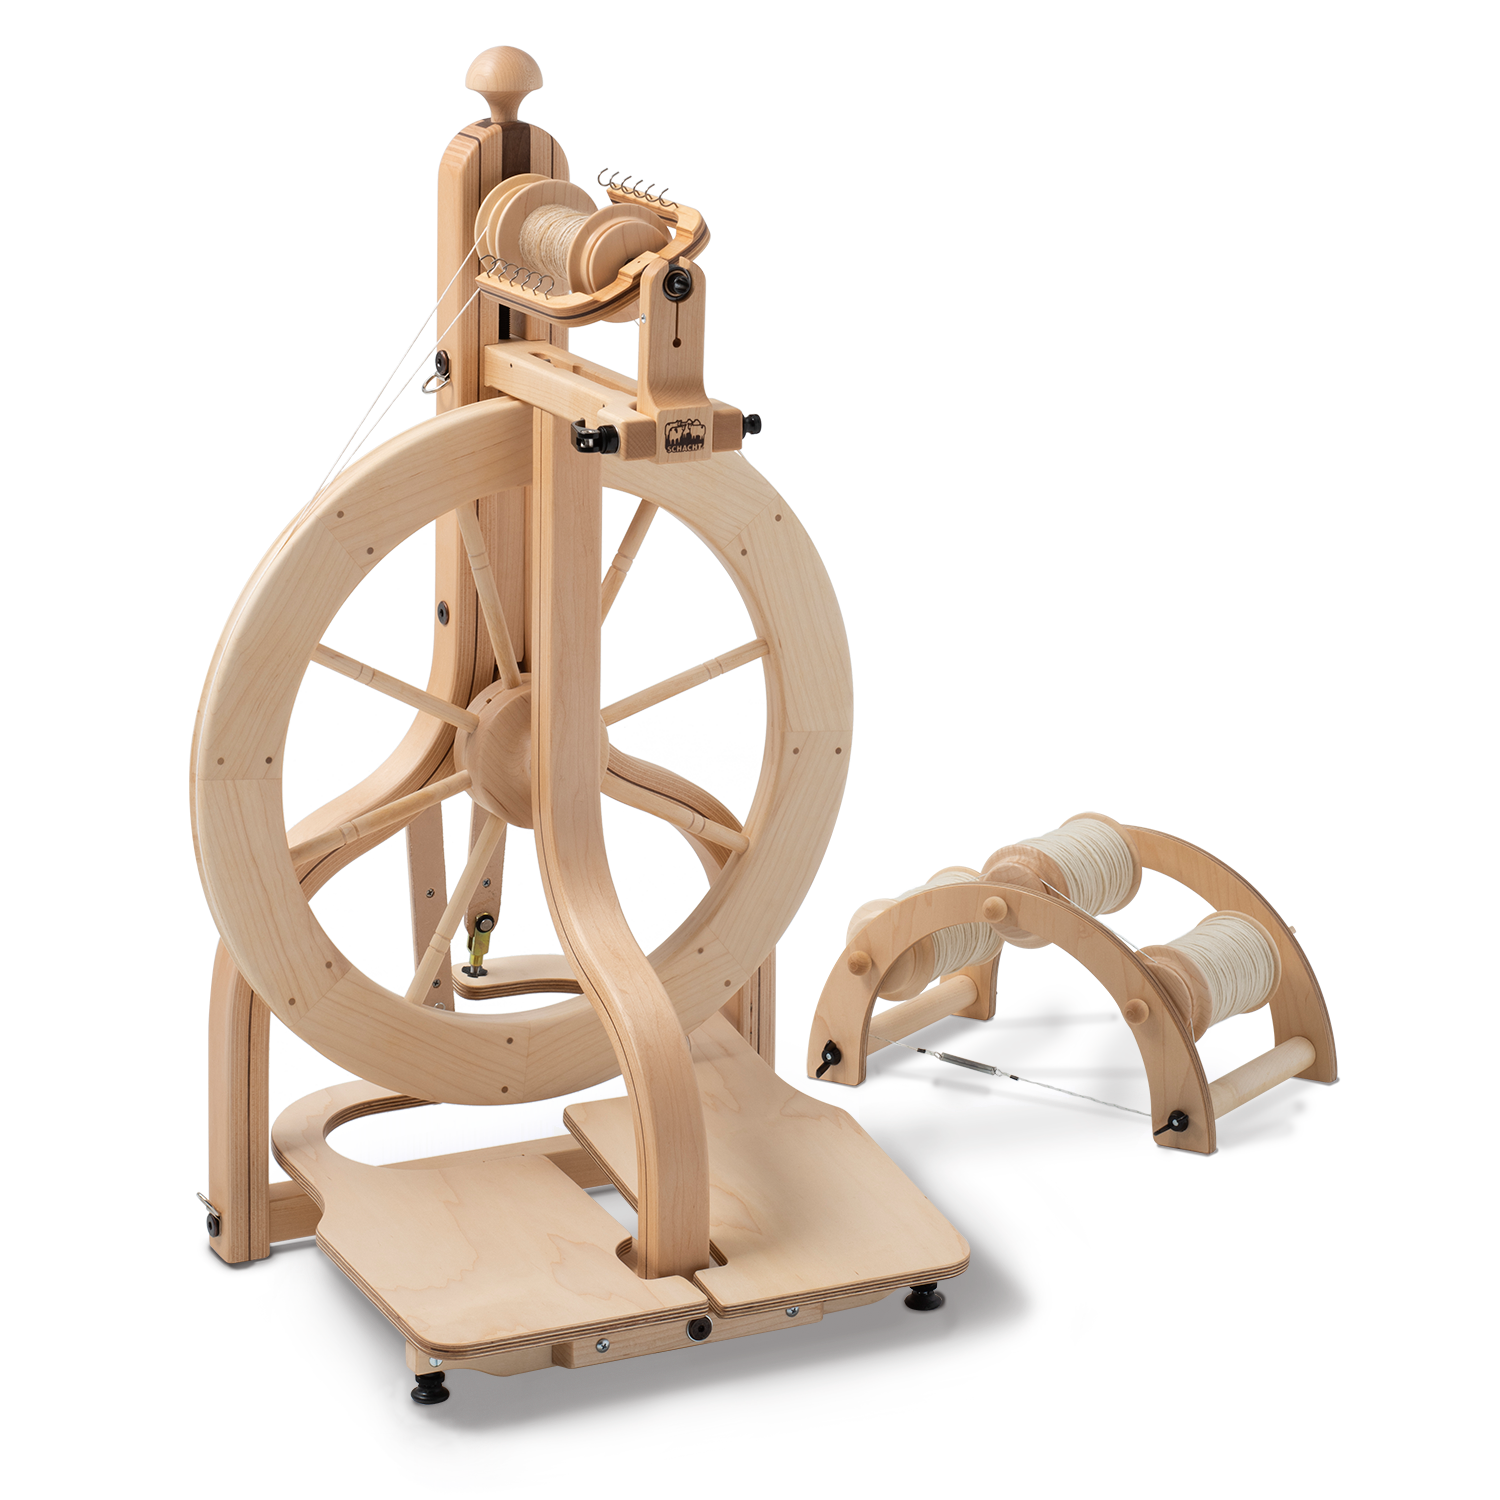
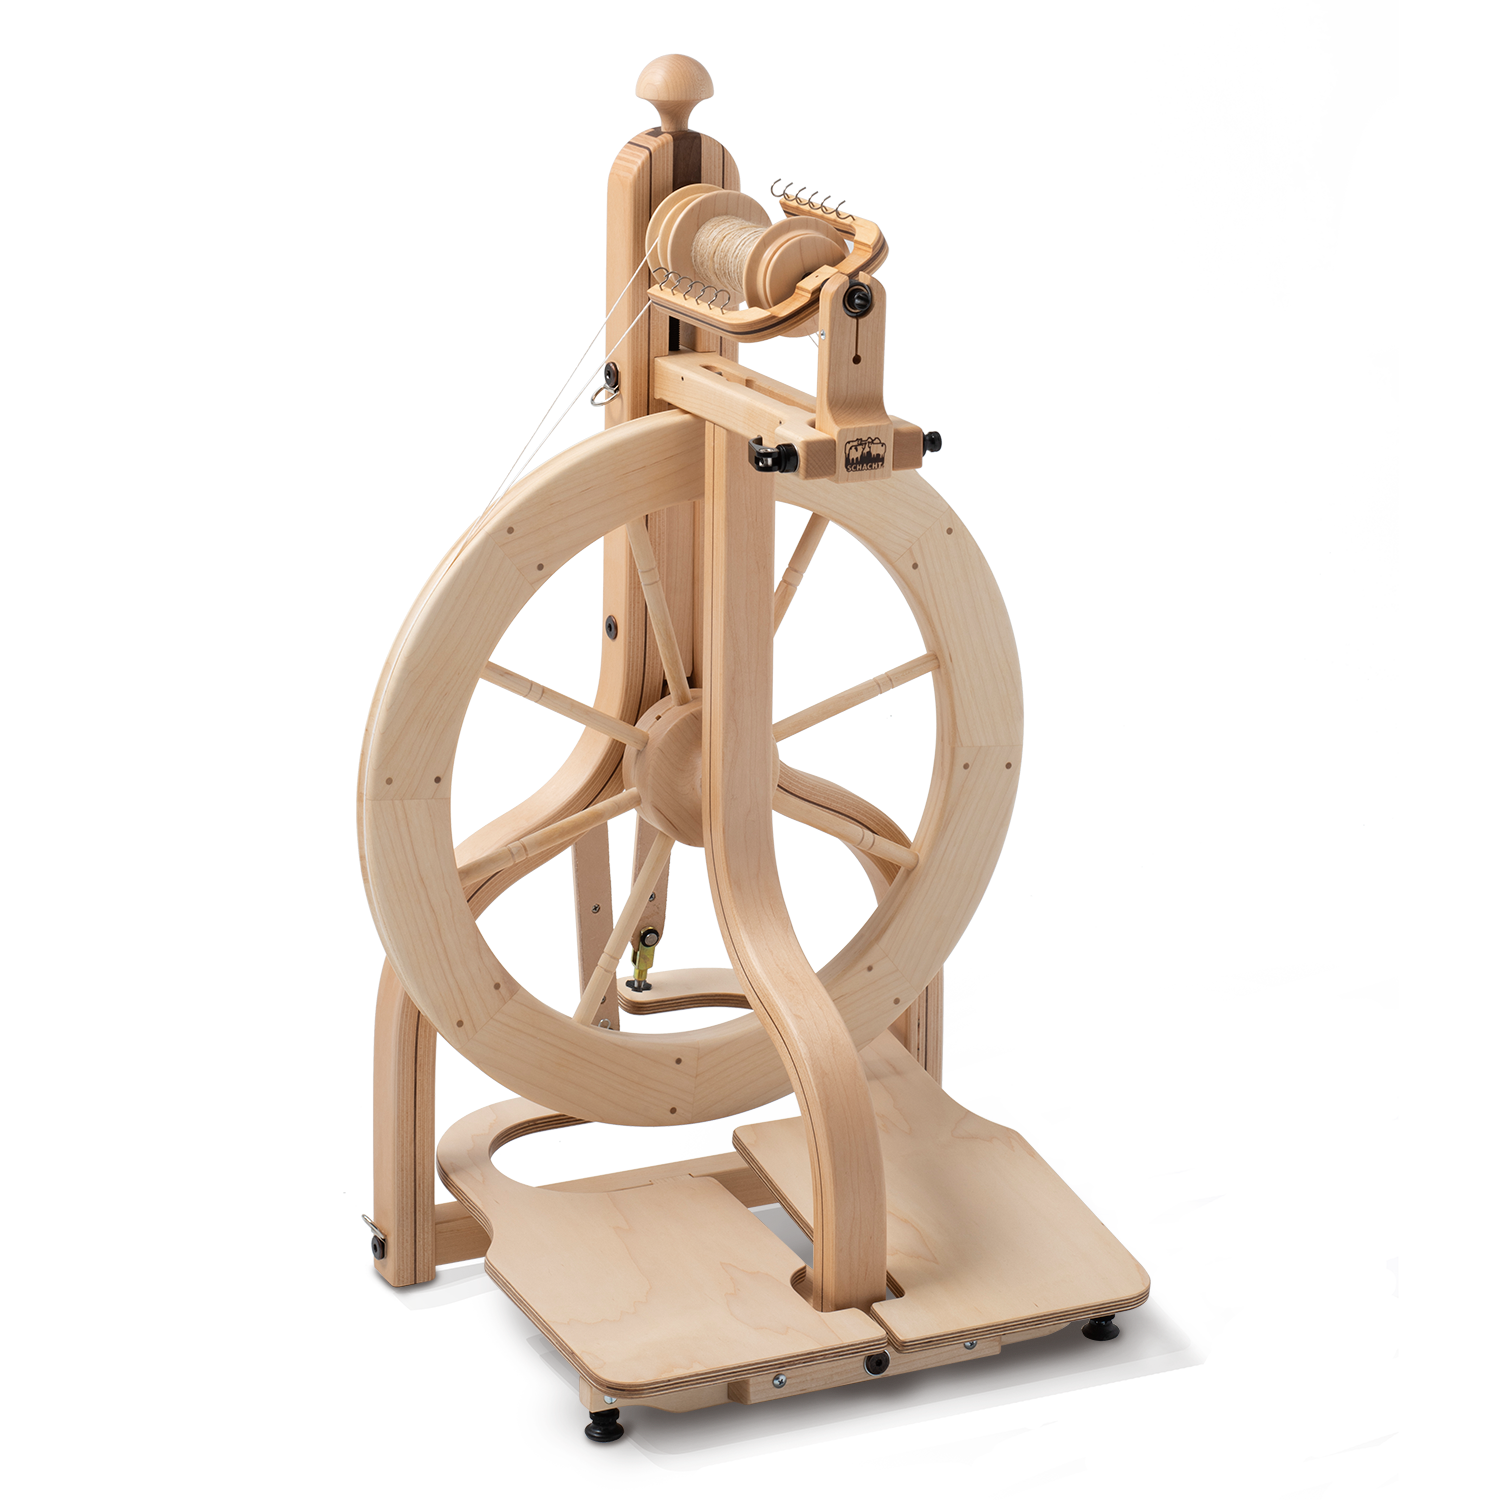
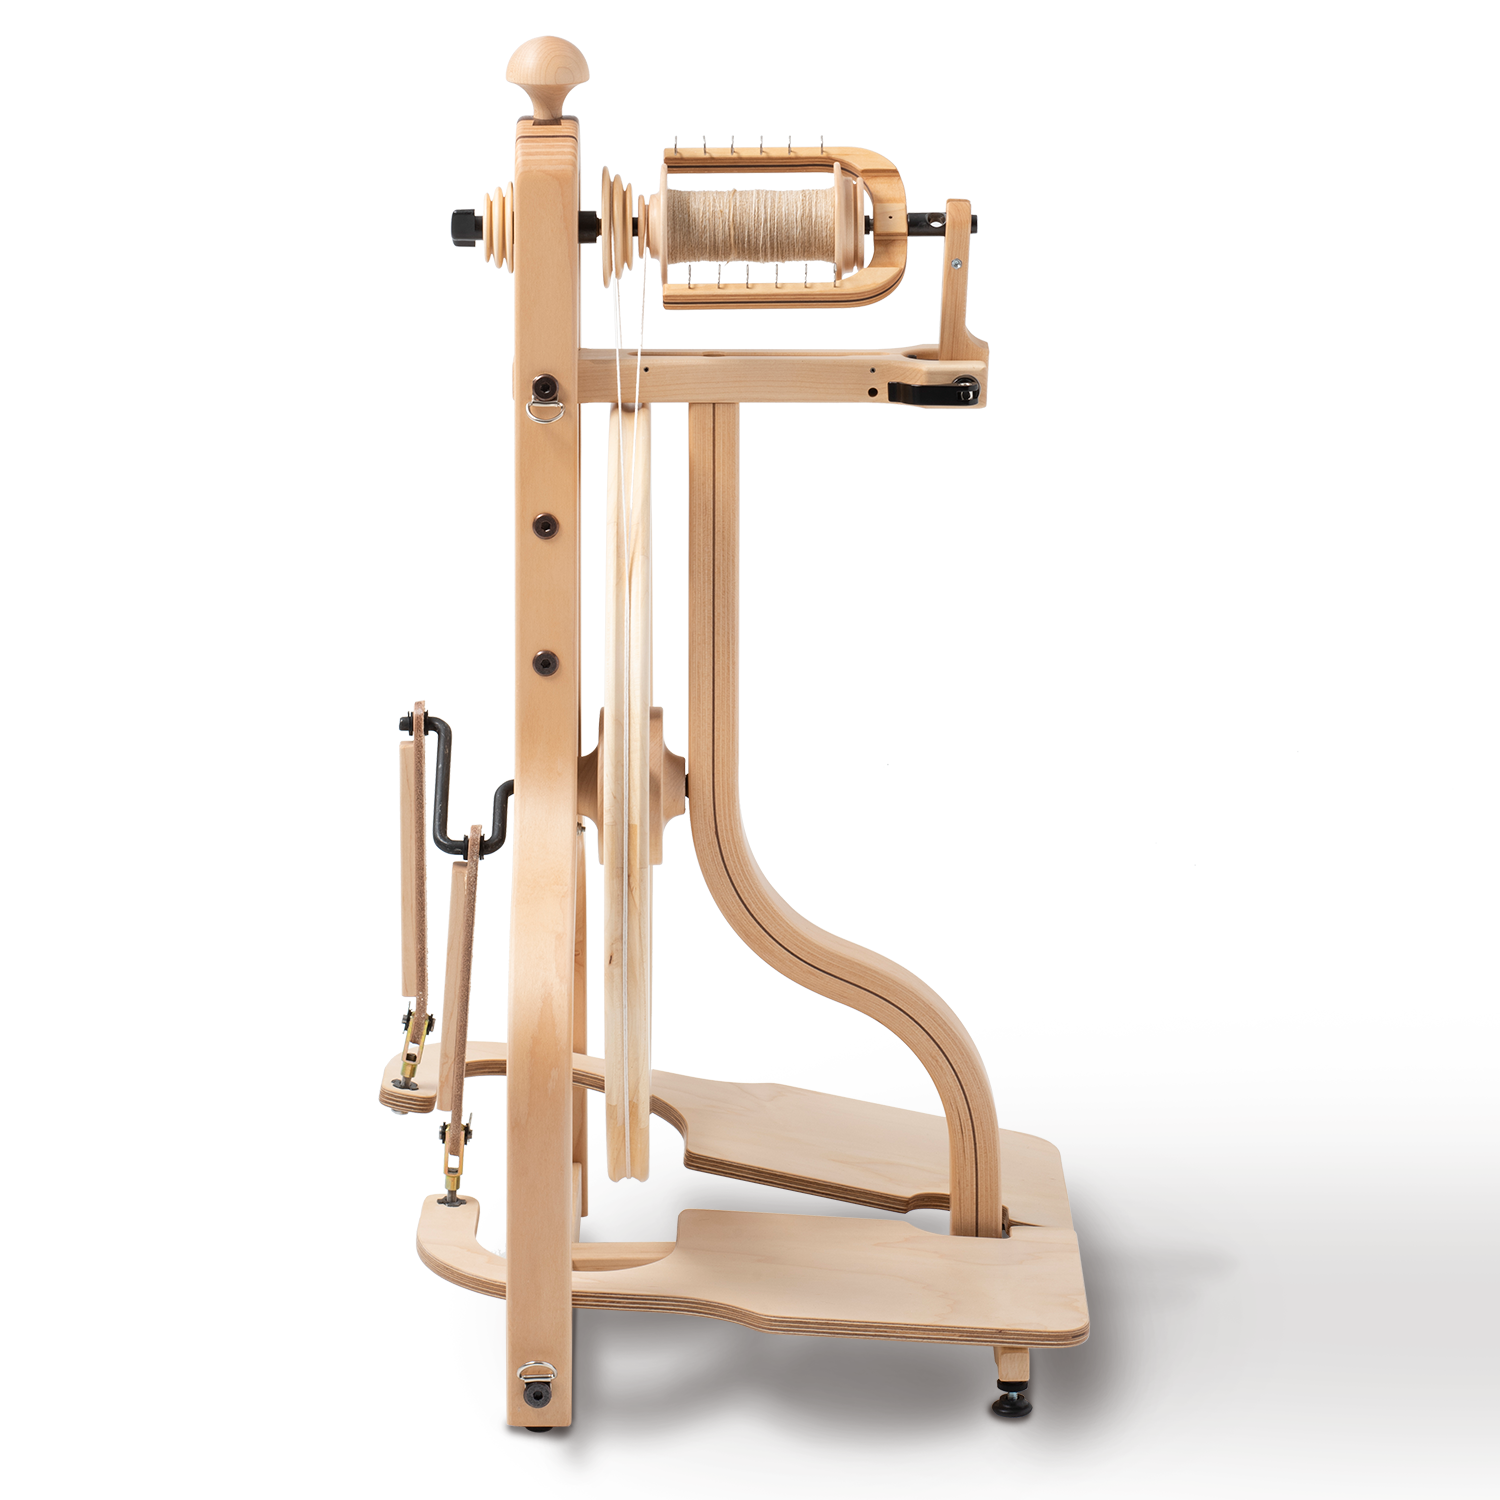
Products Used in the Course


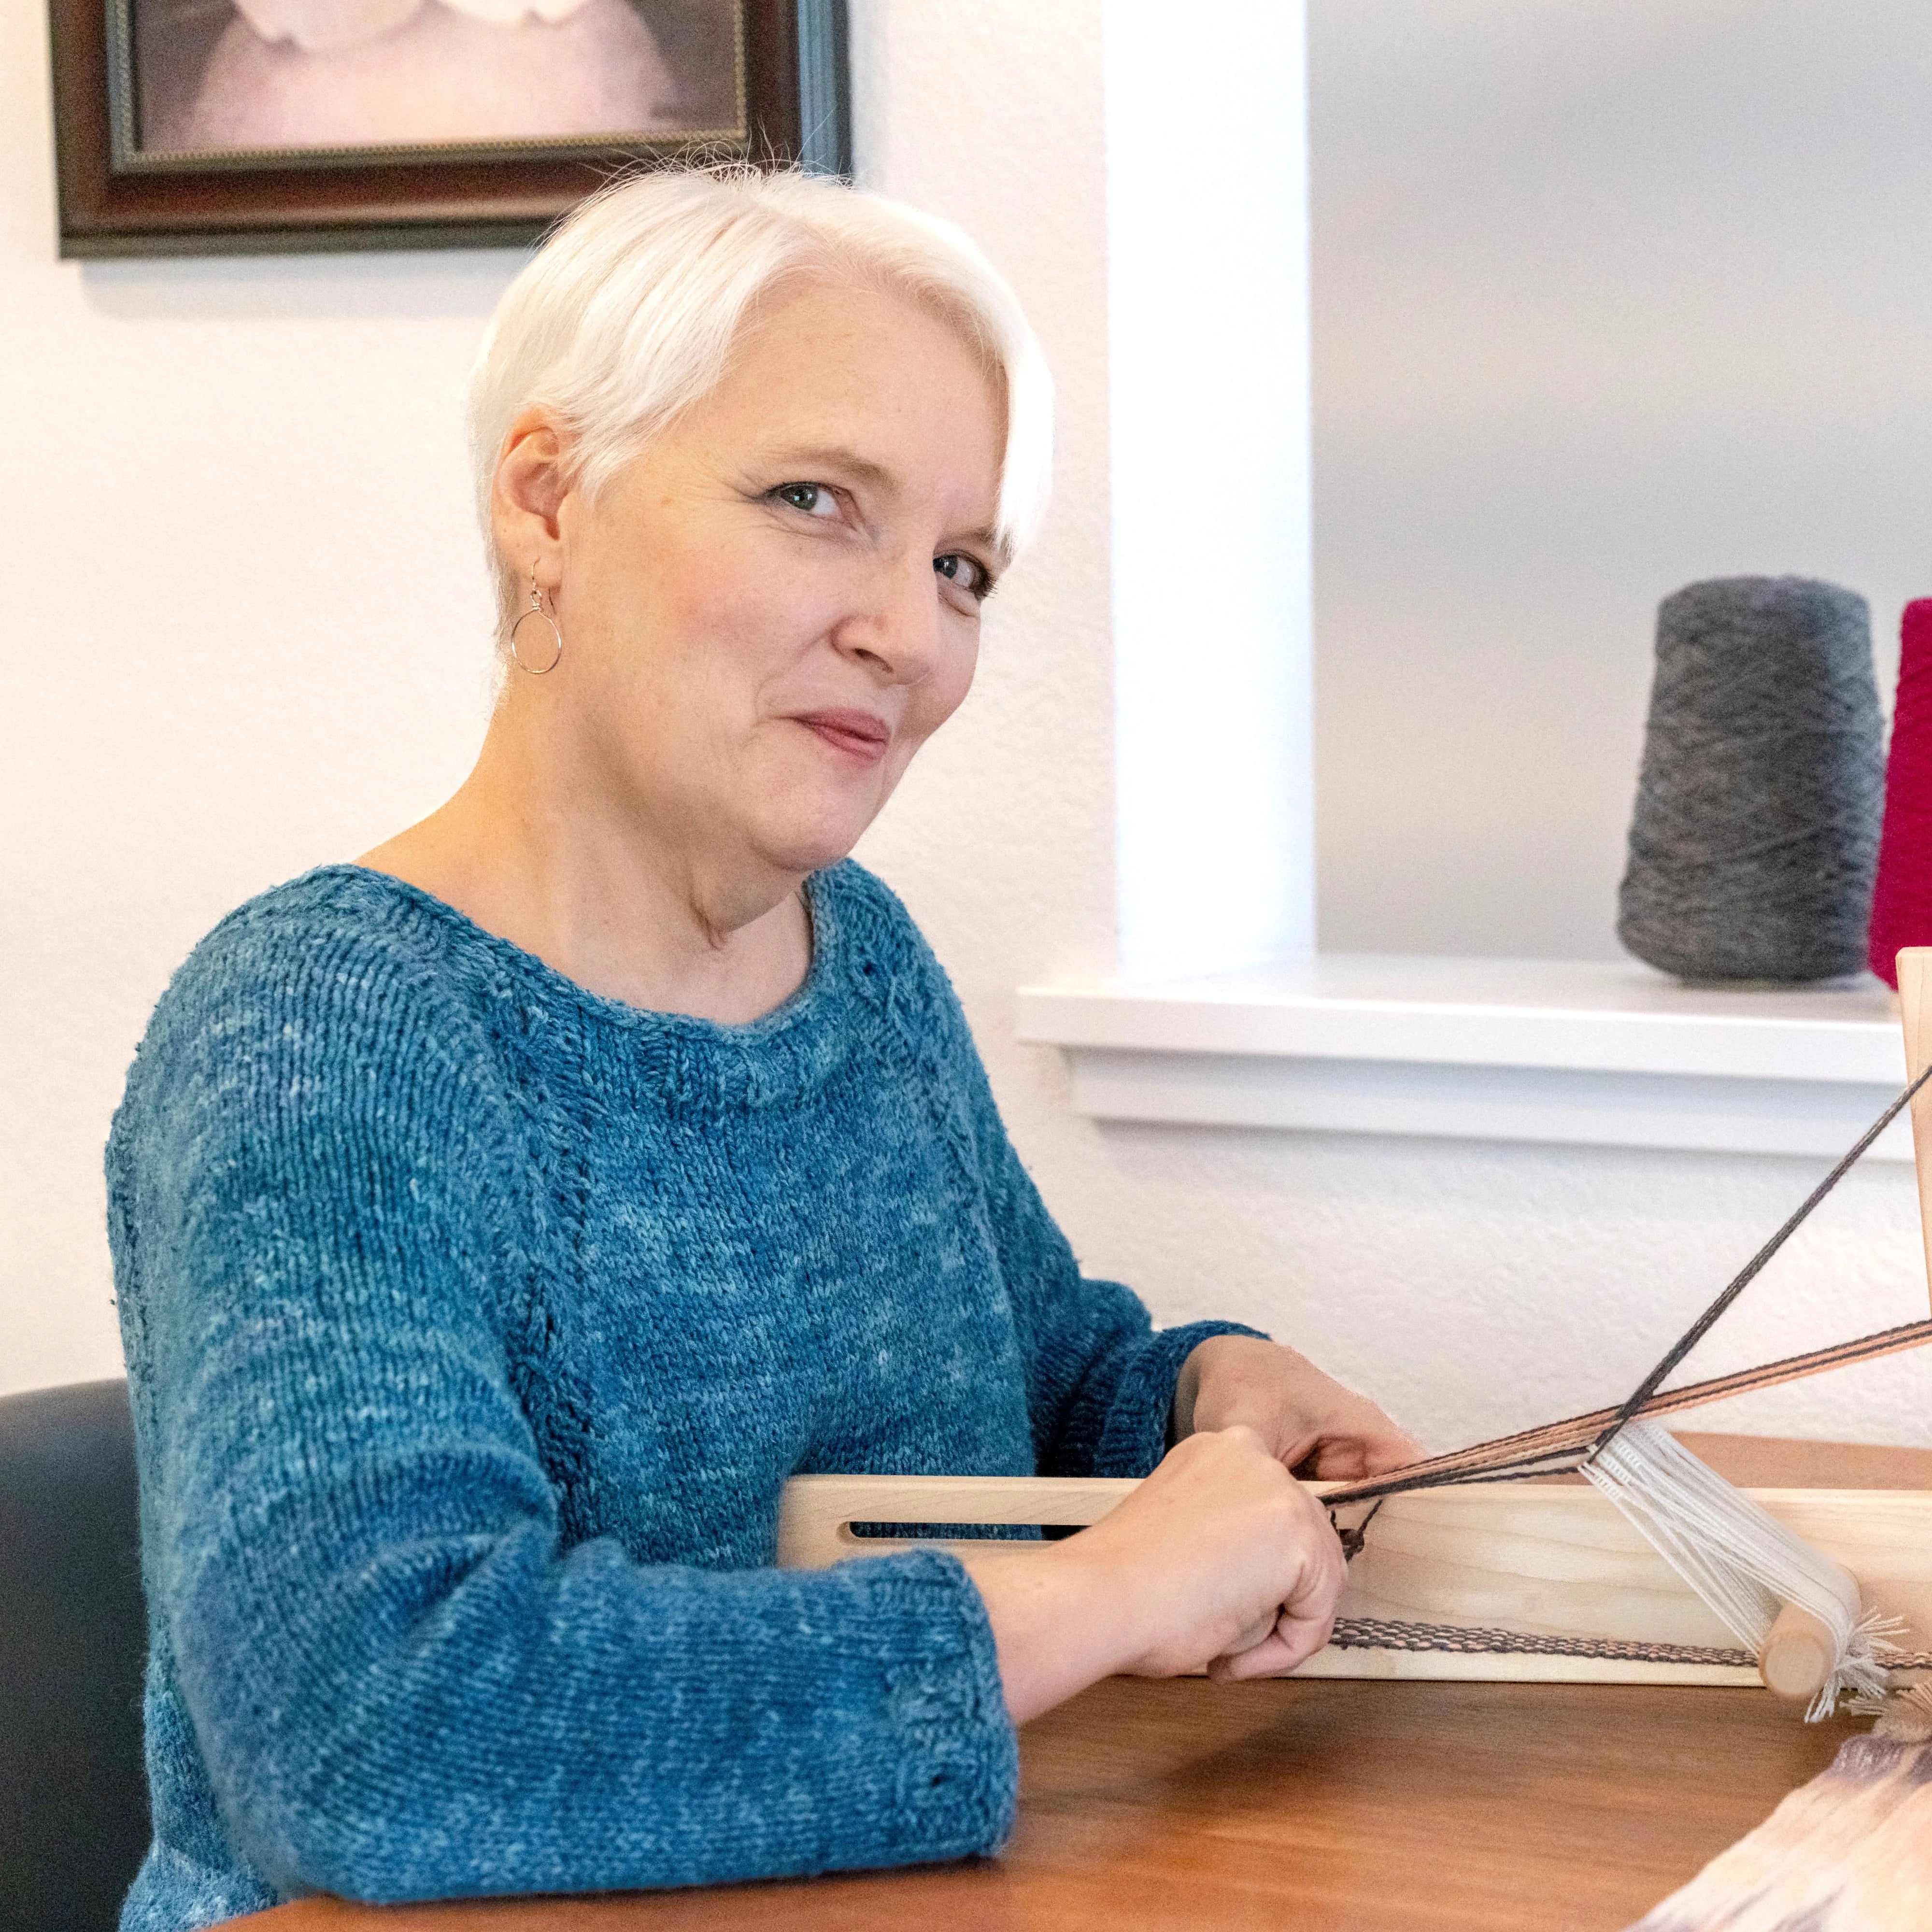
meet your instructor
SKUCO0008
Products Used in the Course
meet your instructor