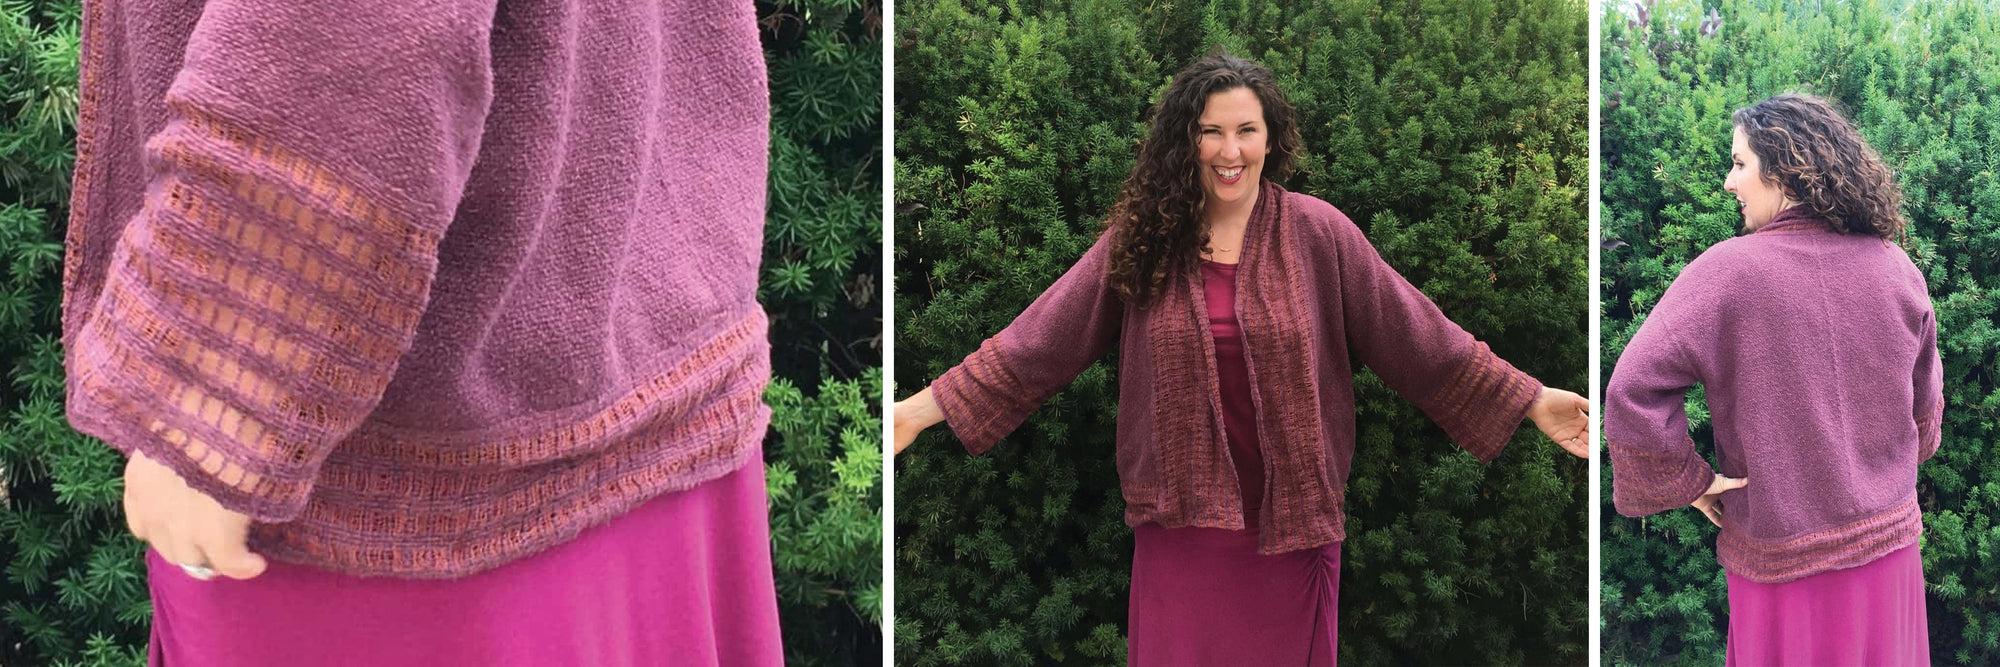
Converting a Kimono Knitting Pattern into a Weaving Pattern - Part 2
By Stephanie Flynn Sokolov
The challenge that I set up for myself was to convert a knit kimono sweater pattern to a woven one. Since knit fabrics and woven fabrics do not share the same drape and elasticity, this proved challenging. In part 1, I covered some information about sett and sampling, the specifications for weaving the body of the garment, as well as basics of the sweater's construction. In part 2, we move on to weaving the bands and finishing the garment.
What You'll Need
-
250 yards Classic Elite Classic Silk (2 skeins) for trim
-
433 yards Habu Stainless Silk (2 cones) for trim
-
tricot interfacing
-
sewing thread to match
-
10” Cricket Loom
-
10 dent reed
-
2 stick shuttles
-
sewing machine
Materials
Equipment
Directions
Sampling, Planning, and Weaving
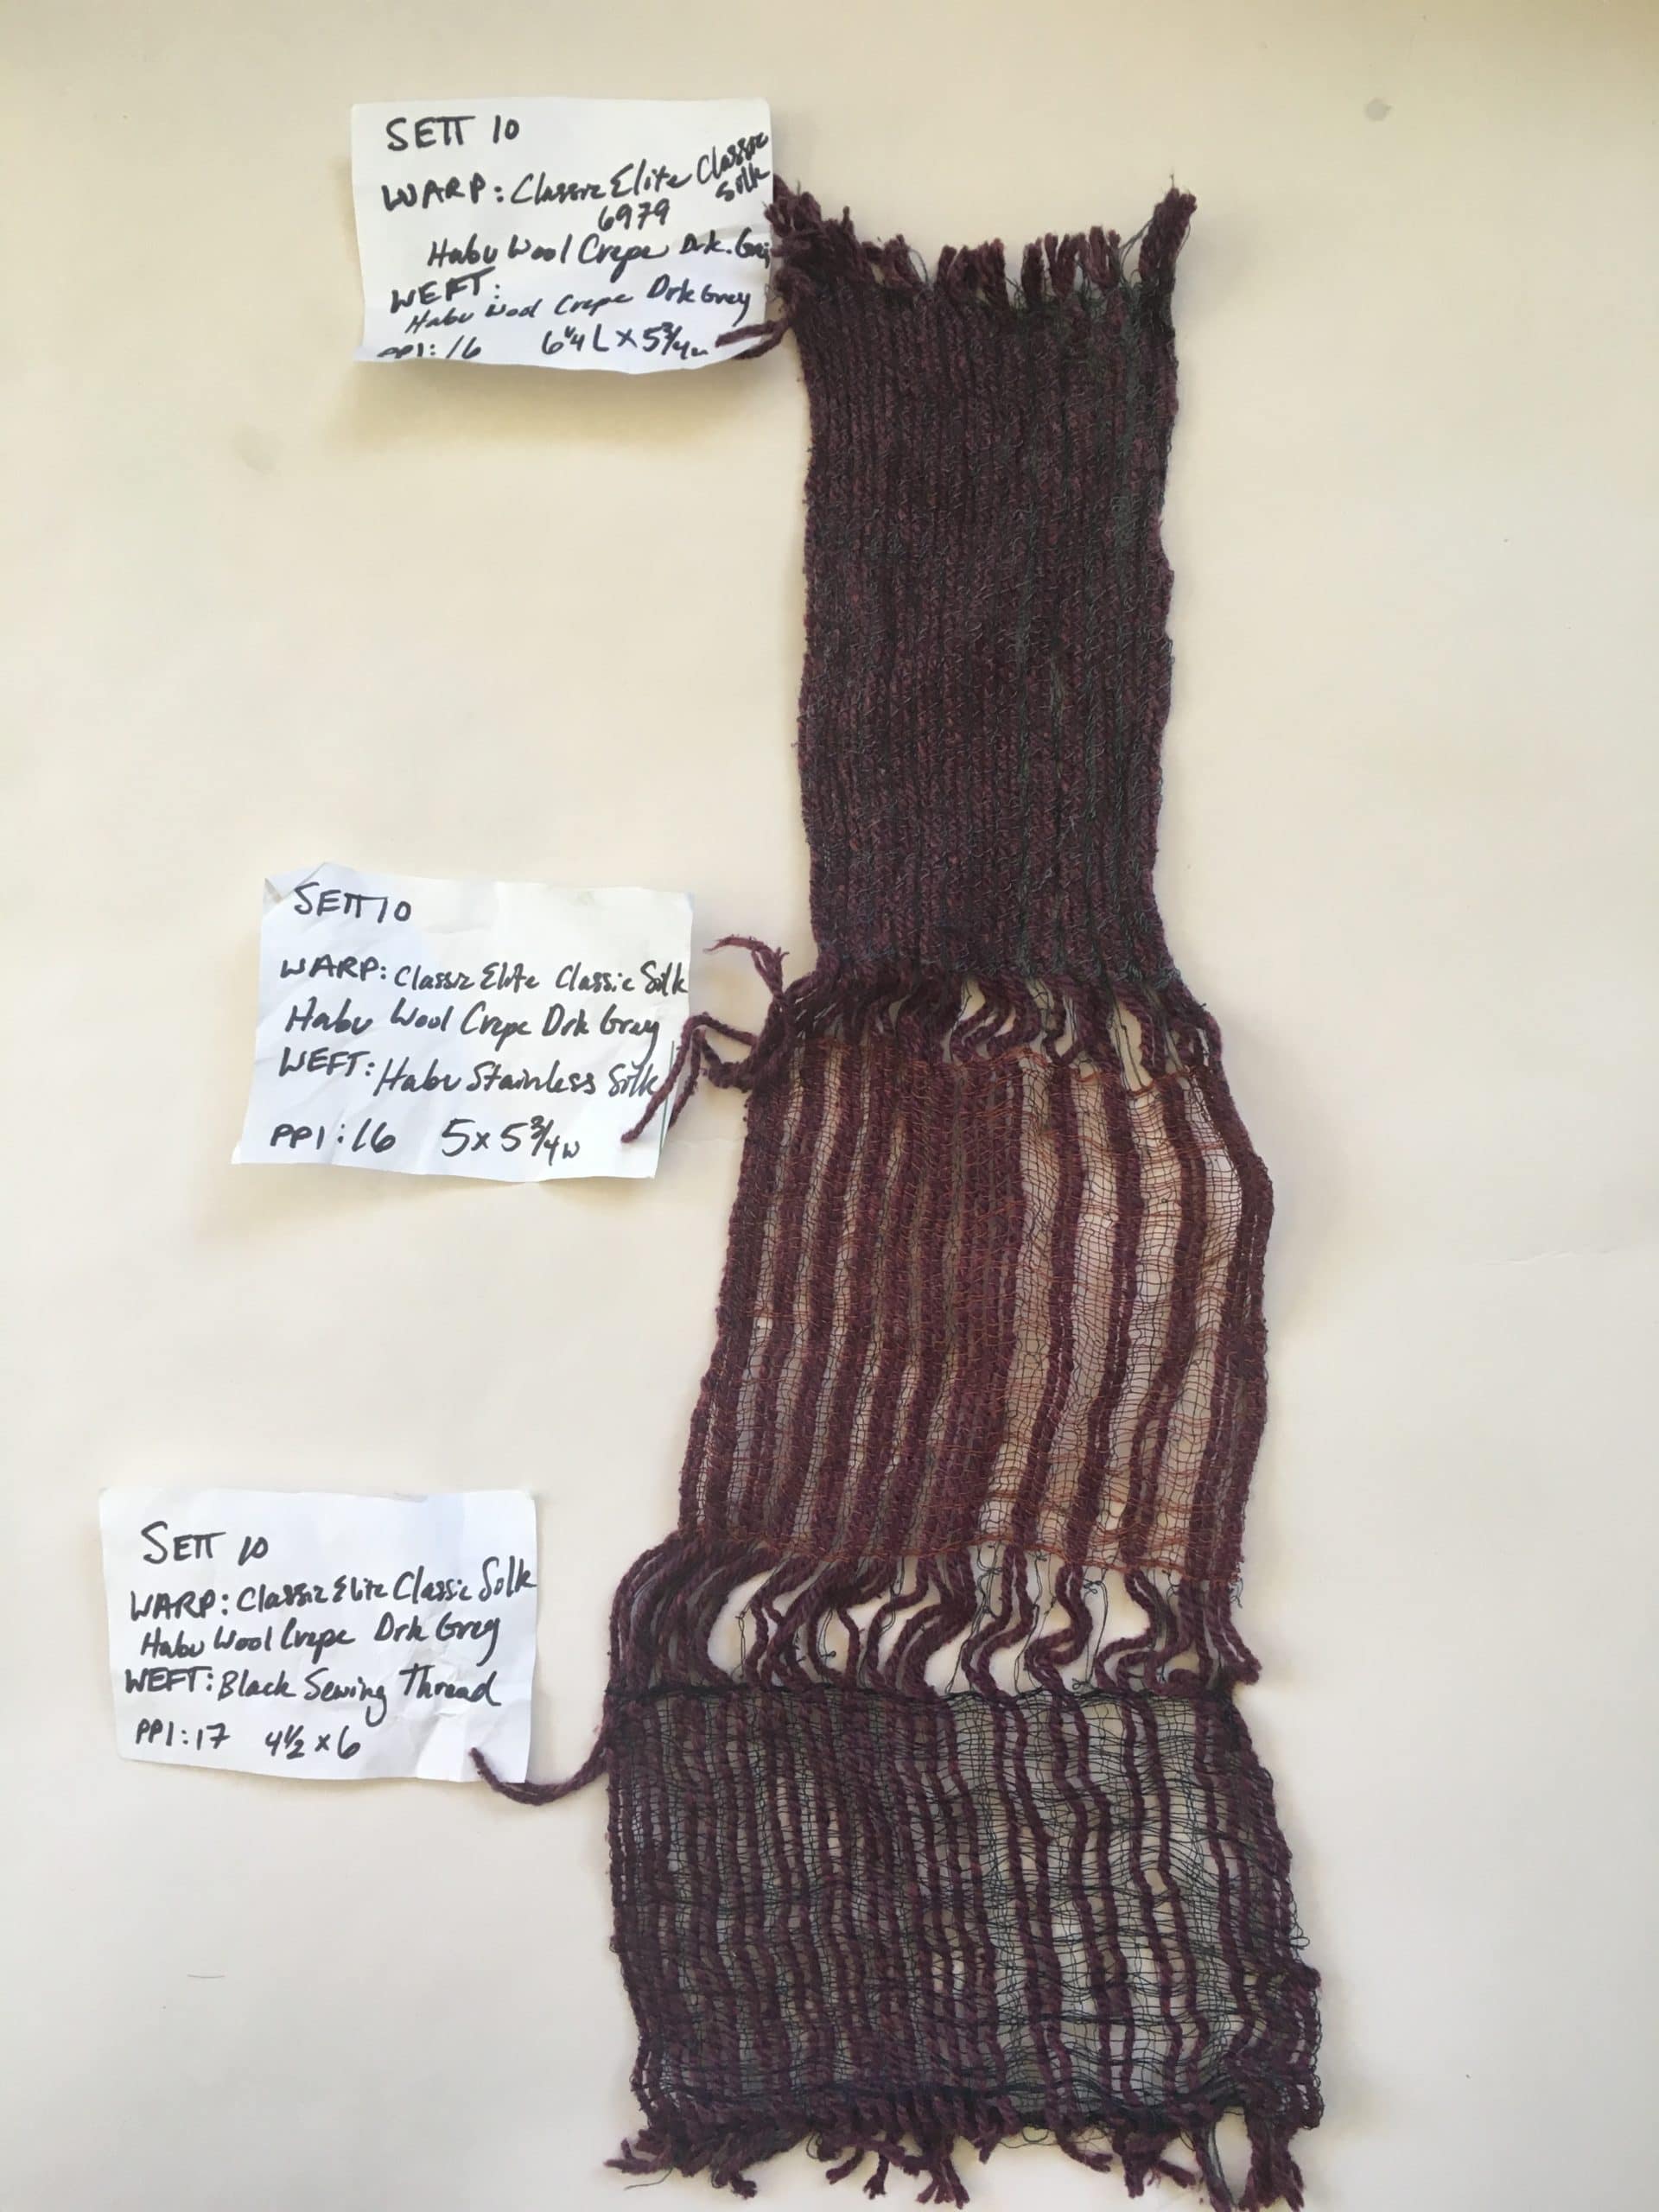
I used a 10-dent reed for my sampling. For my first sample, I alternated Classic Silk and Habu Wool Crepe in the warp and tried various wefts. My favorite part of this sample was the section with Habu Stainless Silk weft.
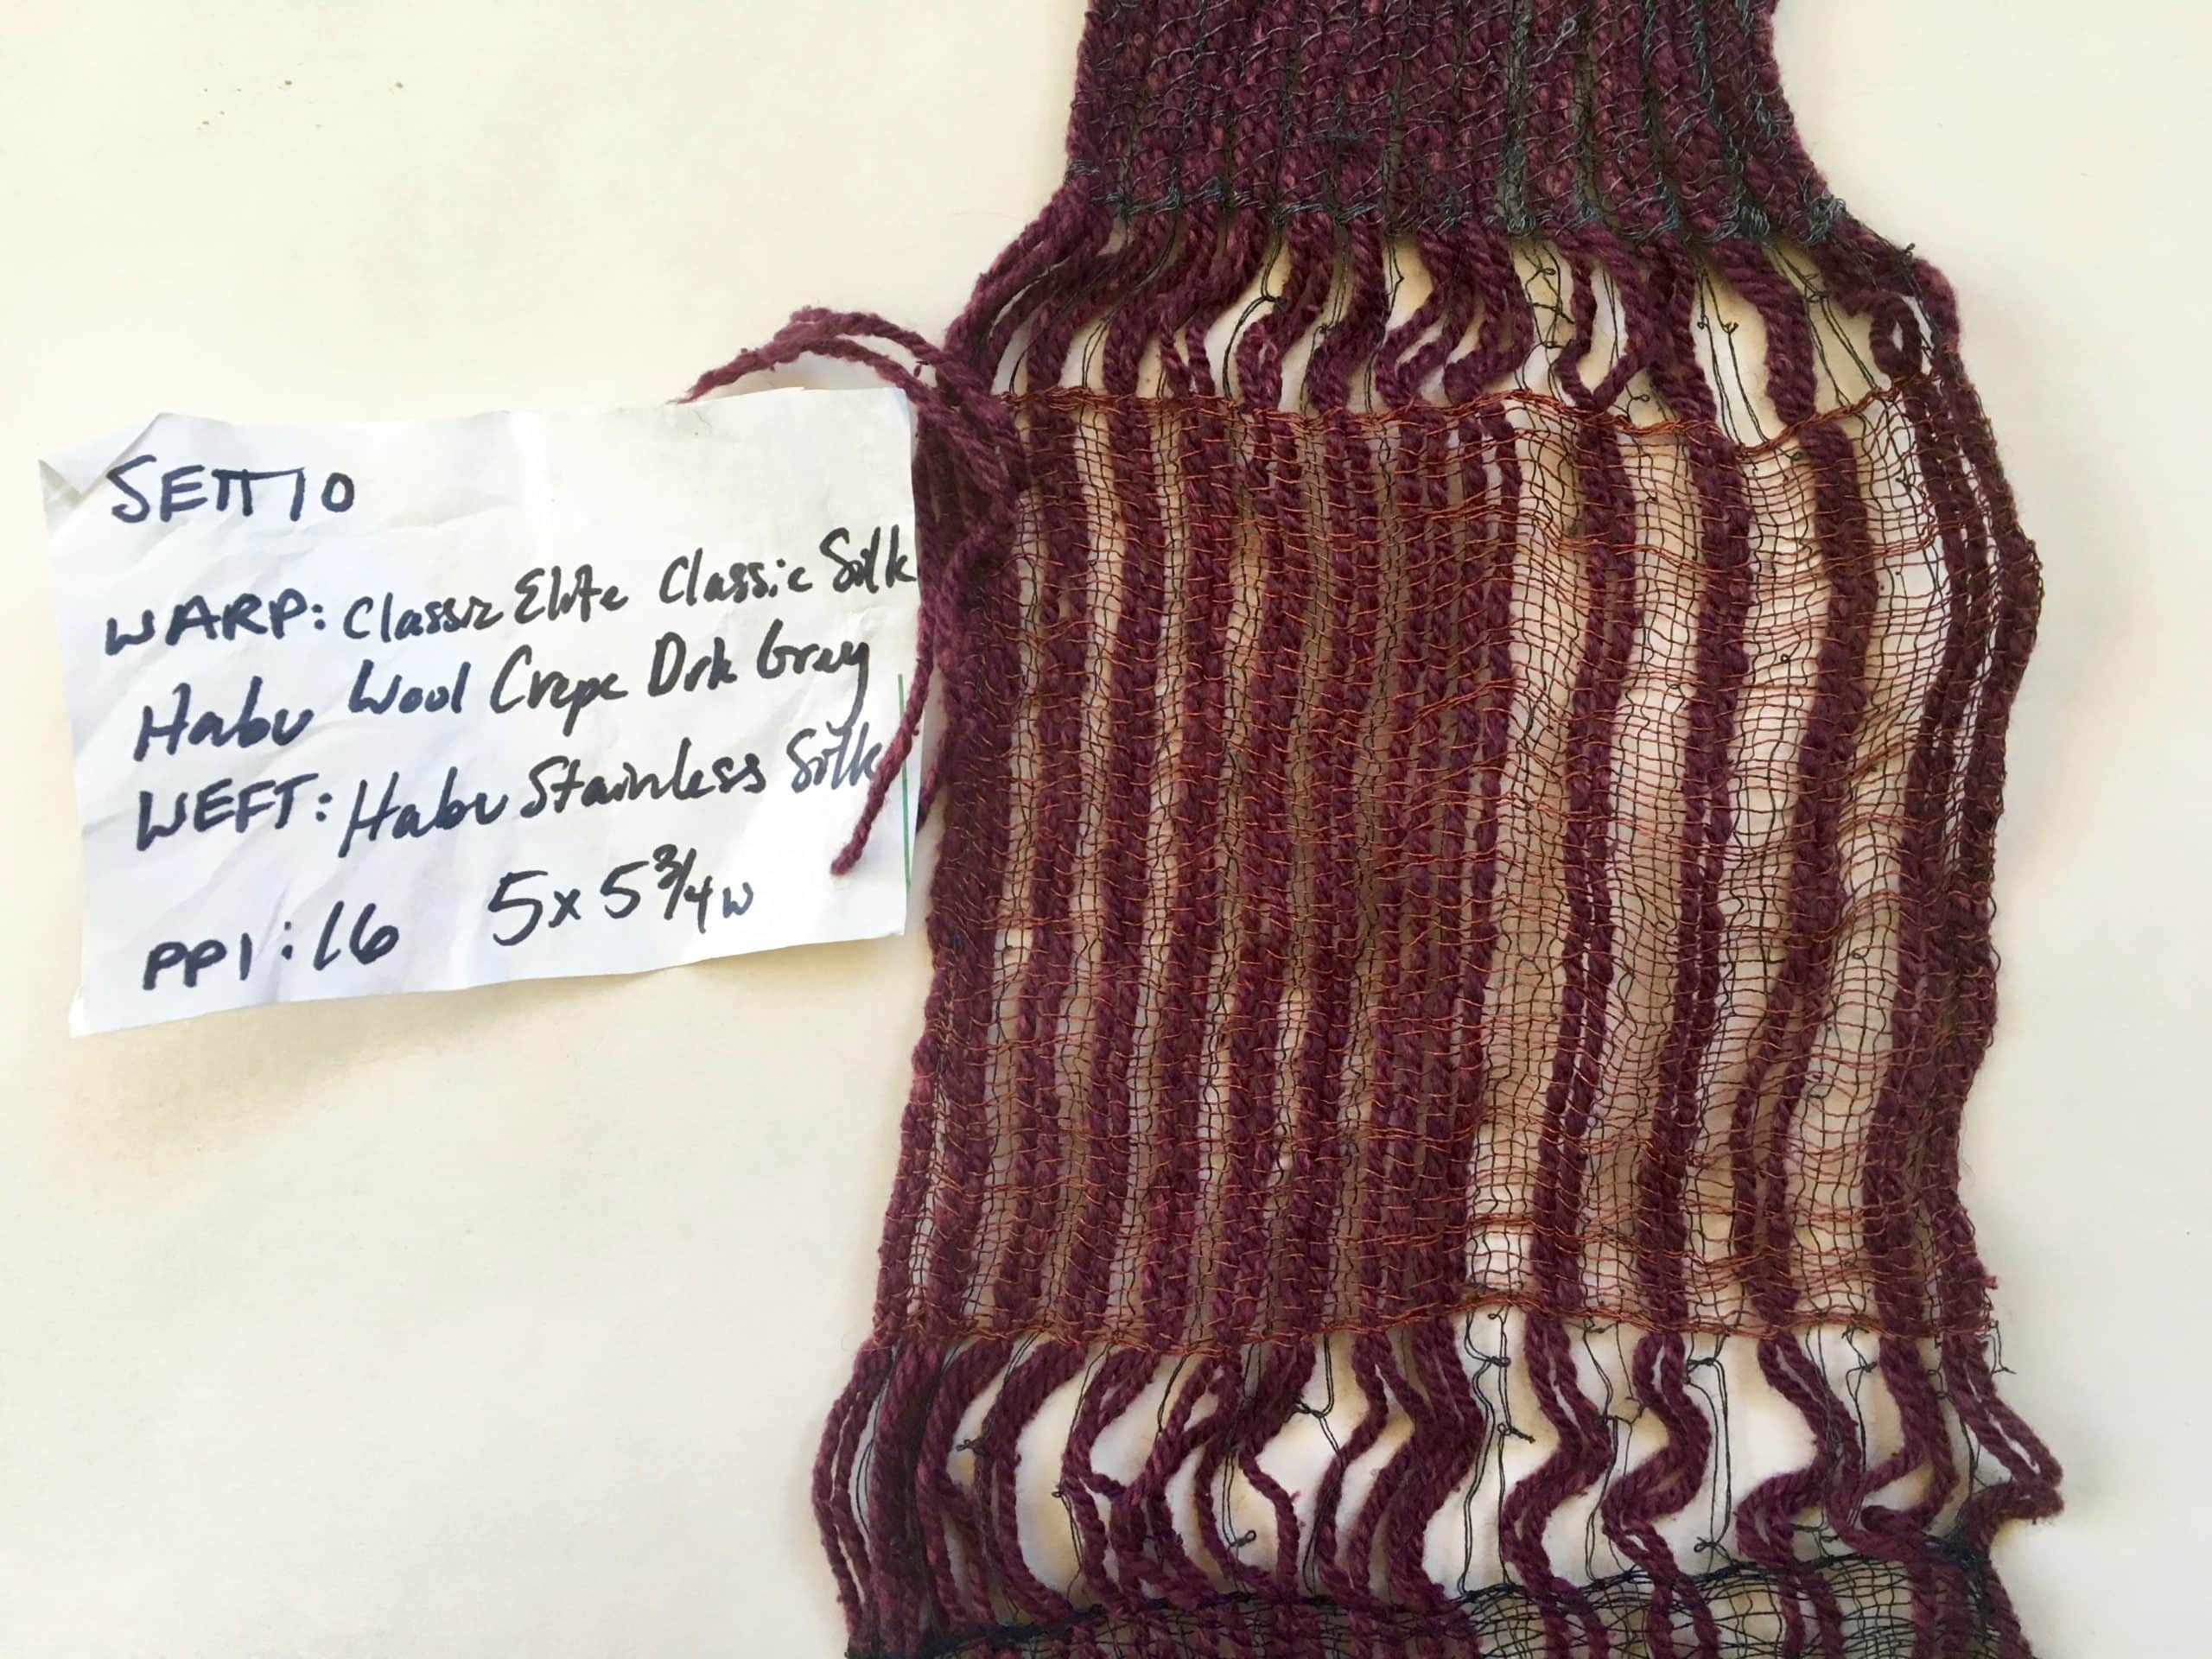
For the next sample warp, I tried a combination of Classic Silk and Stainless Silk, trying out different sequences of each. The second sample gave me what I was looking for. However, in my excitement to see the result, I failed to measure my sample before washing it. Therefore, the exact amount of shrinkage wasn't possible to determine. This was an unfortunate mistake, but I guessed that it was around 10%.
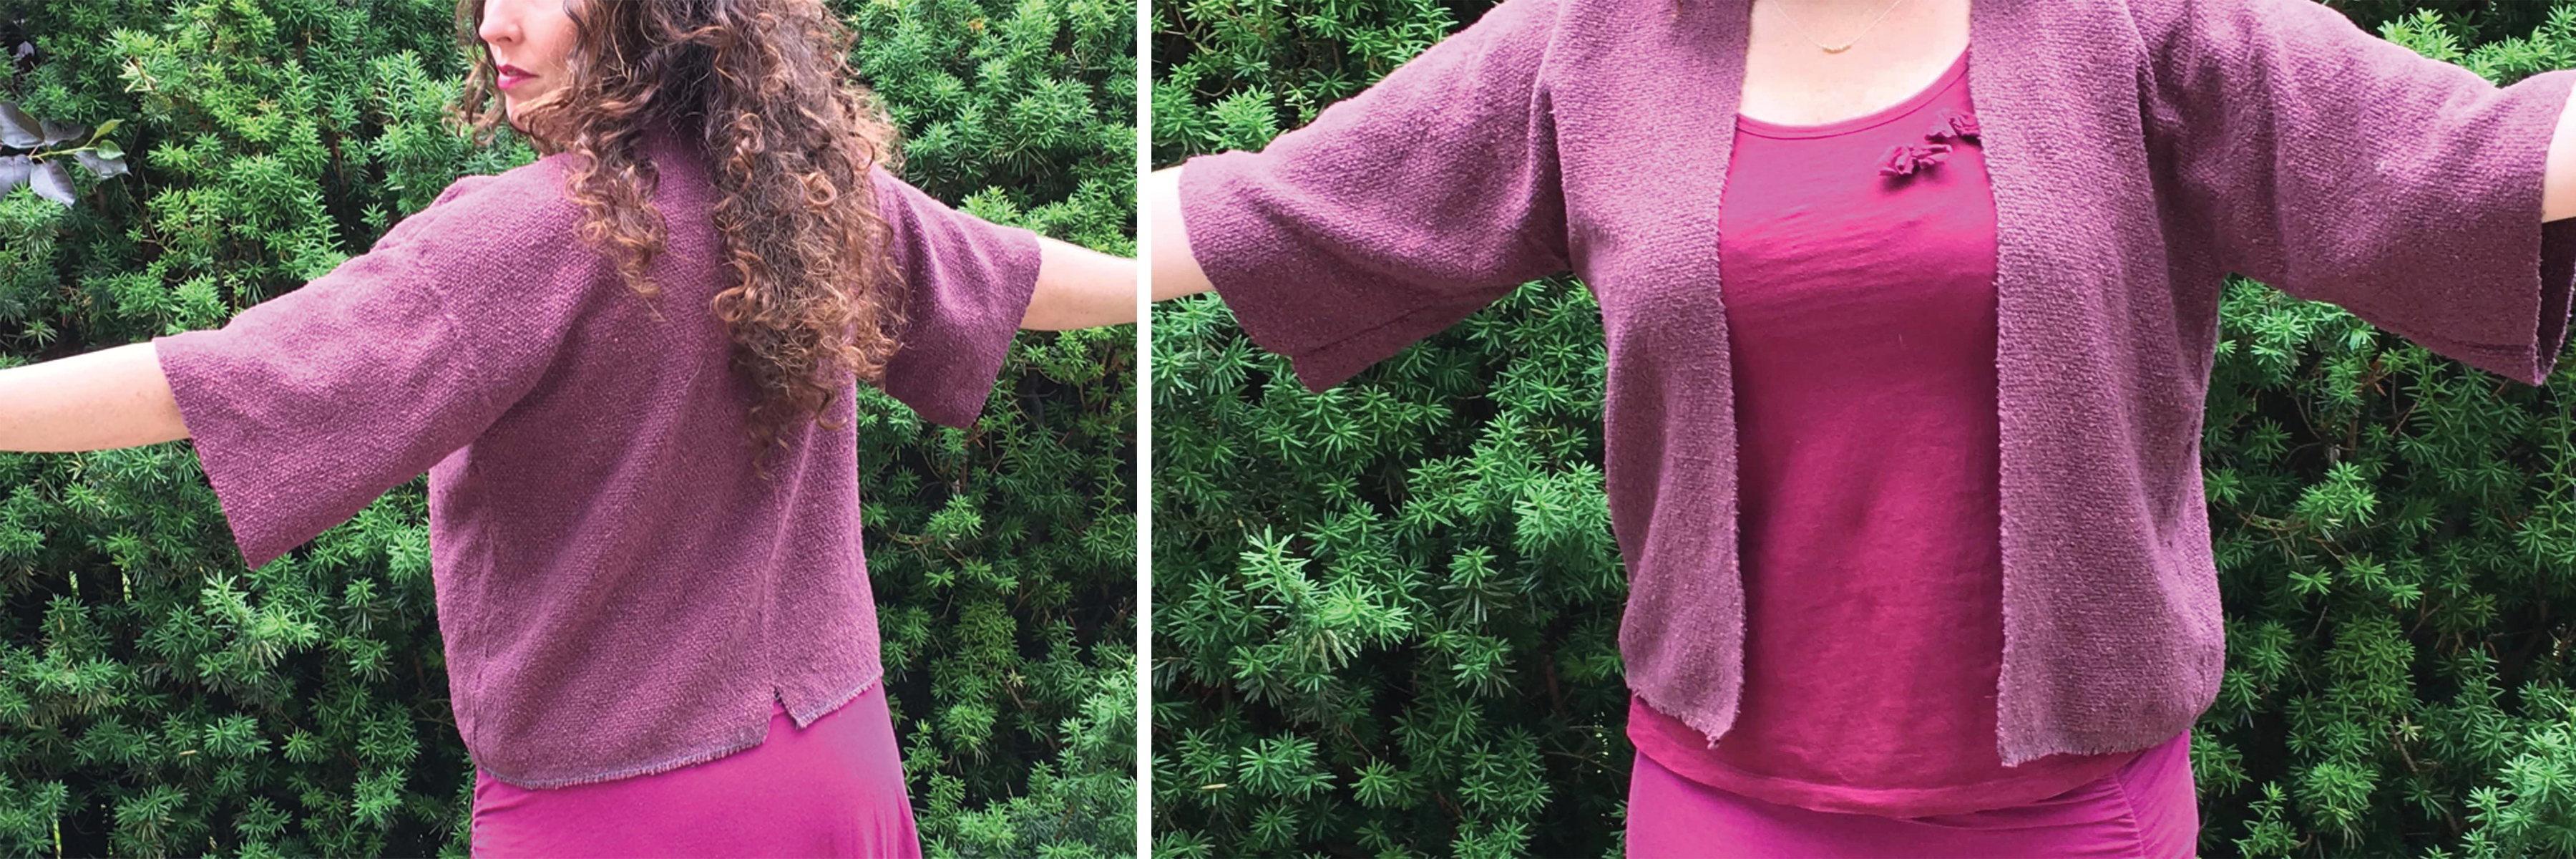
While trying on the sweater assembled thus far, I looked in the mirror to figure out how long I wanted the sleeves and how wide the collar band should be. I then held a tape measure to the bottom edge of the kimono to determine where I would like it to hit my hips. (Hint, always aim for above or below the widest part of your hips.)
From my calculations, I found that two warps would be needed, one for the sleeves and collar and the other for the bottom band. I used the 10-dent reed for both warps.
For the first warp, I simply measured the circumference of the sleeves (18” on mine), then measured for the collar band, being sure to include the length of the bottom band (60” on mine).

Because the second warp would be just the bottom band, it would be much simpler. I needed it to be 40" long, so I added 10% shrinkage (4") plus 20" loom waste. Rarely do I include take-up (the distance the warp has to travel over and under the weft) into my calculations. This is mainly because I work with fairly fine yarns and the 20" of loom waste provides enough leeway to cover the take-up.

Time to get warped. The warping and the weaving was very straight forward, it looked like clear sailing. Until….while finishing the sleeves and the collar band I wound the last of the stainless silk onto my stick shuttle. Yep. Thought all my calculations were spot on, until I realized I was calculating using all the yardage I started with and did not take into account what I used for my samples. YARN EMERGENCY!
As luck would have it, the Habu Stainless Silk in Brick Red was no longer available from their website. Ugh. Thank goodness for the Internet. A shop in Ohio had the yarn I needed, but couldn’t offer express shipping. Double Ugh, I said, ”YARN EMERGENCY”.
Shelley from Knitterly in Petaluma, CA put on her cape and saved my day. Understanding that there are yarn emergencies, she went straight to the post office for me and my yarn arrived just as I was finishing the first band. Crisis averted, I finished the bands and washed them. What a happy surprise when I measured the pieces and the shrinkage was exactly ten percent!
Assembly
I attached the bands using my sewing machine, binding the exposed edges with a 1-1/2” nylon tricot. Starting with the sleeves, I sewed right side to right side together at the very edge of the hemstitching. Laying the right side of the fabric to the right side of the tricot, I ran a stitch in 1/4" from the edge.
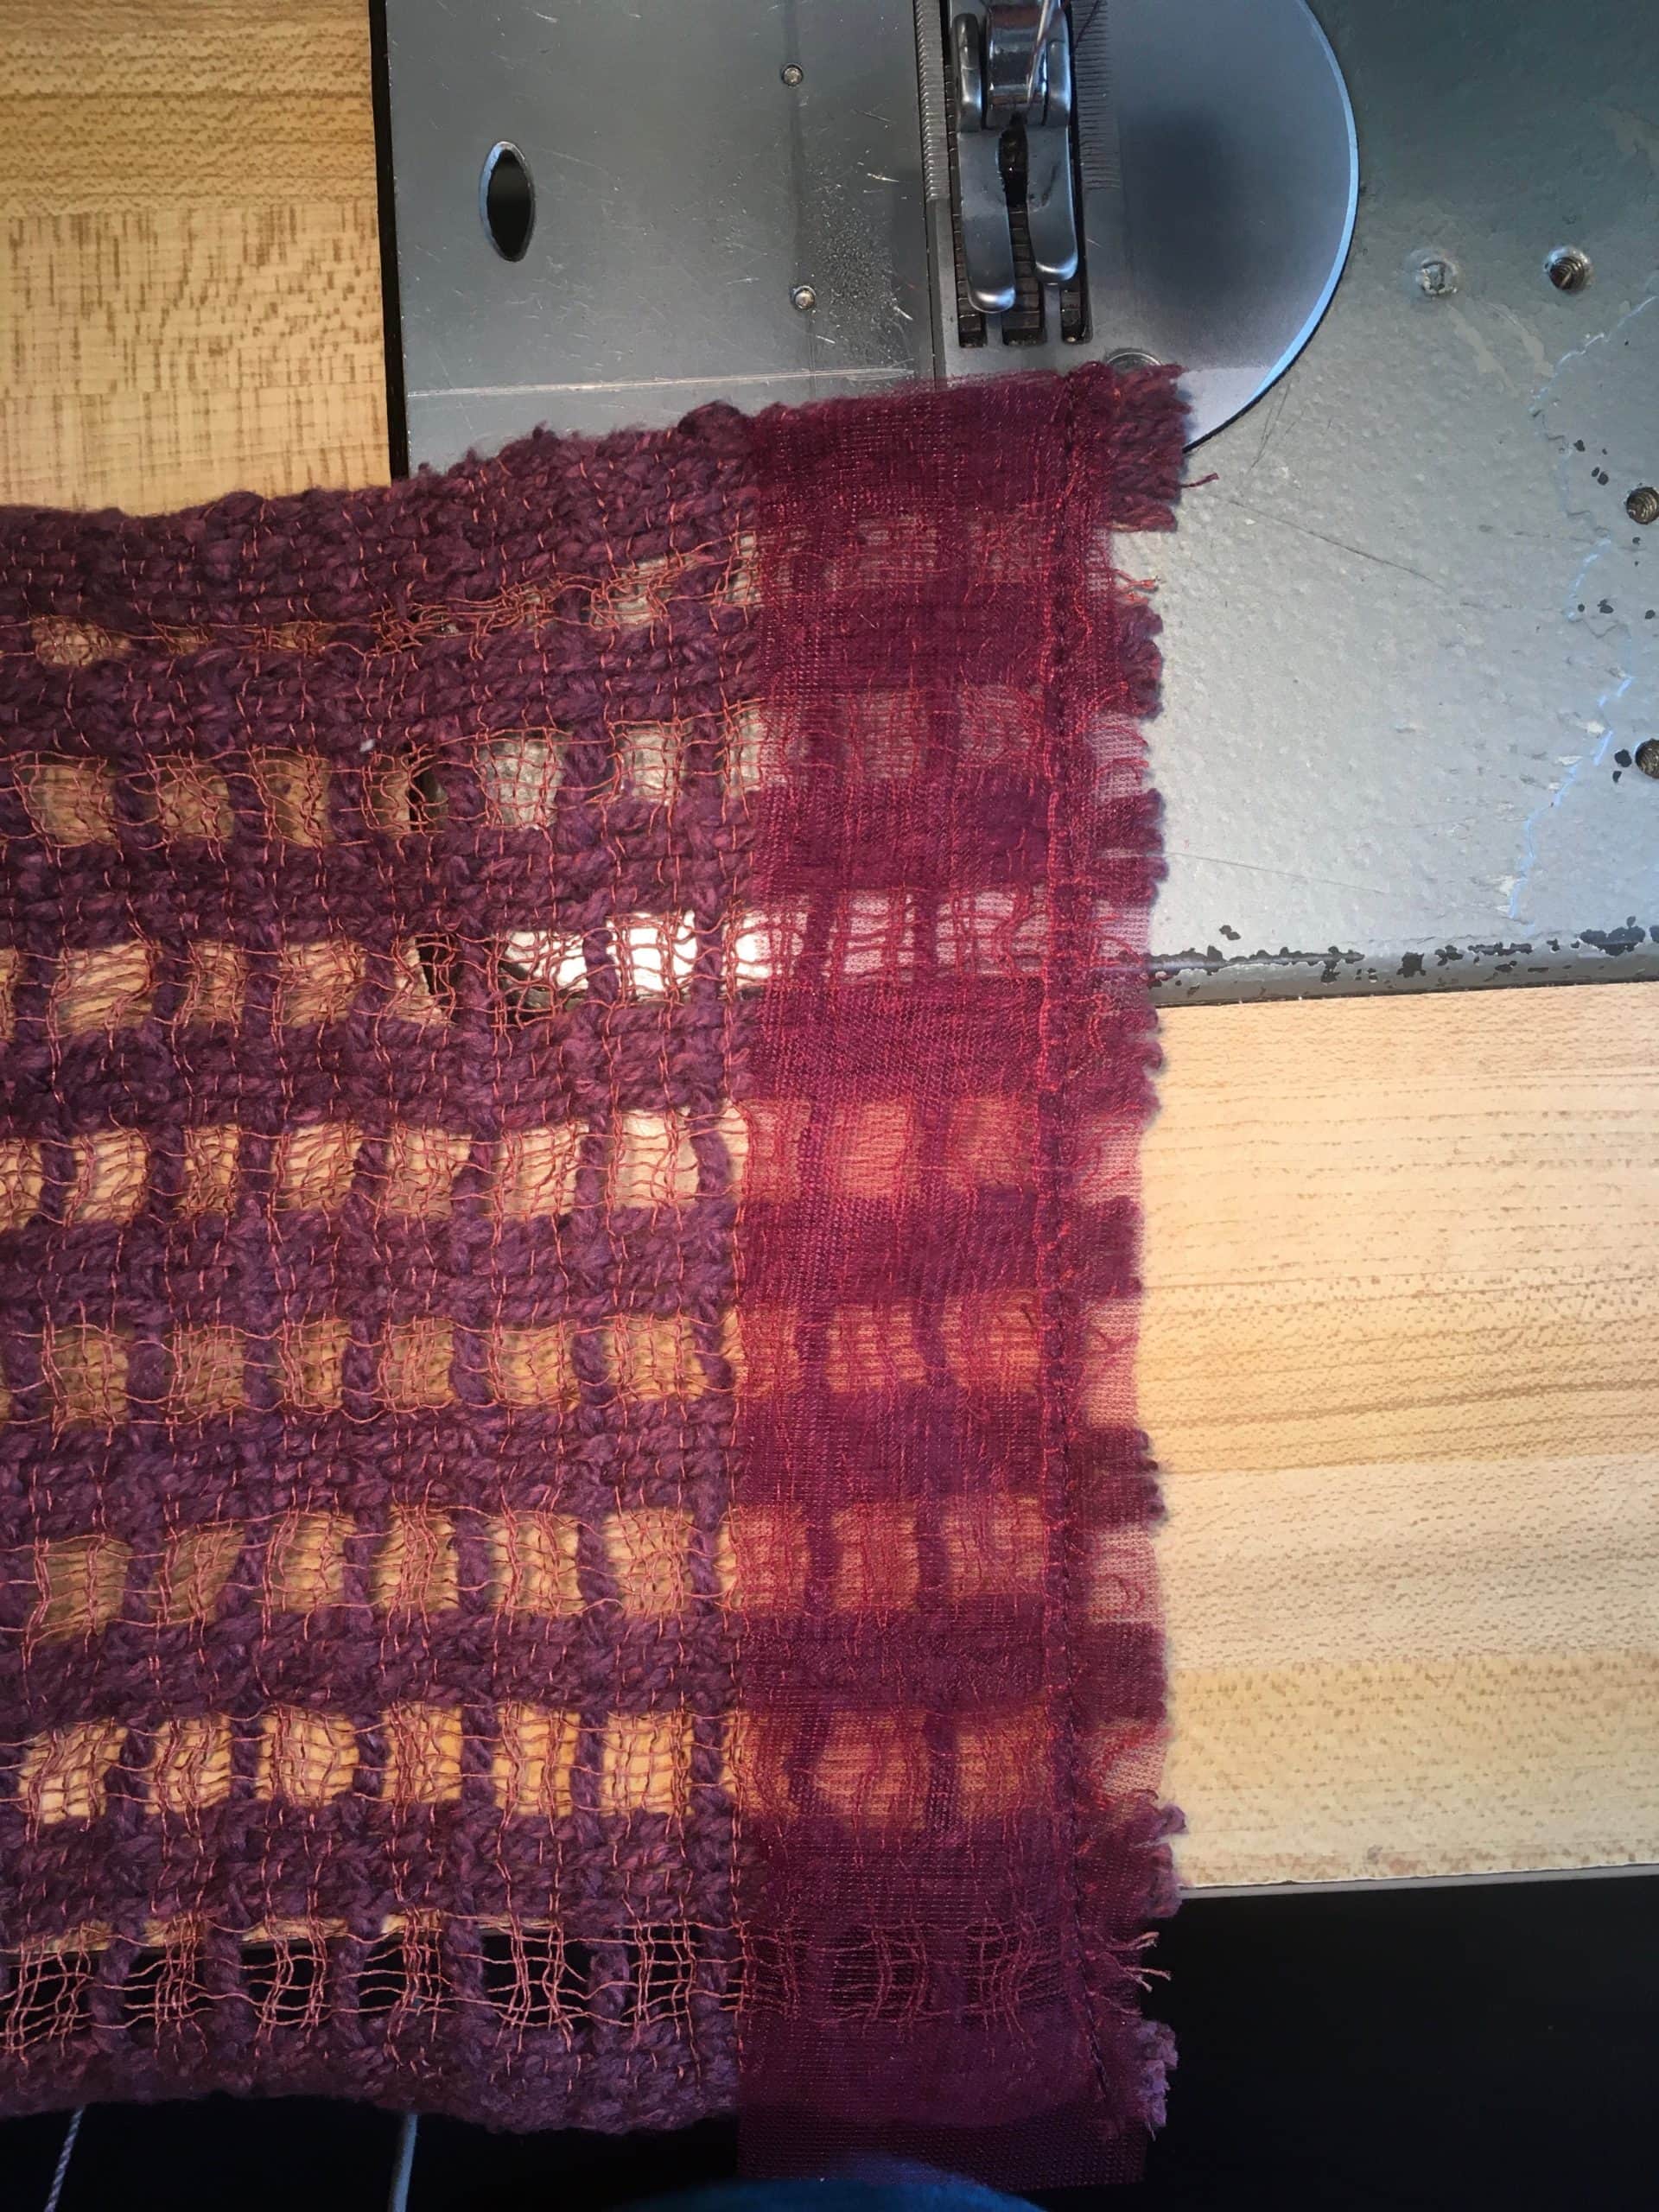
Then I folded the tricot with its wrong side to the fabric's right side and stitched in the ditch on the right side of the fabric to catch the tricot on the back.
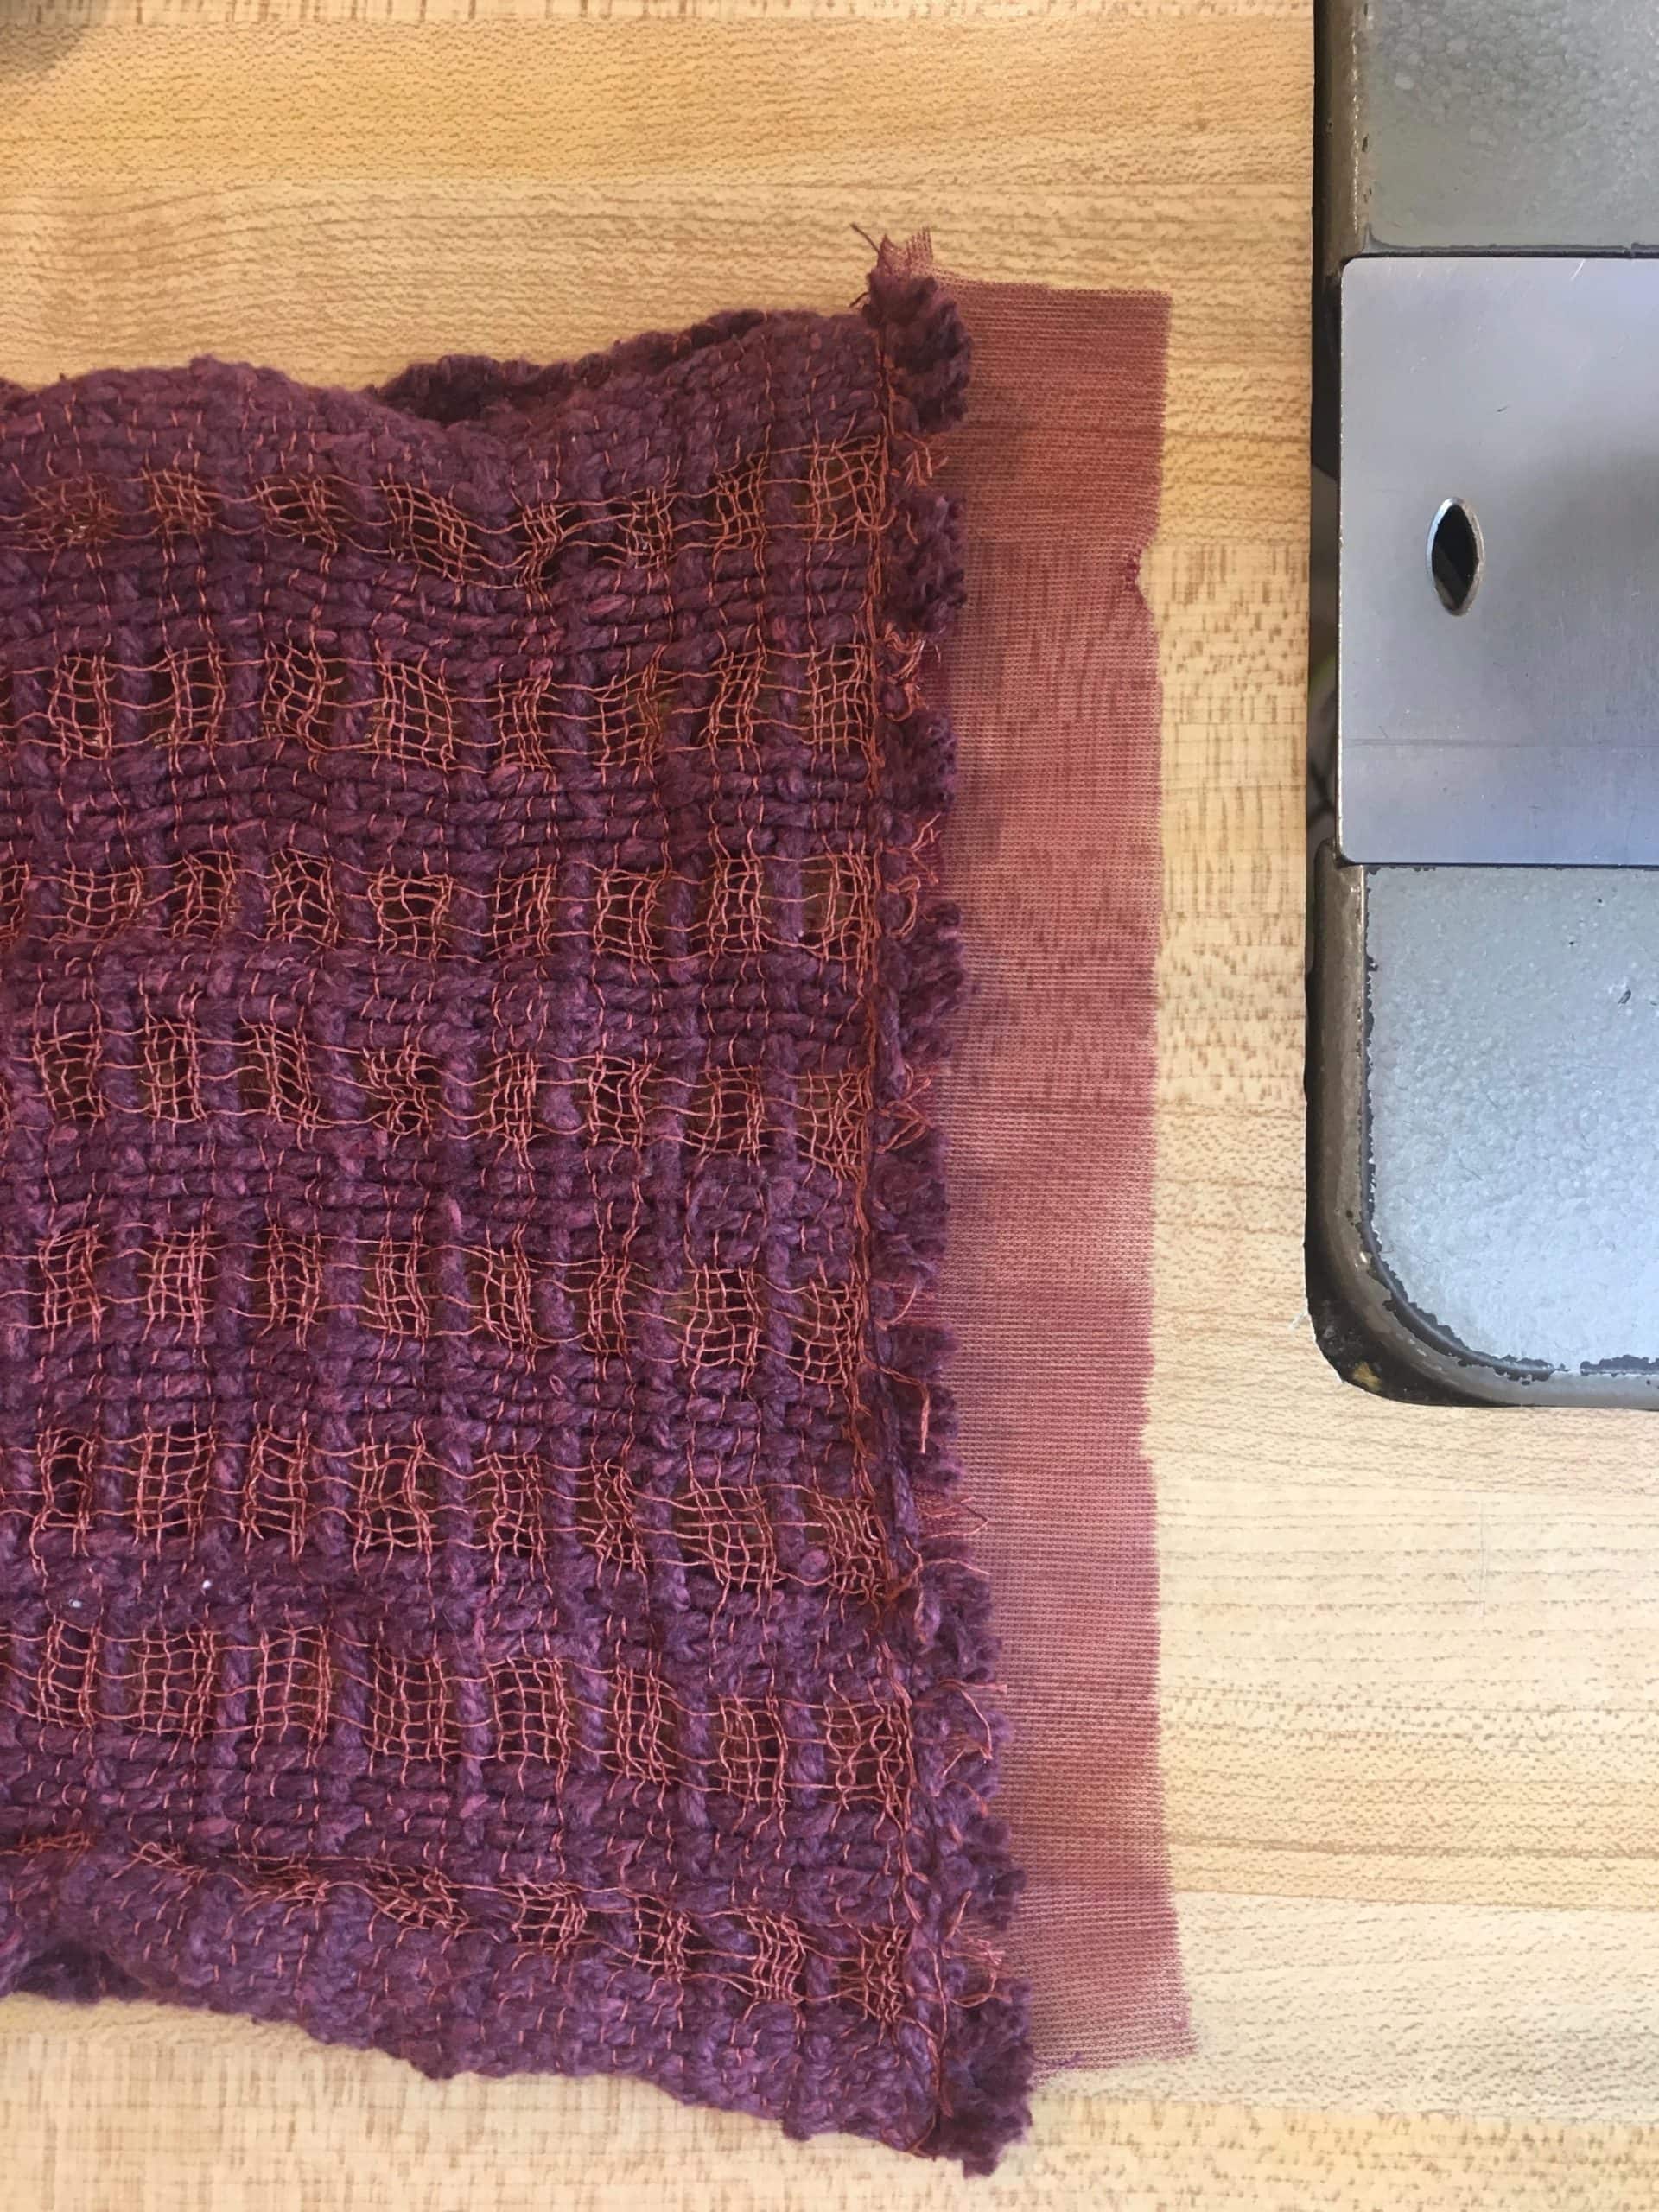
I did this on all the bands, then I folded the bound edge down to the wrong side of the main fabric and used a hemstitch to sew the tricot binding to the main fabric.
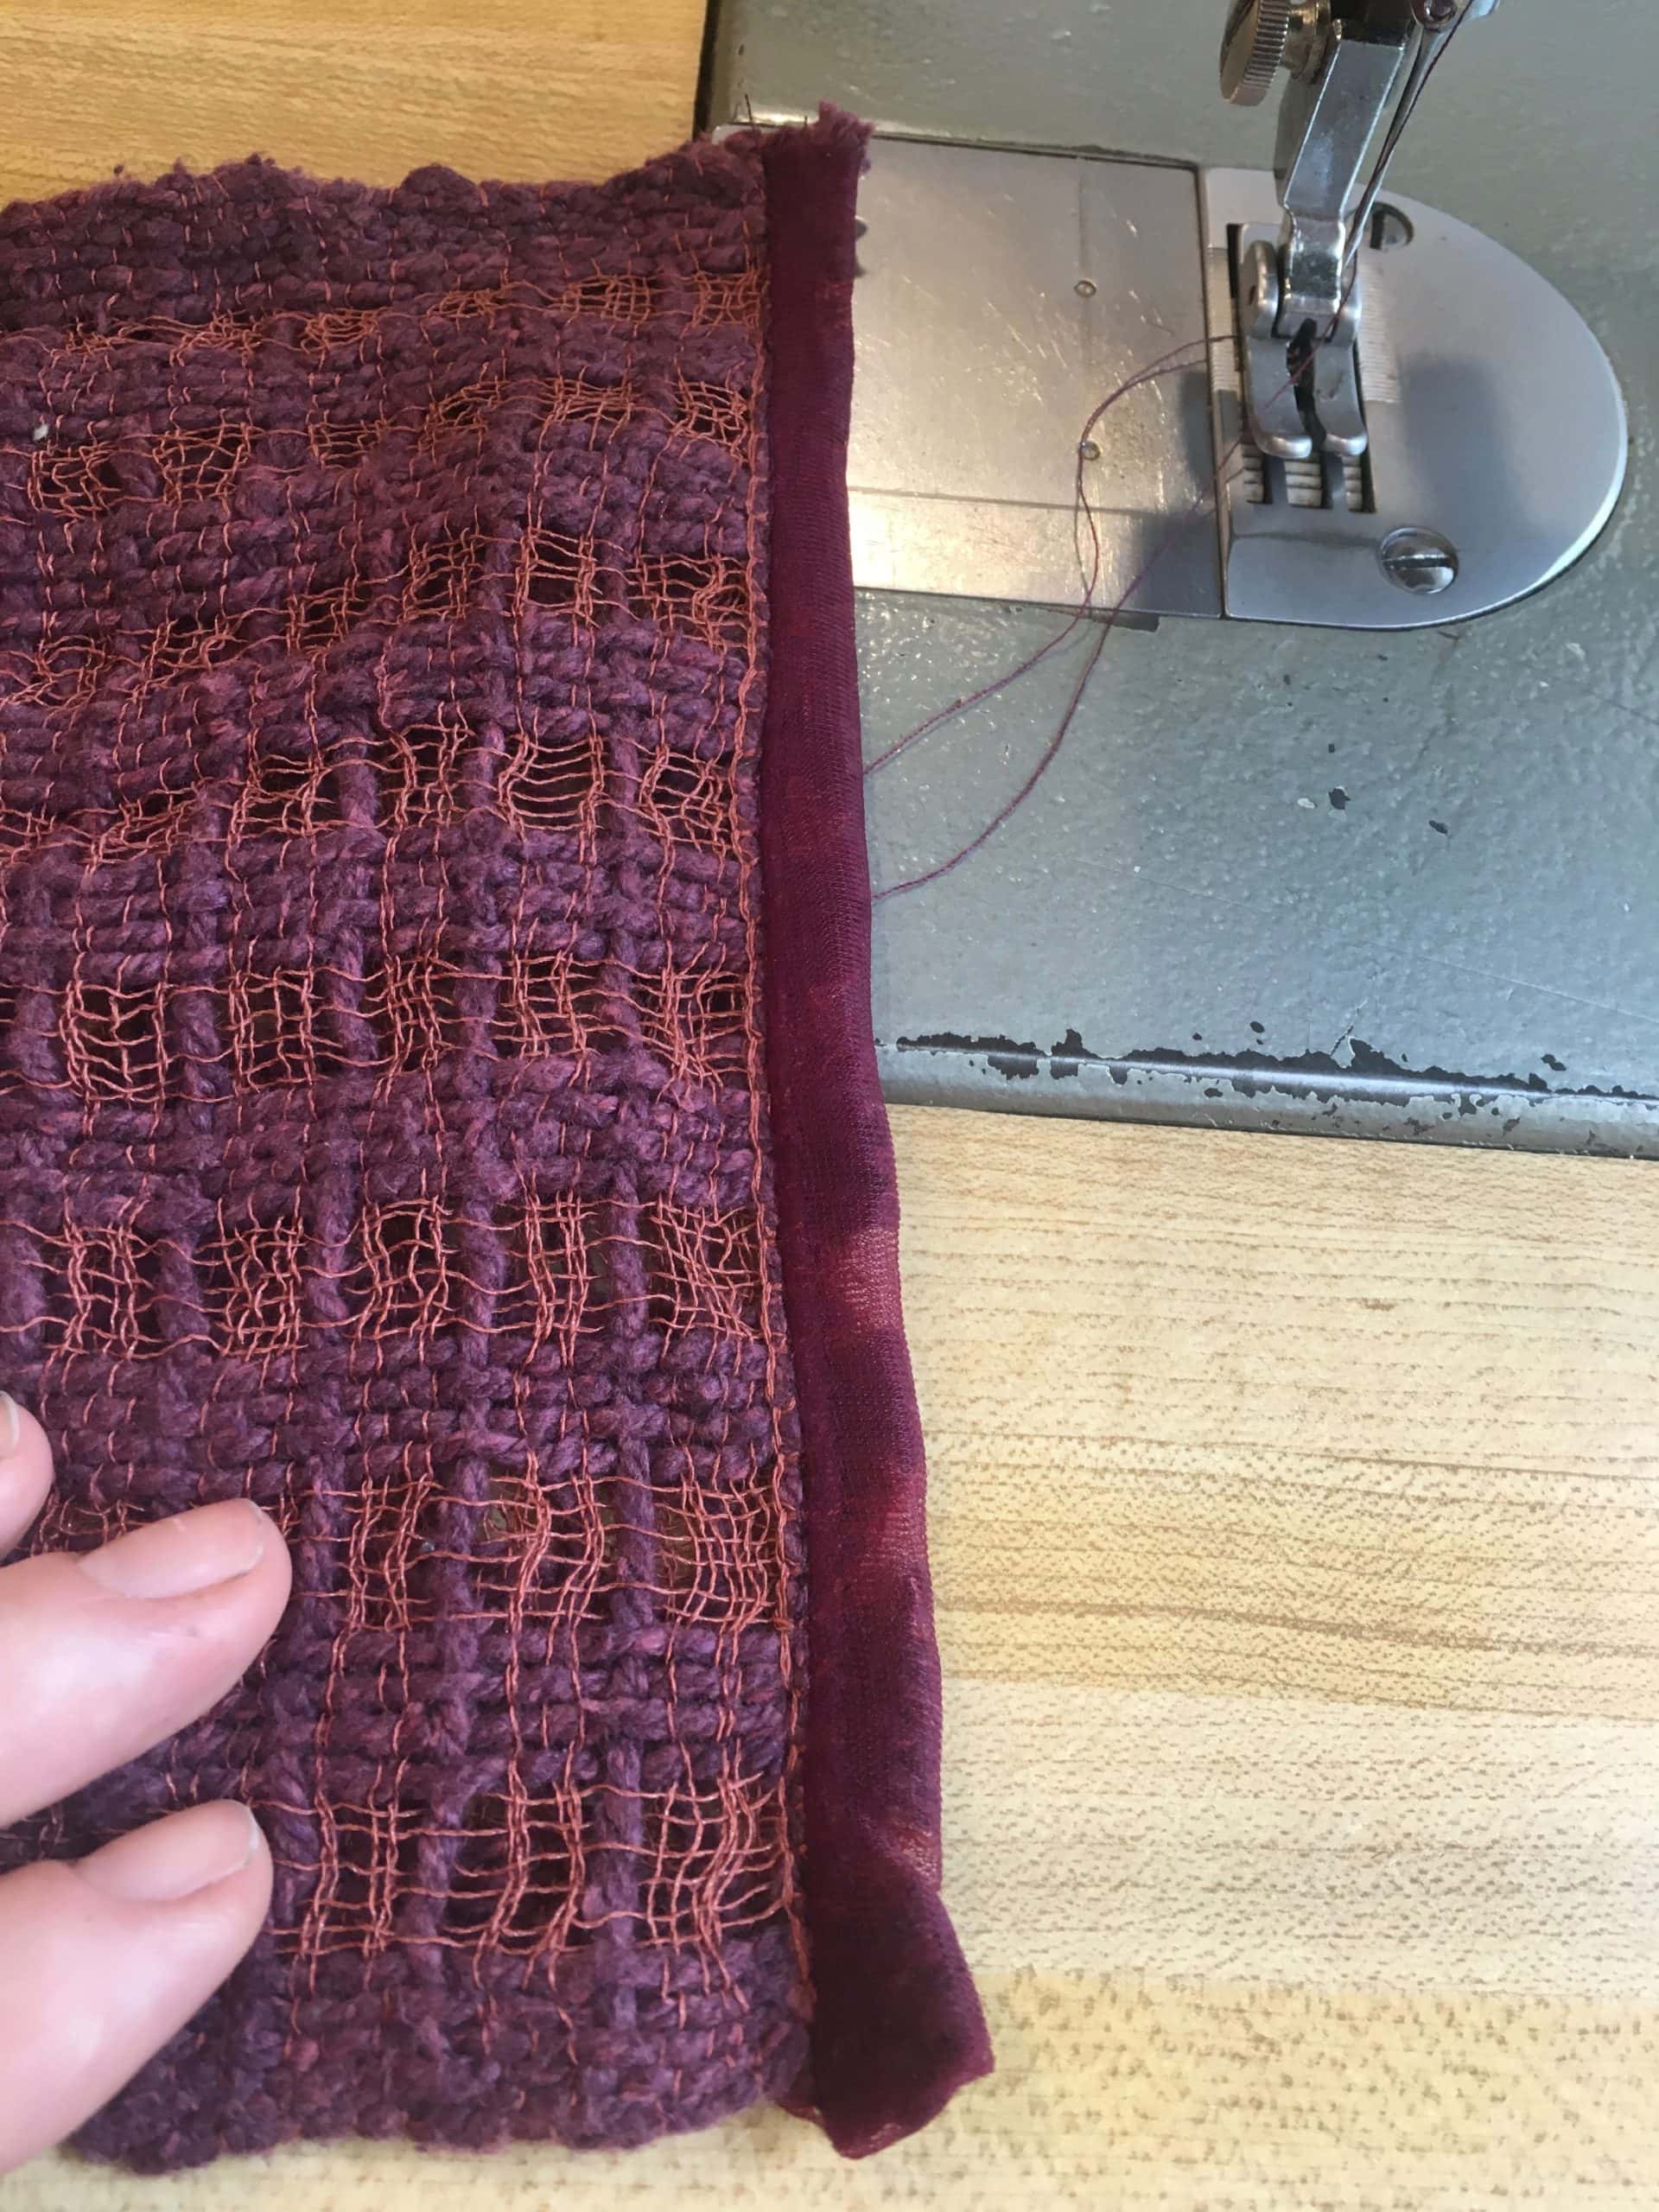
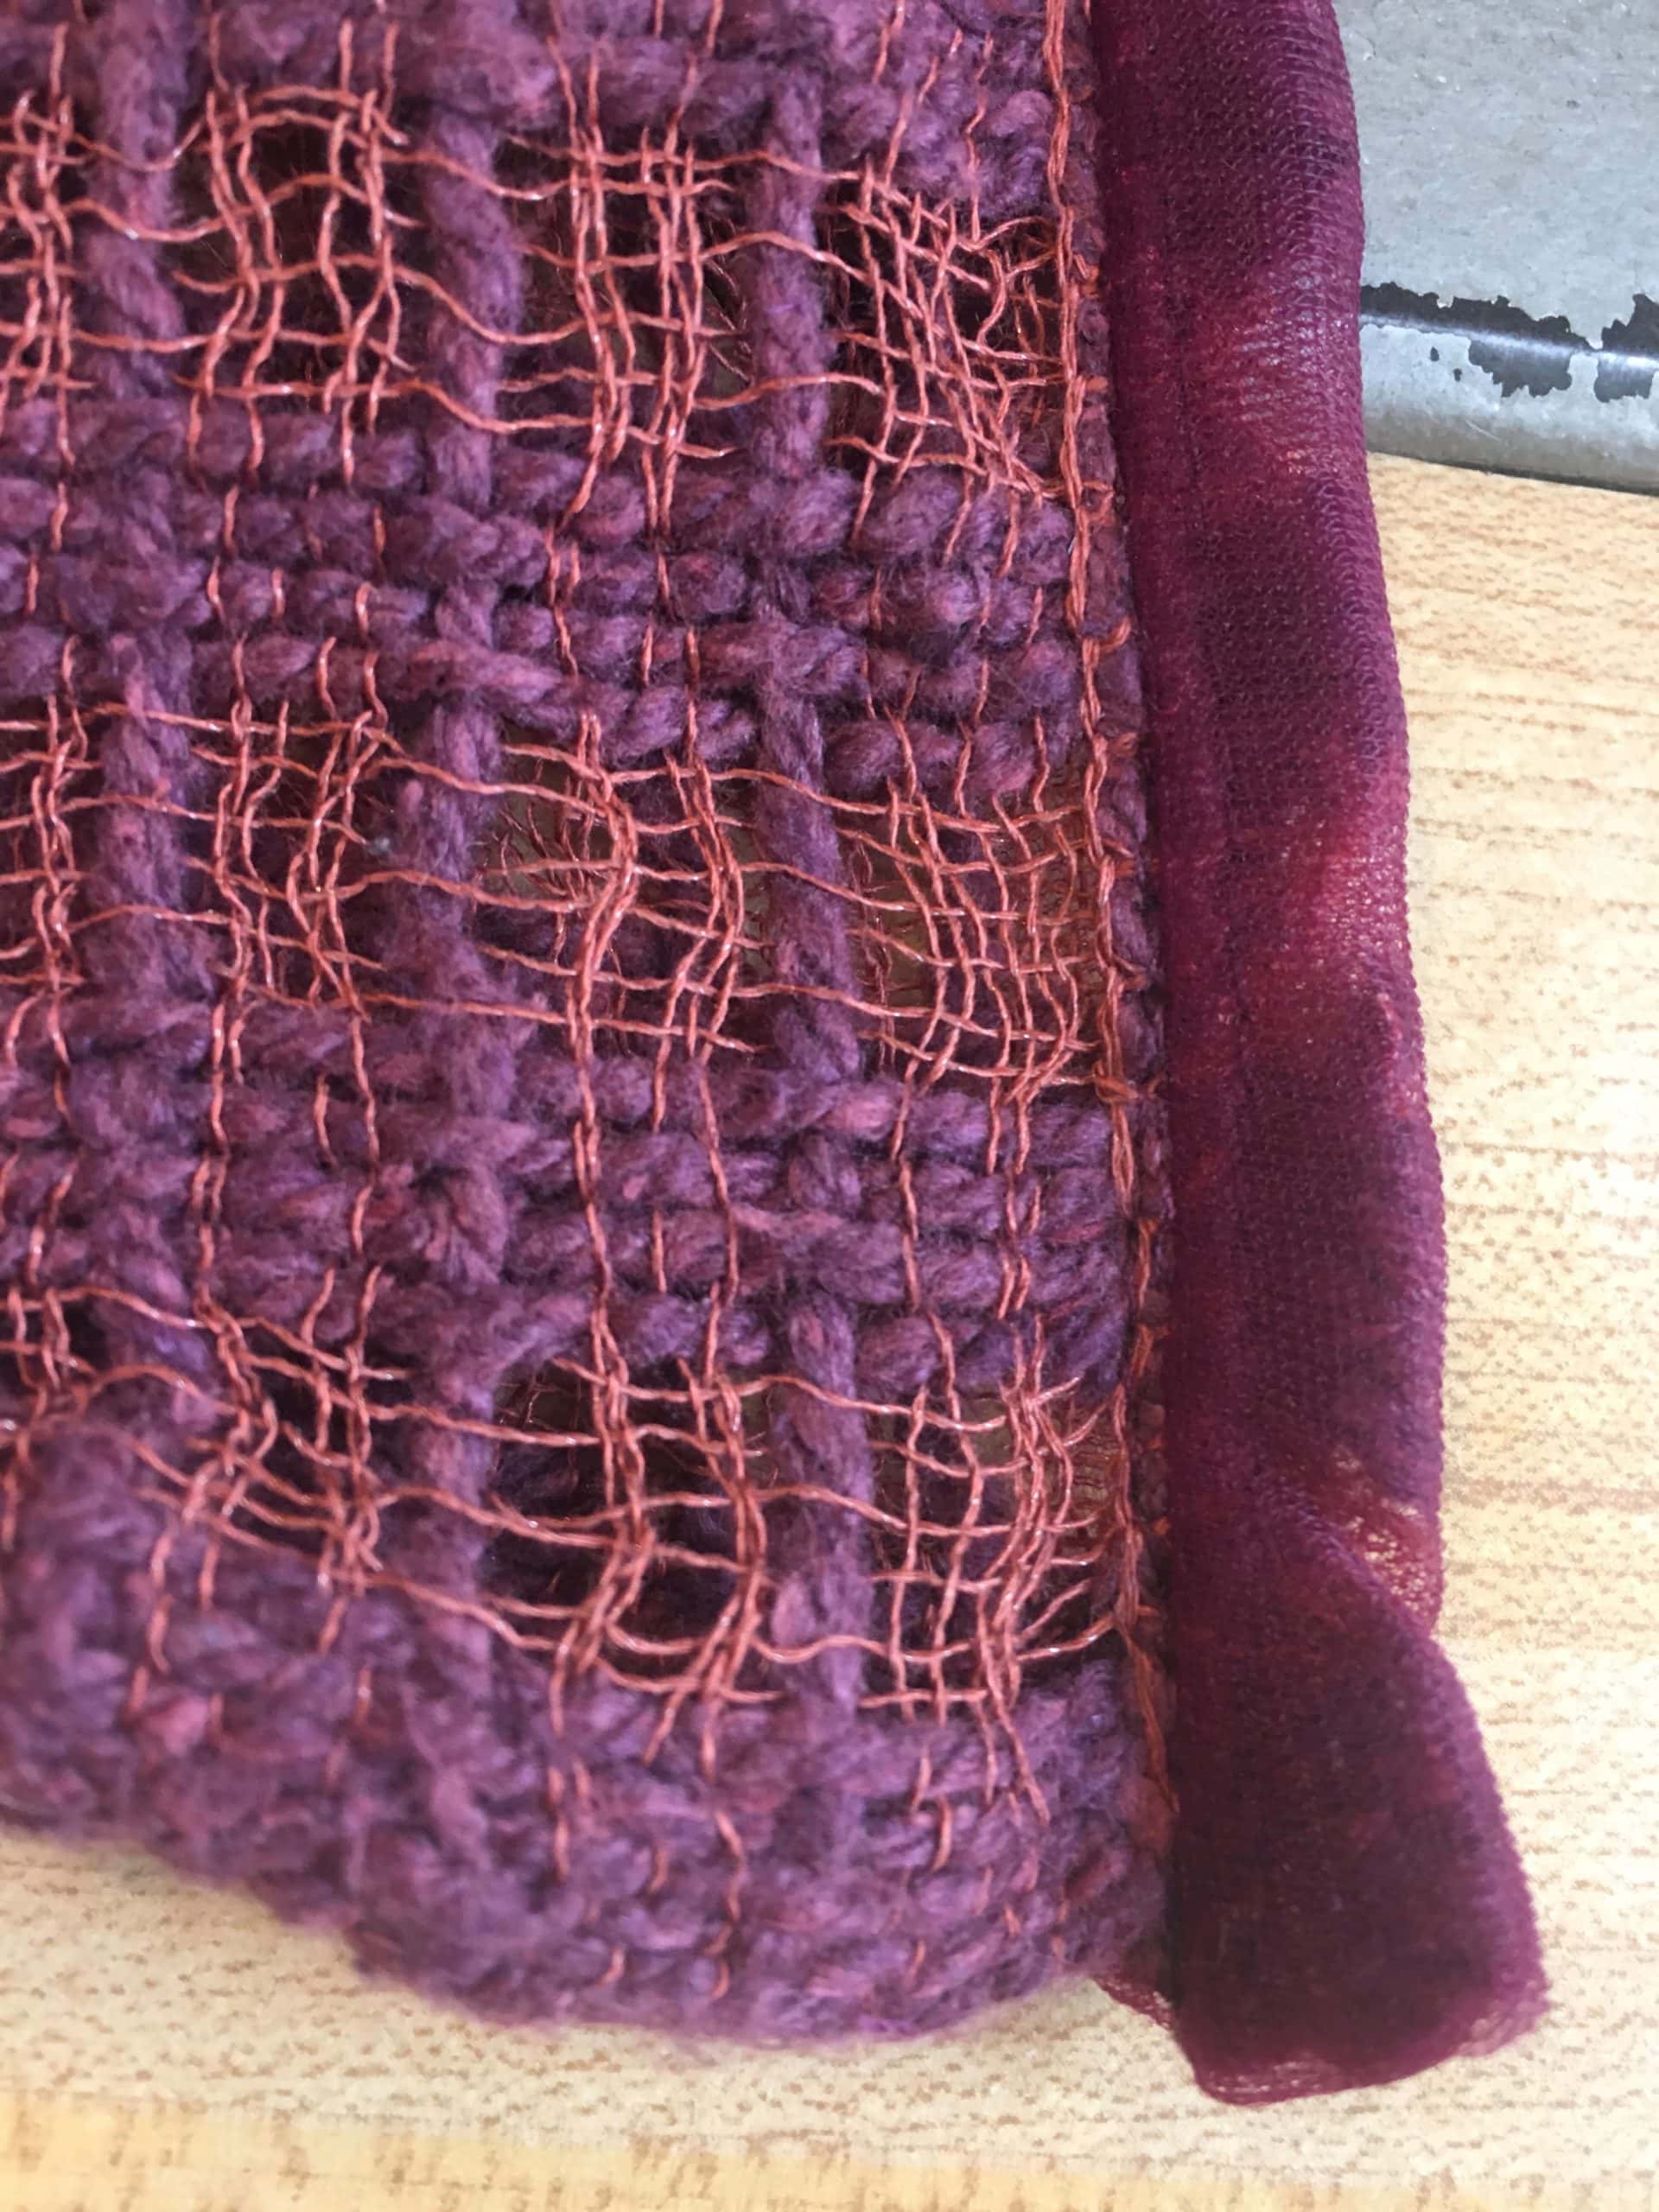
The bands were then attached by overlapping the bands on top of the main fabric and sewing two straight lines of stitching. (This keeps the bands flat to the main fabric and reduces the bulk.) Voila, a woven kimono sweater.
Notes
Hindsight is always 20/20, and in the middle of this project I felt discouraged, like I had failed to prove my point that weaving is faster than knitting. Then, realizing that if I had had a pattern that someone had edited, sampled and tested, this would have been a very fast and straightforward weaving project. The total time for warping and weaving off all of the pieces for this project was around 9 hours--much faster than if I had knit this piece.
I also realize that I gained several nuggets of wisdom. In addition, the enjoyment that I will get from having made this kimono myself and the experience I gained from making it helps me in future projects. No one can take knowledge away from you...or my sweater from me!

