Fabric Scrap Pillow - Pillow Month
Designed by Benjamin Krudwig
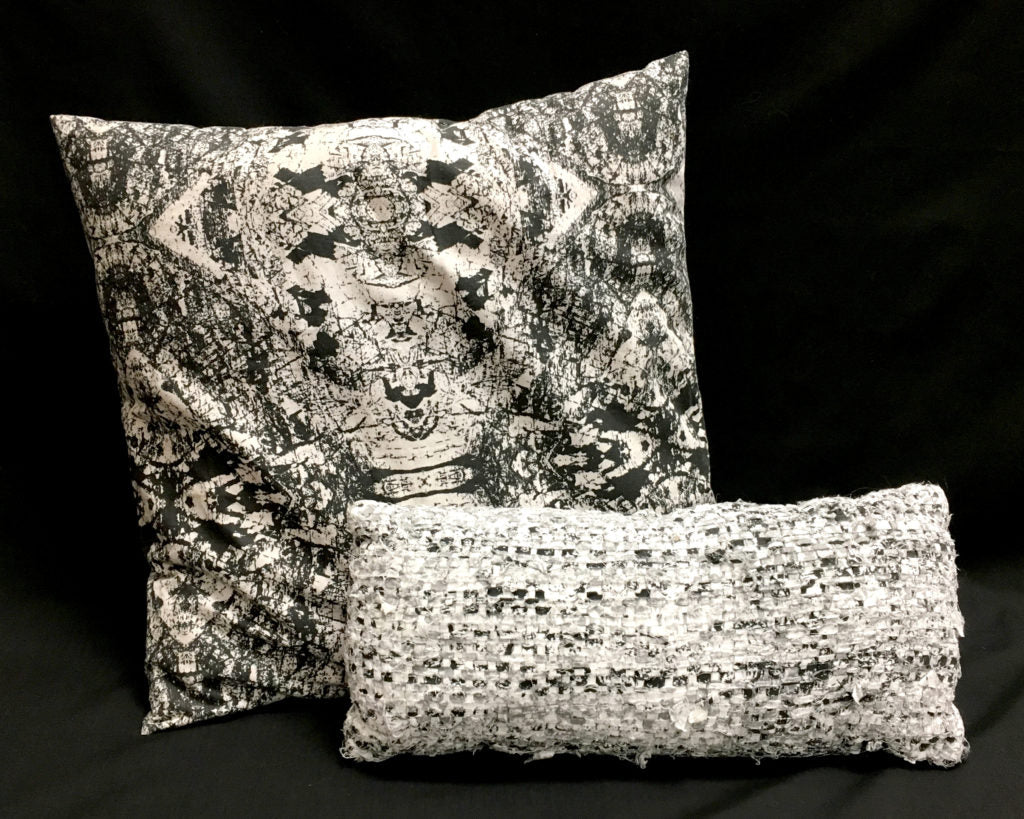
February is here, and with the frigid weather, many of us are experiencing a bit of cabin fever. We felt that by adding some new handwoven pillows into our homes, we would infuse some warmth and joy in our lives. This month, four of us here in the office will be exploring our interpretations of making a woven pillow. We all have different expertise, equipment, and personal styles.
To start us off, Benjamin is using the School Loom to create a fabric scrap pillow.
What You'll Need
-
1/2" strips of fabric (learn how to join them together) For this sample, I used approximately 1/2 yard of fabric all together.
-
fabric for backing
-
School Loom
-
stick shuttle
-
2 pick-up sticks
- Weaving Stick
-
taped heddle rod with string heddles
-
sewing supplies (machine or hand-sewing will work)
Materials and Equipment
Directions
Warping and Weaving
I used fabric strips for both the warp and weft. I wound my warp 9.5" wide. Instead of tying off on the final beam tooth, I immediately started weaving the fabric through as weft, much like you would on the Zoom Loom.
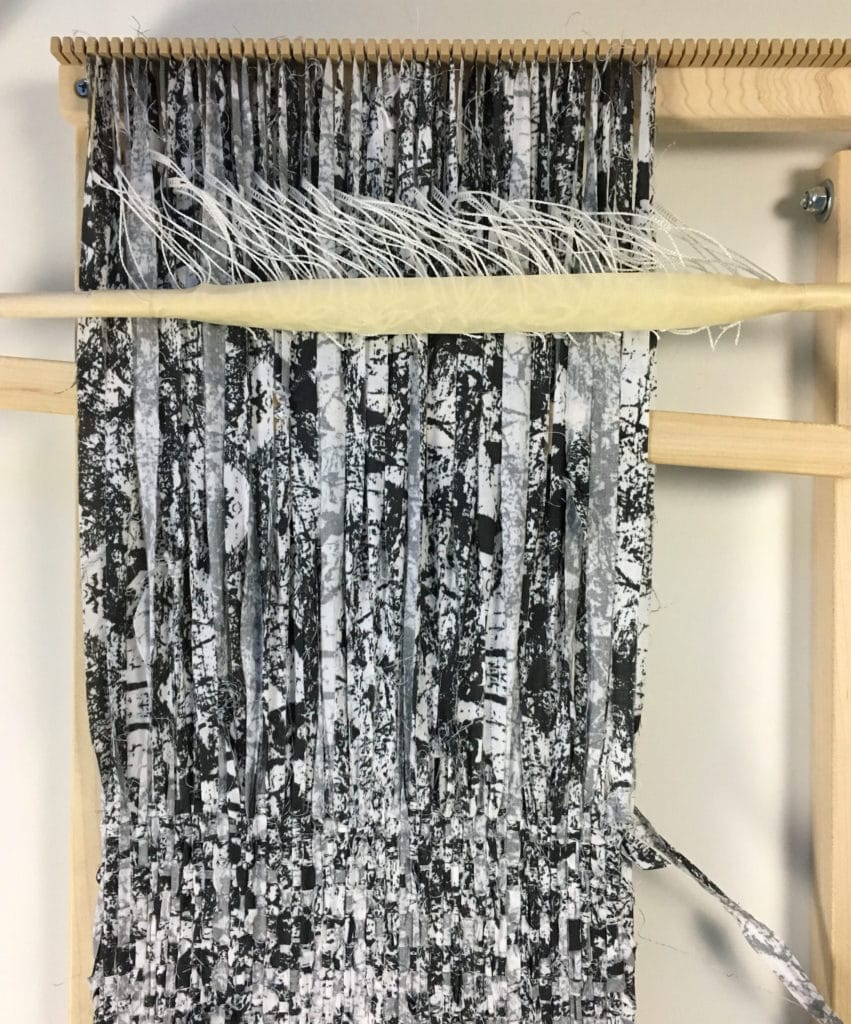
On the School Loom, because there is no shedding device, you need to create a way to lift the warp threads to weave. For this plain weave pillow, I picked up every other fabric strip on my pick-up stick. This stick stays in place during the weaving and turned on edge when needed to weave the shuttle through. The opposite shed will need to be picked up every other time (So every other row). Use a second pick-up stick and pick-up all the of the strips not on the other pick-up stick already in place. Turn the pick-up stick on edge to create a shed and then weave the fabric strip through. Remove this pick-up stick and then turn the first pick-up stick on edge, and so on.
To speed up the weaving process, you can add a string heddle to every other warp thread. To do this, you'll need a dowel a little wider than your weaving and some string heddles. You can make these using a strong, smooth string or use Texsolv heddles as I've done here. To install a heddle, place it under the warp thread and then over the dowel. Repeat for every other warp thread. Opposite threads are on the pick-up stick. To keep the dowel from falling out, I placed masking tape over the string heddles to secure them. To create the shed, pull up on the dowel and slip the pick-up stick into the space to create the shed.

- To keep the printed fabric pattern visible, it's important not to pack the fabric in too tightly. Continue weaving, alternating the pick-up stick and string heddles as shedding devices until you can no longer turn the stick on the side. Remove the pick-up stick and string heddles. Then use the weaving stick to finish weaving the fabric.
- You could weave the entire project with just one fabric, but I decided that for this project, I would use the golden ratio as a design element. I measured my warp length (20.5") and divided by 1.61 (phi - the golden ratio) and got 12.4". I then subtracted this number from the total length to get 8.1". I wove with my patterned fabric for about 8" and then wove the rest of the warp with white fabric.
- When you reach the top bar, remove the fabric from the loom starting along the top edge first, popping a loop off each tooth until the top is fully free. If the loops are tight and difficult to remove, you can use a crochet hook to lift the loops off the beam teeth. Then remove the fabric from the bottom teeth in one fell swoop.
Assembly
- Once the fabric is removed, cut two pieces of coordinating fabric the same size as the woven fabric. The dimensions on my sample ended up being 19" by 9".
- Even if you pre-washed your fabric before cutting into strips, you may want to wash the backing fabric and woven fabric before assembling.
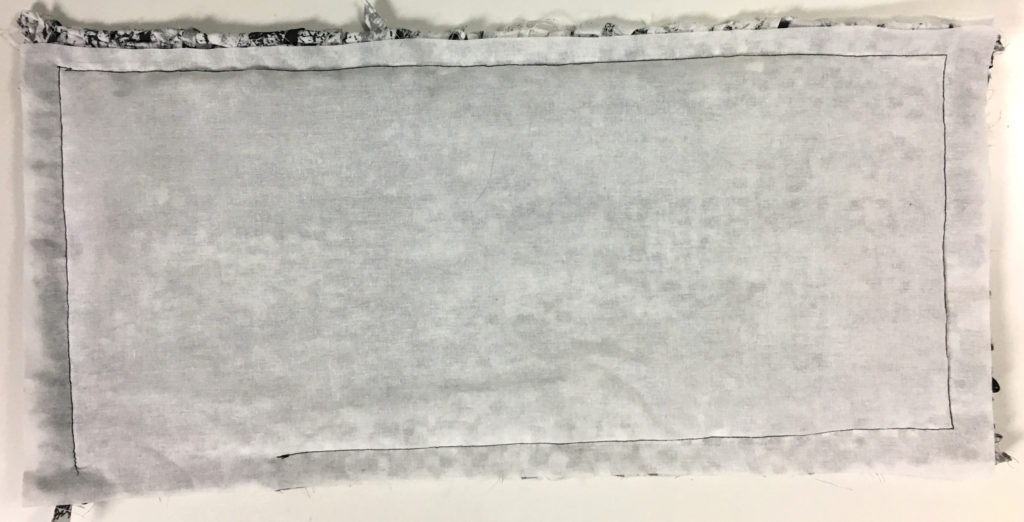
- Sew the woven piece onto one of the fabric pieces to create a double thickness fabric that will prevent stuffing from coming out of the gaps between the woven fabric strips.
- Then with right sides facing together, sew around the edge with about a 1/2" seam allowance. Leave a 4" gap along one side to flip the pillow right sides out.

Wash the pillow, and then stuff. Sew the gap shut.

