Fringed Fall Tote
By Melissa Ludden Hankens
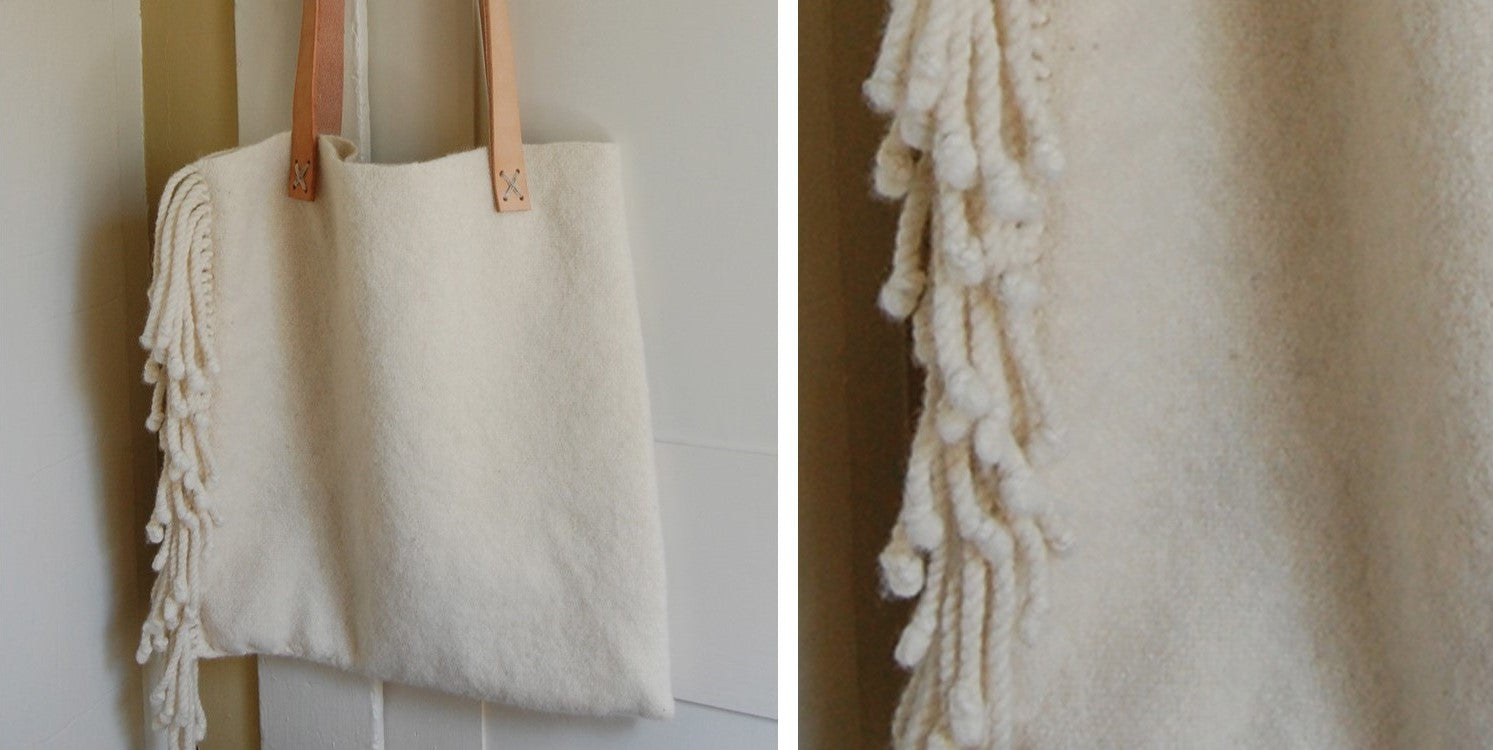
I love bags of any sort, and this is a quick and simple project that can be made with little to no loom waste using your floor, table, or rigid heddle loom. The concept is simple. Weave a rectangle, fold it in half, twist the fringe from both ends together to create a decorative edge, stitch the bottom and fringe side for extra support, wet finish, add handles, and you’re done.
I’ve used Harrisville yarns in many projects, so I’m aware of how it behaves when wet finished. I wanted to create a fulled fabric to give the bag body and strength without having to line it. You can use any yarn you like, but bear in mind its use. If your resulting fabric is a more open weave, little items have the potential to be lost through the fabric, and lining the tote might be wise. Referencing a blanket I wove on my 20" Flip rigid heddle loom using Harrisville Highland, I estimated that my plain weave fabric would shrink about 20% when fulled.
I used my Baby Wolf for a 24" wide warp, two yards long. You could easily use a narrower loom and either weave a smaller bag or weave the fabric in two panels, stitching it together to create a wider fabric. For example, if you use a 15" Flip, you would weave a 12"-wide panel twice as long (in this case a four-yard warp plus twice your fringe length). Remember – you’ll need to track the length of the fabric you have woven, and at the mid-point, leave a section unwoven two times the length of your planned fringe so that you can still create the joined fringe. Be sure to weave the fabric panels the same length. You can use a measuring string pinned along the selvedge to keep track.
Project Specs
Weave structure: plain weave
Finished size: assembled bag 15" wide x 16" high (excluding fringe and handles)
Number of ends: 192
Warp length: 2 yards
Width in reed: 24"
EPI: 8
What You'll Need
-
775 yards of Harrisville Highland worsted weight wool, but there are so many possibilities here. This might be a great way to use up bits of this and that in your stash!
-
bag handles of your choice
-
sturdy yarn for attaching your handles (I used 3-ply hemp, but something like cotton carpet warp would be work)
-
rigid heddle loom or shaft loom with at least 24” weaving width
-
sewing needle
Materials
Equipment
Directions
Warp your loom. Advance your warp so that you have about 8" or 10" inches (or more if you like) of ends to work with to create fringe. Leave a length of yarn at the start, about three times the width of your warp. You will use this to stitch the bag together once the fabric is off of the loom.
Weave your plain weave fabric, or a pattern if you prefer, ensuring that there is the same length of warp to create fringe at the start and at the end. Leave a second tail of yarn three times the width of your warp at the end for sewing. Remove the fabric from the loom.
Fold your fabric in half so that the cut ends meet. This will be the side of your bag. I took four ends from one side and four from the other and created a twisted ringe along the entire length of this side. Be sure to knot your ends. Play with the length of the fringe if you like. I opted to make them mostly the same length, but mixing this up could create an interesting look too.
I knew that the fulling process would help to secure the fringe, but I took the extra step of using one of the tails of yarn to sew up the fringe side of the bag. Keep in mind that if you are fulling your fabric, the stitches will be almost imperceptible, so don’t worry if your stitches aren’t perfect.
Take the second tail of yarn and use it to stitch along the bottom of your bag. Now you are ready for the fulling process. If you choose to weave with another yarn, be aware that it may react differently than the Harrisville Highland does to the fulling process. Sample if you’re uncertain, or wet finish by hand to control the process.
I put the bag into my front loading washing machine on the regular cycle with warm water. From there it went into the dryer on a regular dryer cycle. I decided to repeat this process. I should also note that this was washed in a load of laundry for extra fulling power!
I used leather for the handles of my bag. You can get leather strips from online suppliers such as Tandy Leather, or at a tack shop if there is one in your area. I used a single 1" x 72" Heavyweight Natural Cowhide Leather Strip. Another option is to check out your local thrift store for leather belts. You may also prefer another material – canvas straps or webbing would be nice here too. What about Shaker chair tape! Ooh!
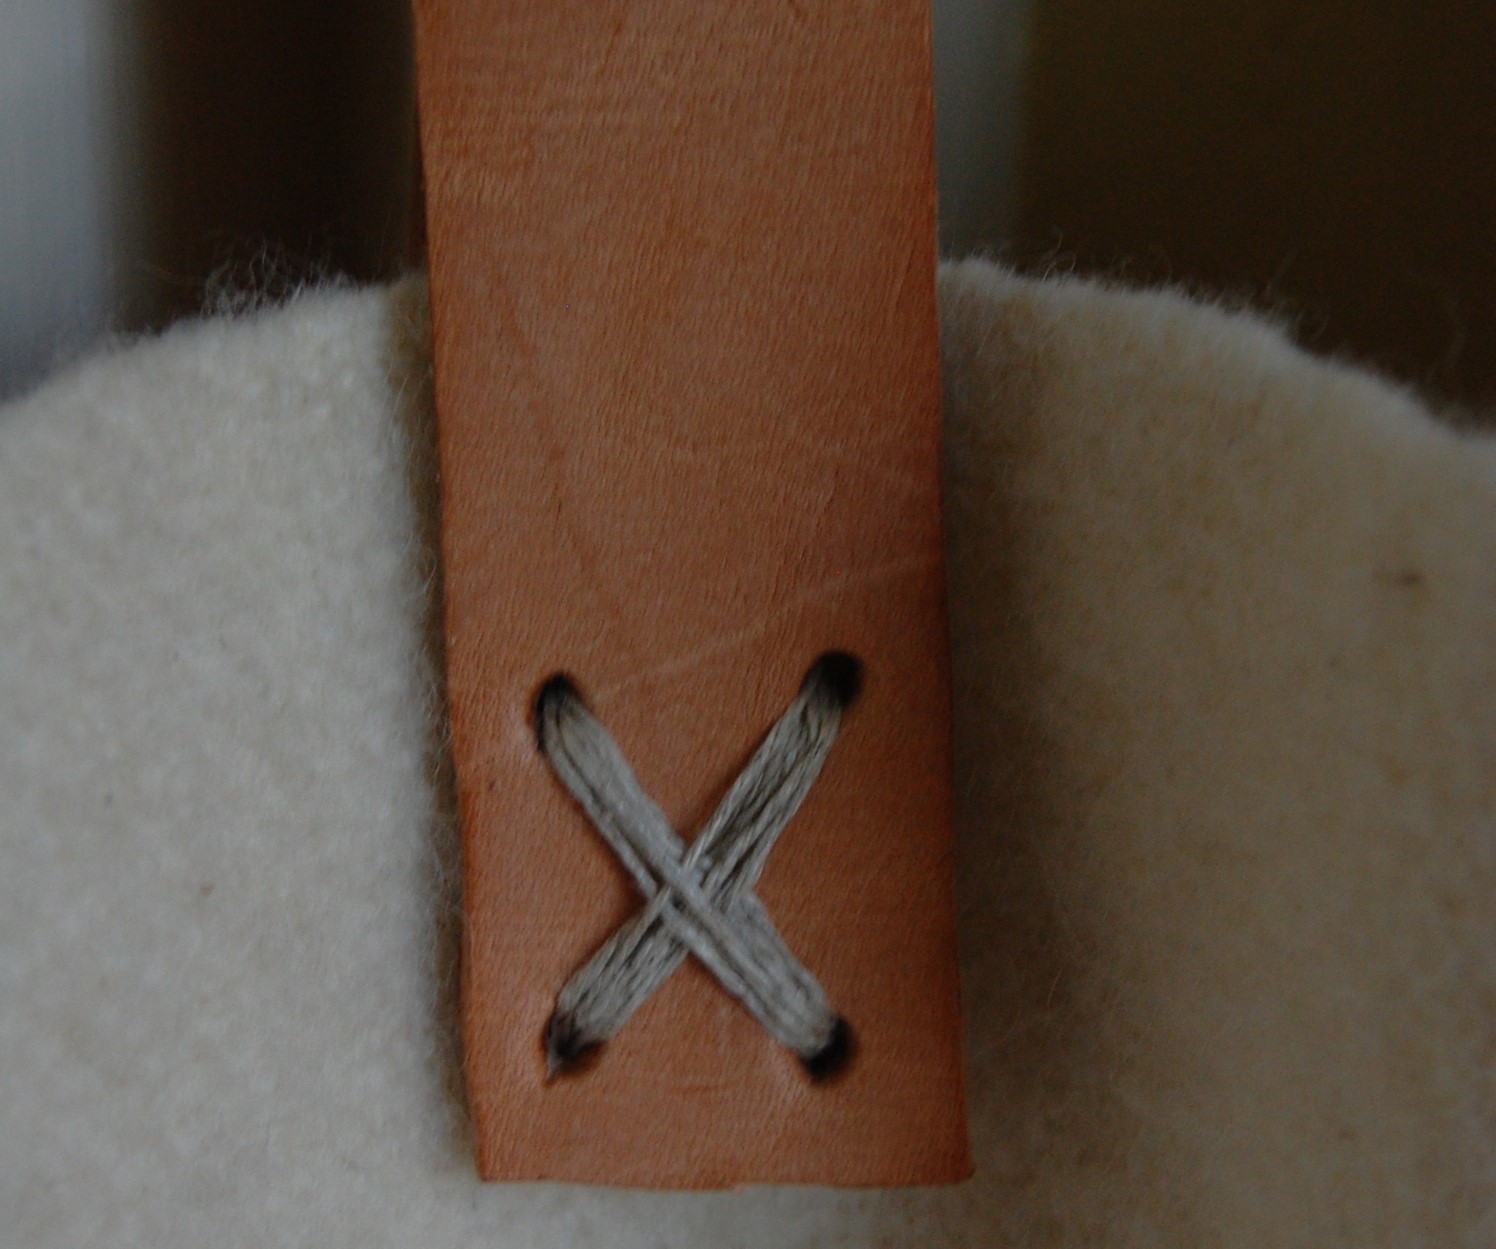
The 72" leather strap was the perfect length to create a shoulder bag. I’m on the tall side, so you may need less. I cut the strap in half with a utility knife. Using an awl and a mallet, I punched four holes in each end as shown in the photograph. To be on the safe side, I clamped a block of pine to my back deck to use as a base on which to hammer. This way I wouldn’t leave holes in the decking and I had a relatively soft surface to receive the awl point. I marked where I would place the awl on one strap end.
After punching the first set of holes, I used this as a template to mark hole placement on the other three strap ends. Once the holes are punched, turn your leather over and carefully reinsert the awl point to open the back of the hole enough so that you can get a needle and thread through. Please be safe when using pointy tools, cutting tools, and hammers.
All that was left was to sew on my straps. Natural-colored three-ply hemp was the perfect complement to my neutral color palette. A sturdy, sharp needle is a must here. I may weave a couple of squares on my Zoom Loom to create pockets for the inside of the bag, but for now I’m off to the library to show off my new tote!


