Hold It Zoom Loom Boxes
By Melissa Ludden Hankens
I love things that hold things - boxes, tin cans, bowls - anything that helps me to feel more organized in our tiny home. But of course not just any vessel will do. It has to appeal to me visually and fit into the puzzle of containers that already exists. I was thinking about the alphabet cube I wove for Benjamin back in August of 2010, a fun Zoom Loom or Mini Loom project, and decided to try my hand at weaving a little box - essentially a cube with one side missing.
My main concern was whether or not it would be too floppy or soft to be of much use. Time to weave a sample and find out. Figuring out how to make it stand up would be a secondary concern.
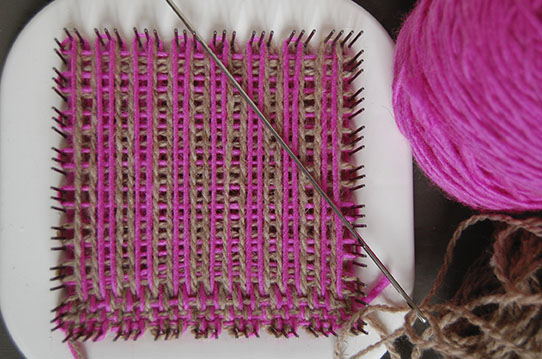
I had been wondering about using two strands of yarn at a time on the Zoom Loom. I selected two sport weight yarns and wove up a sample.
I was careful to warp loosely. Weaving was a bit of a challenge as I neared the end of the sample, the strands almost too tight to weave through, so I wove a second sample that doubled the threads in the warp (first three layers) only.
After weaving two rows with both threads, I cut one off so that the majority of the second sample was woven with just one strand. Much easier, and it didn’t seem to affect the dominance of either color to a great degree.
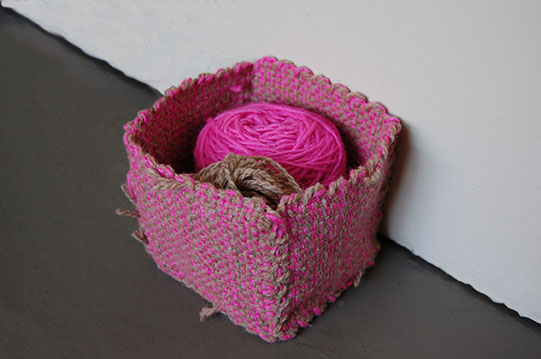
I wove five squares and sewed them together, selecting the square I initially wove to be the bottom as it was just a bit stiffer than the others.
I washed and gently fulled the vessel until I thought it might be able to stand on its own. After it dried, I was smitten and couldn’t imagine using anything to stiffen the fabric. The bloom was too lovely. This meant a second sample would need to be woven so that I could test stiffening the fabric to create a sturdier box.
I went back to the Peace Fleece I've used before as I knew how it would behave. I created a second box and gave it a bath in a three to one ratio of hot water to white craft glue. It was soon evident that this amount of glue wasn’t enough to achieve the effect I was looking for, so I gave it a second bath in one to one hot water to glue. I was looking for it the material to be stiff, but not rock solid. Thanks to never-ending rain humidifying the air, it took about a day and a half to dry, but voila! It worked! Be sure to periodically dab at any drips that form around the edge as the box dries to minimize hardened lumps of glue forming along the top of your box. I’m wondering what would happen if you wove this in white and put a few drops of food coloring in your glue/water mixture. Could be interesting!
What You'll Need
-
Yarn: Select either a single worsted weight yarn or two yarns that when joined create a worsted weight yarn. In both cases, I would recommend using or creating a yarn that is on the heavier side of worsted. I used a single strand of Peace Fleece Worsted for the purple box and a combination of Quince & Co. Owl and Manos del Uruguay’s Silk Blend for the pink box.
You will need 25 yards, plus extra yarn for joining the squares, per box. If you are using two strands, you will need 20 yards of the second color, assuming you plan to use it only in the first three layers. -
white craft glue
-
Zoom Loom
Directions
You’ll be creating five plain weave squares for each box.
When weaving with two strands, loosely warp your loom with both strands, weave two rows with both colors, and then cut one of the two. I chose to weave with the Owl and trim off the Silk Blend.
Weave all of the squares and stitch in the ends. Sew the squares together, four in a row, and then attach/stitch them to the fifth square, which will serve as the bottom of the box.

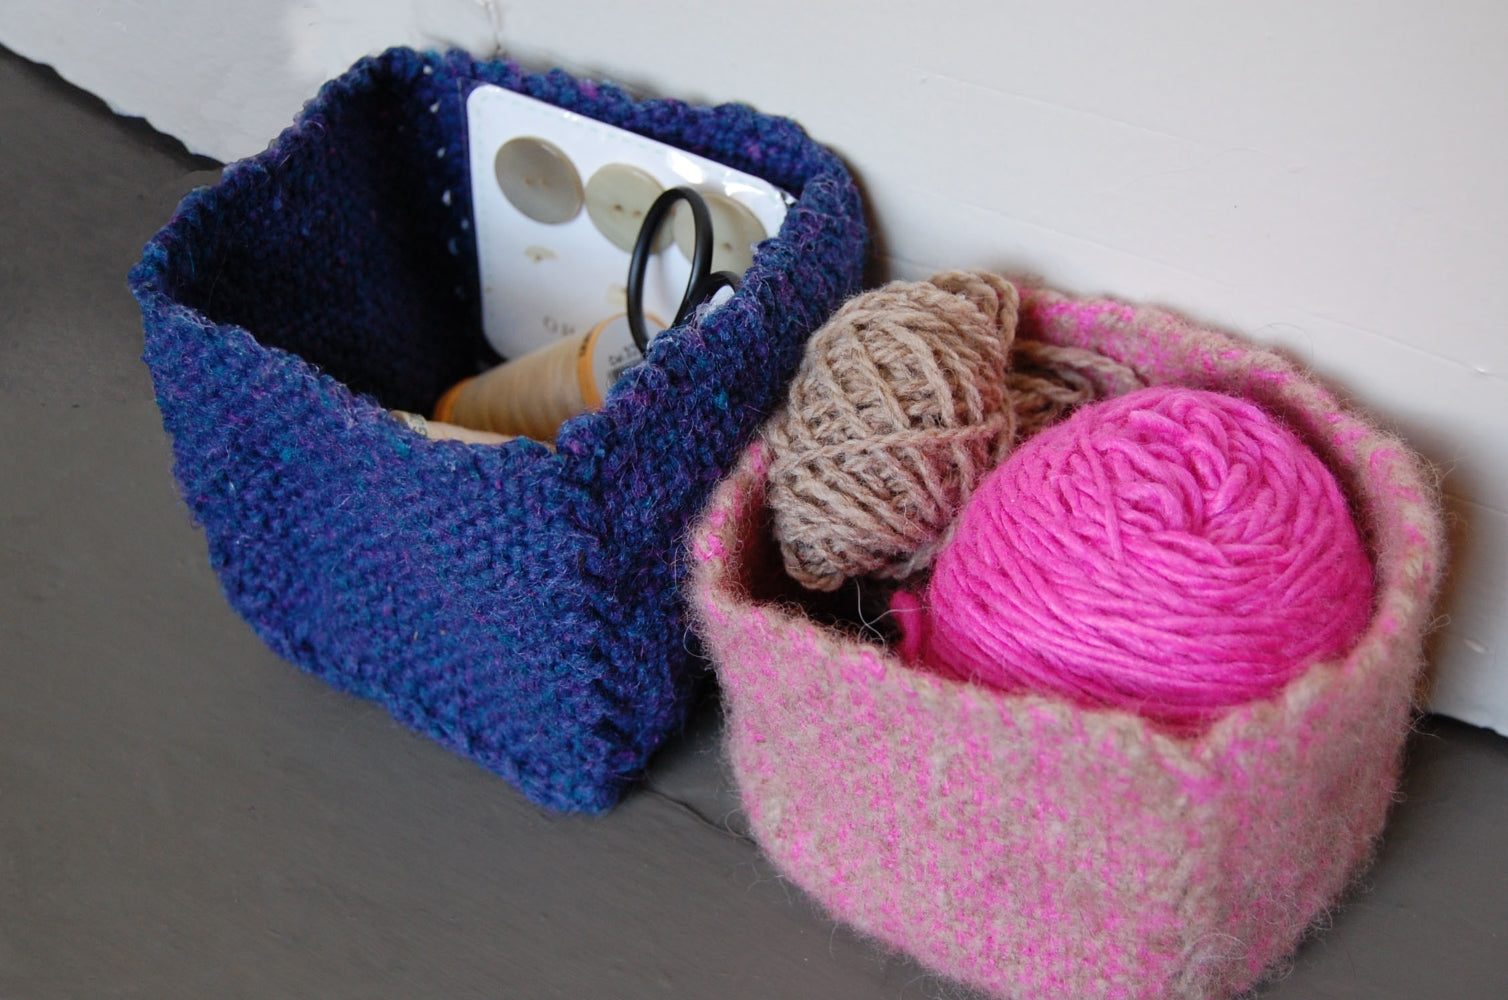
Finishing without a glue bath: Wash and gently full the box in hot water and a bit of soap. Allow to dry, ensuring that the shape holds (a bit of paper stuffed inside may help), then trim your loose ends. I opted to leave the Owl/Silk Blend box as is. It’s a perfect little holder, part box, part bowl, for the bits of yarn that I tend to have on my desk.
Finishing With A Glue Bath
- If you would like to stiffen your fabric so that it will be sturdy enough to hold a wider range of items (mine immediately began to collect things like a tape measure, a couple of spools of thread, and a packet of buttons), give it a bath in a solution of white craft glue and water. This will be a second bath – read on!
- First, wash and gently full the box in hot water and a bit of soap. Let the box dry most of the way, and trim your loose ends.
- While it is still a bit damp (this allows the glue bath to more easily permeate the fibers), combine ½ cup hot water with ½ cup of white craft glue in a bowl (I used a 32oz. yogurt cup). Be sure to stir this well so that the glue and water are completely blended. Immerse and press the box down into the glue solution. Allow it to sit for about 20 minutes, periodically turning it to ensure even coverage. Remove it from the glue bath, press the excess liquid out with your hands, but don’t wring it out. You want enough of the glue to remain so that the box is stiff when it dries.
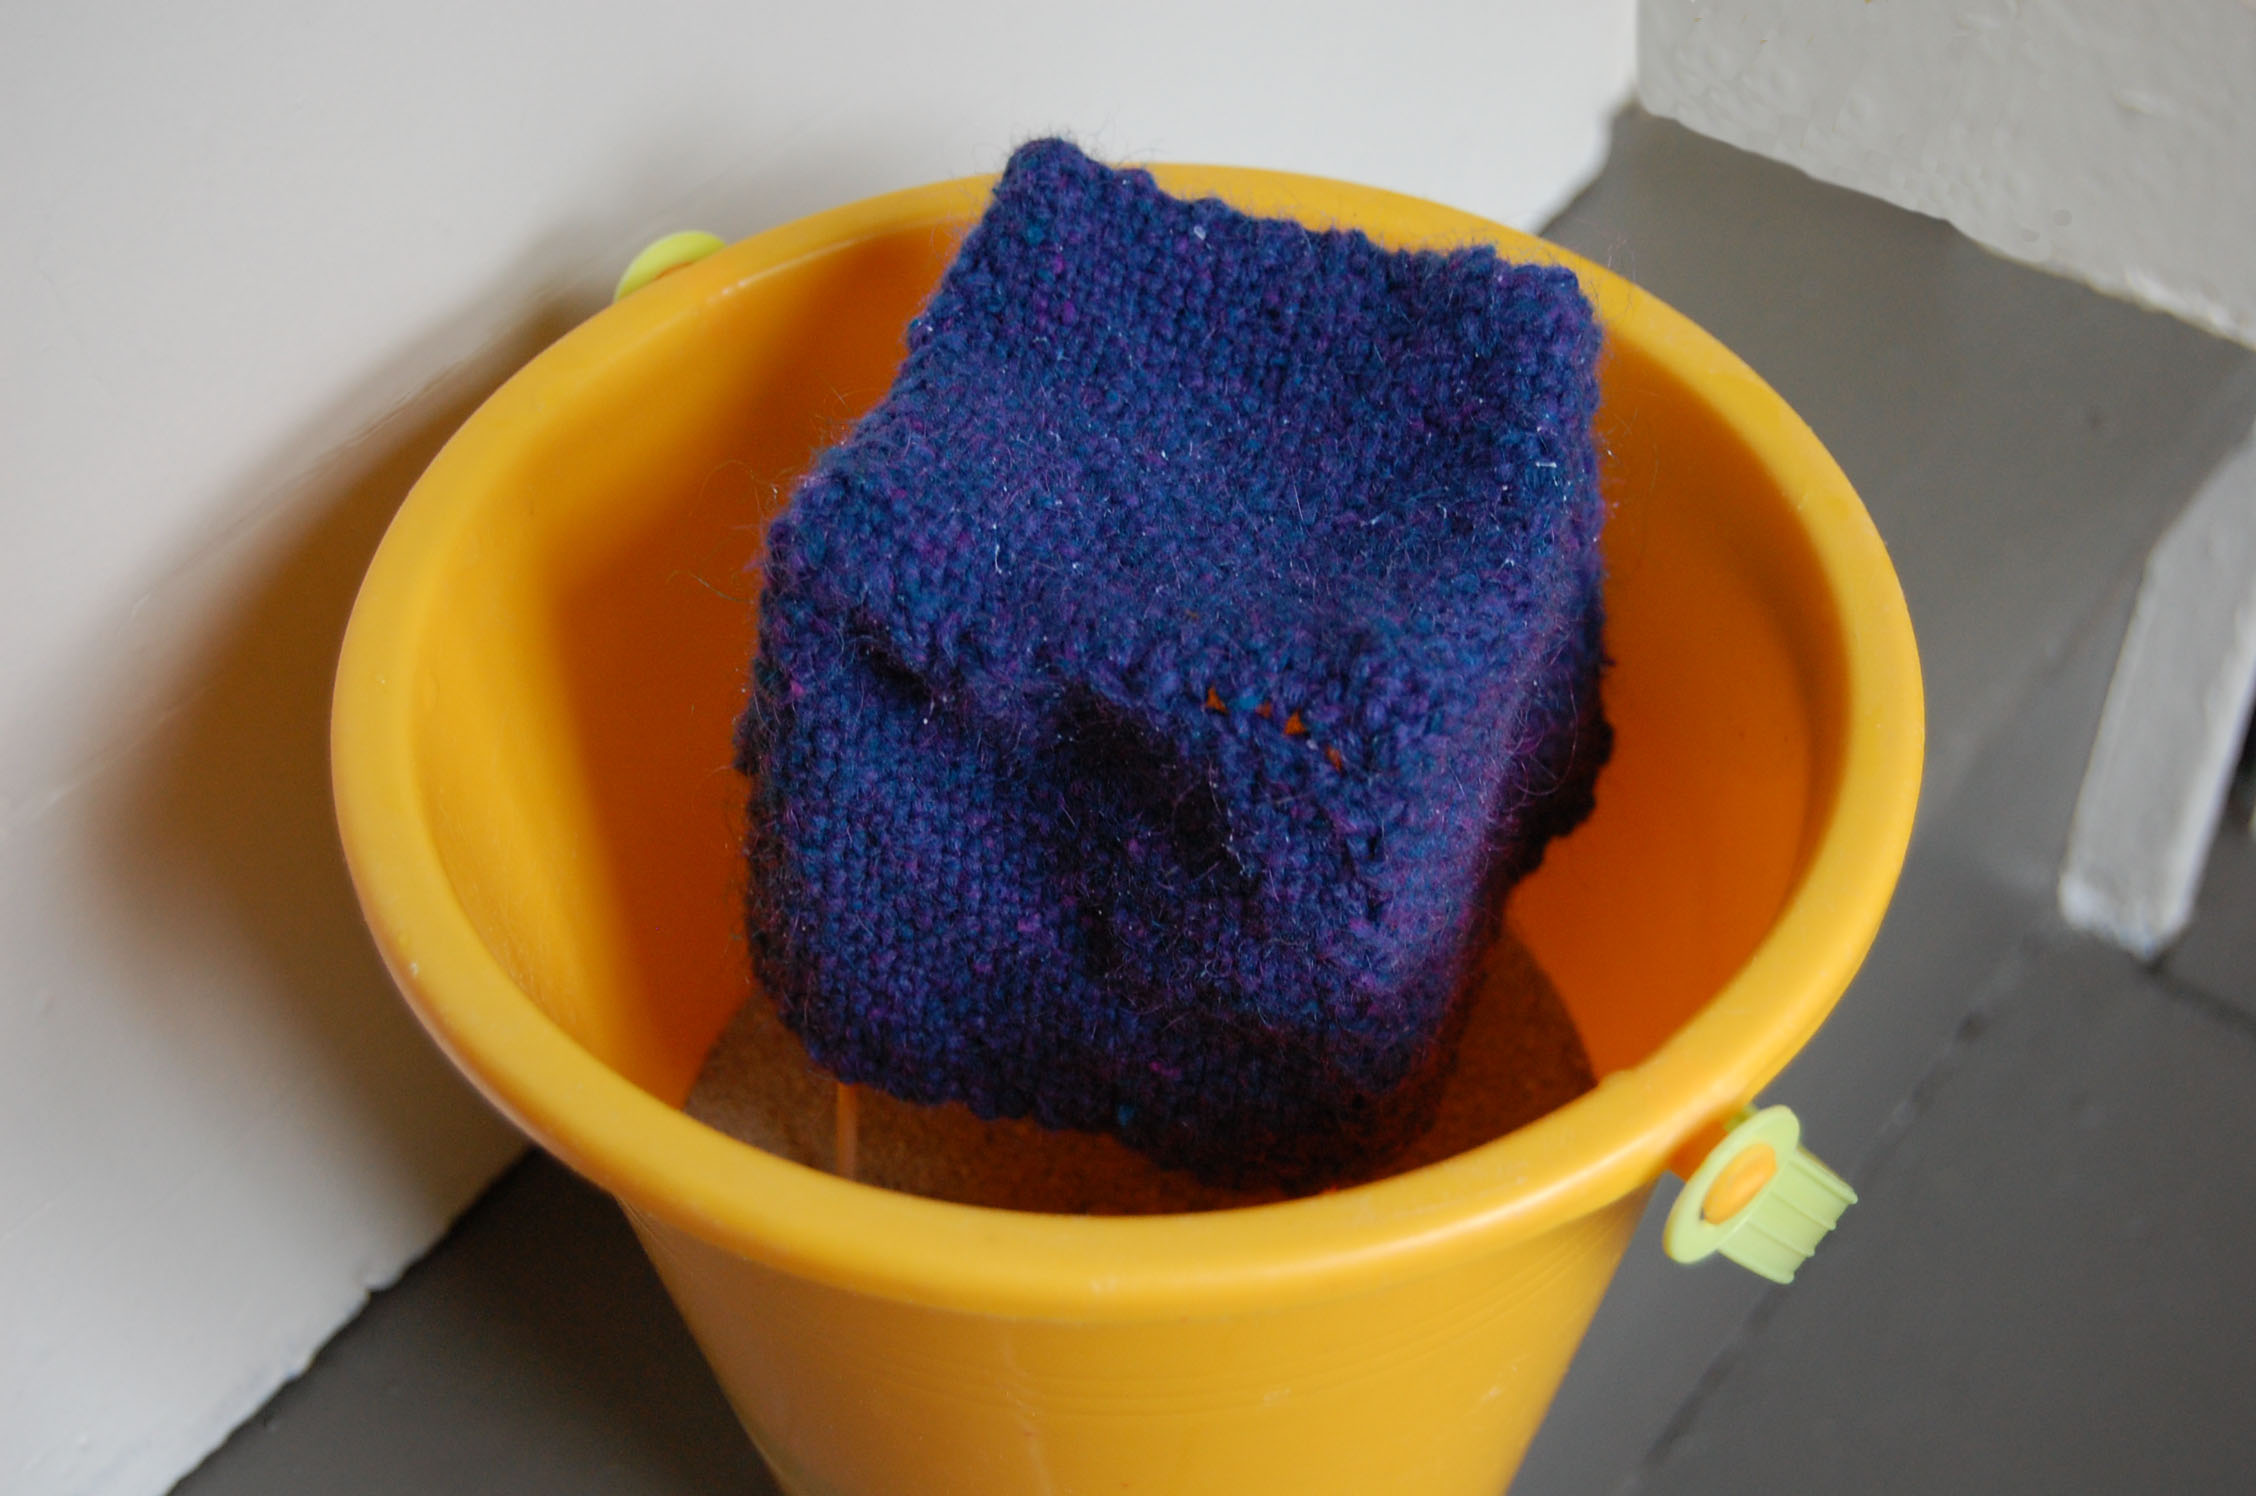
I placed four bamboo skewers in a bucket of sand and inverted the box to hang over the skewers to dry. The sand did a nice job of collecting the glue drops. I had to finagle it a bit so that the skewers didn’t poke through the fabric (make sure that the blunt ends are facing up). Every so often I dabbed at the edge of the box as glue will collect there as it drips down, so try to do this part of the project when you are sure you have a couple of hours to check it every so often. Allow it to dry, and get organized!


