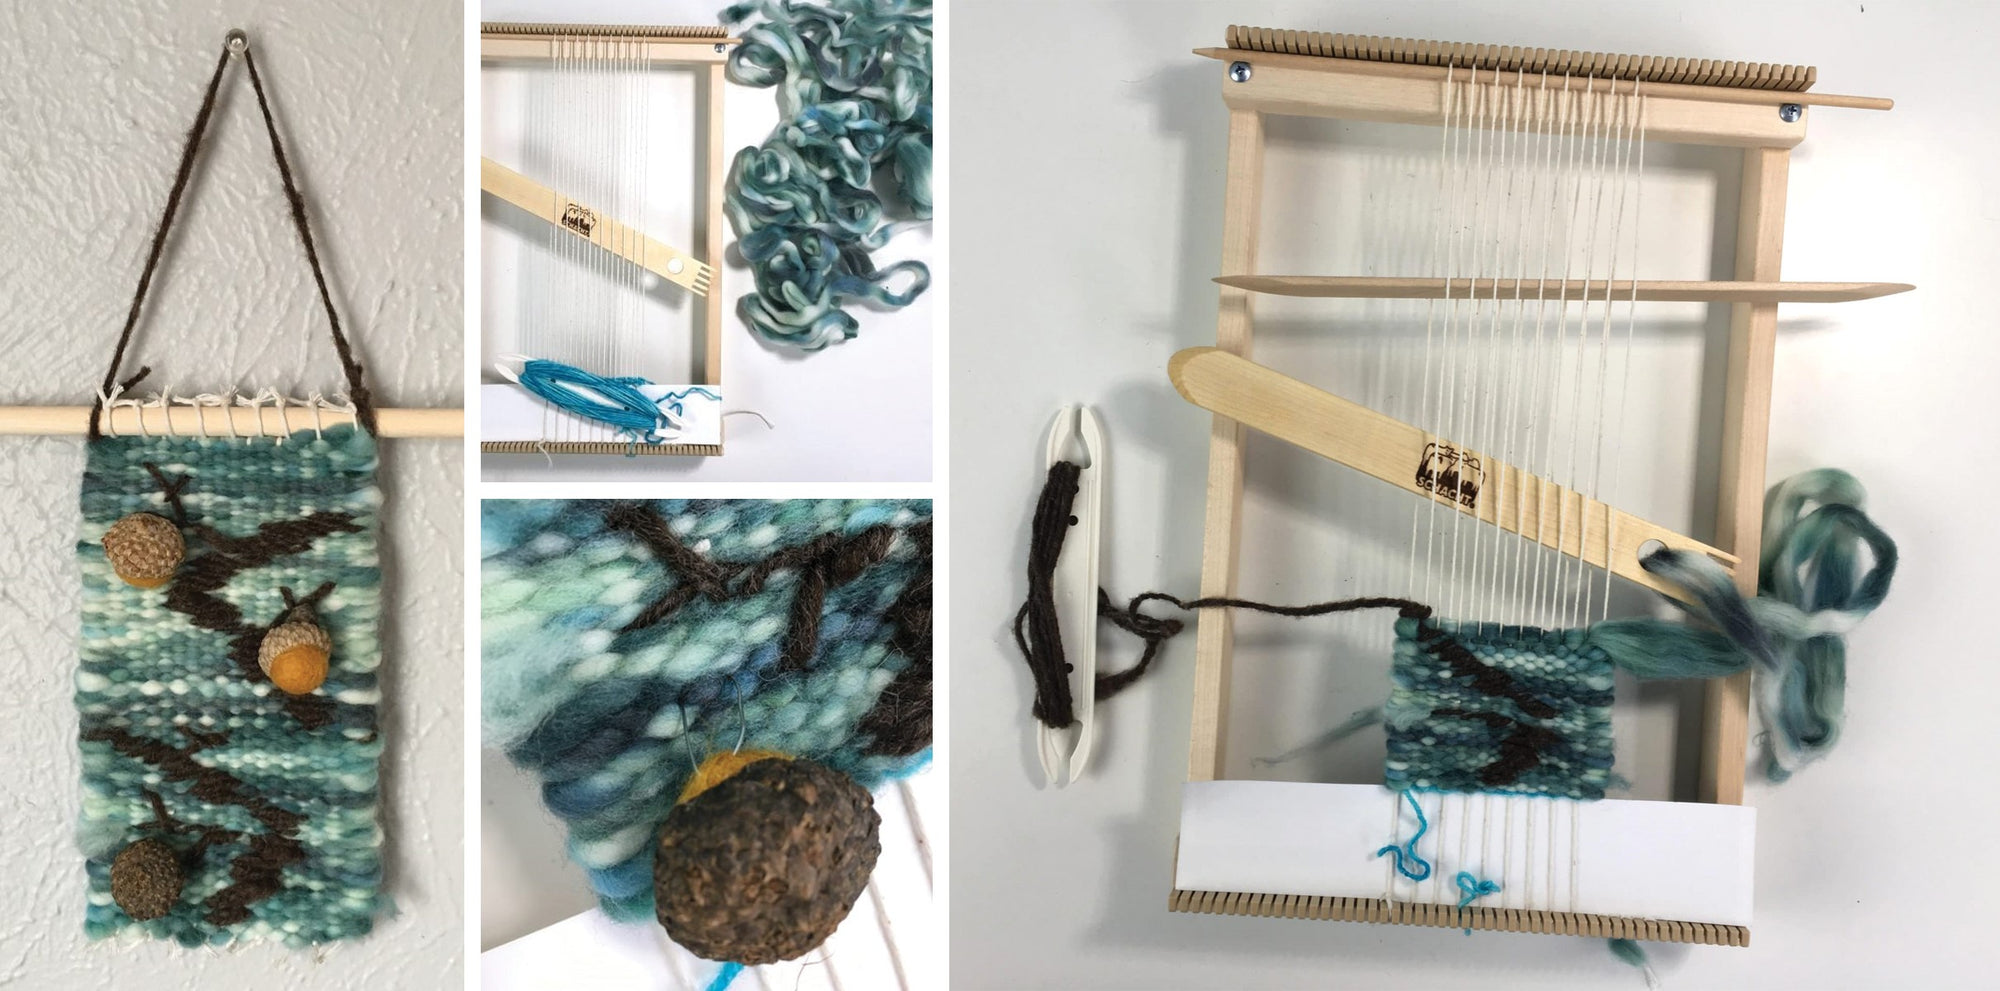
How to Weave an Autumnal Wall Hanging
By Benjamin Krudwig
In our previous post, we taught you how to spin bulky yarn. In this blog post we'll be using it to weave an autumnal-inspired wall hanging. With the textured wall hanging craze going strong, and the love of small looms increasing, we thought this would be the perfect project for our new Lilli Loom.
Try making your own autumnal wall hanging! If you do, let us know on Instagram by tagging us on your posts with the hashtag #schachtspindle.
What You'll Need
-
cotton warp yarn
-
thin roving in a light blue
-
brown textured yarn (what we spun in the previous post)
-
faux acorns (buy them here or make your own)
-
Lilli Loom
-
3-in-1 Magic Stick
Materials
Equipment
Directions
Warp your loom with cotton warp yarn as wide as you want. Our sample is approximately 4 inches wide.
- Insert a 2" header at the beginning (we used a piece of thin cardstock).
- Thread the Magic Stick with thin roving and weave a couple of rows.
In this project, the brown textured yarn is used as a supplemental weft, and will travel up the piece to evoke branches. To do this, pass the supplemental weft through two warp threads from right to left.
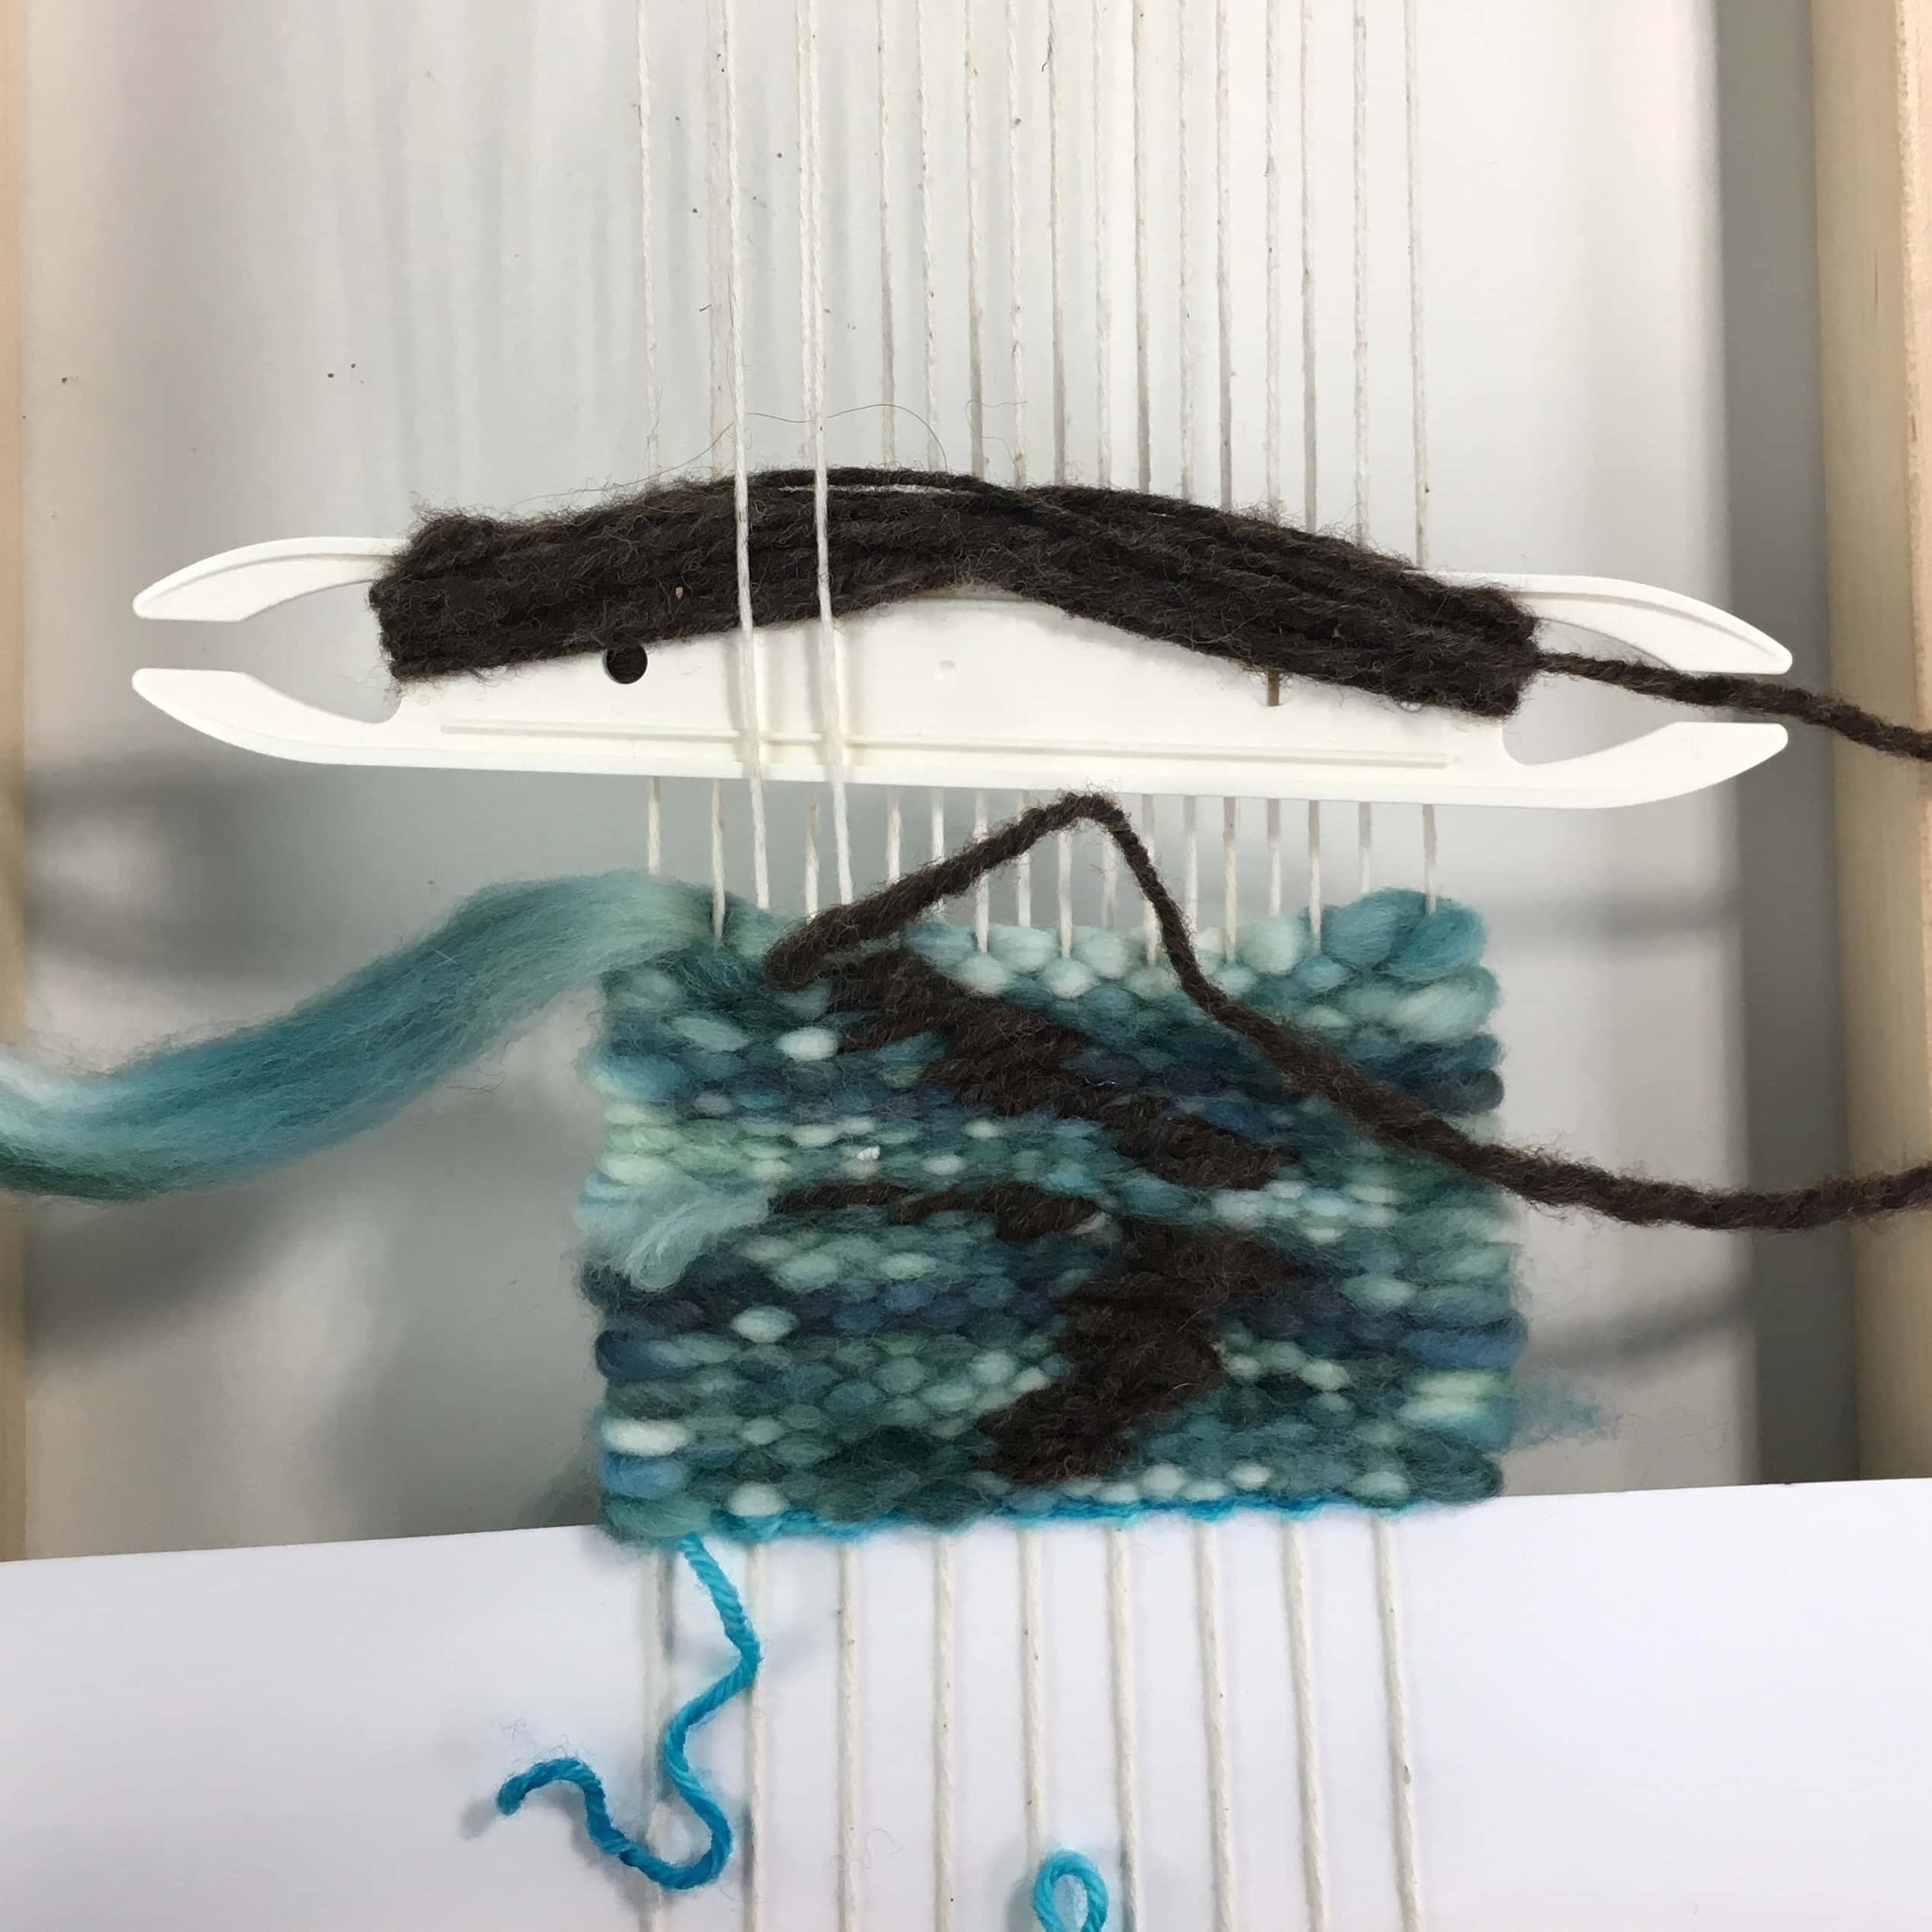
Weave the roving across the whole width.
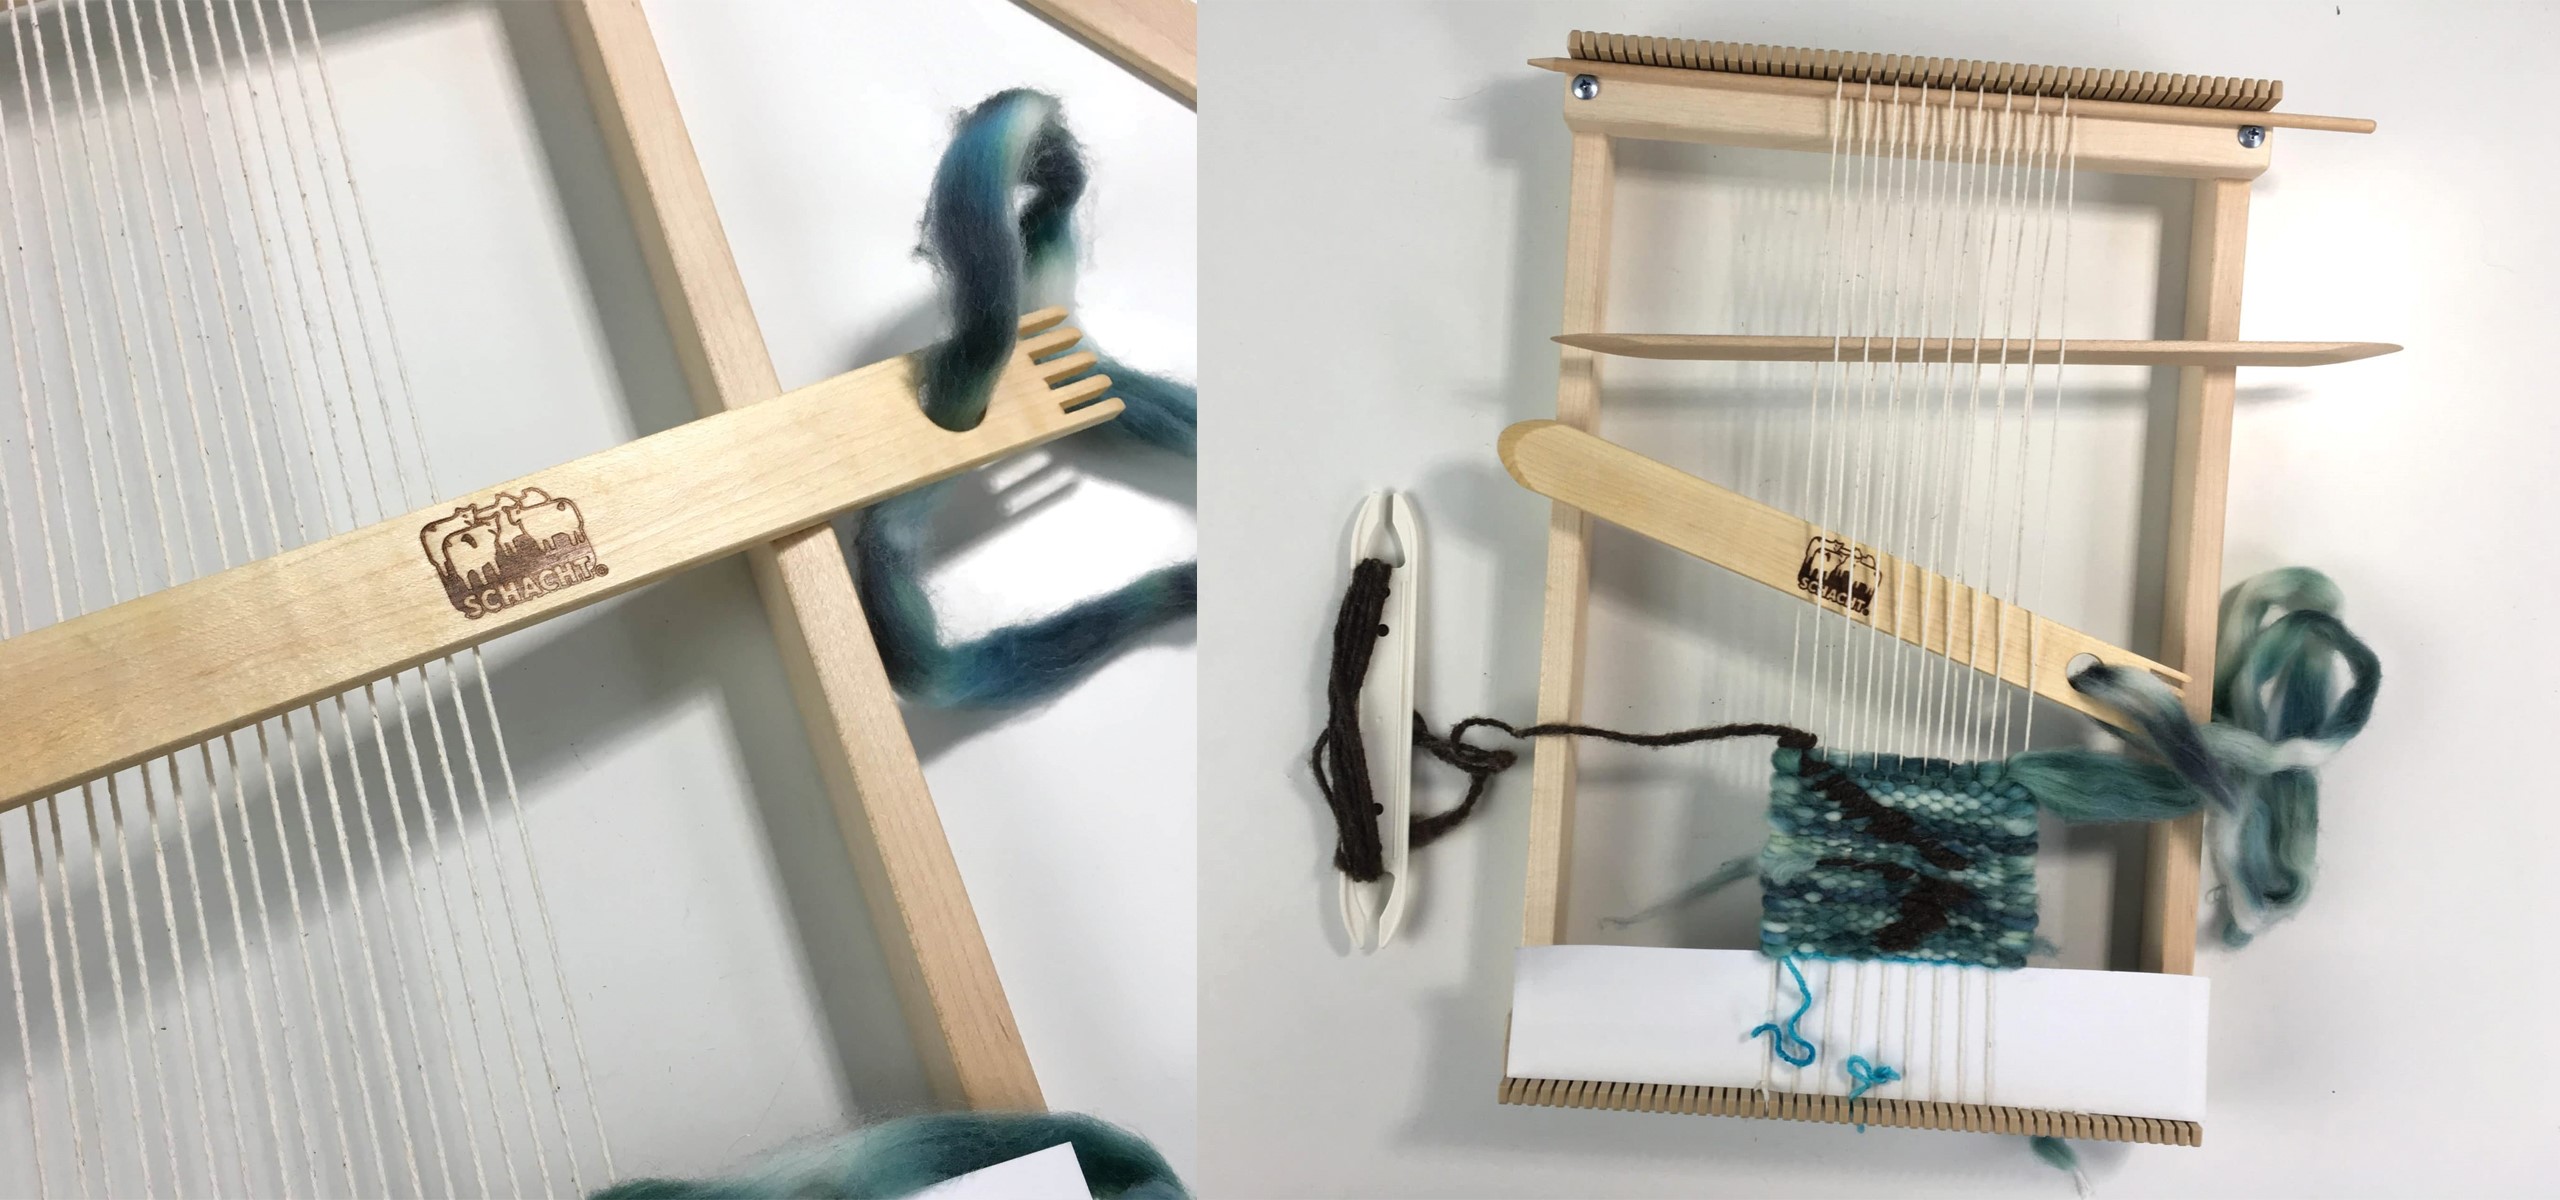
Continue passing the supplemental weft through 2-3 warp threads at a time, always going from the right to the left. This way, the supplemental weft will always be traveling on the top of the weaving, creating a dynamic line. Continue to weave the plain weave background with the roving. This is a freeform way of weaving, so just let the design develop in a pleasing way.
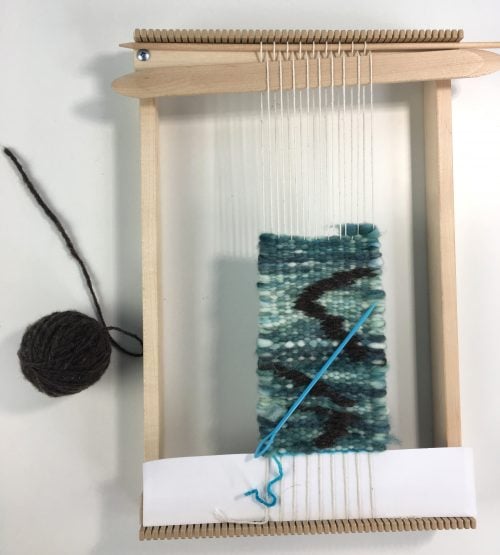
Add side branches to the heavy woven branches by using the weaving needle to sew simple straight stitches.
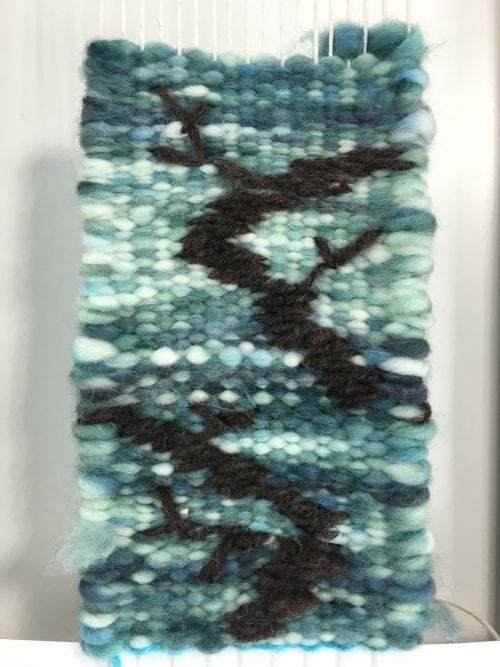
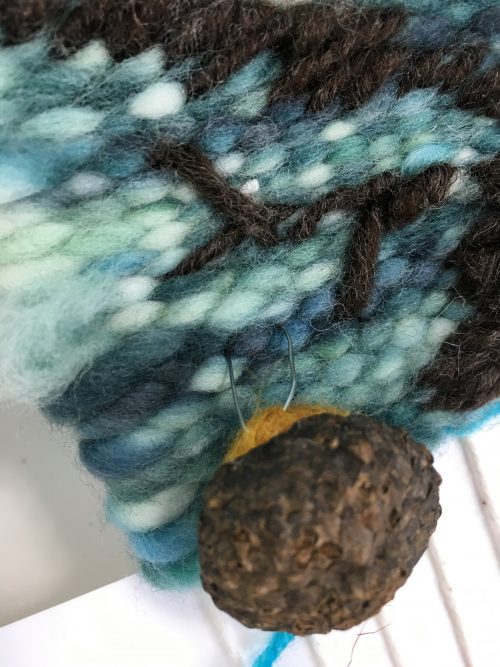
Use 3 or more acorns and attach them to the fabric with short pieces of thin wire or sewing thread.
After all of the embellishing is finished, insert a dowel.
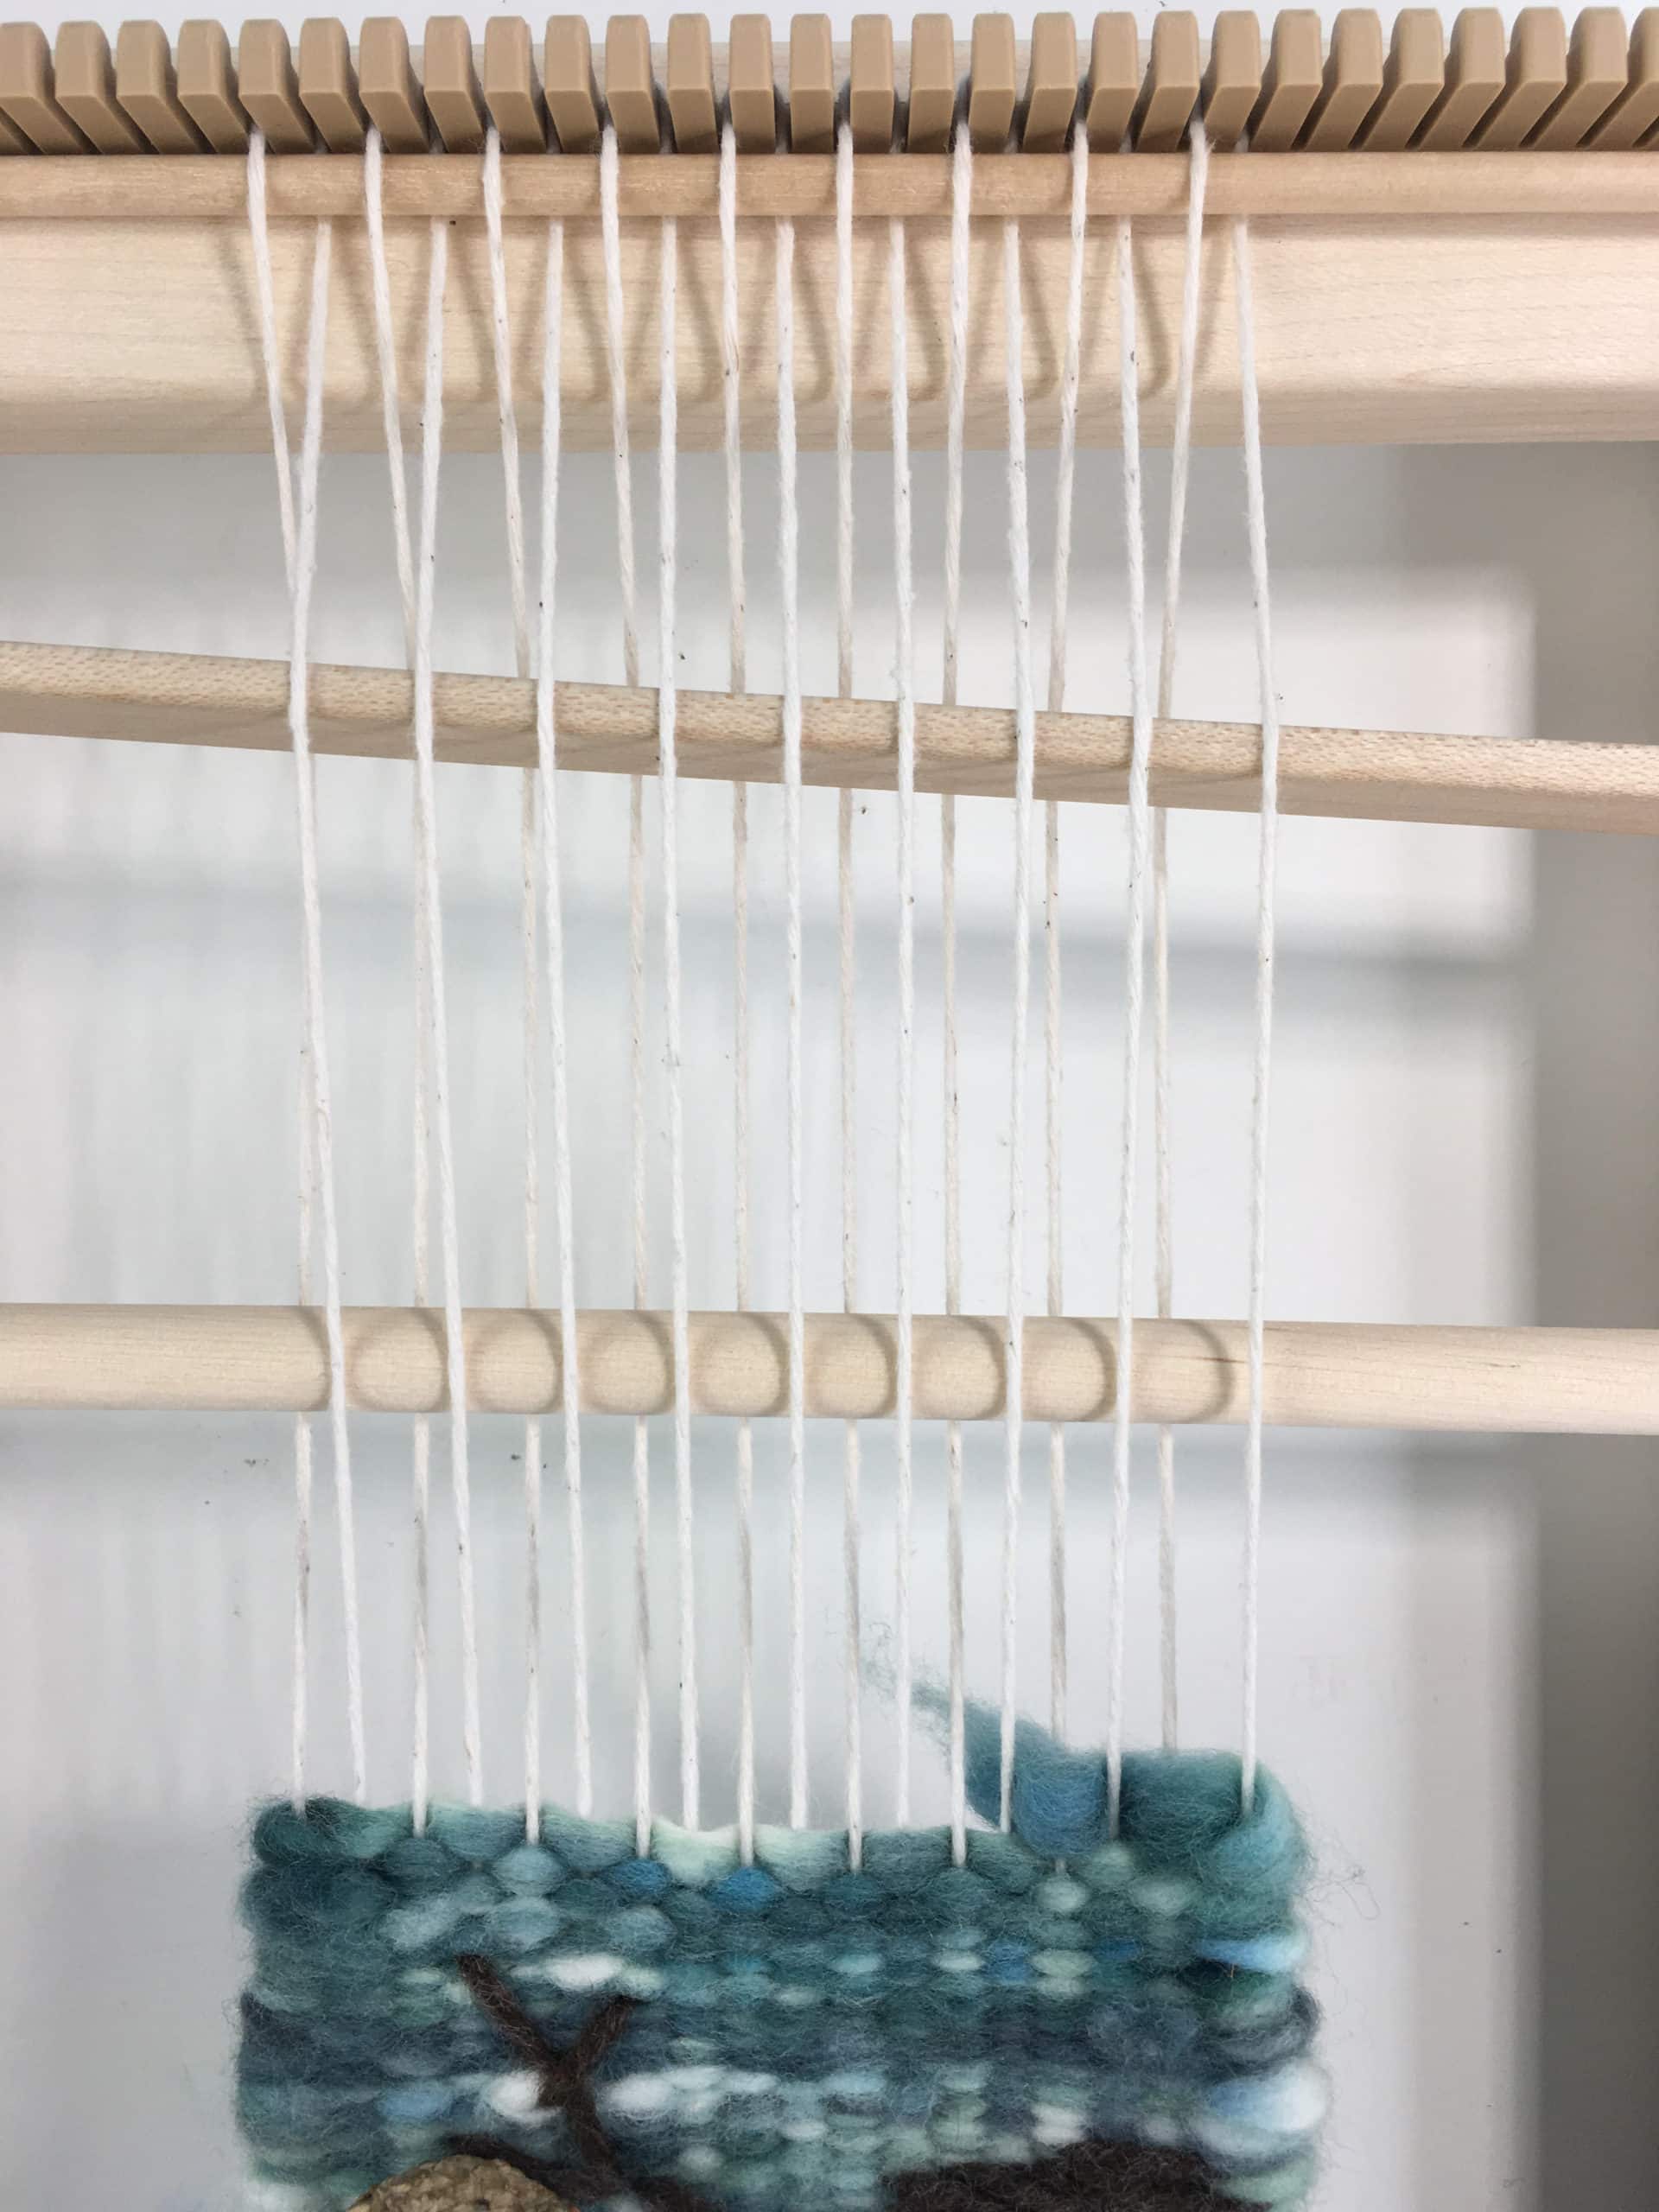
Start snipping and tying the warp threads to the dowel.
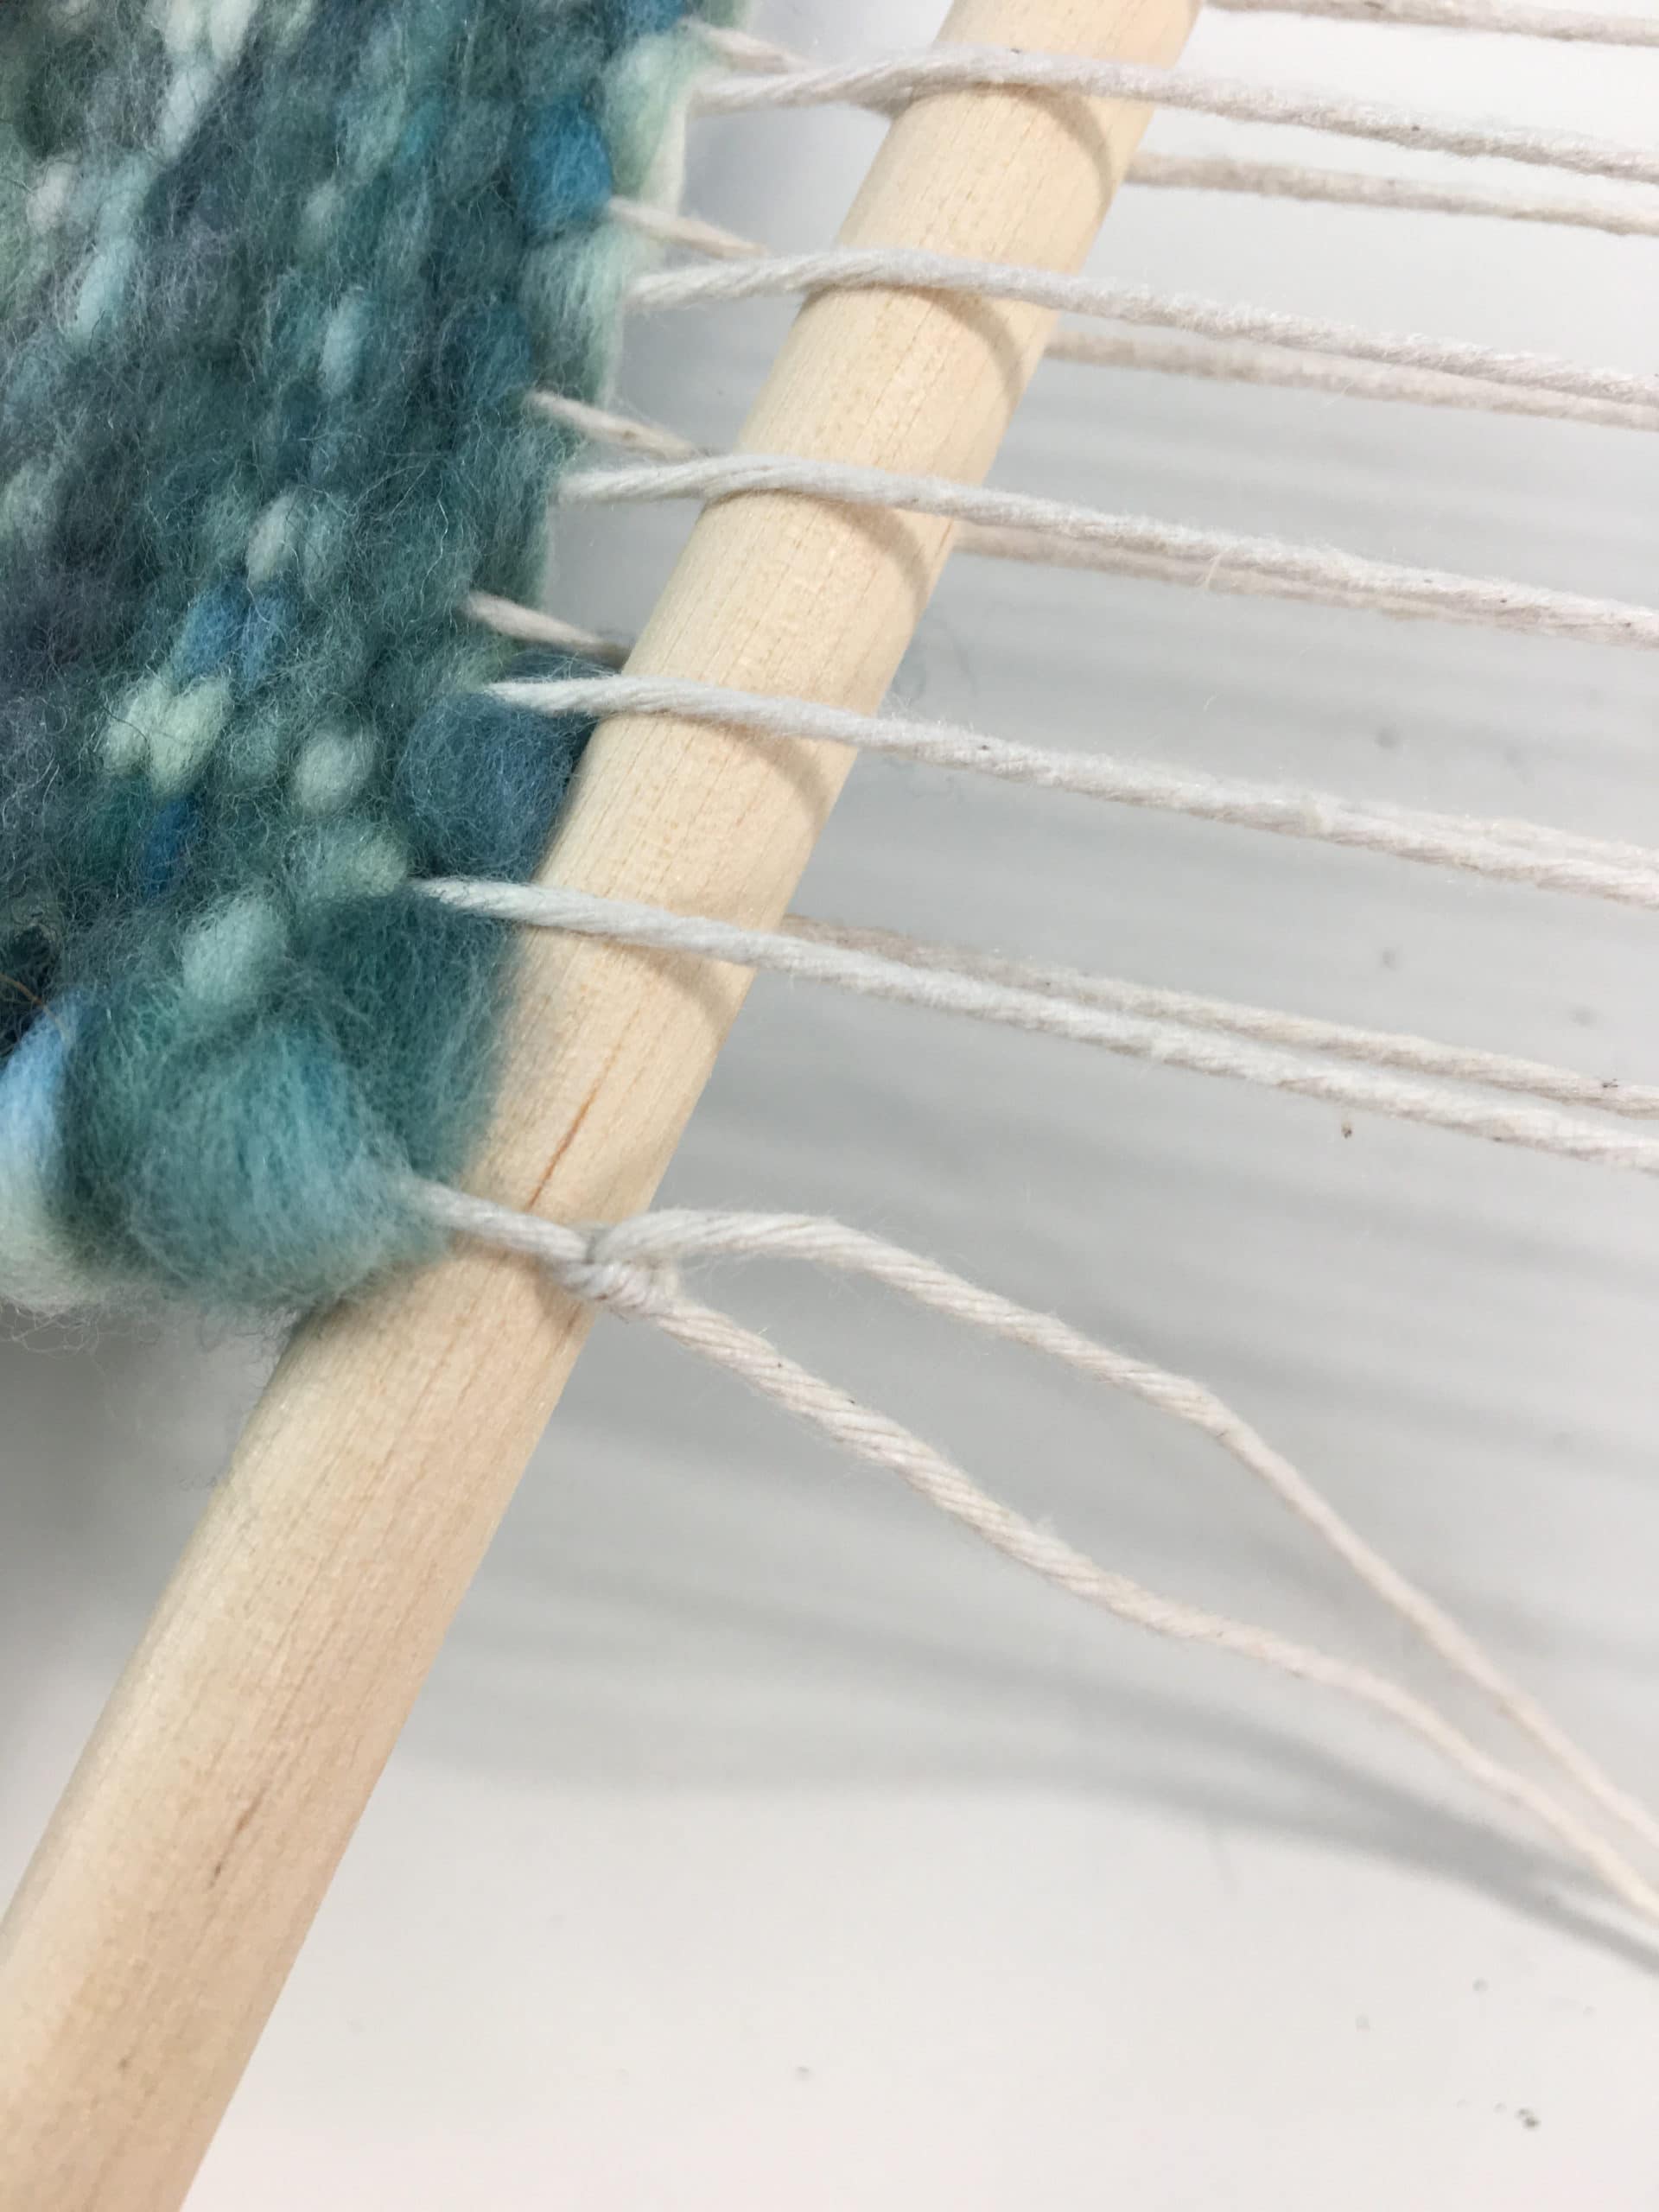
Remove the project from the loom and tie the bottom threads together in knots to secure the first couple of rows.

