Raffia Placemats and (bonus!) Drink Coasters
By Melissa Ludden Hankens
This summer placemat project uses raffia to create lightweight and durable mats that will brighten up your table, whether you choose to dine inside or out.
True raffia is made from strips of a type of palm tree that grows in Madagascar. For this project, I used a rayon version that came in 100 yard spools purchased from Paper Mart. It comes in 28 different colors, and is affordable at just a few dollars per spool. I used #57 oatmeal and #72 navy.
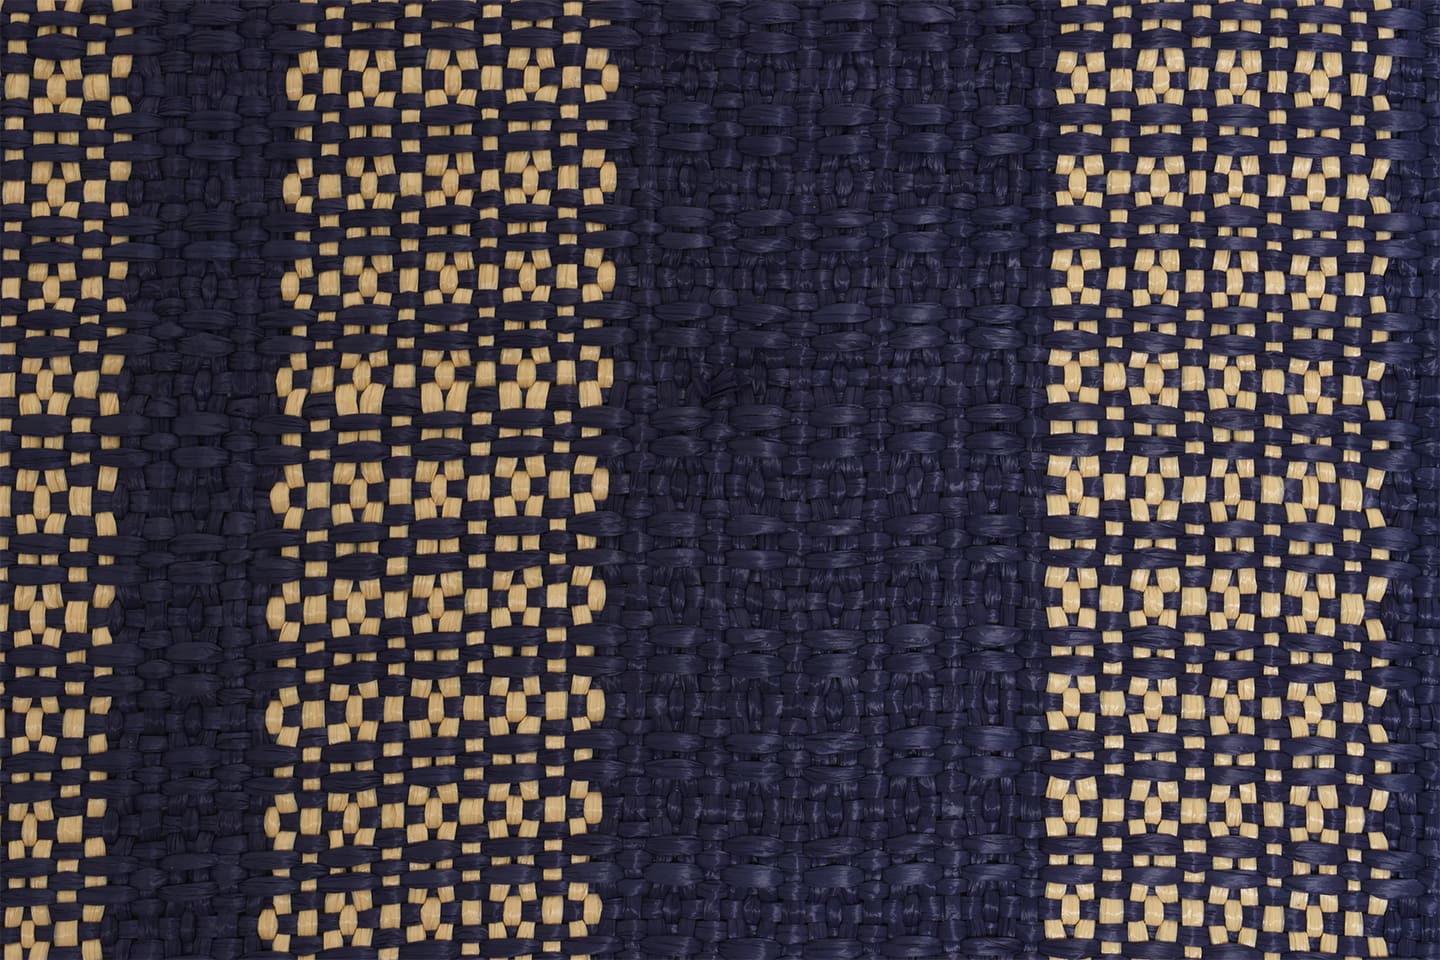
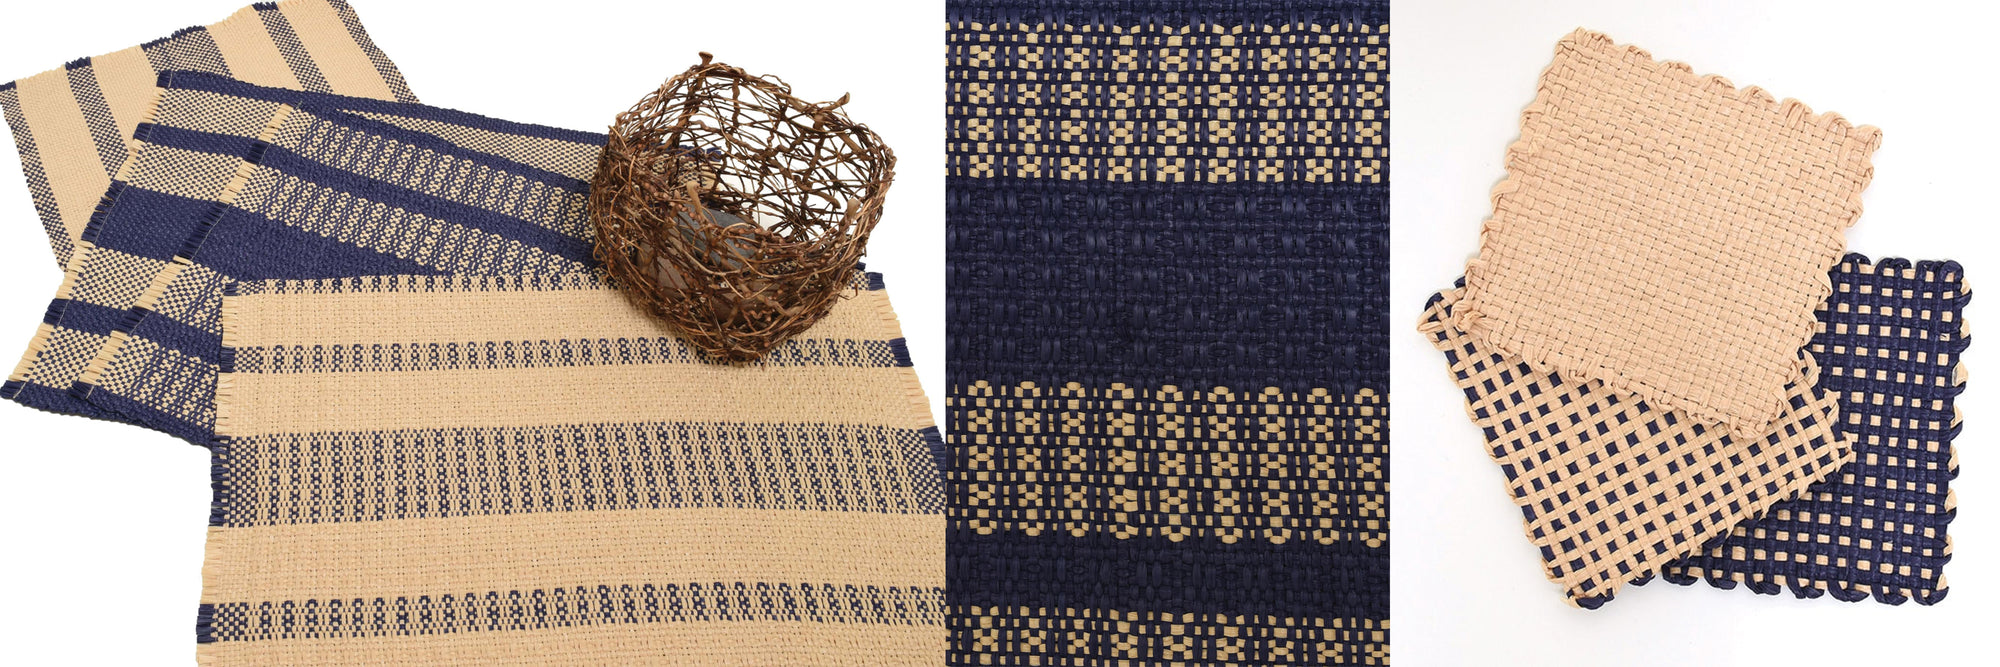
I warped my 20” Flip rigid heddle loom in a striped pattern. Two of the placemats are plain weave, one using oatmeal weft and the other using navy, and two of them are patterned, again one woven with oatmeal weft and the other with navy. This results in four different mats. You might consider referencing Jane Patrick’s wonderful book, The Weaver’s Idea Book, for other pattern ideas using pick-up sticks or color and weave.
Project Specs
Weave structure: plain weave, plain weave with pick-up
Finished size: four 14-1/2" x 20" placemats
Warp length: 110"
Number of warp ends: 116, 50 navy and 66 oatmeal
Width in reed:14-3/4"
EPI:8
What You'll Need
-
400 yards each of navy and oatmeal raffia yarn
-
15” Flip rigid heddle loom
-
8 dent reed
-
stick shuttle
-
pick-up stick
-
sewing machine
-
Zoom Loom for bonus coasters
Materials
Equipment
Directions
Warping
I warped my loom with a 100” warp assuming 17” of waste (my typical waste length for this loom) and 3” of take-up. My fourth placemat was 5” too short. For this reason, I am recommending a 110” warp for four placemats. Thank goodness I’m part of a family of three!
Warp color order: 6 ends navy / 16 ends oatmeal / 8 ends navy / 17 ends oatmeal / 22 ends navy / 17 ends oatmeal / 8 ends navy / 16 ends oatmeal / 6 ends navy
Weaving
If you are weaving different placemats, you will want to measure your fabric as you weave. These placemats are designed to have a ½” fringe at each end, so you should have 19” of woven fabric which can be measured as you weave using a piece of cut yarn (or raffia!) pinned along the selvedge. I insert a pick-up stick in the warp between mats to create space/future fringe, removing the stick only after weaving a couple of inches of the new mat.
Weave placemat #1 in plain weave using oatmeal raffia. Weave placemat #2 in plain weave using navy raffia. Weave placemat #3 in pick-up with oatmeal raffia. Weave placemat #4 in pick-up with navy raffia.
For placemats 3 and 4 which are woven in a weft pick-up pattern, begin by weaving 1” (8 picks) plain weave. Then weave 17” using the following pick-up pattern. You’ll see different patterns on the two sides—here’s the “right” side.
Note: Insert the pick-up stick while your heddle is in the down position. You are controlling the threads in the slots to create this pattern. Insert the pick-up stick one up, one down, across the width of your weaving.

Pick-up pattern
Up
Pick-up stick (shed is closed, pick-up stick is turned on edge)
Up
Pick-up stick (shed is closed, pick-up stick is turned on edge)
Up
Down
Weave 1” plain weave to finish. Insert another pick-up stick in the warp to create a separation before you begin weaving the next placemat. You can also cut a 1” x 17” piece of heavy cardboard to serve as a spacer.
Finishing
- Remove your mats from the loom. Using a sewing machine and thread of your choice, sew a straight line along the edges of each placemat before cutting them apart. The raffia can be slippery, so you may find it easier to cut the placemats apart as you go. Just be sure that both edges to the left and the right of where you cut the mats apart have been sewn.
I washed my placemats and coasters in cool water with just a dash of soap to flatten them out. Once rinsed, I pressed the water out between two towels and dried them on a flat surface. Happy weaving!
Bonus Coasters
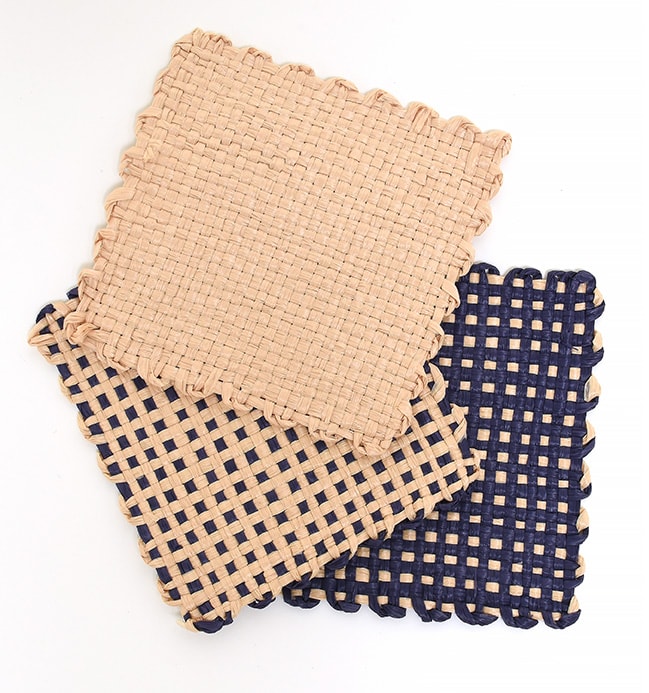
Since I had a bit of raffia left over, I used my Zoom Loom to create four accompanying coasters. One plain weave oatmeal, one plain weave navy, one warped oatmeal and woven with navy, and one warped with navy and woven with oatmeal. Schacht provides an excellent instructional video on how to weave with the Zoom Loom. To warp with one color and weave with another, I simply warped the loom, cut the end leaving a 4” tail, and secured this end to the underside of the loom with a bit of tape. I then measured the five wraps of weft in the other color, taped the starting edge to the underside of the loom, and began to weave. At the end, I had four tails to weave in. As raffia does not have any stretch, you will want to warp your loom loosely. I found that using the second shorter needle to help guide the longer needle through the last few picks was helpful.


