Cat Phone Pillow
Designed and woven by Margaret Stump
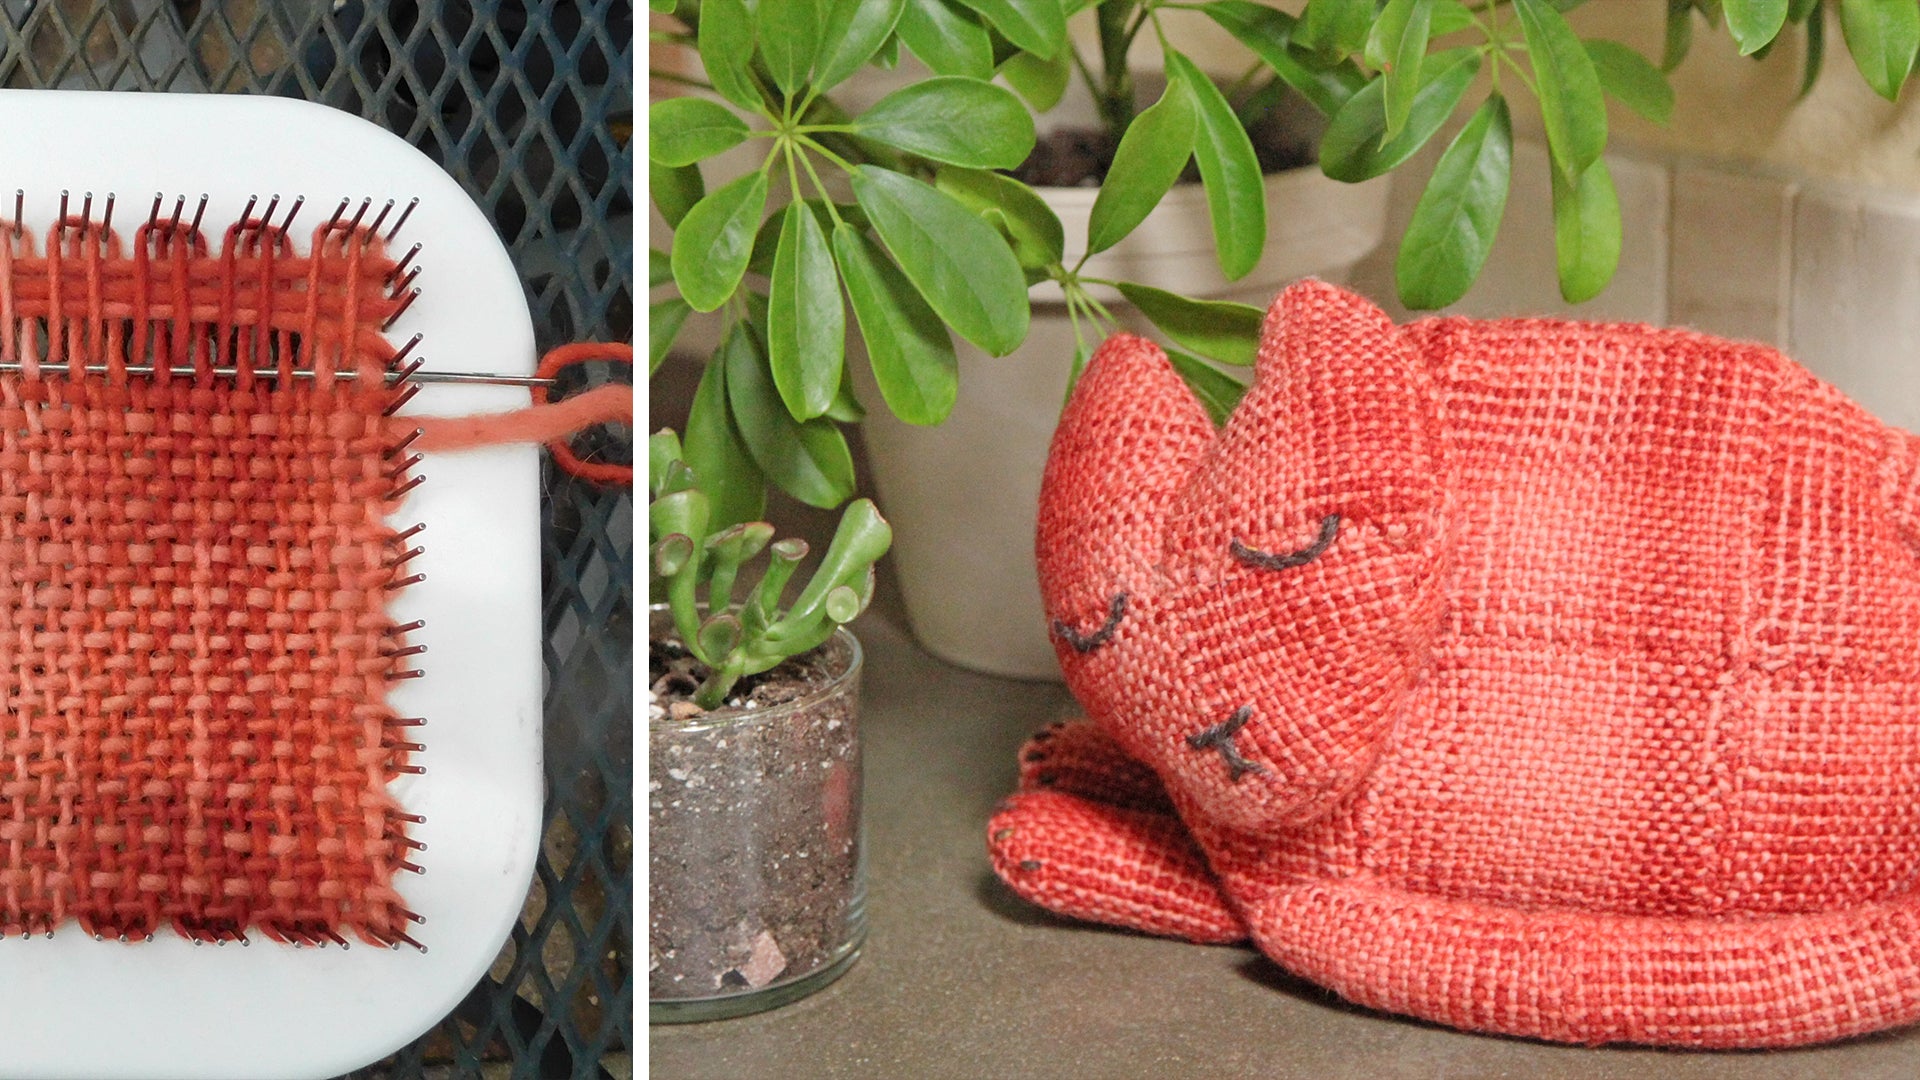
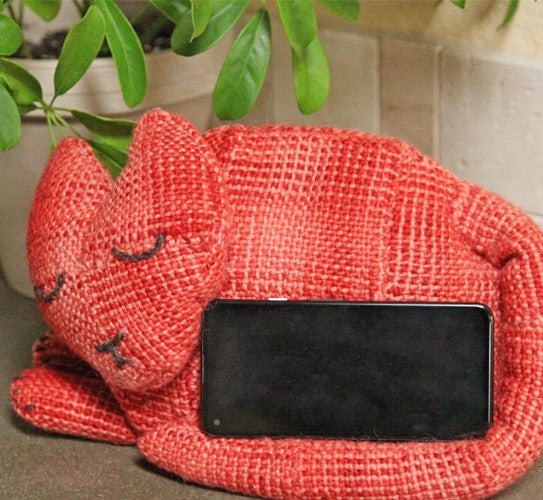
For some time now, I have wanted to create the perfect phone pillow—one that didn't look like a weird pyramid but still did the job of comfortably propping up a phone. Since I am in love with all things Zoom Loom, I knew that I would be making it with 4" squares. My Cat Phone Pillow became a great opportunity to build a three-dimensional soft structure with pin loom squares.
I used a variegated color of Lamb's Pride because of its lustrous quality on the Zoom Loom and the way the variegations echo my own cat. My orange tabby, Cheeto, served as inspiration for this pillow and I have to admit that the Zoom Loom version makes a much more patient phone pillow than she does. The Cat Phone Pillow also works extremely well for cuddling or supporting your head while you watch movies on the couch.
Project Specs
Finished size: 12" wide x 8" high x 5" deep
Weave structure: plain weave
What You'll Need
- Brown Sheep Lamb's Pride Worsted, 300 yards Spiced Gingerbread for weaving and seaming squares
- brown worsted weight yarn for embroidery—I used less than 1 yard of Patons Classic Wool Worsted
- polyester stuffing
- 8 ounces polyester beads or beans to add weight to the bottom of the pillow
- scrap fabric at least 10" wide and matching sewing thread
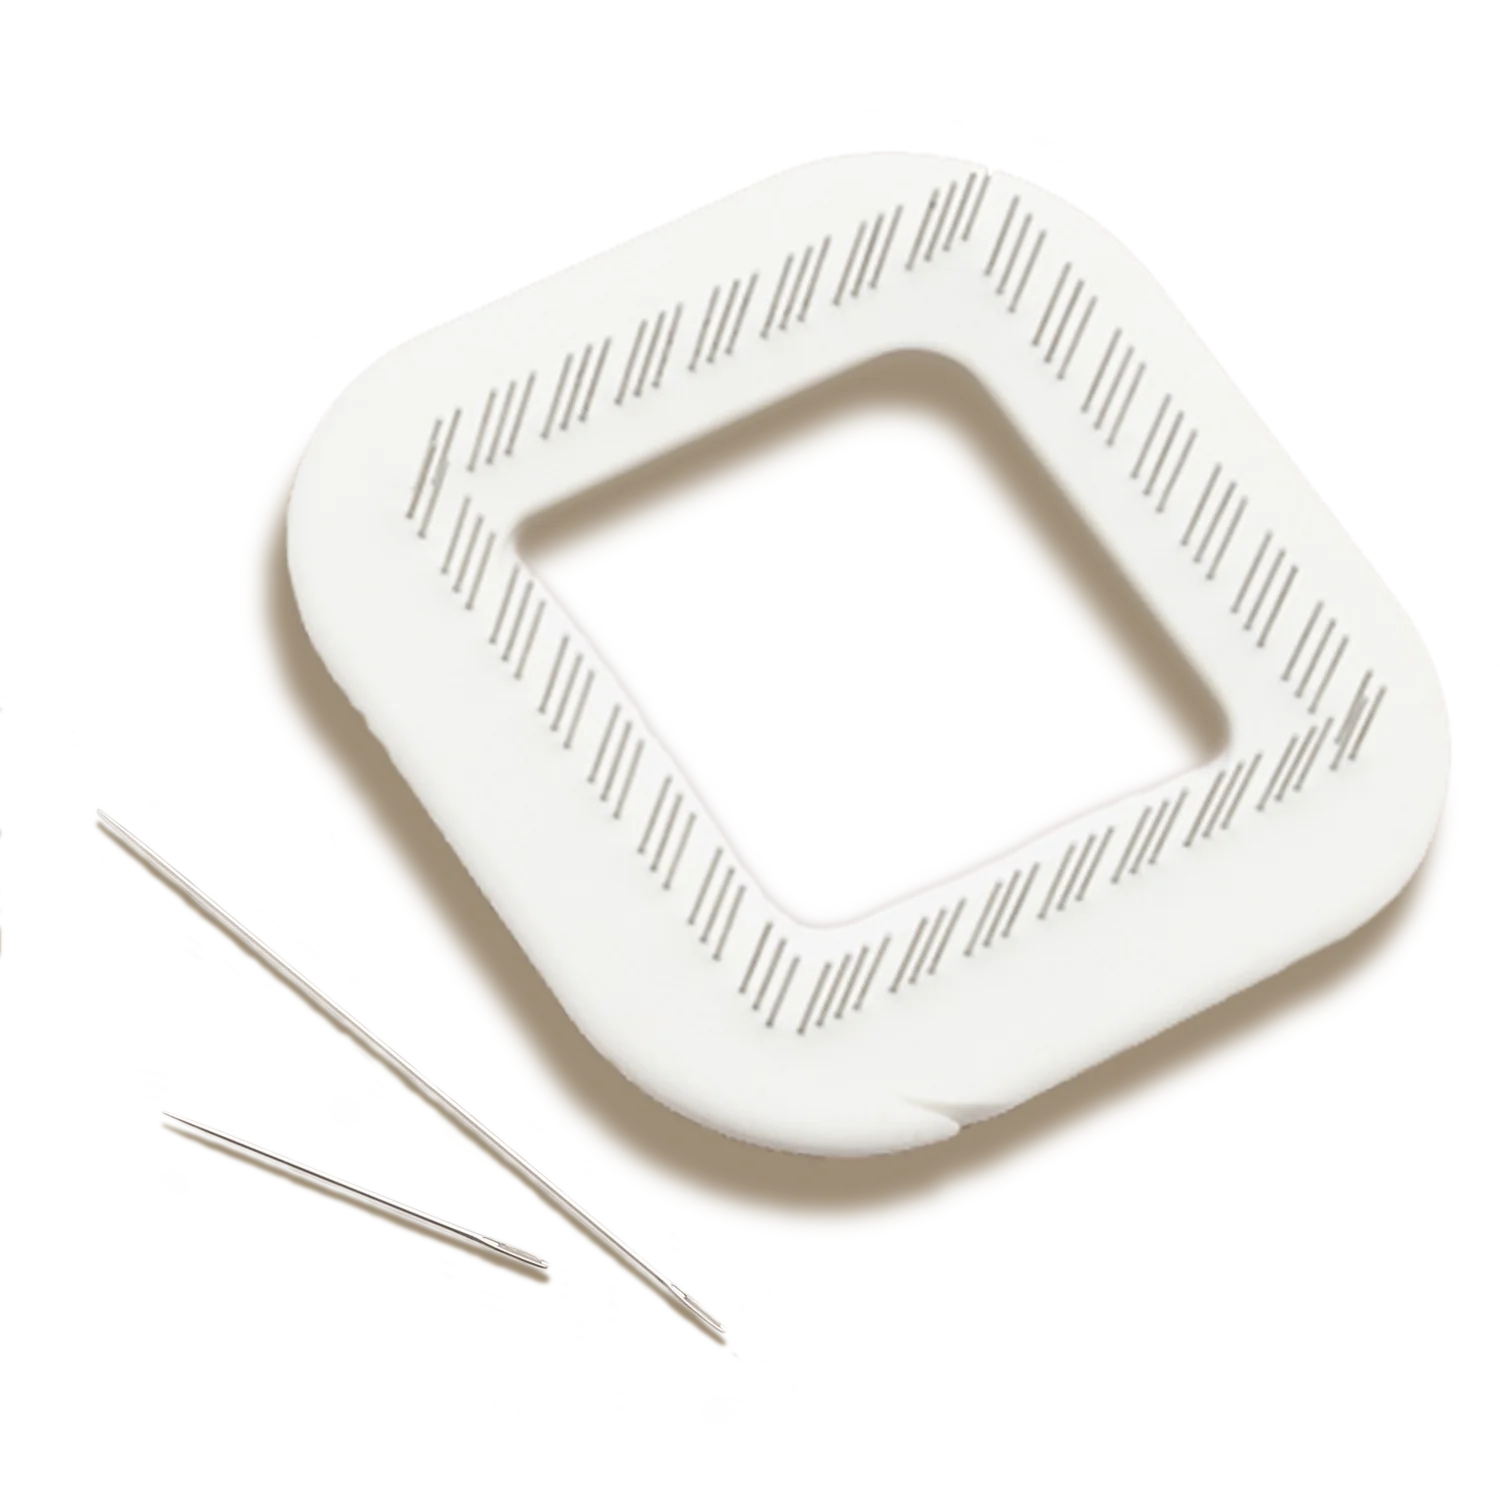
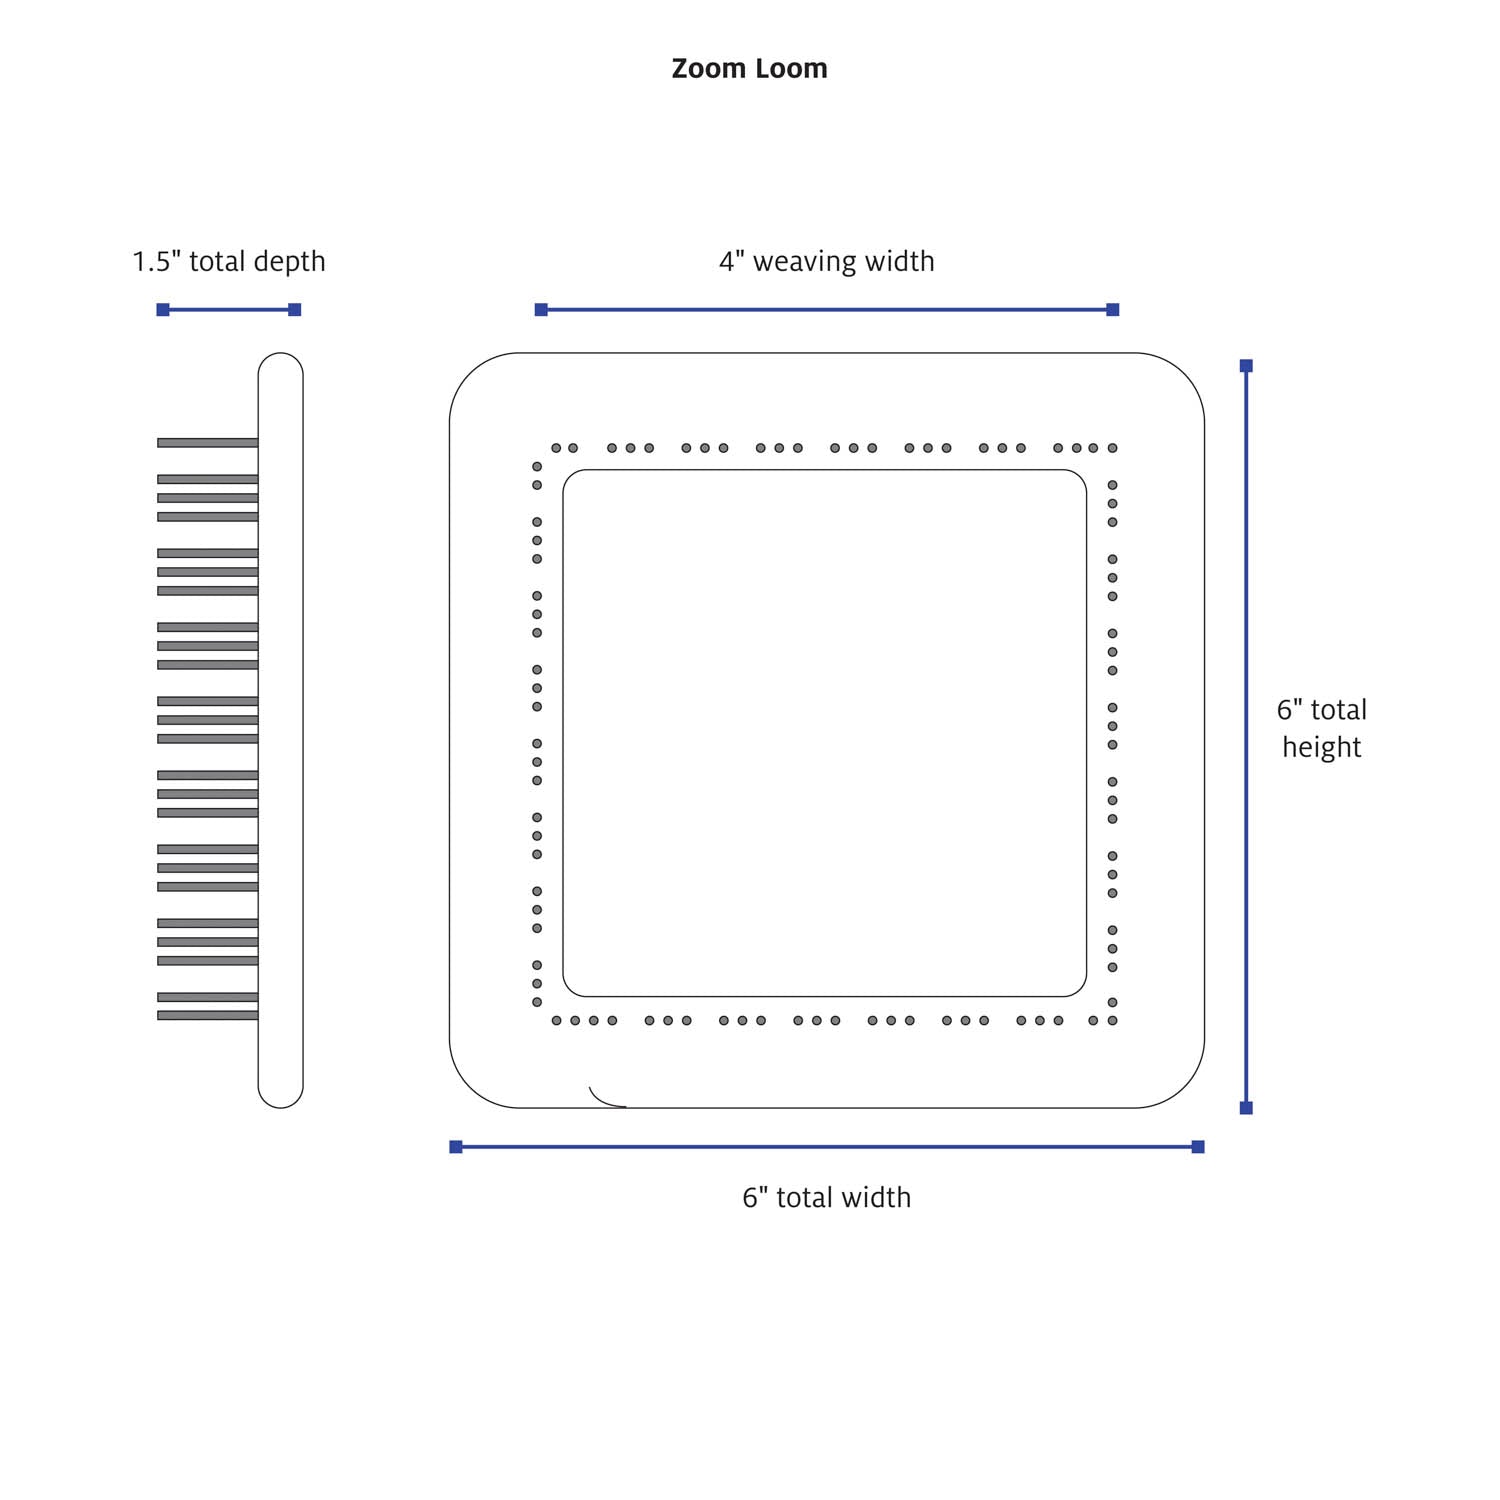
- Zoom Loom
- comb or fork to beat
-
tapestry needle
- G-6 (4.0 mm) crochet hook (optional for seaming)
- sewing pins or clips
Materials
Equipment
Directions
Weaving
Following the Zoom Loom instructions, weave 33 squares in Spiced Gingerbread in a plain weave.
This is my favorite part of the project. I have made blankets and all sorts of other projects over the years just because I like weaving the squares so much. Here are a couple suggestions that I think make producing the squares easier and more fun:
Use a fork or some other small beater after you weave each row. This can feel like a waste of time but the smoother weaving process makes it worth it.
When you finish a square, weave the tails back in to the fabric while it's on the loom. Clip both ends off. This leaves you with a perfectly clean square, ready for the next step.
Stack up your squares all facing the same way—you will find that joining them goes more smoothly as well.
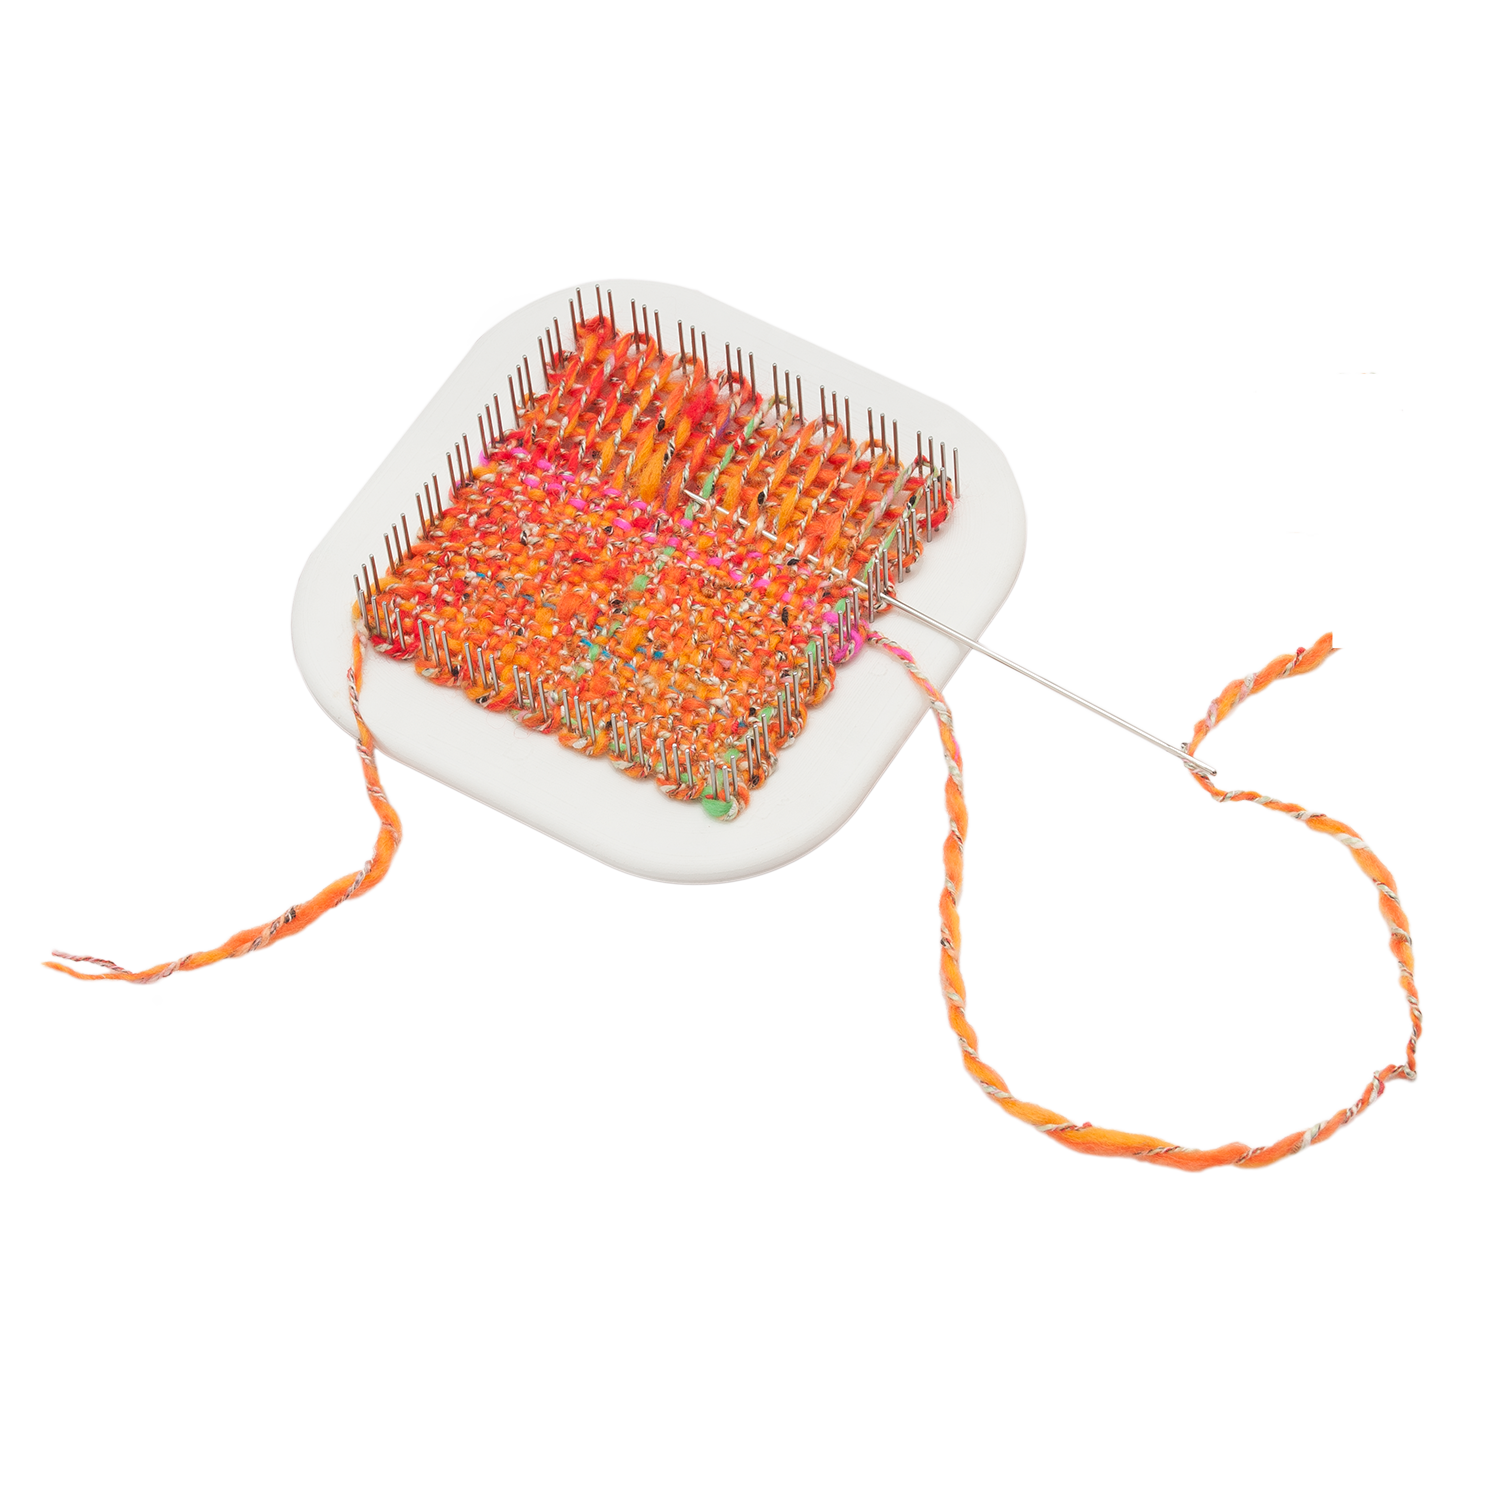
Weaving on a Zoom Loom with a variegated yarn opens up the opportunity for somewhat random and lively patterns.
Sew the Body
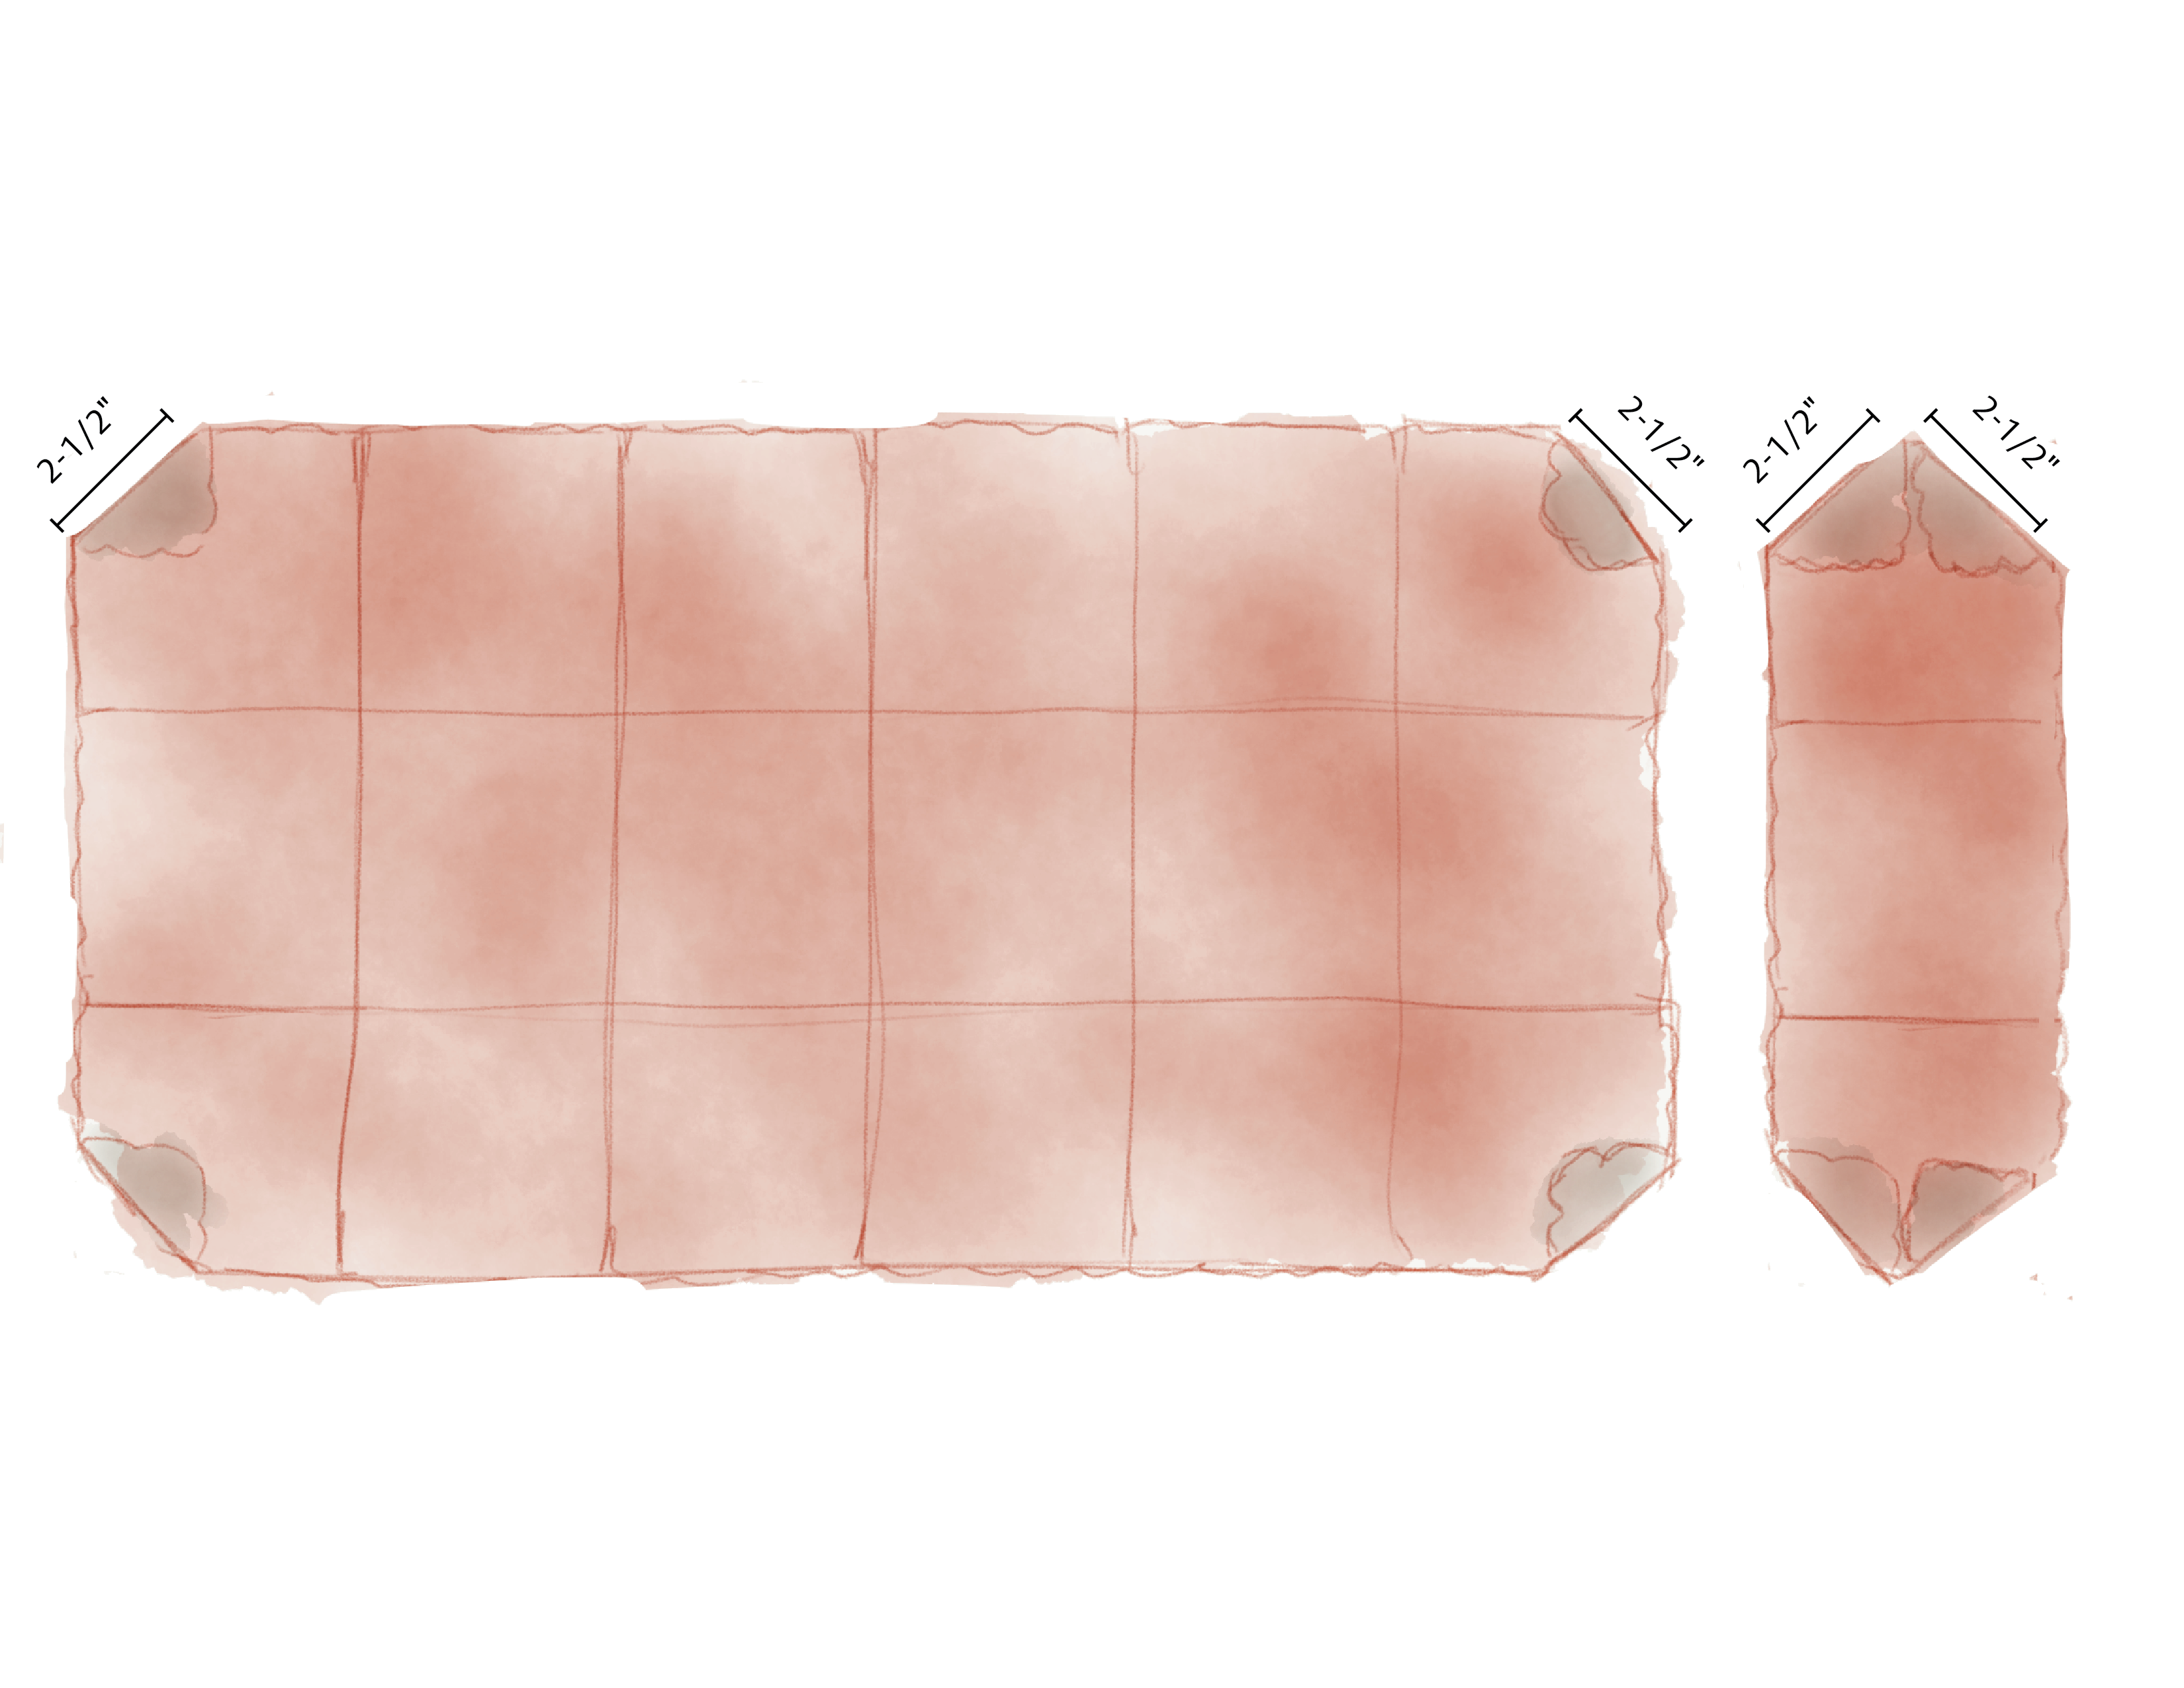
Using a double overcast stitch (see Resources), make one panel of 3 squares by 6 squares for the upper body. Make one panel of 1 square by 3 squares for the bottom of the pillow. On both pieces of fabric, turn all the corners to the wrong side, with the fold line measuring about 2-1/2", and tack in place as shown.
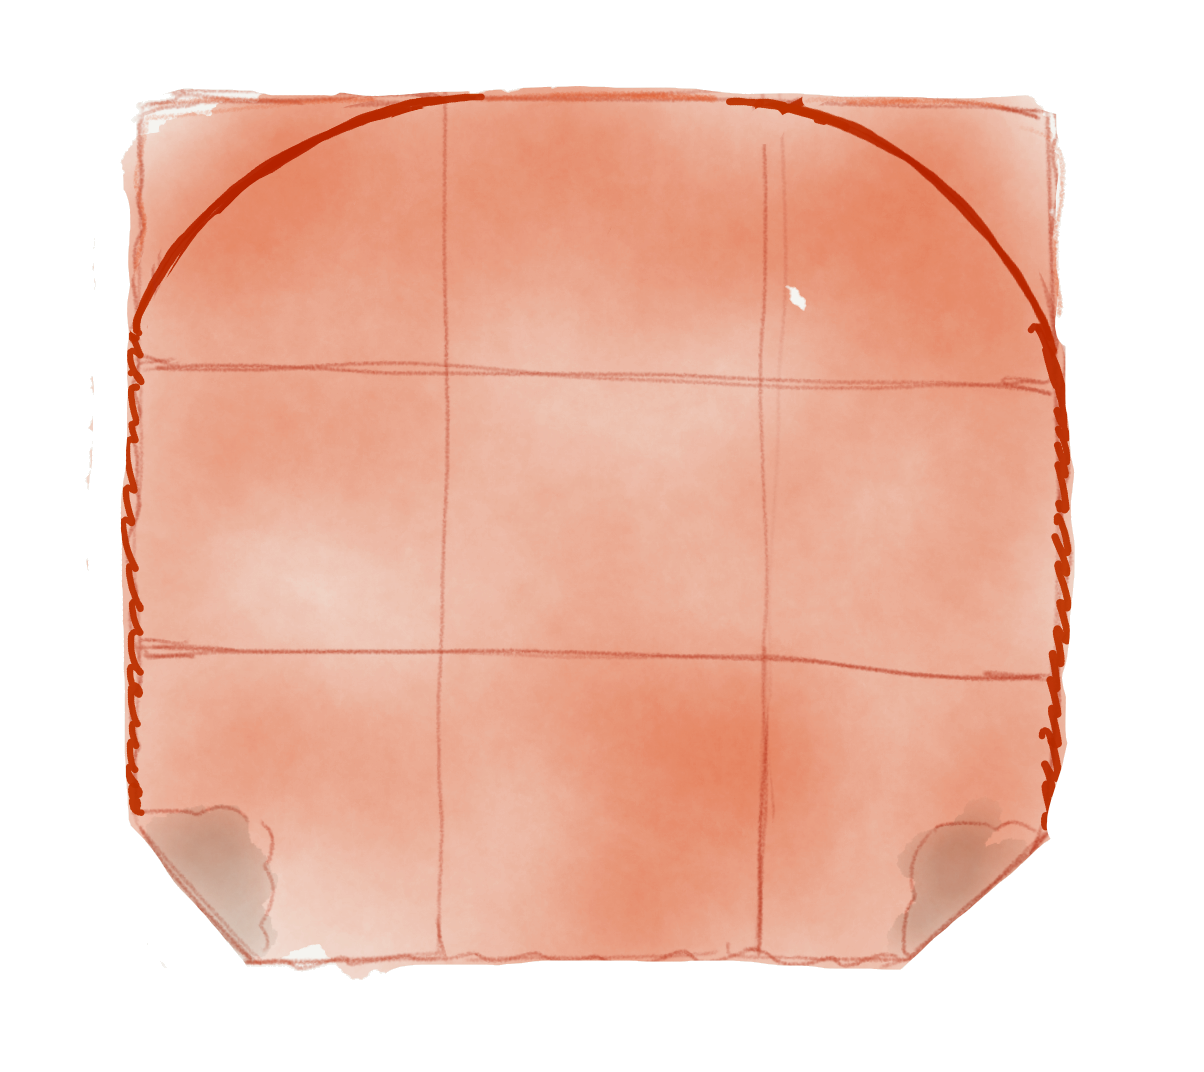
Fold the larger piece of fabric (the upper body), with right sides together, into 3 x 3 squares with the fold at the top. Starting at the bottom, just above the folded corners, seam each side by backstitching or working single crochet and slip stitch. Along the folded edge, seam both layers in a curve for the cat's back. You can seam the curves with backstitch or single crochet and slip stitch. Backstitch or slip stitch around the two corners to the top of the cat to create a rounded body.
Place the 1 x 3 body bottom, right side facing inward, along the open bottom edge. Match the folded corners of the bottom to the folded corners of the top and pin or clip into place. The body now has a wedge shape. Starting at one turned back corner, whipstitch one layer of the body top to one edge of the body bottom, finishing at the other turned back corner. On the other layer of the body top, stitch just around the turned back corners, leaving an opening between them for turning right side out and stuffing.
Turn the cat body right side out. Stuff the body firmly with stuffing. Then add a weight at the bottom to keep the finished pillow stable. I put some plastic beads into a little plastic bag. You could also sew a scrap of fabric into a tube, then fill it with beads or dried beans and sew it shut. (The little bag keeps the beads from leaking through the pillow fabric.)
Sew the Head
Place two squares right sides together for one ear. Draw the ear shape onto the wrong side of the top square—notice that the ear's outer edge goes all the way to the corner, but the inner edge stops about halfway down the square. Seam around the ear edges with backstitch or single crochet and slip stitch. Make a second ear in the same way, mirroring the shape of the first ear. Do not turn the ears right side out.
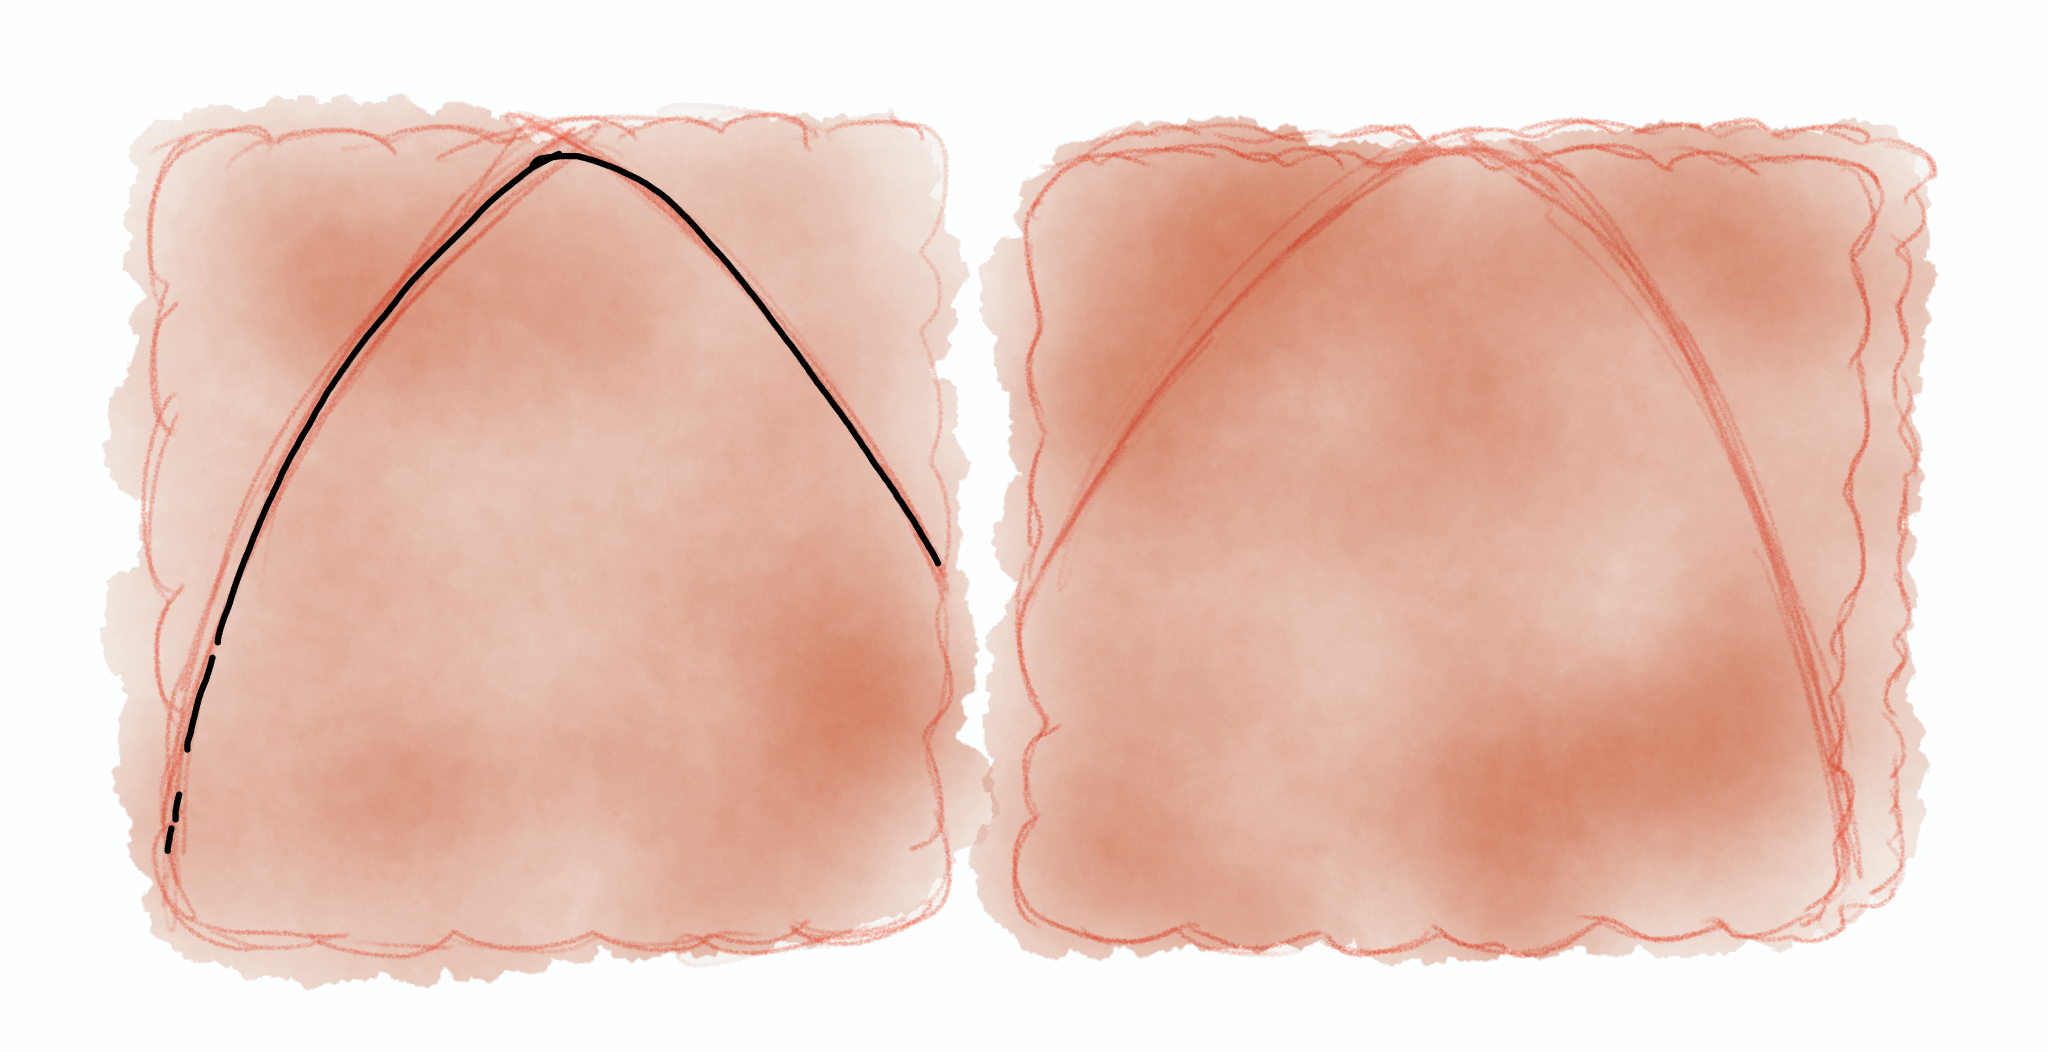
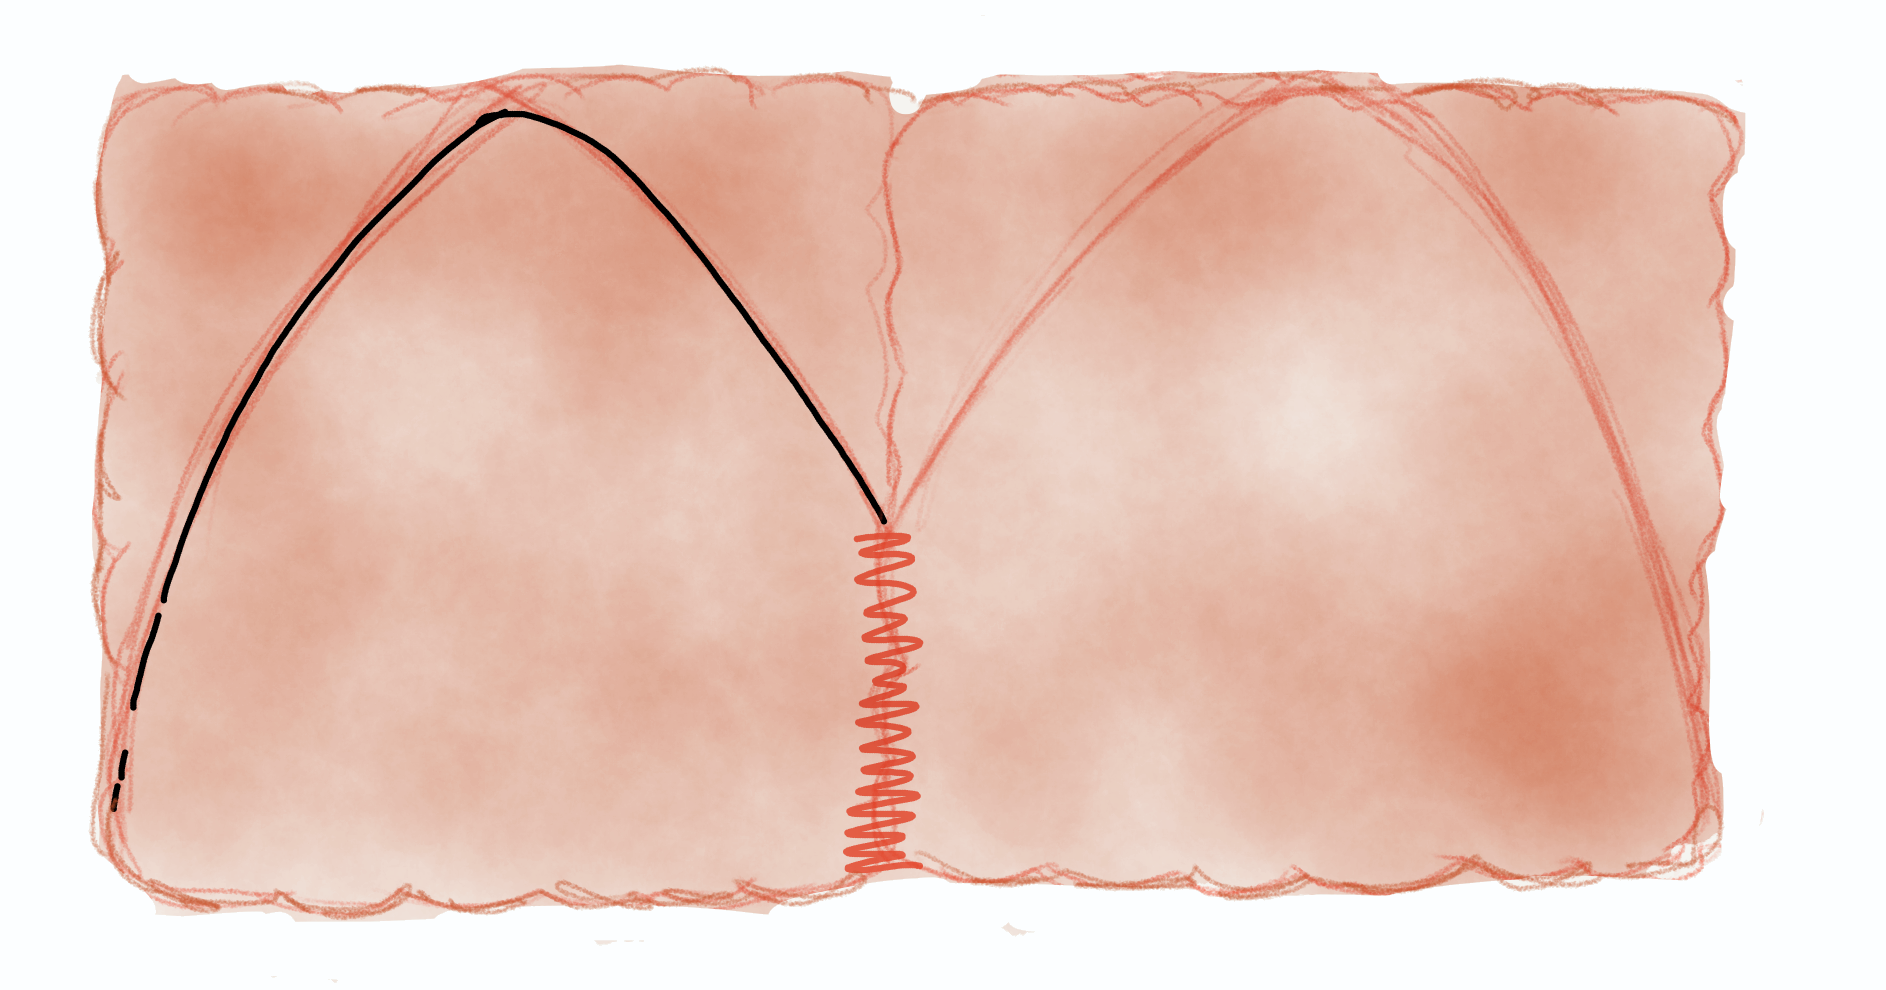
With the right sides still facing, join the two ears at the inner edge. Whipstitch the front layer and back layer separately, so you can stuff between the right and left ears.
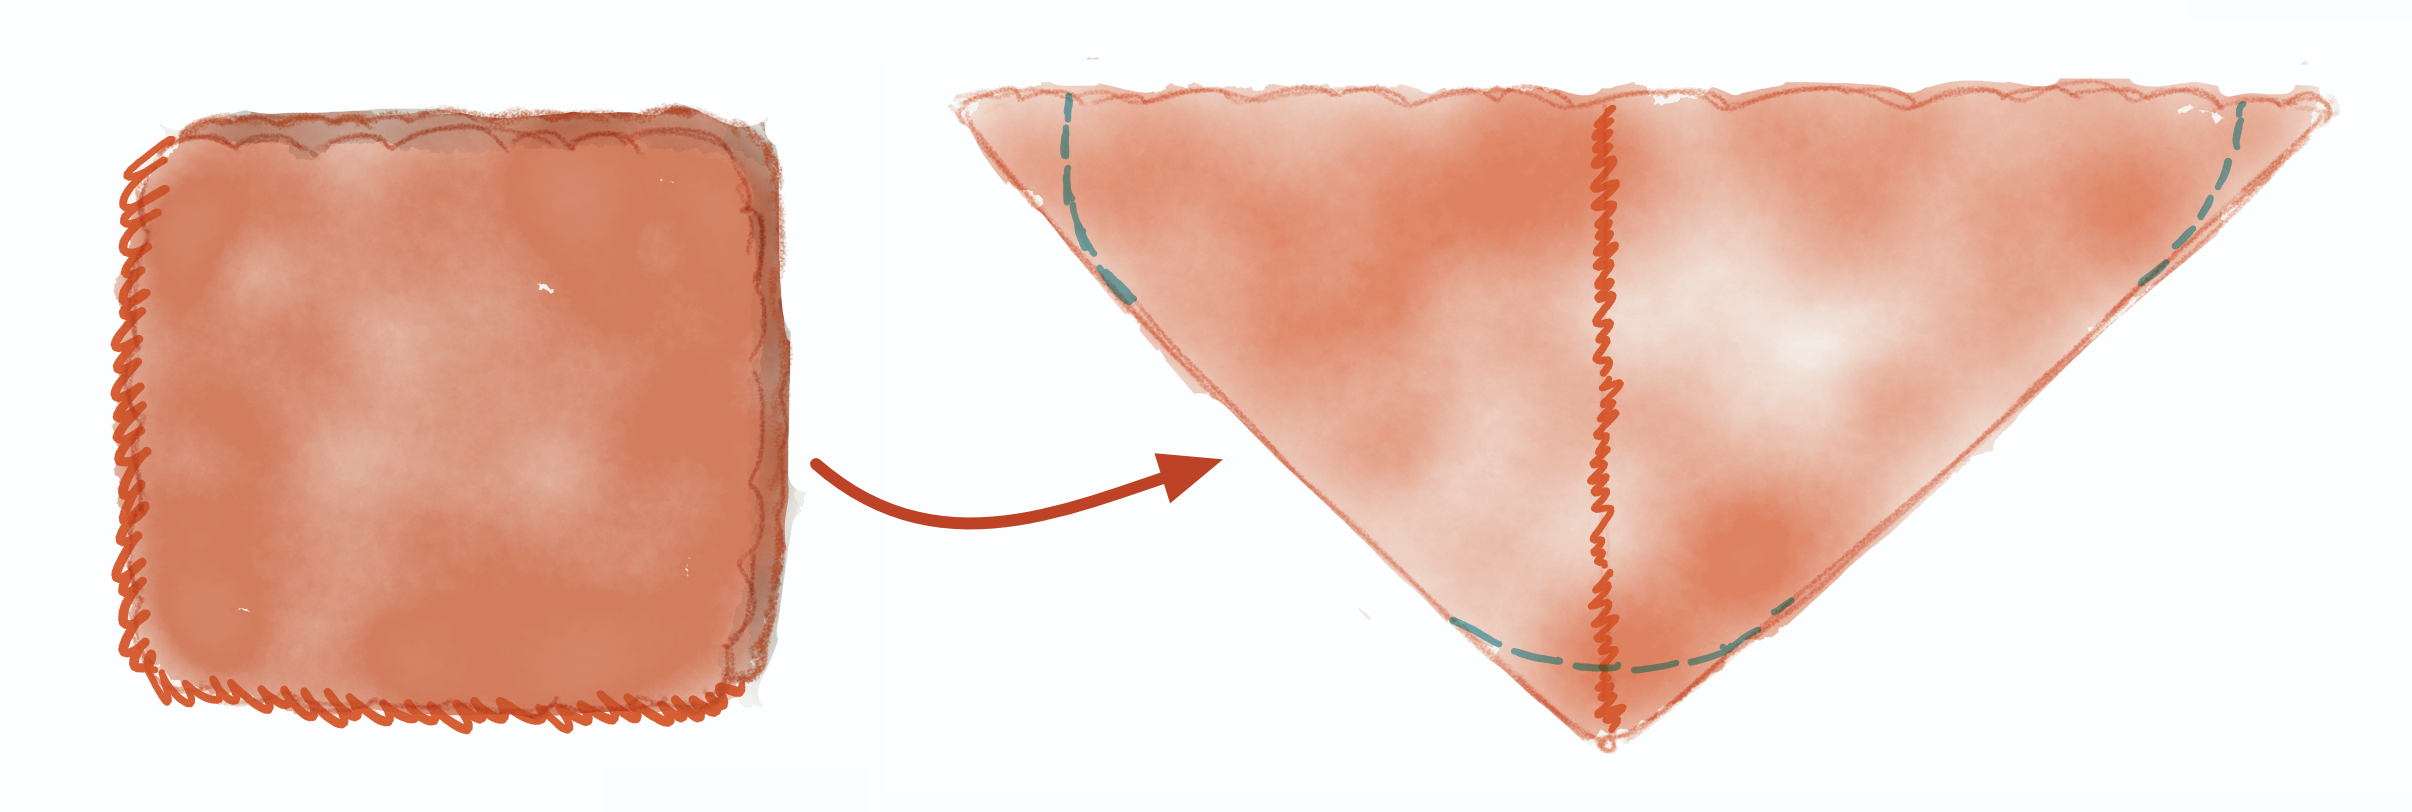
Place two squares right sides together for the lower part of the cat face. Join the squares around two adjacent sides using single crochet or backstitch. Then refold the squares so the seam you just worked runs down the middle of the cat face. With the right sides still facing, round the sides and muzzle of the cat face by seaming—use backstitch or single crochet and slip stitch.
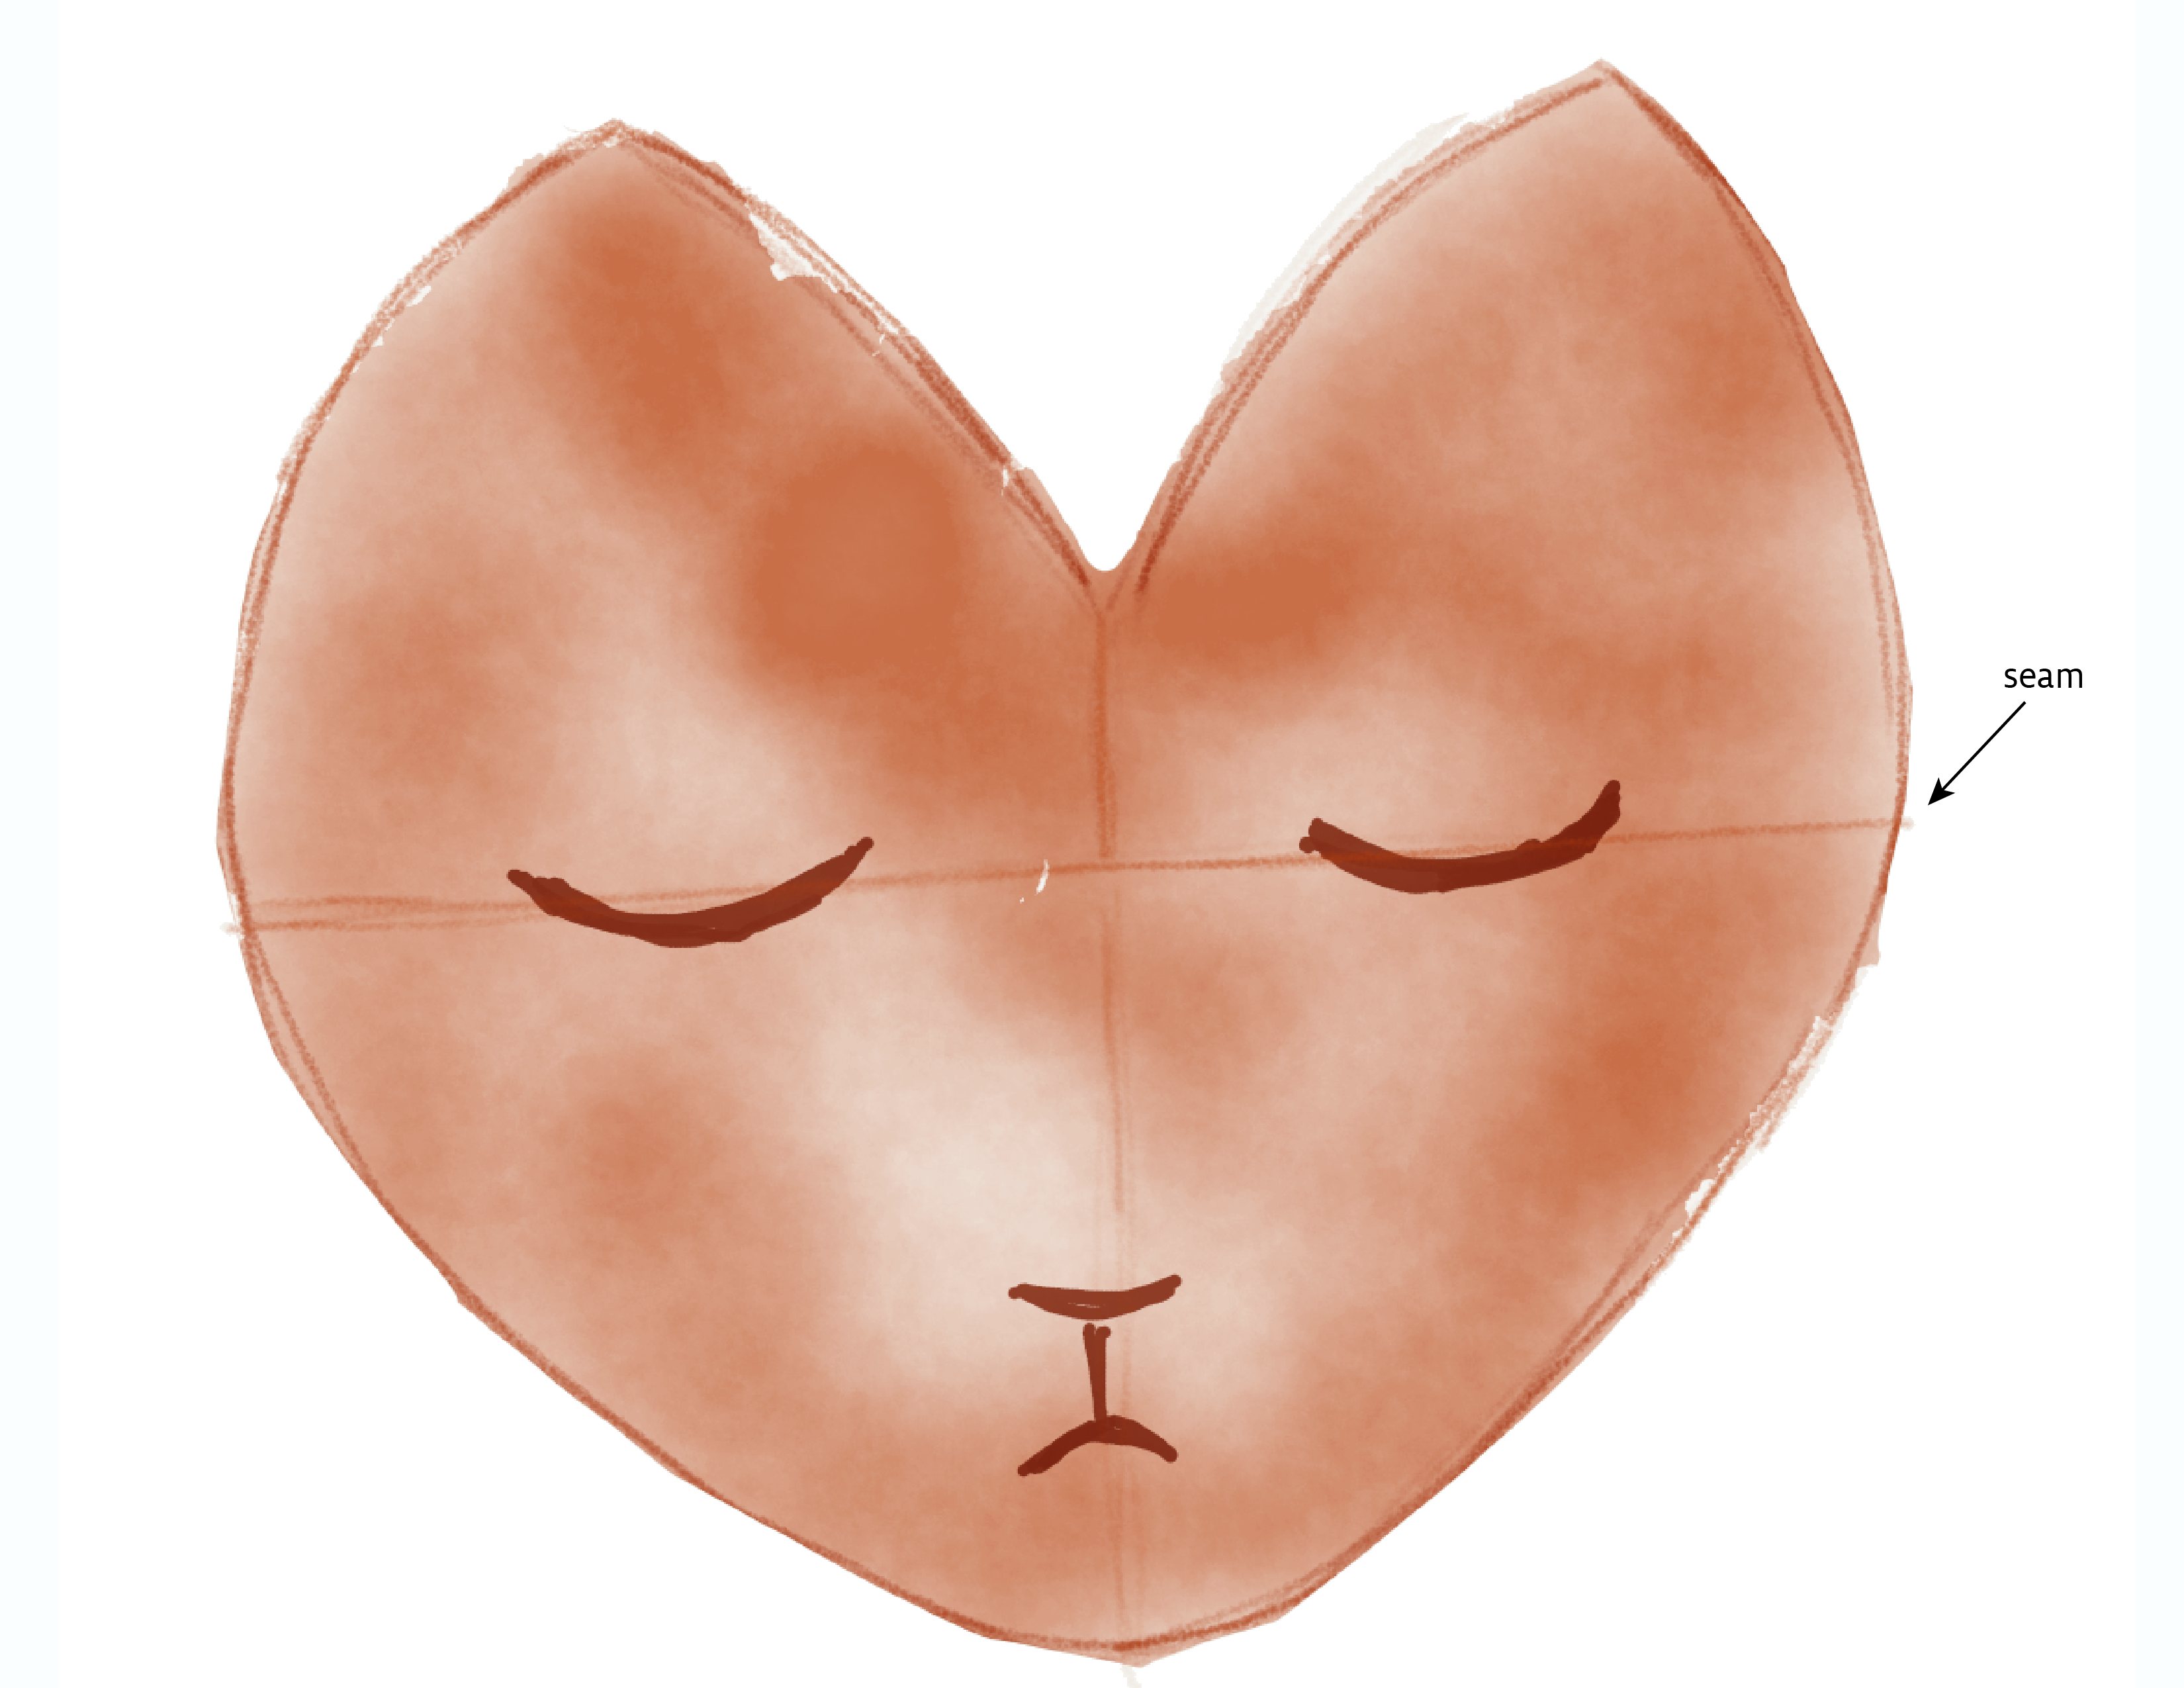
Using a double overcast stitch, join the cat ears to the lower cat face on one side—this will be the front. Turn the head right side out and stuff. Whipstitch the back of the head closed. Keep in mind that even if this seam is not perfectly flat, it will be attached to the cat body and won't be seen. Embroider eyes, nose, and mouth on the front.
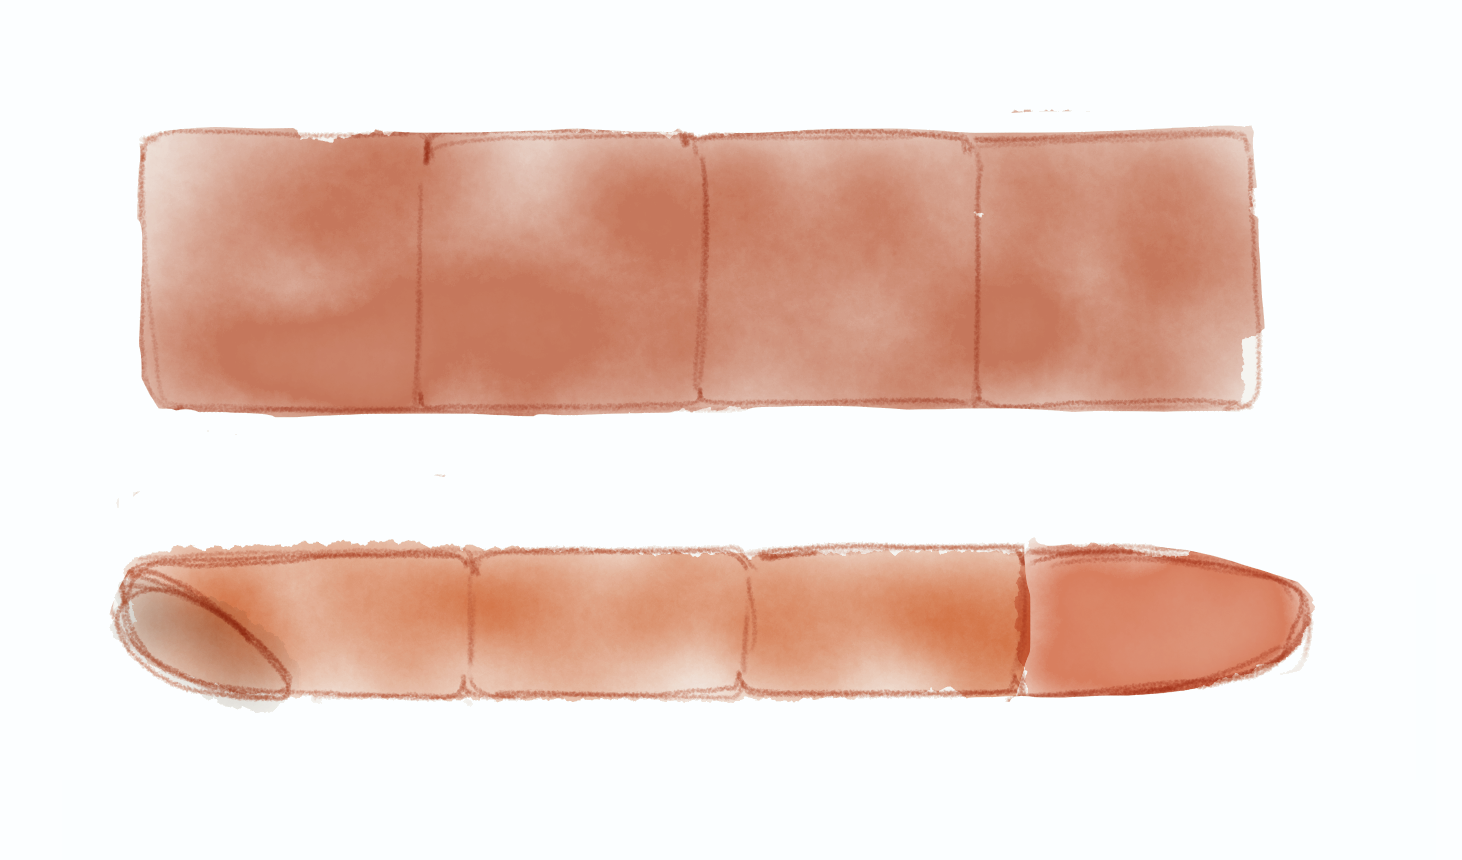
Sew the tail: Join 4 squares into a 1 x 4 strip using a double overcast stitch. Fold the fabric in half lengthwise. Seam the long edge using a single crochet edge or double overcast stitch, then sew one end into a curved tip. Turn the tail right side out and stuff.
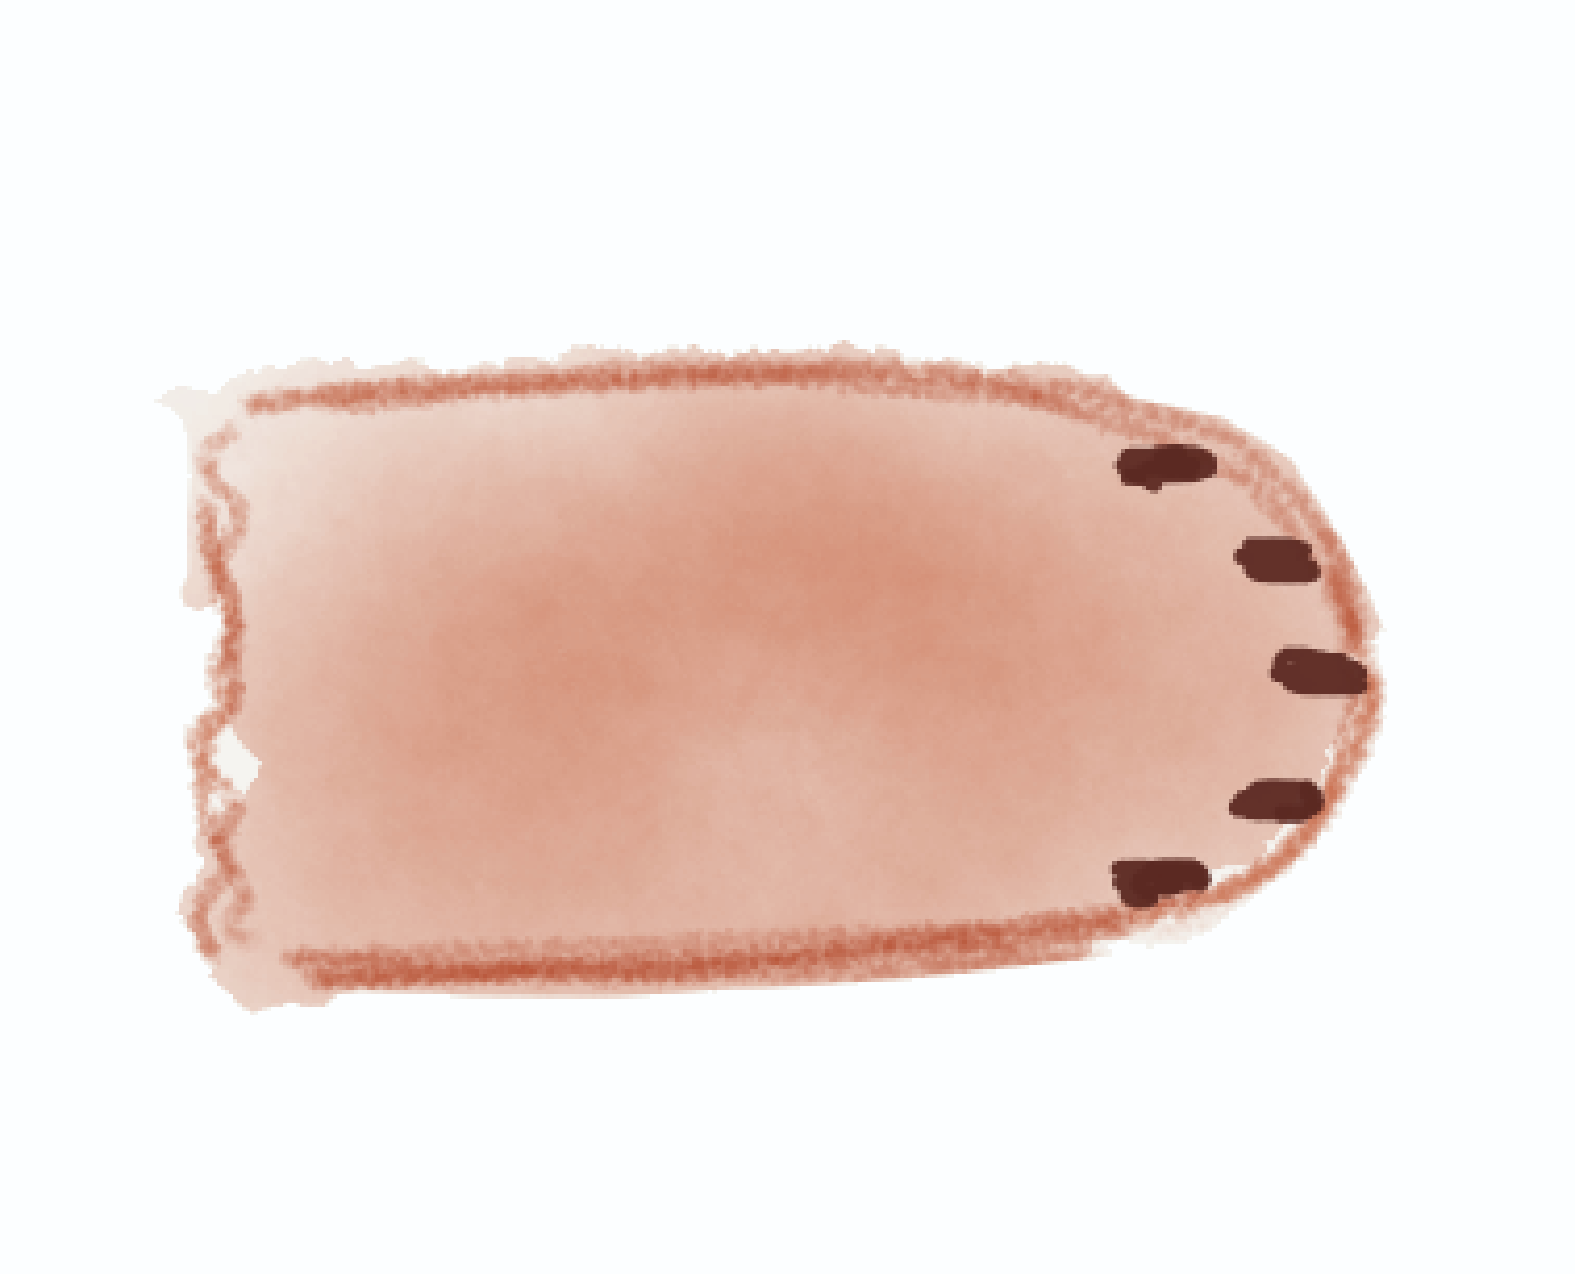
Sew the front paws: For each front paw, fold one square in half, right sides together, and join the long edge using a single crochet edge or a double overcast join. Refold the square so the seam runs down the middle of one side—this will be the underside of the paw. Sew one open end into a curved tip. Turn the paw inside out and stuff. Repeat for the second paw. Embroider cat claws on the paws.
Final Assembly
Decide whether your cat will face right or left. The front paws will go on the same side as the head, and the tail will go on the opposite end of the body, curling around the body to hold your phone in place.
Place the head at one end the cat body, experimenting until you like the position. My cat's head sits near the middle of the body, tilted slightly as it naps. Stitch the head on to the body.
- Flatten the open ends of the paws and whipstitch them to the body where the top meets the bottom, on the same side as the head.
- Whipstitch the tail to the other end of the body, right where the top starts to curve. Bring the tail tip around the body and stitch into place.
- Congratulations! You have just created a combination of loyal companion, super comfortable neck pillow, and a cozy space to prop your phone. You may want to hide it from your friends because when they see it, they will want one, too.
Notes
Resources
The double overcast stitch is a doubled-up version of the whipstitch. Thread a tapestry needle with a length of yarn for seaming. Place two woven squares with their right sides together. On the edge you want to seam, the loops will probably be staggered, which is good. Starting from one end of the bottom layer, pull the threaded tapestry needle up through the first pair of loops. Then take a second stitch through the same two loops to securely knot the cloth. Continue to the next pair of loops and bring the needle back through that pair of loops two times; repeat until you reach the end. After seaming, open the squares and pull them gently to help flatten them along the seam. You should notice that the right side is flat with an almost indiscernible join and the back side will have a noticeable ridge. See the video at
http://www.pinloomweaving.com/p/videos.html
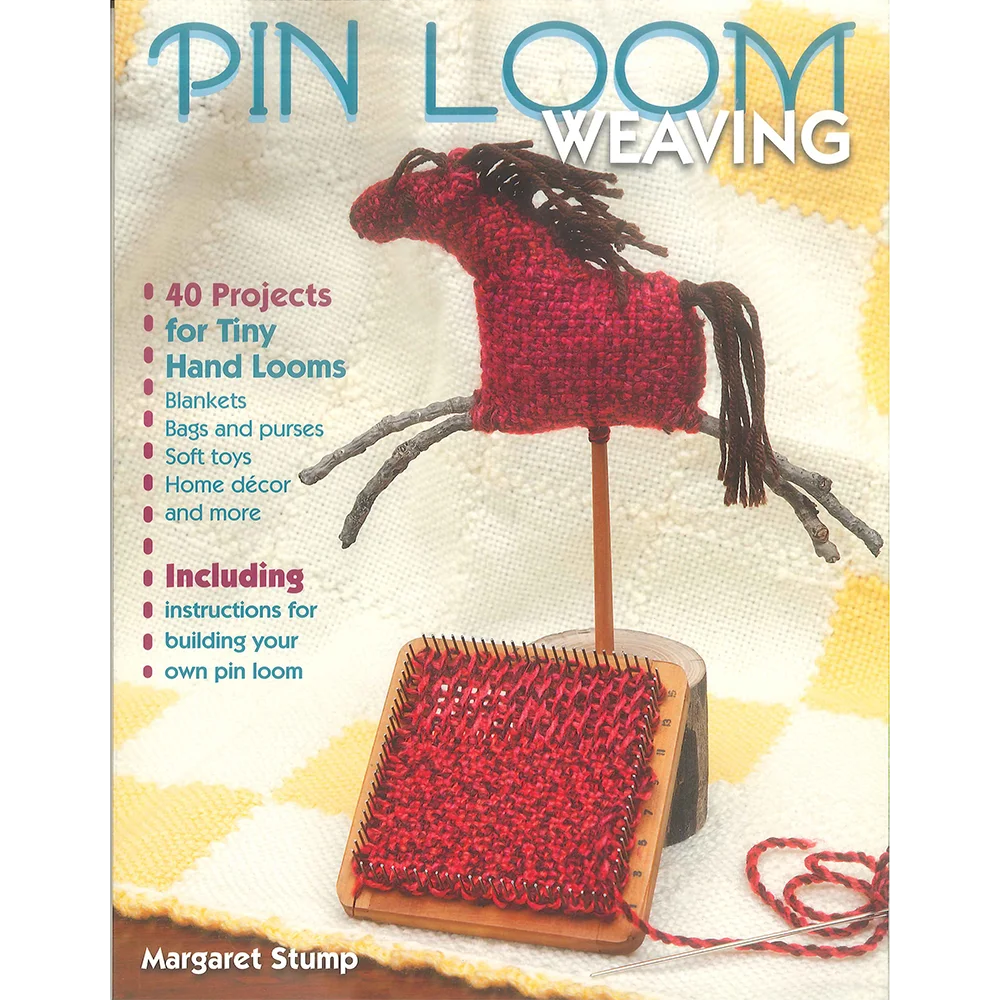
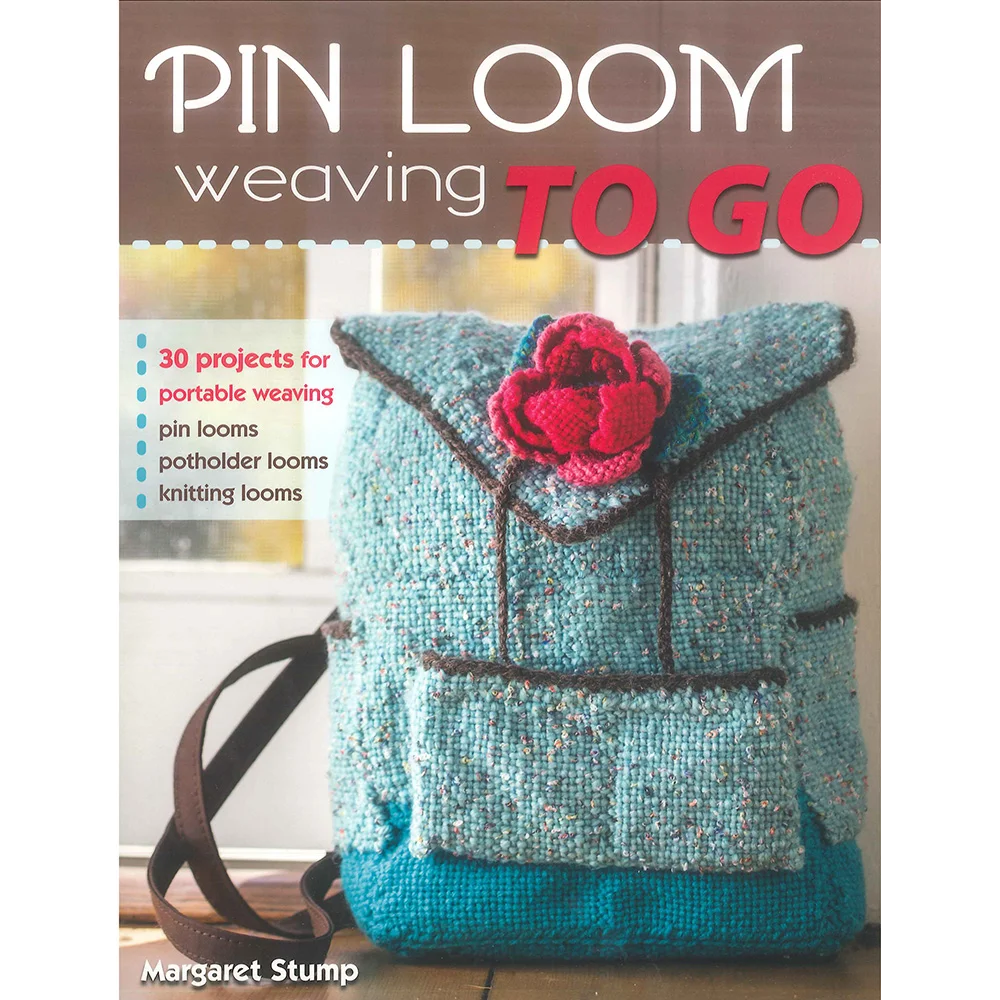
Three books by Margaret Stump filled with more projects and information about pin loom weaving:
Pin Loom Weaving: 40 Projects for Tiny Hand Looms

