Warping Frame Looms for Different Setts
by Rebecca Mezoff
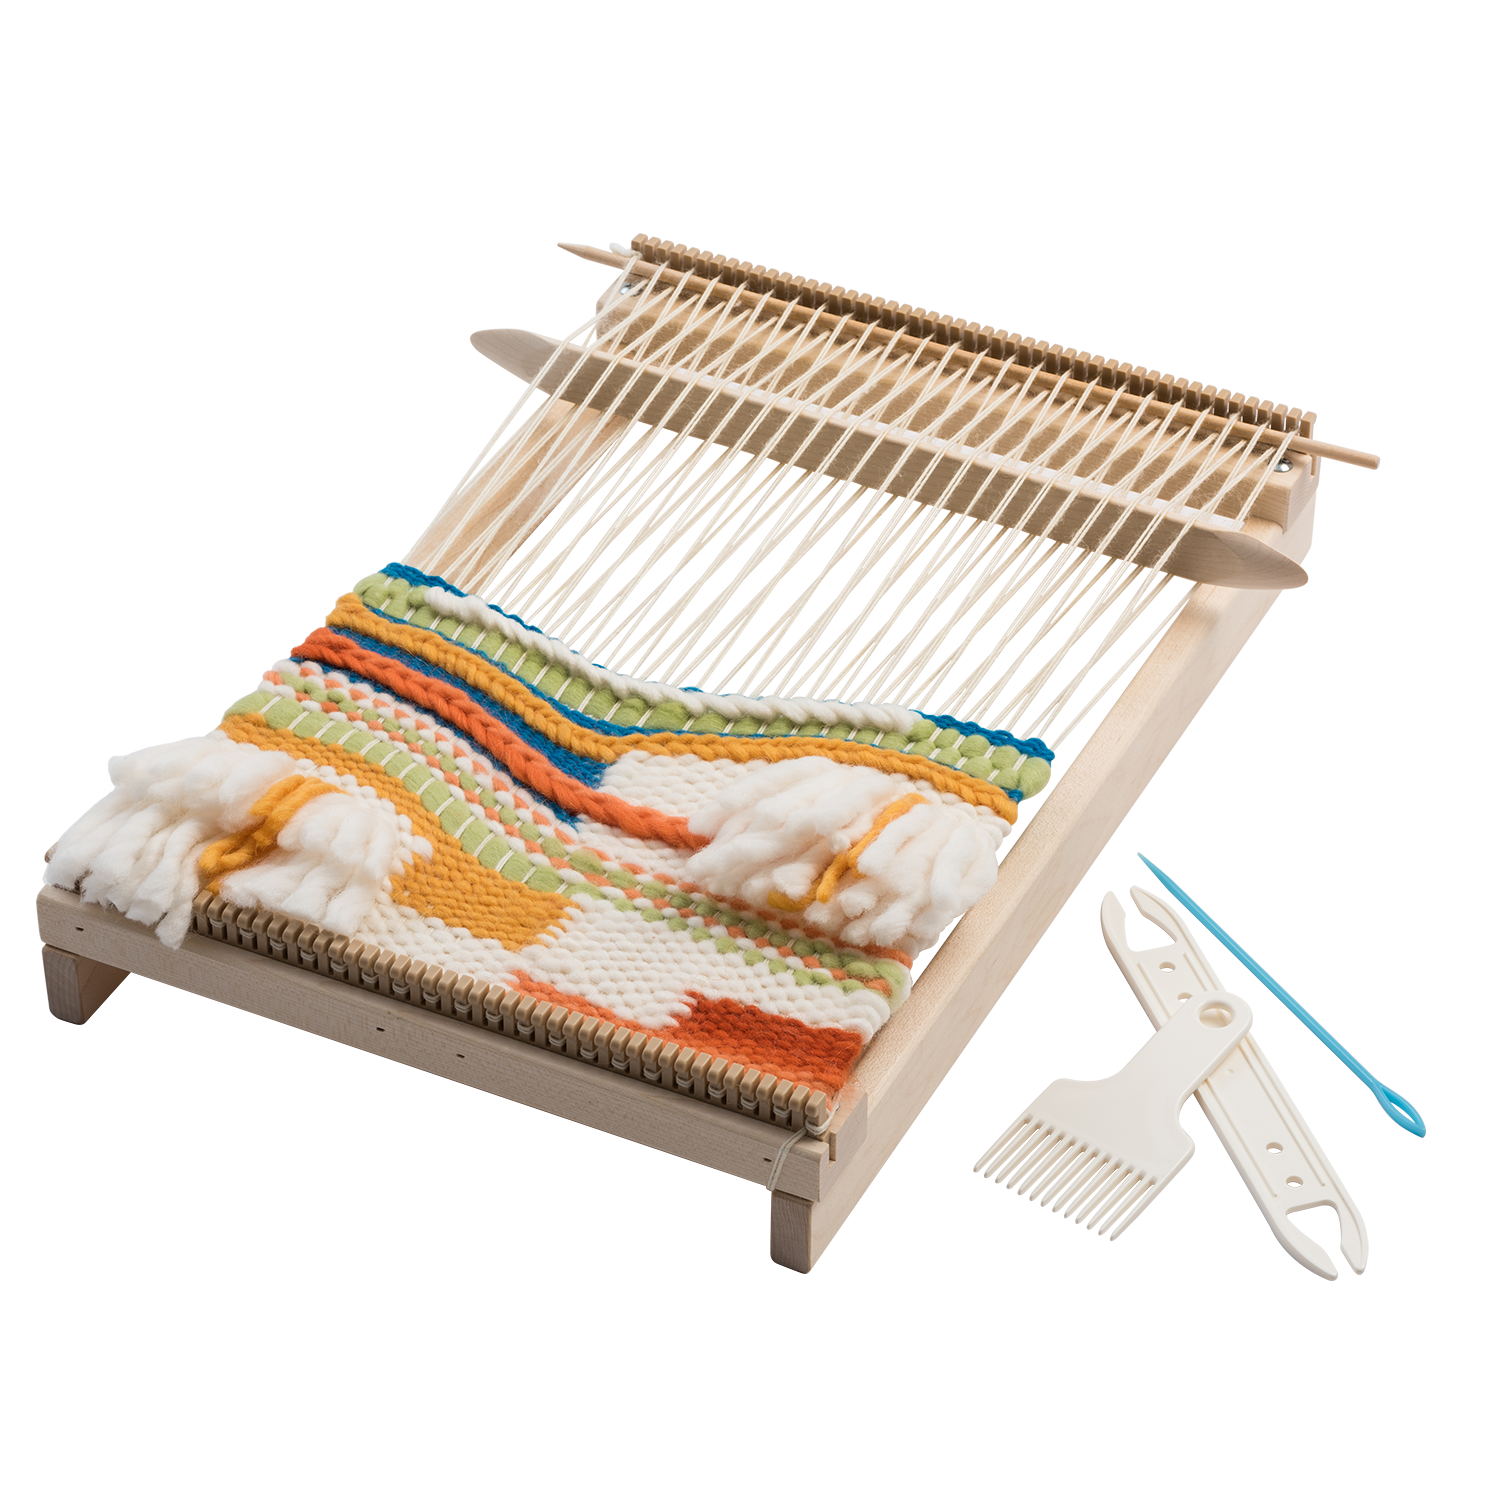
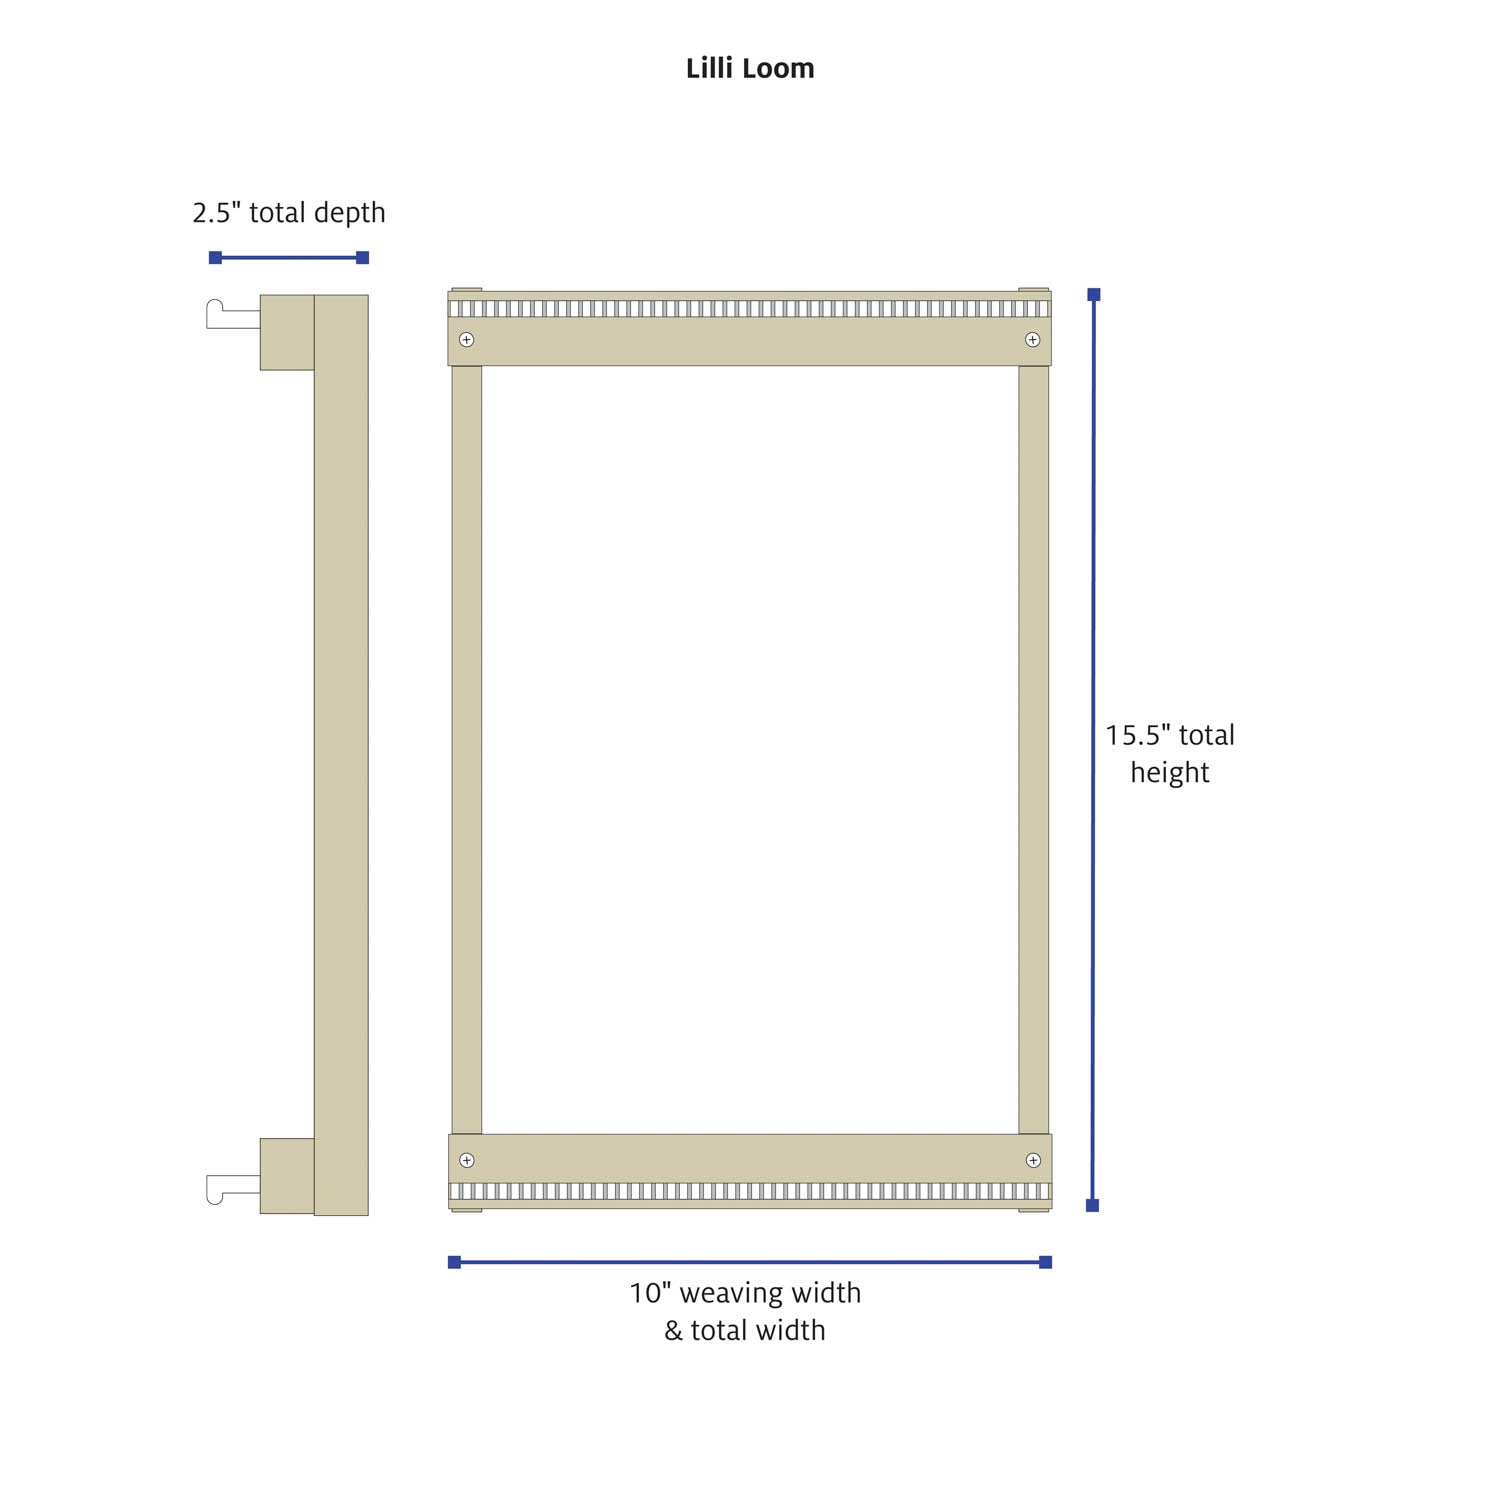
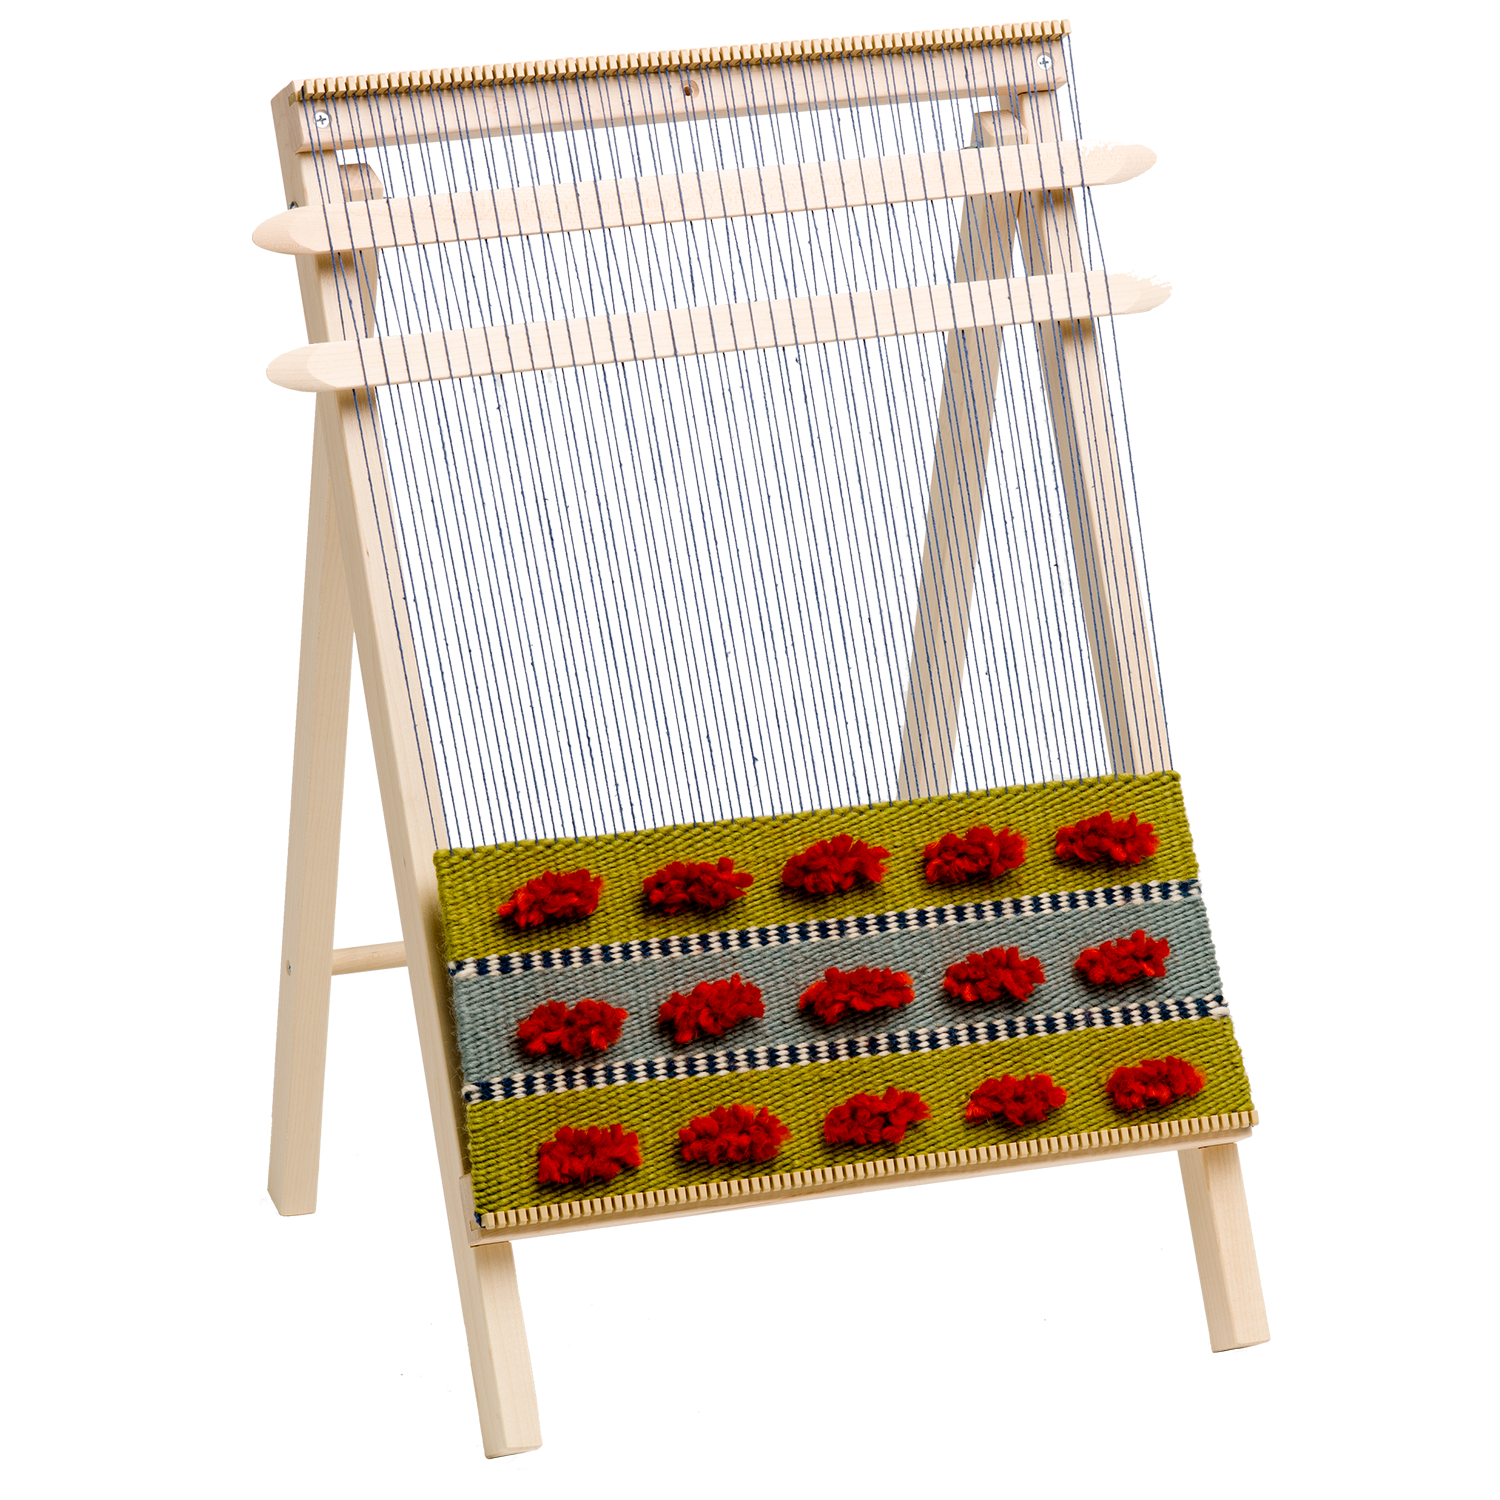
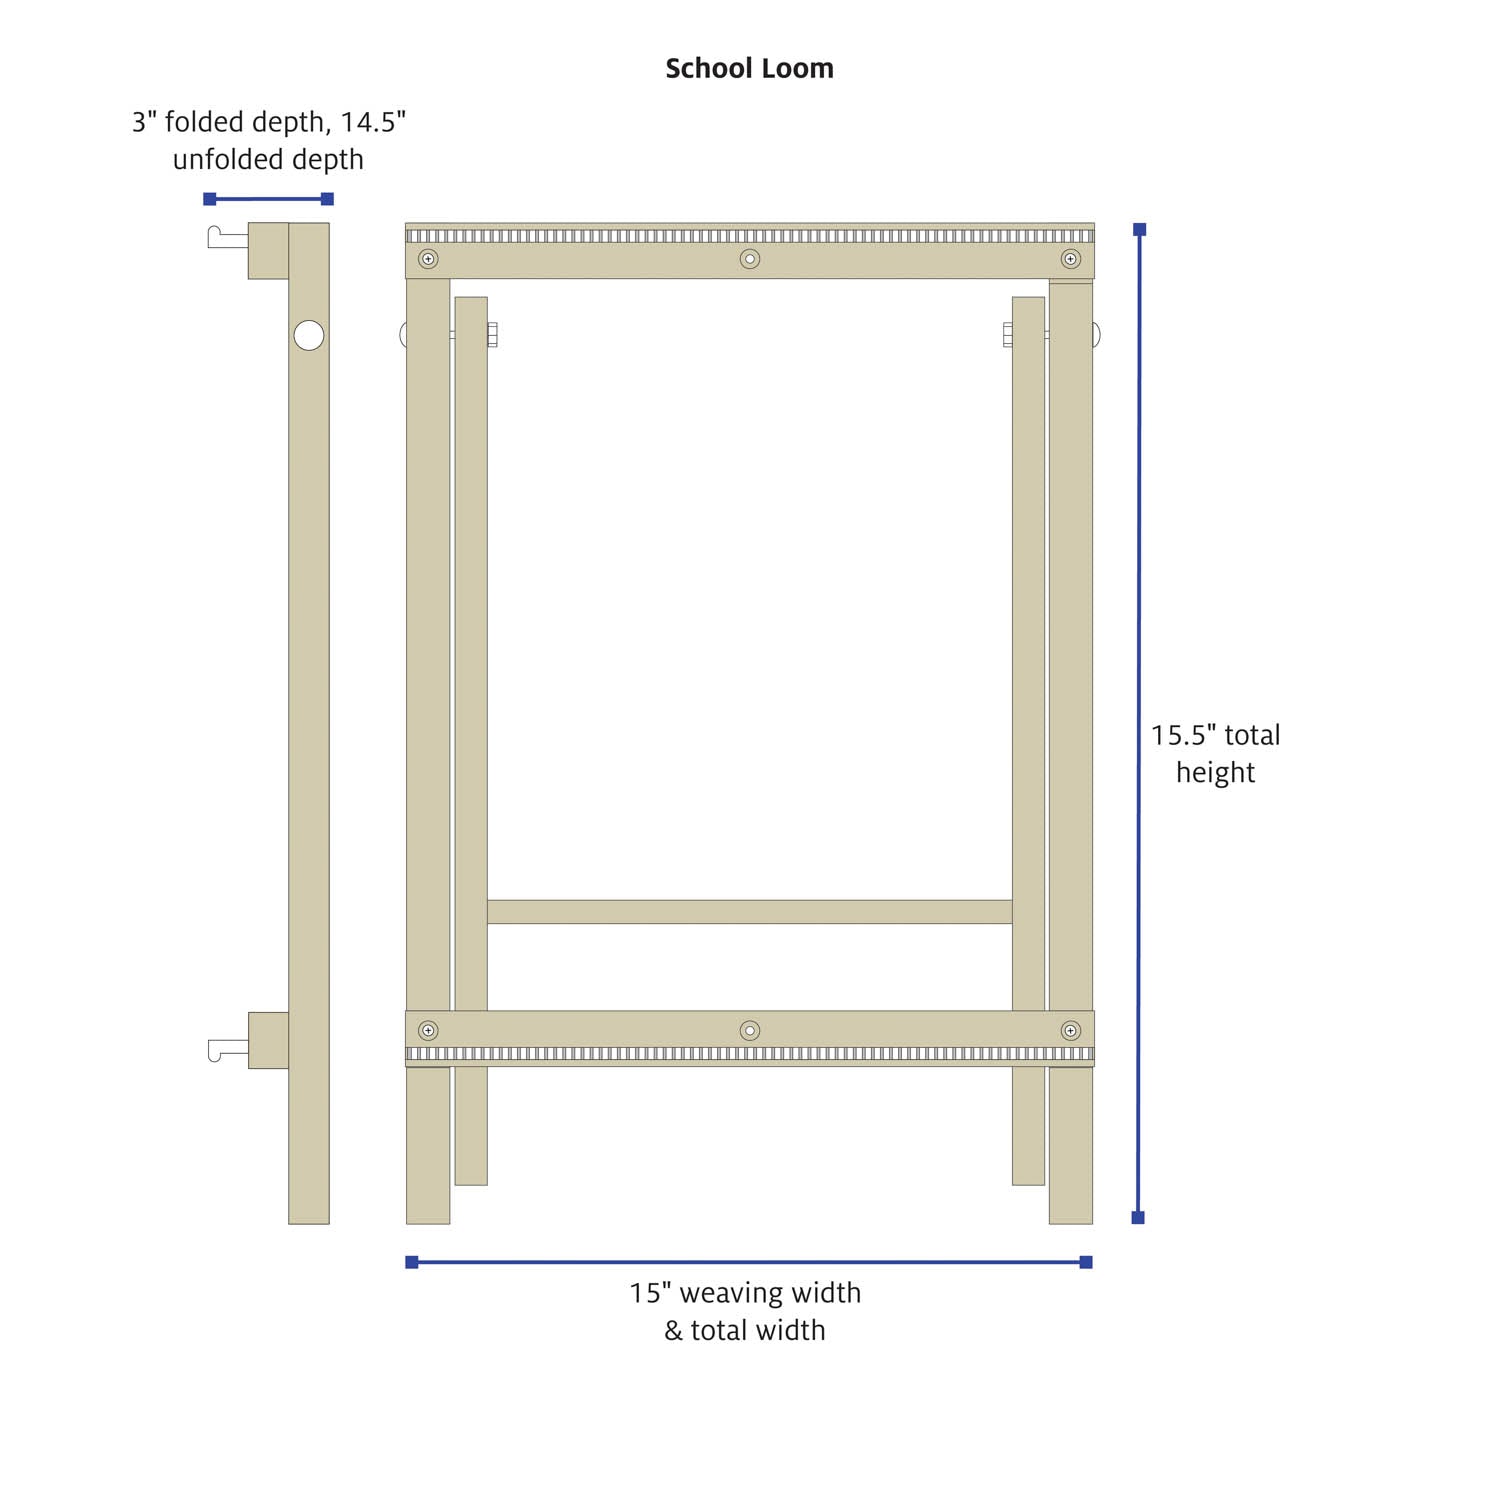
A loom is basically a piece of equipment that holds a series of warp threads tightly so the weft can be woven across it. Some of the easiest looms to use are peg looms, like the Lilli Loom, Easel Weaver, or School Loom from Schacht. These looms have rows of pegs or teeth that the warp can wrap around; the pegs hold the warp ends tightly while we weave a weft-faced tapestry image. These sorts of looms are made to be warped at a particular sett (the number of warp ends per inch or EPI), but it is quite possible that you’d want to weave at other setts for a variety of reasons. In this article and the accompanying video, I'll show you how to do this.
Schacht's peg looms have teeth set at about 5.5 EPI. That is a fairly wide sett for most tapestry weavers. When I want a different sett, I use multiple warps in each slot, in different combinations, to come close to the desired sett. Then I use a simple technique called twining to even out the warp spacing. Grab your Lilli Loom, Easel Weaver, or School Loom to try it for yourself.
What You'll Need
-
Warp: 12/6 or 12/9 cotton seine twine for 8 EPI, or other sizes depending on the sett you’re warping for. I love Swedish cabled warp from Bockens. Because the cotton seine twine is slightly stretchy, it is a good thing to use on looms on which you can’t increase the tension like the Schacht peg looms.
-
Twining: A few yards of a thicker twine for the twining on the top and bottom of the loom. 12/15 or 12/18 cotton seine twine, kitchen twine, or other sturdy fiber will work just fine.
-
Schacht frame loom: School Loom, Lilli Loom, or Easel Weaver
Materials
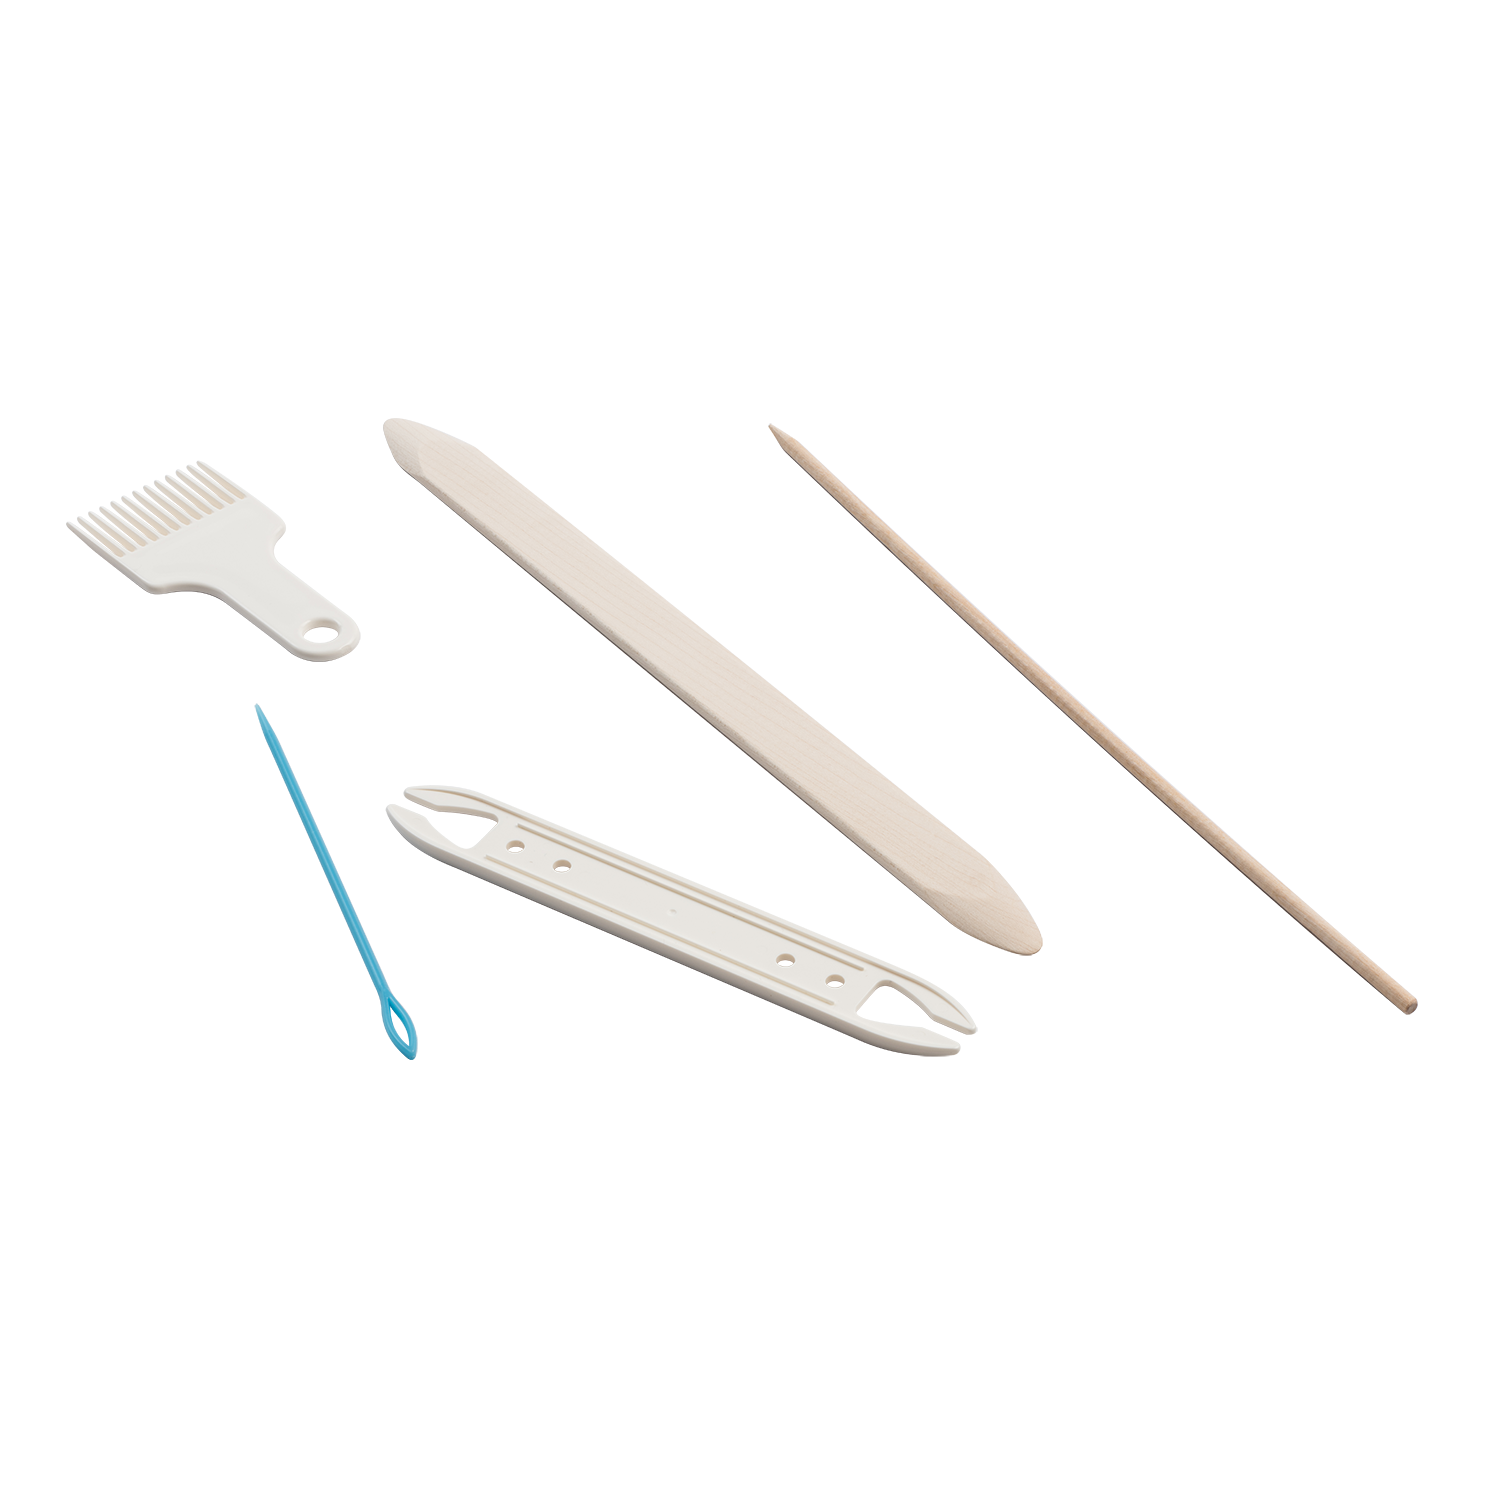
Equipment
Directions
Changing Setts
Warping a Lilli Loom with one warp in each slot results in a warp that has 5.5 warp ends per inch.
To warp for a different sett, we need to put two warp ends in some or all of those slots. In the photo to the left, I have used a 12/12 cotton seine twine. This is a thicker warp which you’d use at a lower EPI. As you increase the number of ends per inch, you should decrease the size of your warp. 12/6 and 12/9 are thinner warps and I’ll be demonstrating here with a 12/6 cotton seine twine.
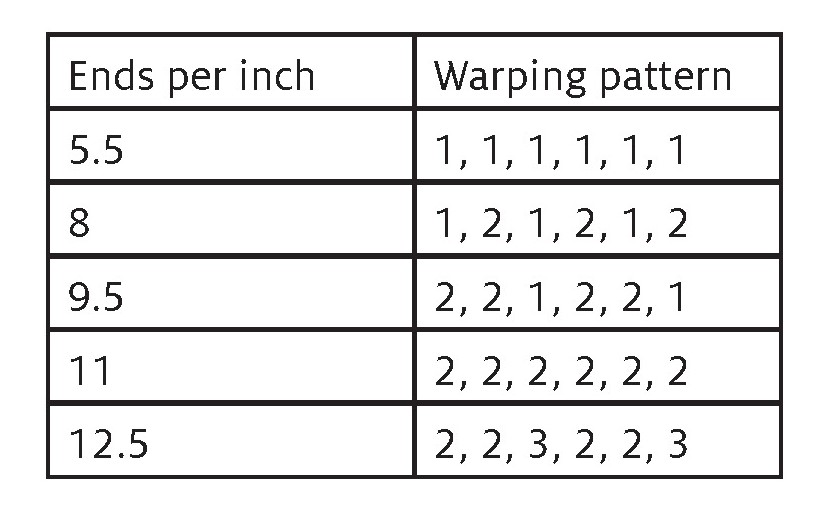
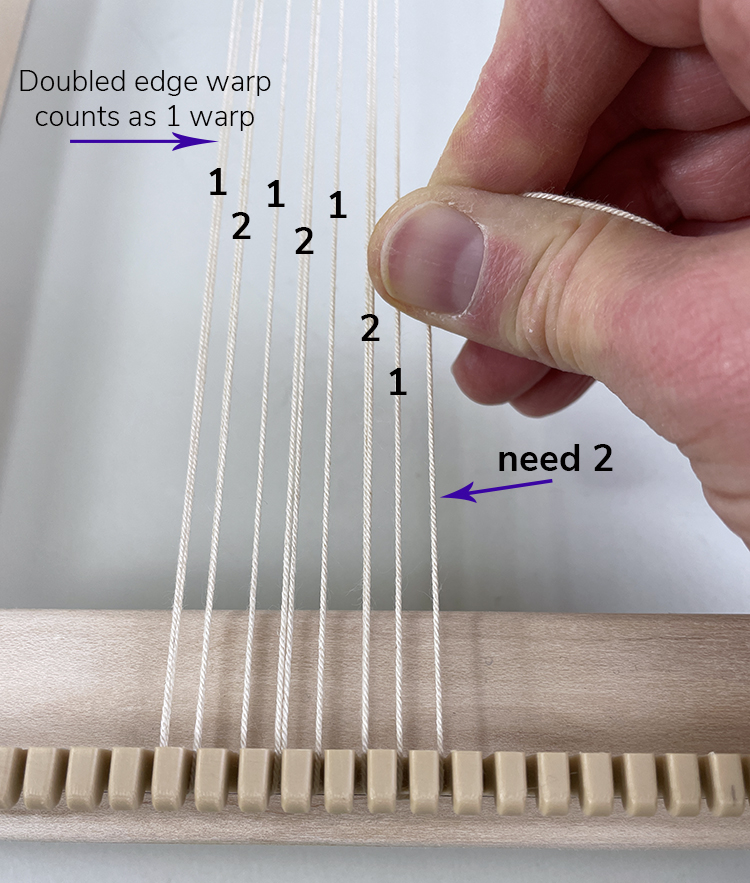
Let’s warp the loom at 8 EPI, a common sett for tapestry weavers today. A warping pattern where we put one warp in the first slot, two in the next, one in the next, two in the next, etc. gives us a warp sett of just less than 8 EPI (7.5 EPI is probably the most accurate).
Putting on the Warp
Determine the width of your tapestry so you can center the warp on your loom.
- Use a slip knot (or any other knot!) to tie the warp yarn to the peg at the left-hand edge of your warping area.
- Bring the warp yarn down (or up) to the corresponding slot between pegs at the other end of the loom. It pays to count pegs here. You don’t want your warp to be diagonal on the loom.
- In the accompanying video, I explain why I double my selvedge warps and count them as one end. This is optional! If you do want to double the edge warp, wrap around the first peg, bring the warp back to the top of the loom, and come down over the leftmost warp again.
- For 8 EPI on this loom, we want the warps to follow a 1, 2, 1, 2, 1, 2 pattern. (The chart below indicates some other warping patterns for various setts on these looms.) Sometimes you’ll need to bring the next warp one step to the left to put a second warp over the first and sometimes you’ll have to skip a slot to get the next warp in the correct position. It doesn’t matter how you wrap the pegs to make this happen—just check often that you’re following the pattern of 1 warp, then 2, then 1, then 2 in sequential slots.
- When you have finished warping, cut your warp yarn and tie it off to the top or bottom of the loom. You can simply tie a knot around a peg or you can wrap around the end of the loom as I demonstrate in the video.
Evening Out Warp Spacing
We have to do one more thing before we start weaving. Unevenness in the warp can show up in your tapestry, making ribs that are wider or narrower. It pays to space the warps evenly before you start weaving. You could do this just by weaving an inch or so of waste yarn before your beginning header. However, I like to use twining to even out my warps more quickly. Here we create a figure-8 between each warp with two ends of the same piece of thick thread. You will simply take the thread that is in front and pass it behind the next warp, alternating between the two ends as pictured above.
Cut a piece of your thicker twine about 3 times the width of your warp. Fold it in half and place the center around the left selvedge warp (Step 1). The twining end on top of the left selvedge is now end A, and the end below the left selvedge is now end B.
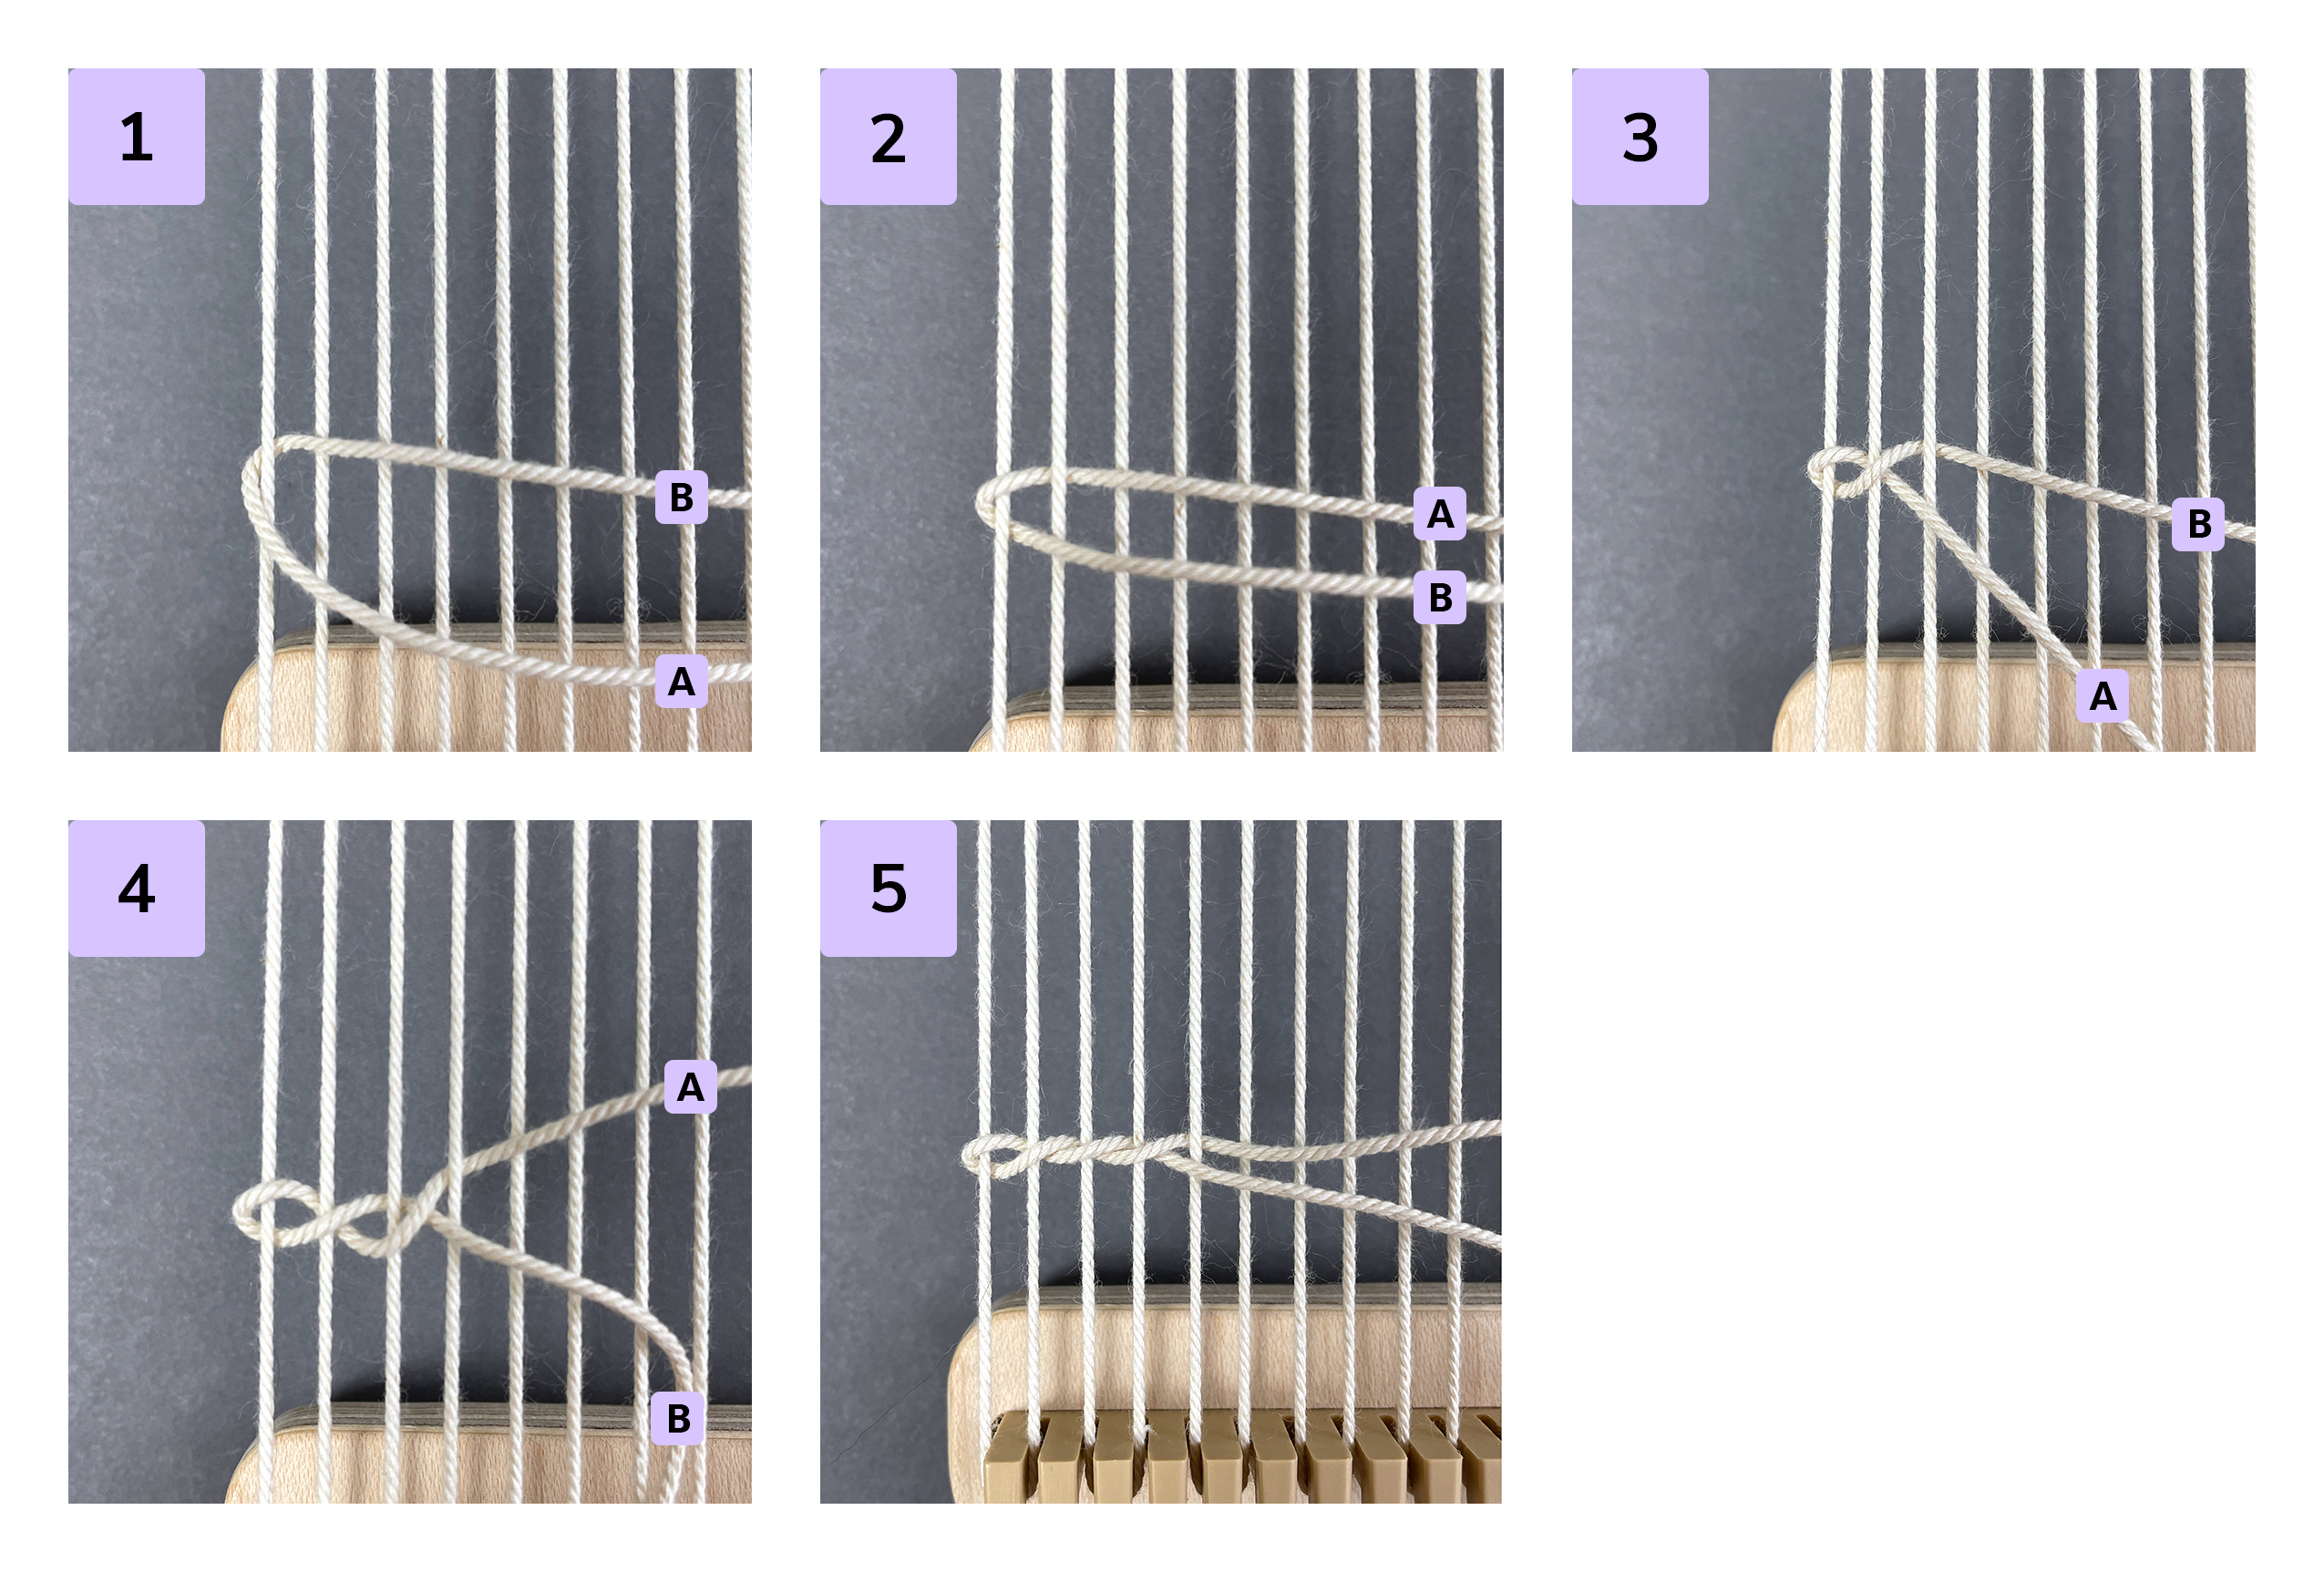
Bring end A above end B, then place end A under the second warp (Step 2).
Now bring end B above end A, and place it under the third warp. This will create a twist (Step 3).
Bring end A above end B and place it under the fourth warp (Step 4).
Work across the warp in this way (Step 5). Notice how we’re getting a little twist between each warp—that twist helps space the warps evenly. As you work across the warp, watch that you’re creating an even twist between the two threads. If one thread is looser, gently pull that end to tighten it up until the twist looks even. You don’t want to pull so hard that the warps start moving closer together.
- Continue this pattern all the way across your warp and tie a square knot at the edge. You can snip off the tails if you want to. Using a tapestry beater or your fingers, push the twining all the way to the very top or bottom of the loom.
- Repeat the twining procedure on the other end of your warp. Whenever you come to a slot with 2 or more warps in it, twine them in the same order you used for the first twining. Don't cross the warp ends!
Weaving
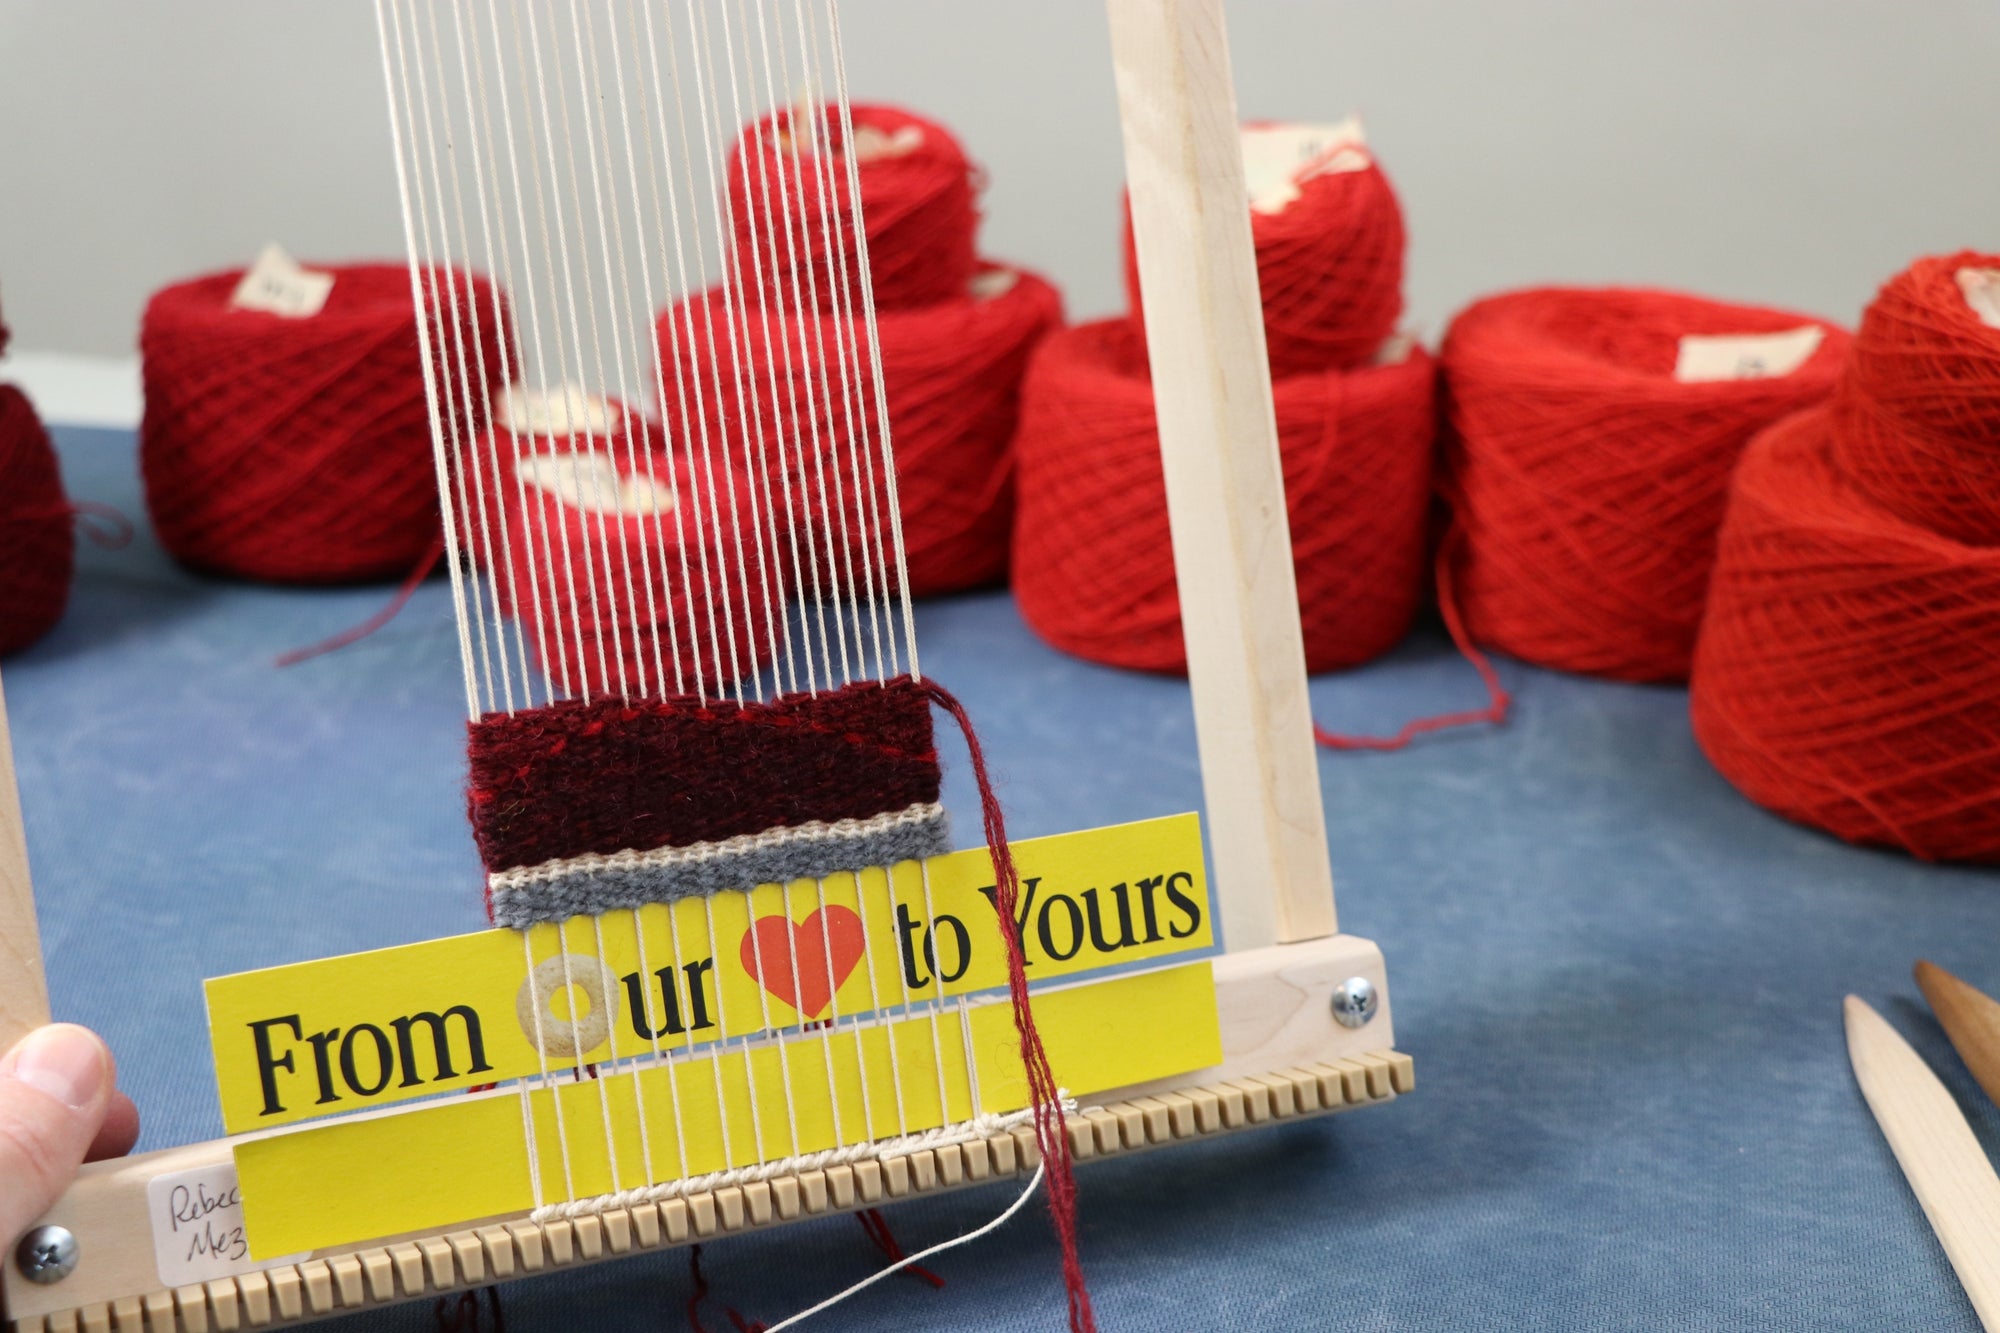
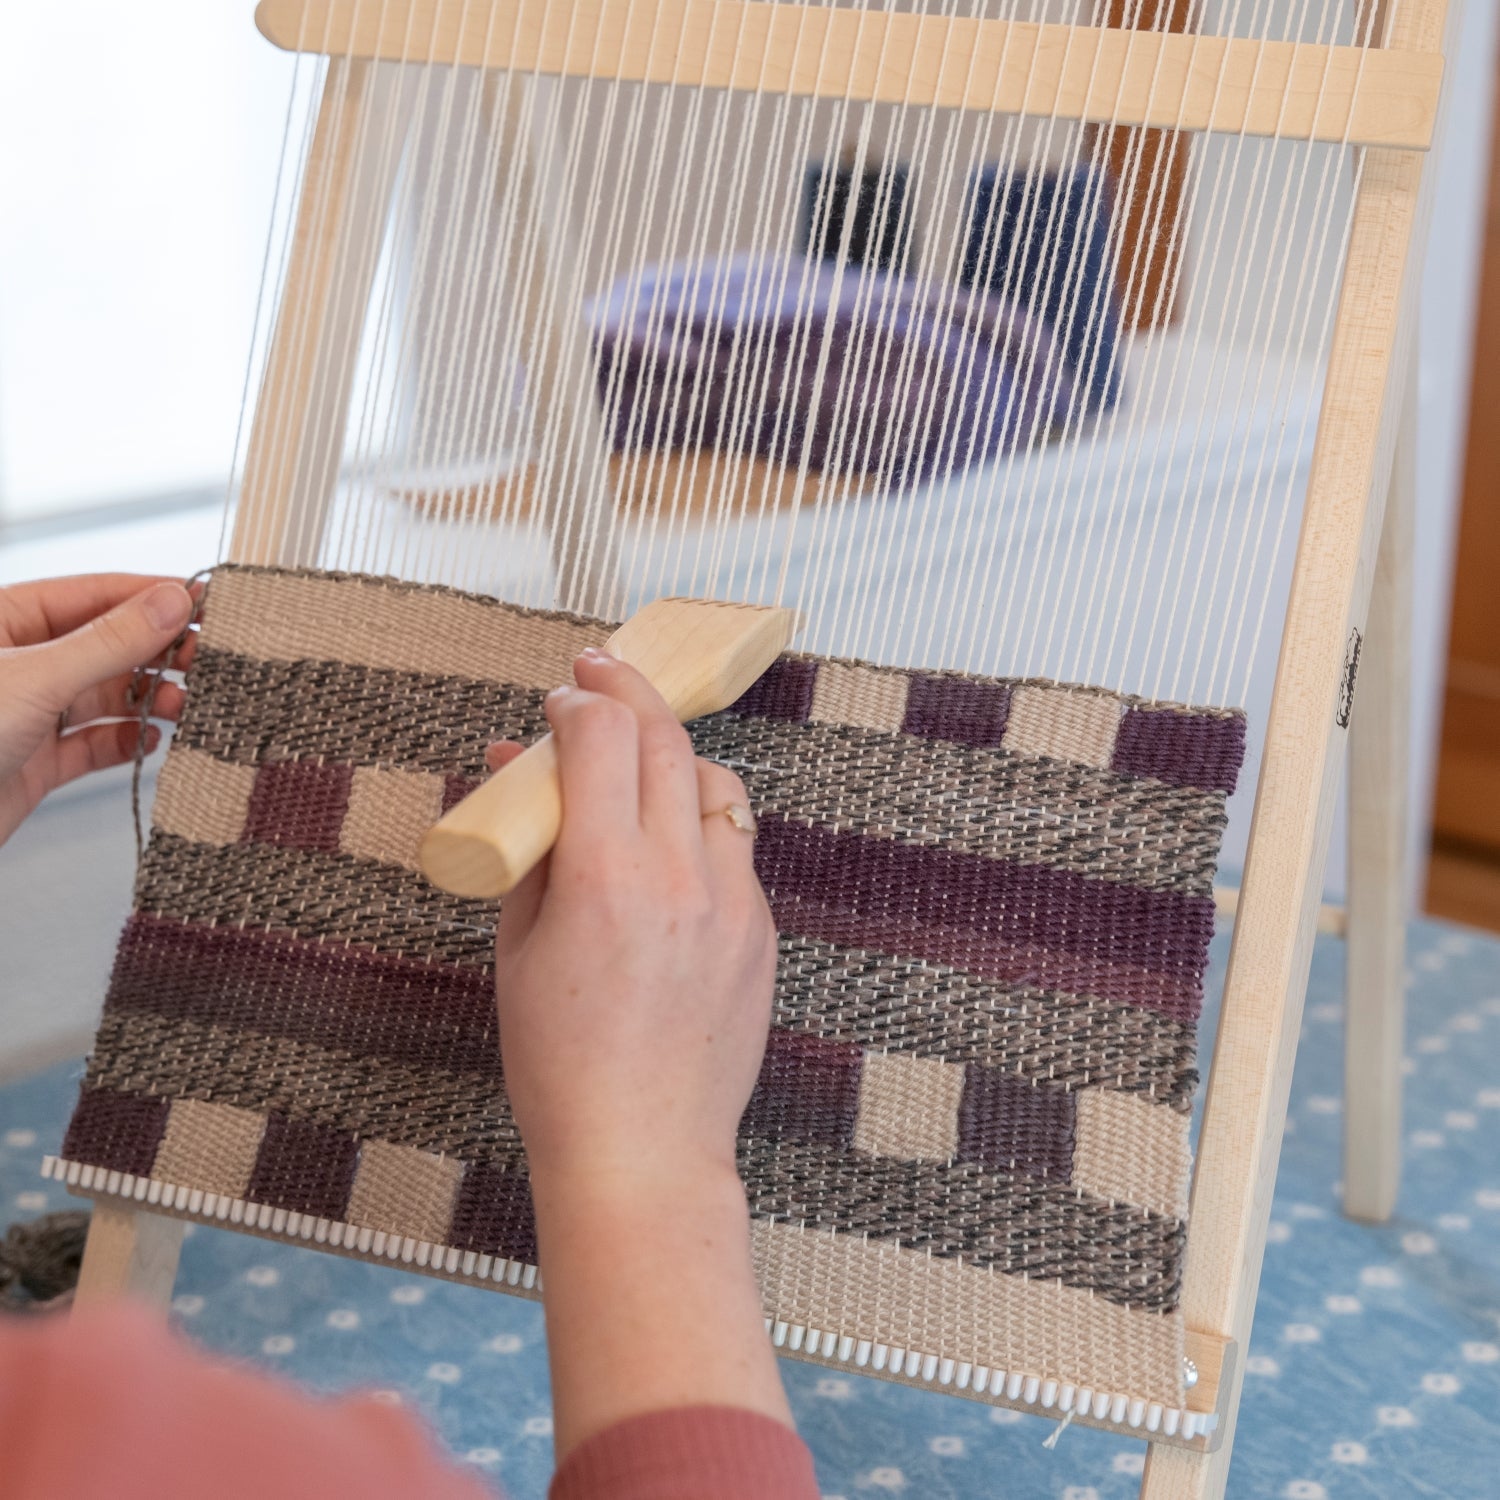
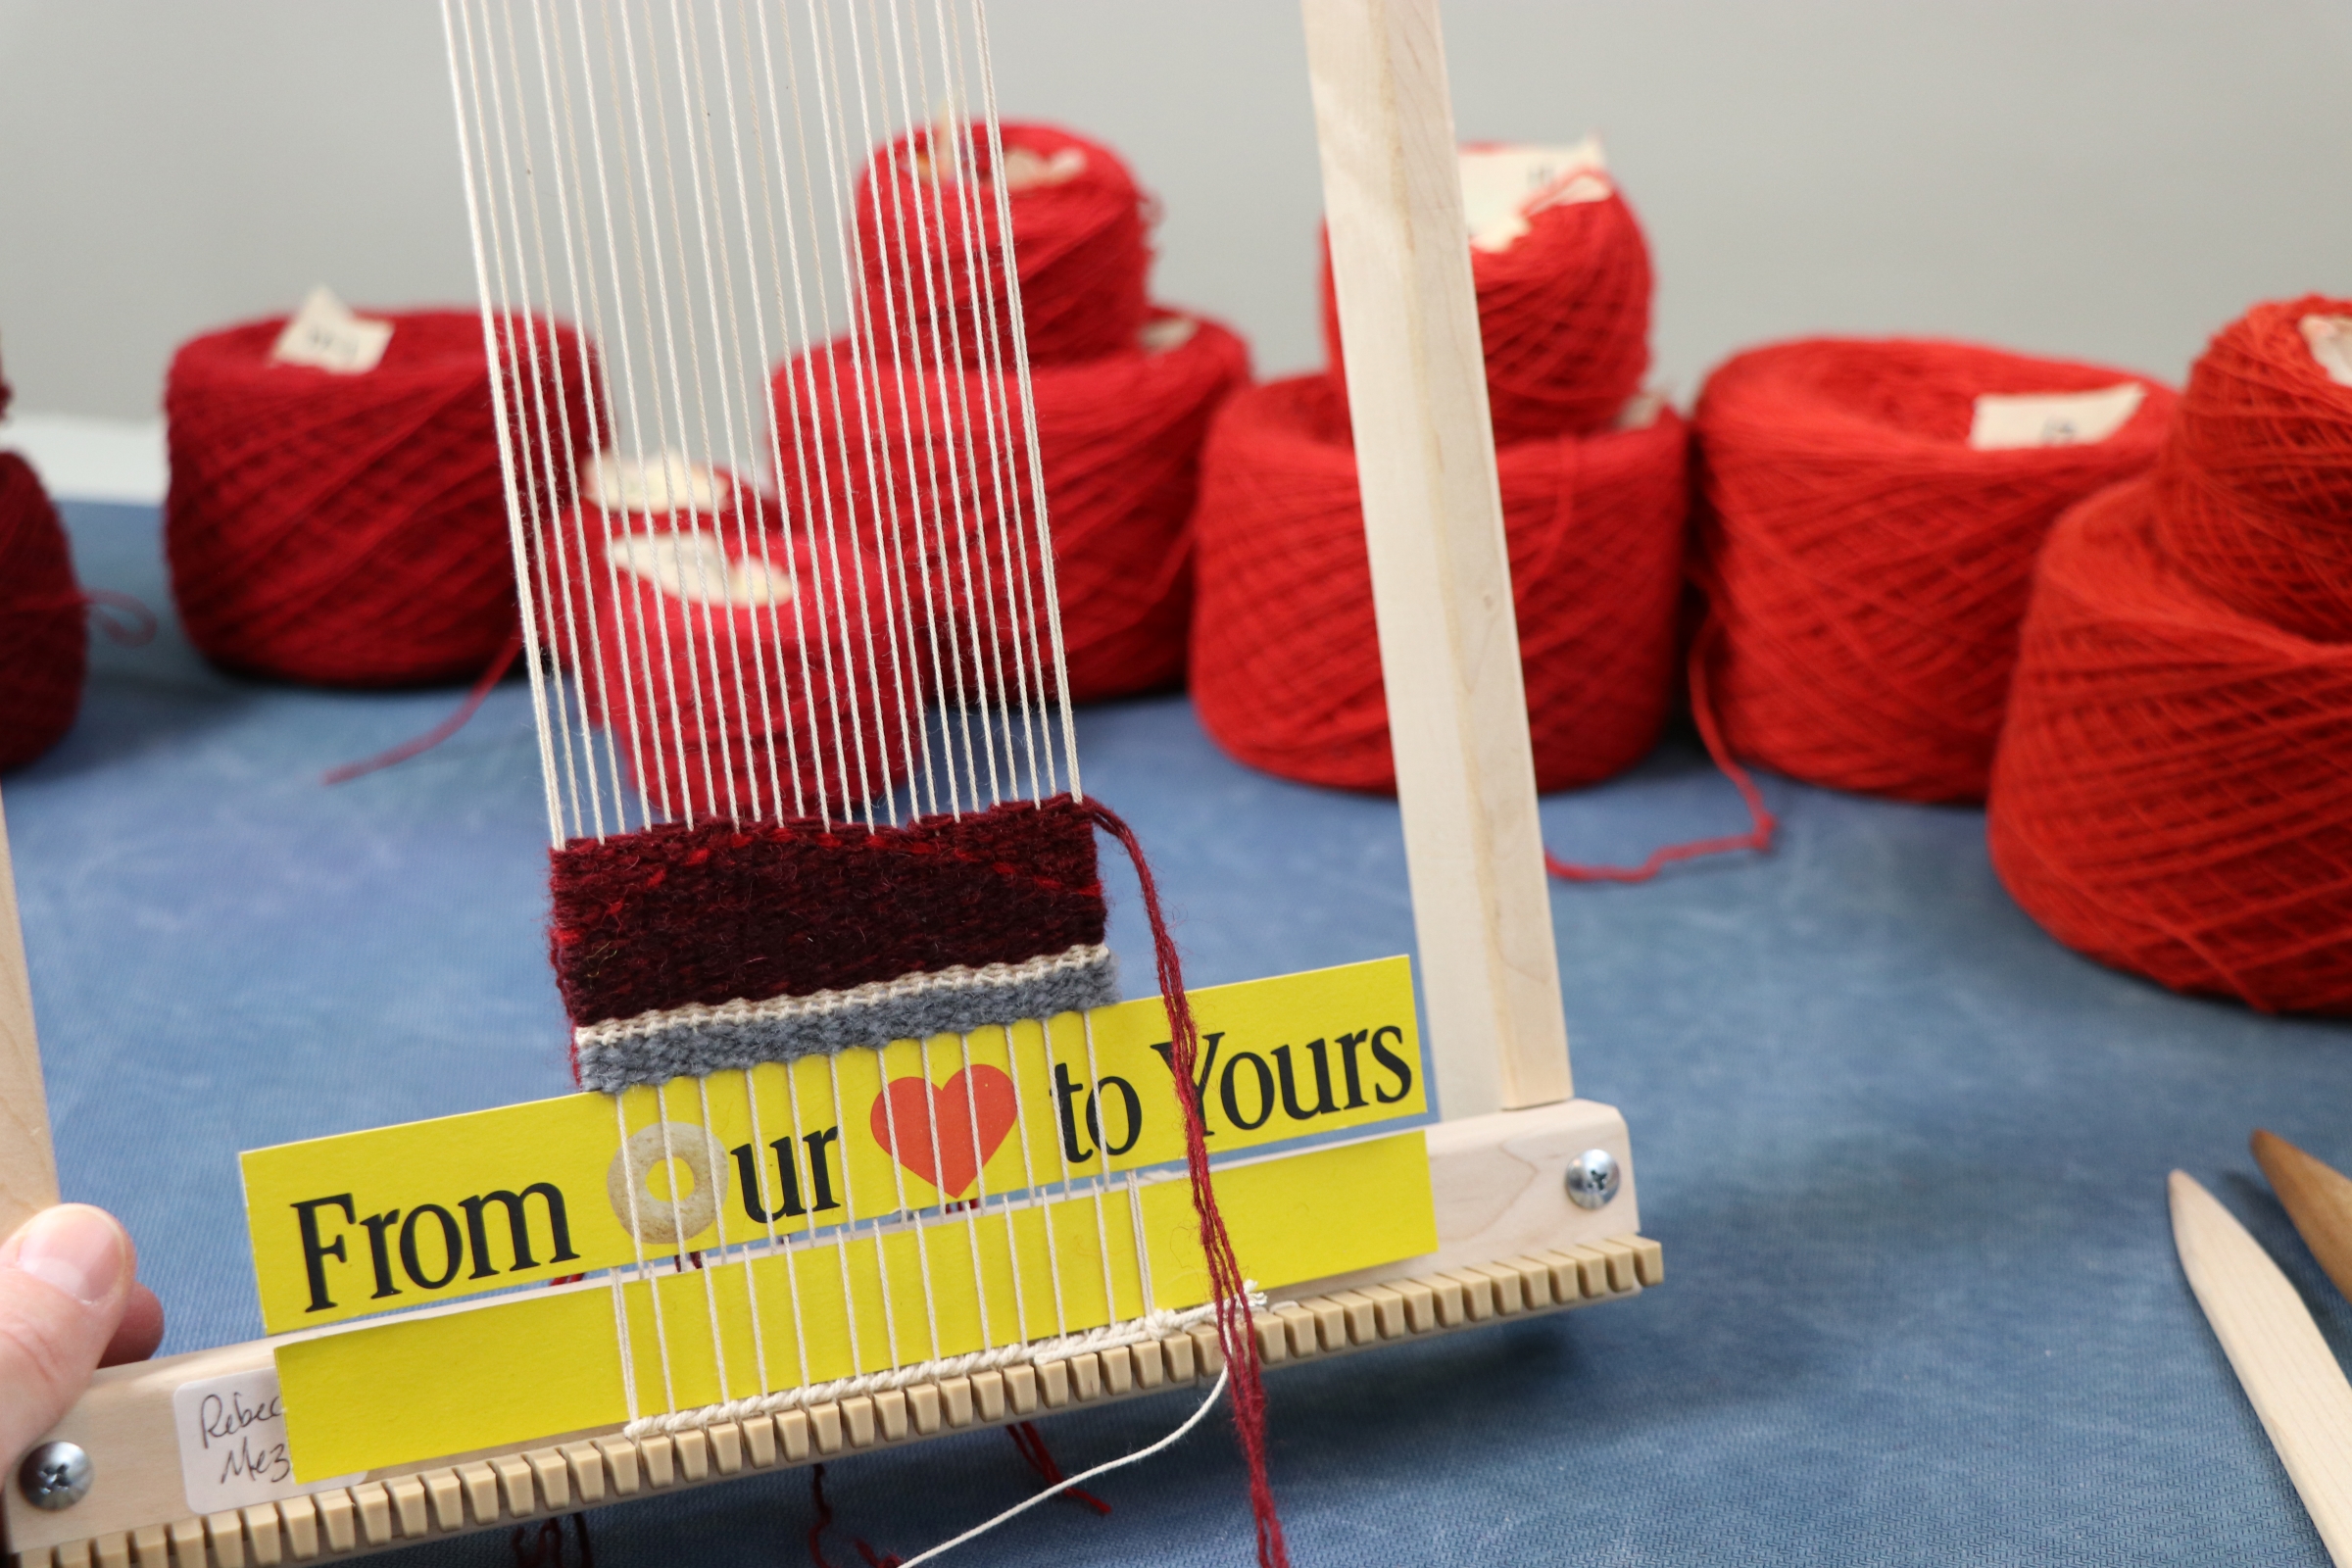
From here, you are ready to put in any header you’d like and start your tapestry. I wanted to do a braid at the edge of my finished tapestry so I put some cardboard spacers made from a cereal box in and then did 4 sequences of waste yarn to get the warp spacing perfect. The waste yarn matched my weft yarn in diameter; I used a different color so I could remove it easily when I was done. Then I worked a header and then started my tapestry. Happy weaving!
Video
Notes
Resources
Mezoff, Rebecca. The Art of Tapestry Weaving: A Complete Guide to Mastering the Techniques for Making Images with Yarn. Storey, 2020.
Mezoff, Rebecca. Weaving Tapestry on Little Looms. Online course at https://rebeccamezoff.com/online-learning.
Patrick, Jane. Explore Tapestry Weave-Along. Online course at https://textileschool.schachtspindle.com/courses/explore-tapestry-weave-along.
My blog discusses weft yarns and many other aspects of tapestry weaving. See these examples:
- Mezoff, Rebecca. “Can you use knitting yarn for tapestry weaving?” January 18, 2018, https://rebeccamezoff.com/blog/2017/3/12/can-you-use-knitting-yarn-for-tapestry-weaving.
- Mezoff, Rebecca. “What makes a good tapestry yarn?” January 25, 2018, https://rebeccamezoff.com/blog/2018/1/5/what-makes-a-good-tapestry-yarn.


