By Jane Patrick
Trying new things was on the top of my list for 2018, so I signed up for a 3-day painted warp workshop given by Sarah Saulson at my LYS, Shuttles, Spindles, and Skeins. It had been nearly 20 years (!) since I’d taken a formal class, and I found the experience rejuvenating.
Preparation for Warp Painting
We were to come with our looms warped for 2 scarves (I did not want to be warping my Wolf Pup 8.10 the night before). As I did when I was editor of Handwoven, I set up a little chart with mini deadlines. I purchased my warp yarn (tencel) 2 weeks ahead of time. I then scheduled the warping tasks in little bites: Winding the warp one evening (7 yards x 180 ends—24 epi x 7.5” wide), sleying the reed another evening, and then threading the heddles over 2 more evenings. Finally, I wound the warp onto the warp beam 2 days ahead of the workshop (yeah!).
First Day of Warp Painting
The first day we learned about fiber reactive dyes, explored the color wheel, and learned the basics of how to mix the Procion dyes we’d be using to paint our warps. My pre-thinking was that there was a lot of mystery to dyeing, but Procion dyes are actually quite easy to use—especially with our expert teacher guiding the way.
We first covered the table with heavy plastic; each 8’ table could accommodate 2 warps, one on either side. Then, we unrolled a length of warp for our first scarves. Unwinding the warp from the loom seemed all wrong, but after my first anticipatory terrors, I found it quite benign. Before unwinding, we wove a flat stick into the warp, then we placed the breast beam against the end of the table, and carefully, carefully, smoothly pulled out the warp to the other end of the table, securely clamping it to the edge of the table with c-clamps.

Our lovely white warps awaited us. I came with an idea for a very pale blue and green color palette based on a watery photograph. I tried not to have a definite idea, but rather I wanted to focus on learning how the dyes worked on the yarn, as well as the dye delivery, whether by brush or sponge.
Over years of teaching both adults and children, I’ve discovered that children are willing to just explore and play, whereas adults are more focused on the finished piece. When I teach, I try to encourage my adult students to play with abandon—rather than focus on a perfectly finished product. I have to say, though, practicing what I preach is easier said than done. It was really hard to play without the finished scarf in mind.
At the end of the day one, we covered the painted warps with plastic to allow the dye to cure overnight.

Second Day: More Experimentation with Painted Warps
First thing the next morning, we rolled up the still-wet warp in plastic and pulled out another length of warp for our second scarf. For this second scarf, I tried to control a simplified design for a more defined pattern. At the end of this day, we again allowed the scarf to cure under plastic. Later that evening, Sarah and the Shuttles staff unrolled the warps to allow them to dry before the next morning when we would commence with the weaving.
Third Day: Weaving with Painted Warps
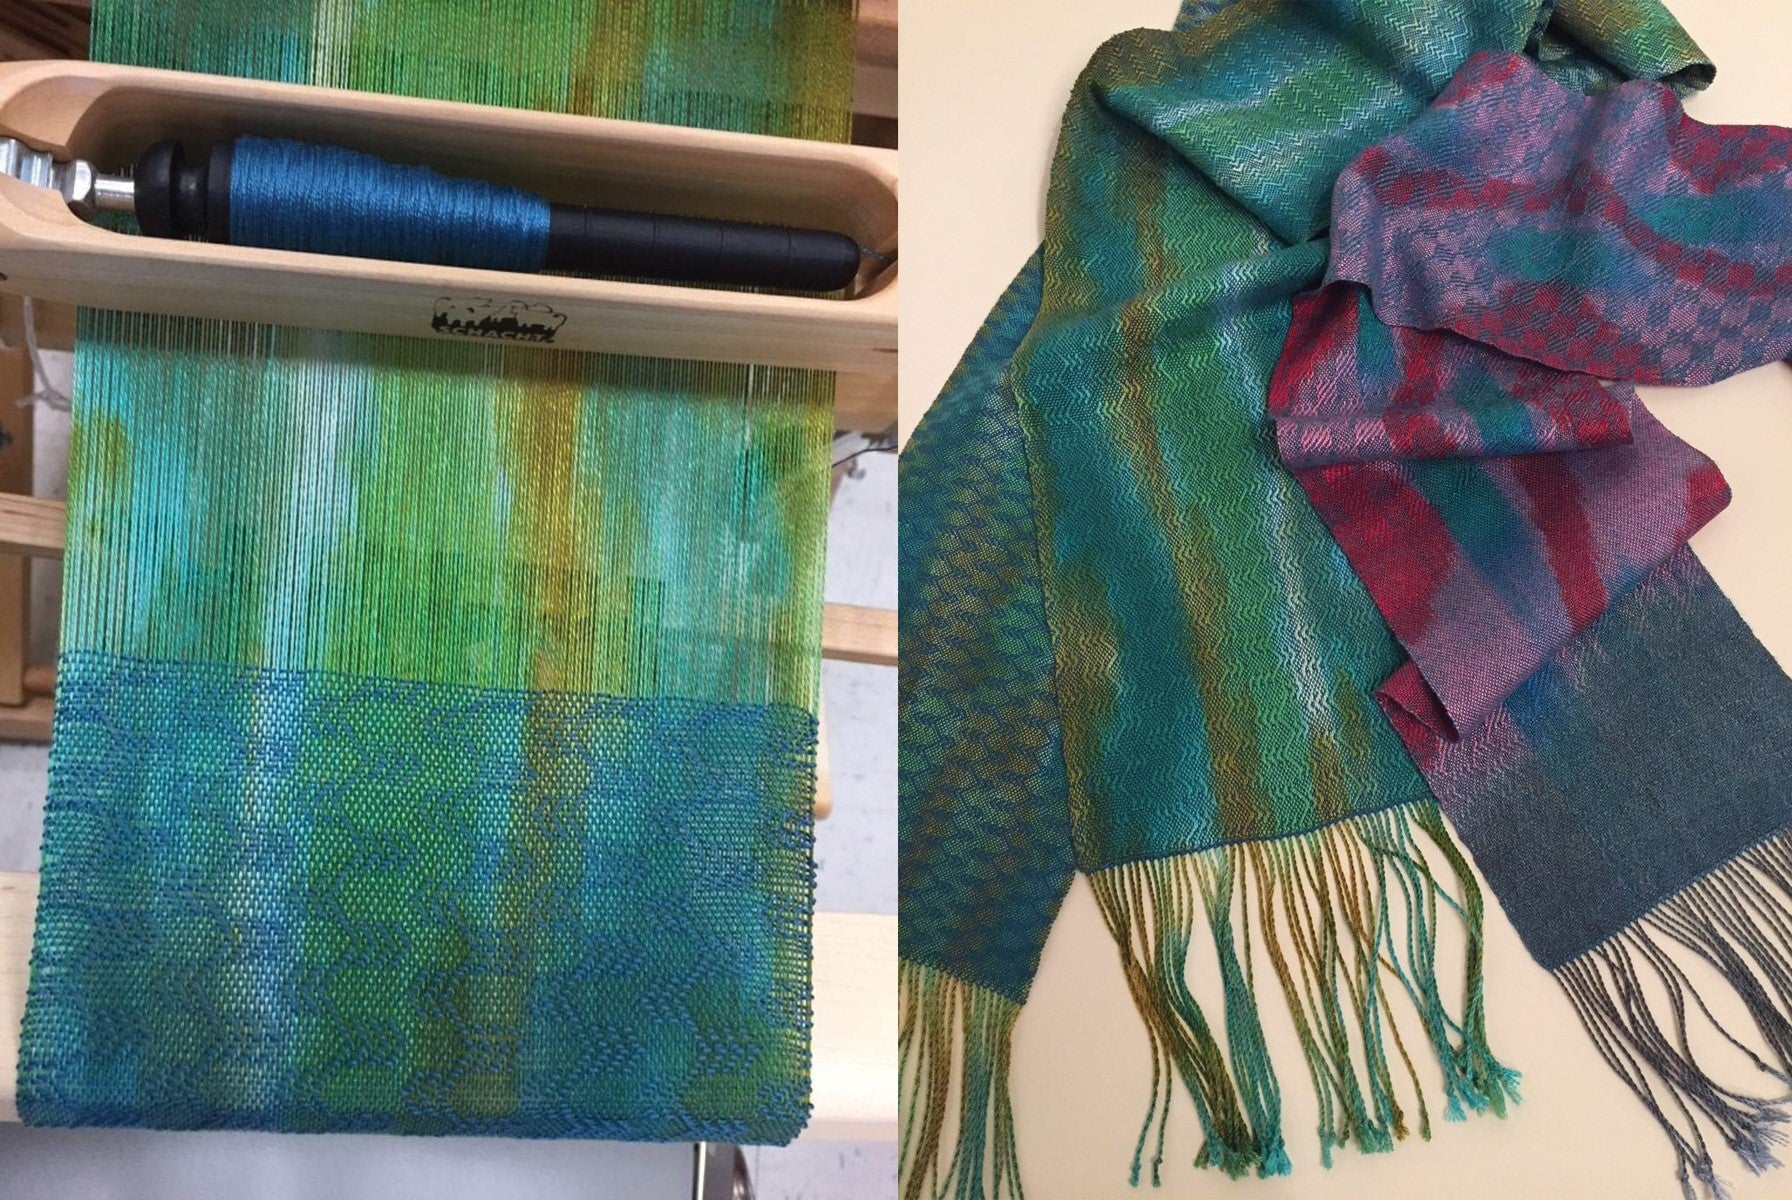
It was both disappointing and thrilling to see my dried warps. Even though I had used very diluted dye for the first scarf, it turned out a medium color rather than the soft hues I had imagined. My second scarf of bold patterning did meet my expectations and were the medium value I wanted.

Choosing the weft colors proved to be the most surprising aspect of the workshop. Because of Sarah’s experience and eye for color, she helped us find just the right weft color that would let the warp painting do the talking. Sarah’s technique is to lay down just one yarn along the painted warp. The group mostly agreed which color worked best—interesting that just a single thread could reveal so much.
For the most part, a contrasting color in a darker shade brought out the warp colors. After a bit of trial and error we were off and weaving. What fun to see the warp and weft interact—one of my great loves of weaving.
We had only just begun weaving our first scarf by the end of the day, but we were all curious about what everyone’s scarves would look like when finished. The group decided to have a show and tell gathering two weeks hence so we could see the finished results. Here are some of the scarves.

Take Away: The unintended is just as valuable as the workshop topic. I went to the workshop expecting to learn about warp painting; I left with much more. I had never woven with tencel and found I loved working with it. The workshop was full of great folks who I enjoyed spending time with. The learning and sharing between the participants was an added bonus. I learned a new way to choose my weft color.
Advice: If you have a chance to take a workshop from a guest instructor, just do it. The time, money and experience will inspire and energize your weaving creativity.

