Clasped Weft Pillow - Pillow Month
Designed by Heather McVickar
Our second contribution to our pillow month series comes from Heather, our Sales and Marketing Director. A relatively new weaver, Heather chose to weave her project on our 15” Cricket Loom and challenge herself with a new technique, clasped weft. She also wanted to try out weaving with a boat shuttle and used the Schacht 9” Mini Boat Shuttle.
Project Specs
Weave structure: clasped weft
Warp length: 45"
Width in reed: 15"
EPI: 5
What You'll Need
-
Warp yarn: worsted weight yarn in pink, about 200 yards needed
-
Weft yarn: Worsted weight yarn in navy and same pink as used for the warp, about 85 yards of each
-
pillow stuffing
-
15” Cricket loom
-
5 dent reed
-
9” mini boat shuttle
Materials
Equipment
Directions
Warping and Weaving
Being fascinated with the visual effect of clasped weft, I knew that this would be my next weaving project. I chose worsted weight yarn in two high-contrast colors that complimented each other. I used a 5-dent reed to widely space the warp because the doubled yarns in the weft wove up at 5 picks per inch. This created a balanced weave.
My goal was to make a relatively square shaped pillow, so using the 15” width, I calculated that I needed about a 45” warp length which included the front and back of the pillow plus loom waste and take-up. I used the direct warping method and sleyed the full loom width of 15 inches.
For this project, I also wanted to try using a boat shuttle instead of the stick shuttle provided with the Cricket Loom. The 9” Mini Boat Shuttle is an ideal size. I wound a bunch of bobbins with the pink yarn and was ready to start weaving!
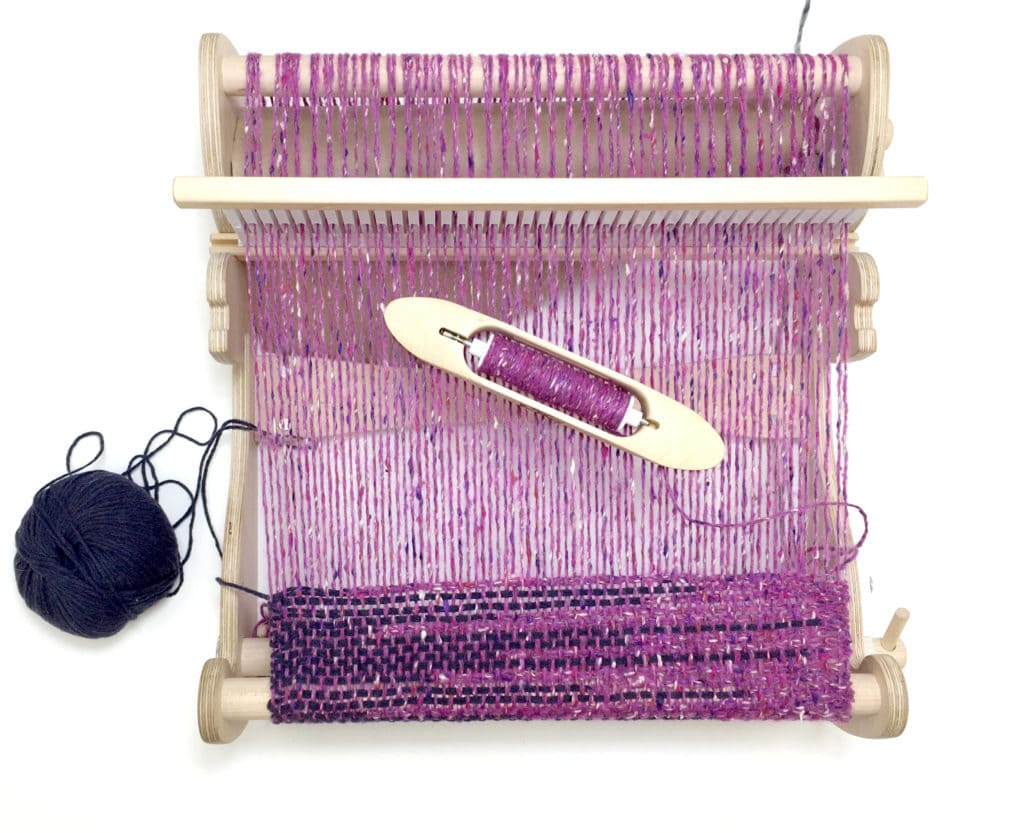
To weave clasped weft technique, you need two yarn sources: a shuttle and a yarn supply. For this project, I put the ball of navy yarn in a bowl on the left side of my loom and started my shuttle from the right side. I wove this piece in plain weave, the heddle alternating between the up and down positions as shuttle passes back and forth. I began with several rows of scrap yarn to space out my warp threads and then wove several rows of pink. Now, I was ready to incorporate the navy yarn to create the clasped weft pattern.

Using the boat shuttle, passing it from right to left, I inserted the shuttle through the shed to the other side, exiting the shed and looping around the navy yarn to catch the navy yarn feeding from the ball in the bowl. Leaving the heddle in the same position, I then returned the shuttle back to the right side, pulling the navy yarn along to where I wanted it placed in the shed. Note: It is important to watch your edges as you pull the yarns into position so they don’t draw in the selvedge. Adjust the weft in the shed and then beat gently. Change sheds and repeat as before, beating in the weft for a balanced weave.

I loved using the mini boat shuttle! I found that I could get a much better rhythm passing it back and forth without having to twist the yarn off a stick shuttle.
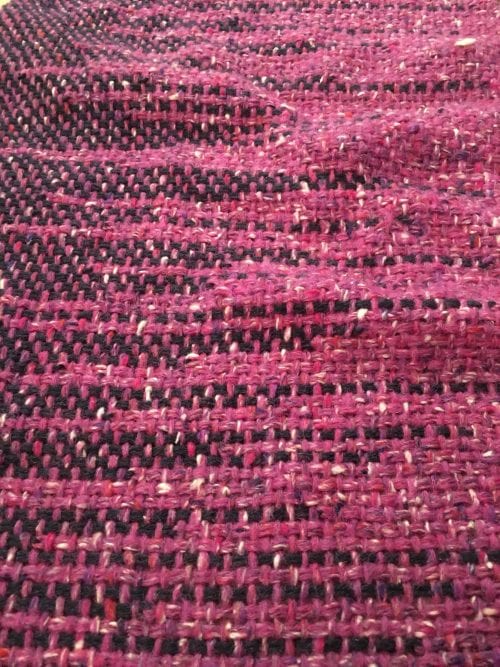
Fresh off the loom, my fabric measured 13” wide by 31-1/2” long. I placed it in a hot, soapy bath and massaged it gently, then let it rest for a few minutes. I rinsed out the soap and I squeezed the excess water out by rolling the fabric up in a towel, shaping it, and letting it dry flat. I was pleased how the fibers filled in the spaces and created a relaxed, soft fabric that only shrunk in length by an inch.
Assembly
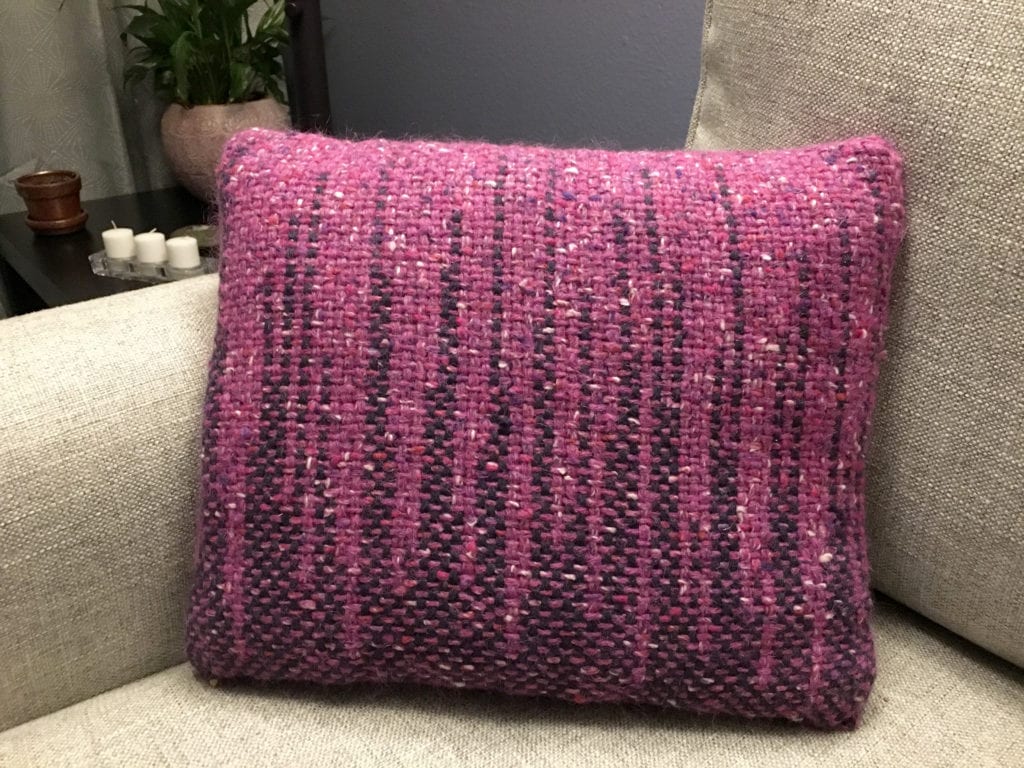
I folded the fabric in half with the right sides together and back-stitched along one long edge then the short edge, leaving a long edge open for stuffing. I flipped the pillow inside out, stuffed the pillow with some recycled packing material I had on hand, and sewed up the opening. My finished pillow measured 13” x 15” inches.
I am thrilled with how this project came out! The clasped weft technique was easy to do and has a nice visual impact. I can see playing with this technique and creating more graphic, planned designs in the future.

