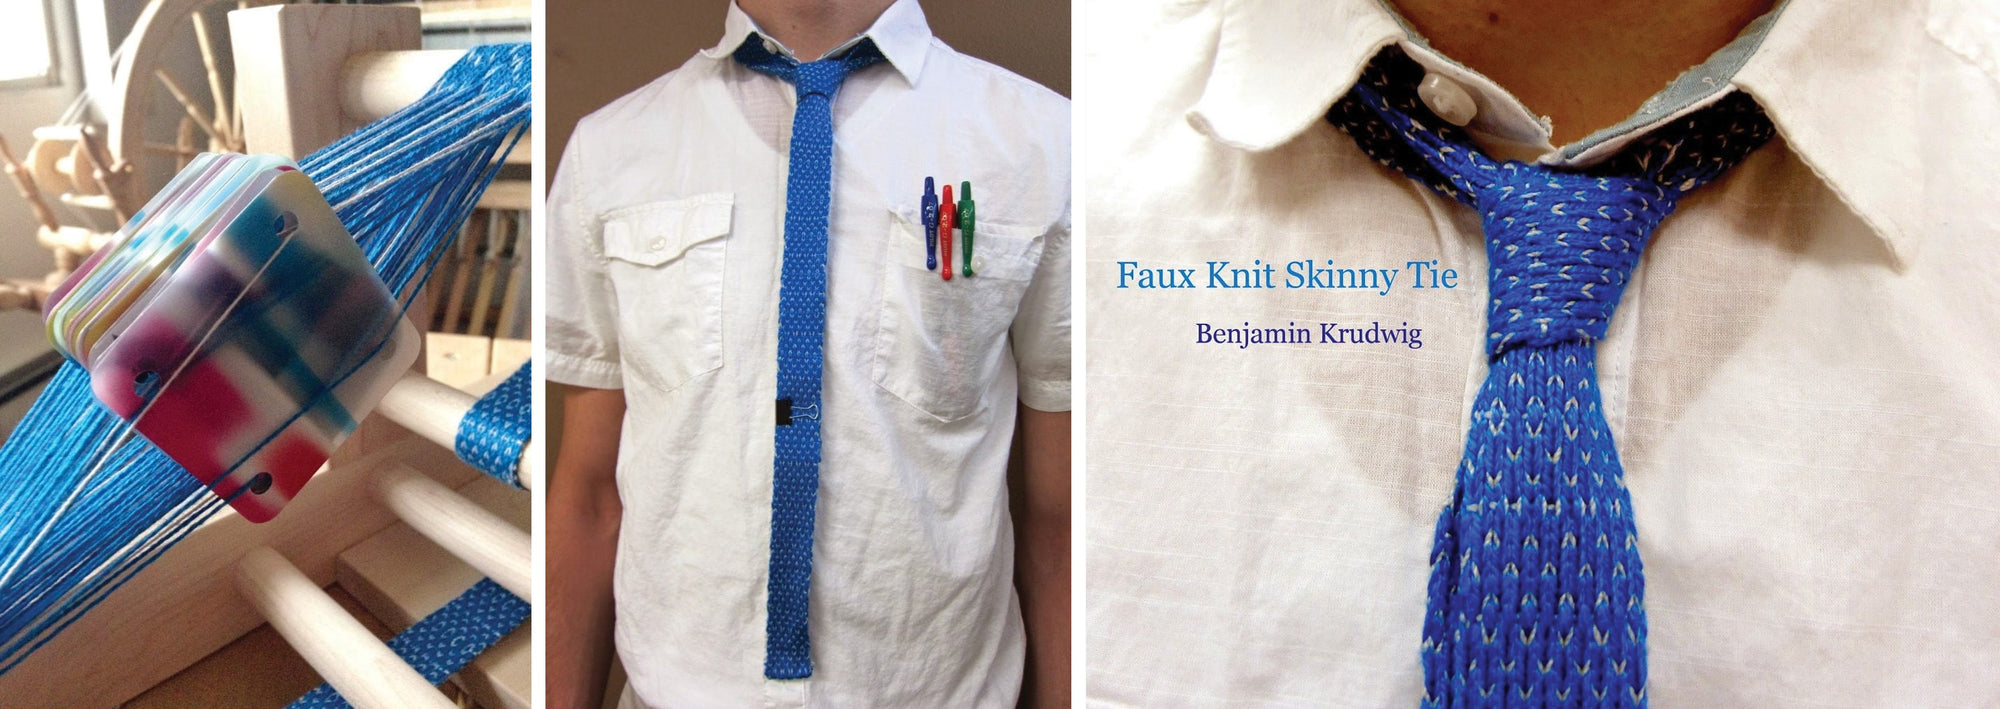
Faux Knit Skinny Tie
By Benjamin Krudwig
A few months ago I watched the new videos from John Mullarkey on tablet weaving, "Tablet Weaving Made Easy" and "Double-Faced Tablet Weaving" and thought, I want to do some tablet weaving. I took a pack of playing cards that I have always loved the look of, and cut them down, and punched some holes in them to create my own pack of tablet weaving cards. I put them away and became busy with other projects.
When we decided that we were going to do projects for our next office challenge with the Schacht inkle loom, I had a pretty good idea of what I wanted to do. I started on one project but found I needed to rethink it due to time constraints. I then remembered that I had wanted to explore tablet weaving. So, I dug out my cards and leafed through an old pattern book. Ultimately, though, I decided to make up my own pattern. The resulting tie hearkens back to the 50s and 60s when skinny ties were popular, particularly with the rise of the Beatles.
What You'll Need
-
warp yarn: 60 total ends of Valley Yarns 5/2 Bamboo in Blue Ming—about 11 yds
-
warp yarn: 20 ends of Valley Yarns 8/2 Unmercerized cotton in Silver Gray—about 4 yds
-
weft yarn: 8/2 Unmercerized cotton in Silver Gray
-
20 card weaving cards
-
inkle loom and belt shuttle
Directions
My warp path around the inkle loom was A-B-C-1-2-4, repeat (approximately 6.5 feet). To warp continuously, I watched this video and found it very helpful, though I warped directly on my Schacht inkle loom. I also found our winding station a useful tool for this type of warping, but is not essential.
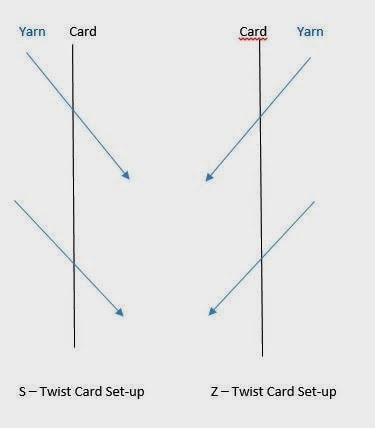
I set up the cards with 3 of the holes threaded with the Blue Ming and one hole threaded with Silver Gray. I arranged the cards in pairs, facing two cards (S and Z twist) with the same color order towards each other to achieve knitted V stitch look. See threading chart below.

Hole position and twist position:
SZSZSZSZSZSZSZSZSZSZSZSZA B C D
Turning pattern:
1. Forward - 8
2. Backward - 8
repeatFinishing: Cut the band off of the loom and measure the length by draping it over your shoulders. Make sure the ends are even, and then cut each side about 3" above your waist. I folded up the ends about a 1/4" and used fabric glue to hold the ends in place and prevent them from fraying.


