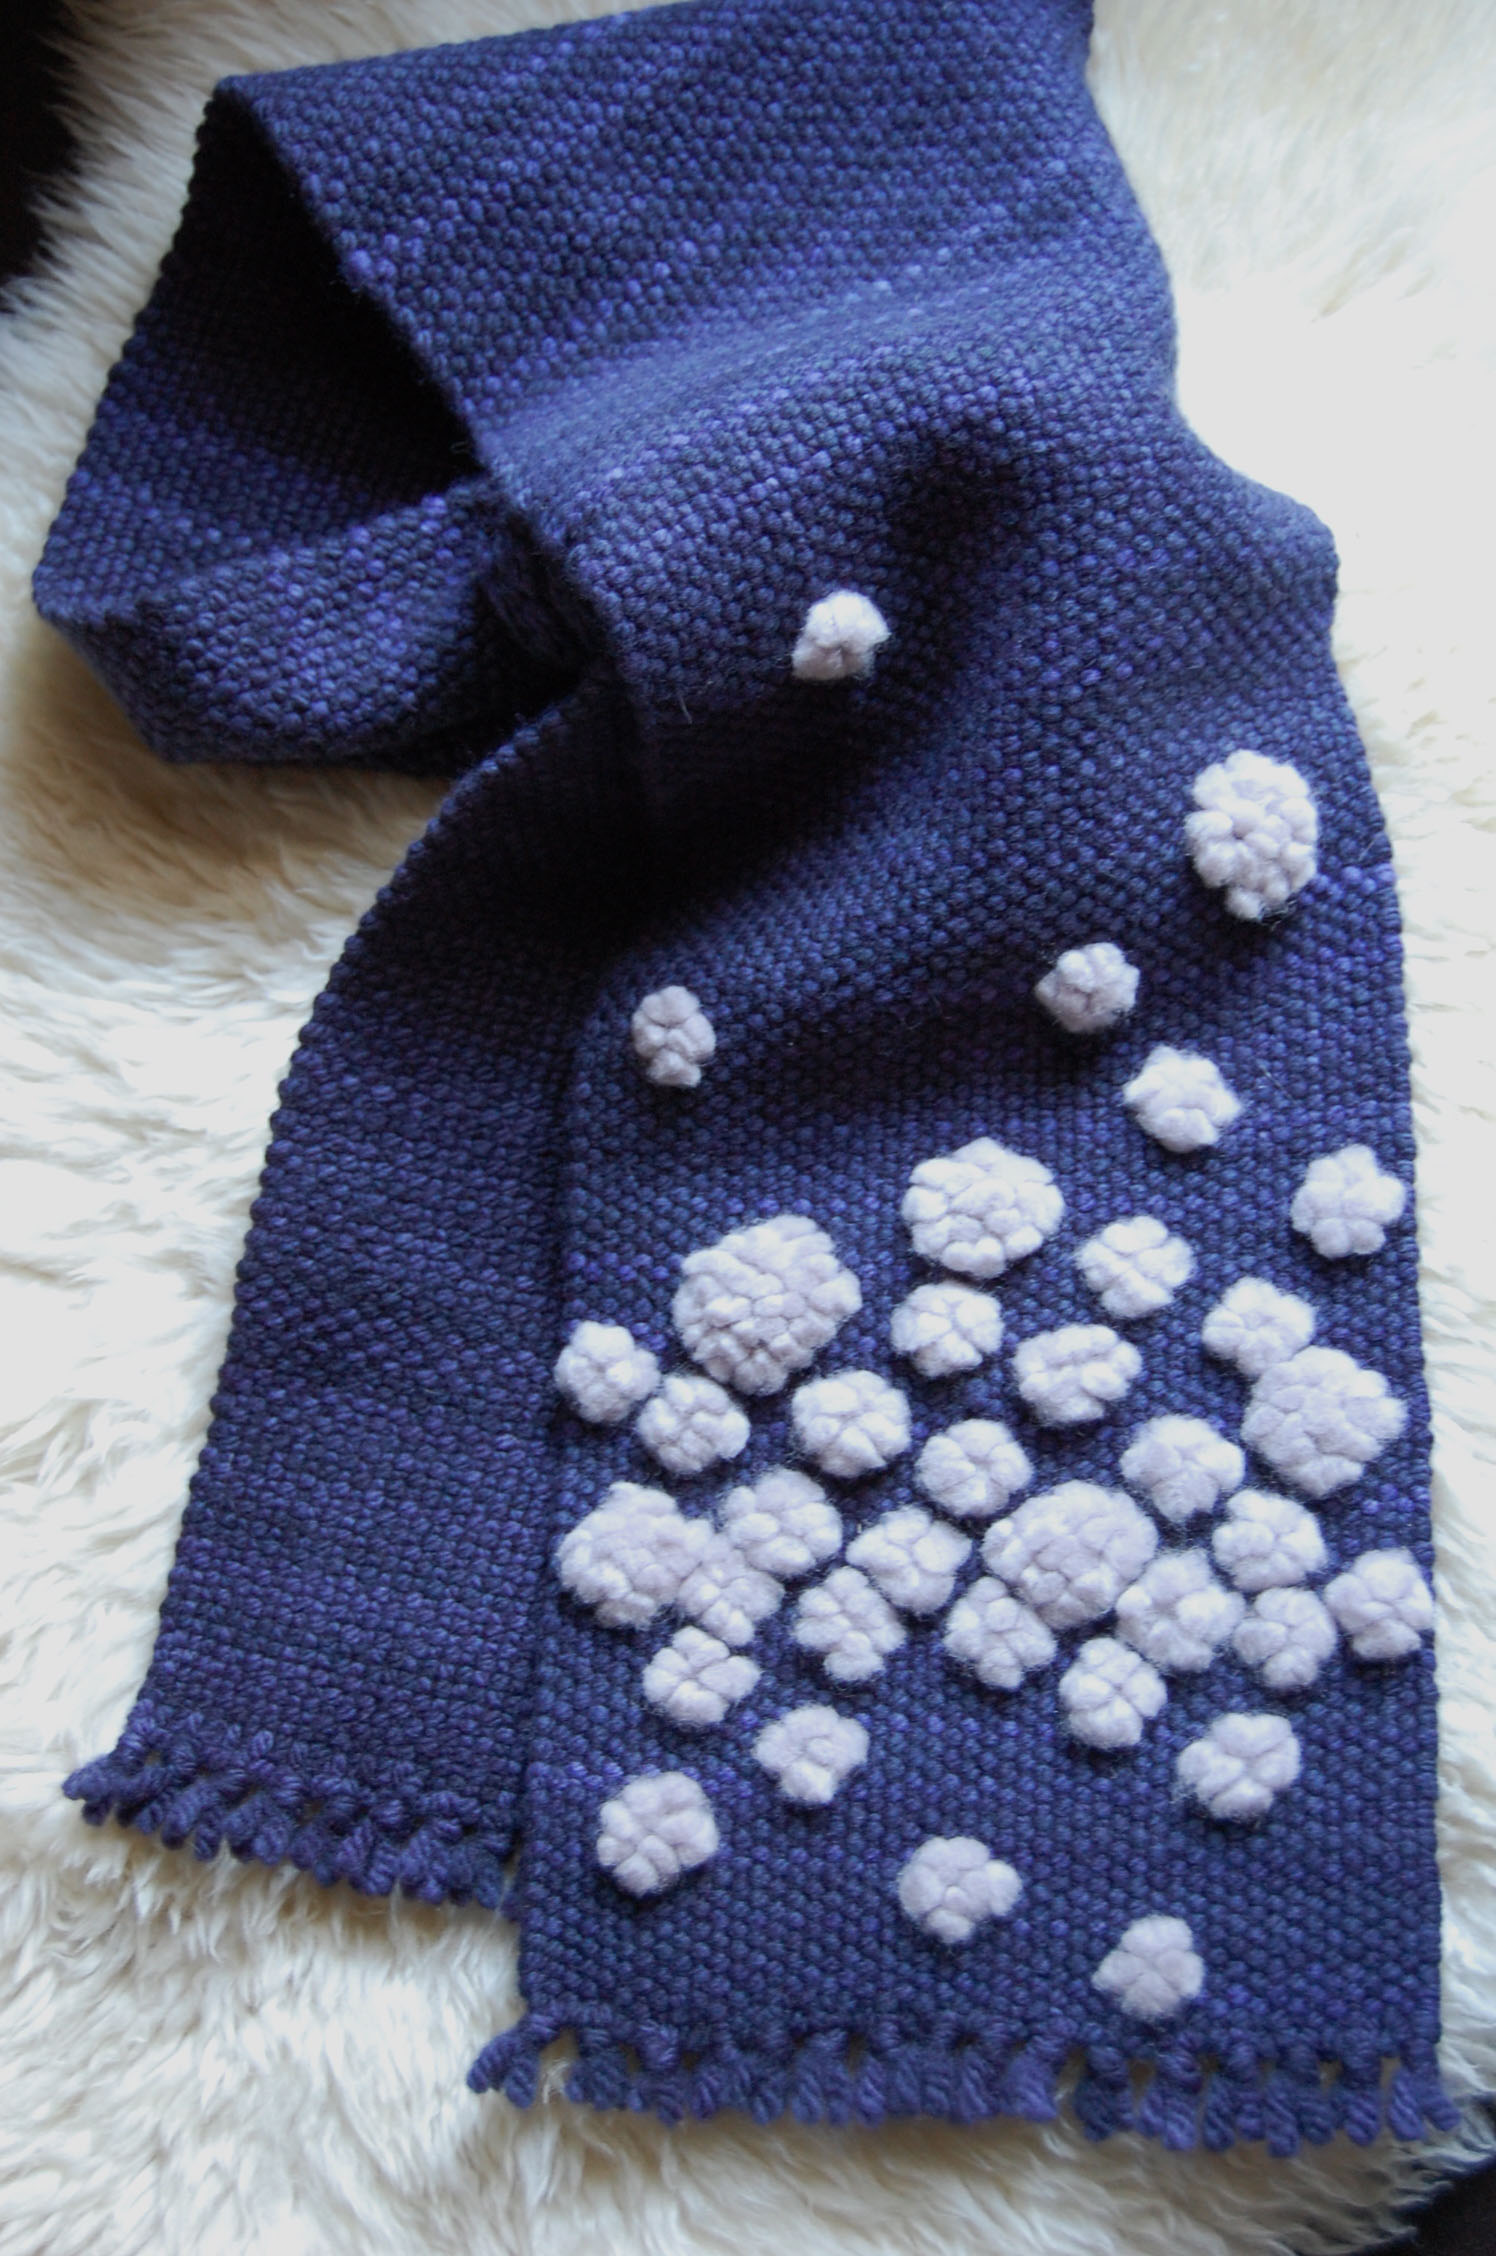
Happy Little Clouds Scarf
By Melissa Ludden Hankens
When autumn rolls around, I can’t help but feel excited about dusting off my scarf collection. Shortly after reviewing the ever-growing, yet neatly folded pile, I inevitably determine it is lacking that perfect scarf. And shortly after determining that my collection of scarves is lacking, I am sketching out a plan for a new scarf. This tends to happen a few times before spring comes along - quite a few times. I can’t help it. There can never be too many scarves in my life.
This time around, I wanted to make a short scarf. I tend to make long, wide scarves that wind around and around and around until my neck is no longer distinguishable from my head. They are warm, to be sure, but attempting to look left or right is generally futile, and they look like a mass of fabric rather than an art piece.
My friend Stephanie, of “Yearning to Spin” and “Woven Scarves” fame, has always inspired me to have more pompoms in my life. What’s not to love about these fluffy little balls of fun, right? So I started imagining a scarf with a cascade of pompoms raining down one end. It didn’t take long for me to conjure visions of my cat tearing this bubbly creation to bits. He did, after all, just chew through not one, not two, not three, but seven blind cords in one week!
Finding out how much it costs to get a blind restrung is enough to send a gal around the bend. Thank goodness for the internet and DIY tutorials! Anyhow, full pompoms seemed a bit impractical at this juncture, and I began to envision a suggestion of pompoms – almost like little clouds. Perhaps a cut pile technique would do the trick.
If my scarf was going to be short, I wanted it to be thick enough to provide warmth with a single wrap – decorative AND practical-ish. I decided to use Malabrigo Chunky. Not only is it soft, but the colors are amazing. I also got to use my 5-dent rigid heddle for the first time. What a treat! No spacing of warp threads or worrying about big yarn squeezing through tiny holes.
The happy little clouds were created using a basic knotting technique, the ghiordes knot. I used the same technique to salvage a disaster of a knotted rug once before.
I couldn’t help but smile at the finished product. It feels whimsical and happy. Heck, why not weave your scarf in a beautiful sky blue and embroider a bird or two amongst the clouds, or maybe stitch on some lovely bird patches? And to close, a bit of Bob Ross, his happy little clouds, and his happy cloud hair. I think he might have enjoyed this scarf.
Project Specs
Finished size: 8-1/2" x 39", plus 1/2" fringe on each end
Weave structure: plain weave and ghiordes knots
Warp length: 64" to weave a scarf approximate 39" in length, excluding fringe. If you want a longer or shorter scarf, simply adjust your warp length accordingly.
Number of warp ends: 48
Width in reed: 9-1/2"
EPI: 5
What You'll Need
-
Warp and weft yarn: Malabrigo Chunky #52 Paris Night, 2 skeins
Knot yarn: Twinkle Baby Chunky #82 Dove
If you substitute these yarns, you’ll need about 180 yards of the chunky wool for the warp and weft, plus about 10 – 12 yards of single-ply, chunky wool for the clouds.
-
rigid heddle loom with at least 10” weaving width
-
5 dent reed
-
shuttle
Materials and Equipment
Directions
Ghiordes Knots
Instructions on how to create this knot can be found on p. 143 of The Weaver’s Idea Book by Jane Patrick. I wanted to start with a few fluffy clouds here and there, building up to a denser cluster, and fading out again. I varied the size of some of the clouds, but kept the same basic structure. Plain weave picks were woven after each row of knots was tied.
To weave, throw a pick in the up position. Put your shed in neutral and place any knots that need to be placed along that row. Open your shed to the down position, and throw a plain weave pick. Return your shed to neutral, place your knots, and open a new up shed. Continue in this manner until you’re satisfied with your layout.
In other words:
Up, plain weave
Neutral, place knots
Down, plain weave
Neutral, place knots
Repeat
Weaving
- I cut about 300 3” lengths of yarn to use for my knots. I chose a chunky, single-ply wool – Twinkle Baby Chunky – because it was more loosely spun and would more easily open up to blend with its neighbors once knotted and trimmed. You may need more, as I did. My clouds were woven in a diamond shape.
- The first row had a single knot, the second row had two knots directly above the first knot, and the third row had three knots above the two. From here you could make your cloud a bit bigger with four knots, or taper it back down over the next two rows, first two knots and then one knot. Looking at the back of the scarf provides a good visual of how I accomplished this.

After weaving your scarf, remove it from the loom, and secure your fringe. I opted for a simple knotted fringe, trimmed short. Be sure to trim it just a bit longer than you like, and re-trim once the scarf is washed. This creates a neater finish.
Finishing
- The next step is to wash it. Don’t trim your clouds yet! I wanted to be sure that the slightest bit of fulling would occur to keep the knots in place once they were trimmed down. Hand wash your scarf, using just a bit of agitation, and roll it up in a towel, gently pressing out most of the water.
- I put my scarf in the dryer for about five minutes to assist the fulling process, and air-dried it the rest of the way. The goal was to ensure that the knots stayed put without stiffening the fabric in the process.
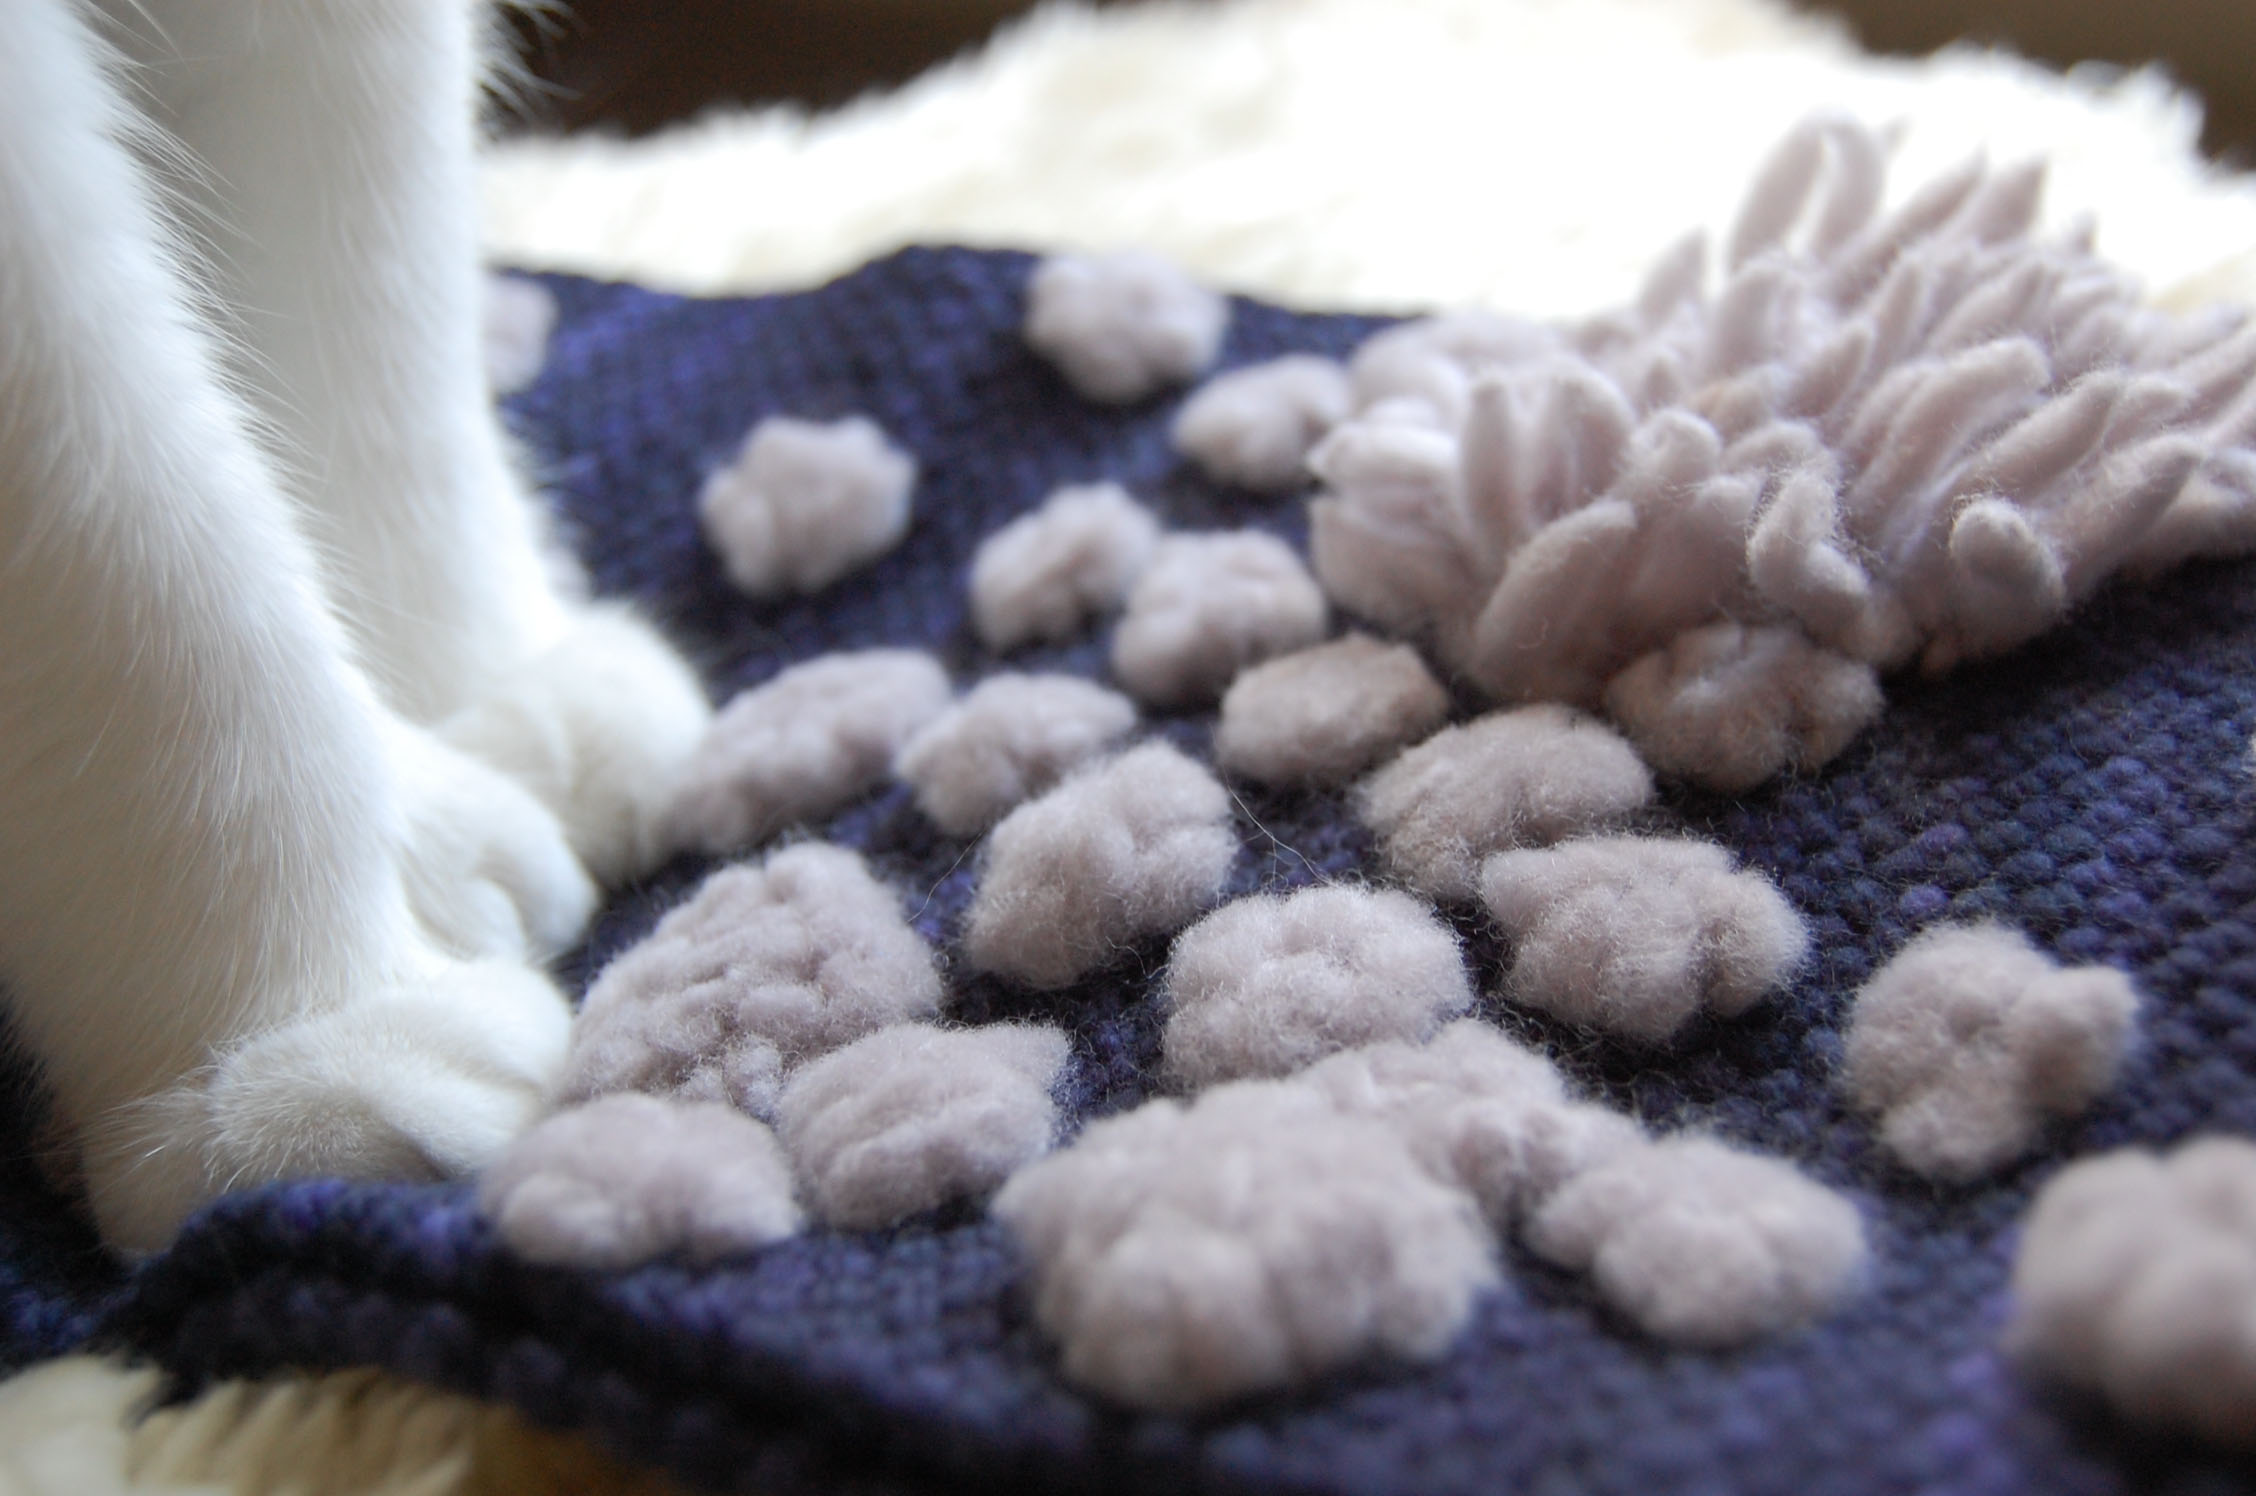
Next up is trimming your knots to create your little clouds, though you are welcome to leave them as is if you like the slightly wilder look. You can see trimmed and untrimmed knots (and kitty feet) in this photo.

I went from cloud to cloud, slowly trimming with a pair of small, precise scissors. I wanted each cloud to look like a bubble coming up off of the fabric. To achieve this, I trimmed the edges slightly shorter than the center. It was more fun than the Play-Doh Barber Shop!
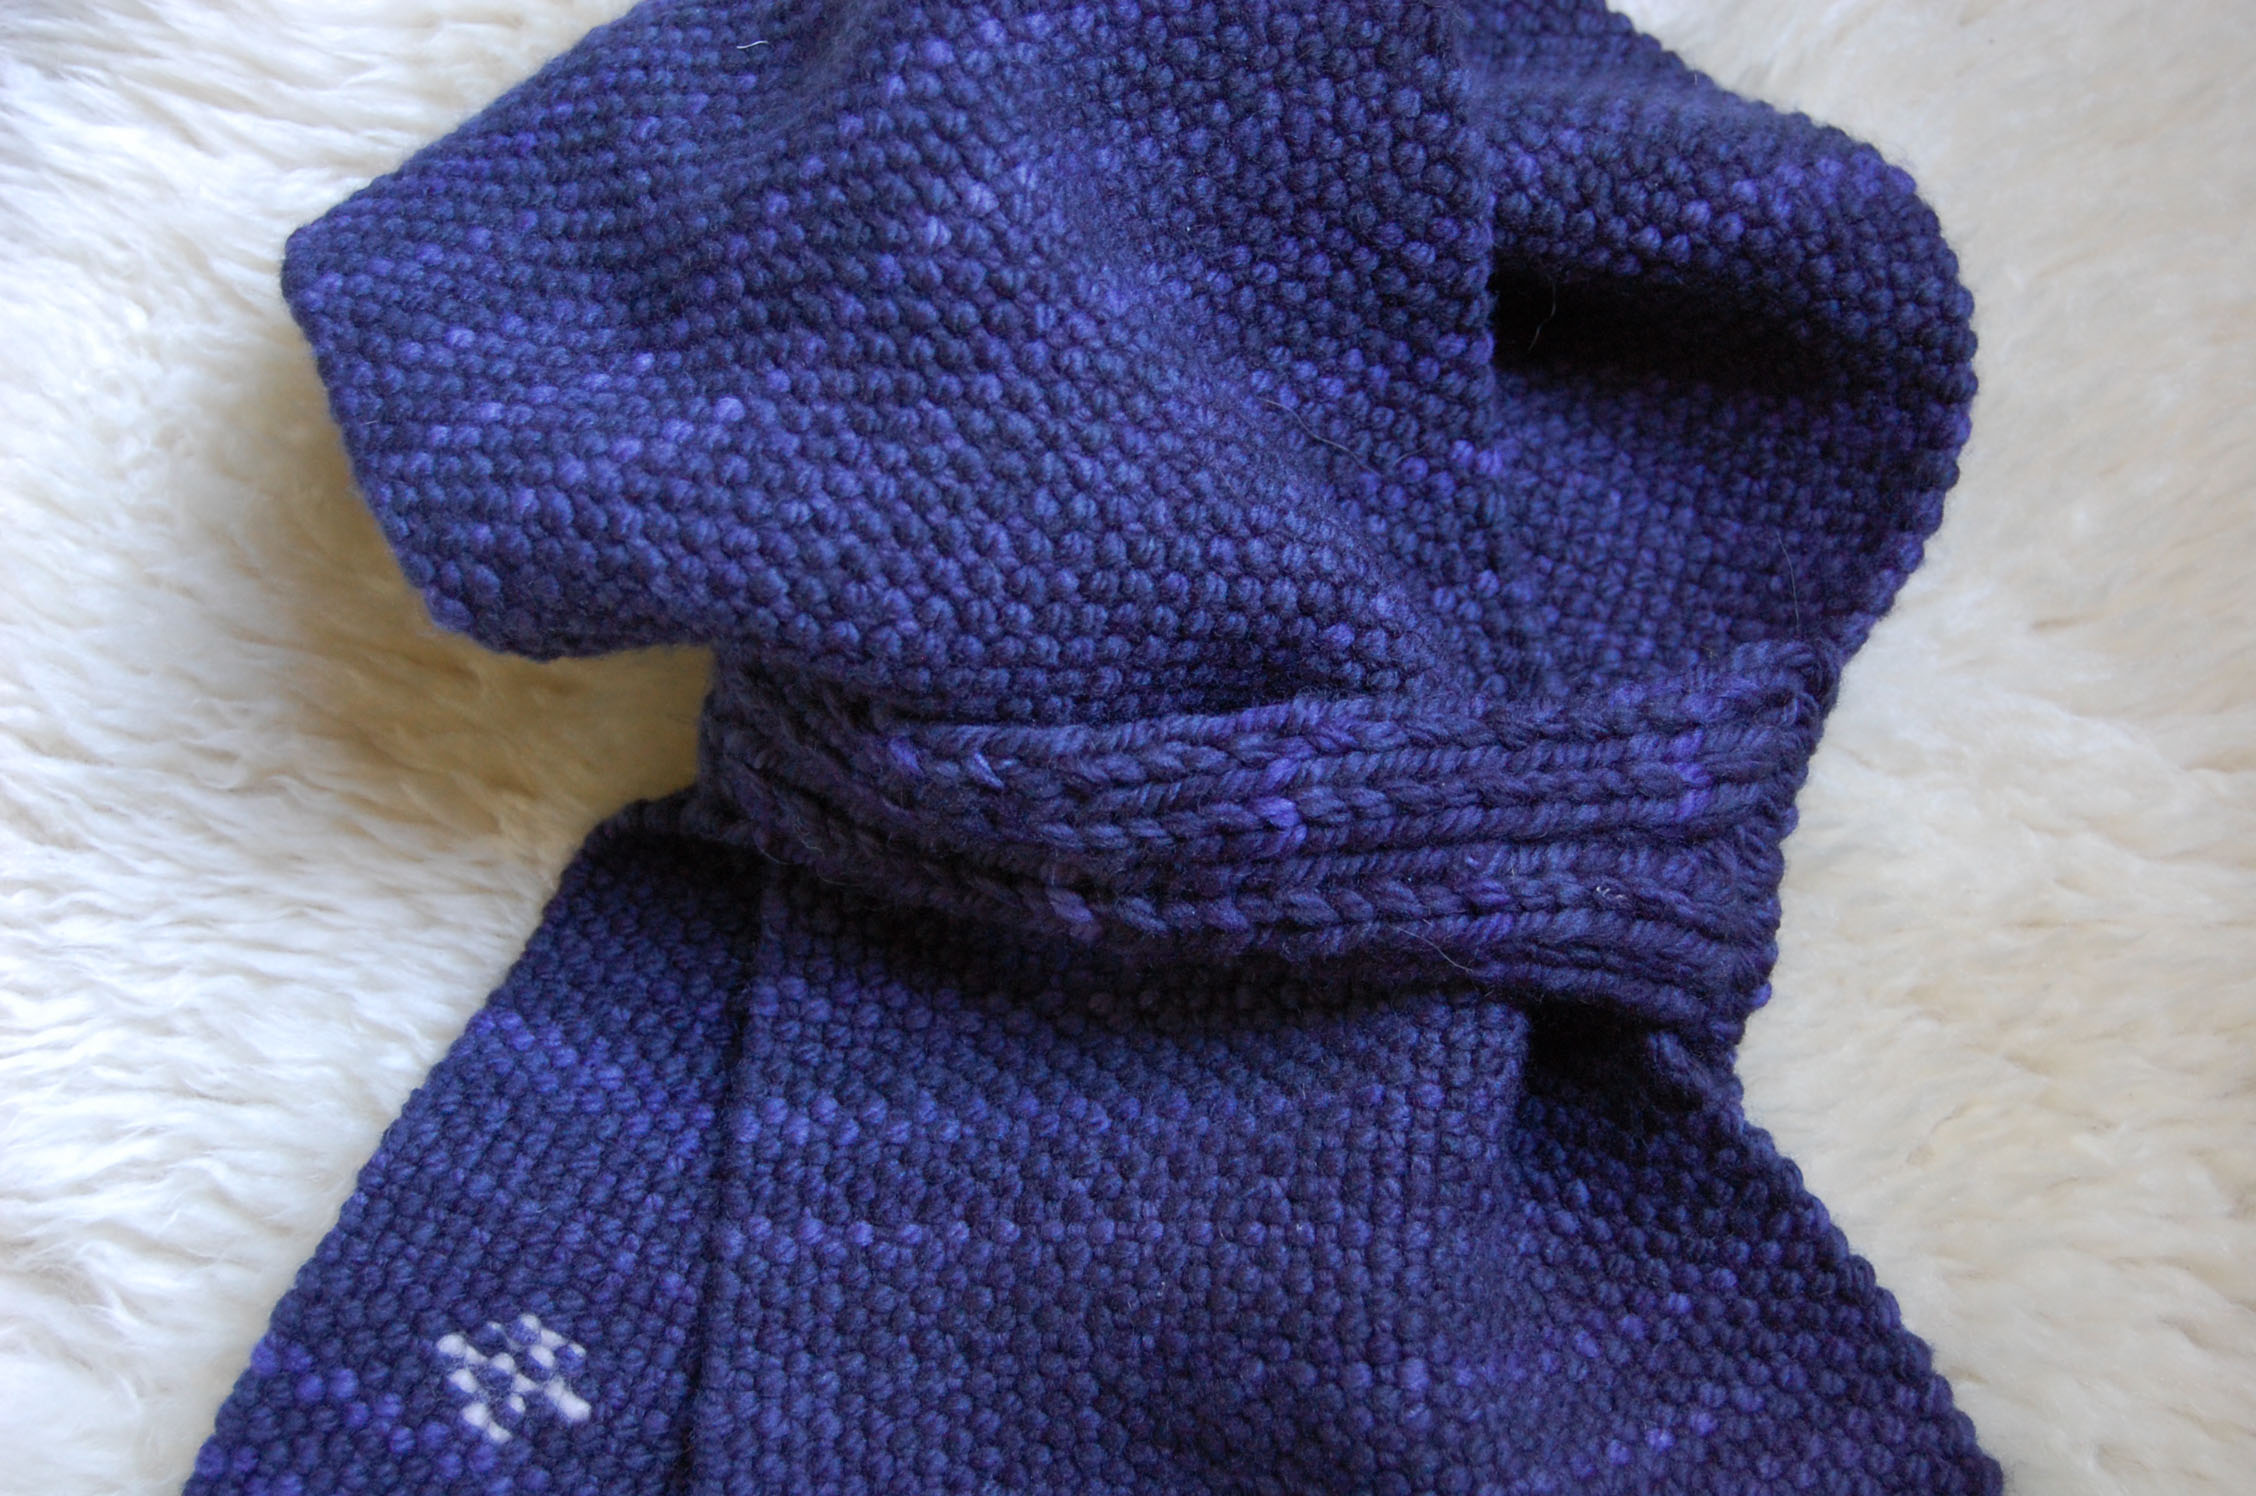
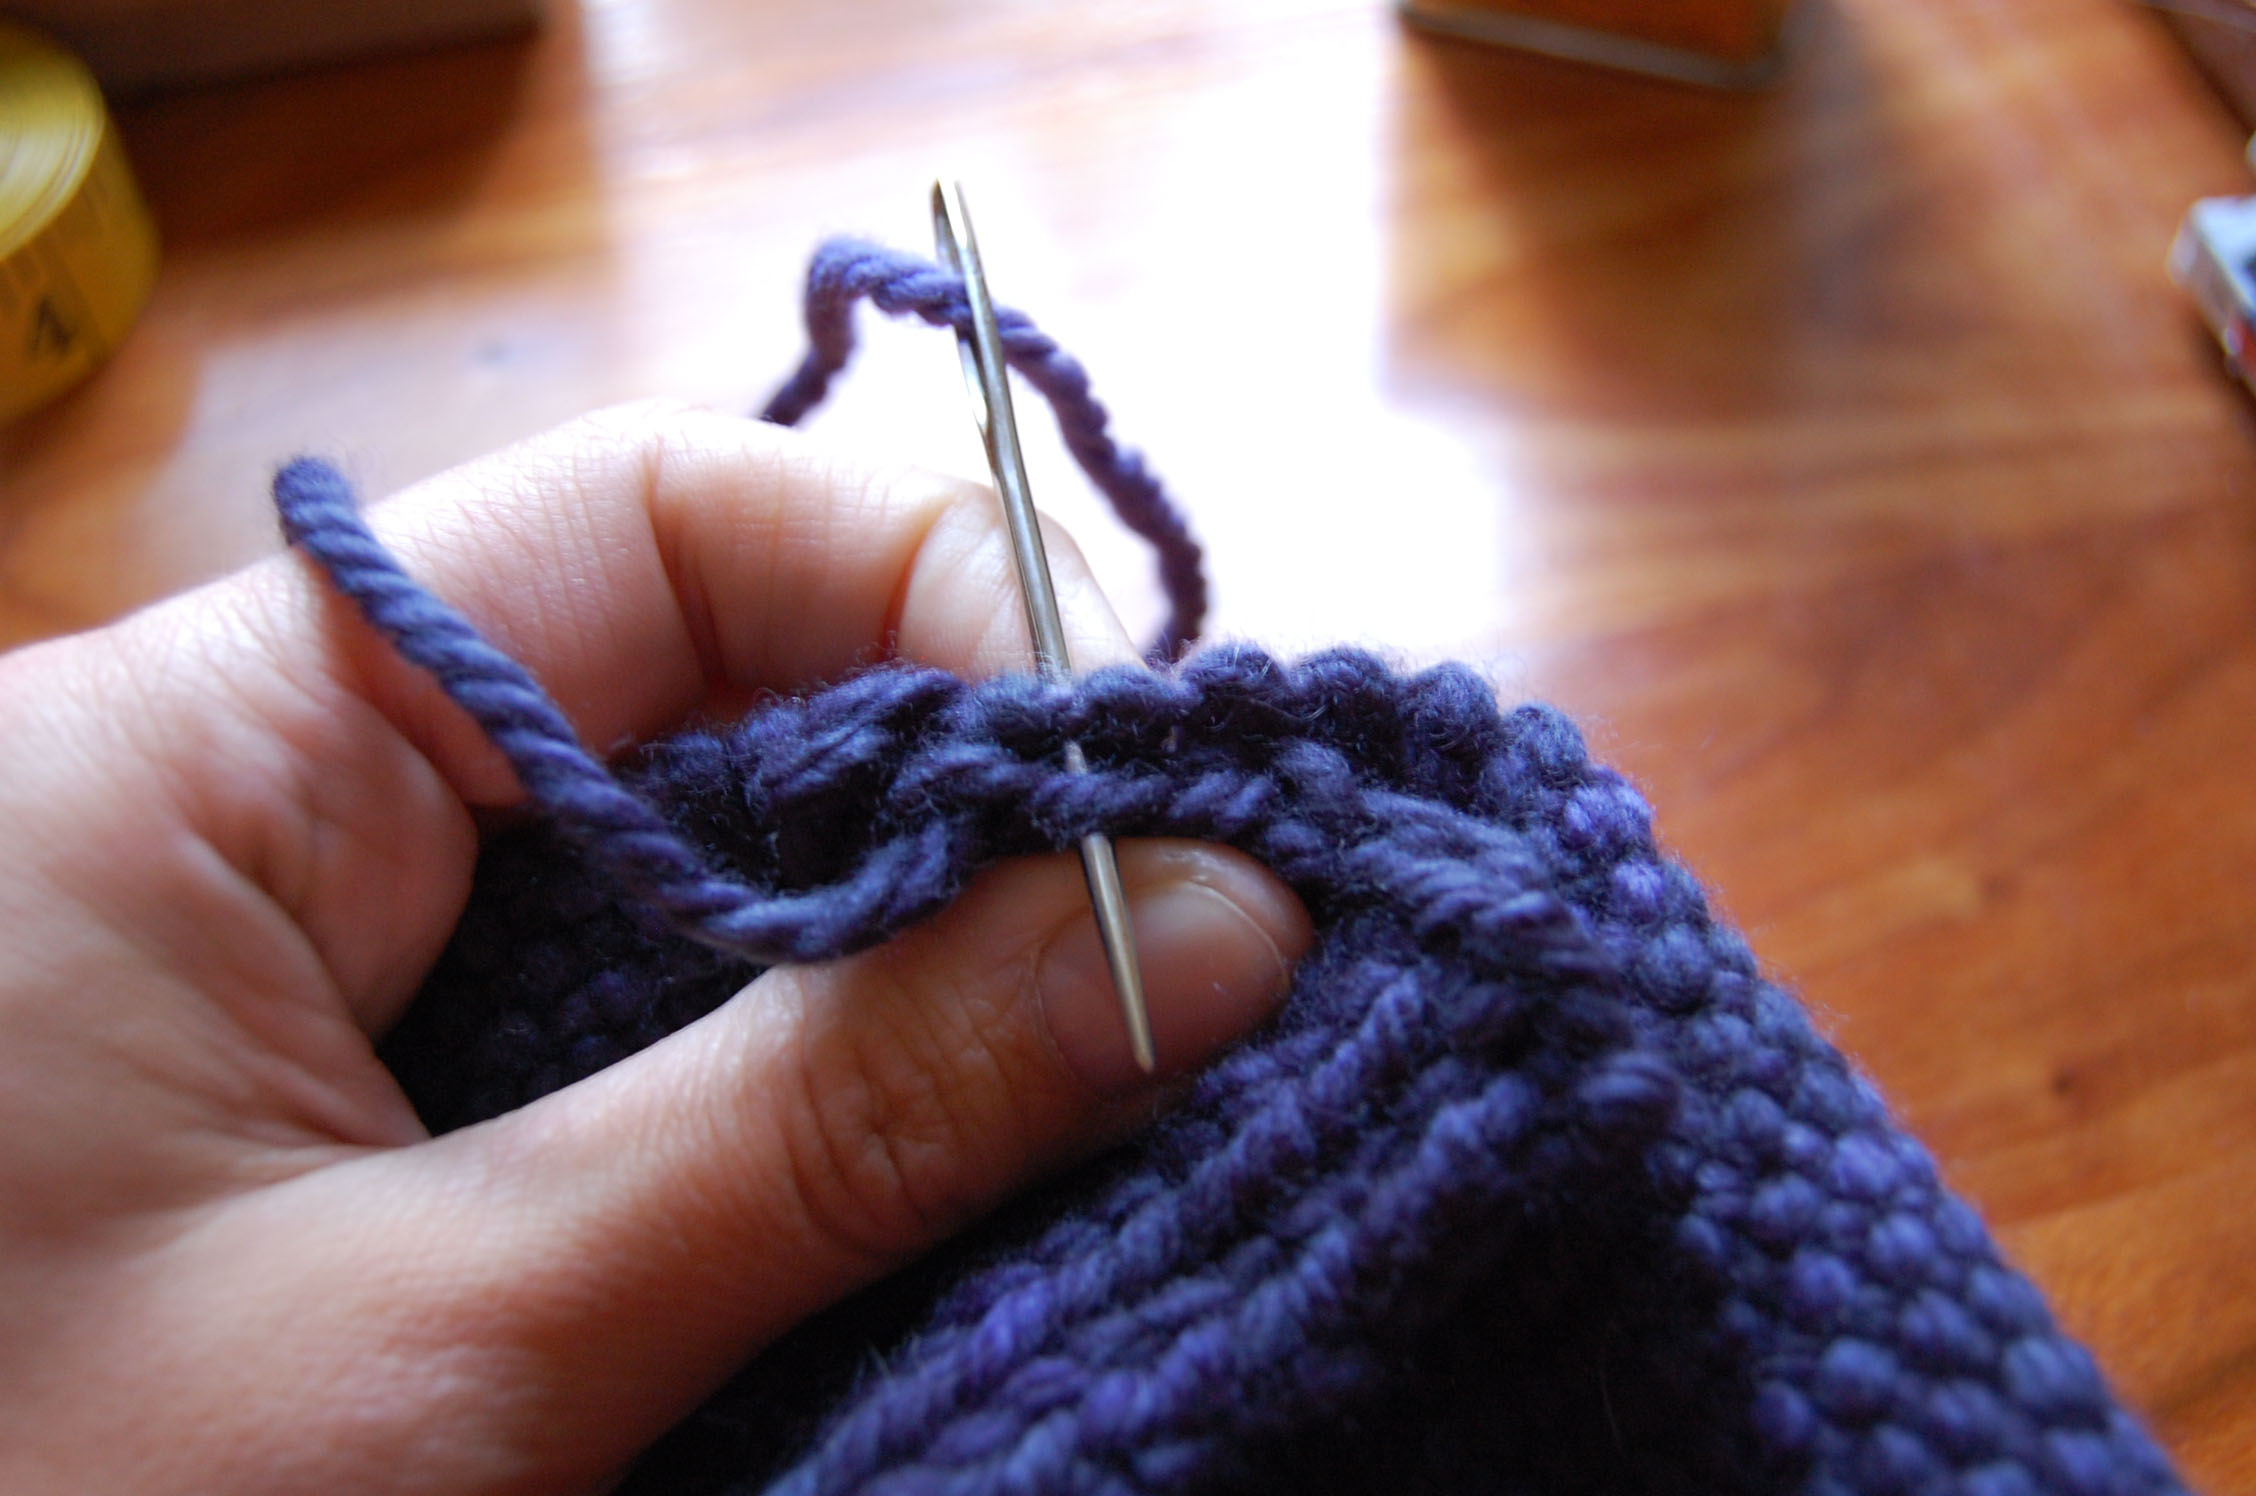
And finally, I needed a way to secure the scarf around my neck so that I wasn’t constantly poking and prodding it back into place. I decided to knit a simple band and stitch it to the underside. Using the Magabrigo so that it would blend in, I cast on ten stitches and then knit two, purl two, knit two, purl two, knit two, until the band was long enough. If you are a handier knitter than I, a length of cable might be cool to try.

I sewed the band to the underside of the scarf.


