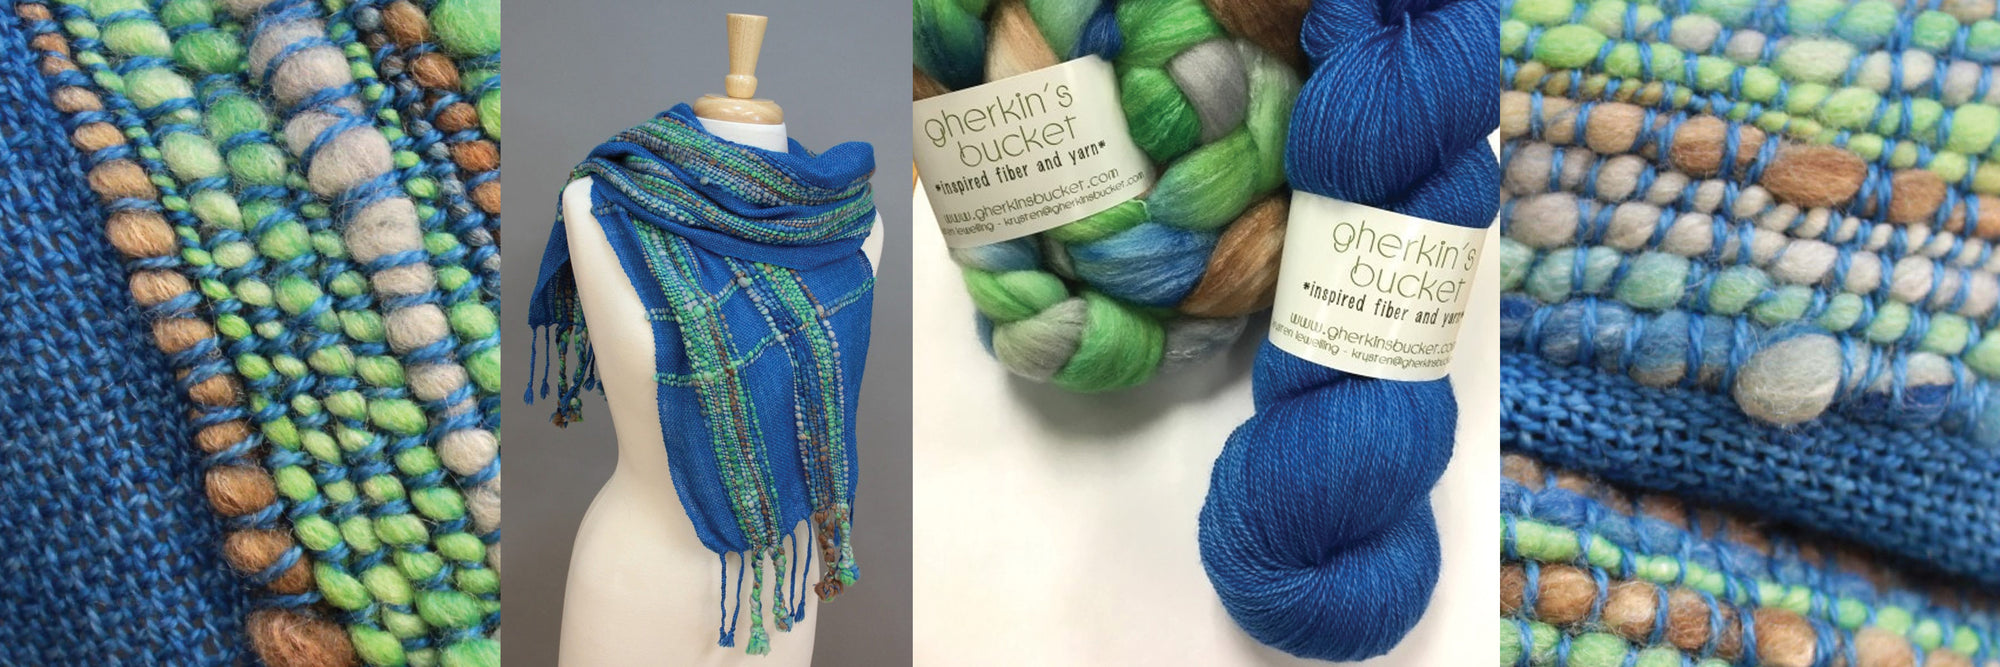
How to Spin and Weave Thick and Thin Yarn - Gherkin's Bucket Collaboration
By Benjamin Krudwig
When Krysten from Gherkin's Bucket showed me the new colorway she dyed up for this collaboration, I was floored! The stunning blues, greens, greys, and browns are a perfect way to celebrate the coming of spring. When I started planning this project, I knew I wanted to spin a thick-and thin-single, then ply it with one of Krysten's lovely laceweight yarns. I would then pair this new art yarn with the laceweight in a woven project.
What You'll Need
-
4 ounces of fiber—I used Gherkin’s Bucket “Downward Peacock” in the Double Merino/Silk base
-
100 yds of laceweight yarn—I used Gherkin’s Bucket Merino Silk Lace in “Royale”
-
spinning wheel or spindle—I used the Sidekick
-
Bulky Plyer Flyer—will help prevent really thick sections from snagging on hooks of the regular flyer
-
70 yards of bulky art yarn
-
500 to 600 yards of laceweight yarn—I used Gherkin’s Bucket Merino Silk Lace in “Royale”
-
15” Cricket Loom
-
15” variable dent reed, four 12-dent sections and two 5-dent sections
Spinning Materials and Equipment
Weaving Materials and Equipment
Directions
Spinning
First, I wanted to set myself up for success with spinning a thick and thin yarn, and I knew there was more to it than pretending that I was a beginner. I decided to watch Maggie Casey's video Big and Lofty Yarns, as that kind of spinning technique would be necessary for the "thick" portions of the yarn. She recommended a wheel that was bobbin-lead, or in other terms, a wheel that can be put into Irish tension. What this means, is that you place the drive band on the bobbin and the brake (tension) band on the whorl. This increases the take-up of yarn onto your bobbin significantly, allowing you to get bulky, low-twist yarn onto your bobbin quickly. You want to avoid overspun "ropy" yarn when spinning bulky.
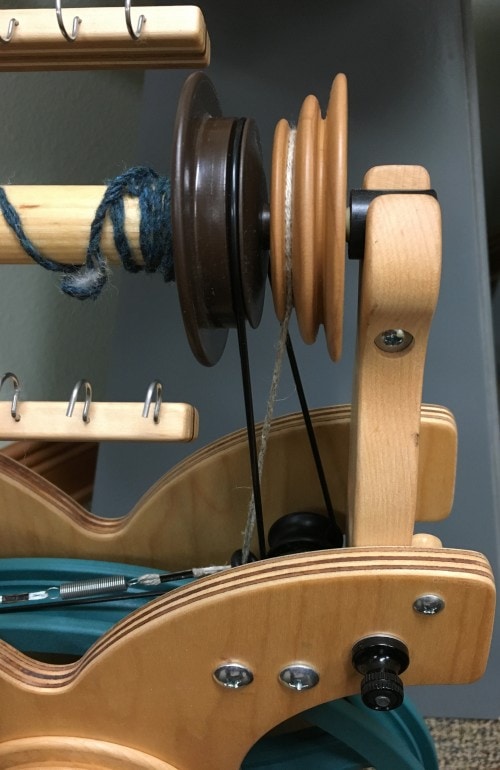
- After my wheel was set up properly, I moved onto fiber prep. I decided to split my braid into fourths so I could better control the thick portions of the singles yarn. I didn't want to feed too much fiber on at a time. By reducing the amount of fiber in my hands, I reduced my risk of feeding too much fiber.
Since I knew that the lace yarn was plied Z, I spun the singles in S, to ply with the lace in Z. I didn't want to remove any twist from the lace.
I noticed right away how strong the uptake was on my singles, and needed to be careful not to let go of my fiber for risk of it getting yanked out of my hands. Though I didn't want to let go of the fiber, I also made sure not to have a death-grip either. I got into a rhythm pretty quickly with a draft of thick and a few drafts of thin. I wasn't much more methodical than that, as I wanted a more organic look to the thick and thin yarn.
- Once all of my singles were spun, I wound a couple hundred yards of the laceweight yarn onto a bobbin and started plying. My finished yarn ended up being slightly over-plied because I added extra twist into the laceweight as I plied.
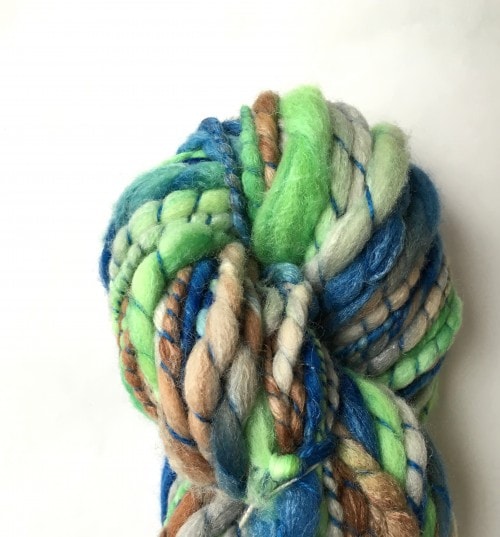
- I soaked the yarn to finish as normal, then thwacked it to set the twist. This ensured that I would be able to put the yarn in my warp without any issues associated with crimpy yarn.
Weaving
One of the beauties of the Variable Dent Reed is its ability to hold more than one thickness of yarn in the same warp, without affecting the ideal sett for one or more of the yarns you choose to use. This project utilizes the far ends of the spectrum by using the largest and the smallest yarn I could fit through the reed sections.
Using a 15" Variable Dent Reed at the full width, layout your reed with the 2.5" reed sections in the following order 12, 5, 12, 5, 12, 12
With your warping peg 2.5 yards away from the back apron bar, direct warp with the laceweight yarn in the 12-dent sections and the bulky weight in the 5-dent sections.
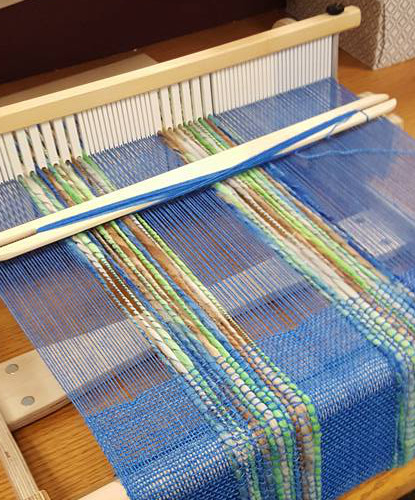
Weave with the laceweight yarn, maintaining a beat of 12 ppi (picks per inch). Every few inches, insert two picks of the chunky handspun yarn to create a fun texture.
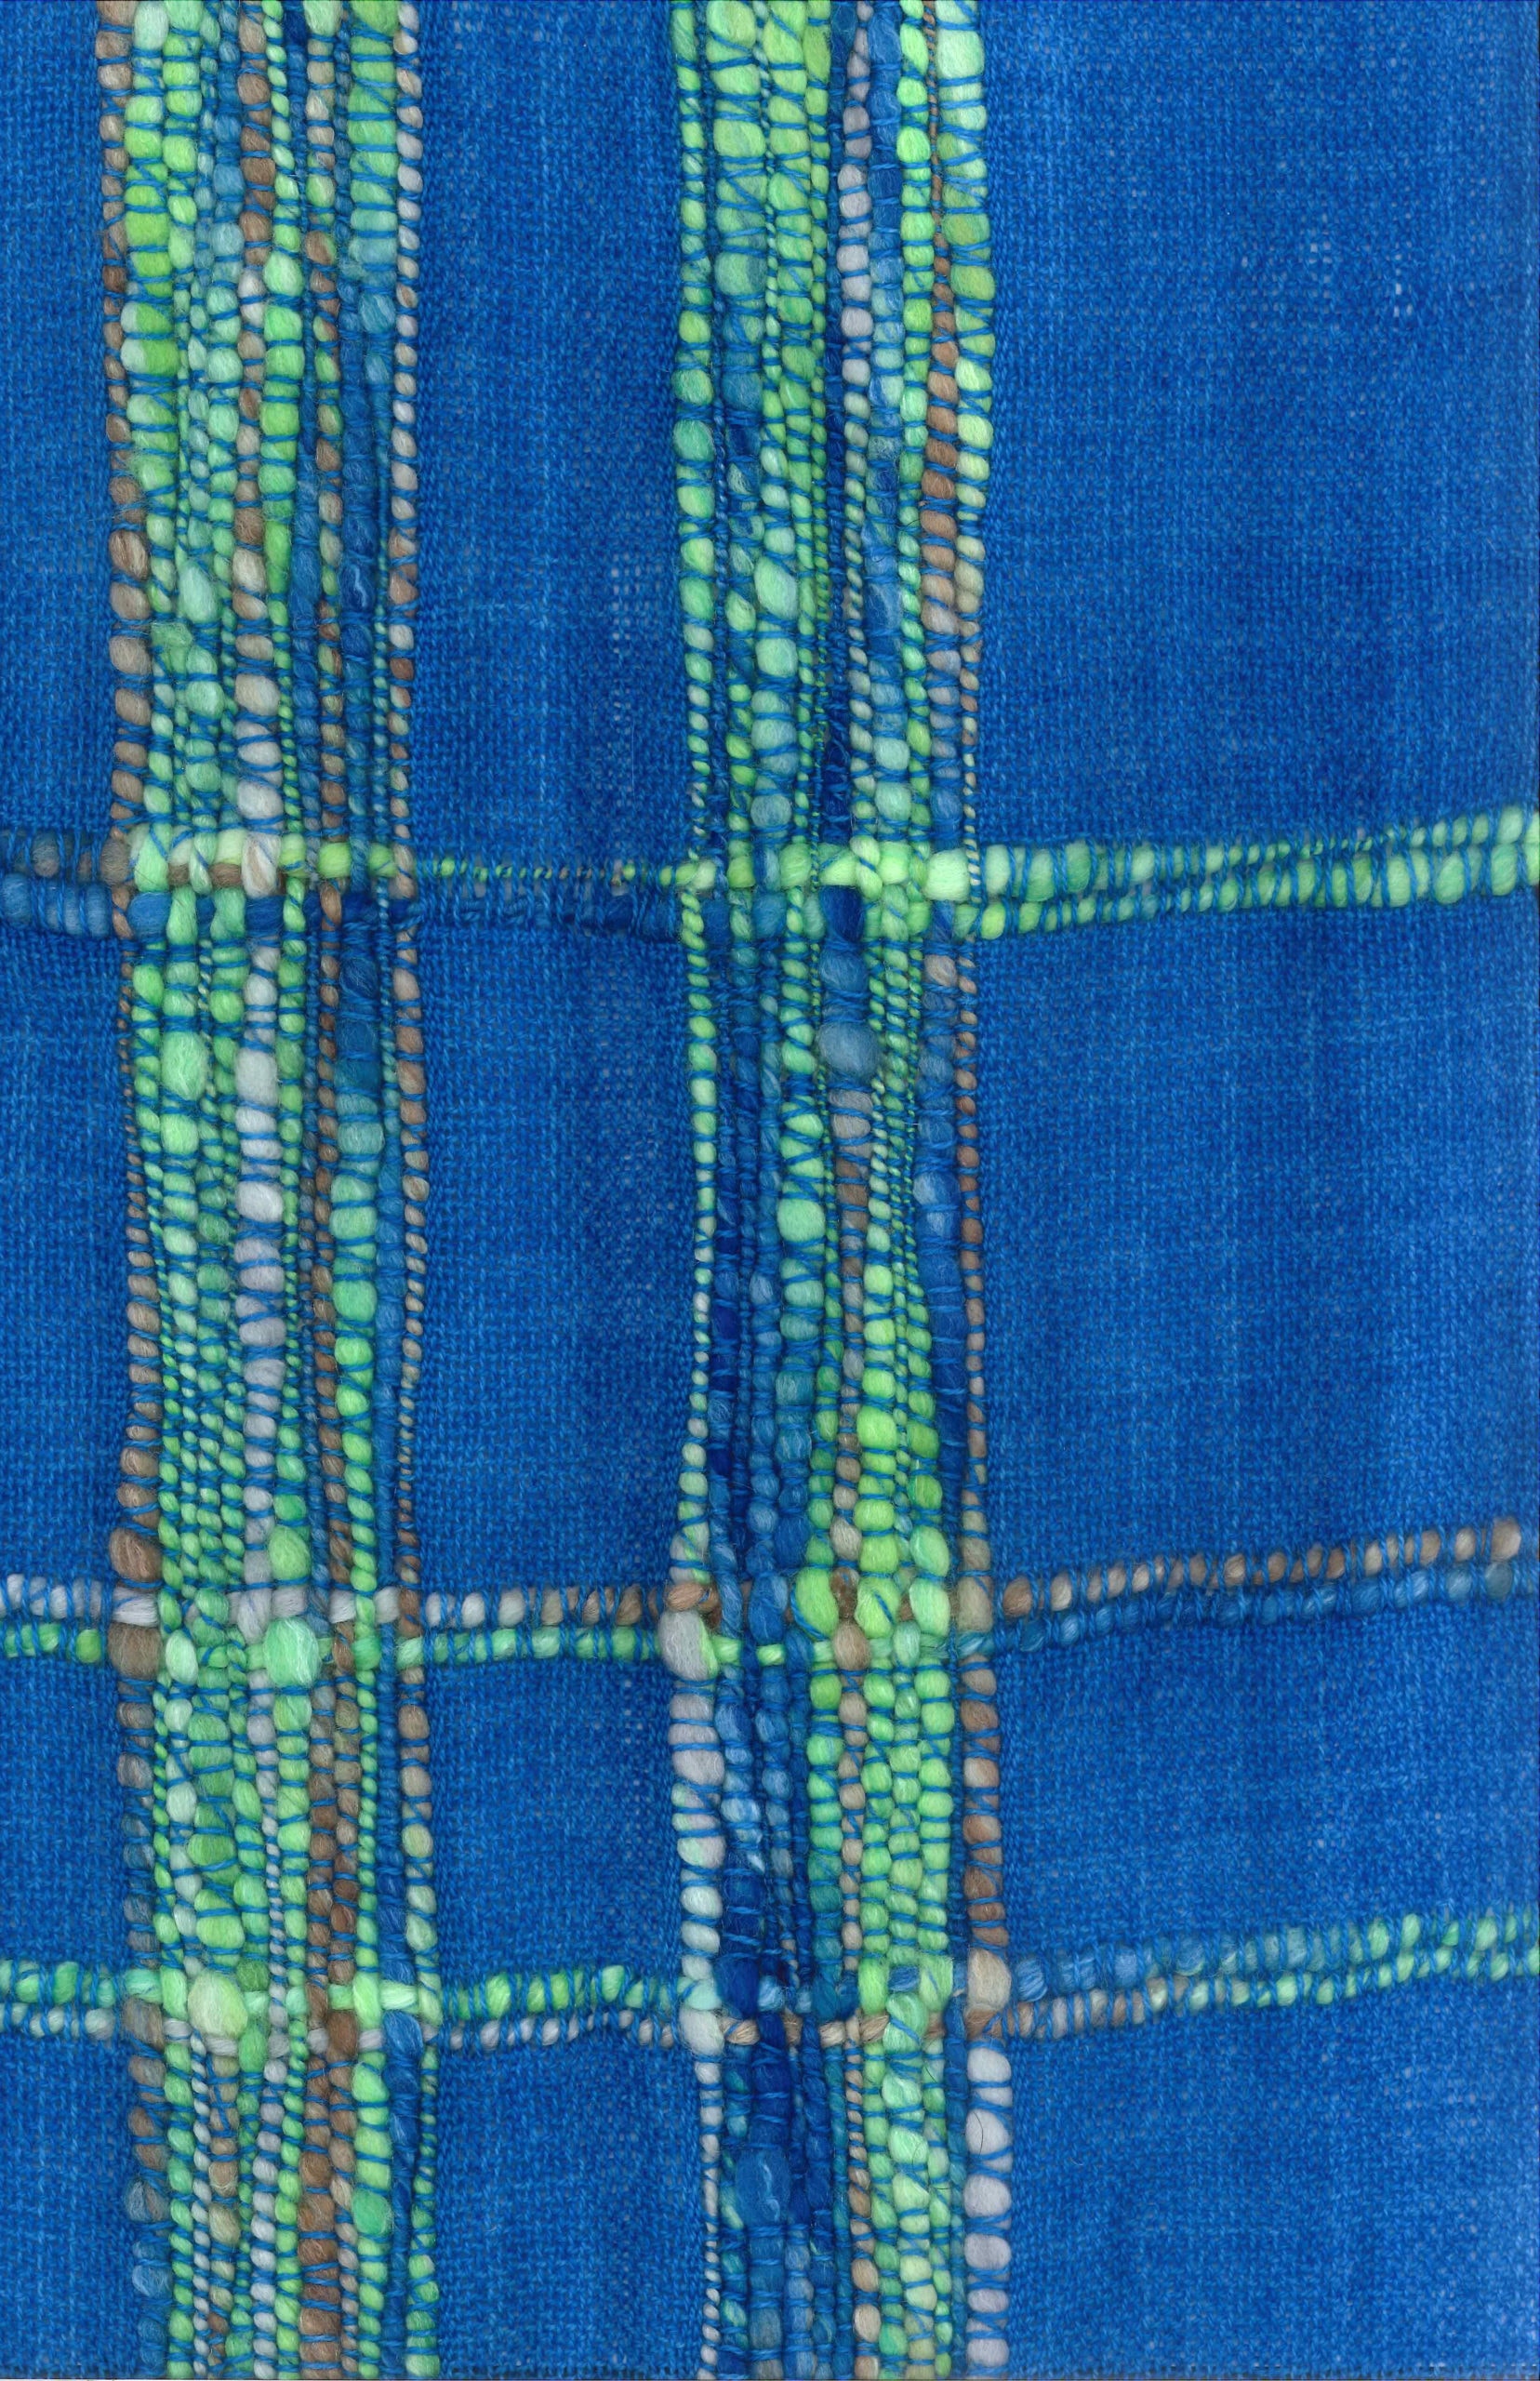
- Finish with a braided fringe using as much of the "waste" yarn as possible.
Wash, and lay flat or hang to dry, then cut the tips of the braids to 1".
By using this set-up, I was able to use every precious yard of my art yarn and still get a decently sized scarf by supplementing the rest of the warp with the plentiful amounts of lace yarn. This scarf ends up being extremely lightweight, airy, and visually interesting, making it ideal for spring and summer wearing. Try this technique with your own art yarns and share it with us on our social media platforms!
Notes
Gherkin’s Bucket, created in 2008 by Krysten (a.k.a. “Gherkin”), specializes in high-quality hand-dyed yarn and fiber, handspun yarns, and patterns for knit and crochet. Currently Krysten is enjoying her freshly-built dye studio, which is enabling her to create even larger quantities to supply eager crafters everywhere! Find Gherkin’s Bucket online at www.GherkinsBucket.com and in local yarn stores in Arizona.

