By Judy Pagels
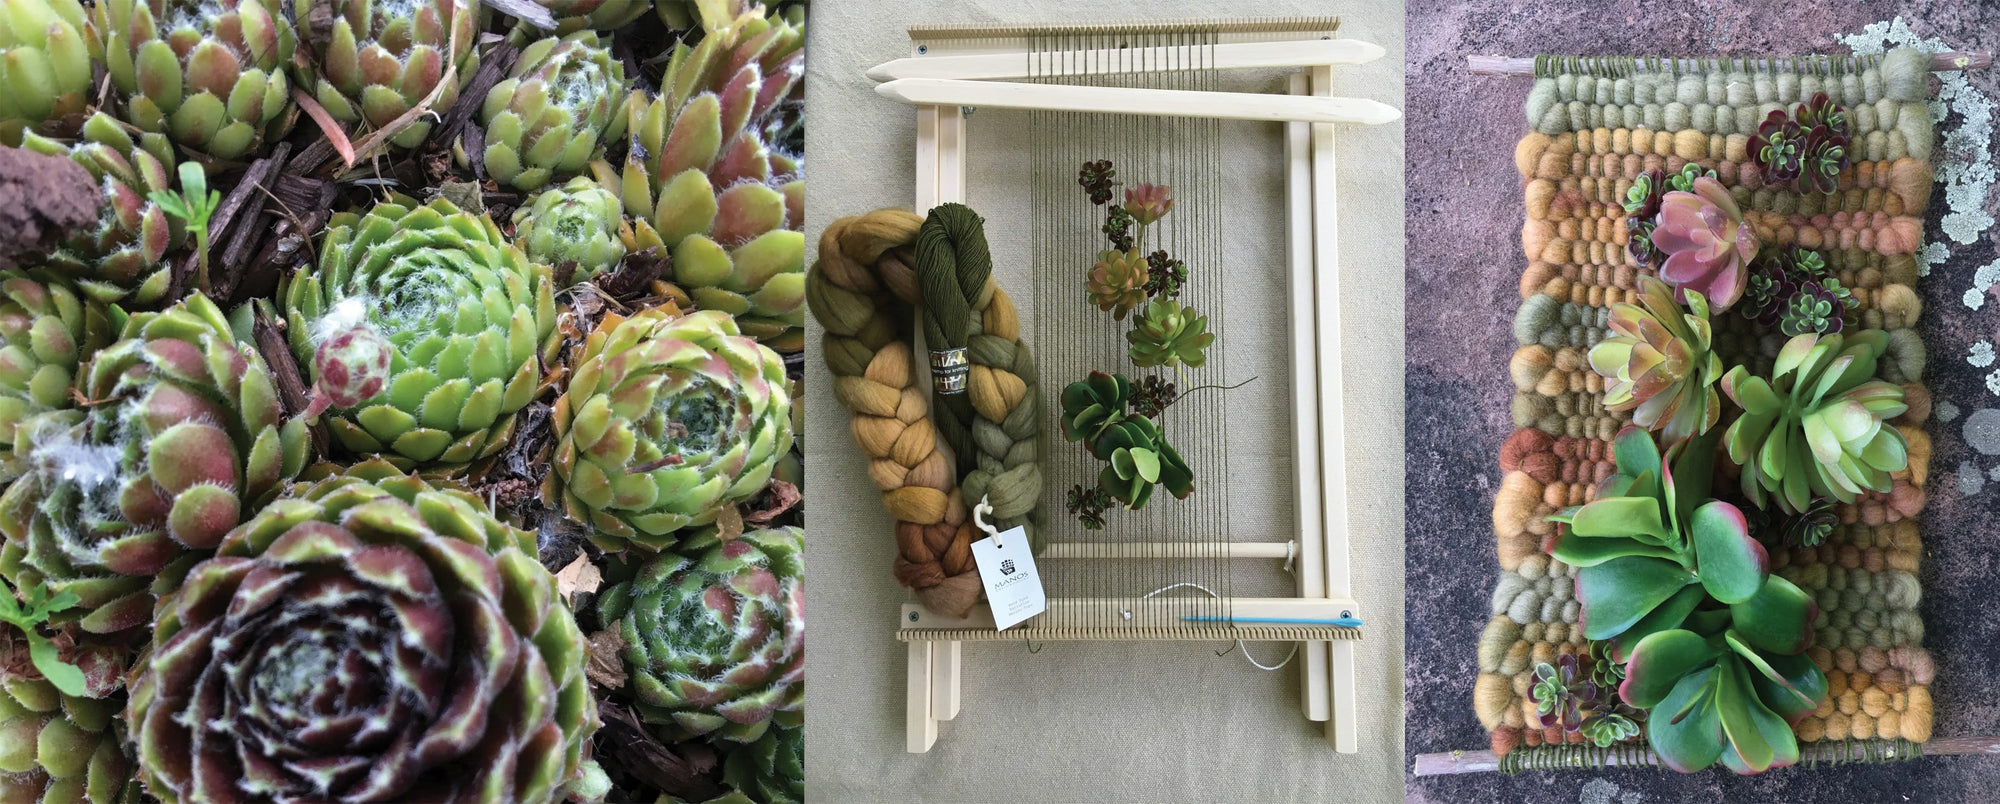
The appeal of the School Loom became apparent when I paired two of my favorite things: fiber and flowers. I am drawn to the large garden looms, woven using natural grasses and flowers, and decided to create a small scale piece with non-perishable elements. This small loom was the ideal tool for my endeavor.
As a child I was enamored with hens and chicks (of the plant variety) in the garden and today I am a collector of several succulents. The non-perishable variety (“fake” flowers) are especially nice because they look so much like the real thing, and last longer. The succulents are the "floral" element of the piece; a lovely hand-dyed merino roving from Manos del Uruguay (colorway Prairie), is the fiber component. Both the succulents and the roving are used for weft. The warp is a green fingering-weight hemp yarn from Lanaknits. Real maple twigs anchor the top and bottom.
This project was about playing with and exploring the materials and did not involve a lot of pre-planning or overthinking. I just gathered the elements and enjoyed the process as it unfolded. I warped the loom at a width I liked, trimmed the succulents to manageable lengths and pieces, and divided the roving to a thickness that seemed appropriate. With the loom flat, I played around with the arrangement of the succulents before beginning to weave.
Here are the basics of the process:
Since the ends of the warp threads would need to be tied to the twig, I put some card stock at the bottom of the loom to allow space for tying. I wove a short hem with hemp, leaving a tail 4 times the width of the warp on my first pass of the shuttle. I then wove 2 picks with the hemp, added a twig, and wove 3 more picks of the hemp. To secure the warp ends and twig, I threaded the tail onto the needle that came with the loom and captured the ends by whip stitching across, leaving the tail for securing later.

From there I began weaving with the roving, adding the succulents as I went, laying them in the shed before the roving and using a tapestry beater to press it gently down.


I proceeded in this manner to the top where I repeated the heading but in reverse: 3 picks of hemp, 1 twig, 2 picks of hemp, whip stitching across to secure.
Finishing
I removed the card stock and cut only the warp ends at the bottom close to the cross brace of the loom. At the top, rather than cutting, I slipped off the ends. The bottom needed to be secured so I tied off (double knots) the tail from the whip stitching to the first end, then tied the last end to the next one across the piece. To further secure the ends and leave a clean look, I pulled pairs of ends through 2 sets of warp threads with a crochet hook at the back. At the top I only needed to pull the pairs through the warp ends on the back to secure. I trimmed up the ends and ta-da—a fun fiber and "floral" project!
I'm pleased with the combination of the two elements that unify to create a unique piece, but mostly, I appreciate the pairing of creating and sharing. Happy weaving!
If you make a floral wall hanging using this tutorial, we'd love to see it! Share it with us on Instagram using the hashtag #schachtspindle!

