Designed and woven by Gabi van Tassell
Autumn Crossbody Pouch
Designed and woven by Gabi van Tassell
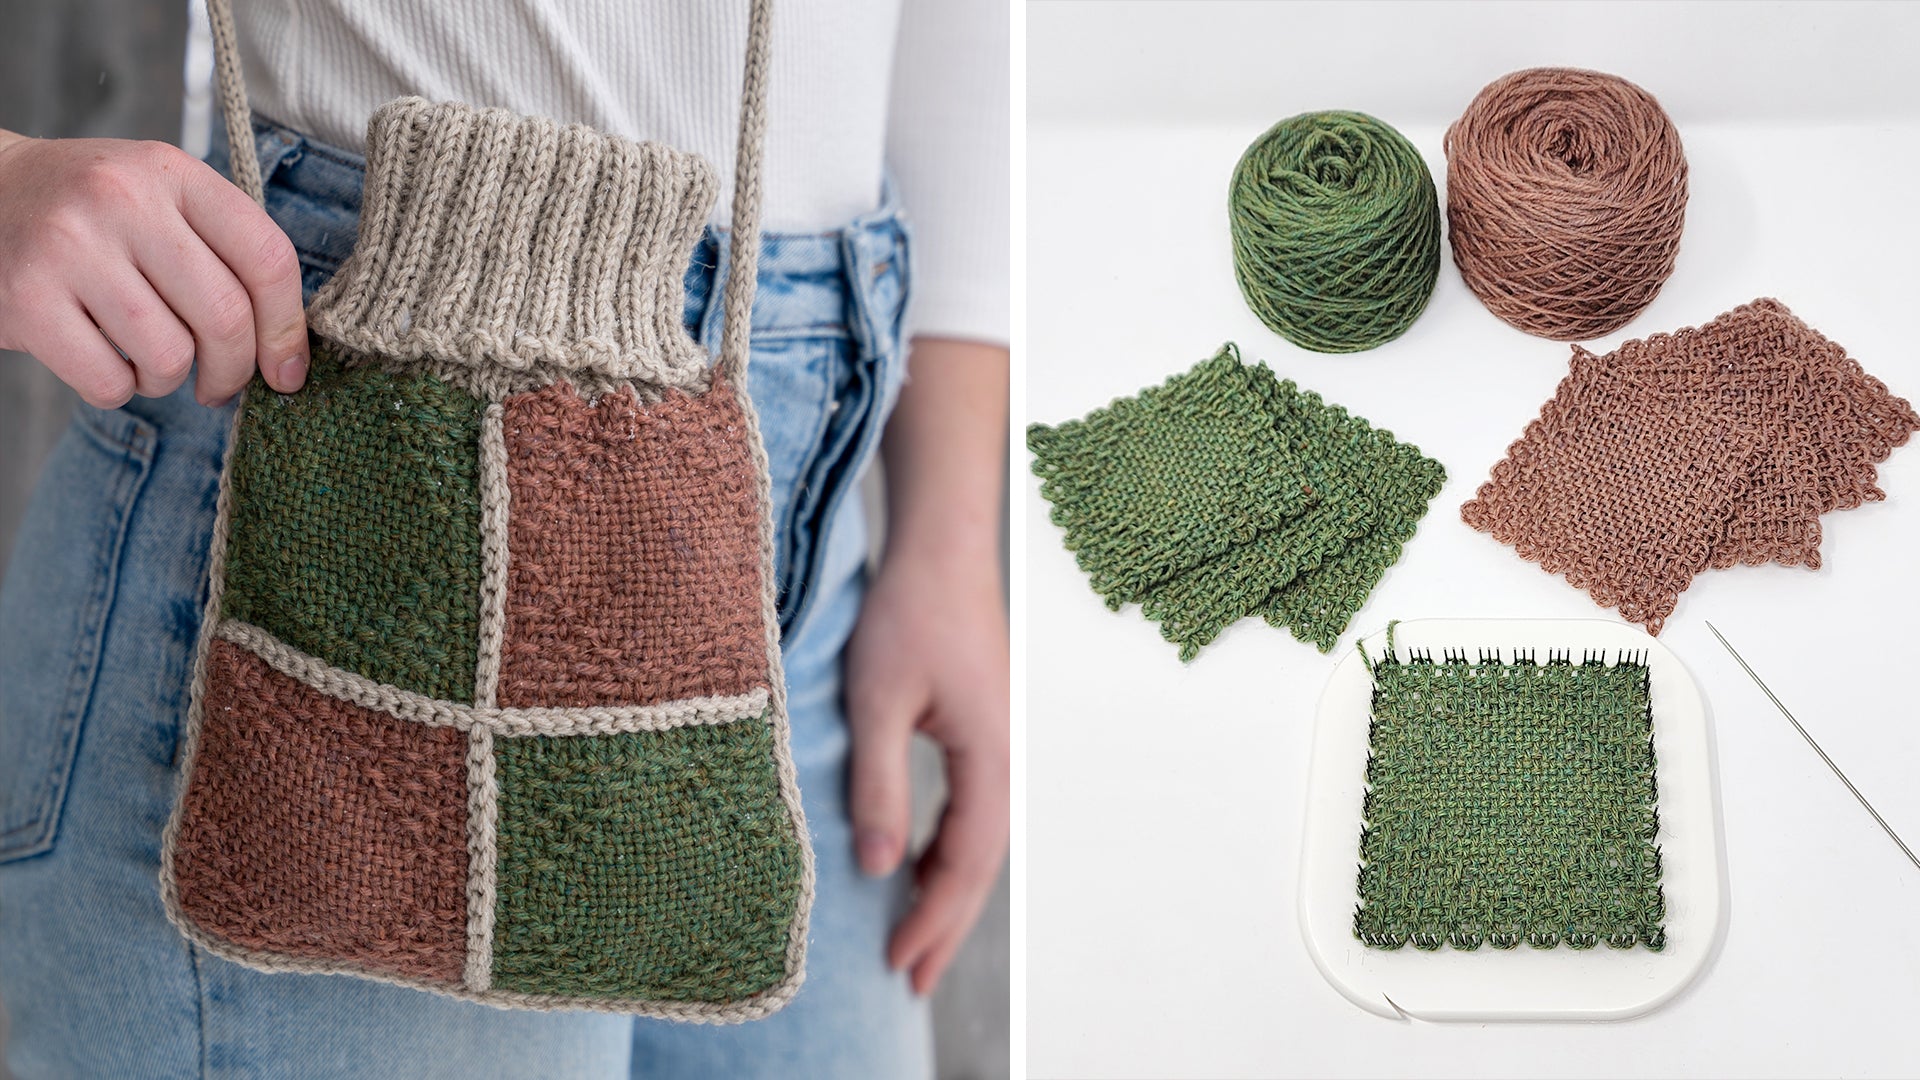
Get in style for a brisk morning walk to the coffee shop with this crossbody pouch that will hold your phone and the keys.
Maybe you are a knitter who has been thinking of trying out weaving, or you are an avid weaver who is also a dedicated knitter (like me) … this project combines those two crafts into one pretty and practical project.
The pouch is made of 8 squares woven on the Zoom loom. To add interest, it uses a classic "sunken diamond" pick-up pattern.
Instead of sewing the pieces together, you'll pick up stitches along the edges and knit a 3-needle bind-off. Knit a "turtleneck" at the top, which will keep items safely inside yet allow for quick access. Add an i-cord for carrying the pouch comfortably across the body.
Project Specs
Finished size: About 7.5" wide and 10" tall (without straps)
Weave structure: Pick-up pattern
Zoom Loom Pattern
Sunken Diamond pattern instructions (from "WEAVE-IT WEAVES", p. 13)
W: Weave
plain weave
O: Take the yarn over the thread
U: Take the yarn under the thread
1 R – weave this row plain
2 R – U3; O1; U3; O1; U3; O1; U3; O1; U3; O1; U3; O1; U3; O1; U3
3 R – W2; U3; O1; U3; O1; U3; W5; U3; O1; U3; O1; U3; W2
4 R - U3; O1; U3; O1; U3; W9; U3; O1; U3; O1; U3
5R – W2; U3; O1; U3; W13; U3; O1; U3; W2
6 R - U3; O1; U3; W17; U3; O1; U3
7 R – W2; U 3; W21; U 3; W2
8 R – weave this row plain
9 R – weave this row plain
10 R – W2; U 3; W21; U 3; W2
11 R – U3; O1; U3; W17; U3; O1; U3
12 R – W2; U3; O1; U3; W13; U3; O1; U3; W2
13 R – U3; O1; U3; O1; U3; W9; U3; O1; U3; O1; U3
14 R – W2; U3; O1; U3; O1; U3; W5; U3; O1; U3; O1; U3; W2
15 R – U3; O1; U3; O1; U3; O1; U3; O1; U3; O1; U3; O1; U3; O1; U3
16 R – weave this row plain
What You'll Need
-
Universal Yarn, Deluxe Worsted (100% wool, 100g/220 yds per skein), in 12507 Shamrock Heather (32 yds needed), 13111 Russet (32 yds needed), and 12501 Oatmeal Heather (approximately 160 yds needed)
-
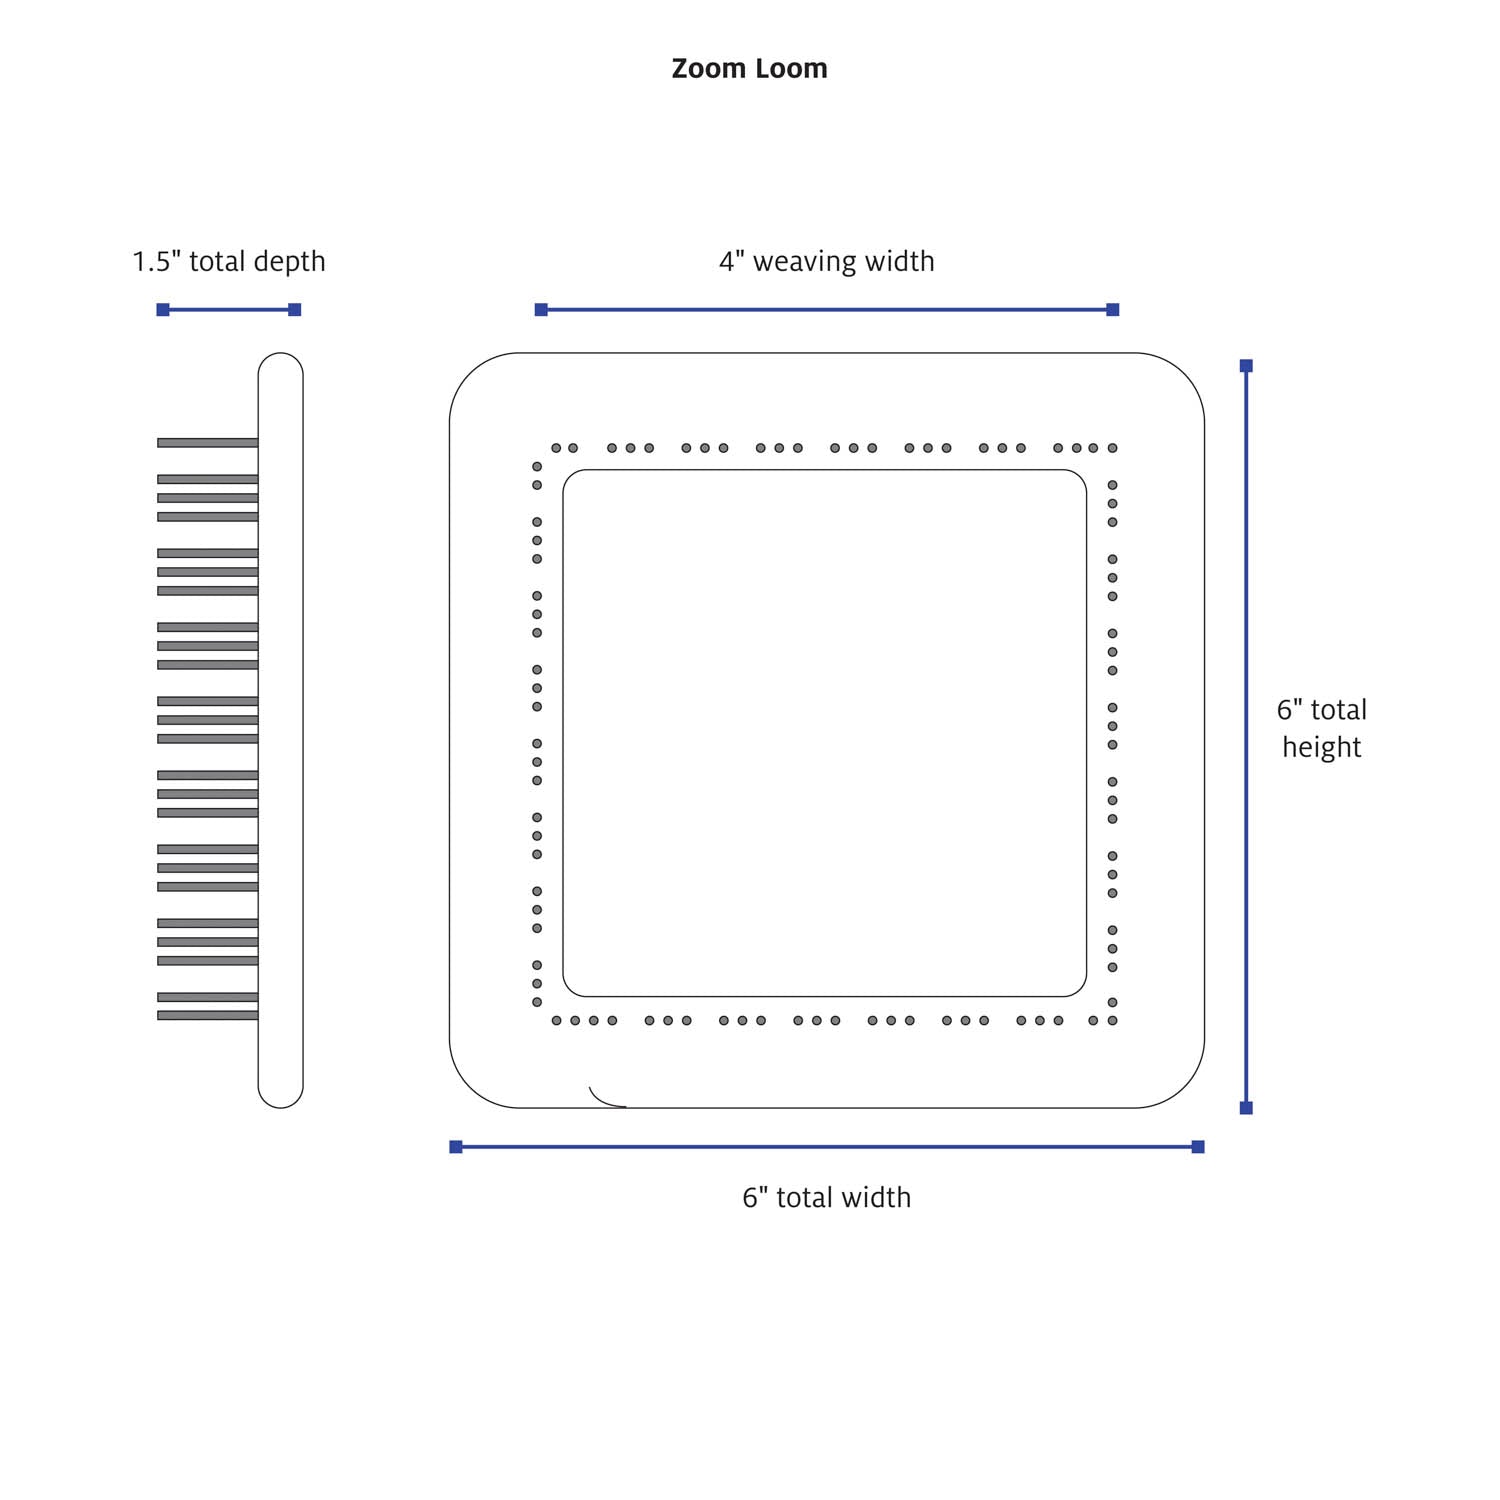
Zoom Loom
- (2) 30" circular knitting needles US3/3.25mm (Note: It’s ok if those needles are slightly thinner, and the cord length is for convenience, it doesn't have to be exactly that length.)
- You will also need one extra needle US3/3.25 as the third needle (this needle can be anything, I used a US3 double point)
-
Scissors
-
Tapestry needle
-
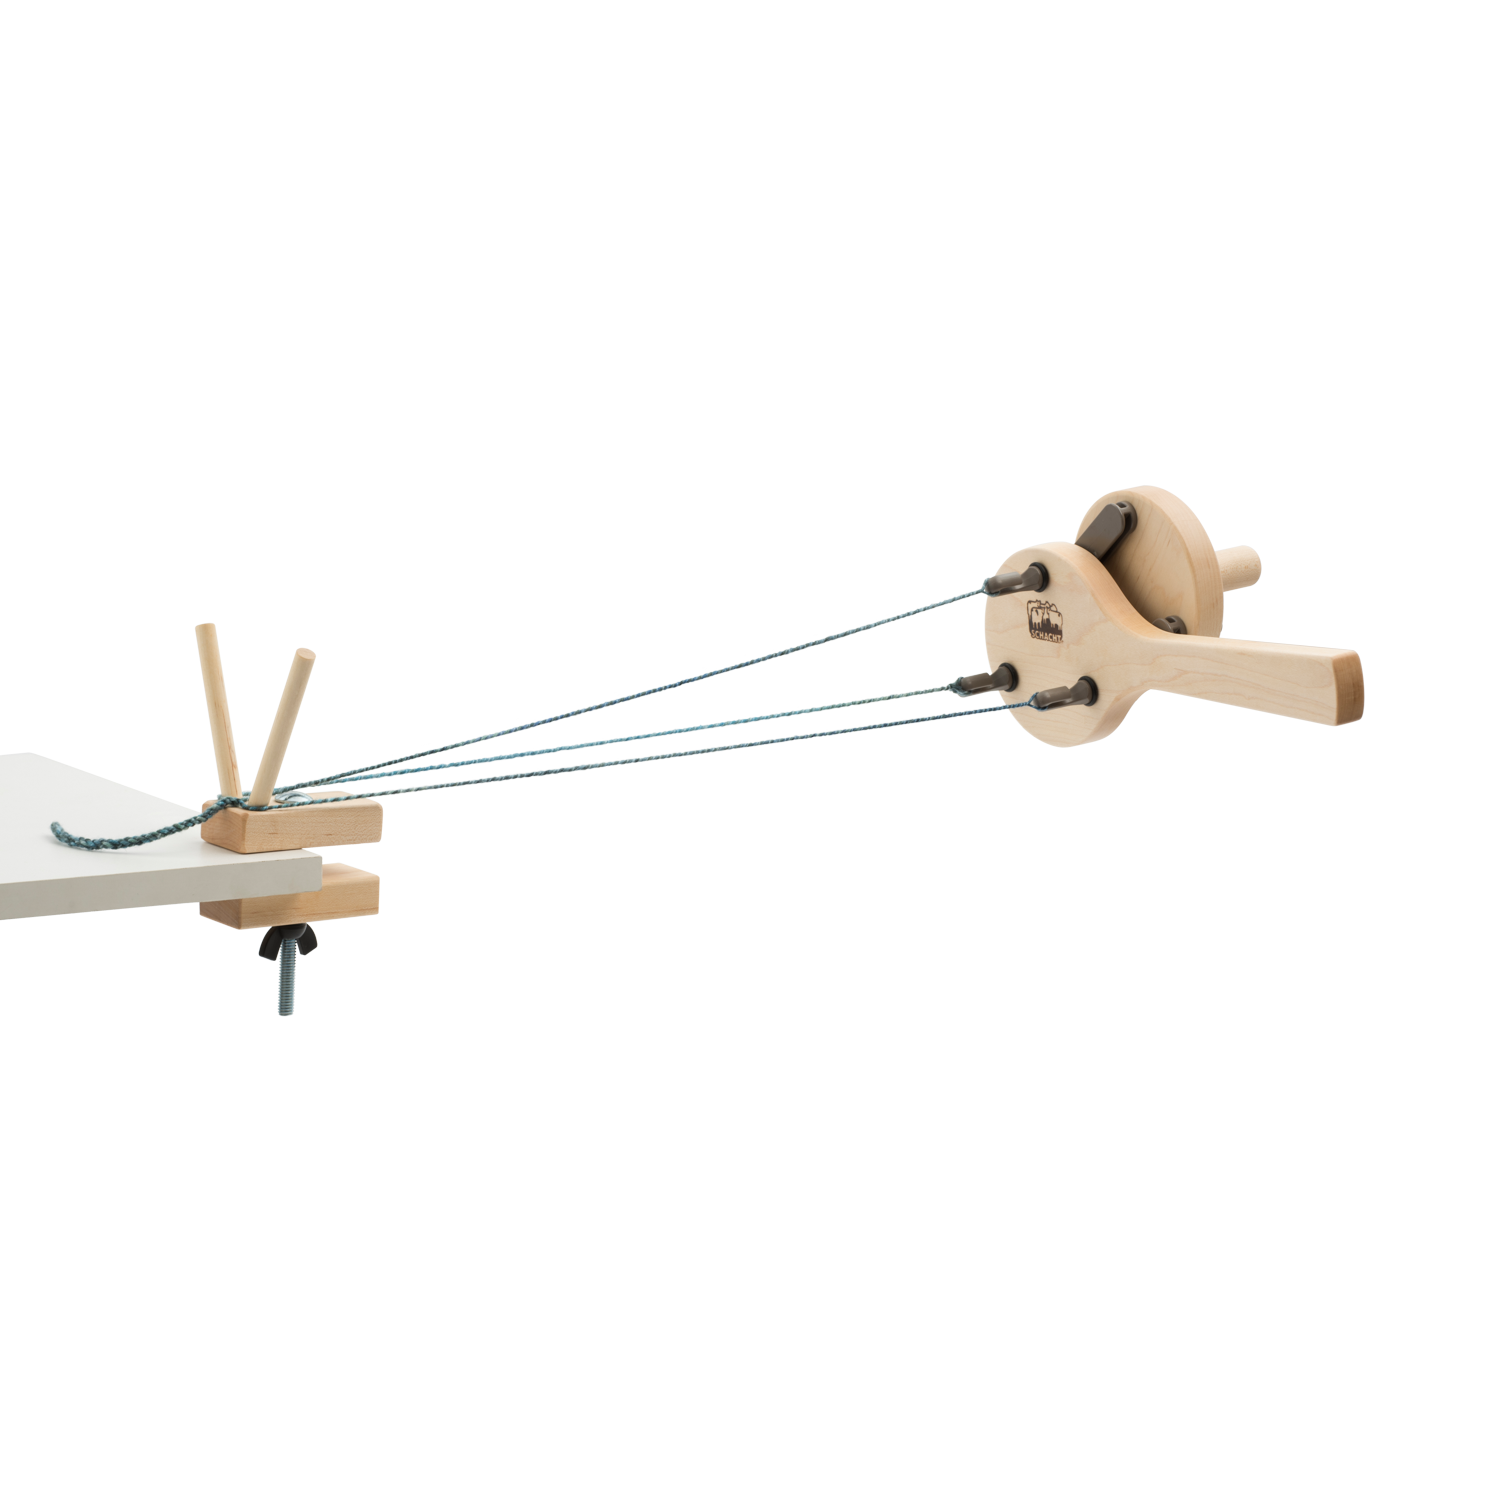
Incredible Rope Machine (optional)
Materials
Equipment
Directions
Warping
Follow the Zoom loom instructions and wind the first three layers. Wrap the yarn and cut as usual. Only the last layer will be different from the Zoom Loom instructions. This is where the pattern weaving happens.
Weaving
Weave 4 squares with Russet and 4 squares with Shamrock Heather in the Sunken Diamond pattern instructions (from "WEAVE-IT WEAVES", p. 13)

Finishing
Weave in both ends while the square is still on the loom. Weave in an inch or two to secure the ends.
Optional: To ensure the proper pattern direction for assembling, mark the right side of corner 1 on each square. This can be done with a simple string of contrasting yarn or a stitch marker. My personal favorites are mini hair clips.
Assembly
Use knitting needles slightly smaller than recommended for the weaving yarn (US3/3.25 mm) to avoid pulling the loops on the woven squares.
Lay out four squares as shown, making sure that the pick-up floats point in the same direction. The picture shows all squares with corner 1 at the bottom left.

Join the first two squares: Working from right to left on the right side, use Oatmeal Heather to pick up one stitch for each loop along the top edge. Pick up 16 stitches along the edge.

Cross over to the next square by simply continuing to pick up one stitch from each loop.

At the end of the last square, cut the yarn (left) OR turn and start joining the next set of squares. With the other circular needle, work the next set of squares the same way.

Join with 3-needle bind-off: Lay the pieces with the knitted stitches facing each other, then pick them up so that the needles with the stitches are in parallel. The right sides are facing out.
With a third needle, work a knit stitch through the first stitches on both needles.

Knit a second stitch the same way, then – on the right needle - lift the right stitch over the left stitch to bind off one stitch. Repeat until all stitches are bound off. Join the remaining sides of the panel the same way.
When working the second set of joins, make sure to hold the working yarn on the wrong side, under the fabric as you start picking up loops on the right side. At the intersection, simply pick up the next stitch on the next square. Continue to the end and bind off.

The right side of the fabric will show a stretchy i-cord-like seam; the seam on the wrong side of the fabric is flat.

To make the bag body, pick up stitches along three sides of each panel, leaving the top edge open.

With wrong sides facing, join the two panels on three sides to form the bag. Do not bind off at the end.

Working the straps: When 2 stitches are left, pick up 2 more stitches for a total of four, then start working a 4-stitch i-cord: Knit 4 stitches, but do not turn. Slide the stitches to the left end of the needle and continue knitting. The edges will come together, forming a tube. Knit for about 25" or to desired length. Bind off.

Work another strap on the other corner. Adjust the length of the strap by tying a knot. Strap alternatives: Make rope with the Incredible Rope Machine, use a thin leather strap, weave an inkle band, make a kumihimo band.

Working the turtleneck closure: Starting at one end of the pouch, pick up 64 sts along the top edge of the bag (16 loops per woven square). Place a stitch marker at the beginning of the round.

Work k2, p2 ribbing for about 40 rounds, then bind off loosely. Weave in any ends.

Blocking
- If using the same materials for all squares and the knitting, I recommend blocking the completed project. If using different fibers, I recommend blocking the woven squares before assembly.
- Soak in cold water with a non-rinse soap for about 20 minutes. Roll in towel. Lay flat to dry.
Notes
Resources
Article "Joining Pin-Loom Squares: An Invitation to Try Something Different" by Gabi van Tassell, Little Looms Holiday 2021, Long Thread Media, pg 86-92
Eloomanation WEAVE-IT-WEAVES direct link http://www.eloomanation.com/pdf/1938WeaveItWeaves.pdf
Blocking: Video by Gabi van Tassell, https://youtu.be/k_K5KhhUv6o
3-needle bind-off: Video by Very Pink Knits, Knitting Help: 3-needlge bind-off, https://youtu.be/Ph93jWSzTa0
Knitting an i-cord: Video by Very Pink Knits, Knitting Help: I-Cord, https://youtu.be/700AG7Kvbhc
Weaving in the Tails on a Pin-Loom Woven Square, https://youtu.be/8S8Z085QhR8
Weaving A Pick-Up Pattern on a Pin Loom (Zoom Loom), https://youtu.be/OYReF5C_nv0
Knitted Joining Method for Pin-Loom Squares (Zoom Loom), https://youtu.be/ISG-8V8dVHc

