Exploring Art Yarns
By Carole Bournias
TikTok: @flufftostuff
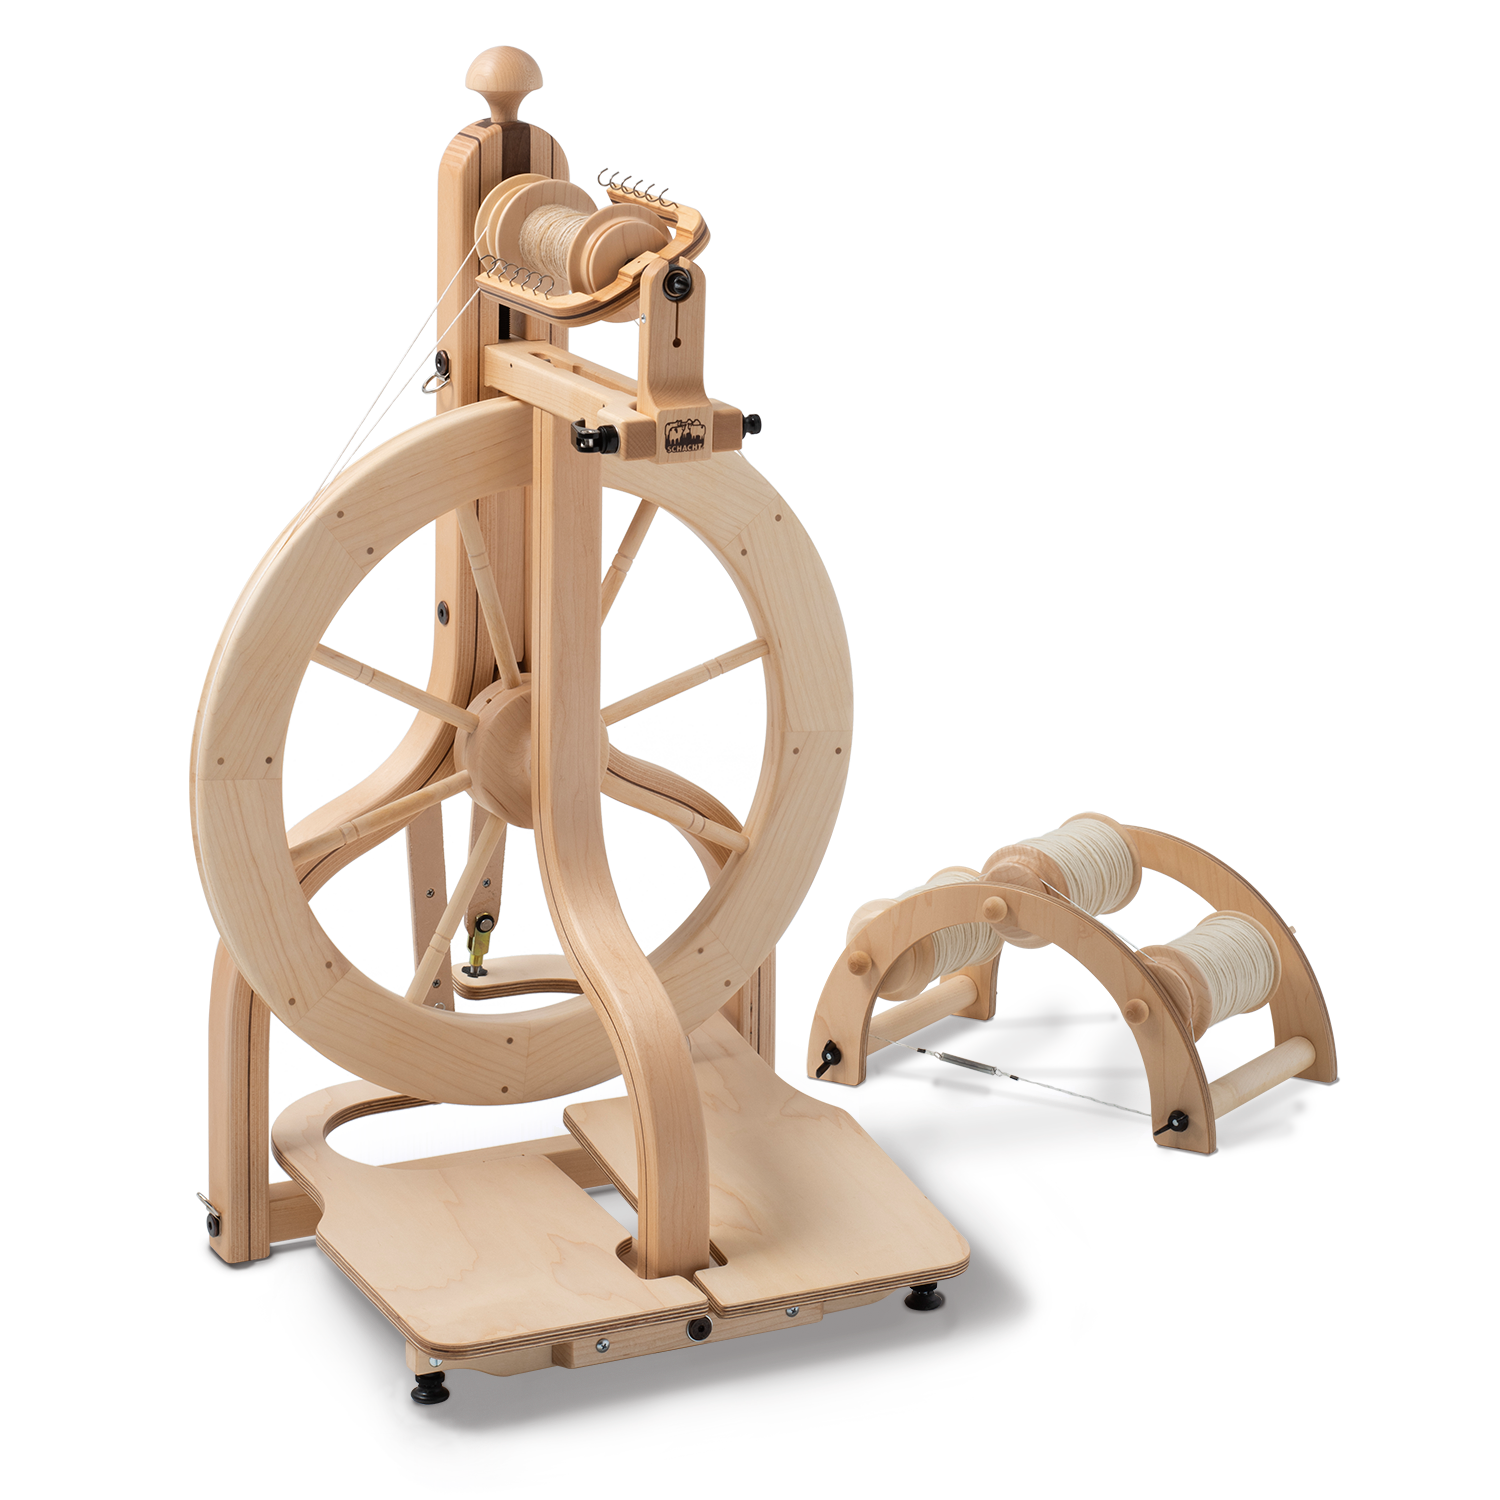
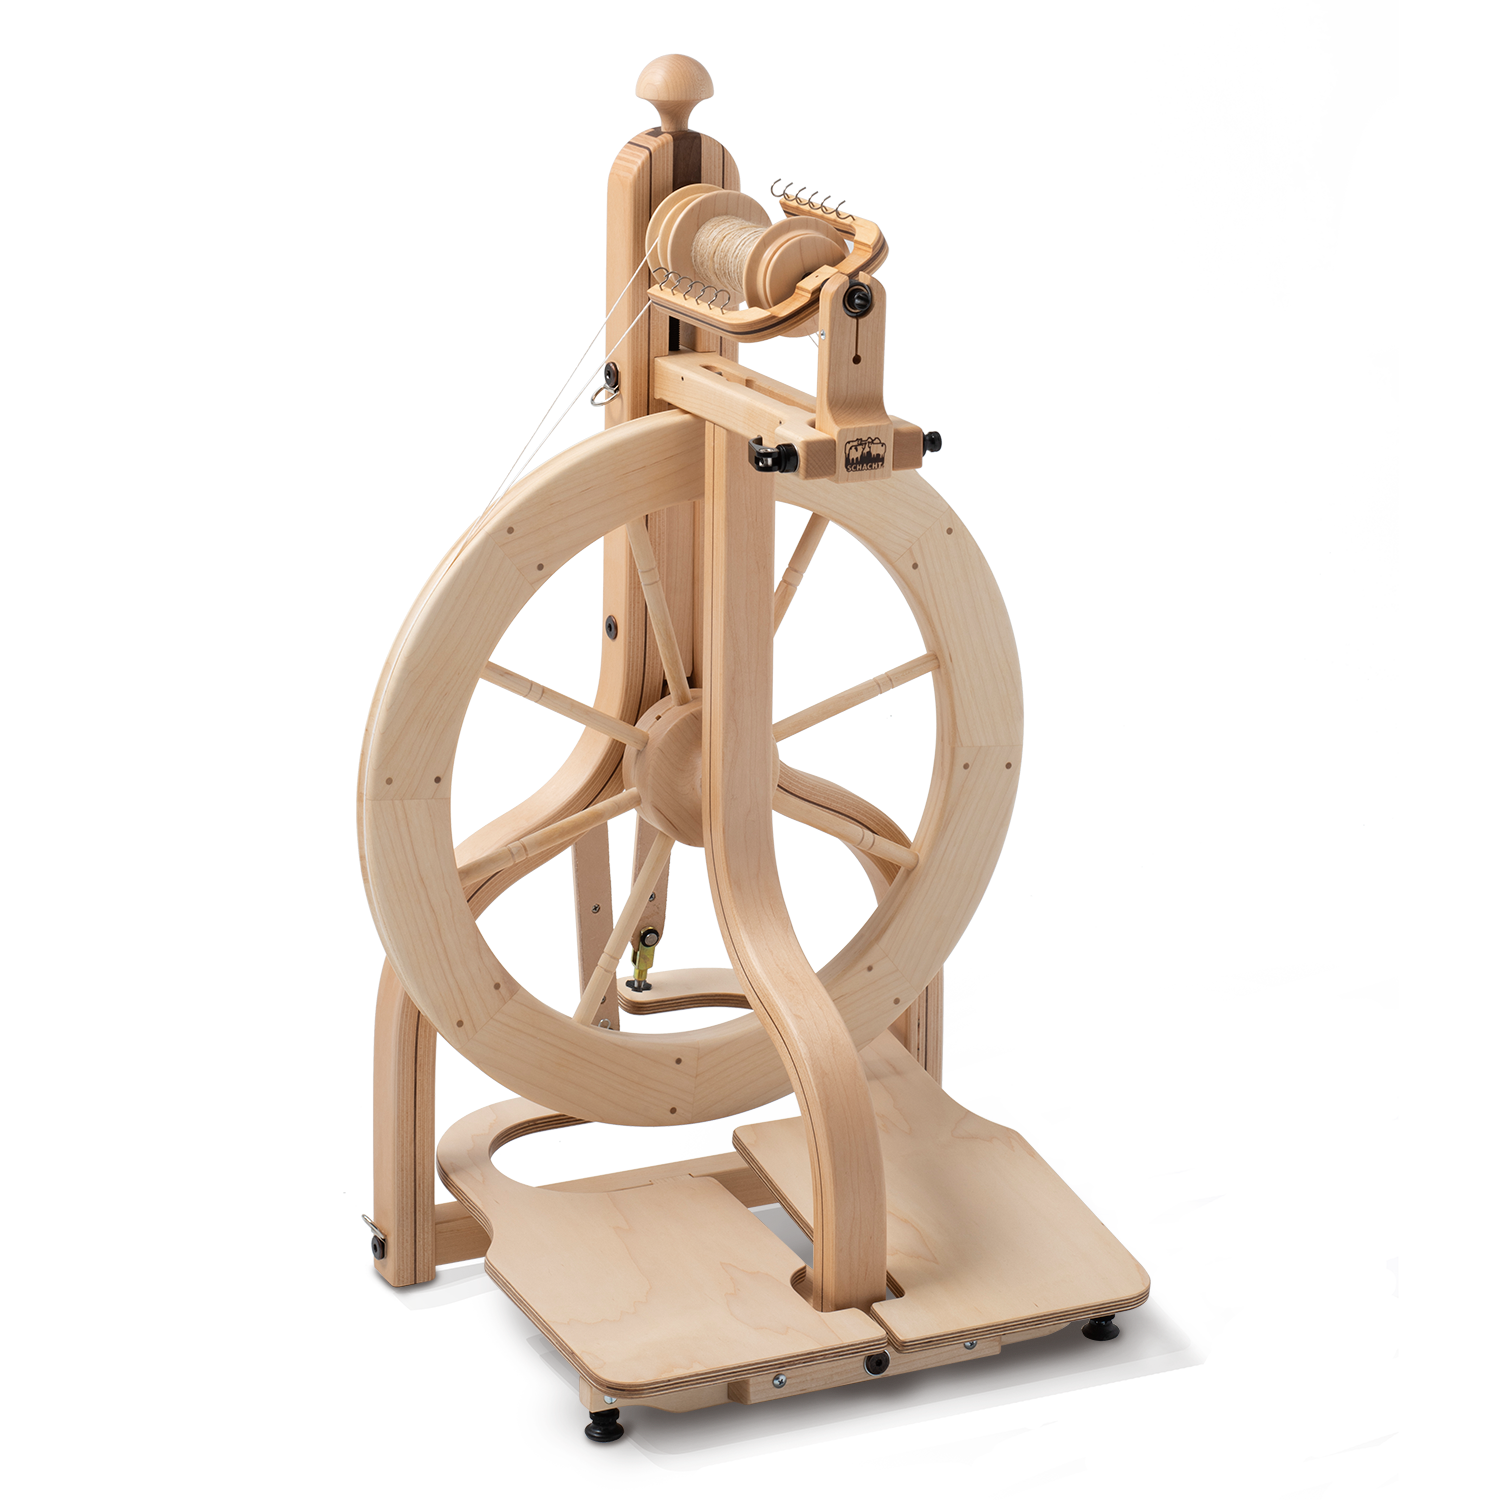
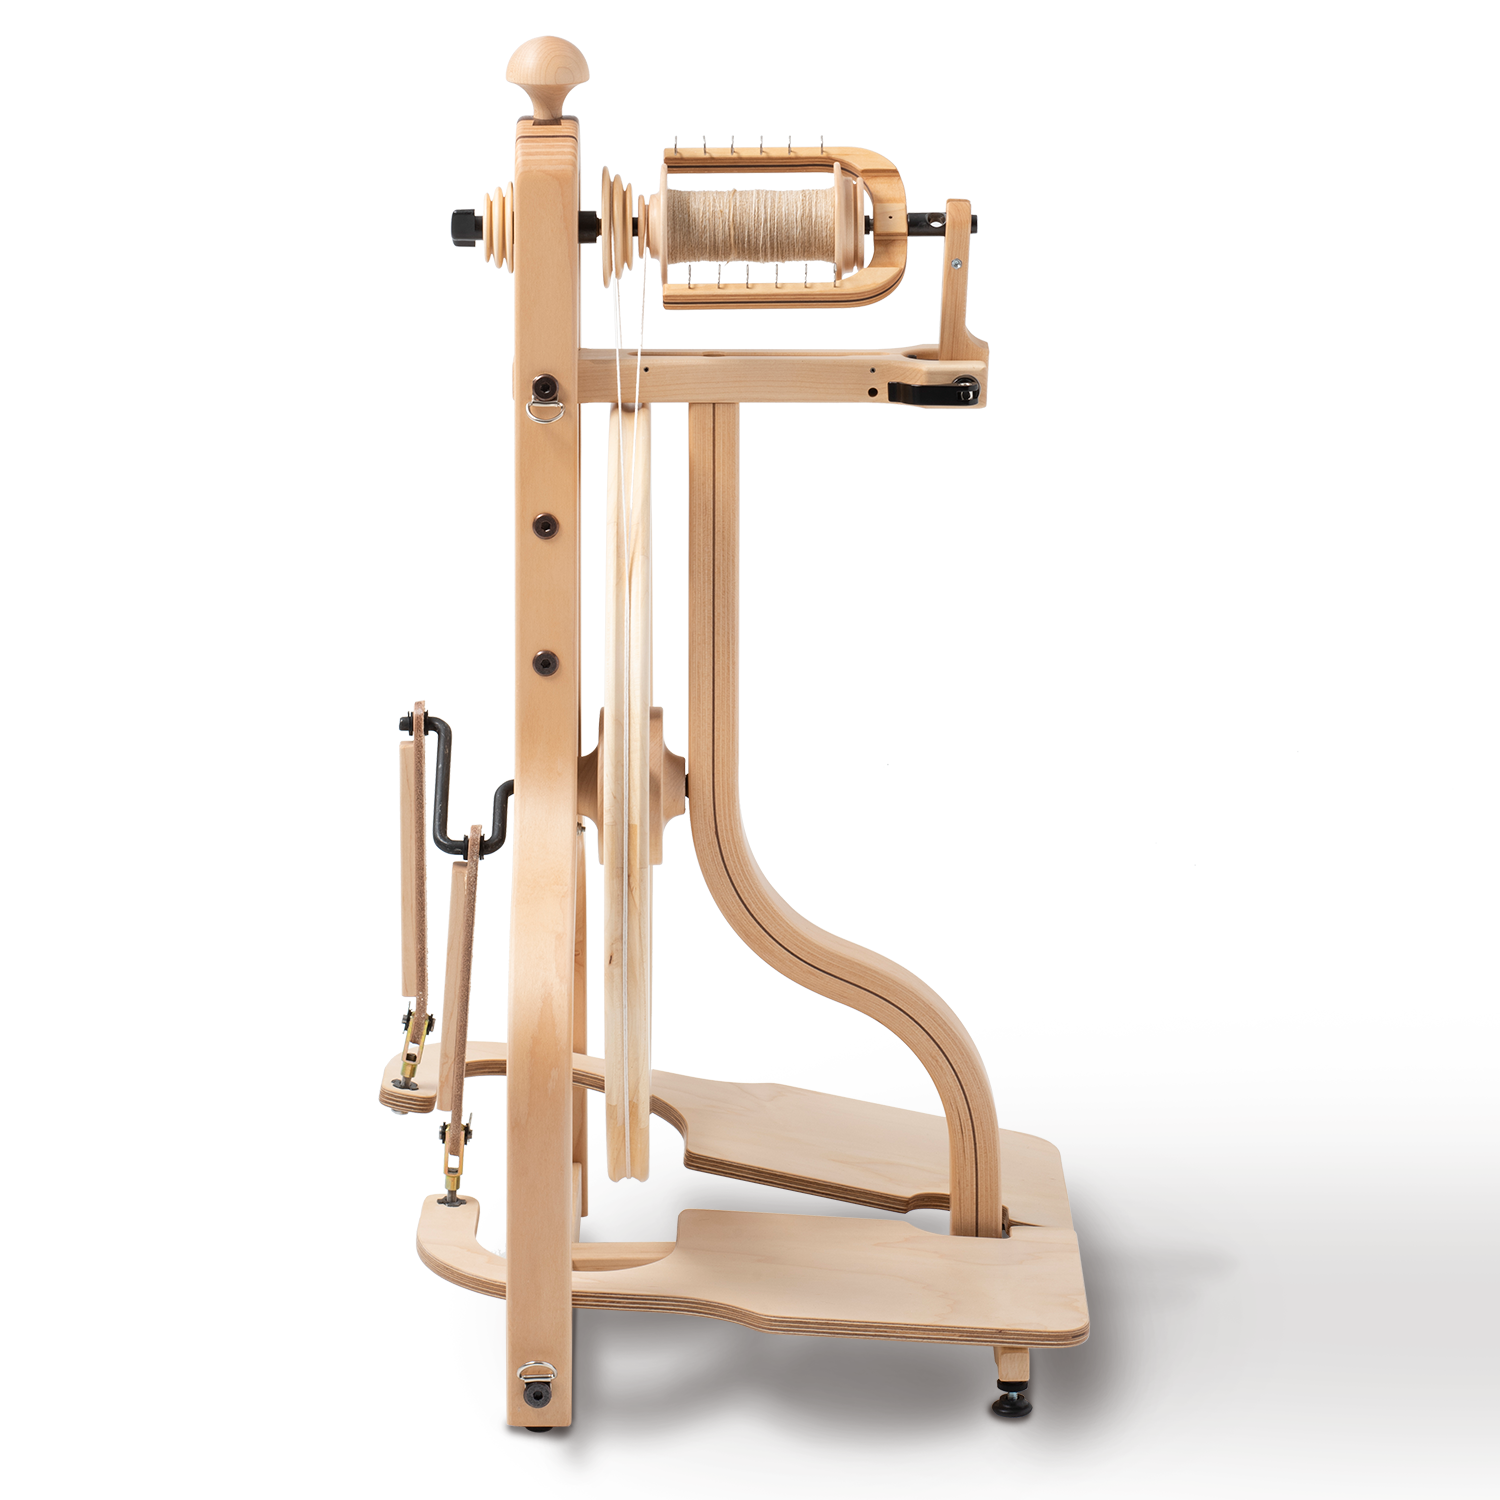
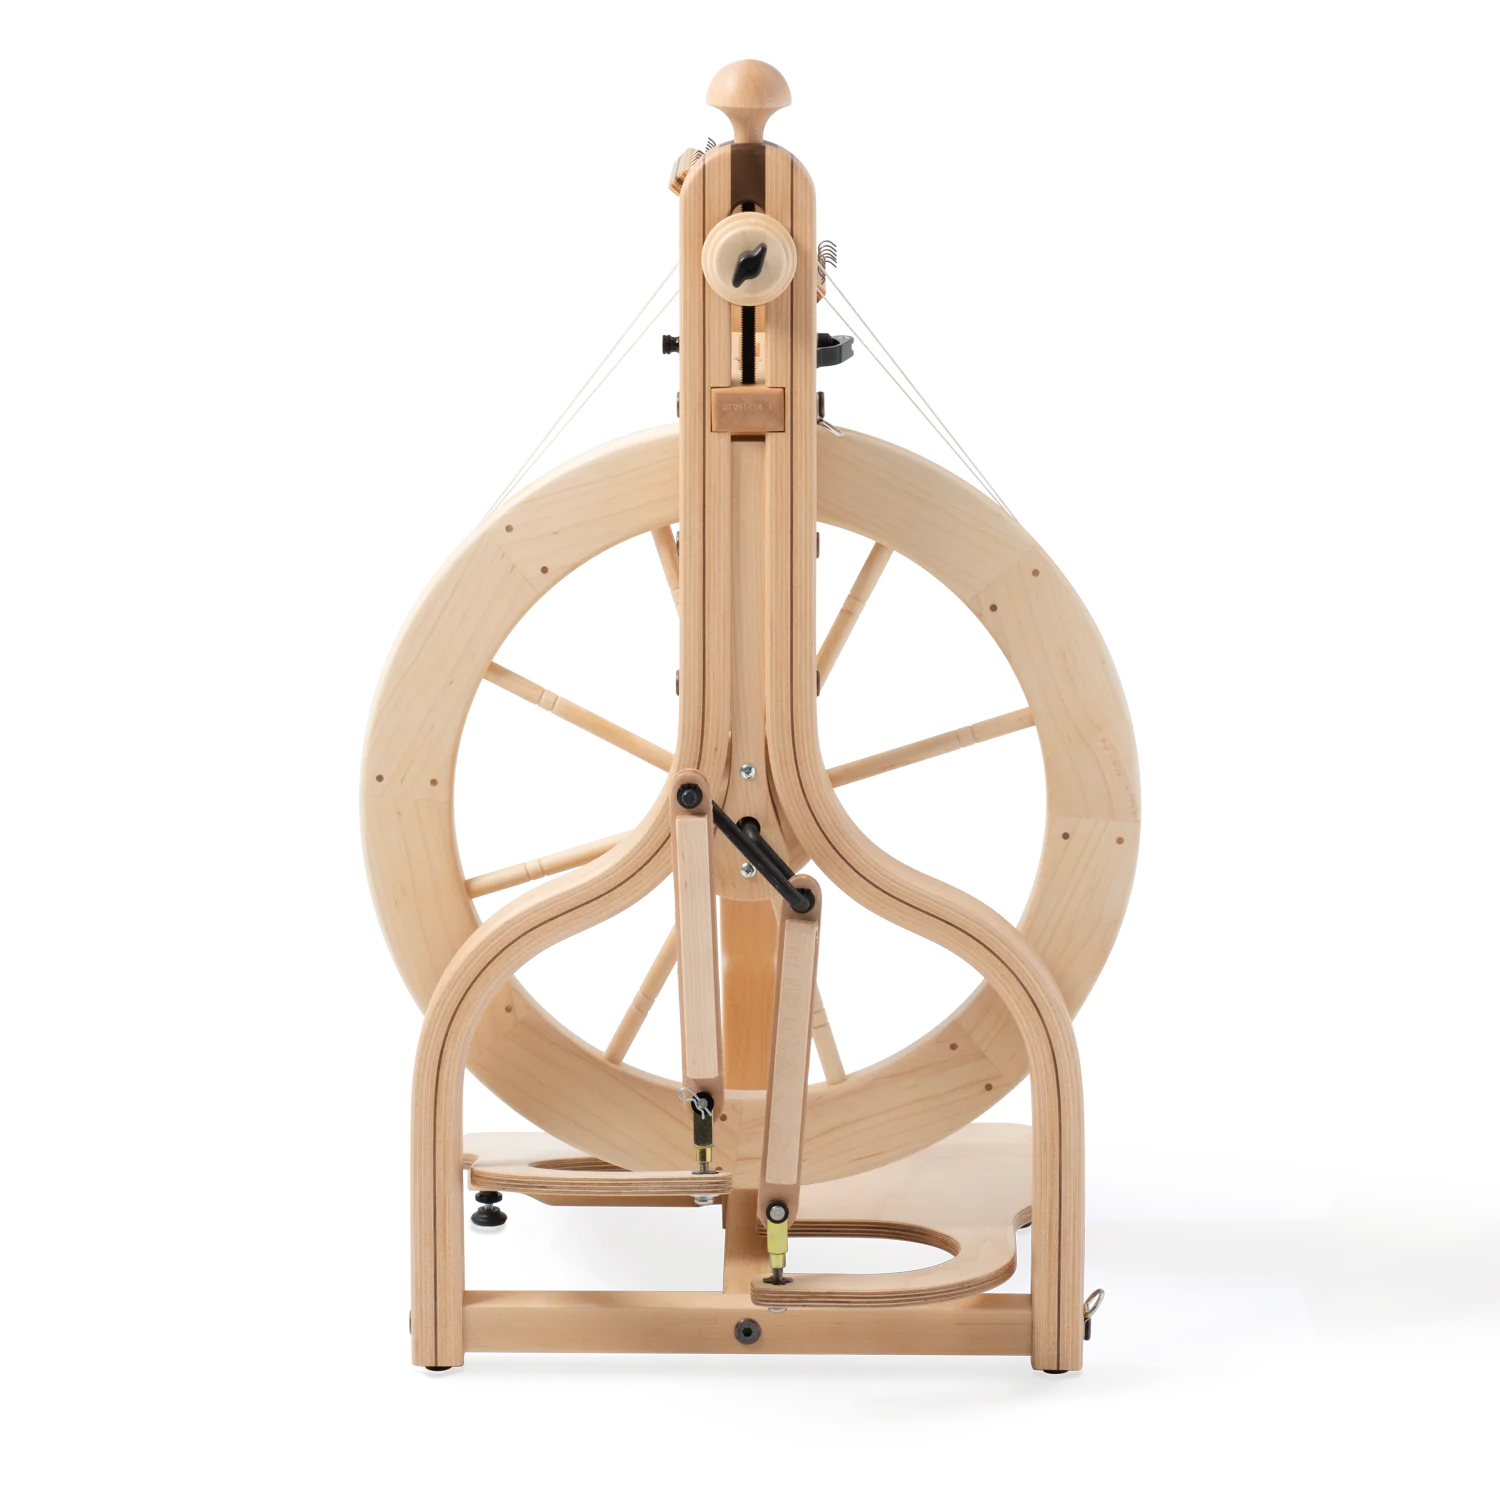
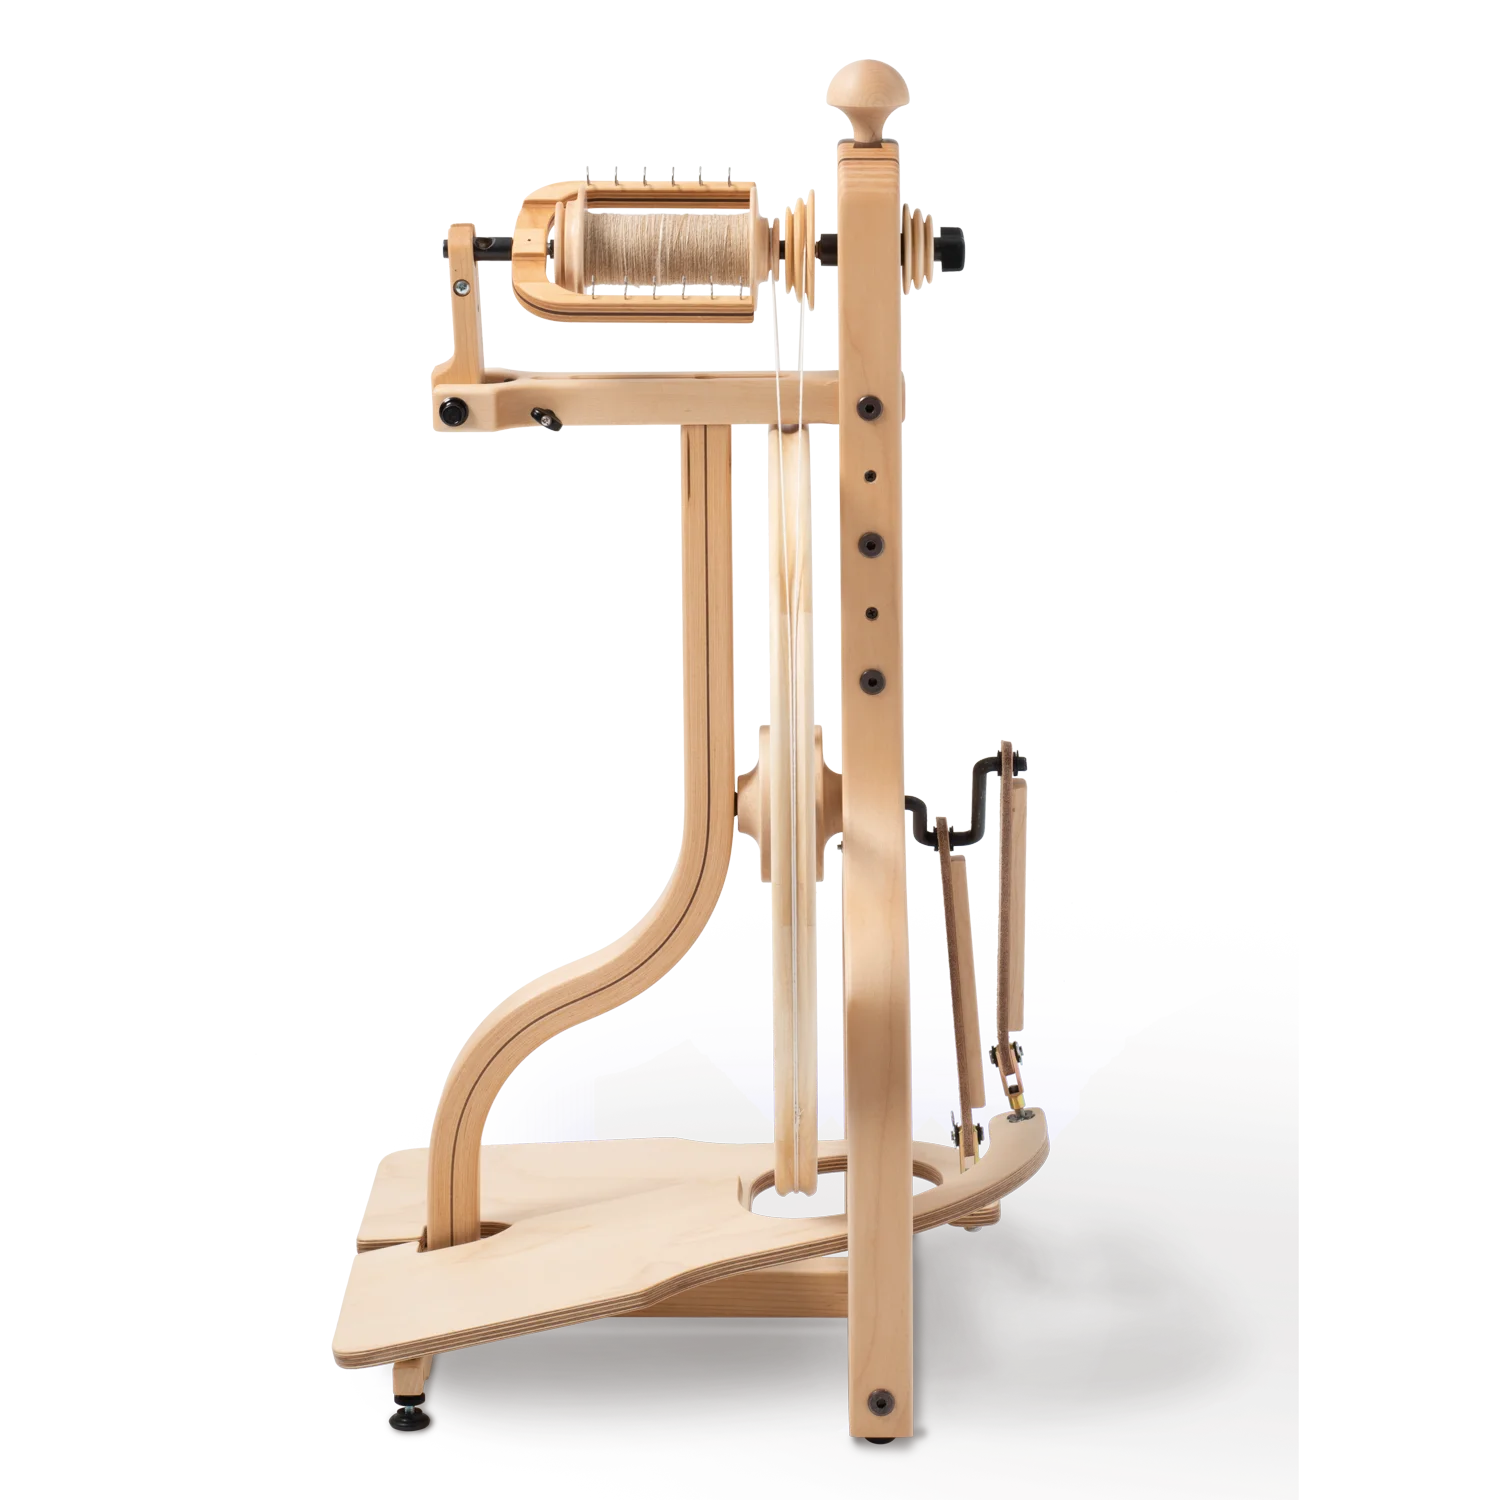
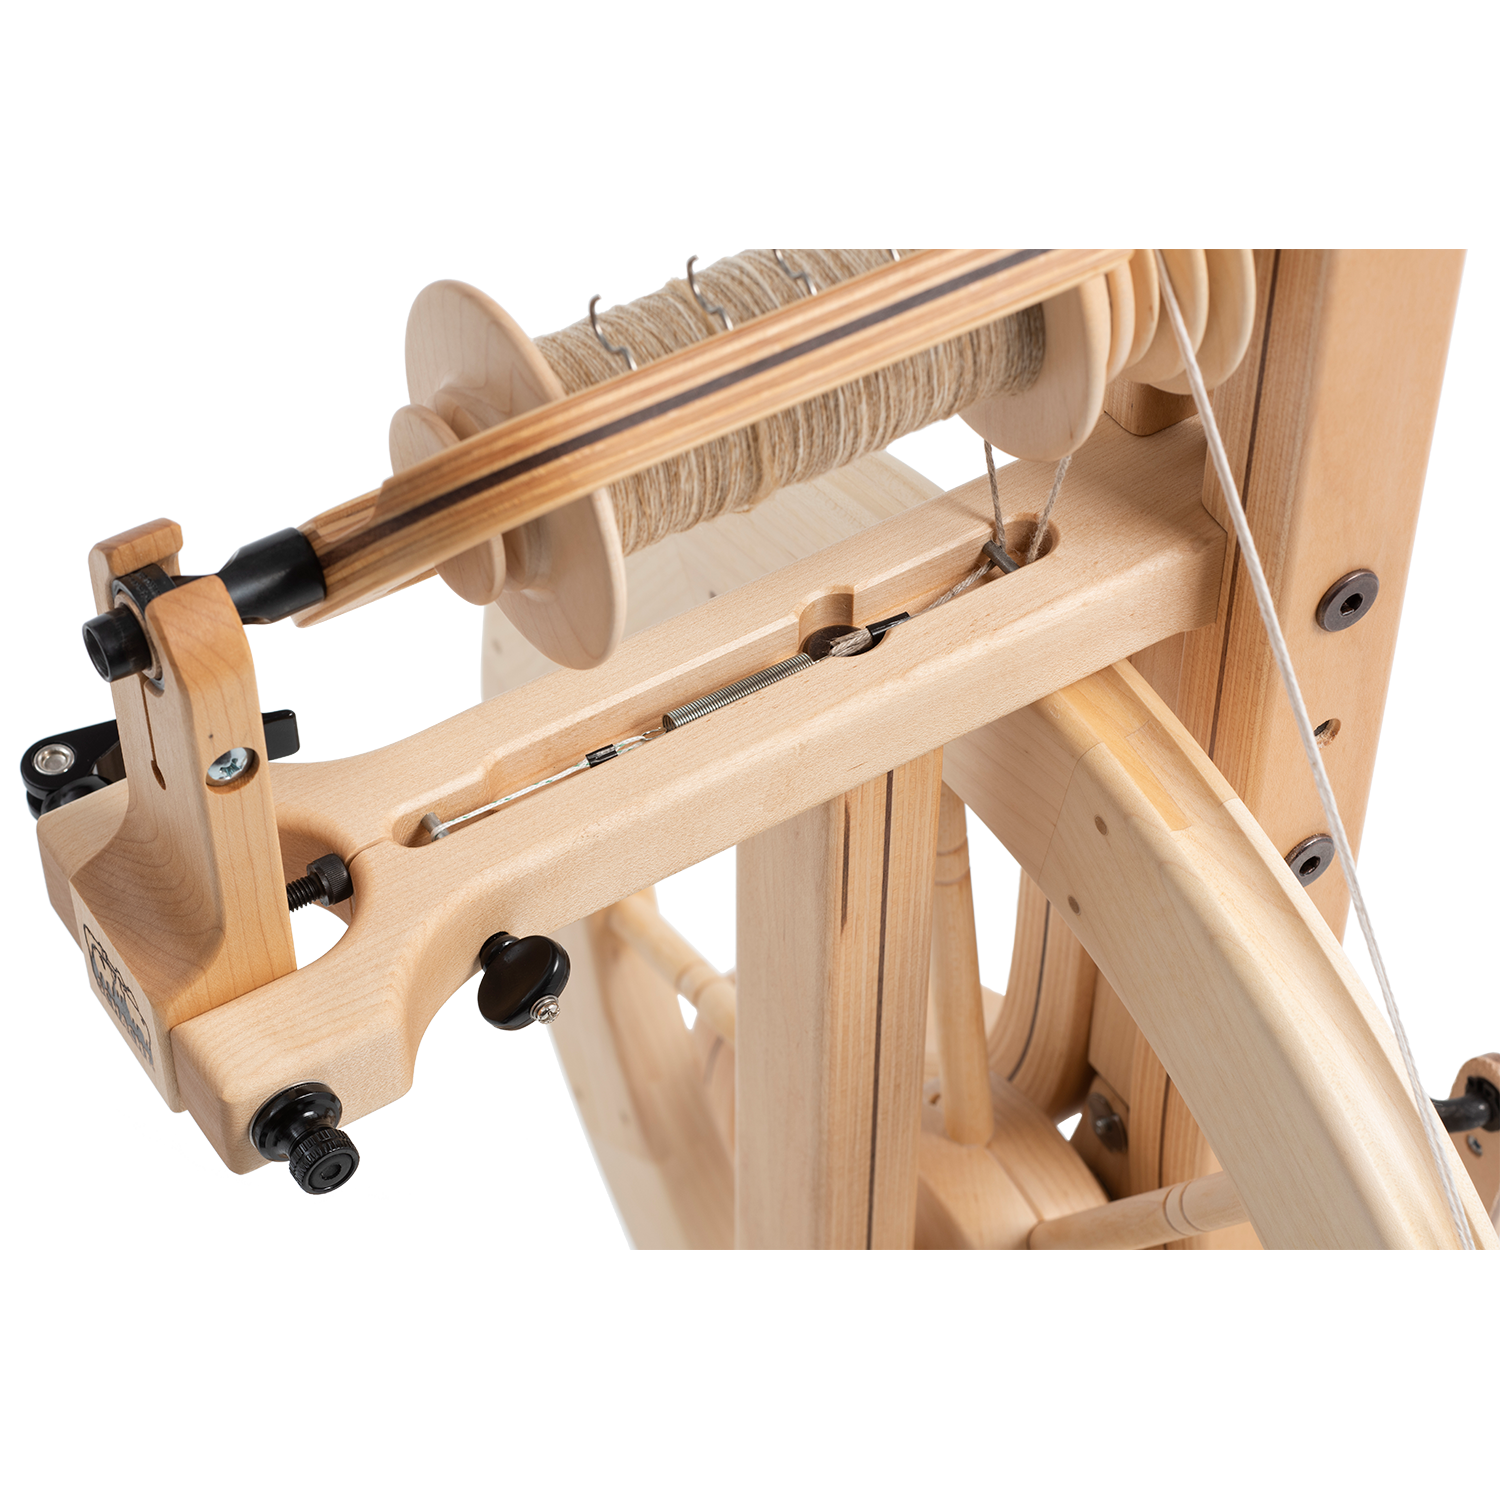
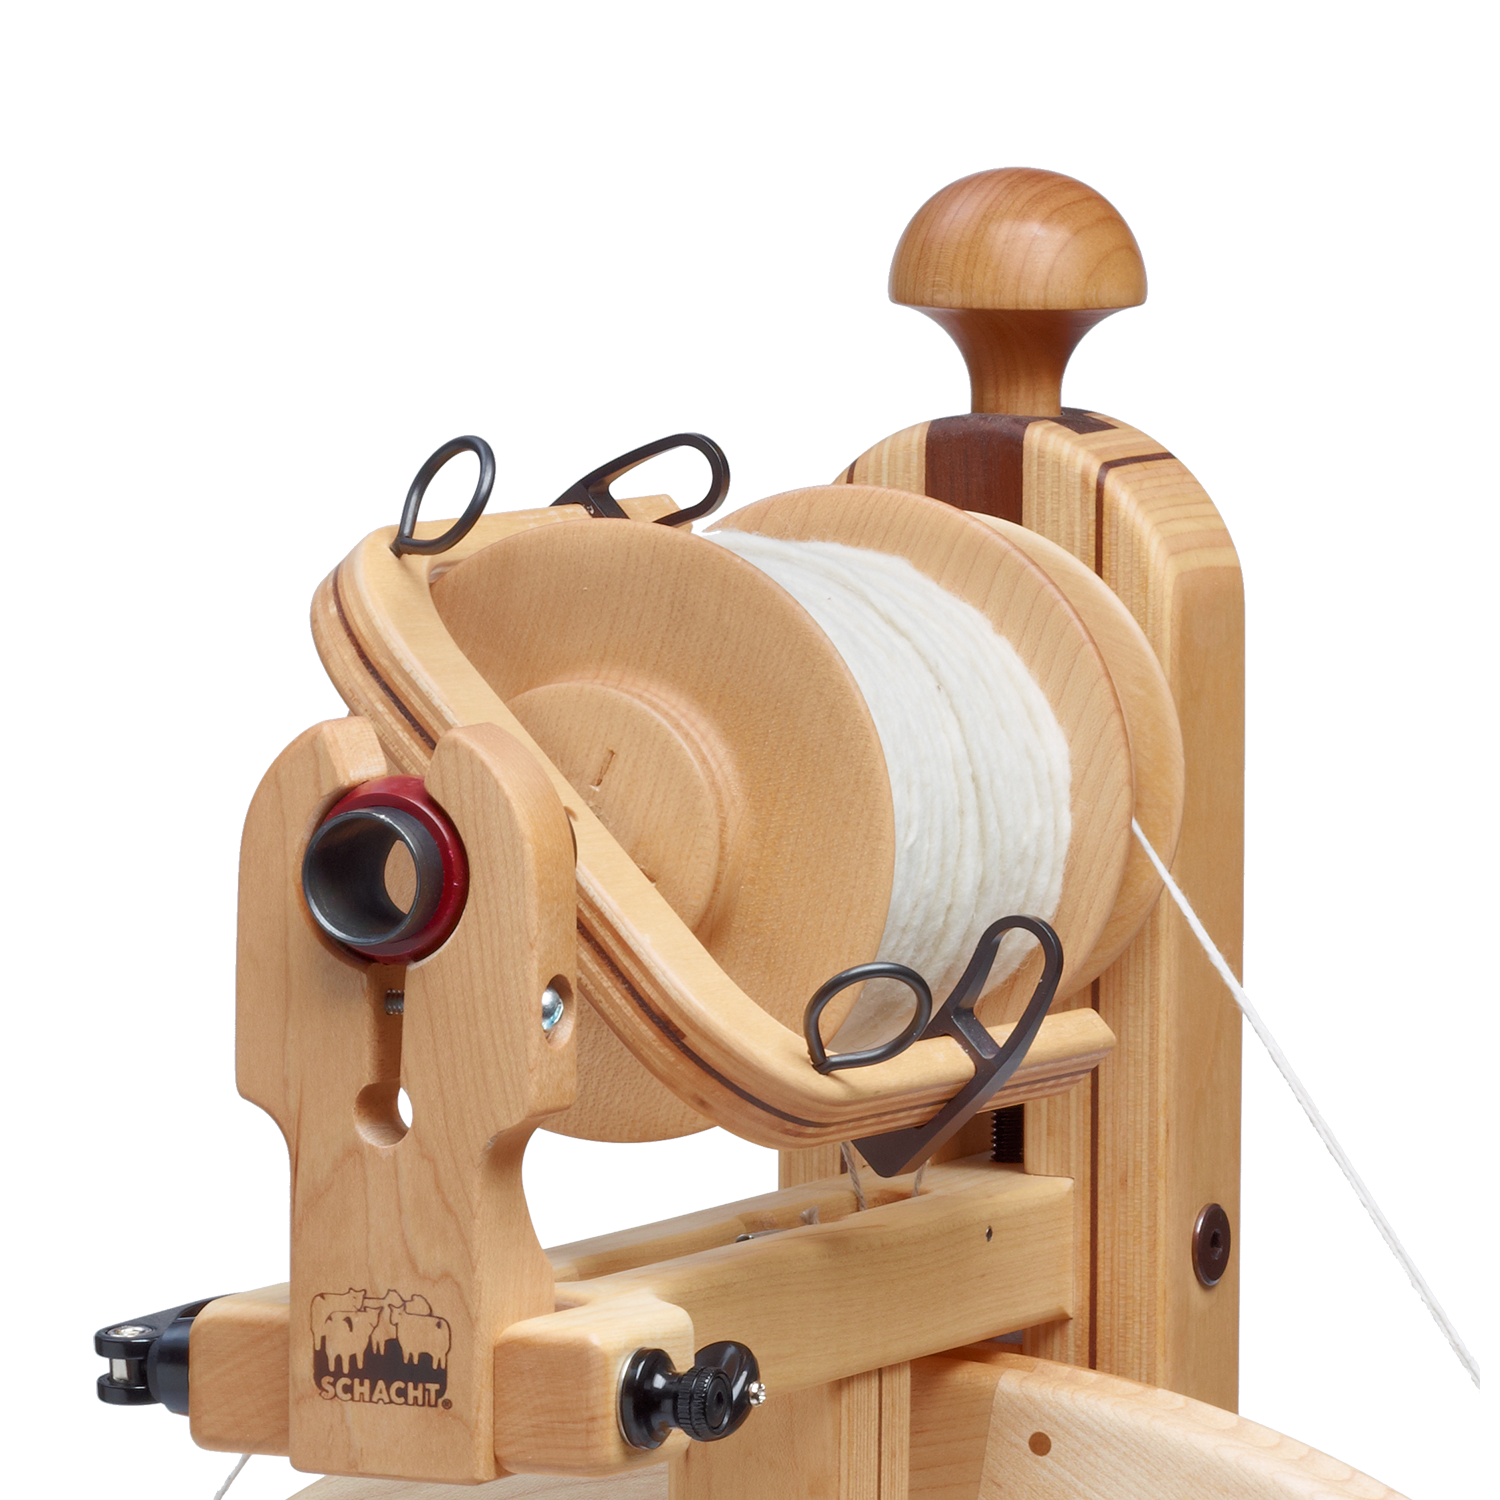
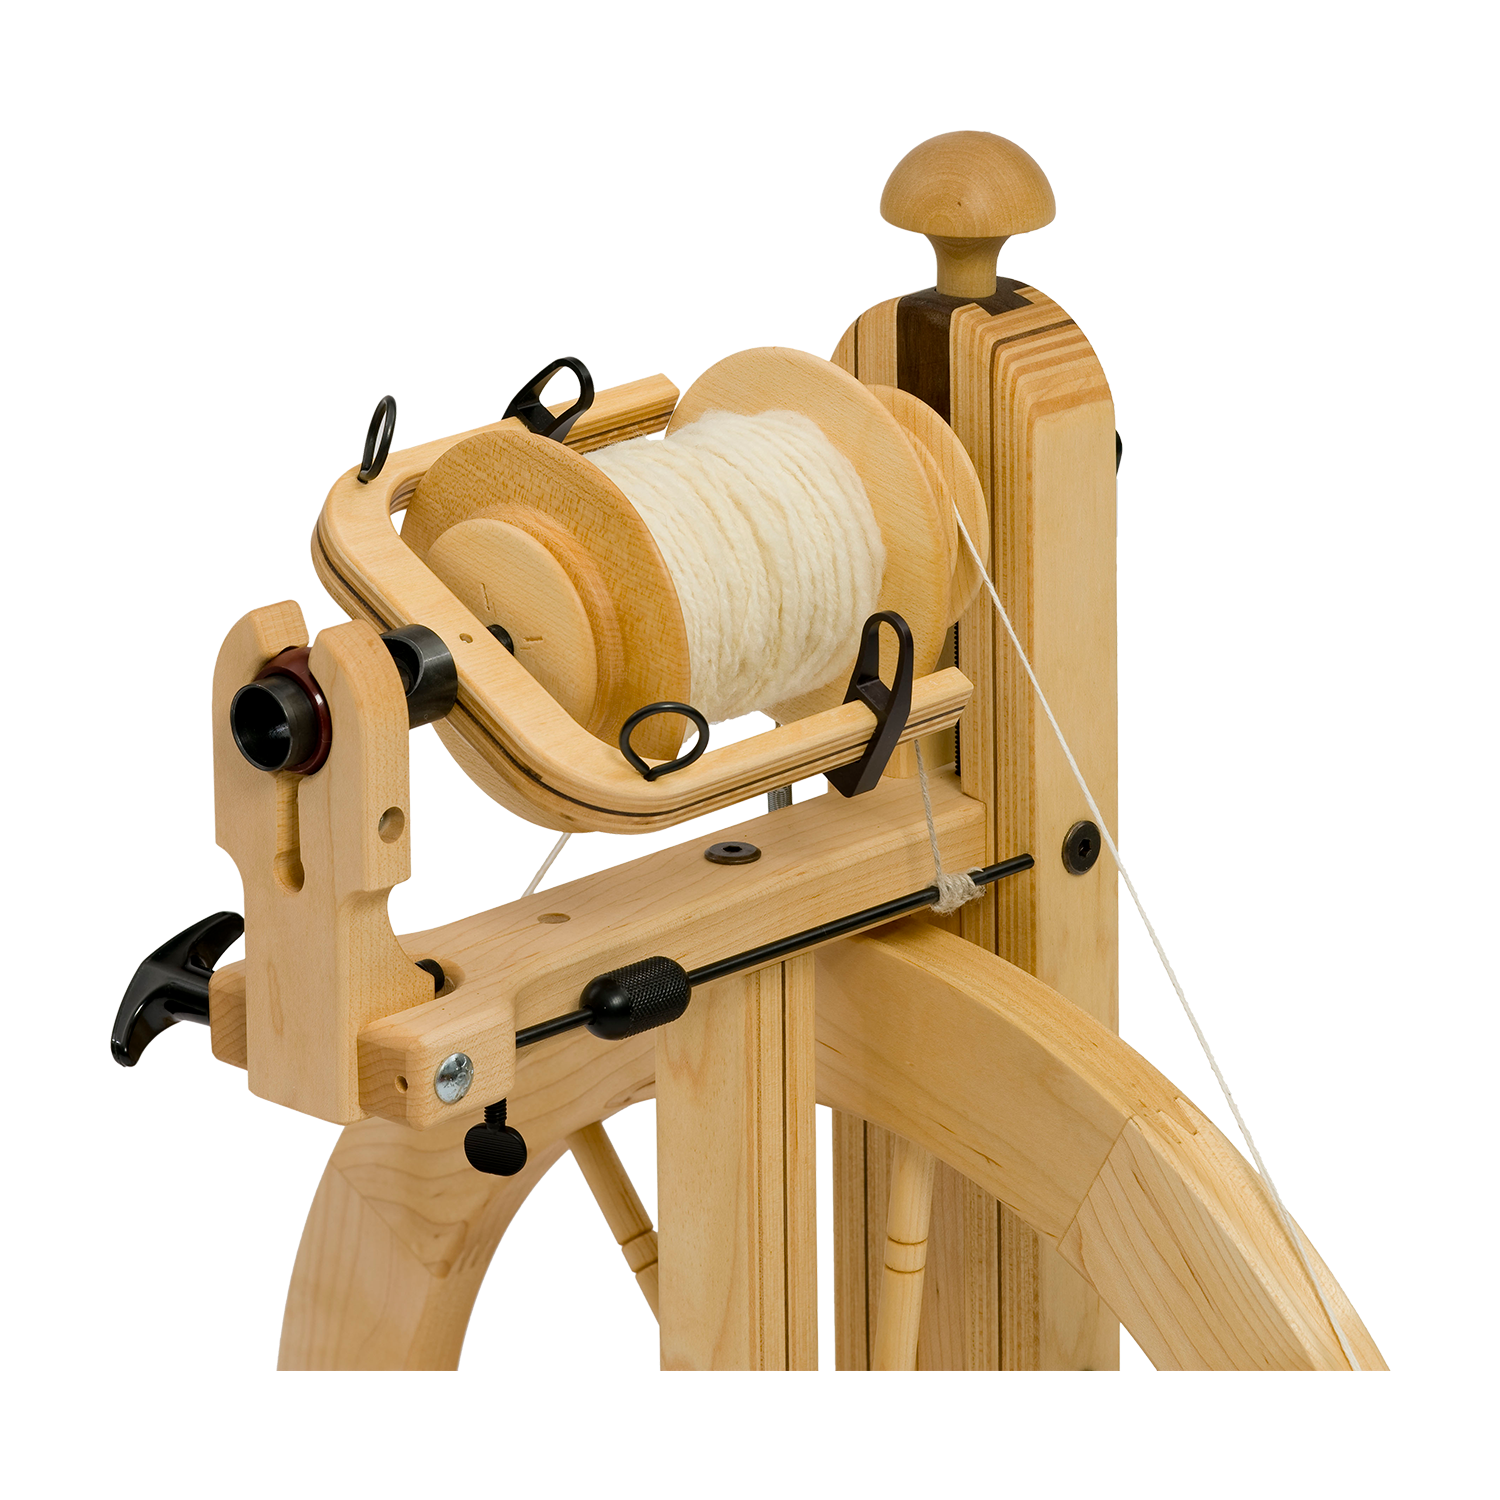
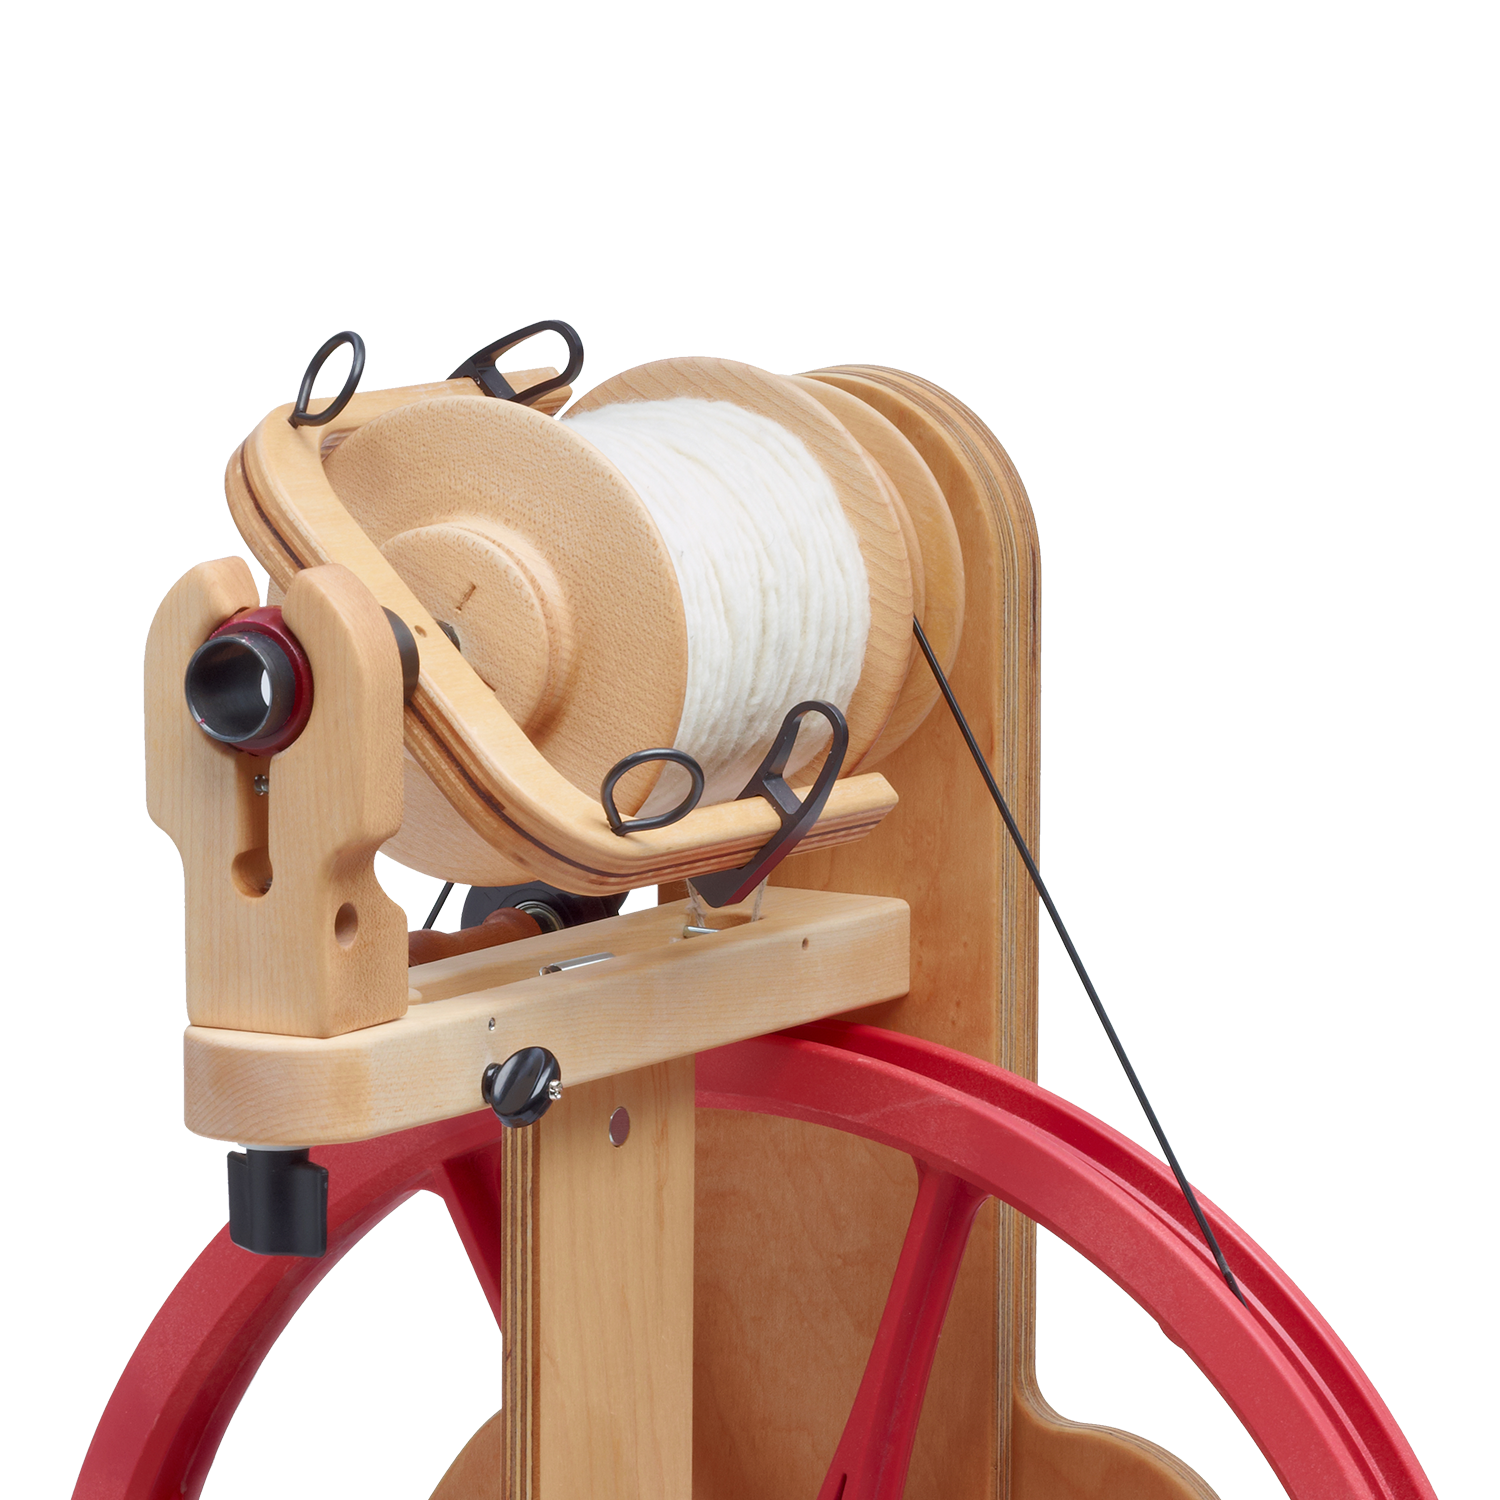
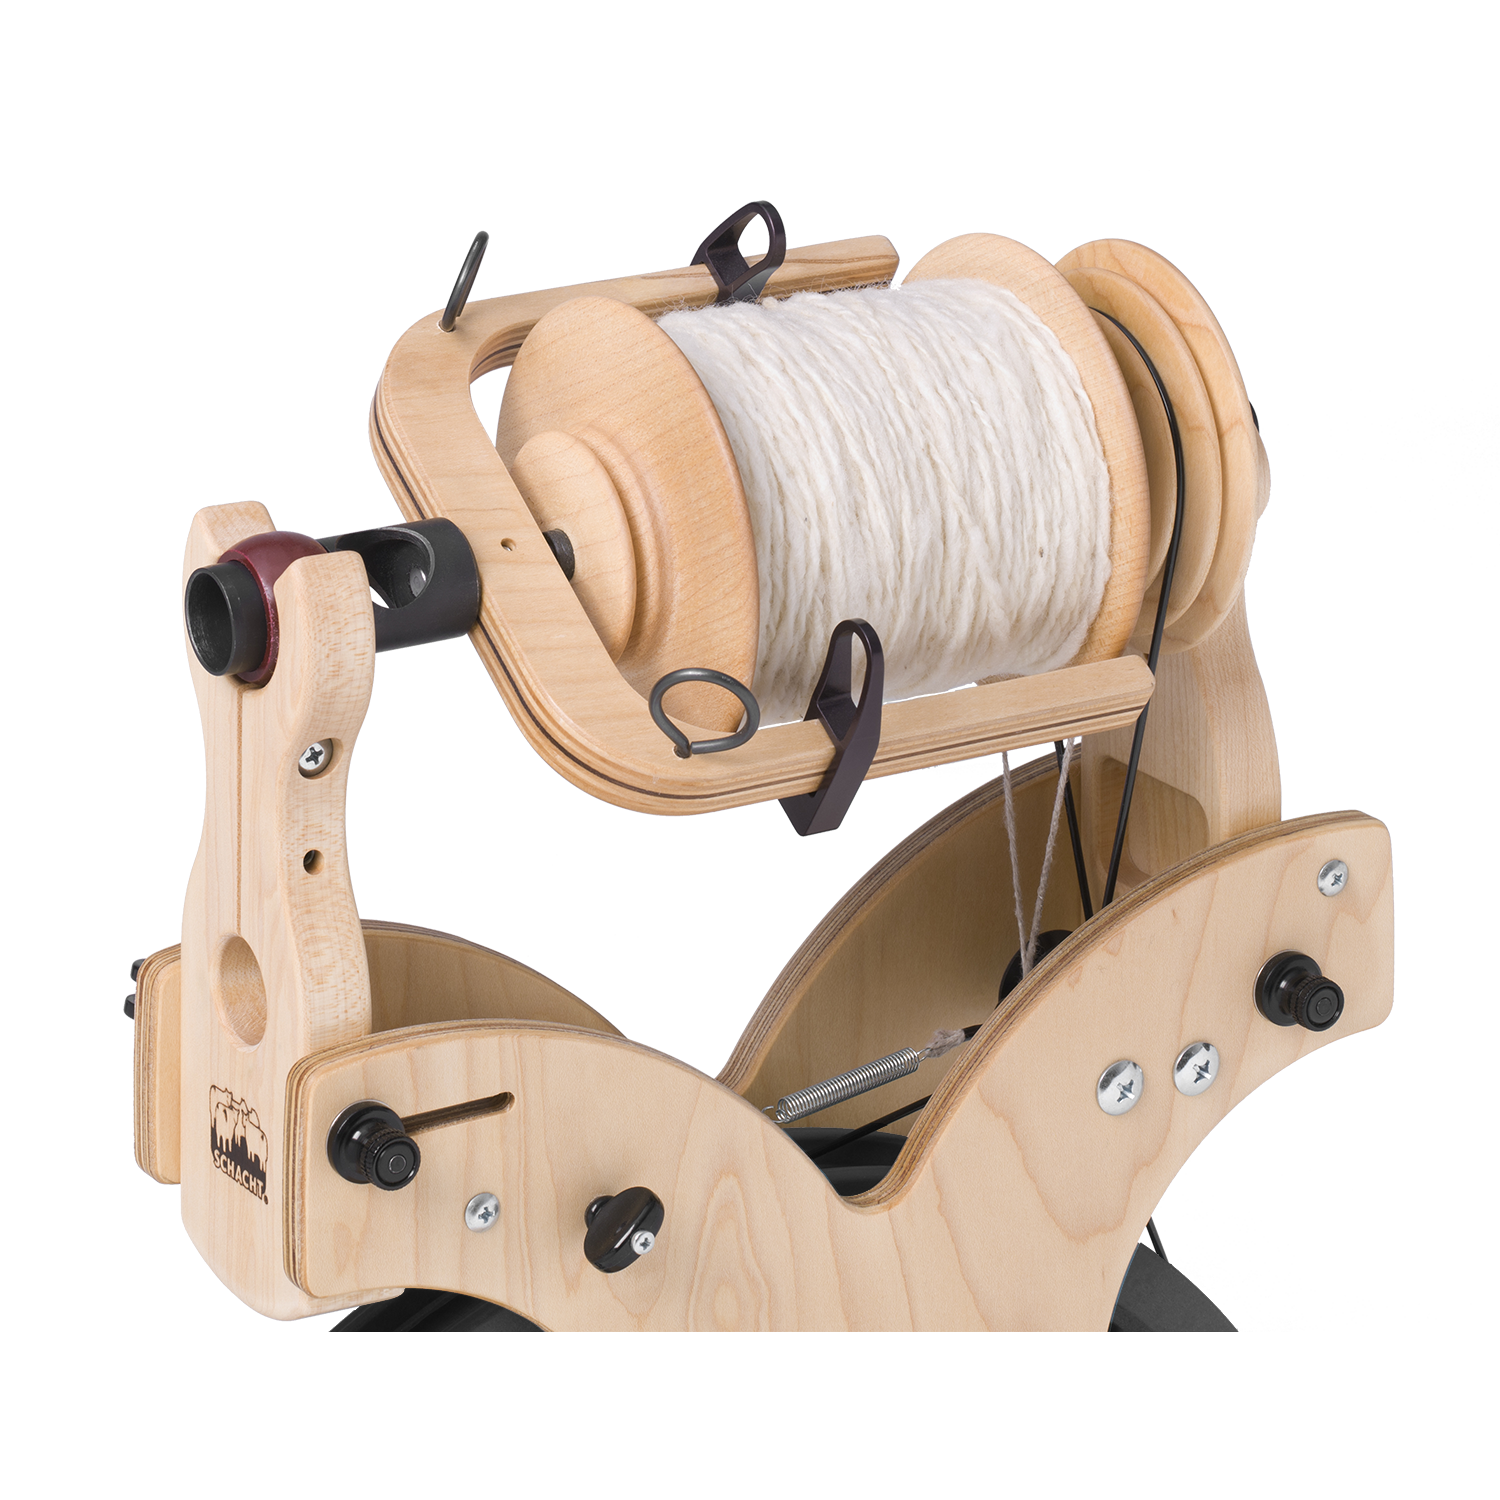
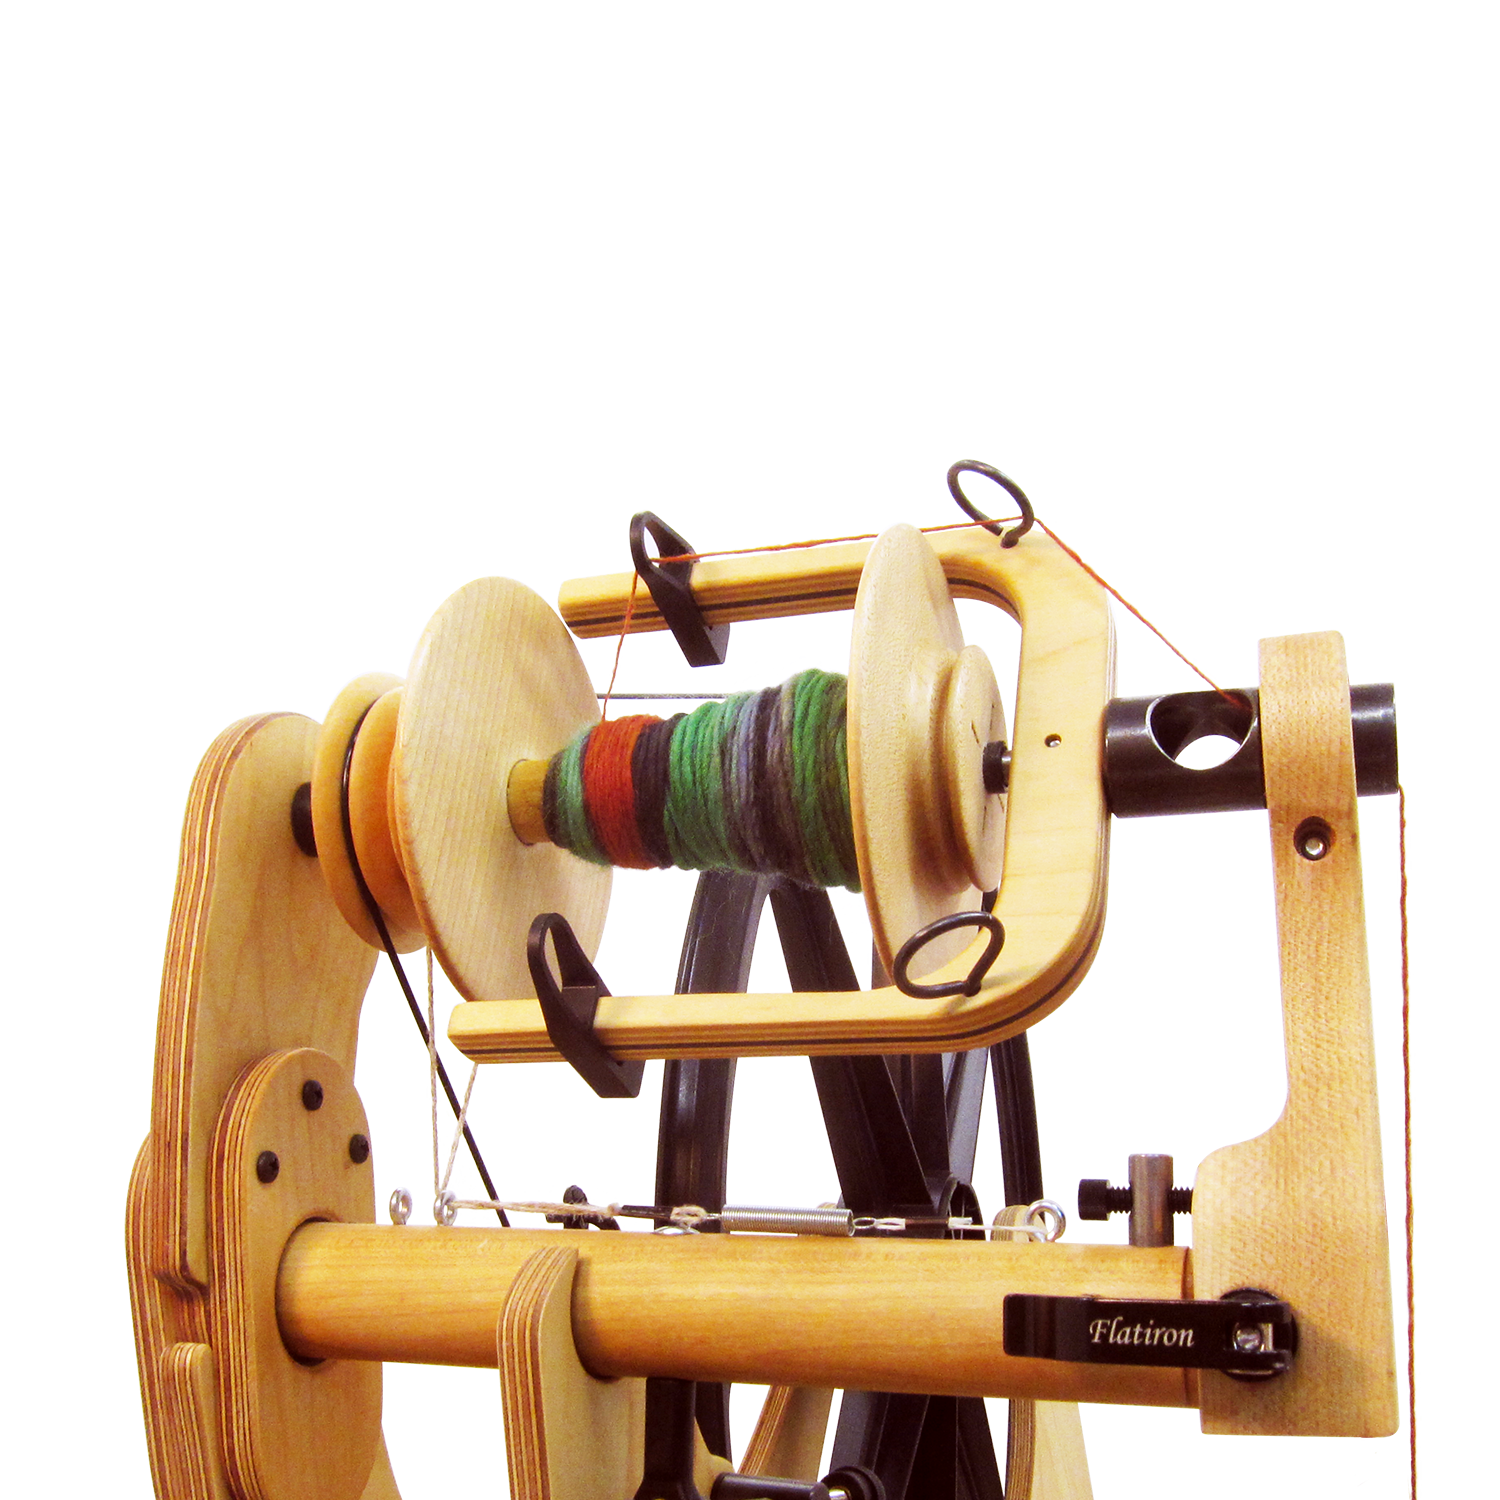
Are you ready to try your hand at creating some unique yarns? It's amazing what can be done with a single to turn it into a beautiful skein of art yarn. You can use these yarns for knitting, crocheting, and weaving to really make your projects pop! And with a bit of practice on a few different techniques, you’ll see how easy they are to create! For this tutorial, I am spinning on my Schacht Matchless spinning wheel, adding a Bulky Plyer Flyer and an orifice reducer as needed. The large capacity of a Bulky bobbin will be really convenient for art yarns, but the orifice may be too big for some of these samples.
I used Scotch tension. Depending on how thick or heavy your art yarn is, you may need the extra pull of Irish tension (bobbin lead) when plying. To do this, put the Scotch tension string on your whorl and move your drive band to your bobbin.
Choosing Yarns
- Plying: strong silk thread, handspun or commercial single. It should pass the snap test—not breaking easily and snapping loudly when broken.
- Autoply threads: thin metallics, silk, sewing thread
- Core yarns: handspun with extra twist added, crochet cotton, commercial laceweight wool or mohair—something with a bit of "grip" that passes the snap test.
What You'll Need
- carded fiber or combed top
- core yarn
- autoply thread
- Schacht Spinning Wheel – I used my Matchless
- Tensioned Lazy Kate
- Bulky Plyer Flyer (recommended for bulky thick-and-thin yarns)
- Spinner’s control card or WPI Tool
Materials
Equipment
Directions
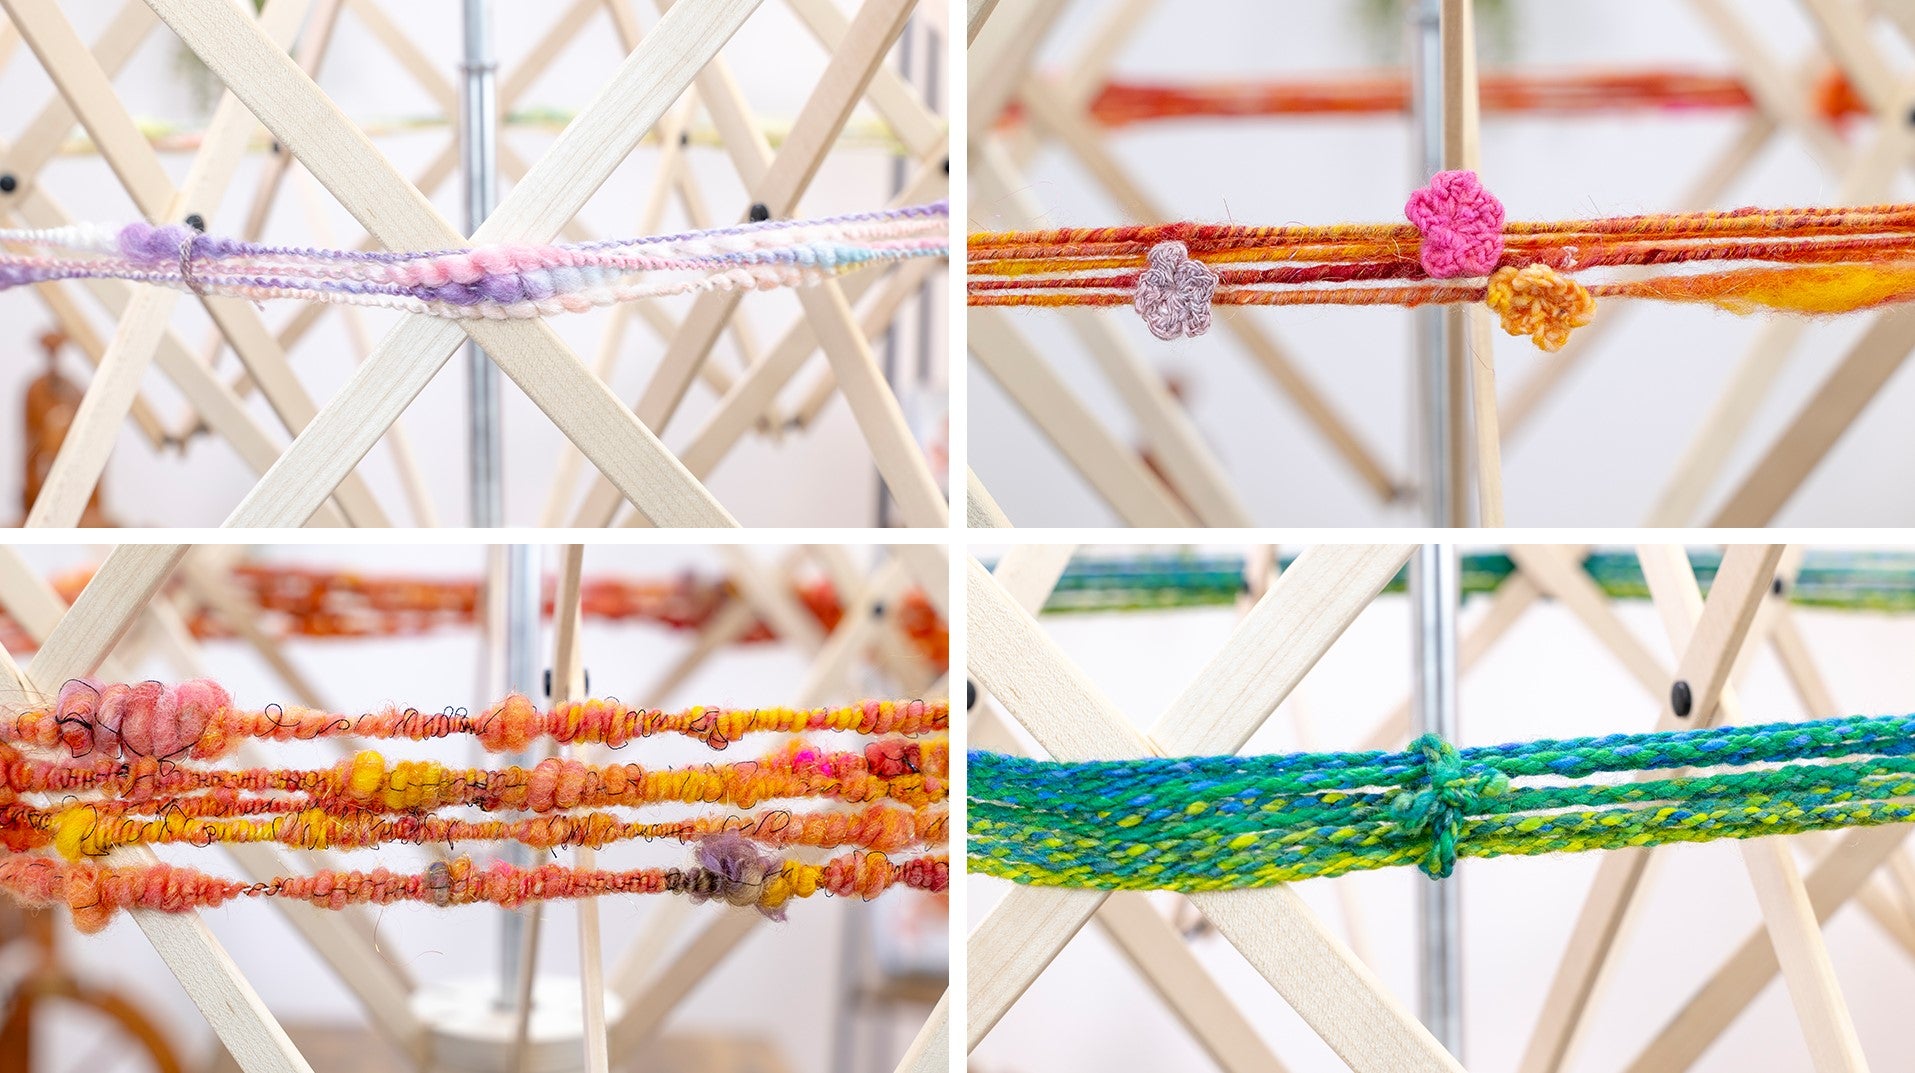
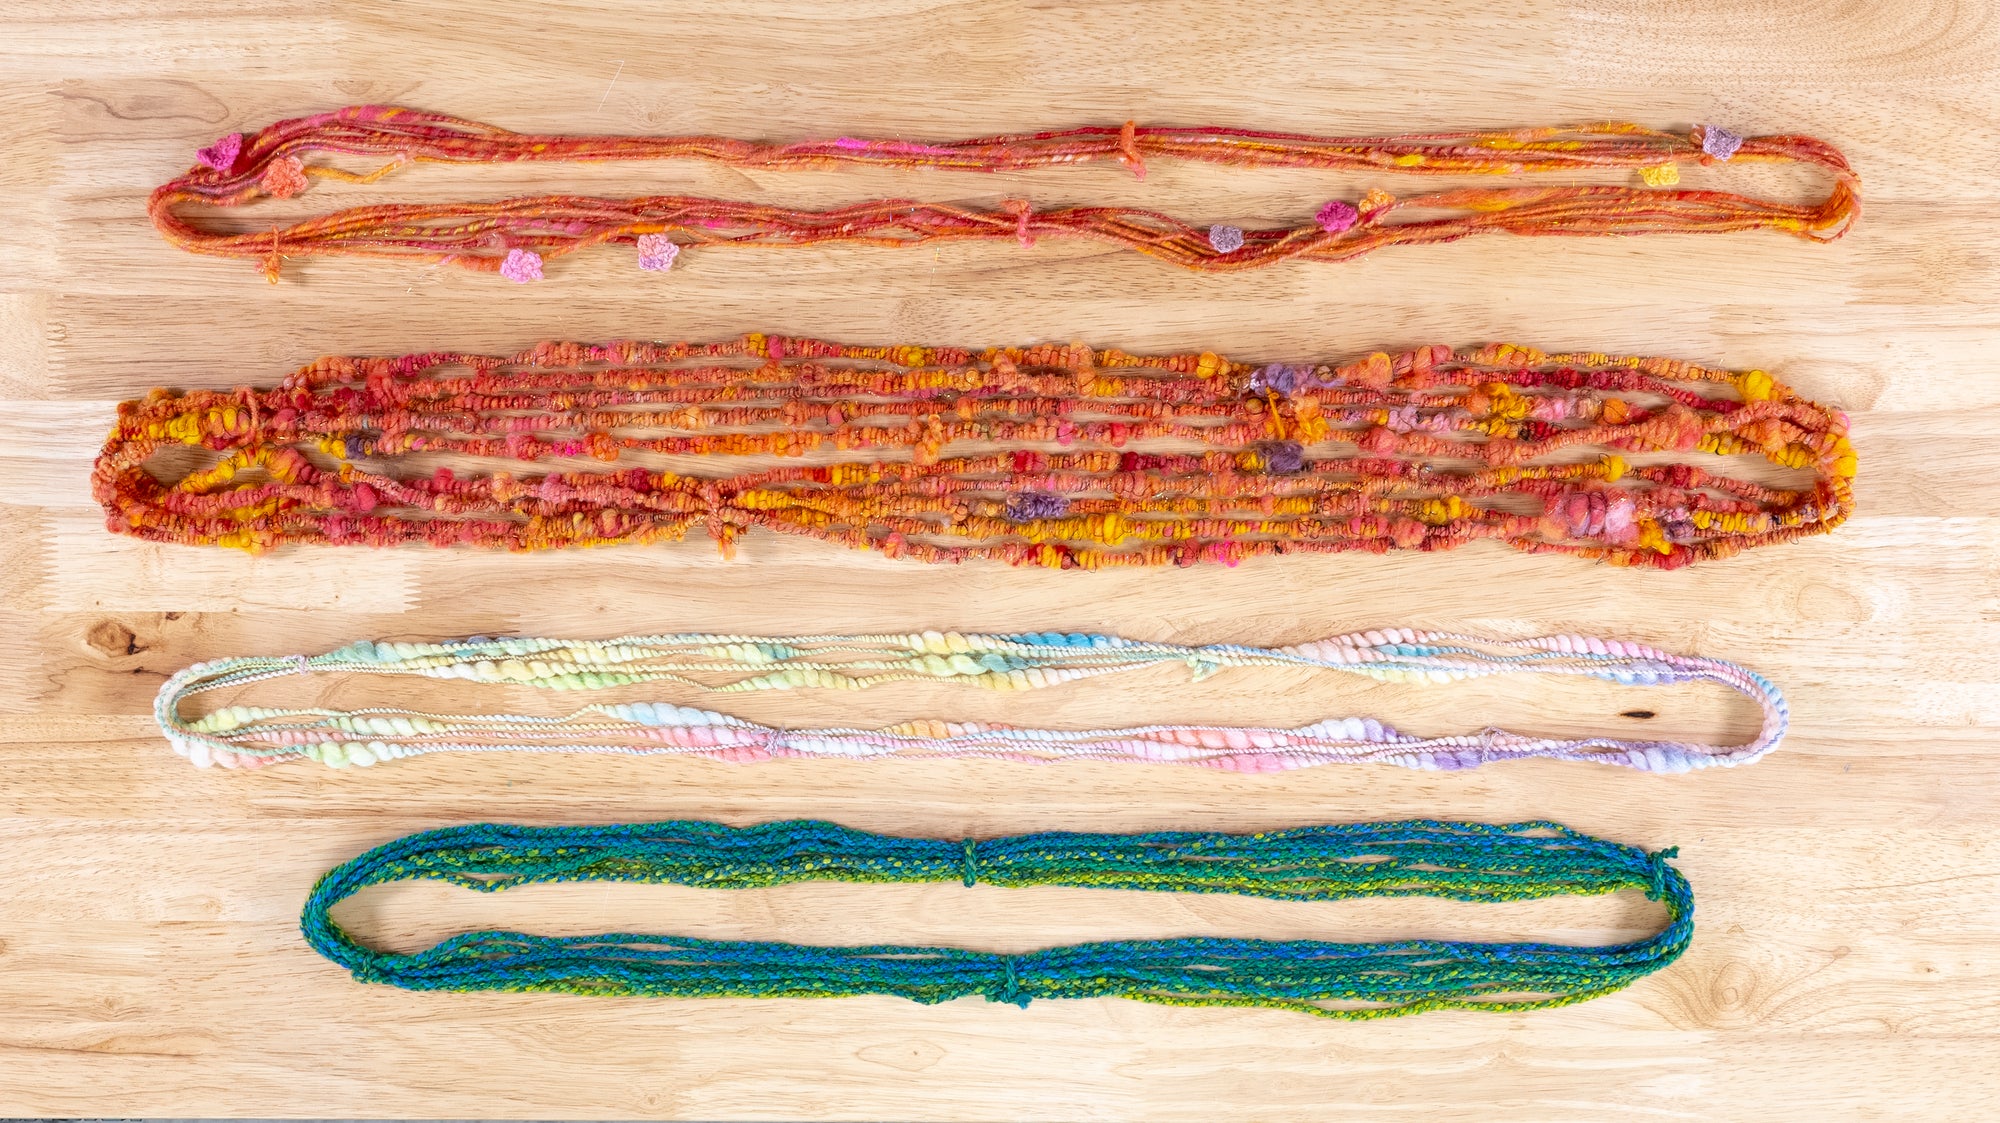
Cabled Art Yarn
Spin an even single of your desired weight. The final yarn will be 4 strands combined so keep this in mind. Here I used a Polwarth/silk combed top from Knitspin. I recommend using a spinner's control card or WPI tool to keep your yarn consistent. The spinner's control card has lines that you hold over or under your yarn to see what size you are making. To use a WPI tool, wind your yarn for 1", making sure the strands are right next to each other, touching but not squished together, then fasten off. Check your yarn size frequently, either using the control card to make sure you are spinning the same size, or hold your yarn over your WPI tool between 2 strands. If you can't tell the difference between the yarn you had previously wound and your freshly spun yarn, you are on track!
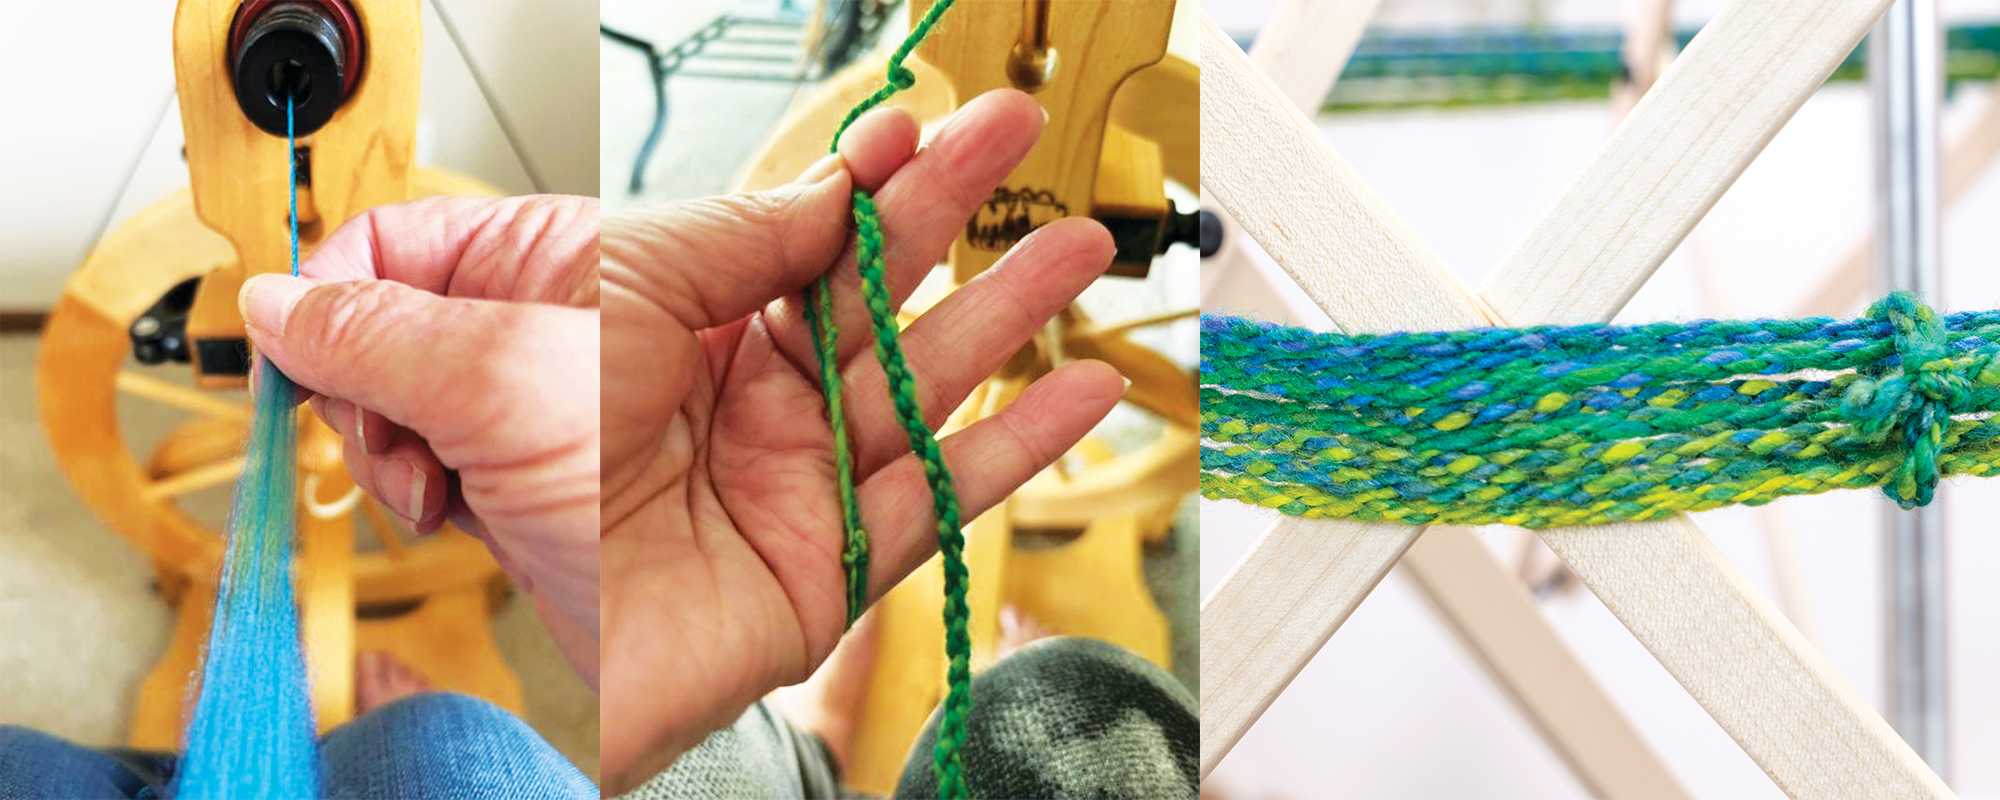
Create two fiber supply sources: you can use two bobbins or make a center pull ball. Ply in the opposite direction of the single, plying at TWICE the amount of twist it takes to make a balanced yarn. A balanced yarn is one that has only a very slight twist when pulled back out of the wheel, but in this case you want enough twist so when you pull it out from the wheel and let it ply back on itself, you can see the nice tight ply forming the round cable.
Rewind half the yarn onto a separate bobbin or make another center pull ball. You are going to ply a second time, in the opposite direction of how you plied the first time, but go slowly! Your second ply will pop into a cable. If you have trouble slowing your feet down, switch to a larger whorl. This yarn is especially lovely with a multicolored indie-dyed top!
Thick-and-Thin Spiral Plied Coils
- We'll start by making a thick-and-thin single. Carefully divide your combed top (I used merino/bamboo/silk combed top from DnD Fibers) into strips, approximately the width of your thumb. I love spinning this with a merino/tencel blend of fiber, but any type will do. If you want bulky thick sections, use a Bulky Plyer Flyer.
- Attach your fiber to your leader and spin a few feet to get it started.
While spinning slowly, take a big bite of the fiber so you have a thick section. Draft back so you have a small amount of fiber directly after your larger section.
Slide your fingers over the thick section to smooth and spin your thin section.
- When you want another thick part, repeat as before. Continue spinning until you have all the thick-and-thin yarn you'd like.
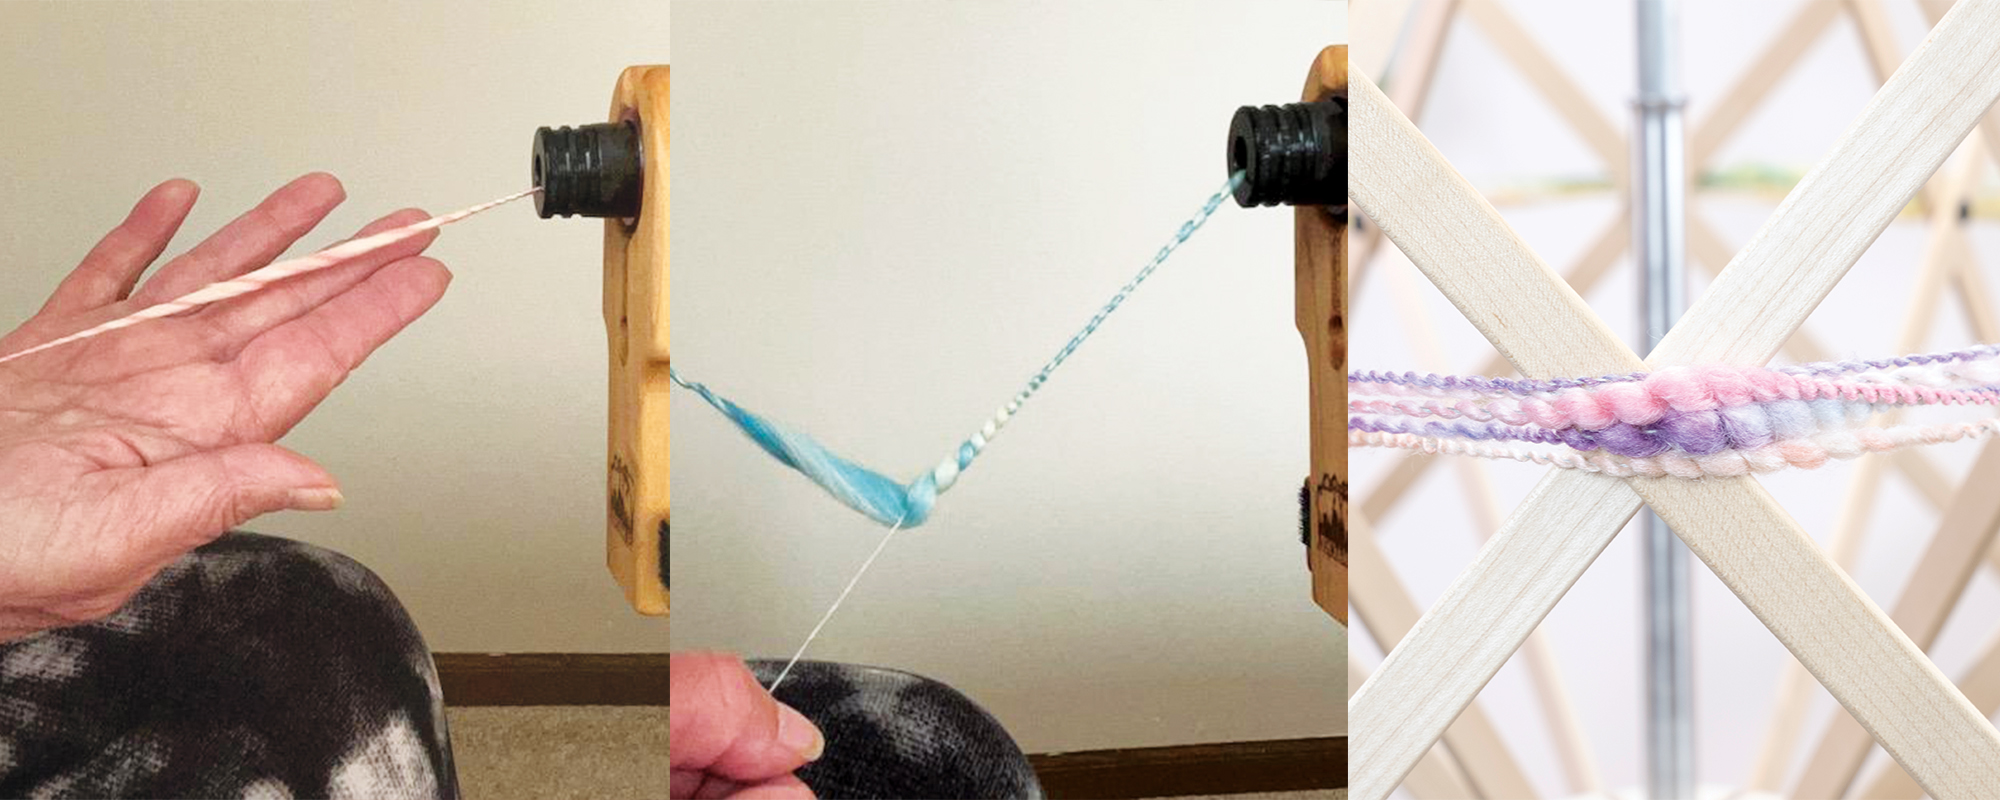
Now you will need a strong plying thread or thin (laceweight) yarn. Hold the thread in one hand and the thick-and-thin in the other. Attach your thick-and-thin and your plying thread to your leader and get it started in the opposite direction—if you spun the singles Z, ply S.
Evenly ply the thin sections, and when you get to a thick sections, hold the plying thread straight out towards you from the orifice, and slide the other hand holding the thick-and-thin BEHIND the thick section, into to the next thin section, at about a 90 degree angle. Let the thick section wind around the plying thread, then bring your hands together and continue plying the thin section. That's it!
Sometimes you may find your thick section doesn't have enough twist to form a nice coil. If so, just roll the fiber between your fingers to add additional twist to the thick part. If you have open "spaces" within the plies on the coil, just treadle an extra time or two to close them up!
Autoplyed and Supercoiled Corespun Yarn
- Pick your core yarn/thread and fiber: A wool or mohair blend is usually suggested as it has a good grip, but don't use anything expensive because it will not be visible. A thin crochet cotton or a thin commercial yarn works just fine! For the fiber, I used a mixed fiber batt created by Marge Sundholm Designs.
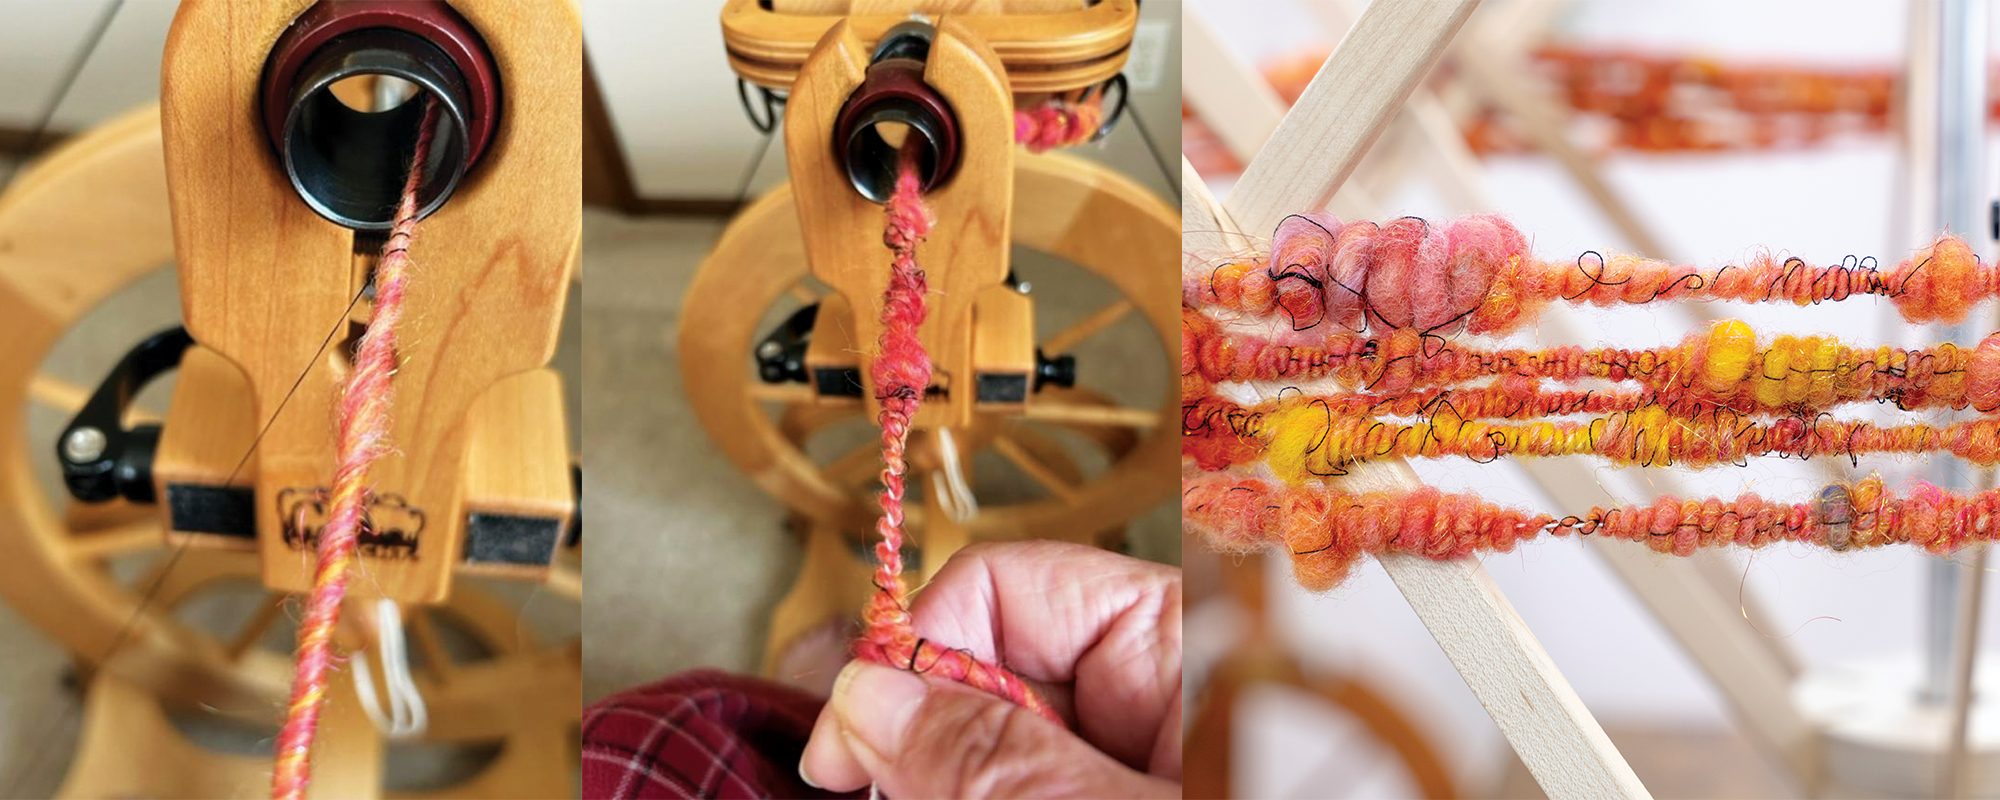
Use your largest whorl the first few times you do this. Attach your core to your leader and start spinning to add twist. Hold your core in the palm of your dominant hand with your middle, ring, and pinkie fingers, leaving your index finger and thumb free to draft and smooth. The other hand will be holding a handful of your fiber supply.
After your core has some twist built up, hold the tip of your fiber supply against the core and let some wind on as you slide your core hand down. Use your index finger and thumb of your core hand to supply tension so you can draft out the fiber supply then wind on. The procedure is: Pinch, draft, slide down, wind on. Do not hold the core in a death grip—let it slide through the palm of your hand as needed. If you get too much twist in your core, stop spinning and slide your core hand back to let more fiber wind on and the core twist even out.
- Once you get the hang of corespinning, add your autoply thread. (This can be anything. There are many beautiful metallic and shiny threads to use, and they don't need to be strong like plying thread.) Set the autoply thread in a bowl on the floor, near the orifice.
Tie on your autoplying thread near the orifice and continue spinning. No need to hold it, just let it wind on by itself haphazardly while corespinning. If you find your autoply thread doesn't unwind easily from its spool or cone, or gets tangled, wind it into a ball.
After you've autoplyed, you can also supercoil. To do this, attach your strong ply thread and your autoplyed yarn to your leader. Hold your autoplyed yarn at about a 90 degree angle to the orifice. Hold the ply thread back towards you. Begin spinning, allowing the yarn to coil around the ply thread, pushing up as needed to keep the coils right next to each other.
Other Additions
Adding beads: String a bunch of beads on a plying thread or core and move one up each time you want a bead in your yarn.
Adding crochet flowers: Another thing I like to do is crochet a bunch of little flowers and leaves, leaving long tails. I cut my core yarn and tie one tail to the core, and the other tail to the other cut end of the core. When I corespin, it covers the knots and tails and the corespinning anchors the flower in place.
Finishing Yarn
- For a stable singles or art yarn (for example, a cabled yarn, corespun single, or a yarn that will not be plied in any way), give it a nice soak in hot to the touch water with a few drops of a gentle soap, such as a fiber wash soap or shampoo. Then rinse, roll in a towel to get most of the water out, give it a few snaps between outstretched hands, and hang to dry.
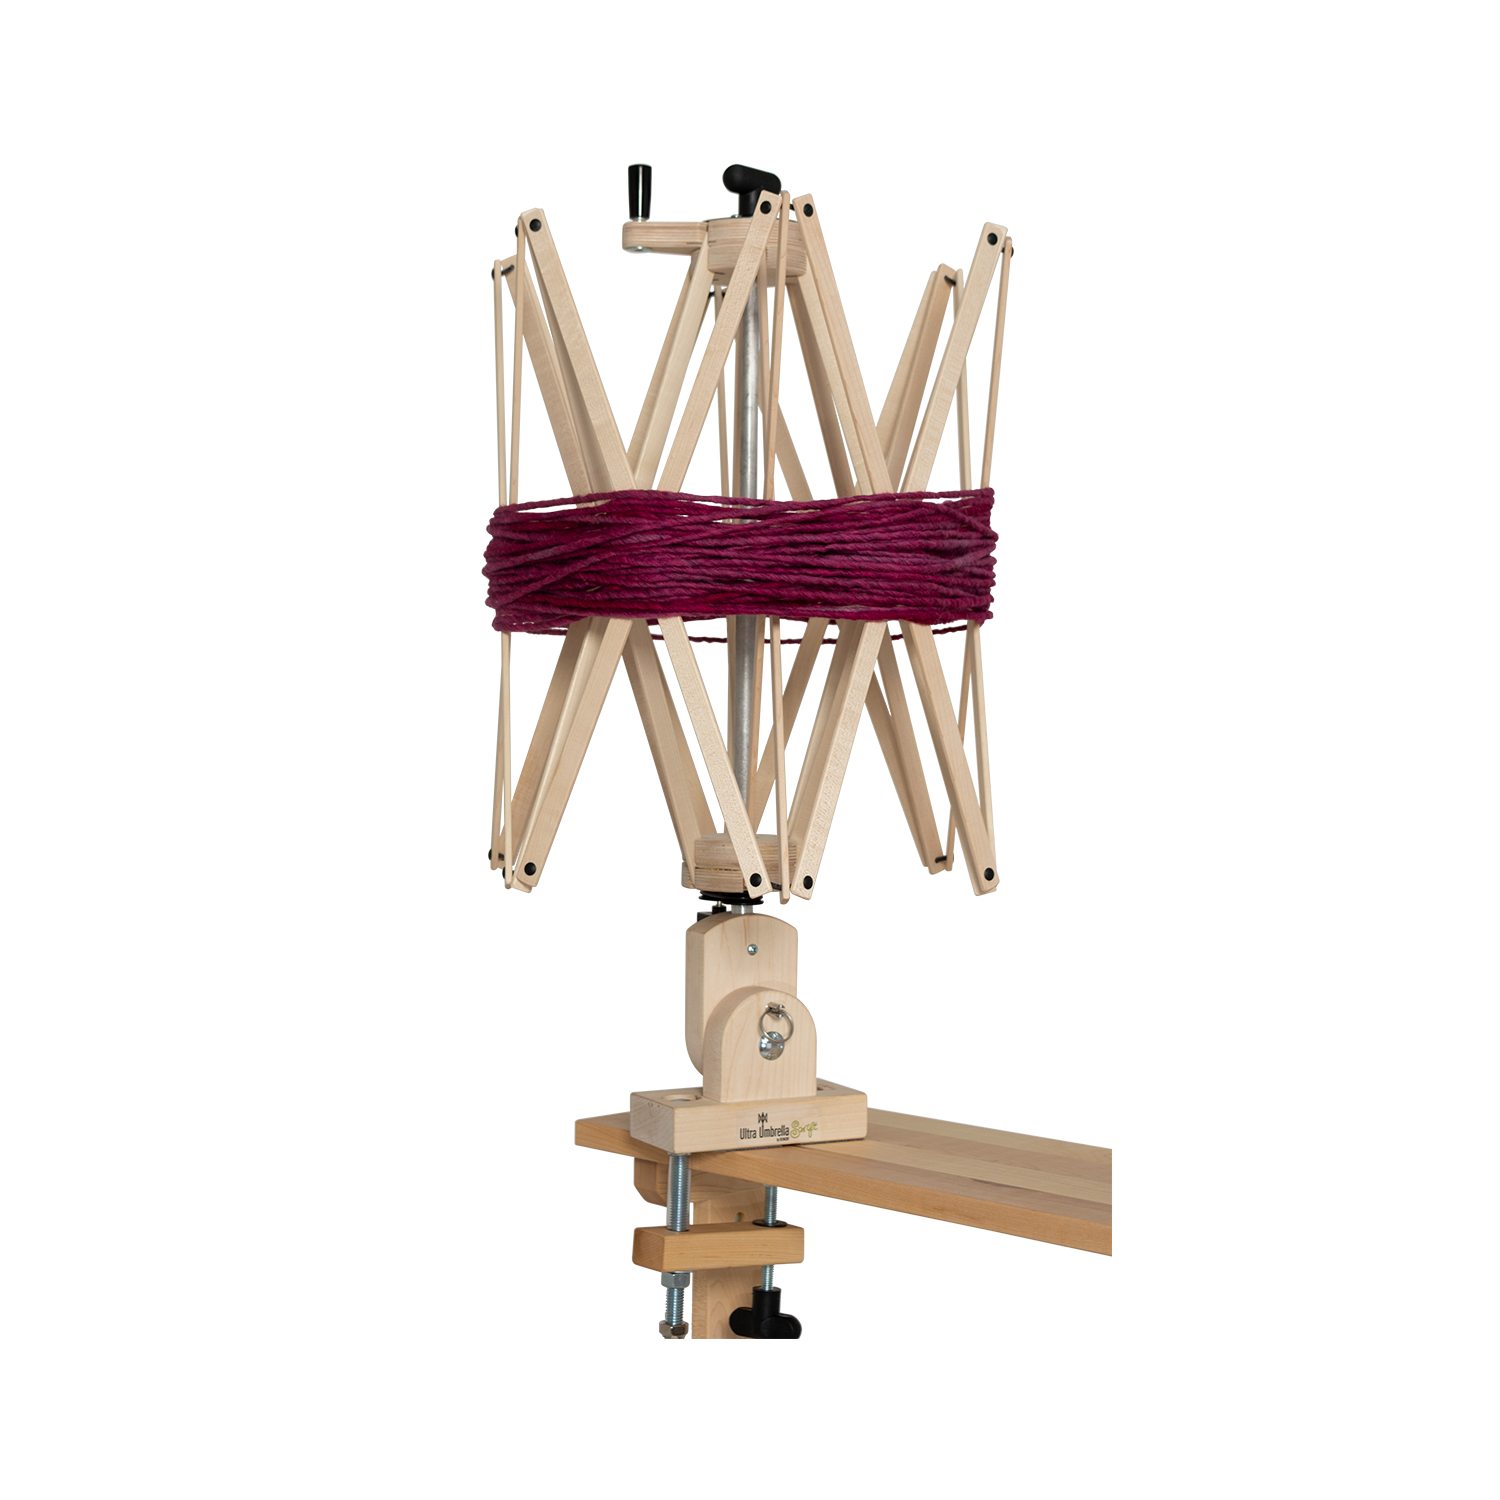
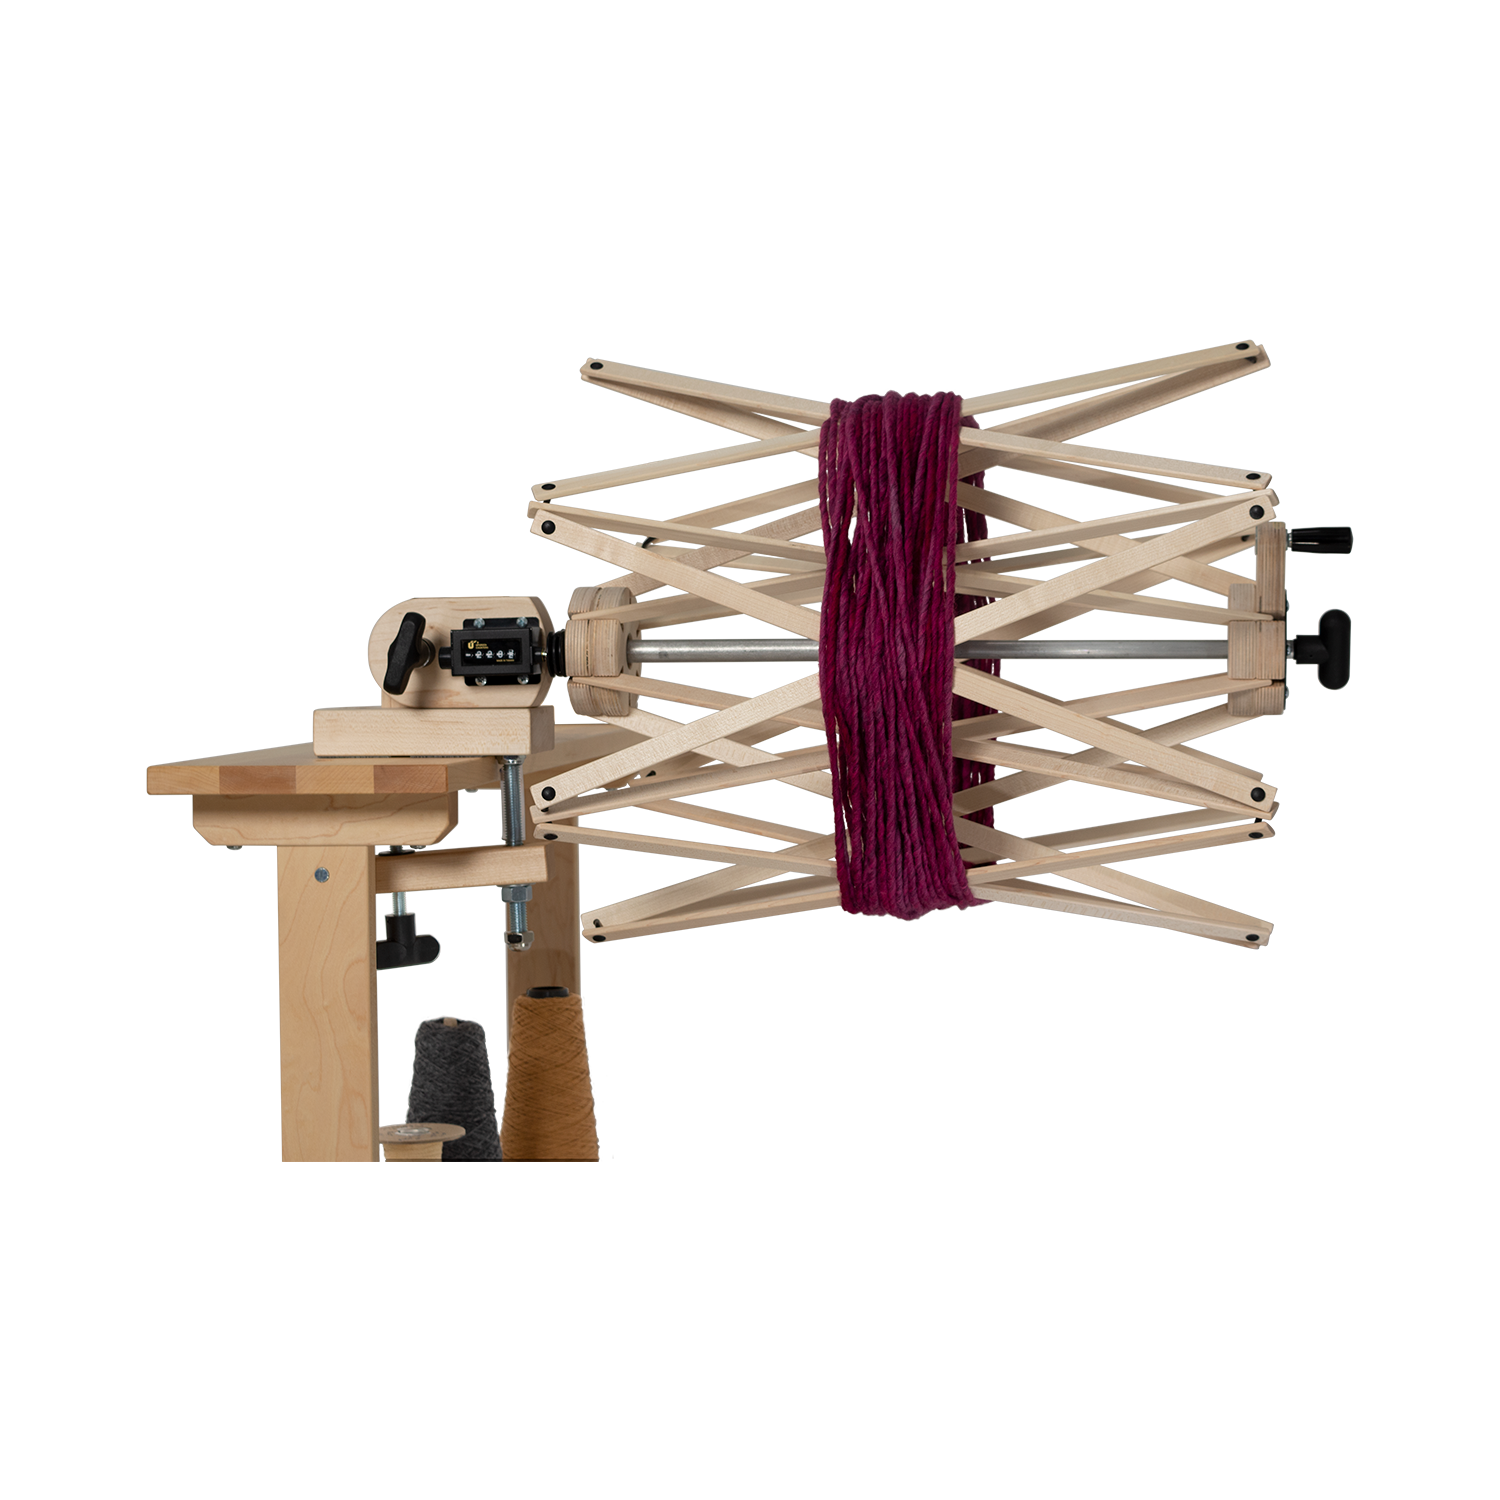
- For fluffy art yarns, I have found steaming is the best way to maintain the structure and set the twist. Get some water boiling in a pot or a tea kettle, or use garment steamer. Remove the yarn from the niddy noddy and hold the loop between your outstretched hands, or use tongs just enough to straighten it. Move the skein slowly through the steam—you can see the twist being redistributed! Move your hands to different positions within the loop of the skein and repeat until the yarn hangs straight.
Notes
Combine Techniques
Try combining different techniques to make a yarn that is all yours! How about autoplying a thick-and-thin, or plying a thick single ply with a thinner autowrapped 2-ply? What happens when you ply a supercoiled yarn? How would it look to add locks into your yarn? These are only a few of the ways to turn your singles into something wonderful . . . the possibilities are endless!
I hope this tutorial has been helpful and encourages you to experiment with different ways of creating your own unique yarns. Happy Spinning!
Resources
CamajFiber Arts YouTube channel
Boggs, Jacey. Spinning Art Yarns. Craftsy online course.
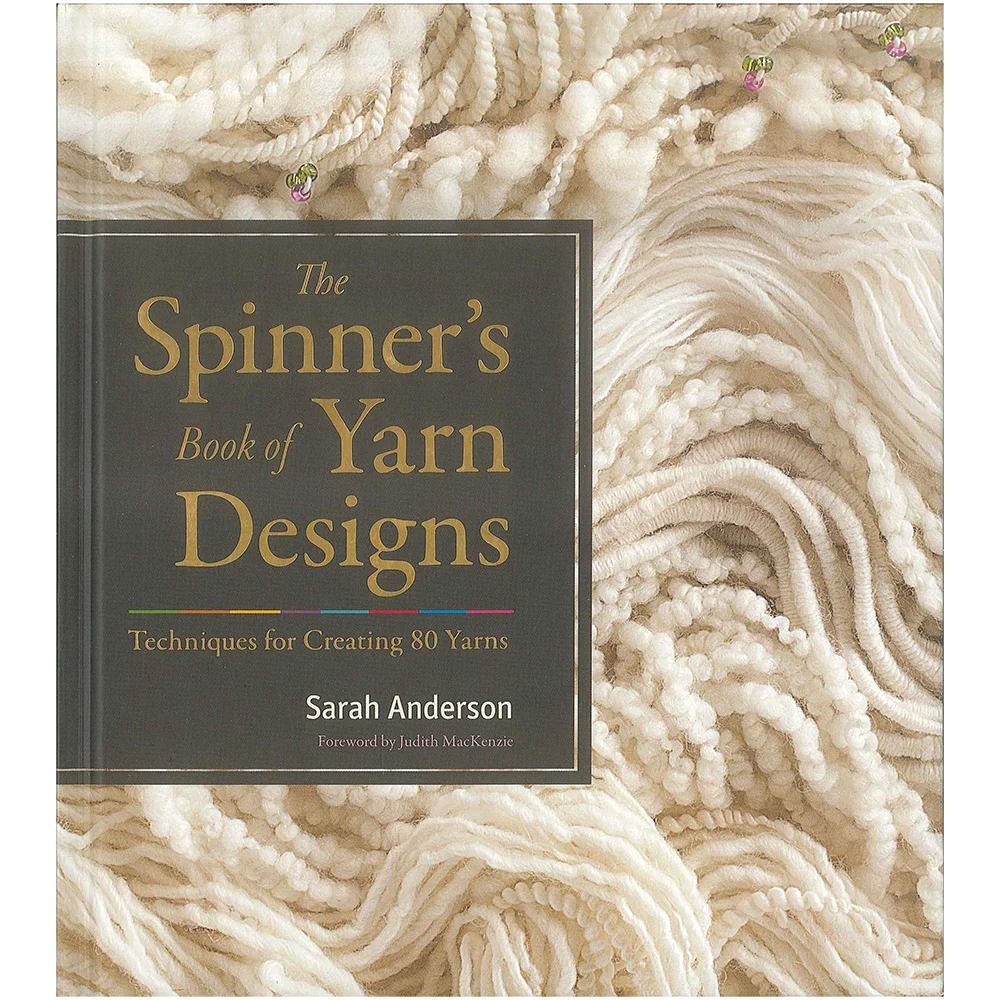
Anderson, Sarah. The Spinner’s Book of Yarn Designs:Techniques for Creating 80 Yarn. Storey Publishing, 2012.

