River Ripples Scarf with Handspun Thick-and-Thin Yarn
Designed and made by Stephanie Flynn Sokolov
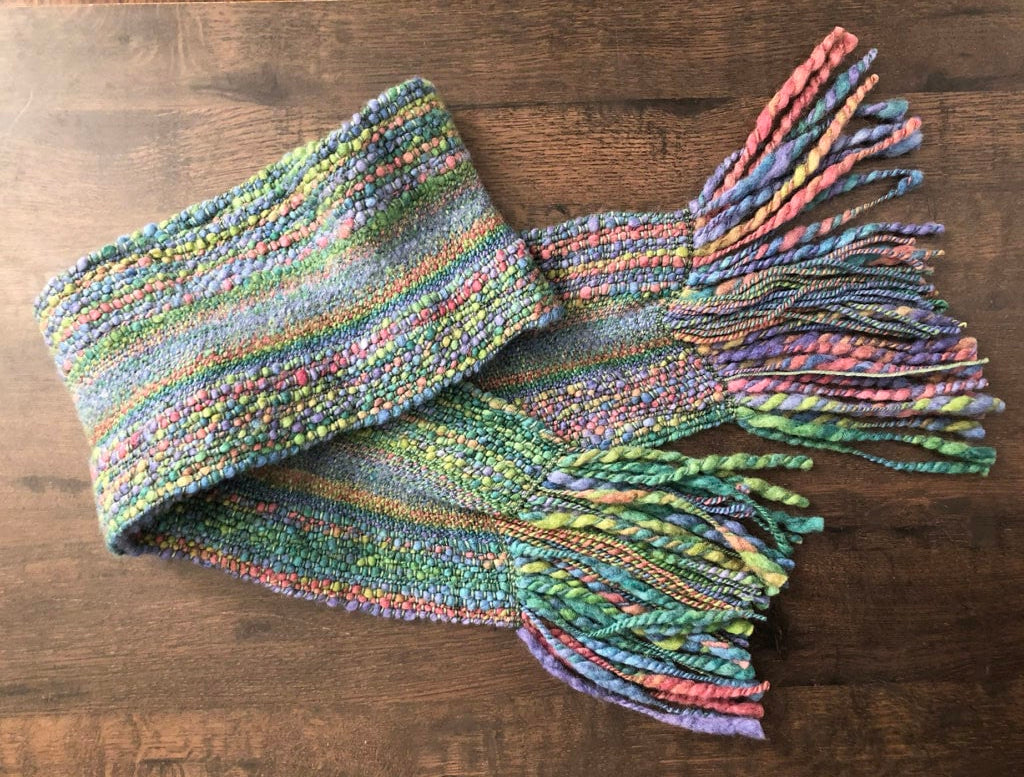
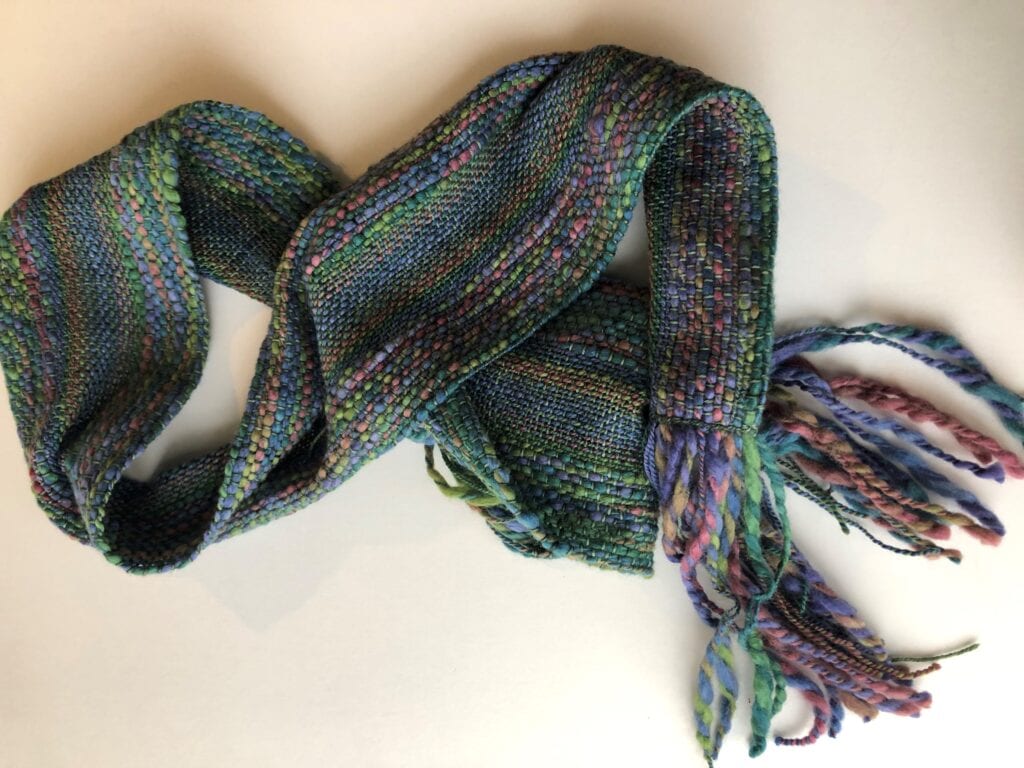
This snuggly textured scarf combines several spinning and weaving techniques. Spin a thick-and-thin yarn and a smooth fingering-weight yarn. Set up your rigid heddle loom with a variable dent reed and warp it with the handspun. Slightly full the center of the finished scarf to create a wavy appearance. Voilá! You’ve created a one-of-a-kind gift for someone you love.
Don’t be afraid to weave with your handspun. For millennia, weavers used handspun for warp and weft. We made two short videos showing how to spin thick-and-thin yarn for this project—follow my tips, and you can confidently warp with your handspun.
Project Specs
Finished size: 60" long by 6" wide, including fringe
Weave structure:plain weave
Warp length: 72"
Width in reed: 7-1/4"
Total number of warp ends: 24 ends thick-and-thin, 19 ends fingering
What You'll Need
-
100g fiber—I used our Rocky Mountain Meadow braid dyed by SweetGeorgia Yarns (85% Polwarth, 15% silk).
-
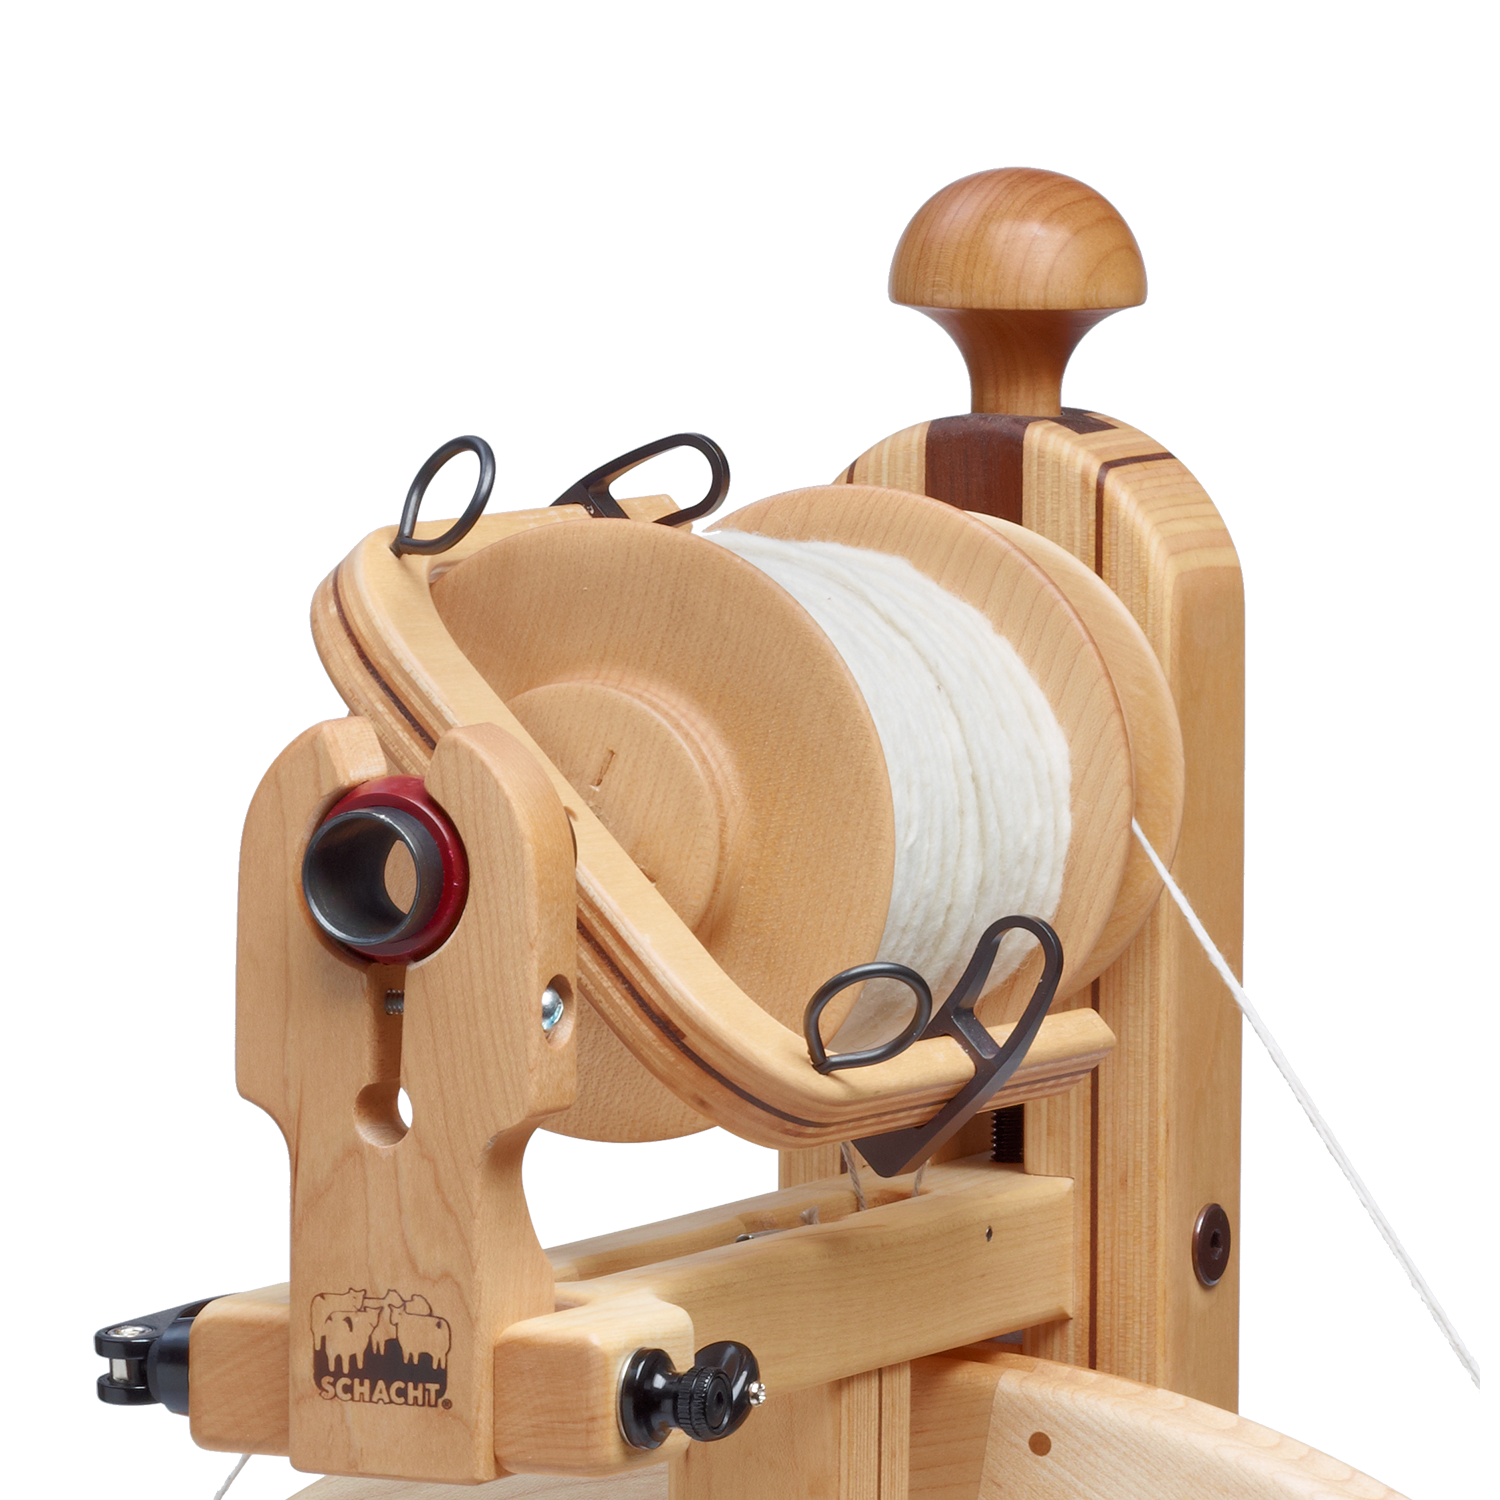
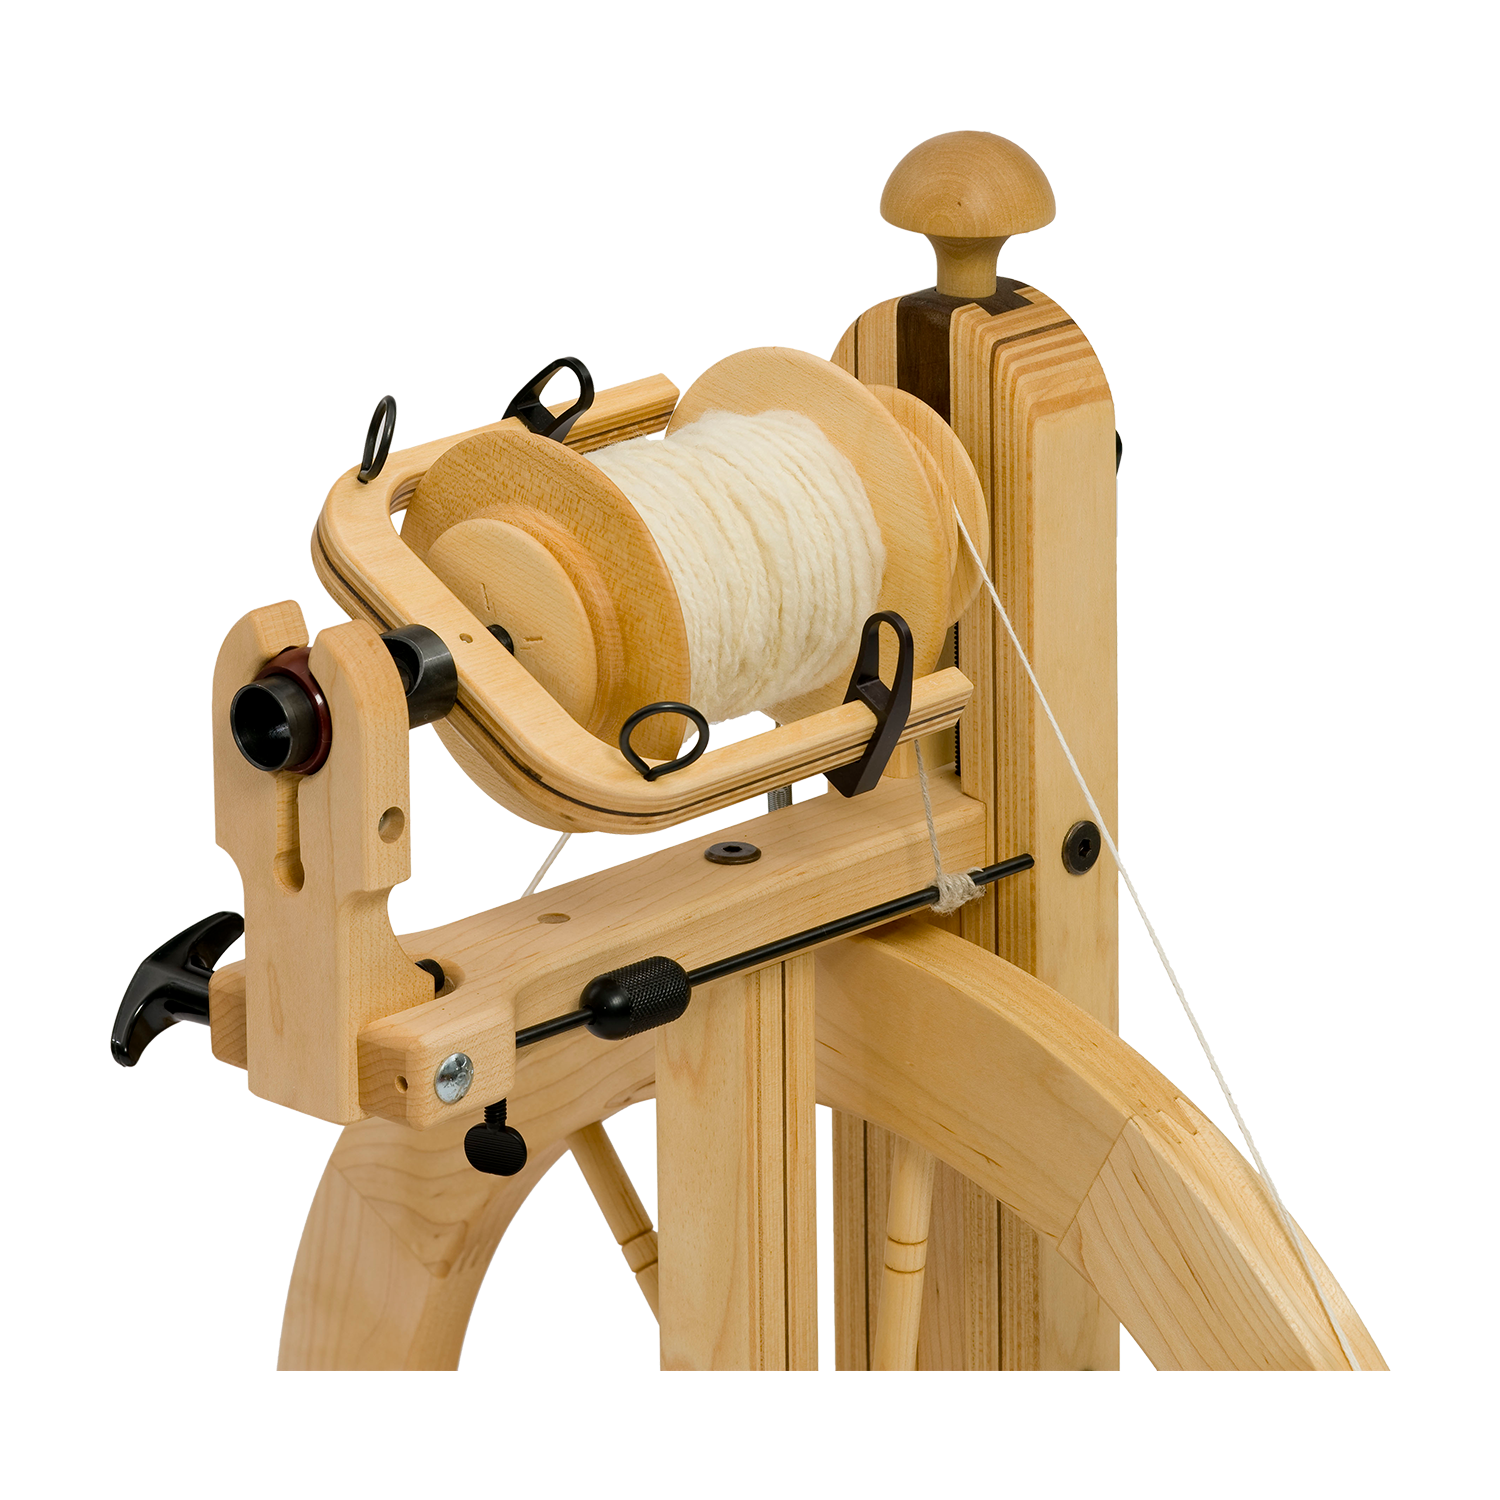
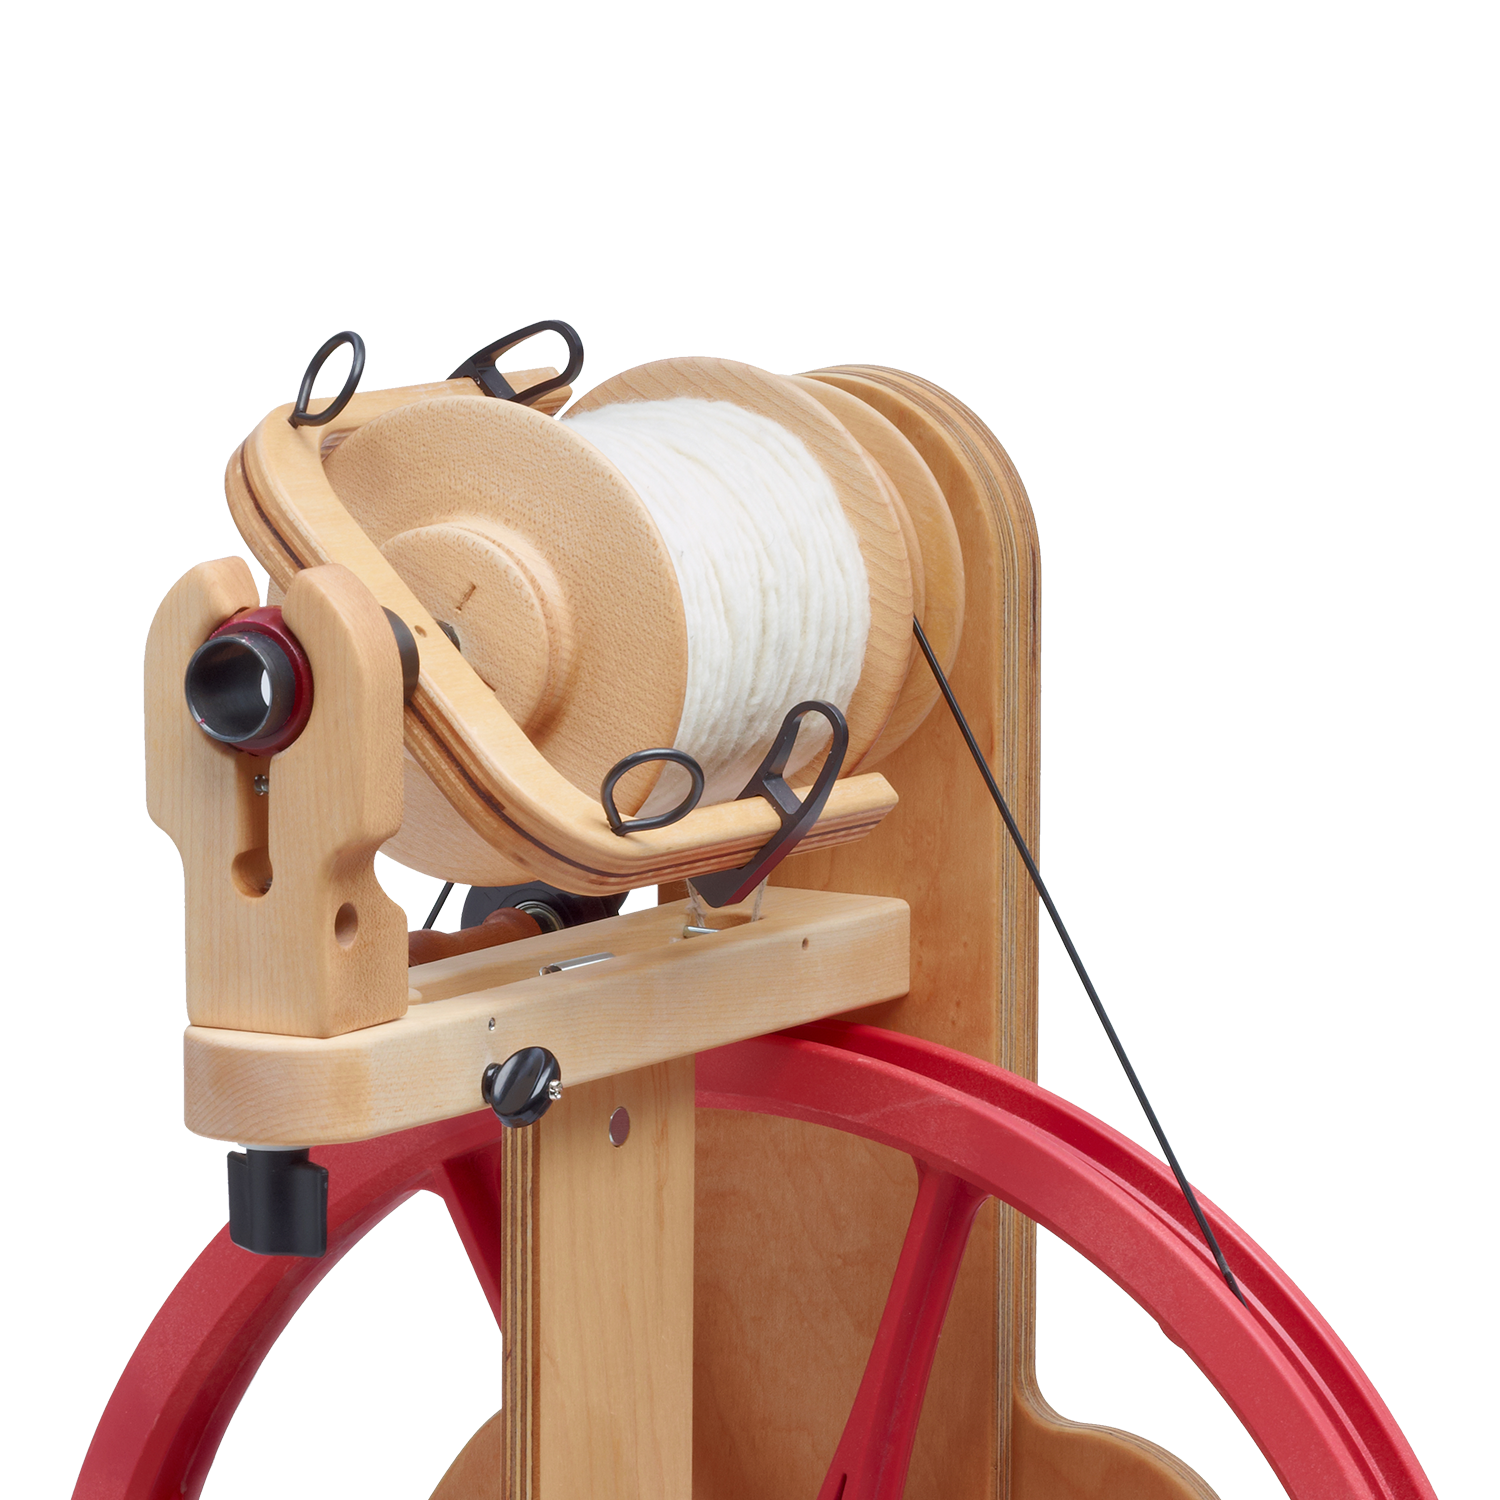
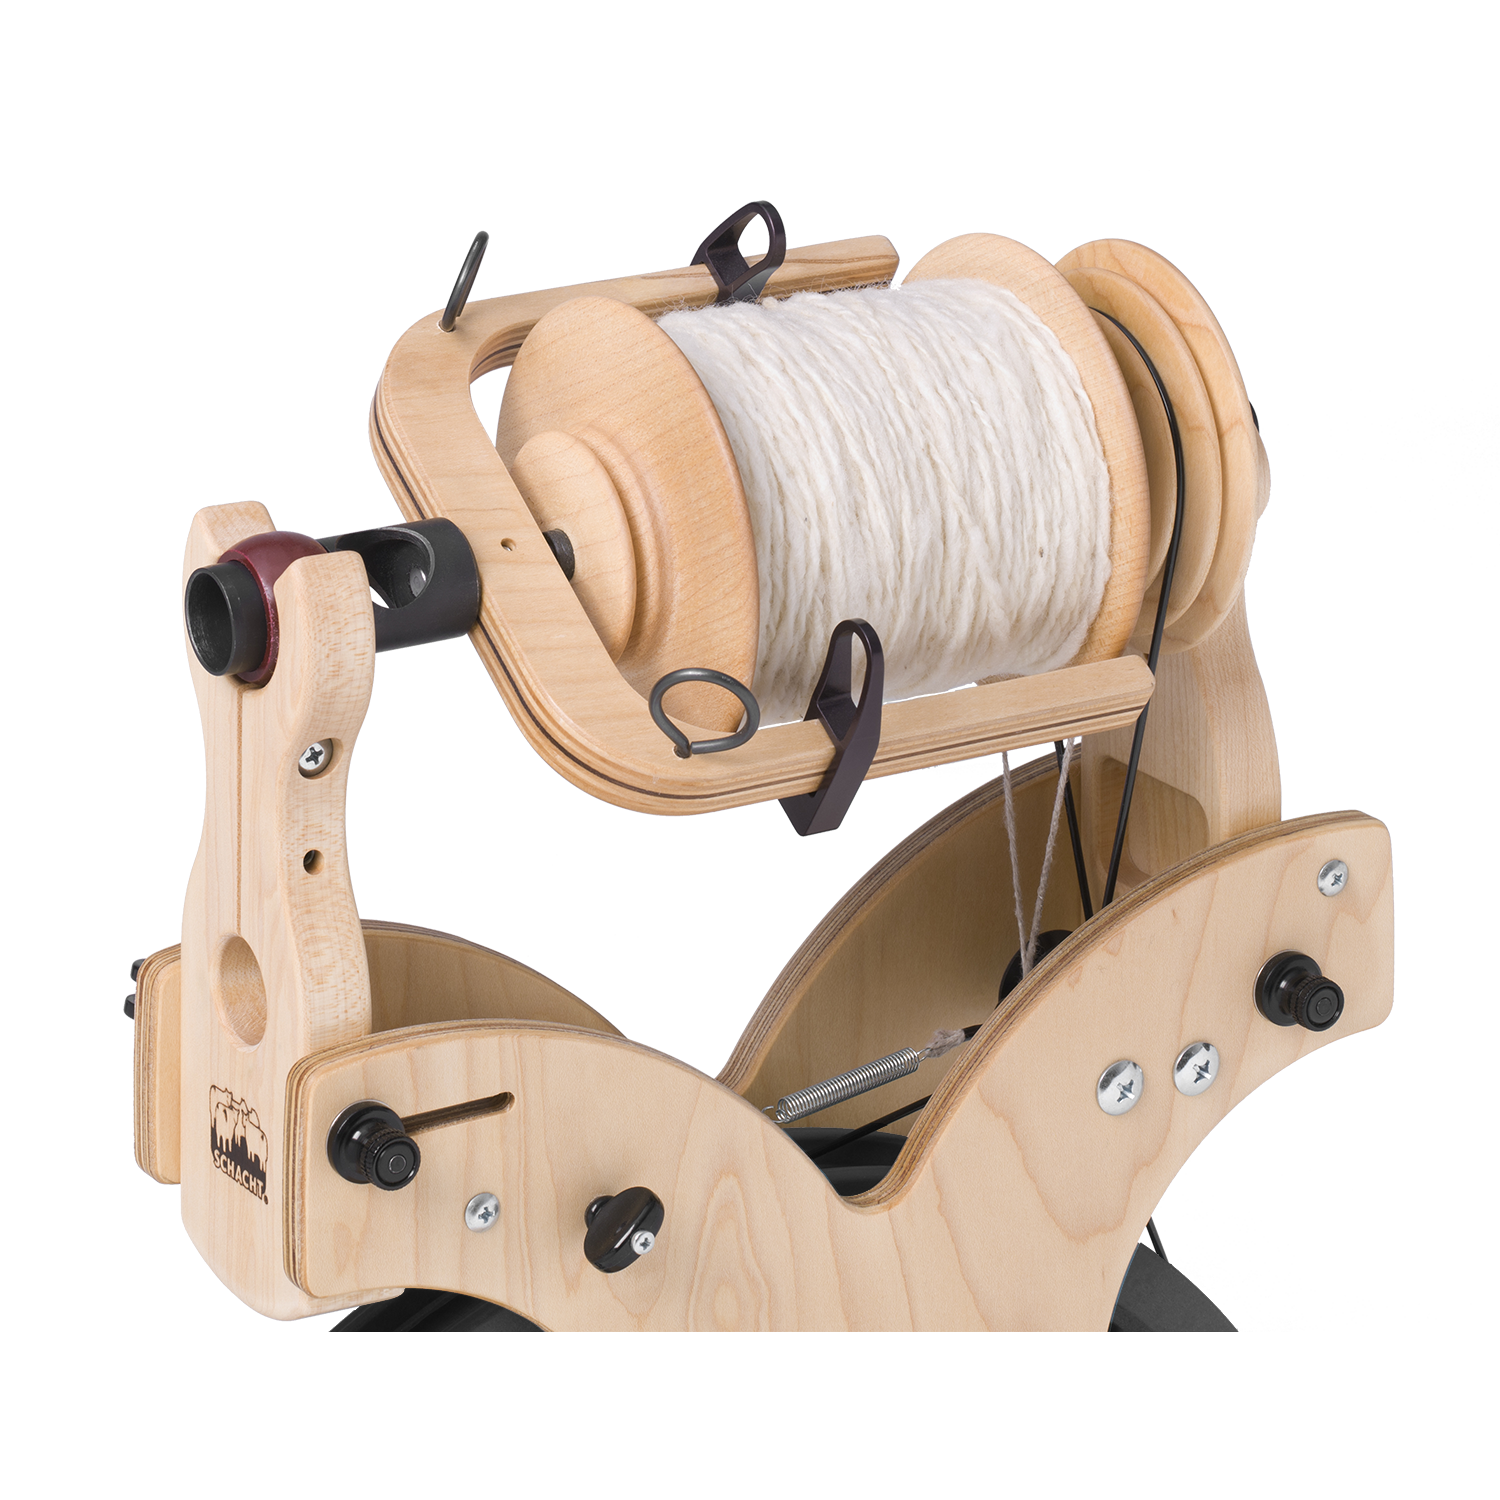
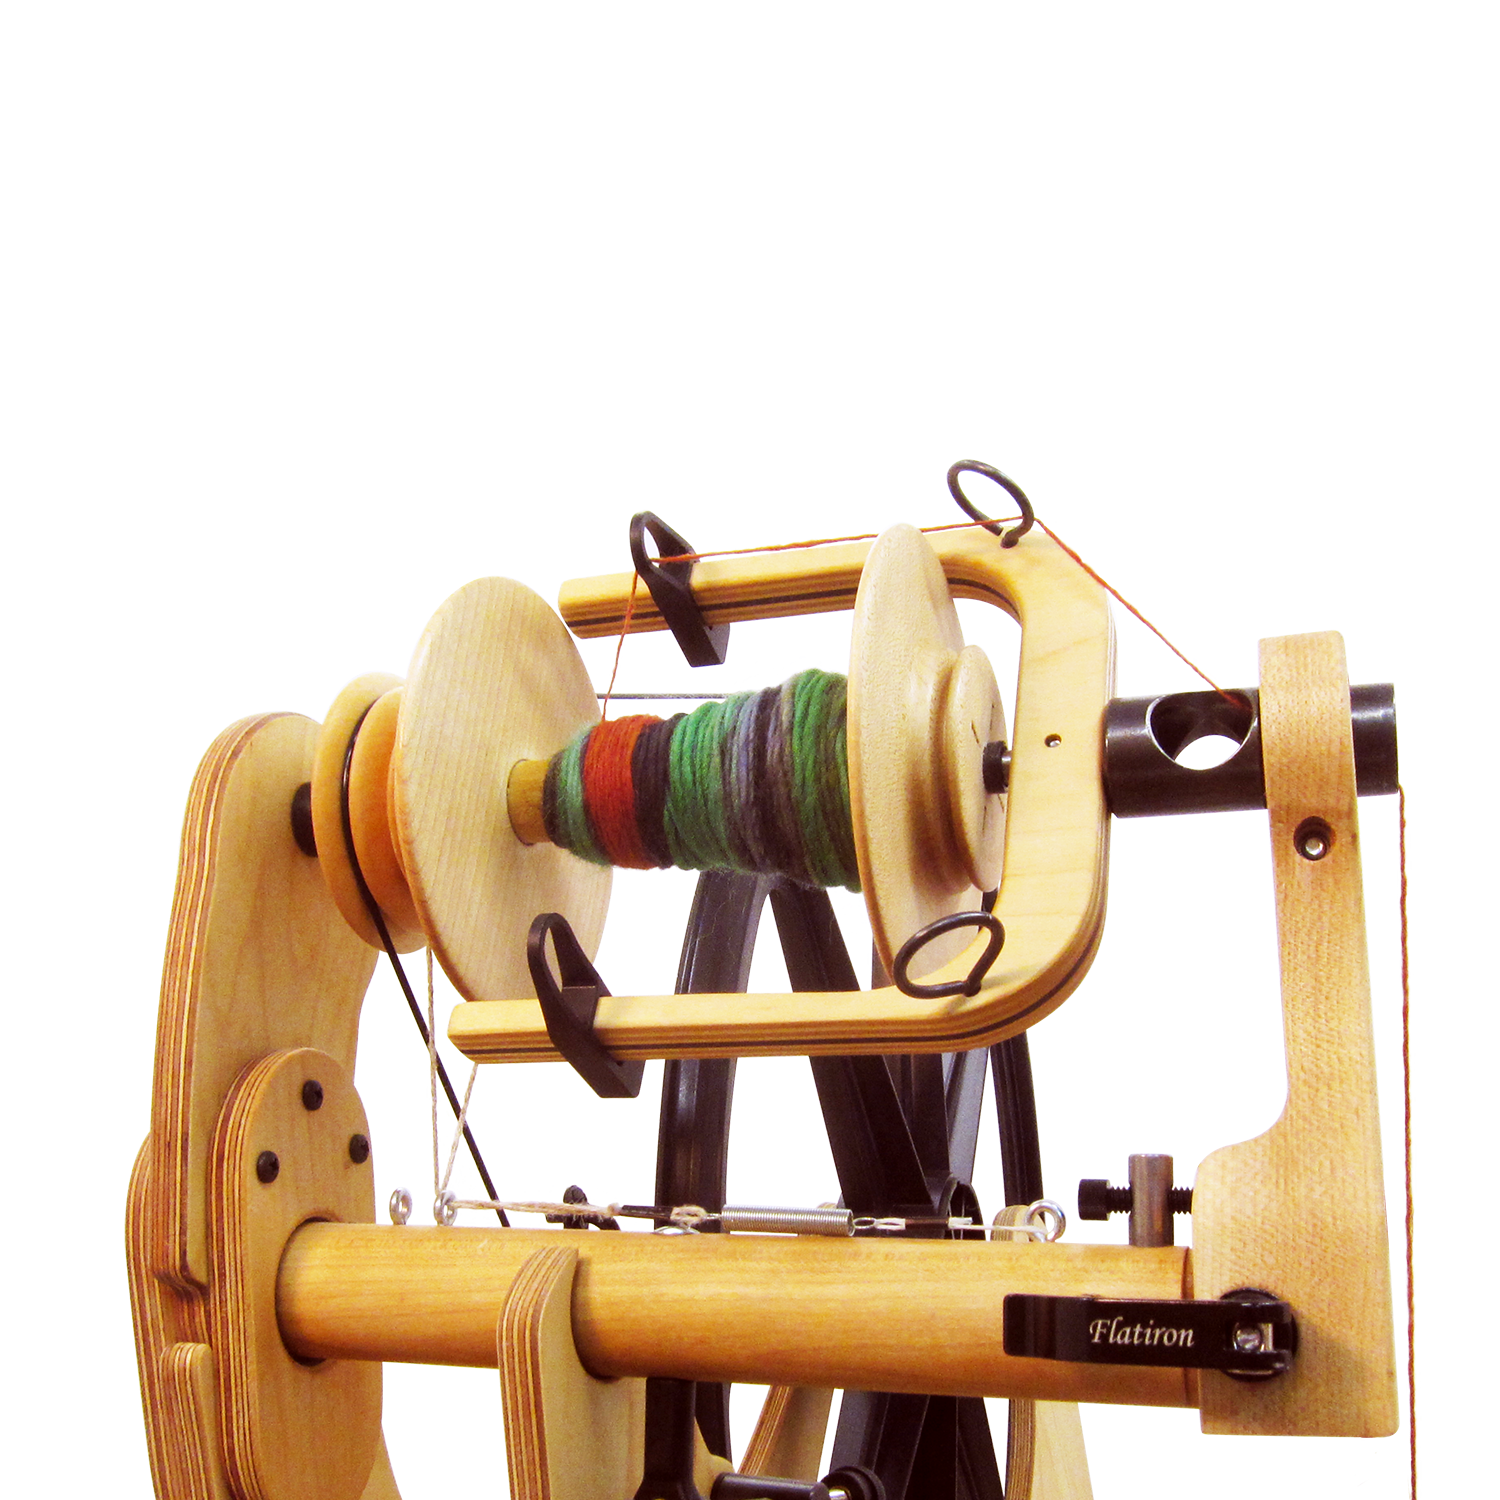
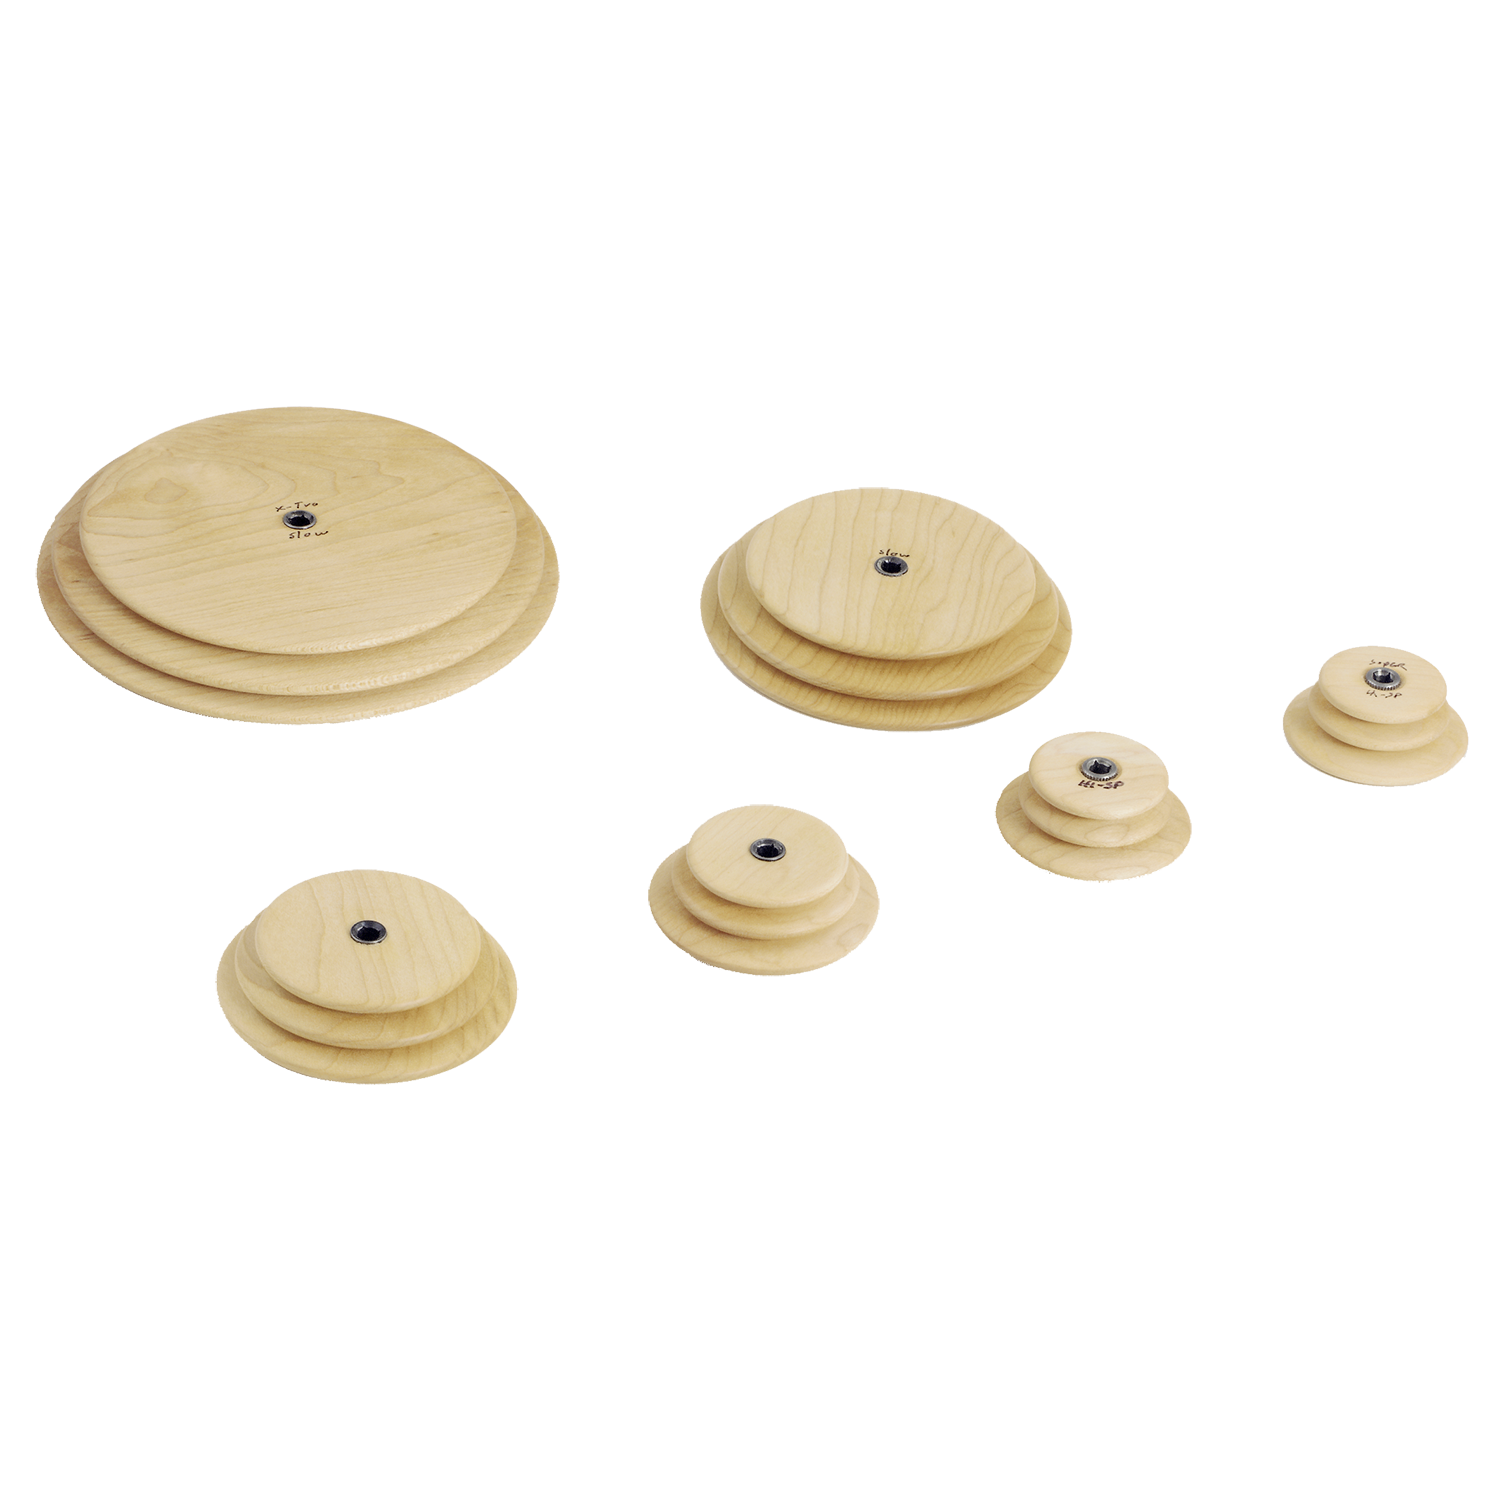
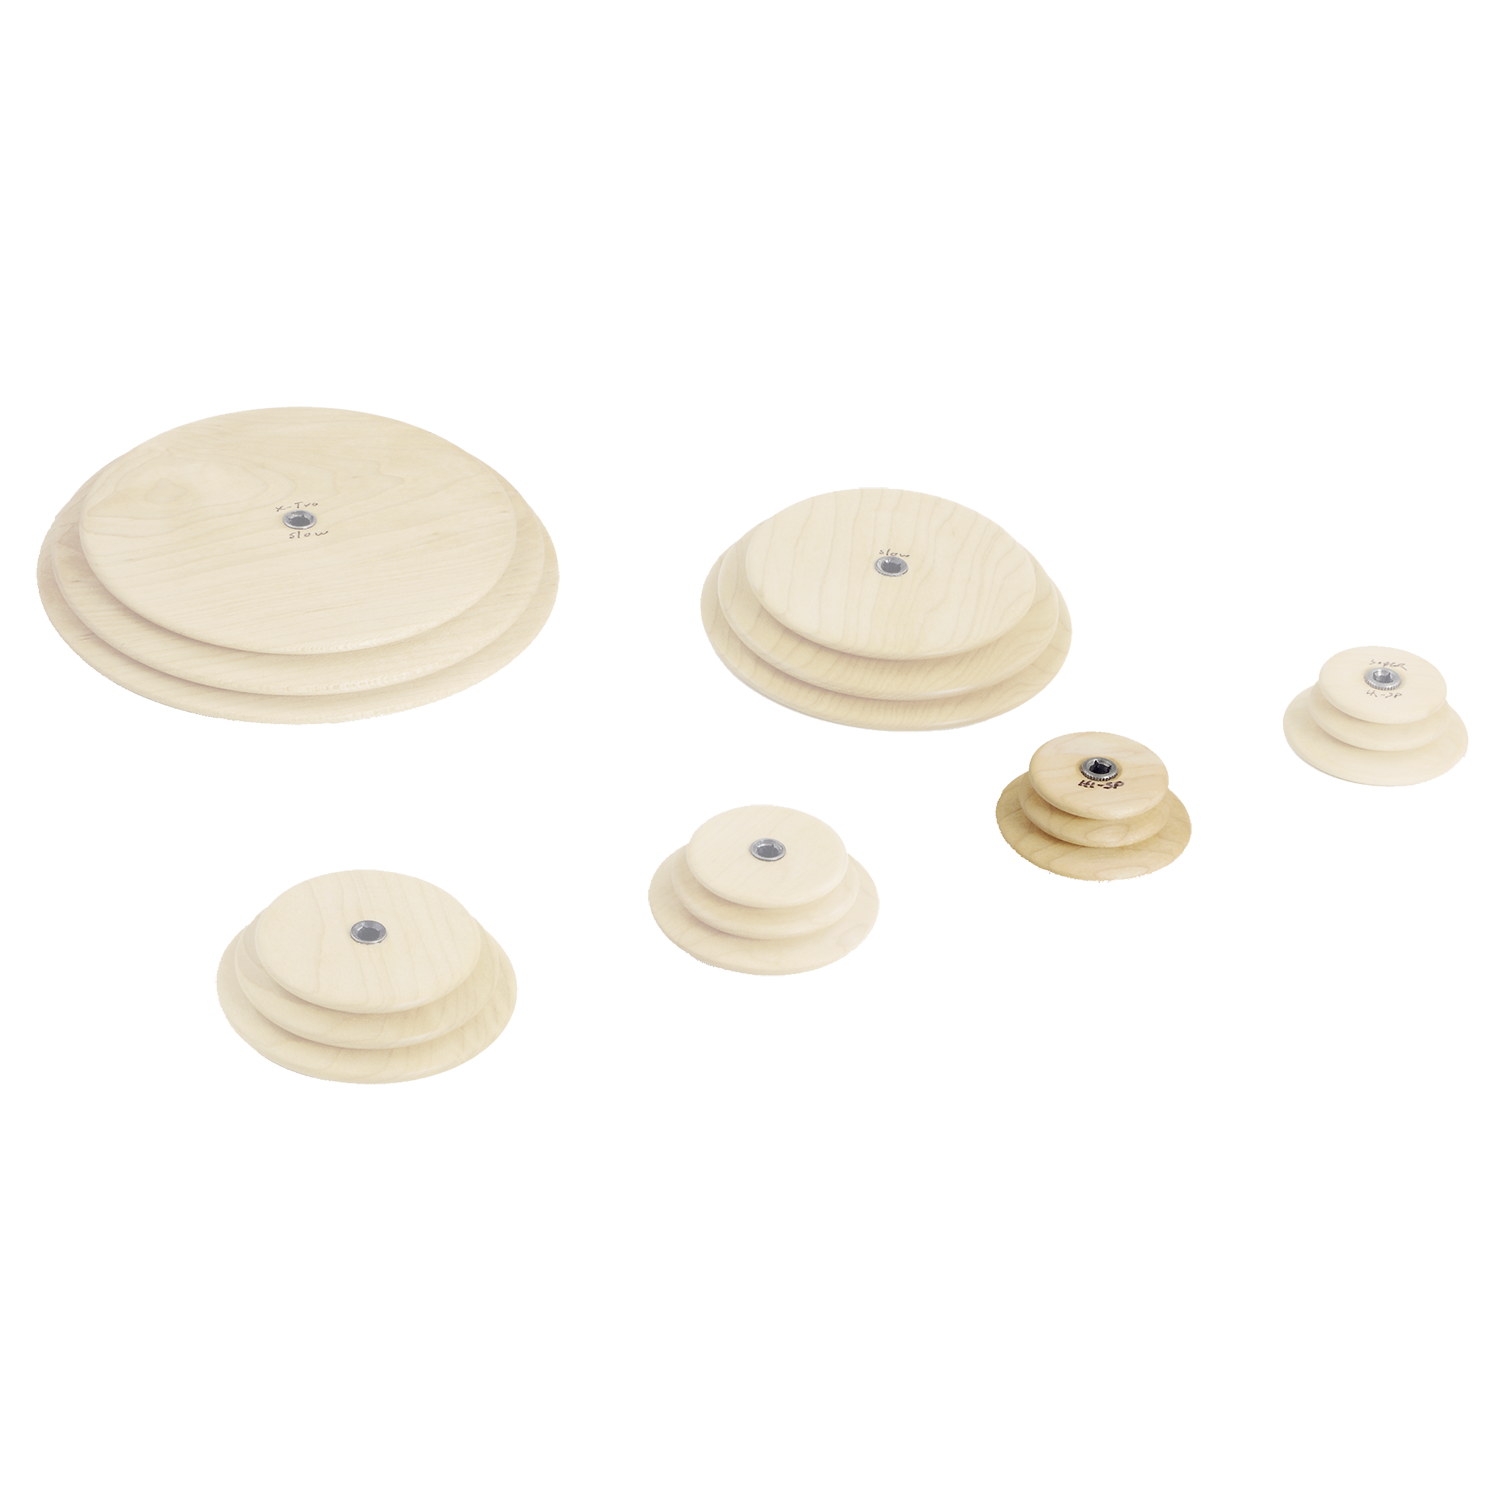
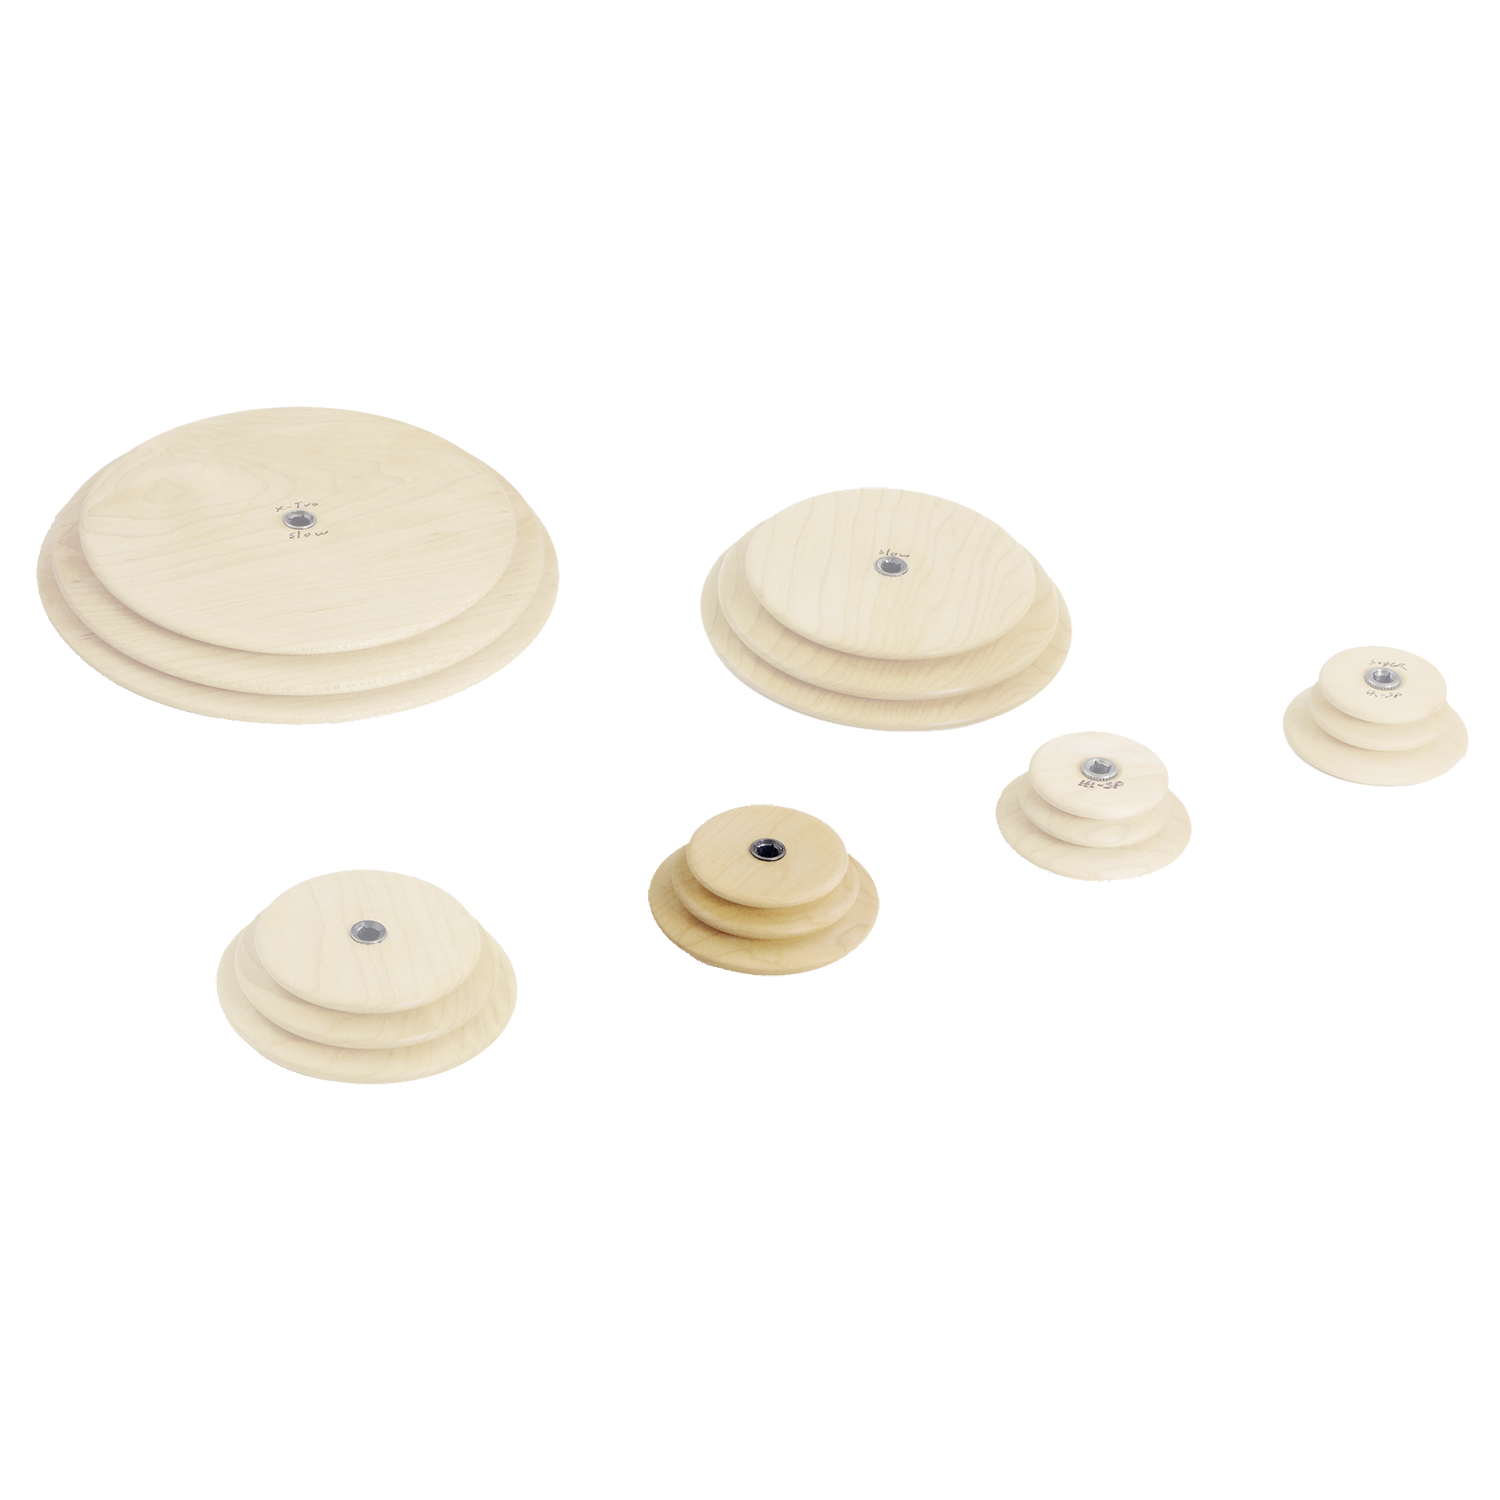
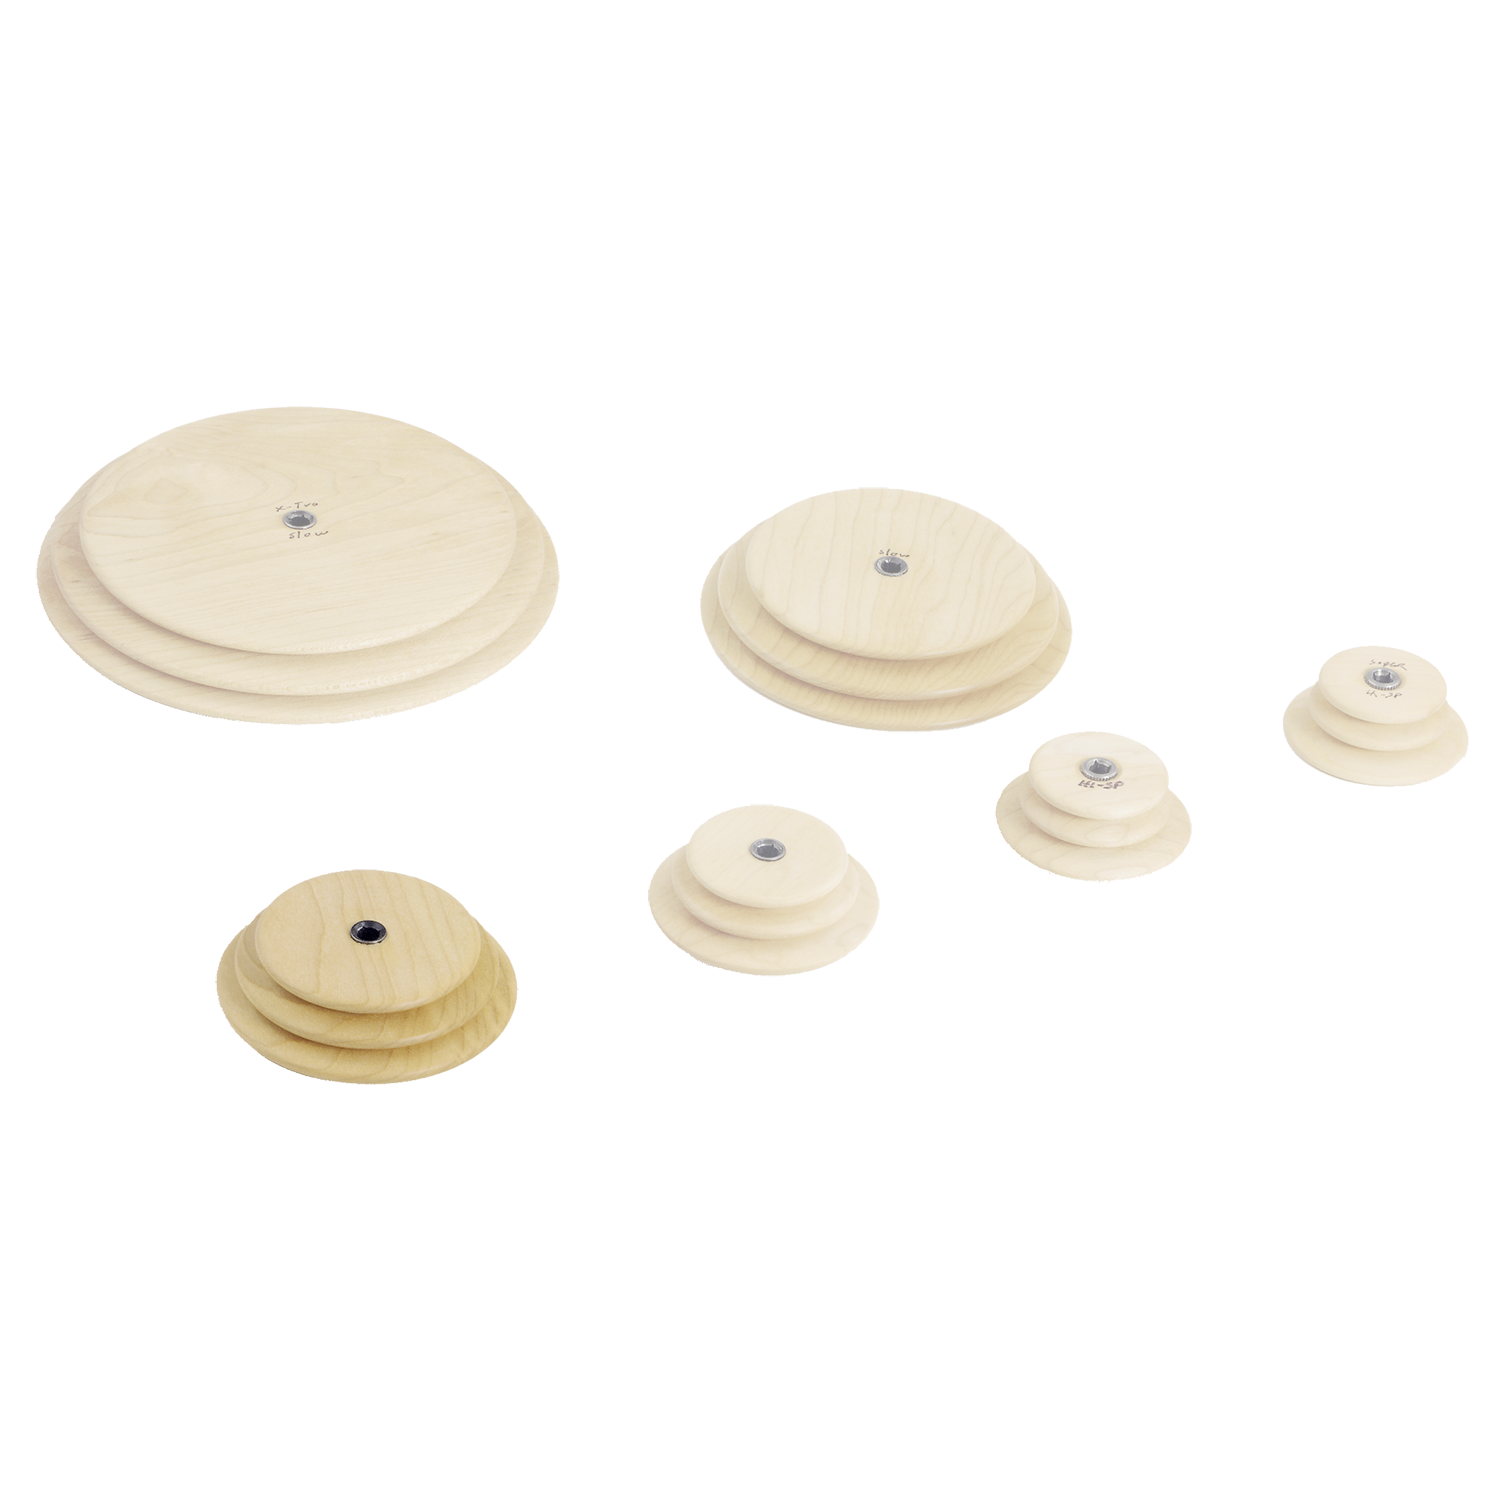
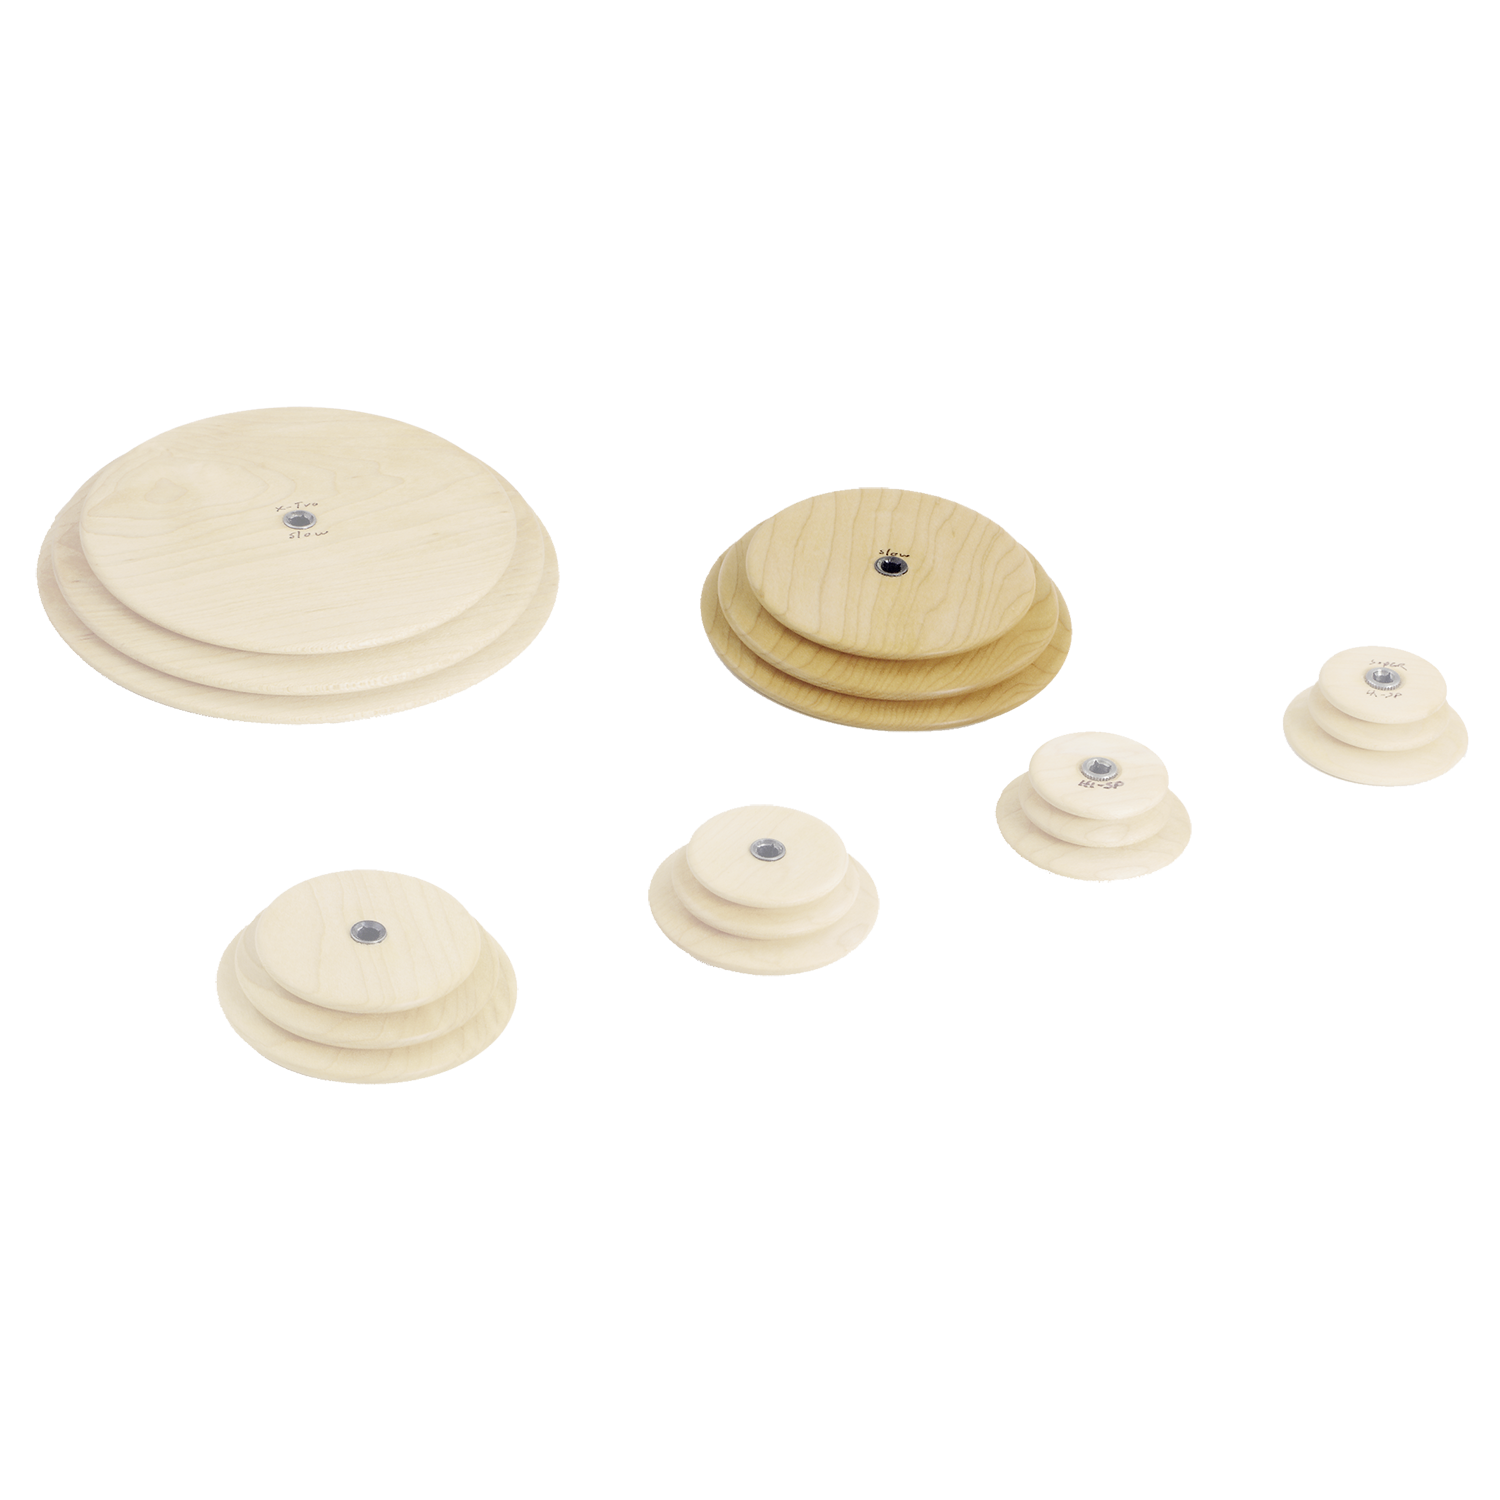
spinning wheel, ideally set up with a Bulky Plyer Flyer and slow whorl for the thick-and-thin yarn
-
bobbins
-
lazy kate
-
Warp: handspun yarns described below in “Spinning.” If you prefer to use commercial yarns, choose a smooth fingering weight yarn for the 8-dent sections and a textured yarn that will fit into the 5-dent sections of a variable dent reed.
-
Weft: 95 yds fingering weight stash yarn for weft. I used Dream in Color Smooshy with Cashmere (70% superwash merino, 20% cashmere, 10% nylon), colorway Power Plant. The color worked well with my handspun warp, but finishing took longer because the superwash wool resisted fulling.
-
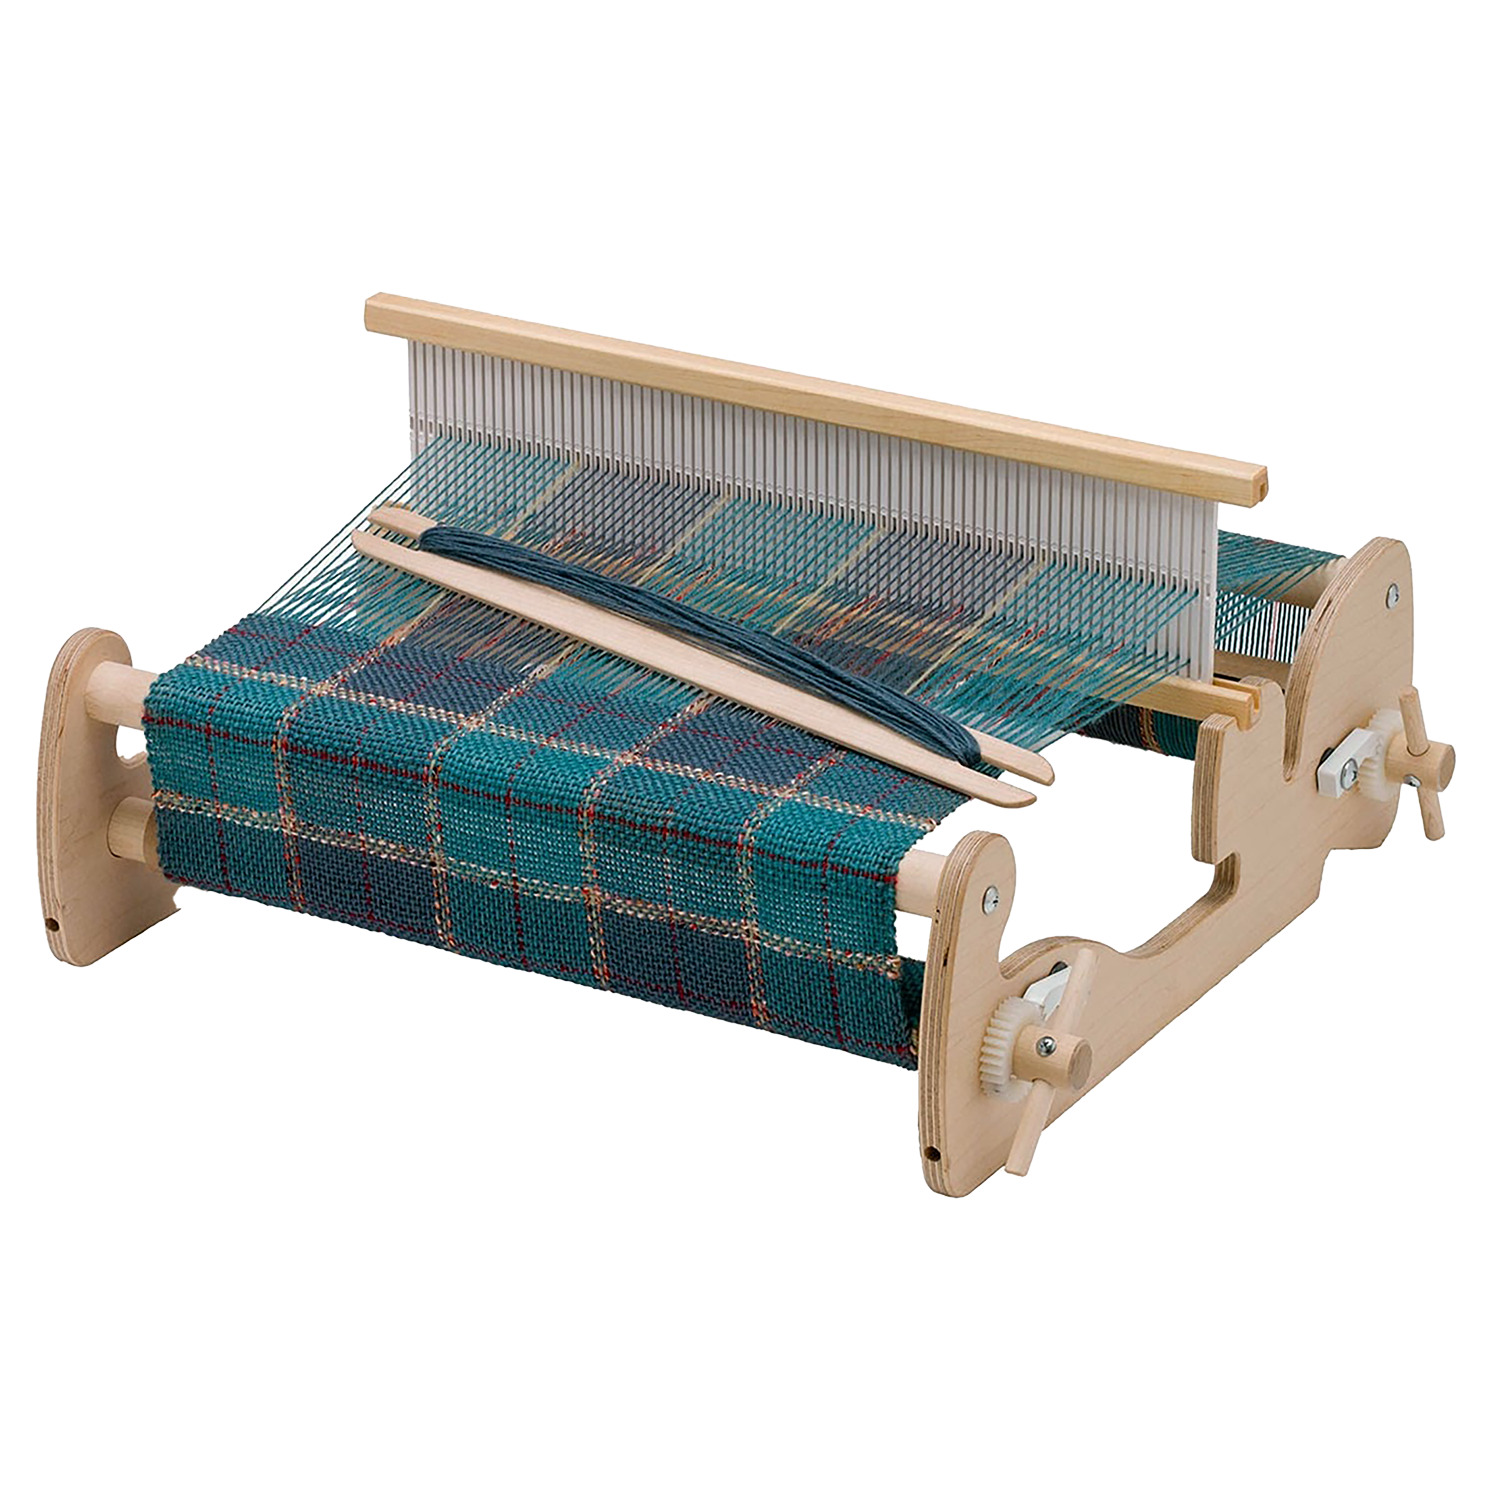
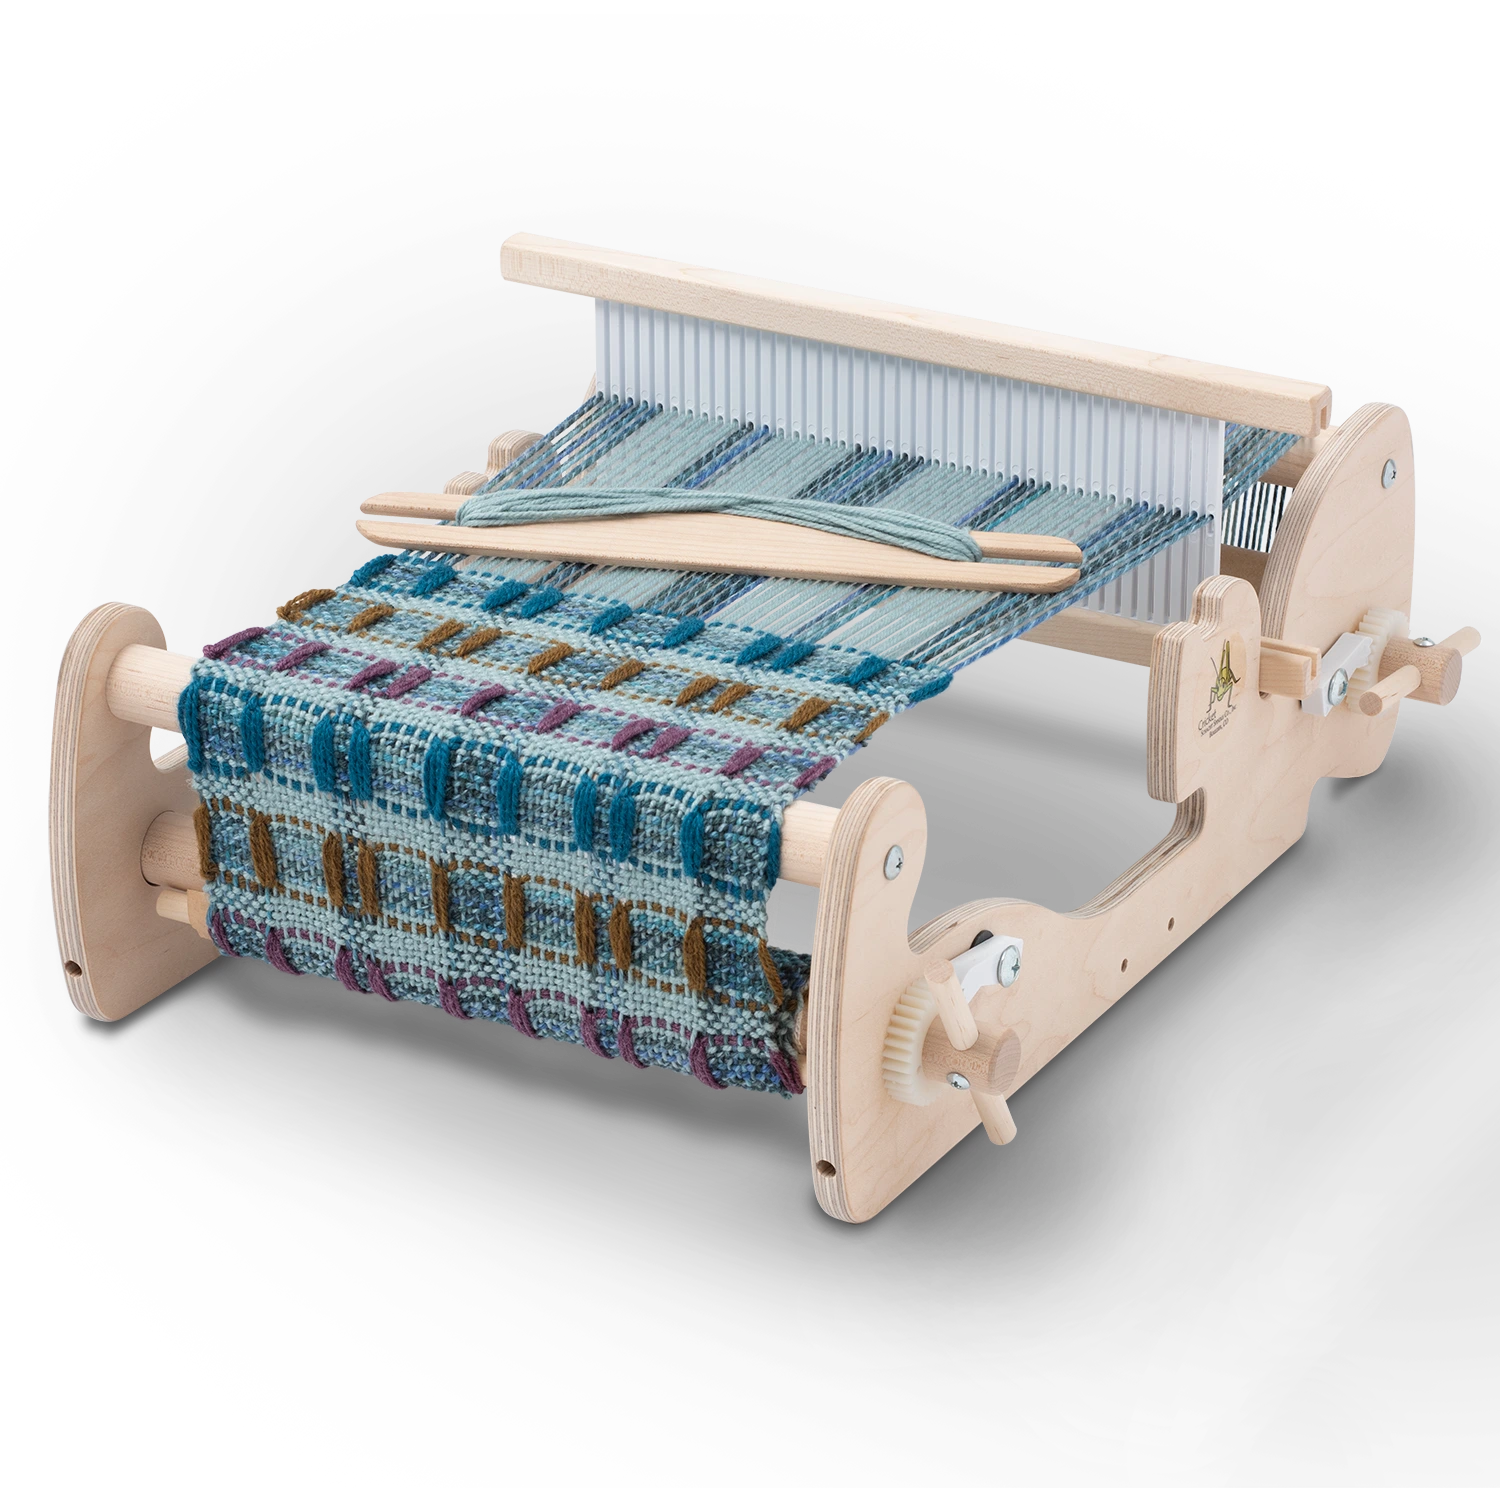
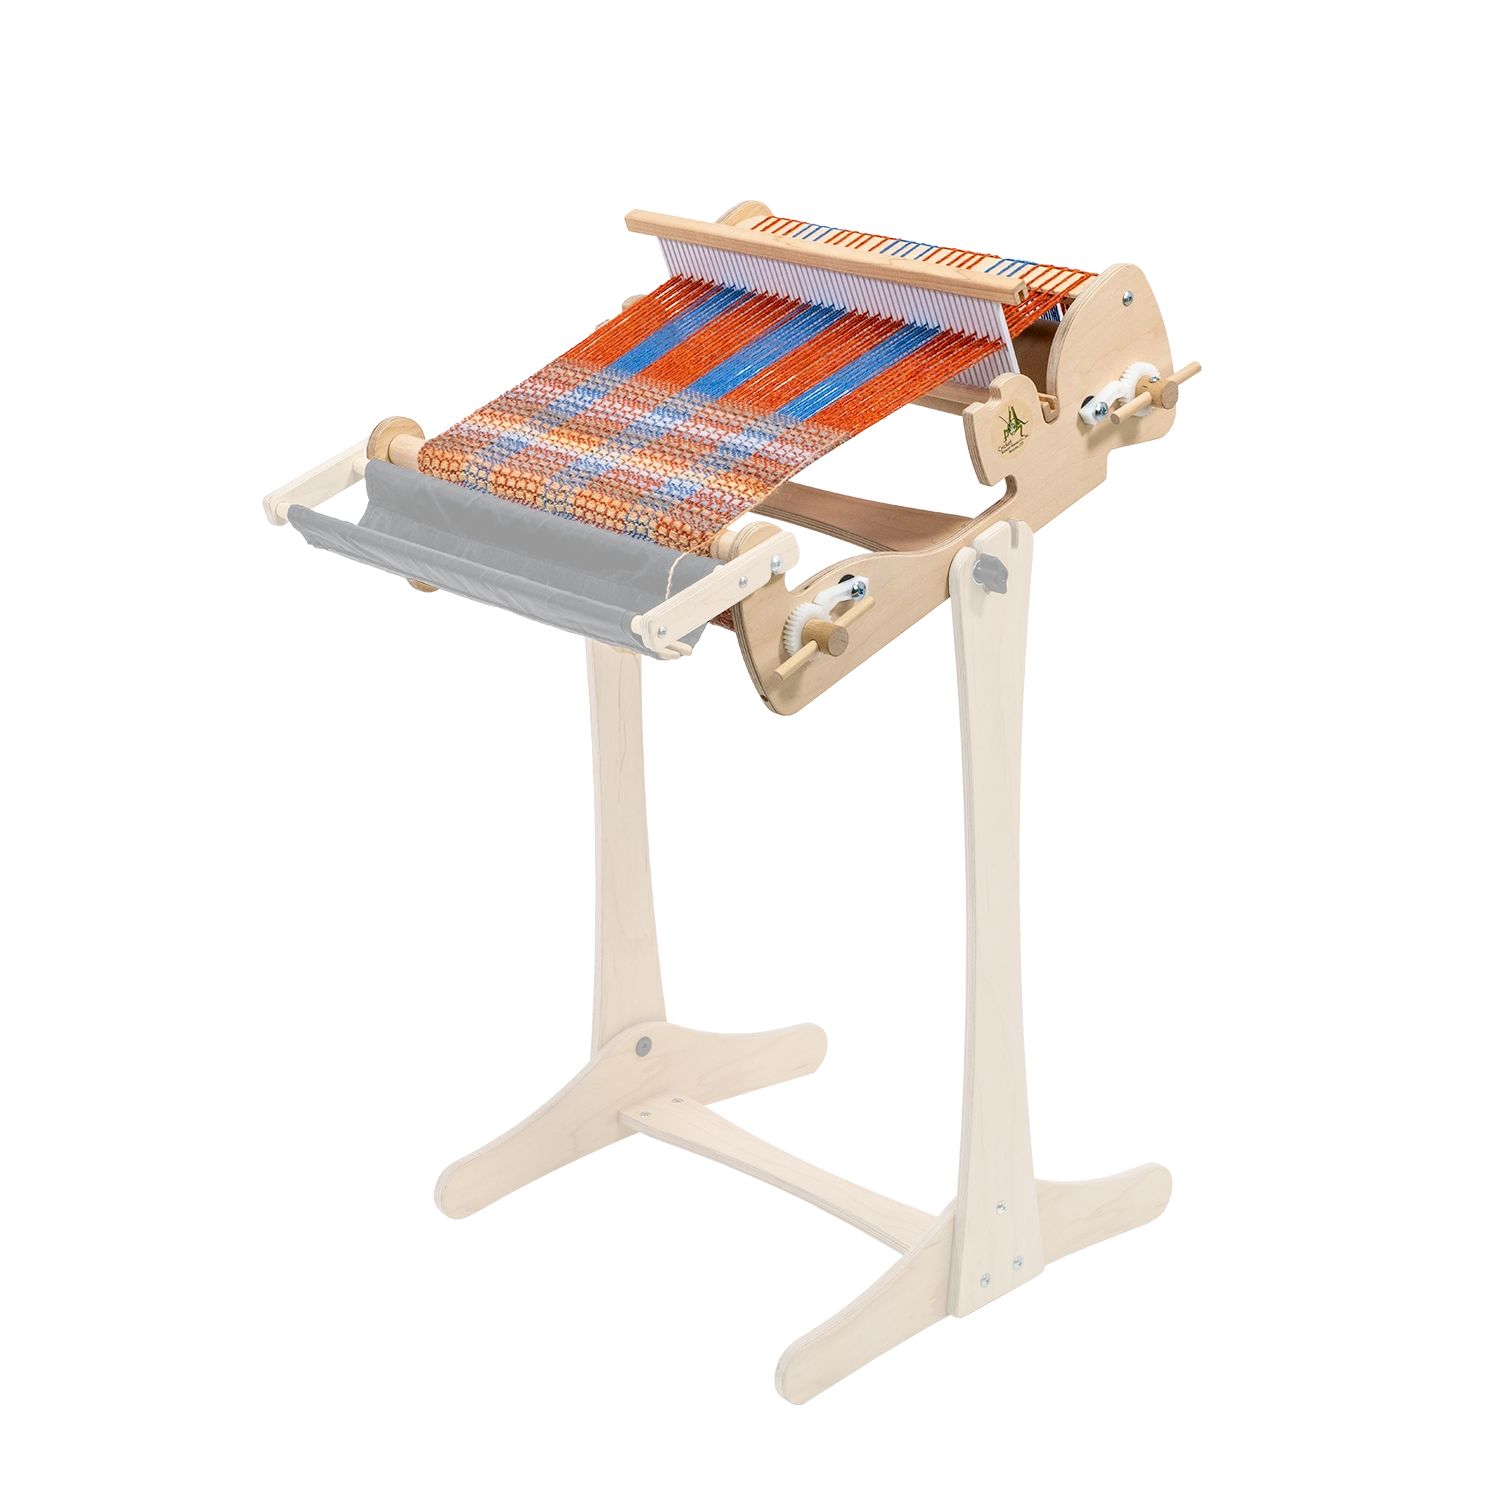
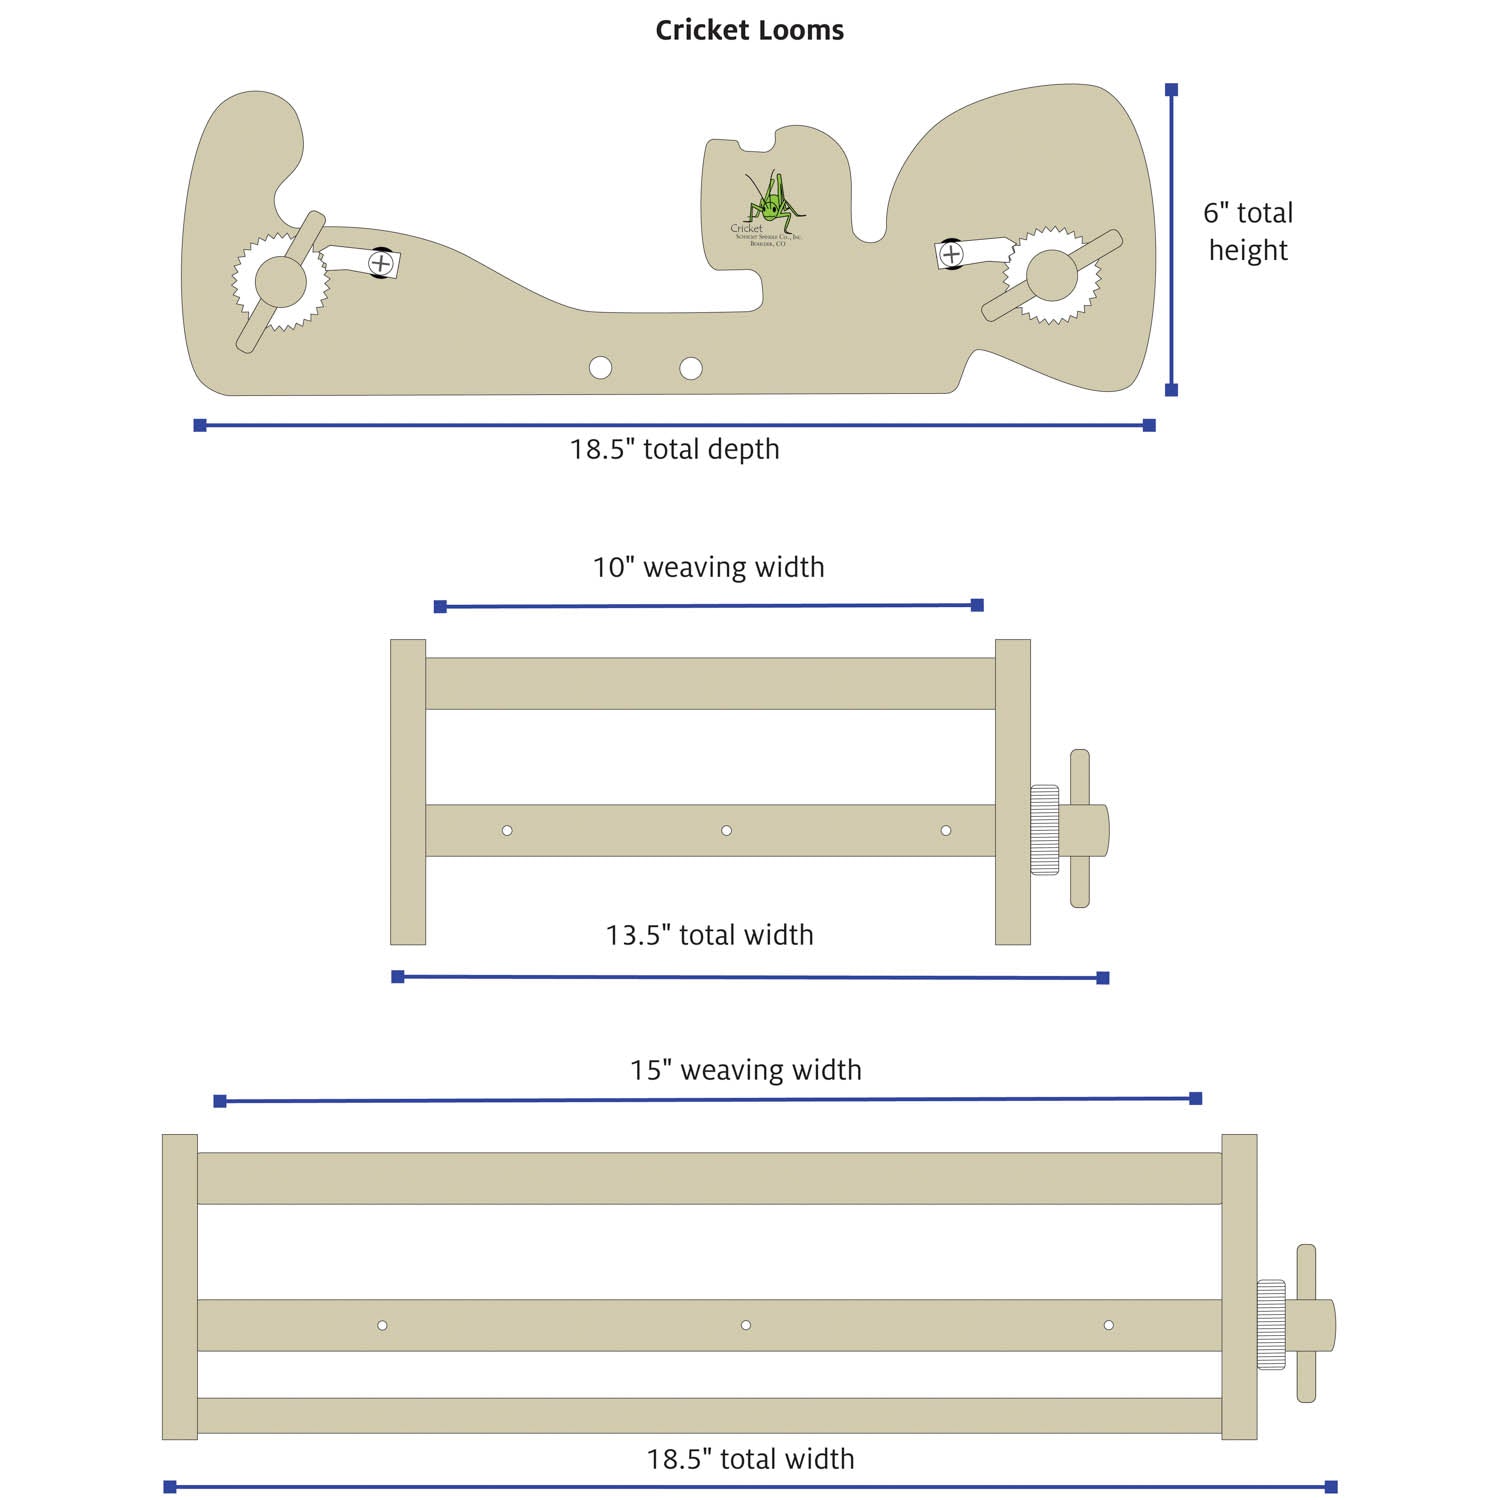
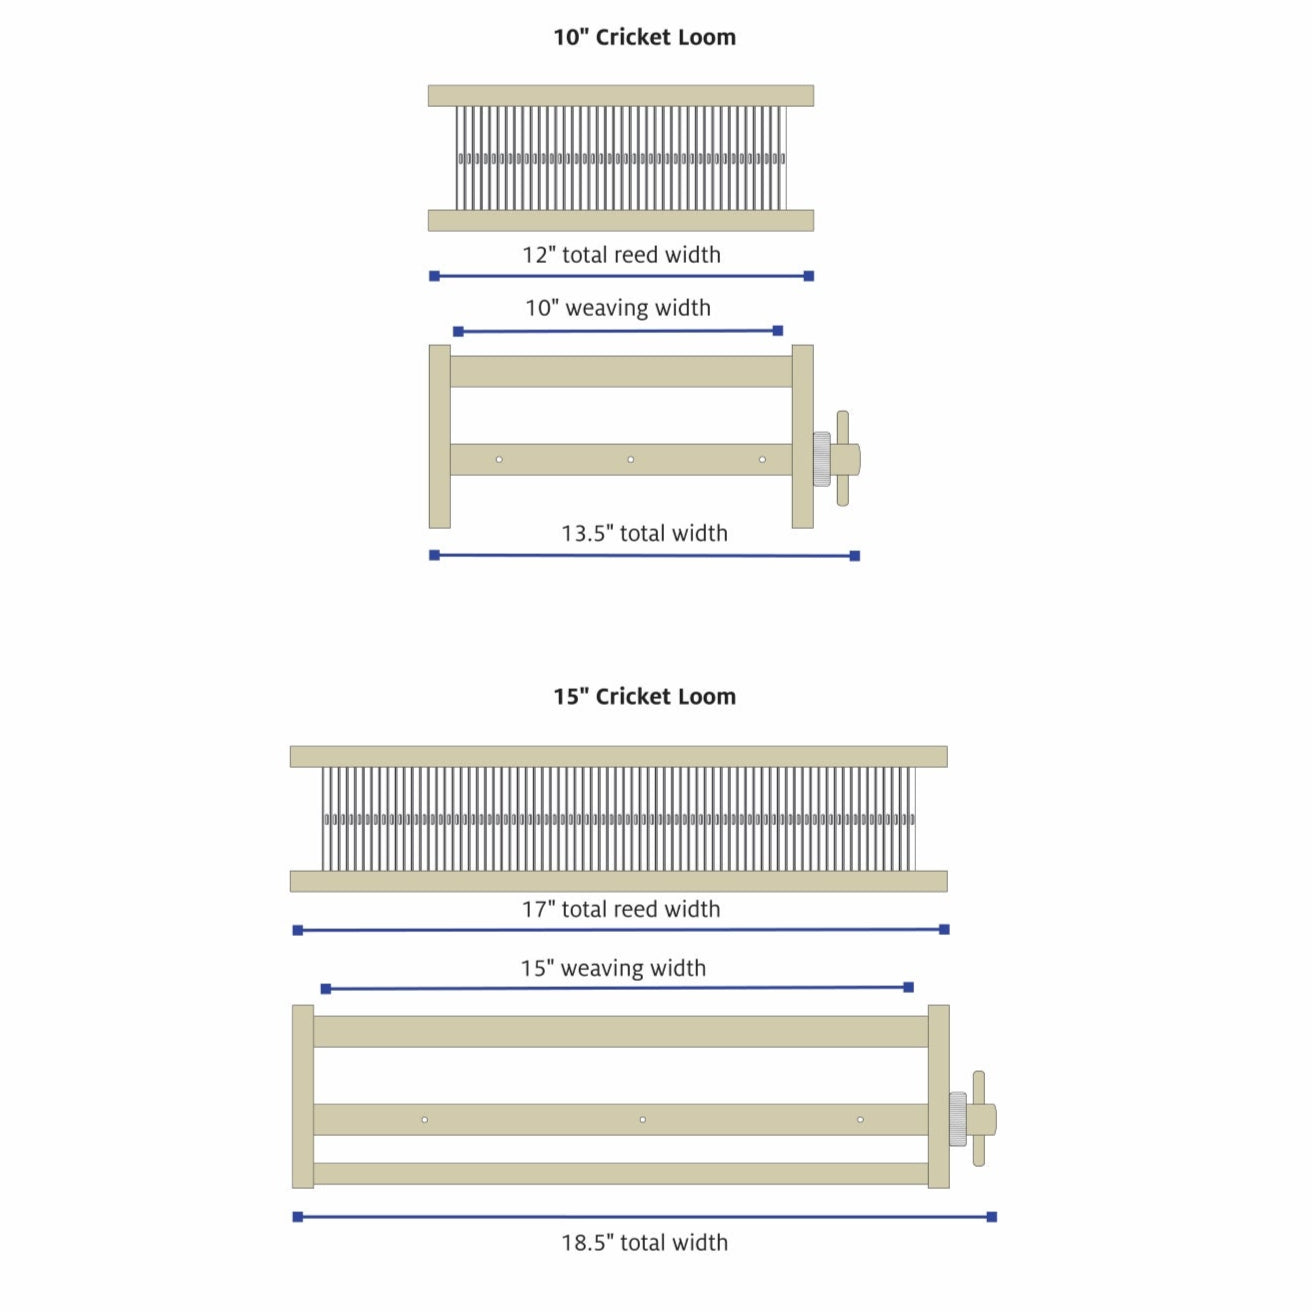
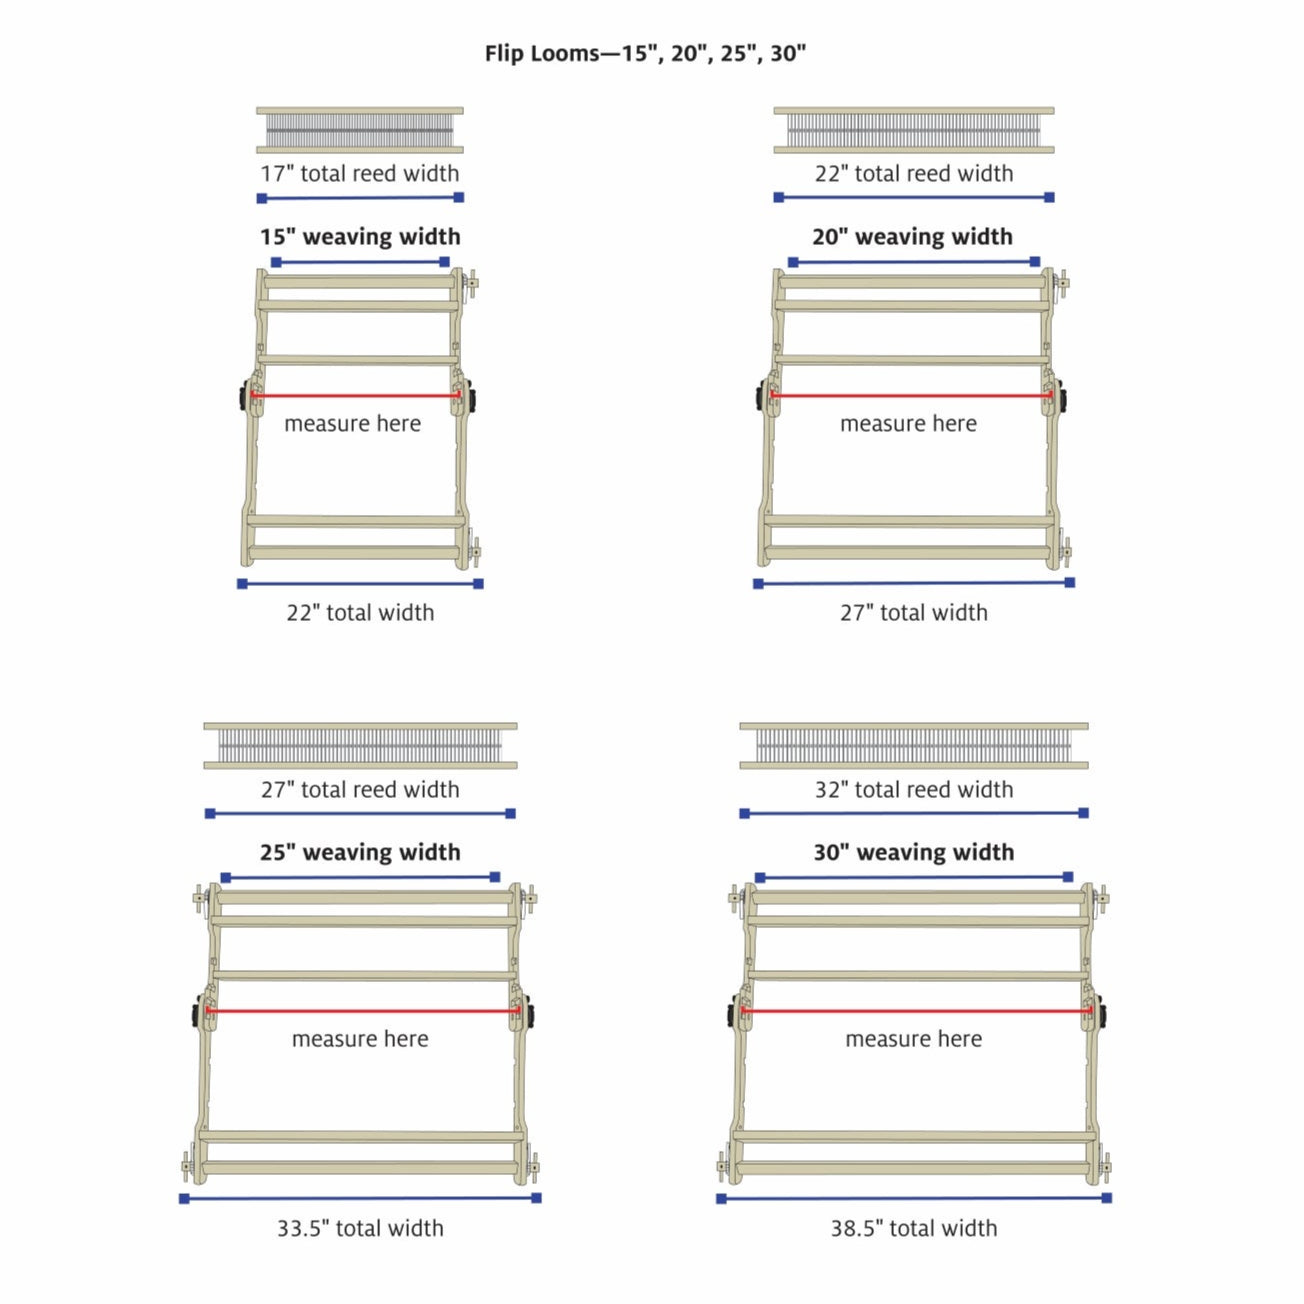
rigid heddle loom at least 10" wide
-
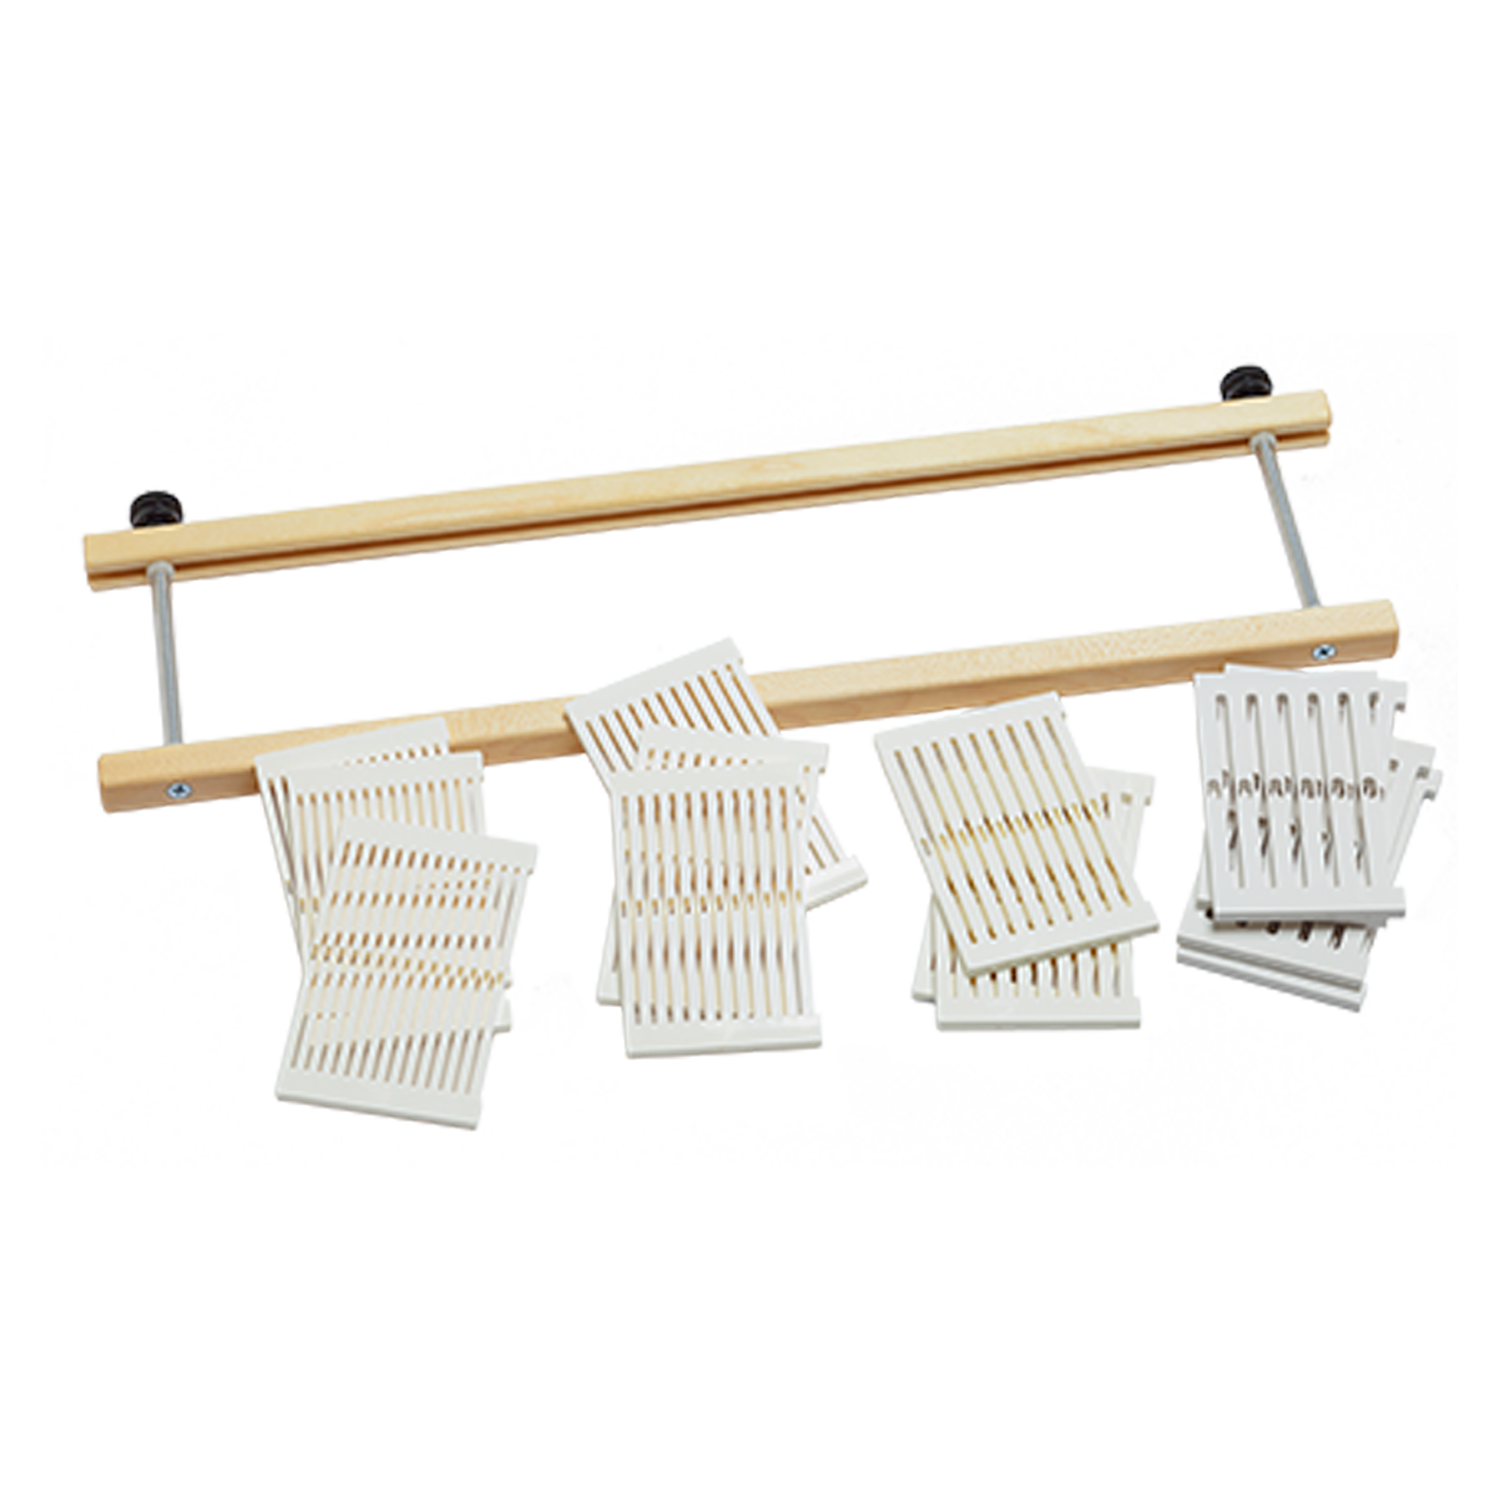
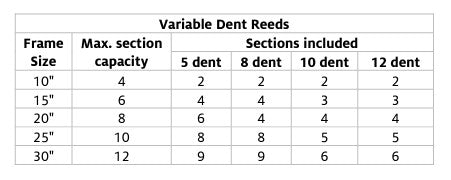
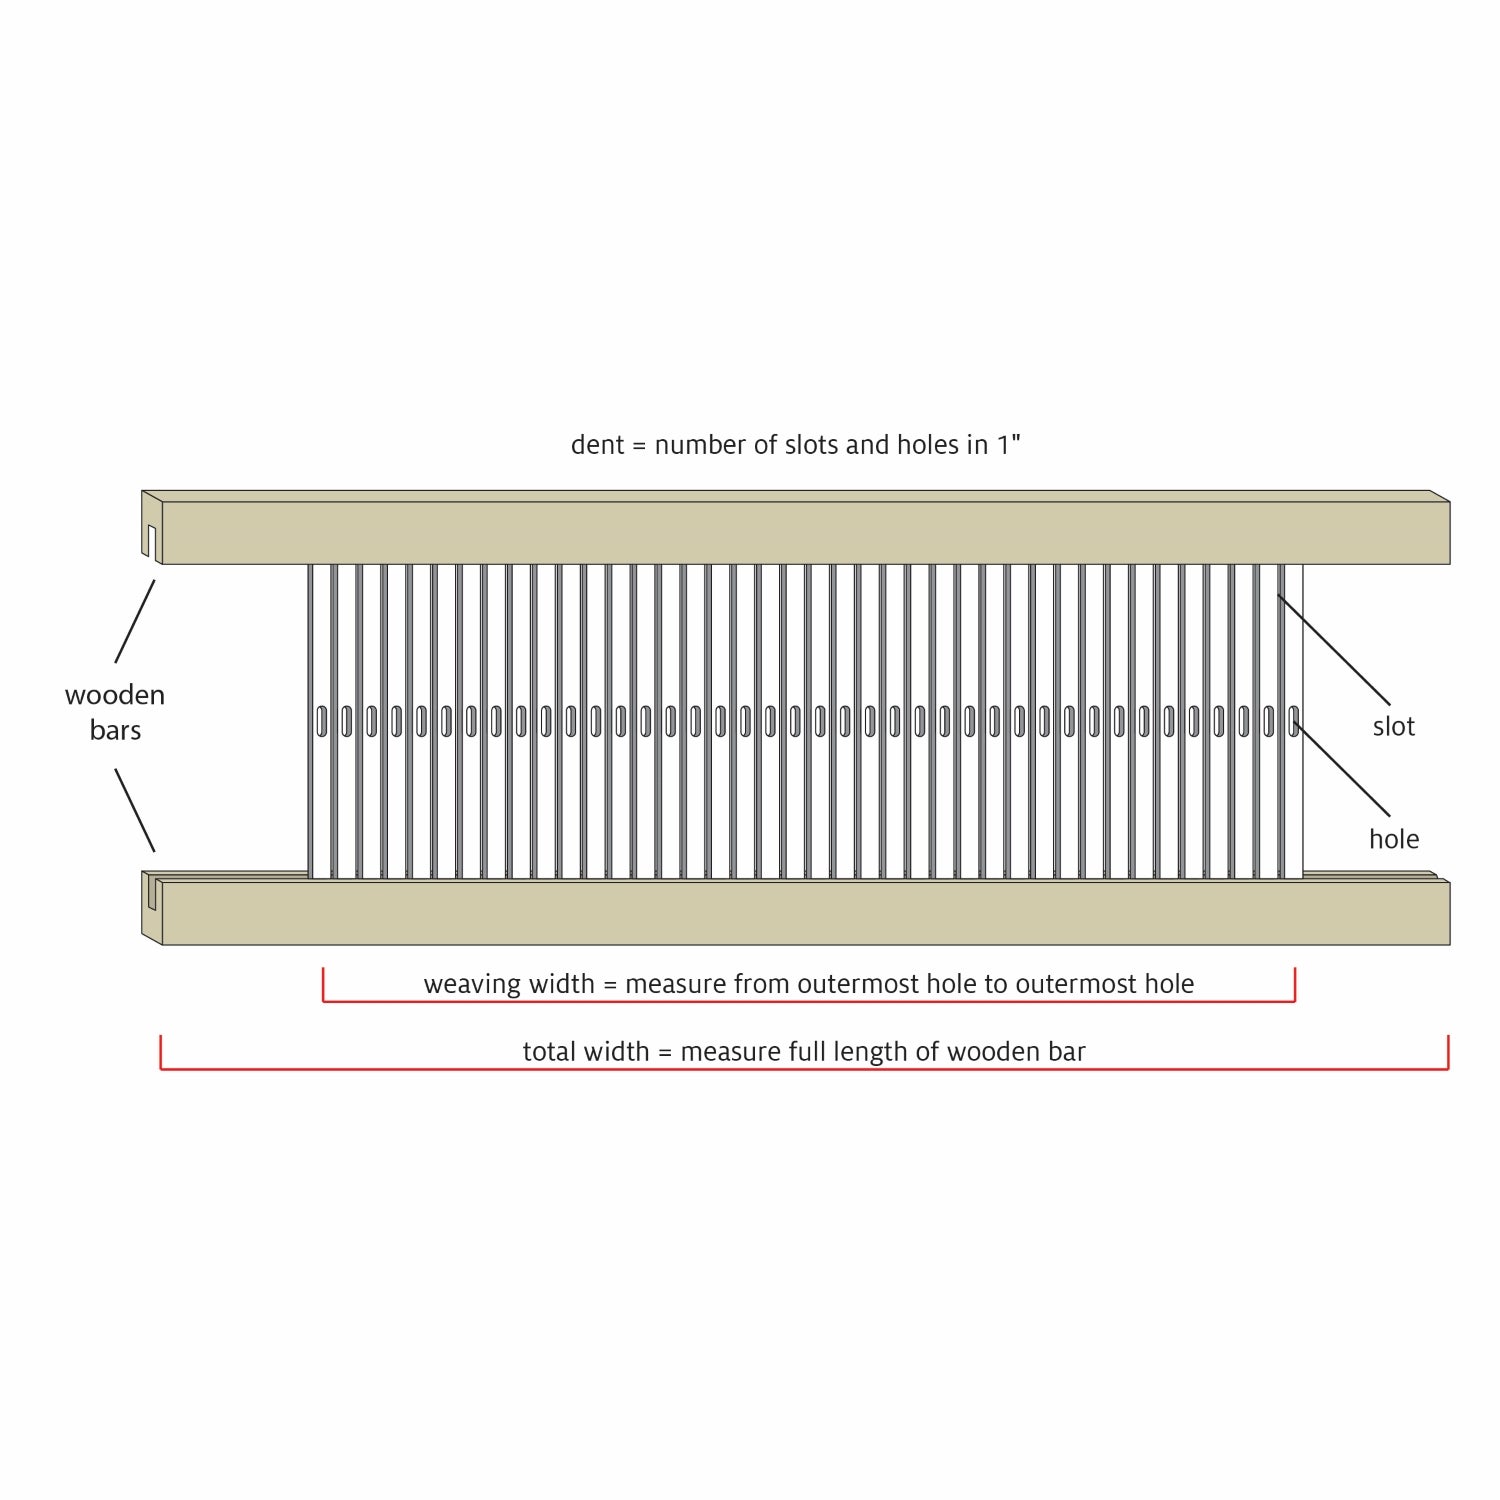
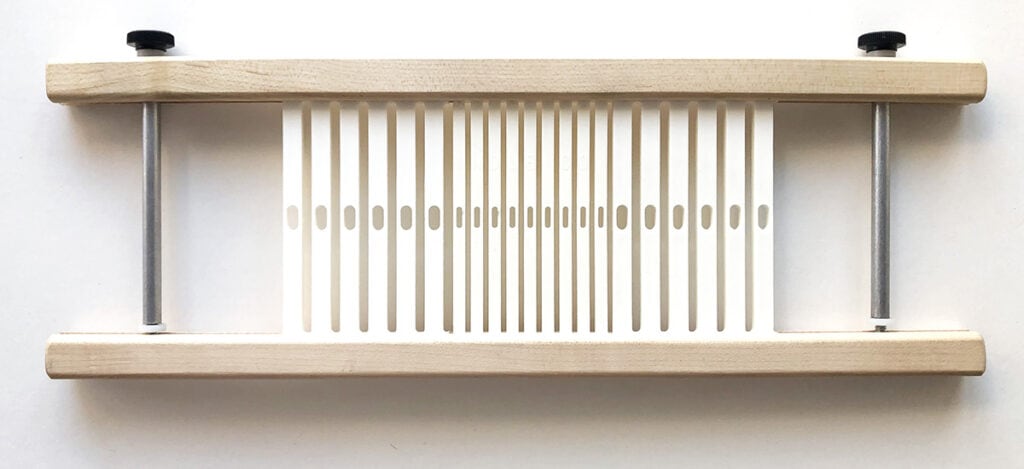
variable dent reed set up with a 5-dent section, an 8-dent section, and another 5-dent section
-
shuttles
-
tapestry needle
Spinning Materials and Equipment
Weaving Materials and Equipment
Directions
Spinning
Divide the braid in half crosswise, then split each half into 4 long strips, as shown in the video “Tips & Tricks for Setting Up.”
Spin and ply 2 of these strips (about .8 oz) into a 2-ply yarn of 14 wpi. I made about 42 yards.
Spin and ply 6 of these strips (about 2.7 oz) into a 2-ply thick-and-thin yarn, as shown in the video “Drafting, Plying & Finishing.” I made about 50 yards.
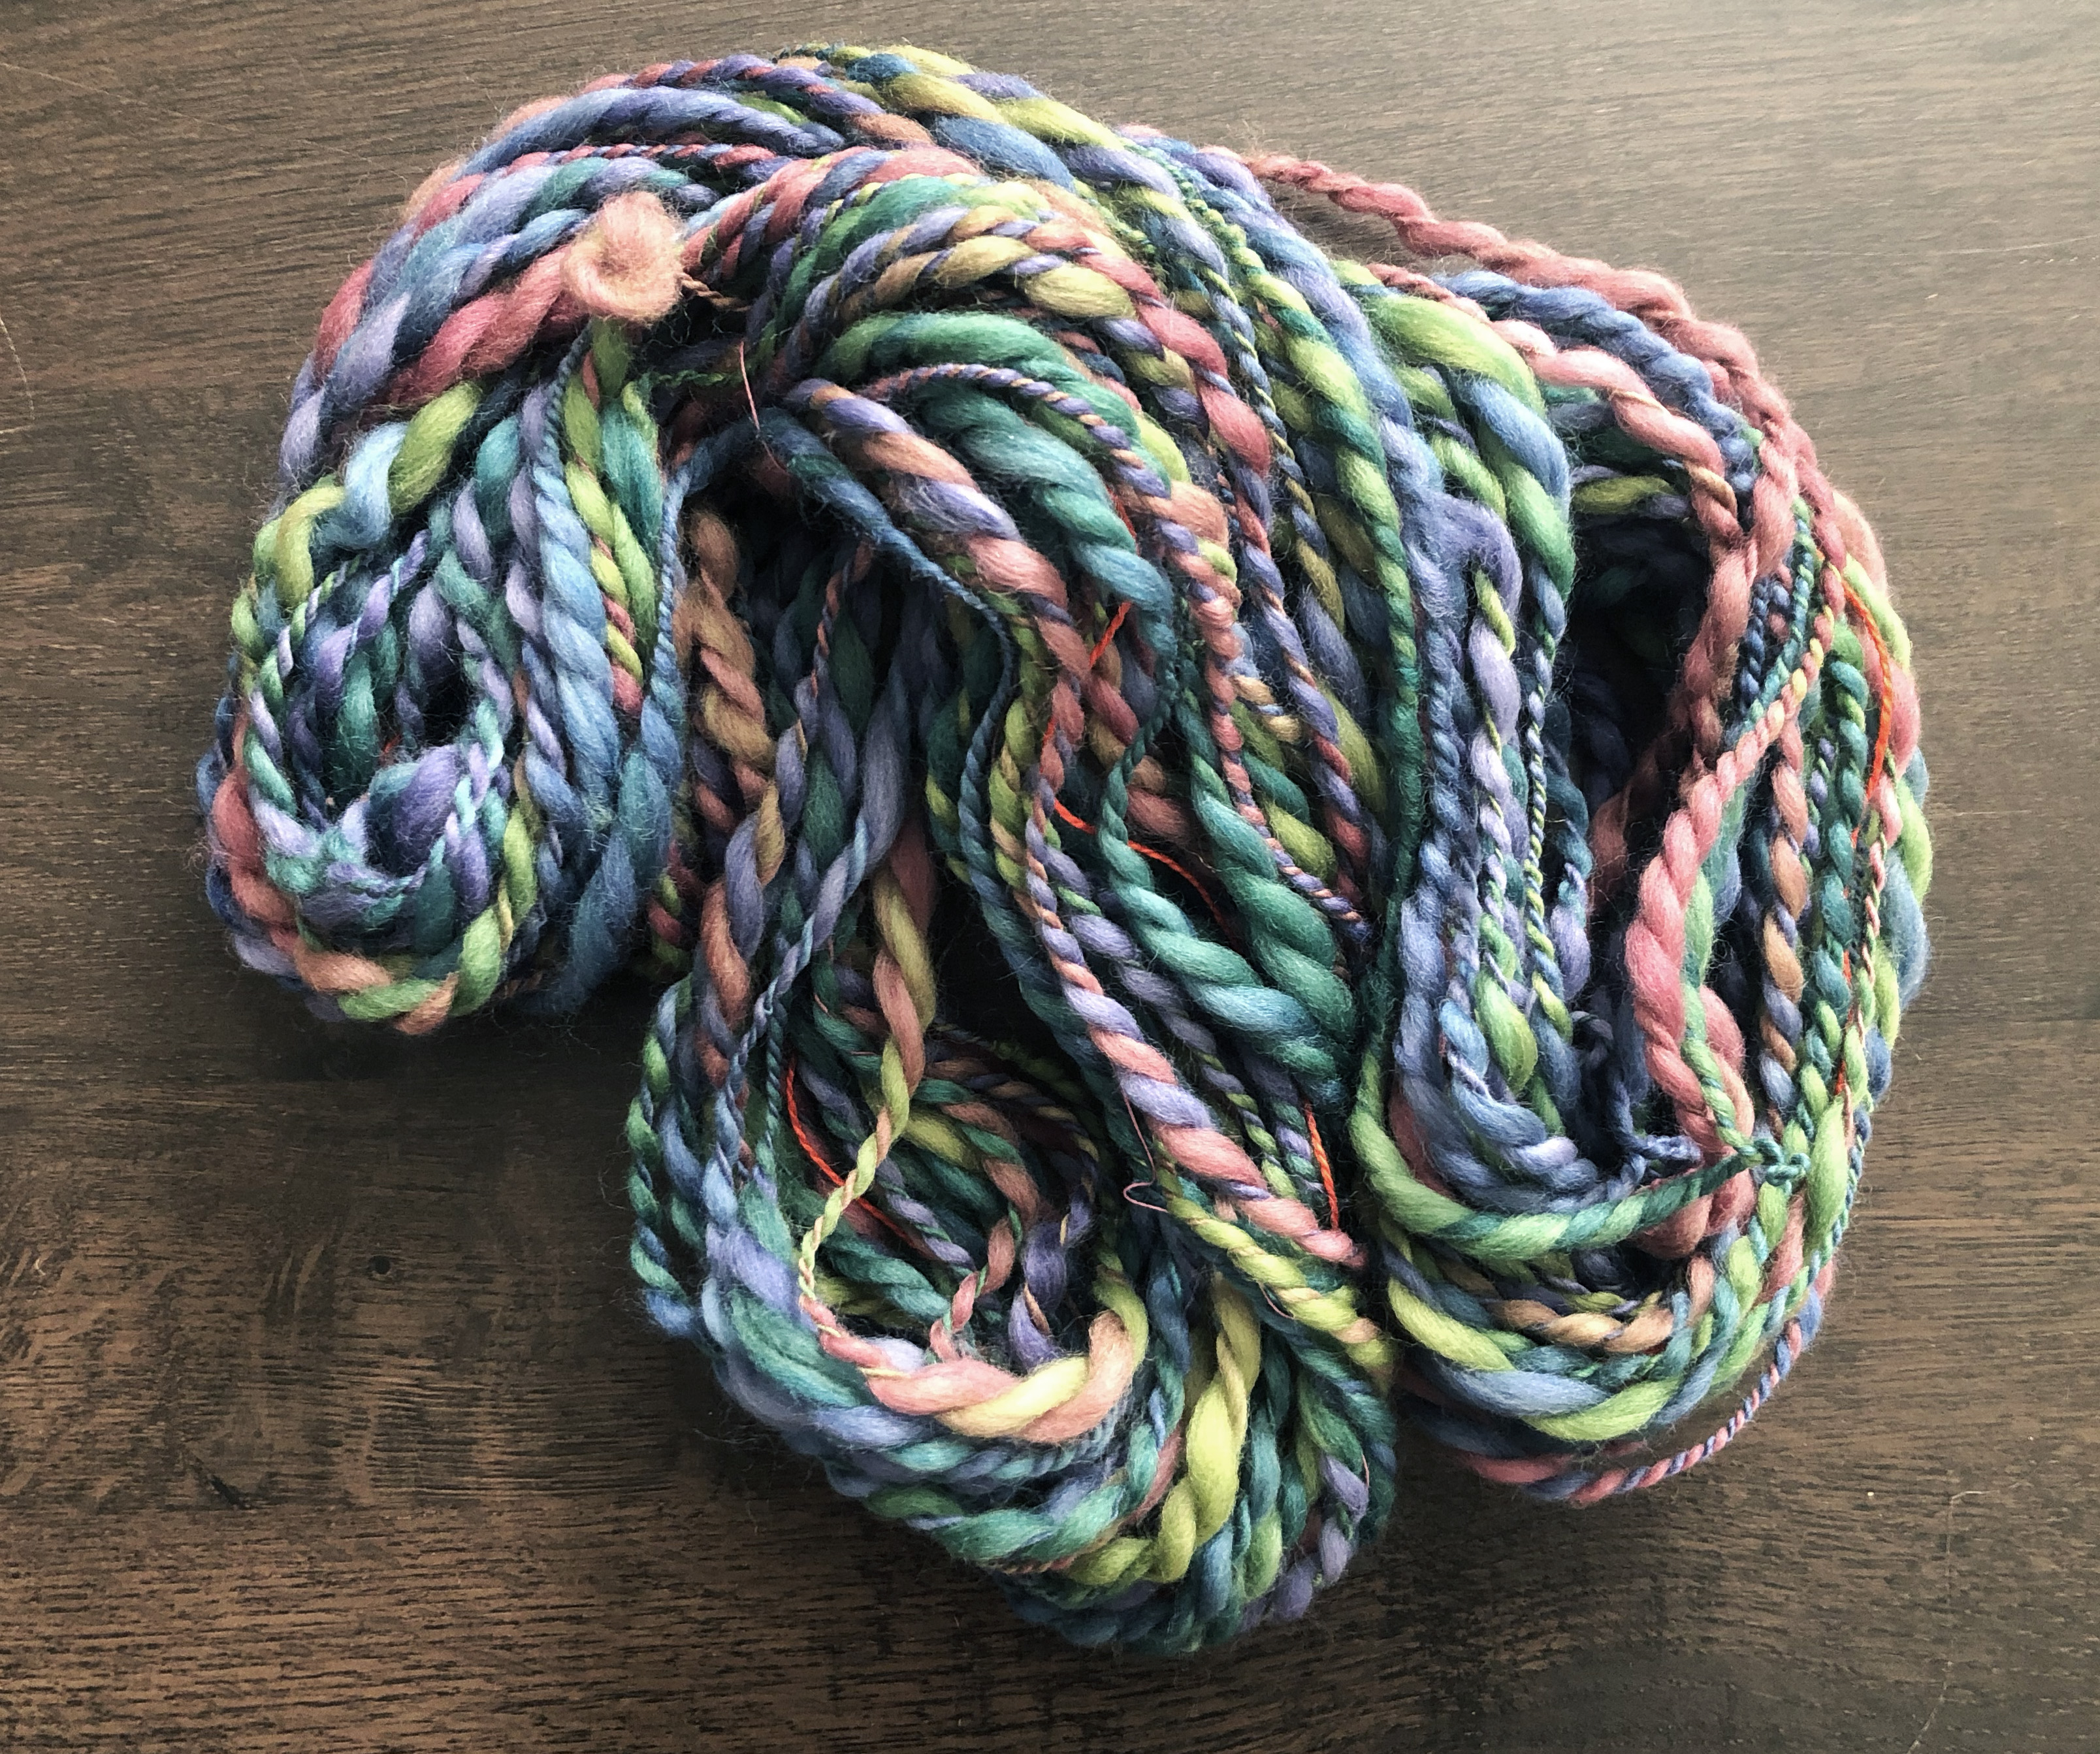
Give a hard finish to both handspun yarns, to add more strength and to keep the surface from blooming (discussed in the video “Drafting, Plying & Finishing”). Soak the skeins in very hot water, with a few drops of dish detergent or wool wash, for about 15 minutes. Rinse in very cold water to shock the yarn; this cold rinse will slightly felt the thick sections of the thick-and-thin yarn. Roll the skeins in towels to absorb water. Snap the skeins, but do not flap or thwack them—you want the smoothest surface possible. Allow skeins to dry and wind into cakes for warping.
Weaving
Set up the loom with a variable dent reed containing a 5-dent section, an 8-dent section, and another 5-dent section. Warp the loom with 12 ends of thick-and-thin, 19 ends of fingering, and 12 ends of thick-and-thin.
Weave a header to spread the warp. Leave 7" of warp unwoven for the fringe.
Weave 4 rows in plain weave. Hemstitch, working over 3 weft picks and 1 warp end.
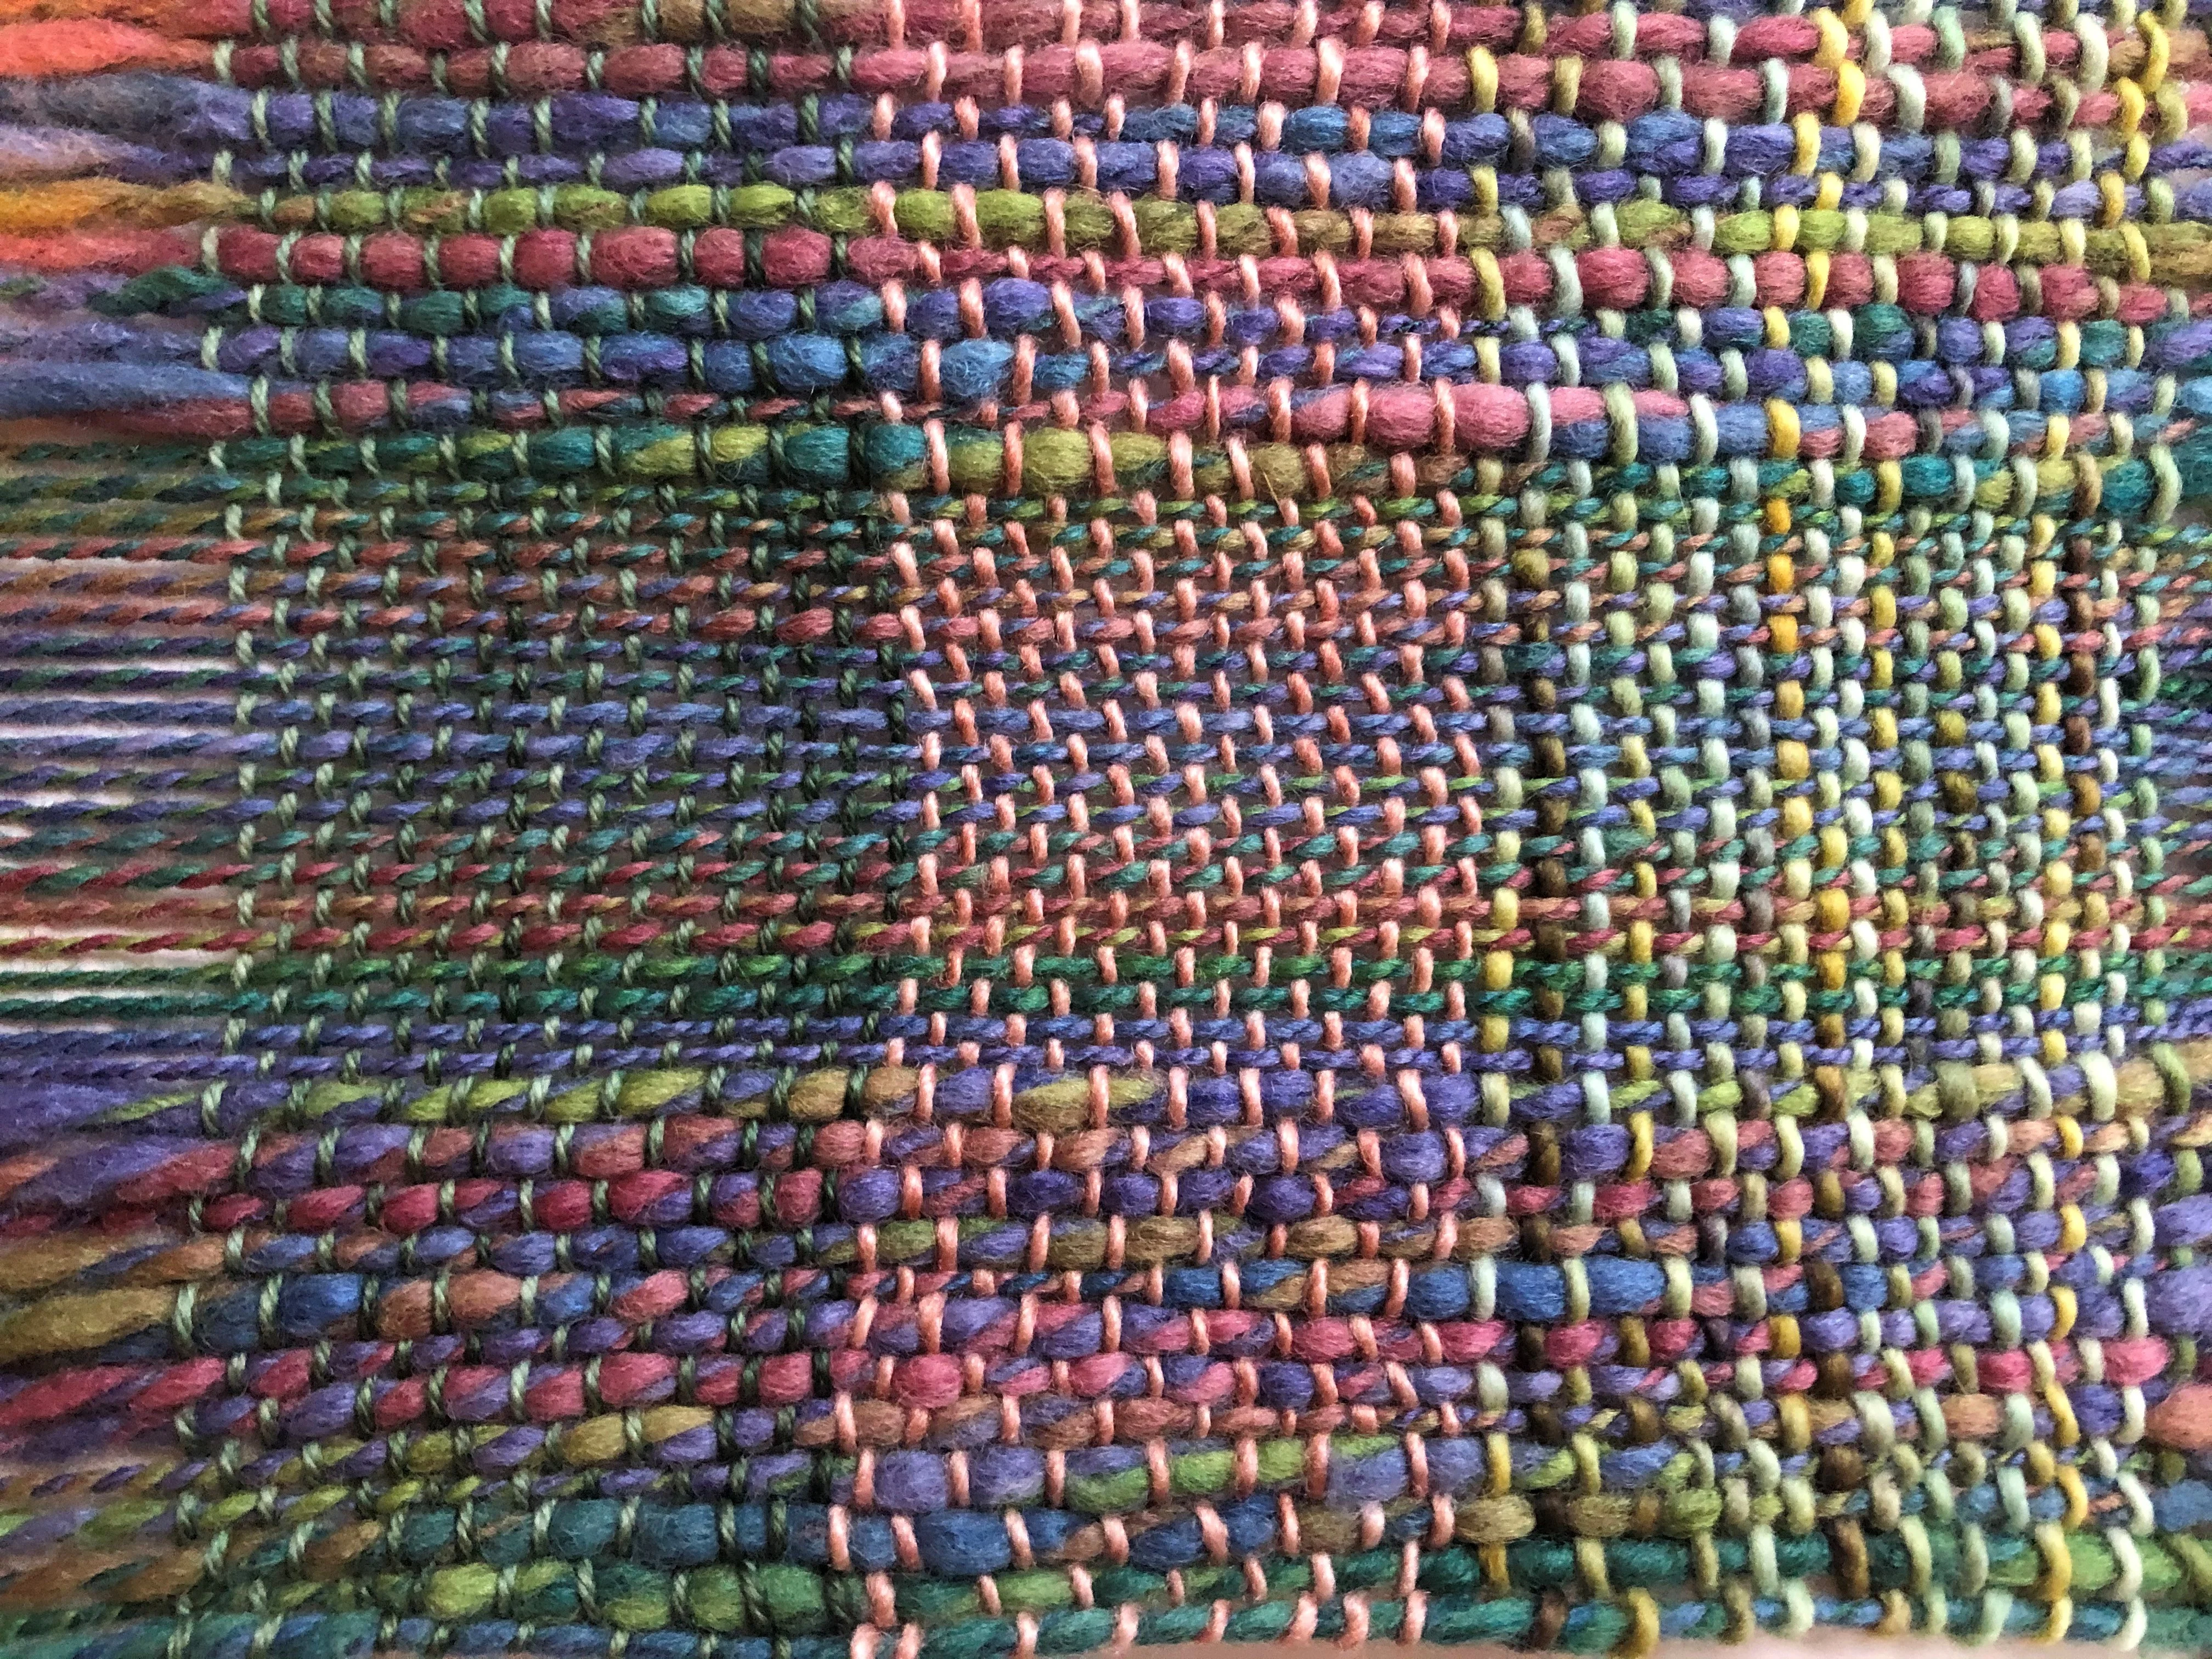
Weave the scarf in plain weave at about 7 ppi, stopping when you have 7" of warp remaining.
Hemstitch, working over 3 weft picks and 1 warp end. Cut scarf from the loom, leaving 7” of unwoven warp for fringe.
Finishing
- Fill a sink with very hot water and a bit of soap. Soak the scarf for 15 minutes.
- Slightly full the center of the scarf: add more soap and rub vigorously on both sides. I use a small washboard to speed up the agitation process. Once you see the the thick and thin yarn on the edges starting to get wavy, evaluate the center portion of the scarf to make sure it looks evenly felted. If you choose a superwash weft (like I did), this process can take a while.
- Rinse the scarf with warm water. Squeeze excess water from scarf and roll in a dry towel. Hang to dry.
- Trim fringe to 6-1/2".

