Spinning Artouclé Yarn
Designed and spun by Ilze Tomsevics
I have always enjoyed weaving and knitting with textured yarns, whether for an accent area or the entire project—they add zing to hats, mittens, and scarves. It's also fun and easy to spin them! Any advanced beginner can make their own colorful textured yarns.
The procedure is simple and lets you create wild color combinations. For closely spaced bumps, choose short-staple wool and blend the colors for a thick-and-thin yarn. Then wrap a commercial yarn with the thick-and-thin yarn and secure it with a binding thread. (The commercial yarn and binding thread will be visible but not very noticeable. If you use black for both, this neutral will help the colors of your wool stand out.)
What You'll Need
-
merino fiber or roving in a base color and at least 1 accent color
- 8/2 cotton yarn in black
- cotton/polyester sewing thread in black (or to match 8/2 yarn)
-
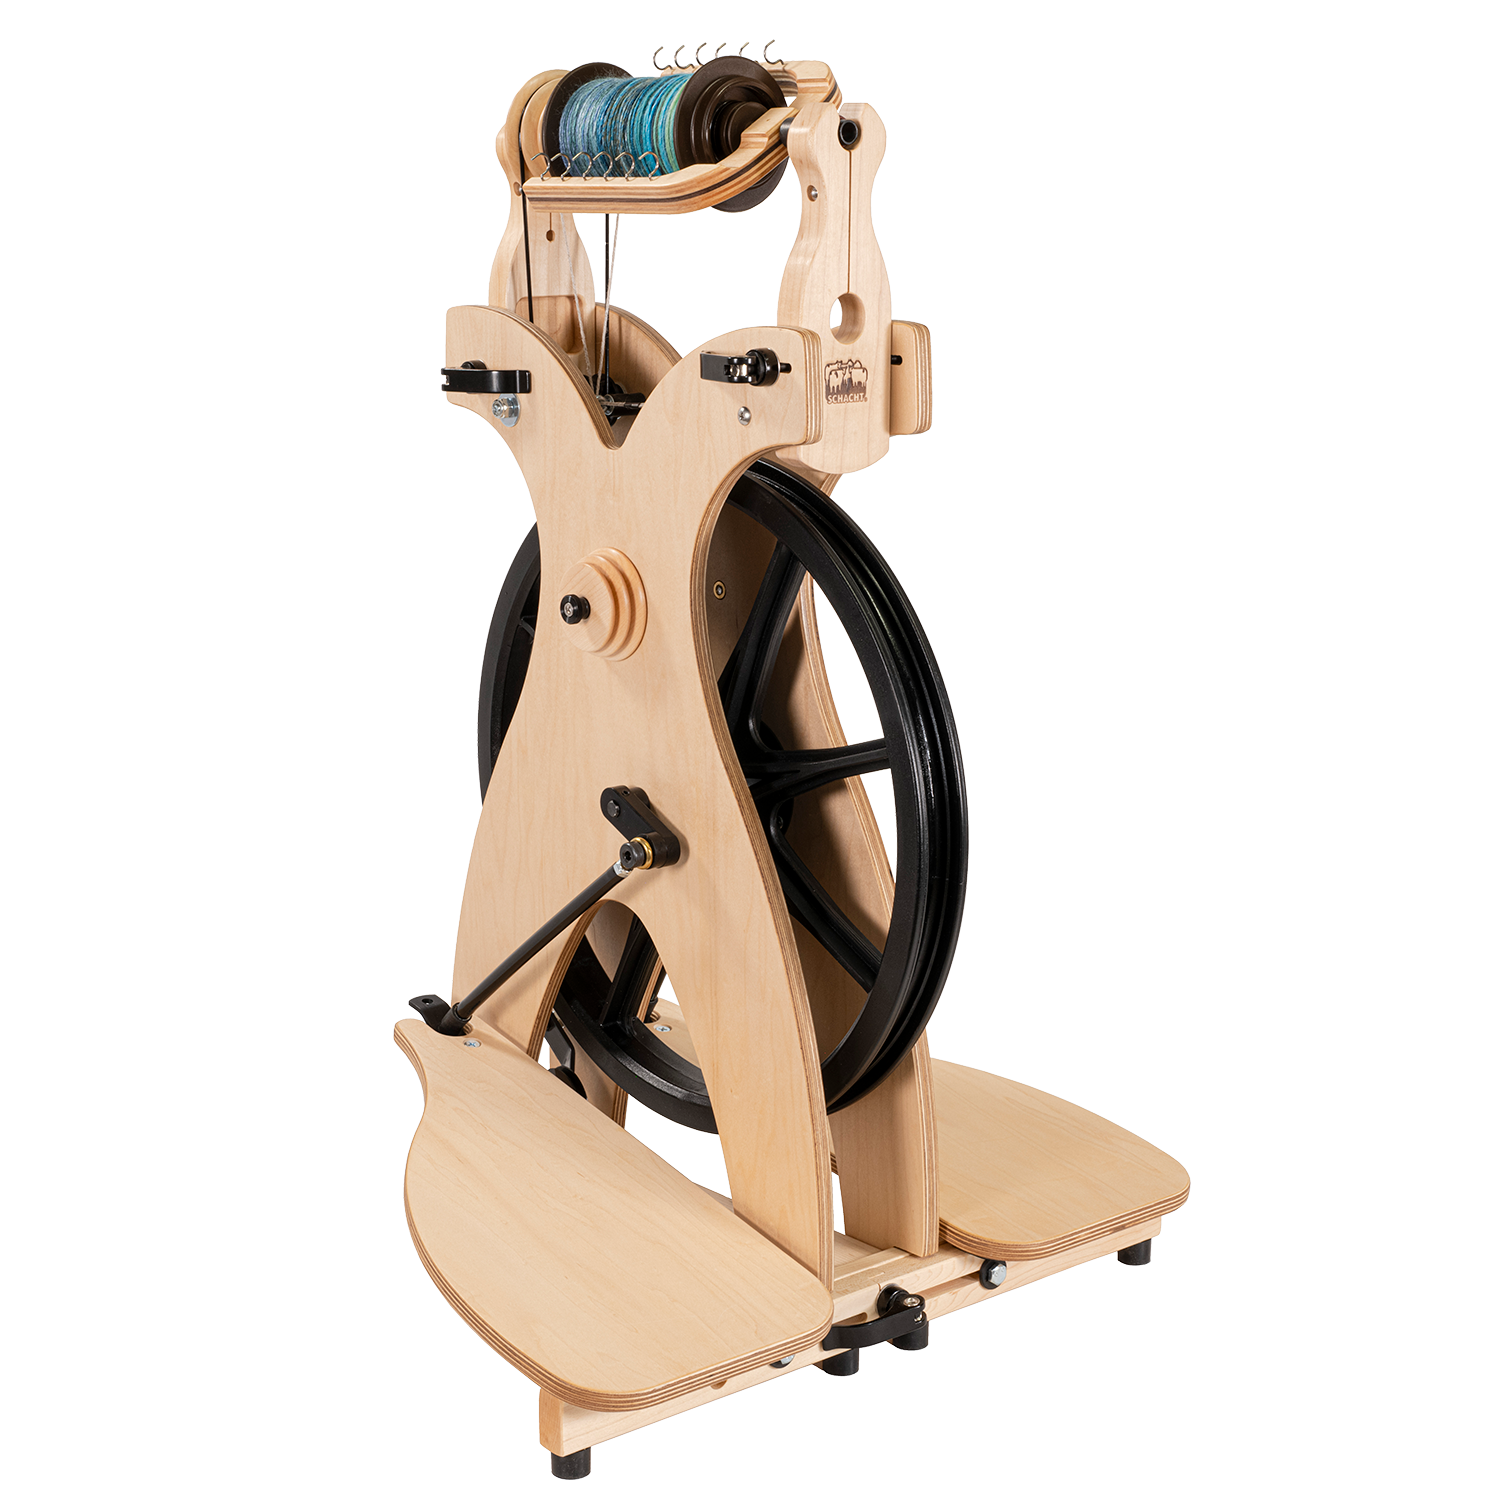
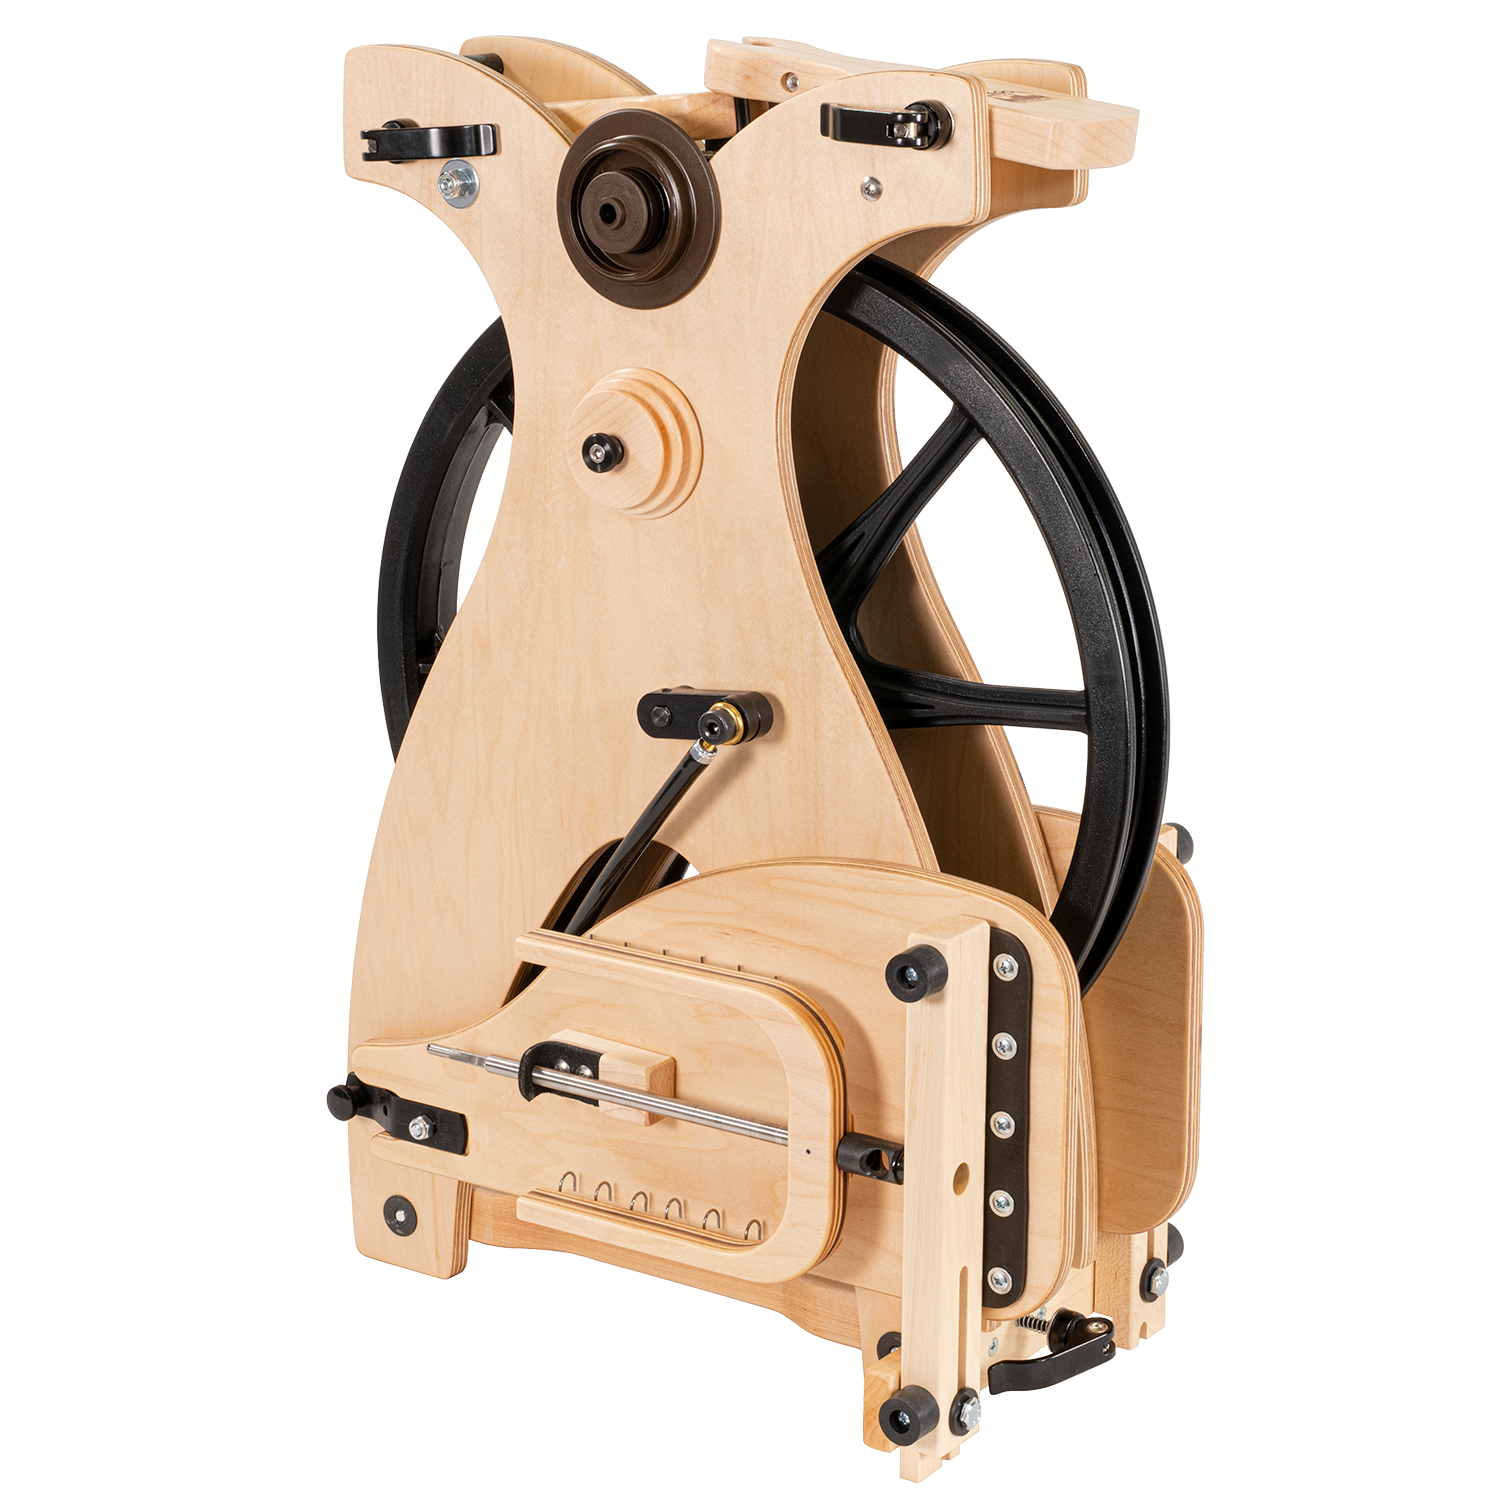
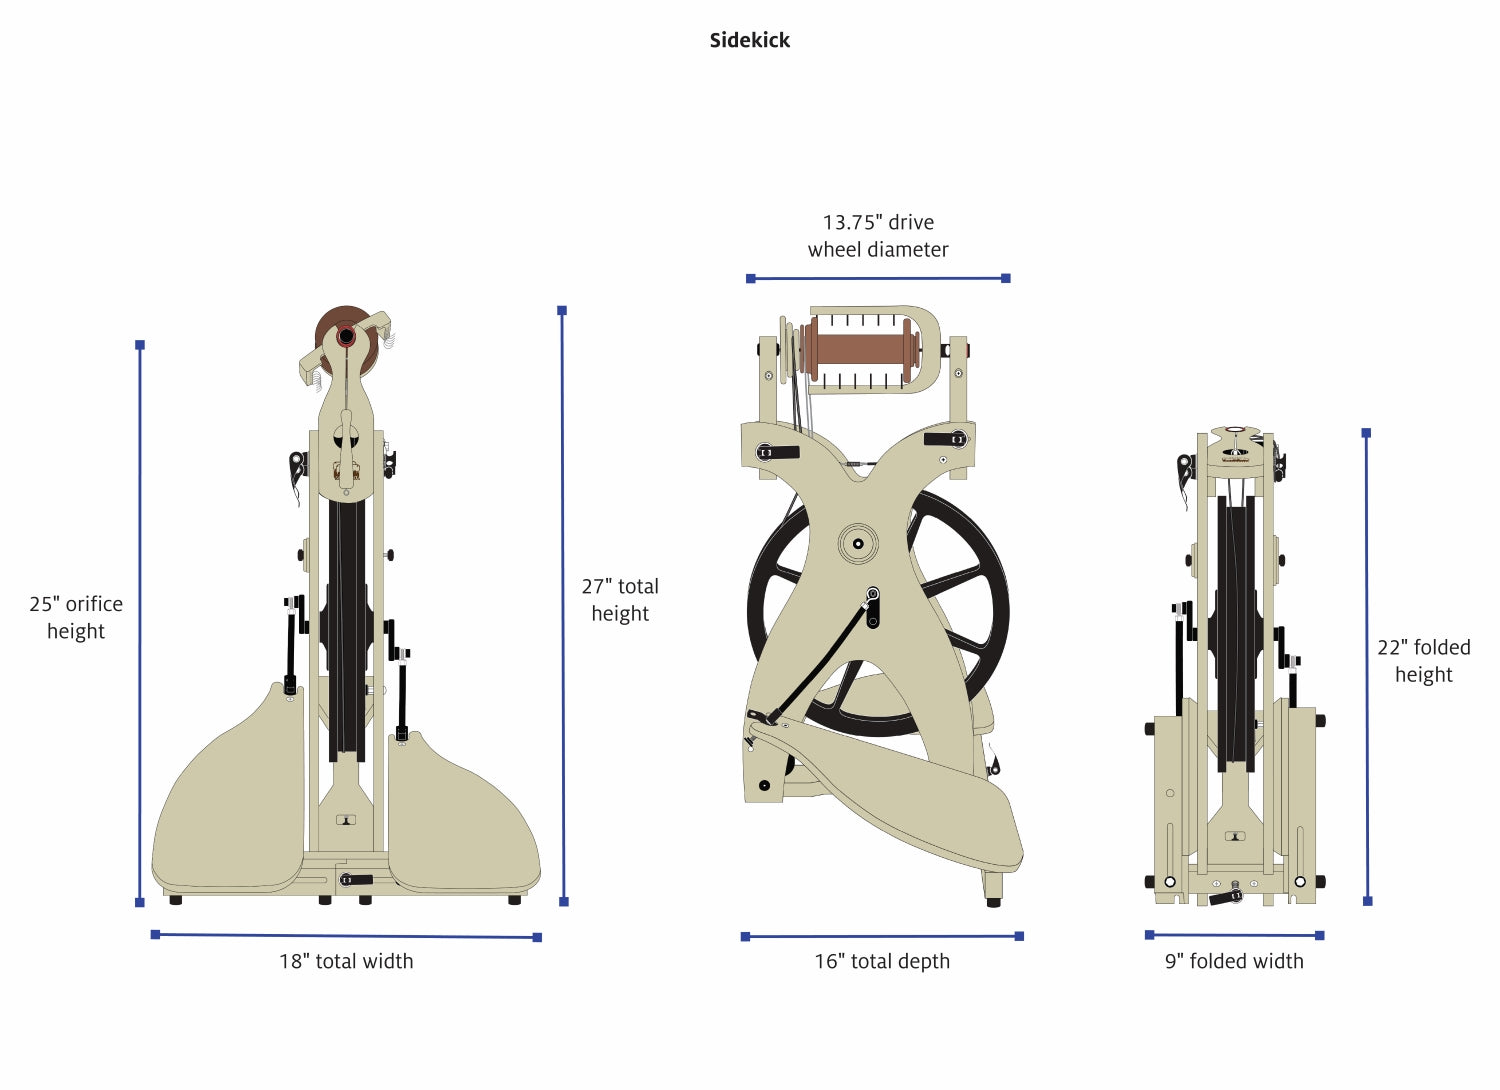
Sidekick spinning wheel
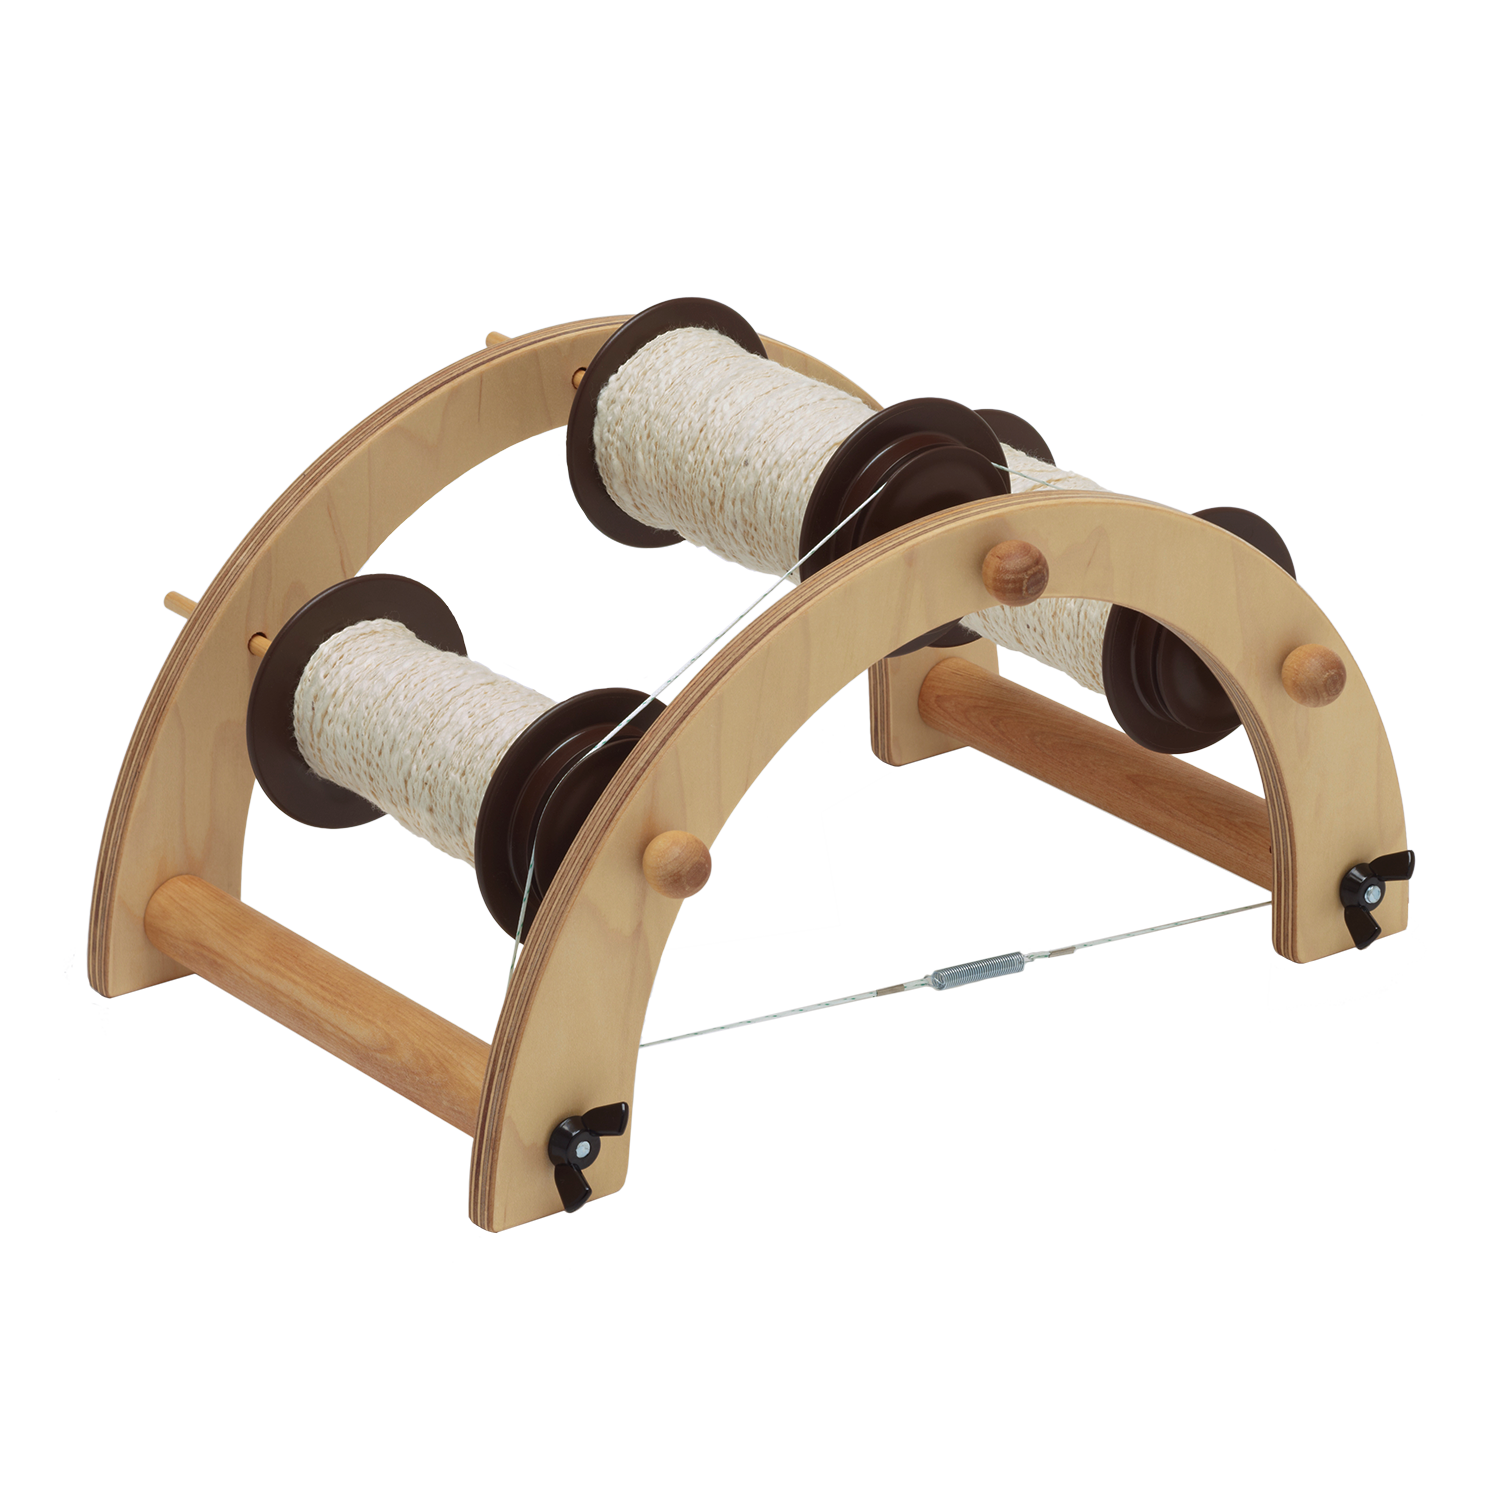
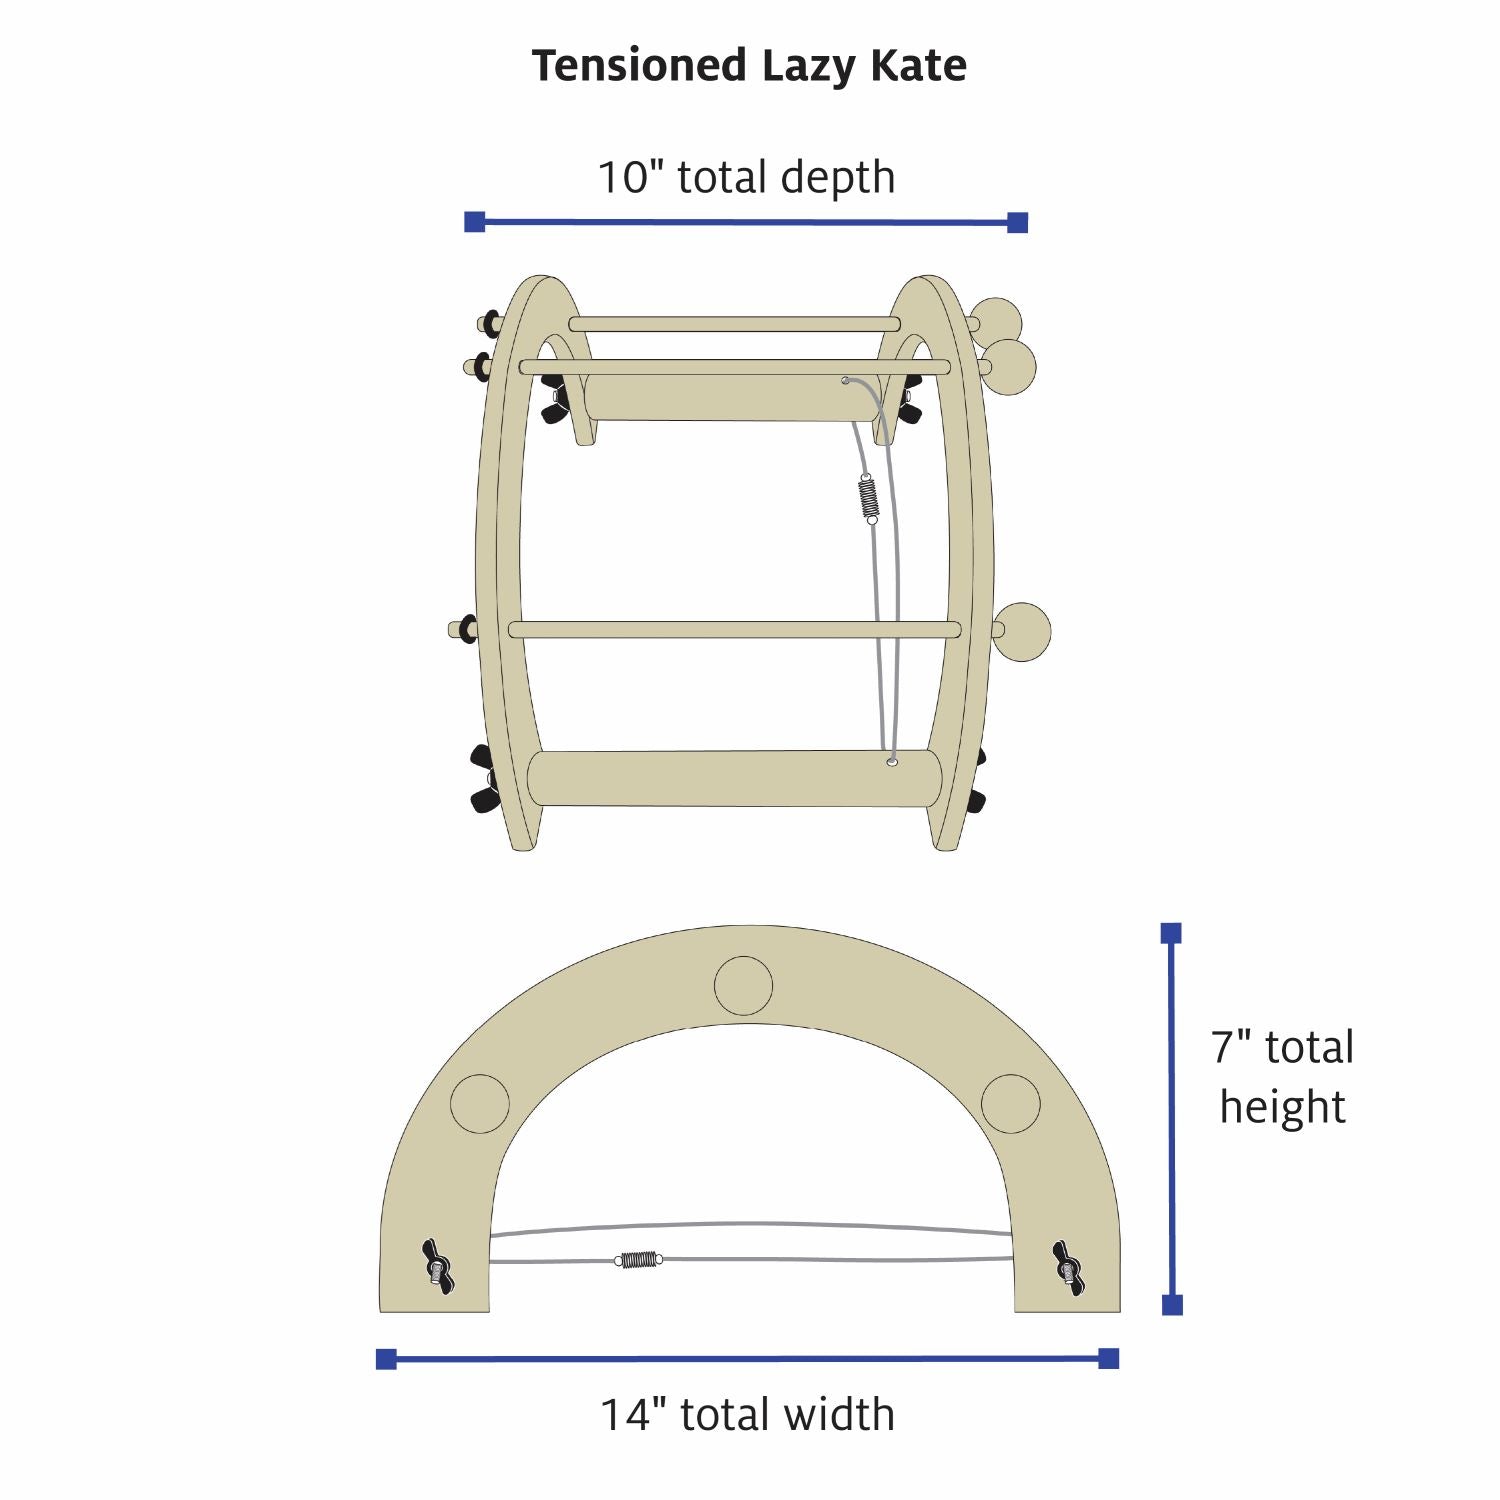
- Tensioned Lazy Kate
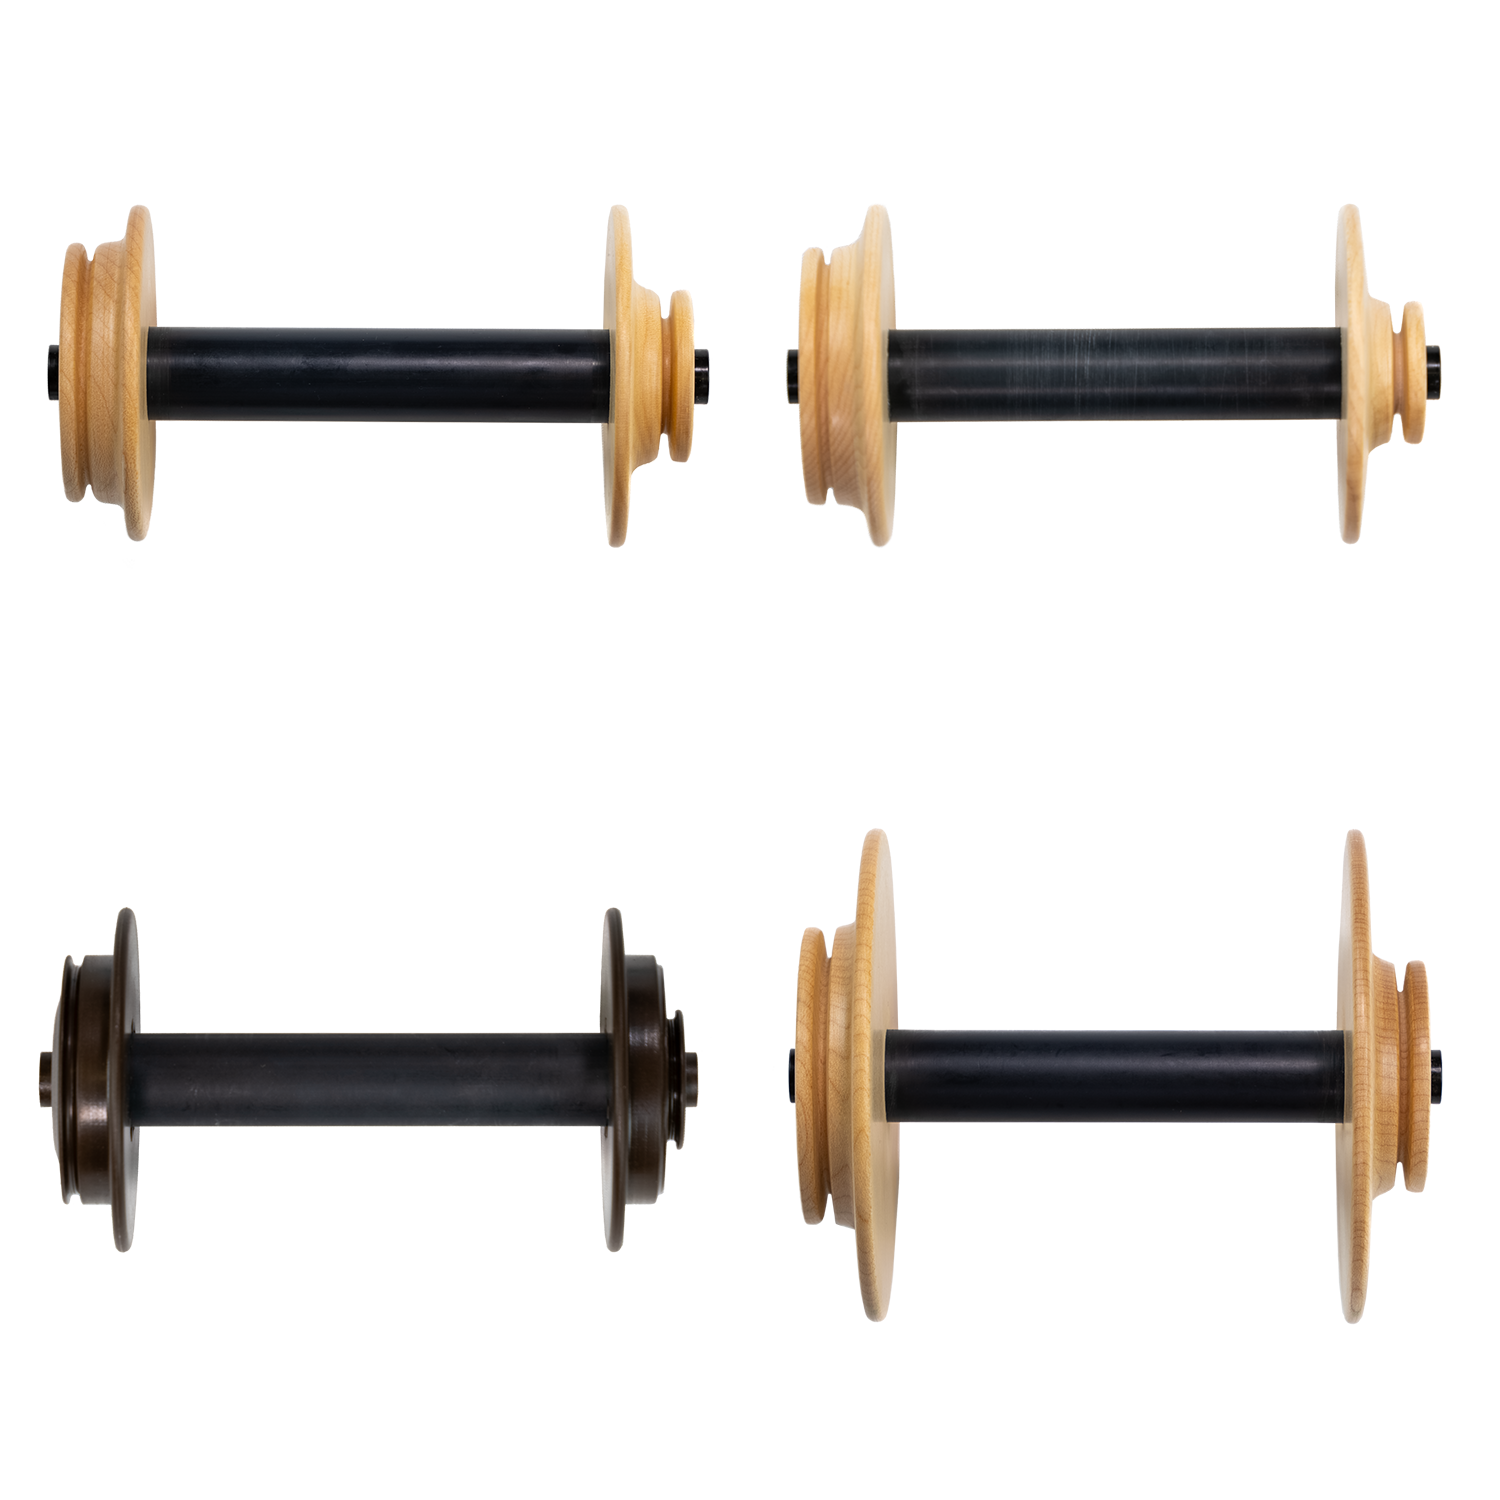
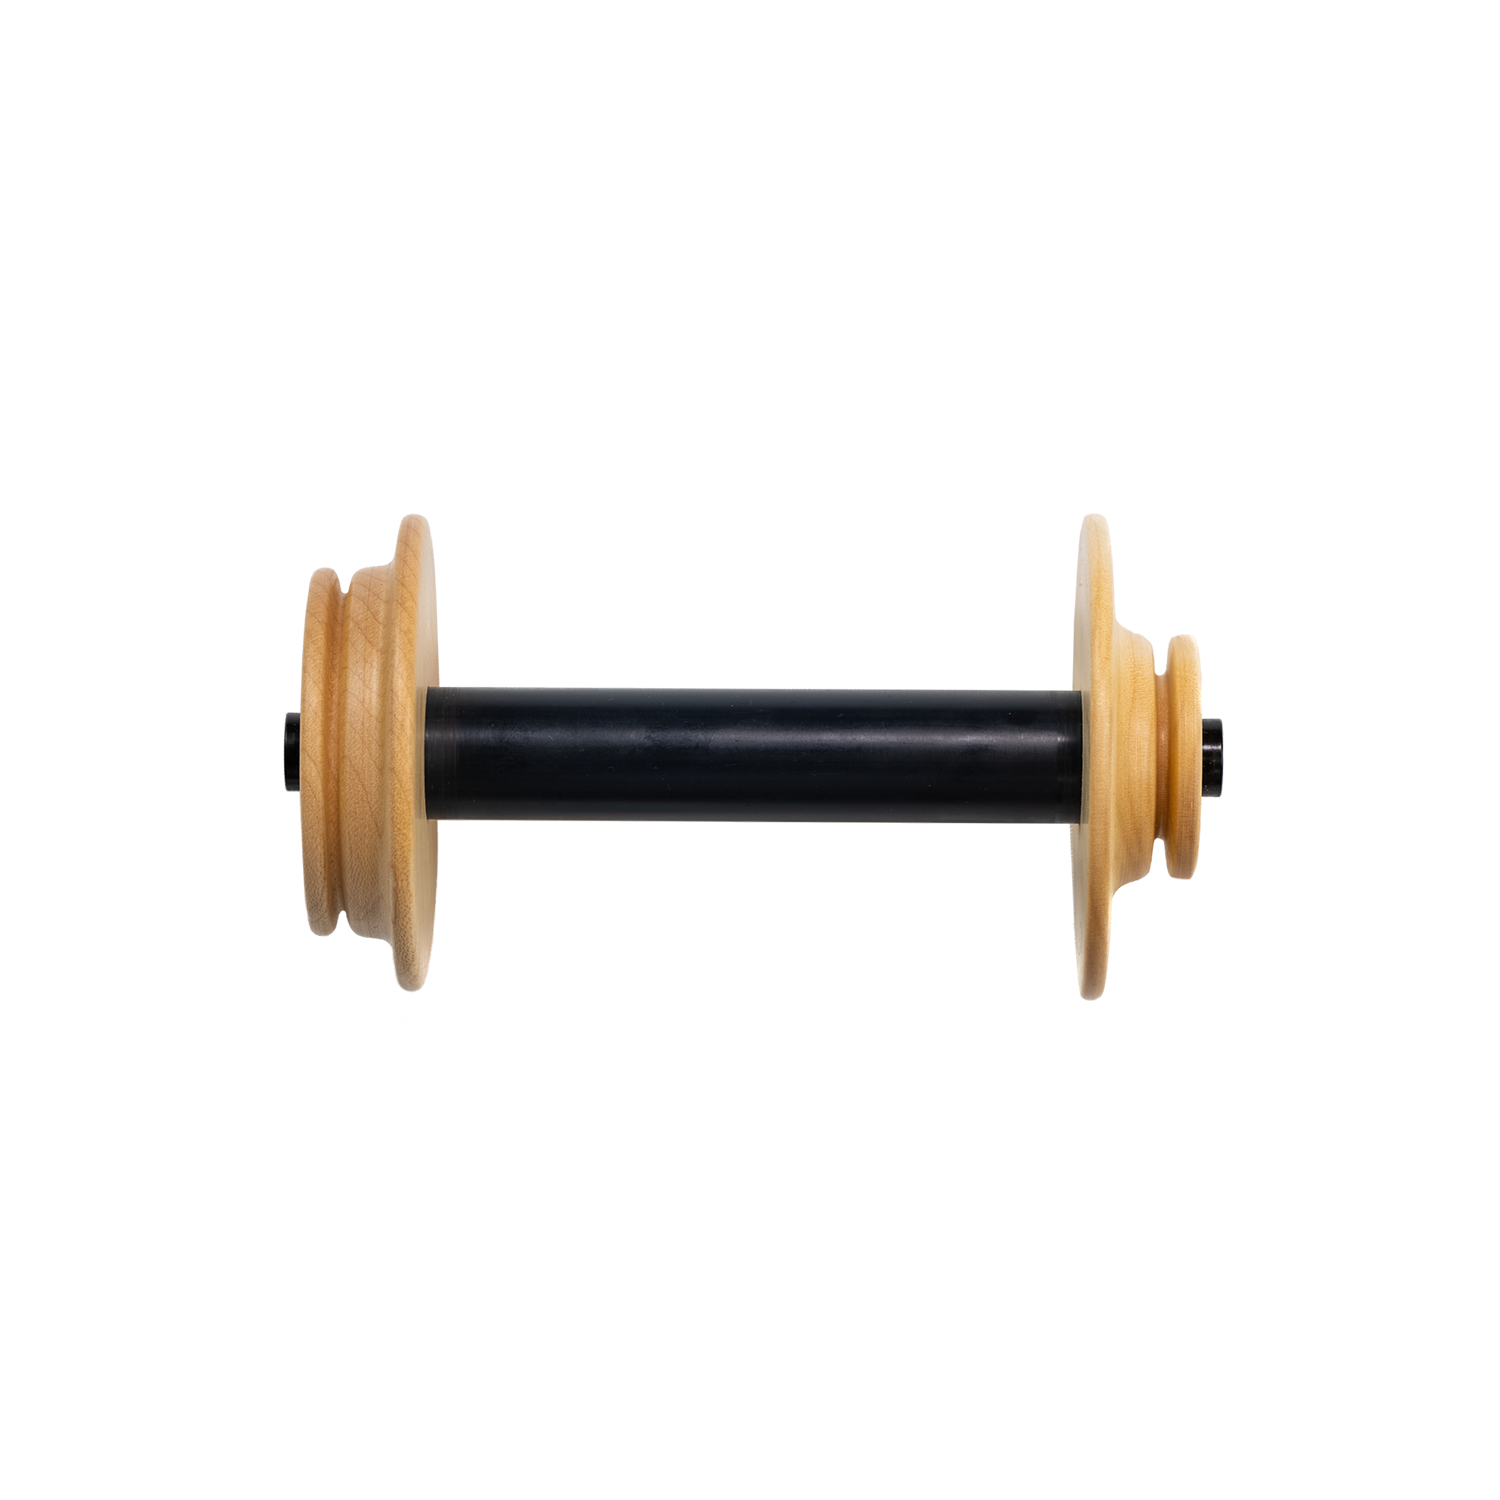
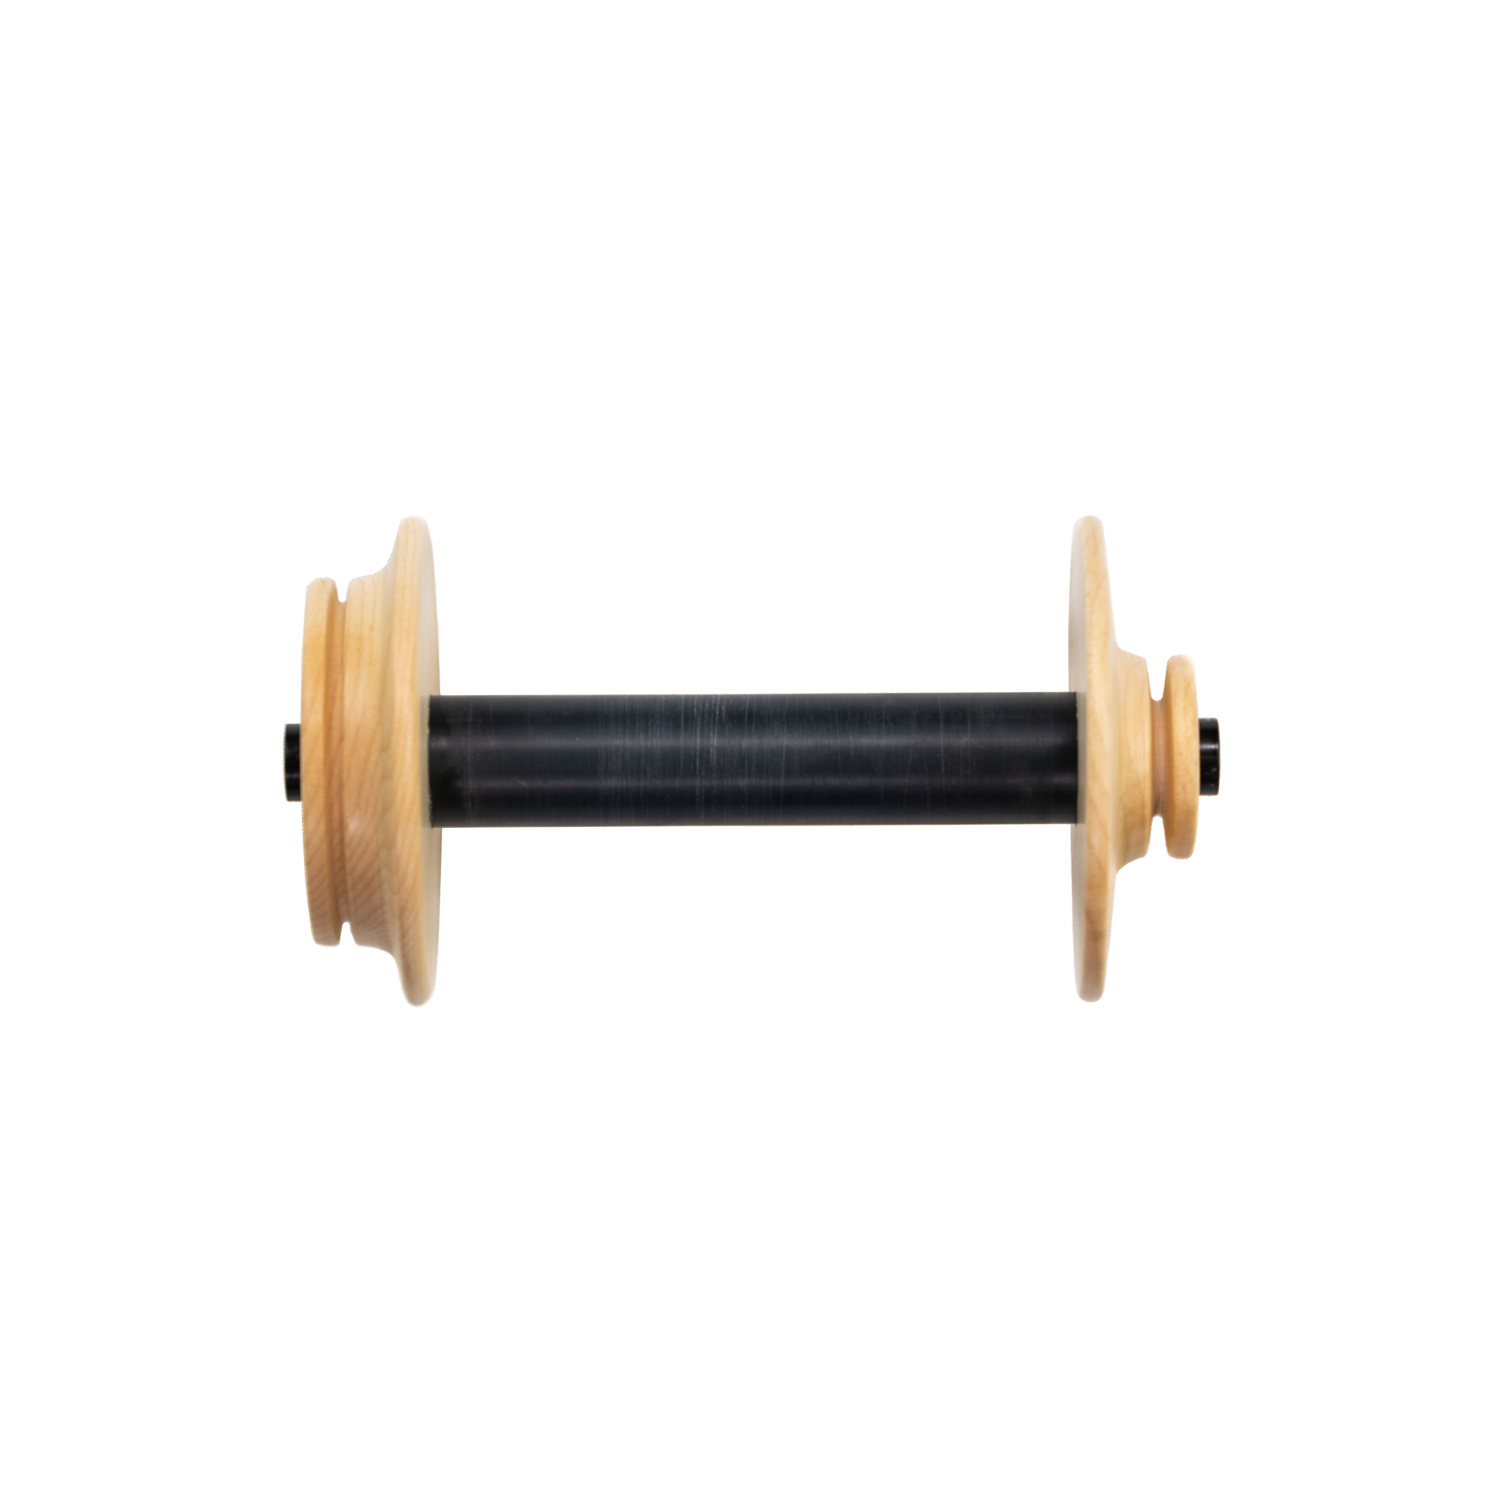
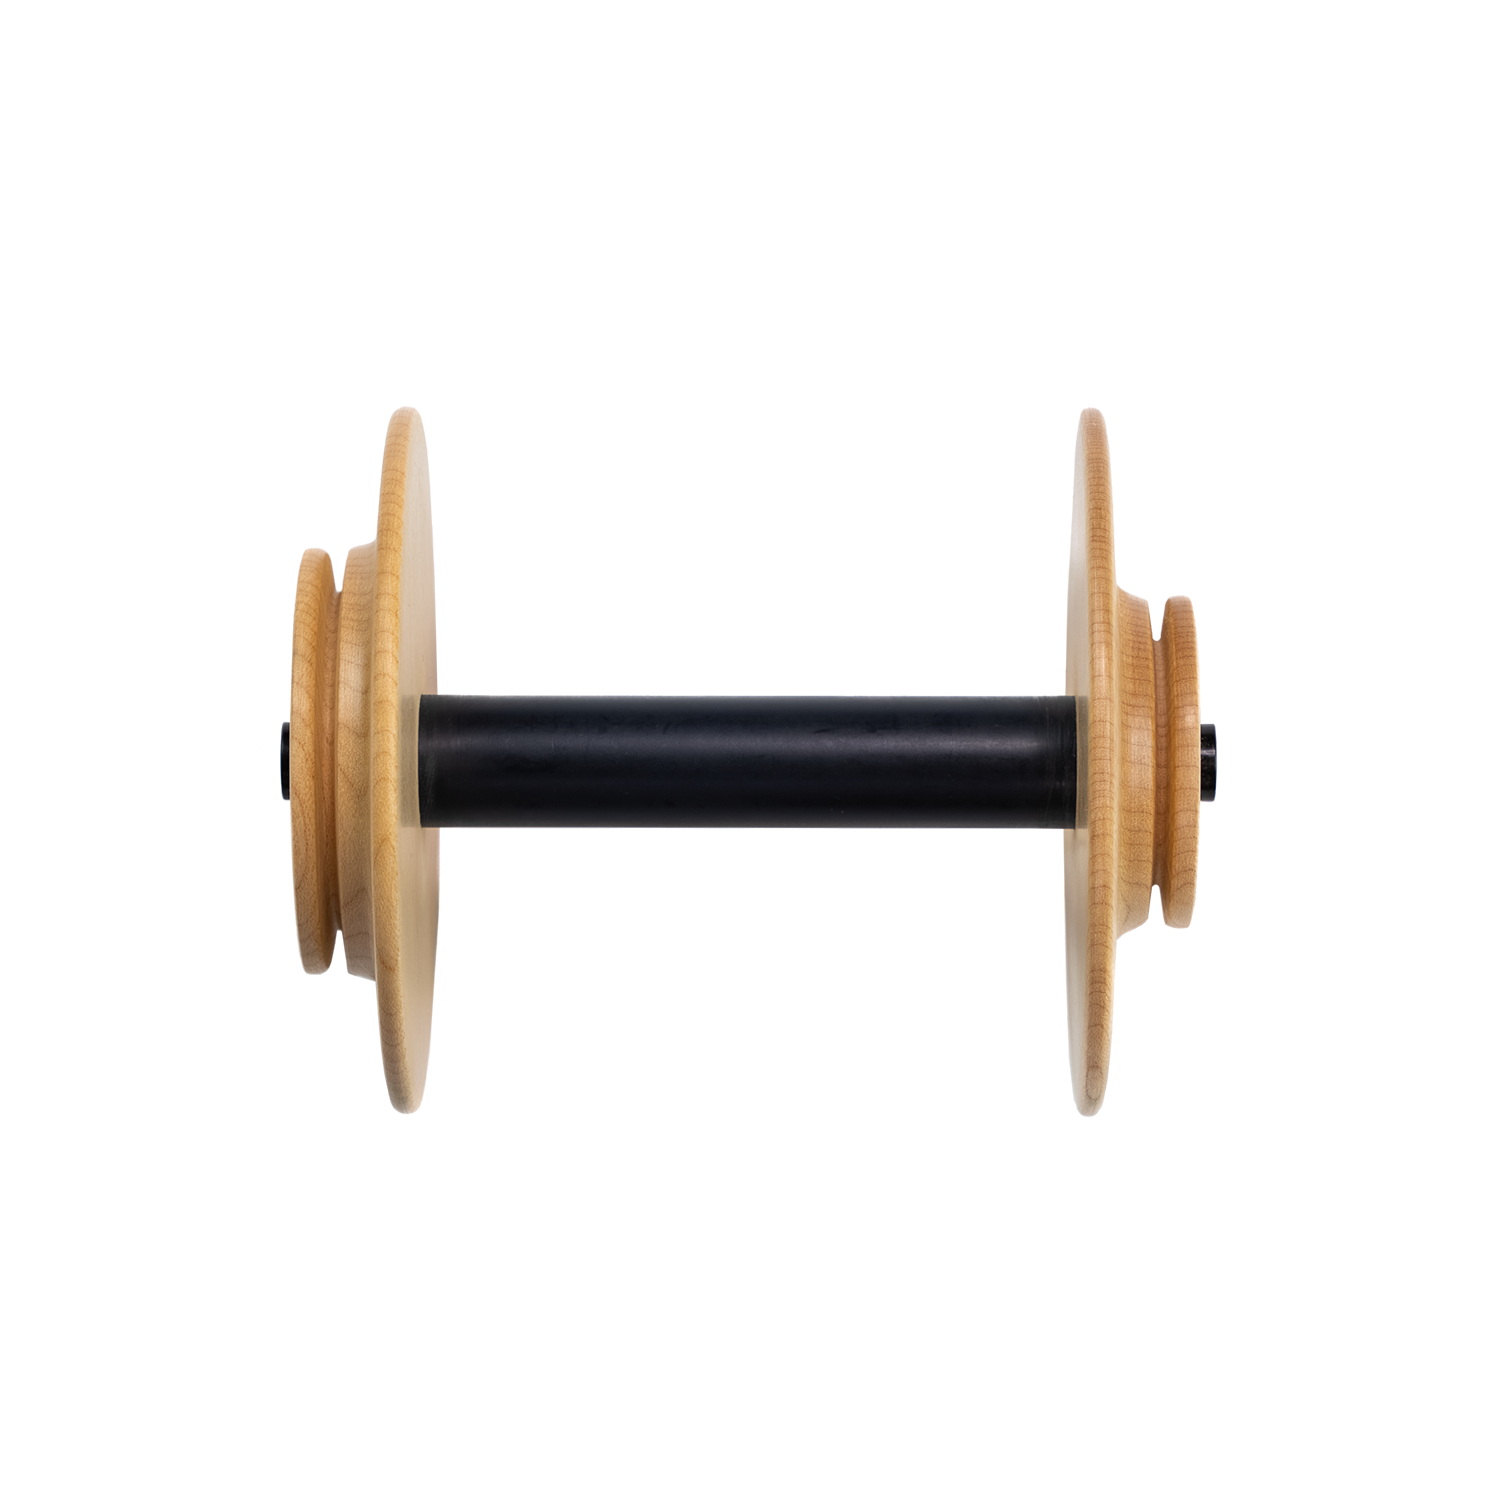
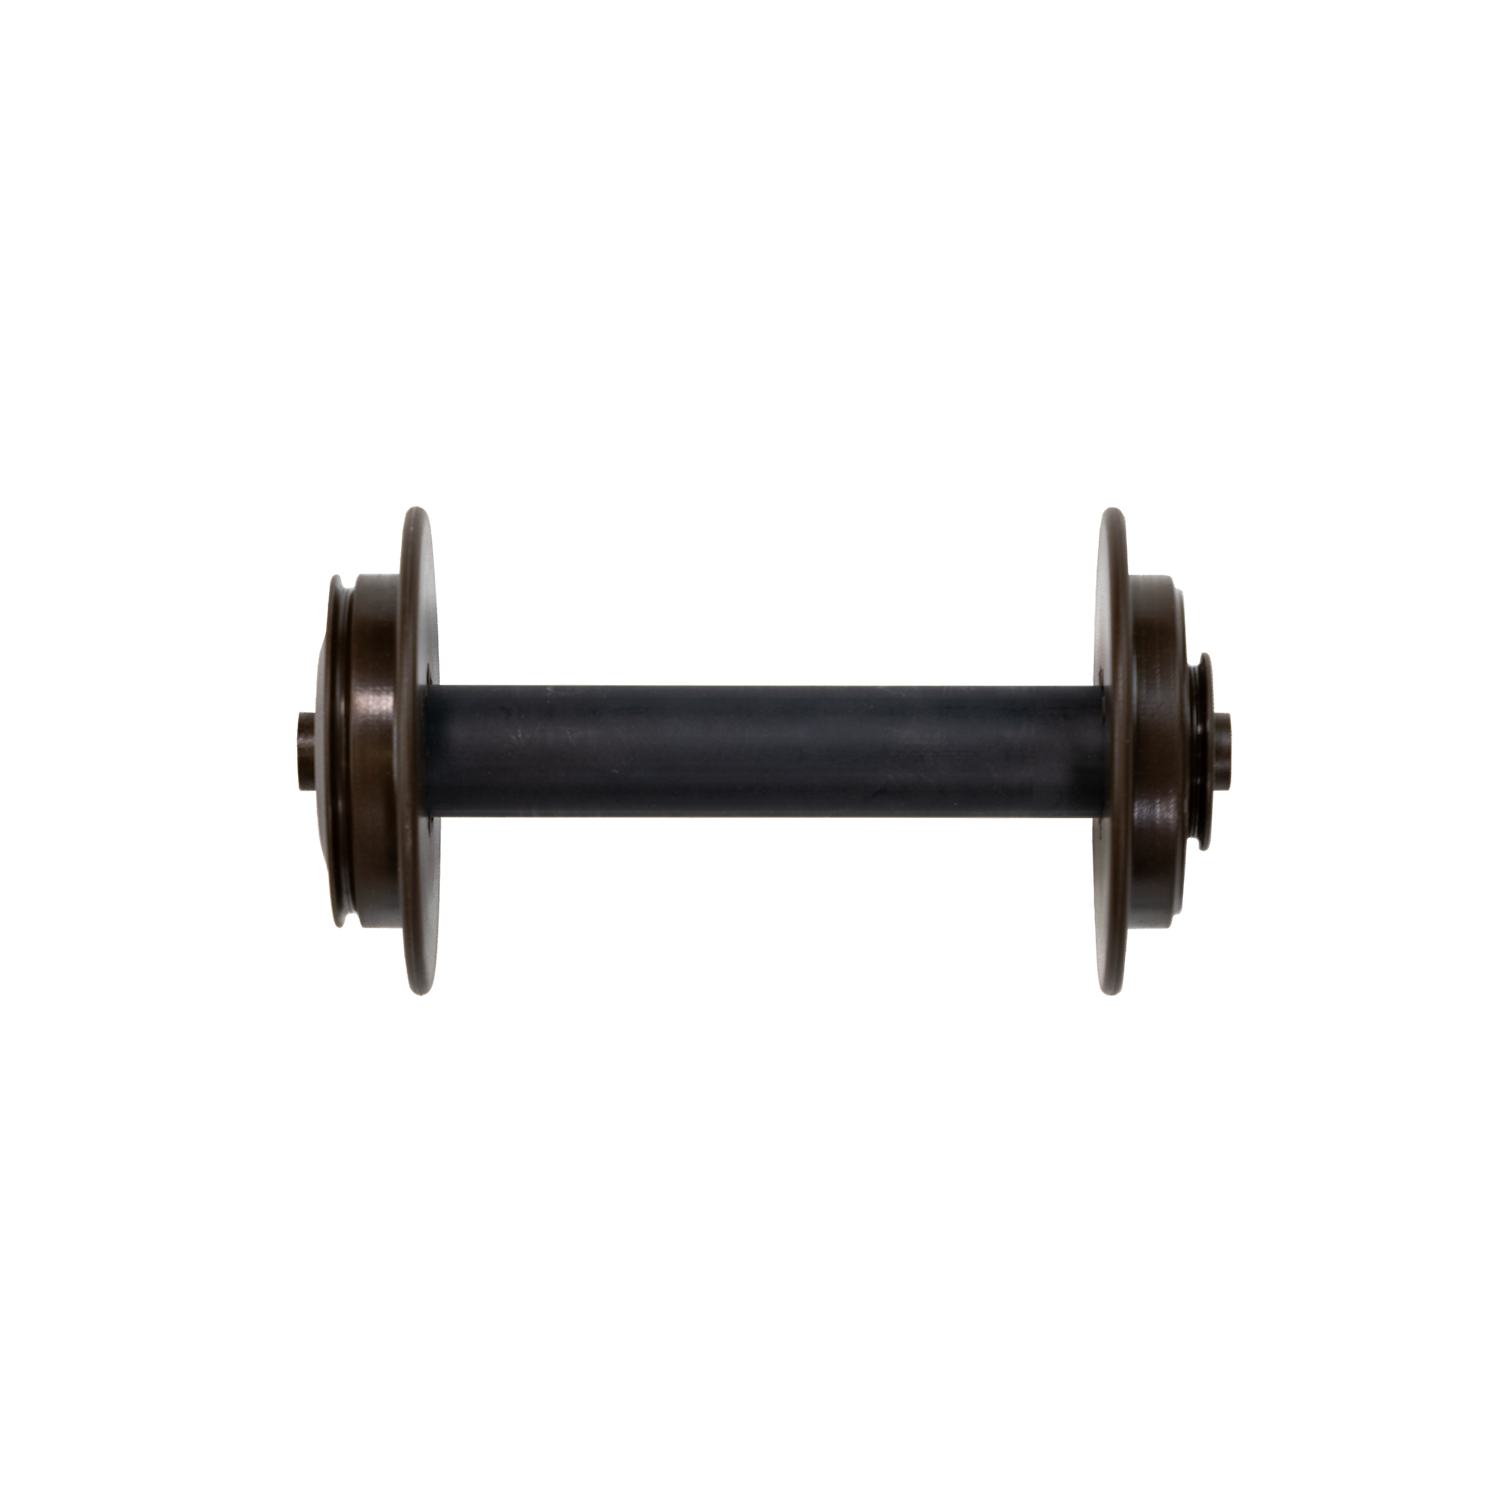
- at least 2 bobbins
-
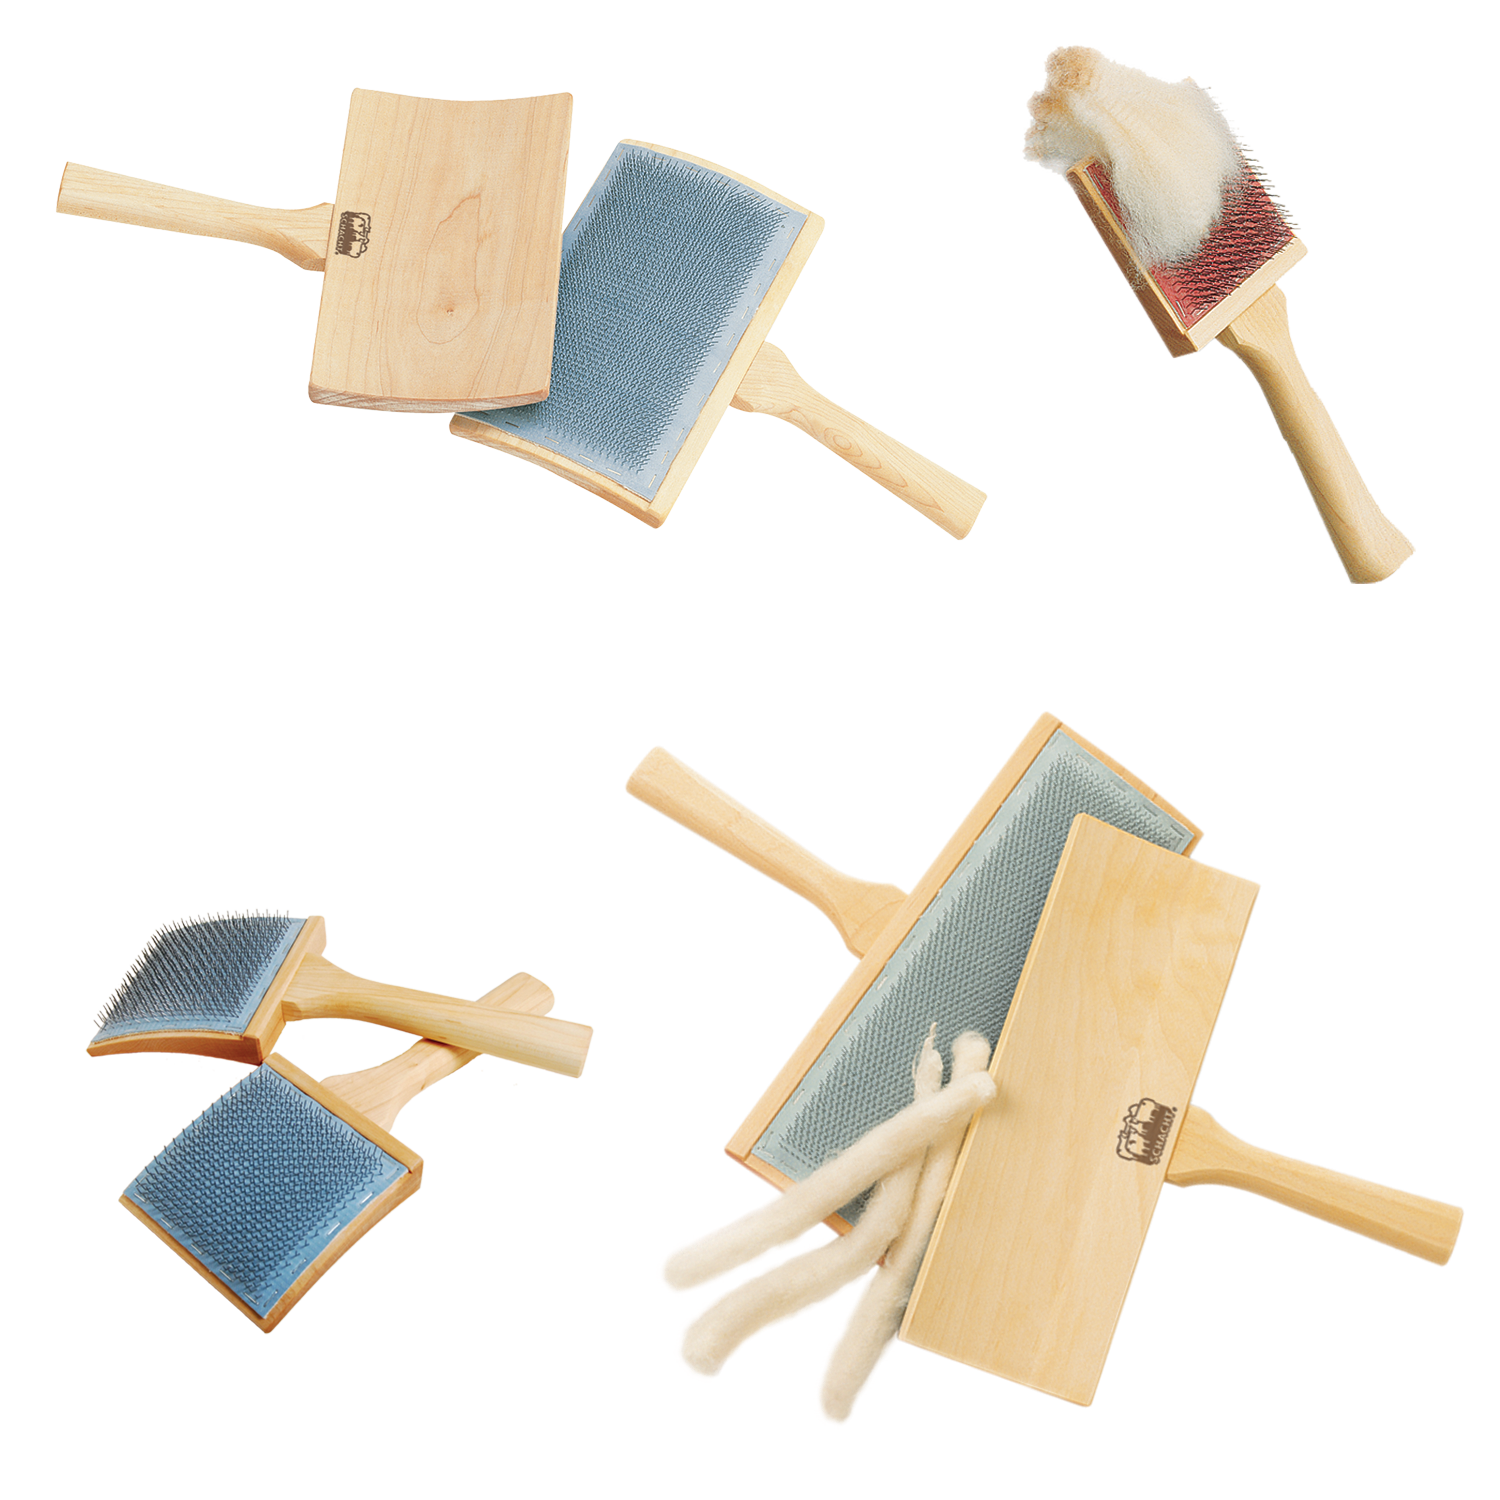
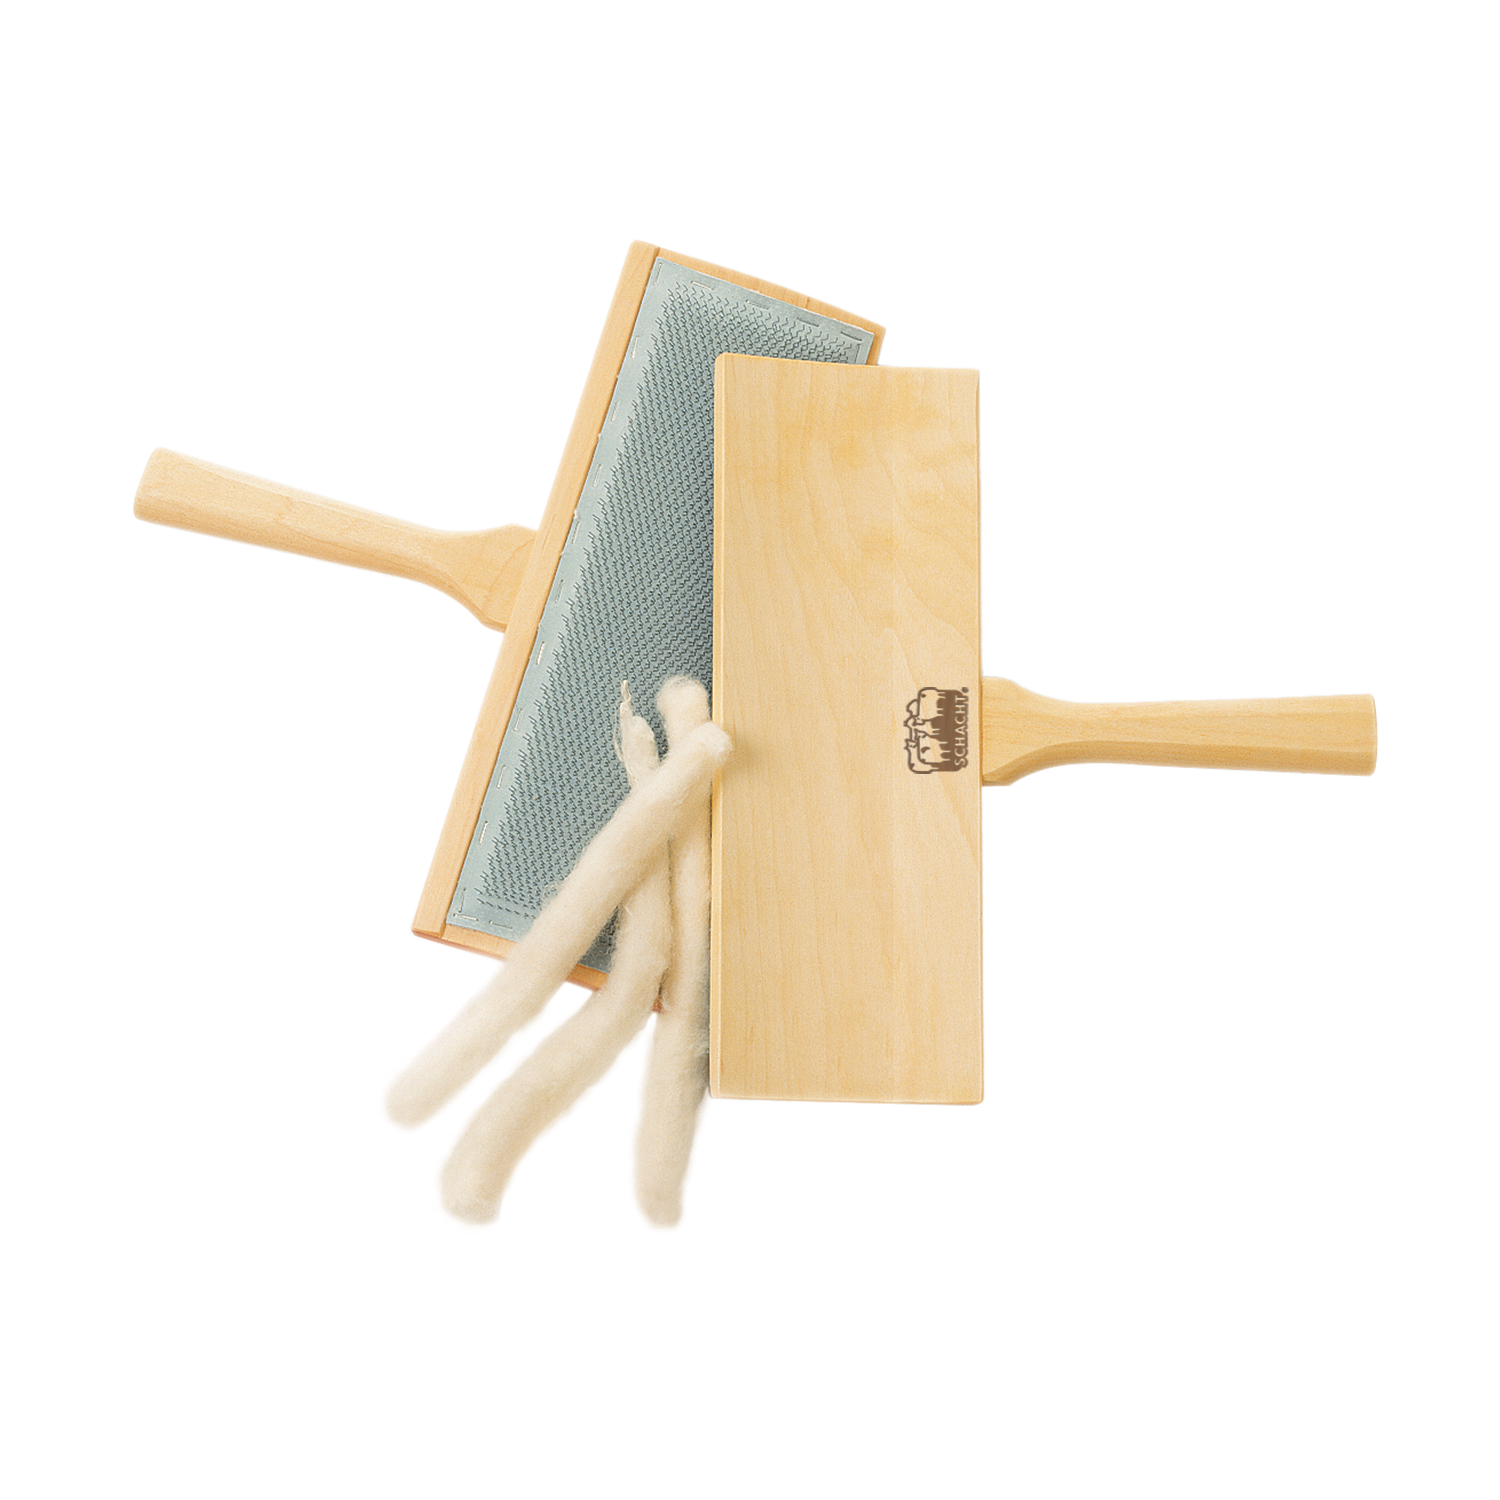
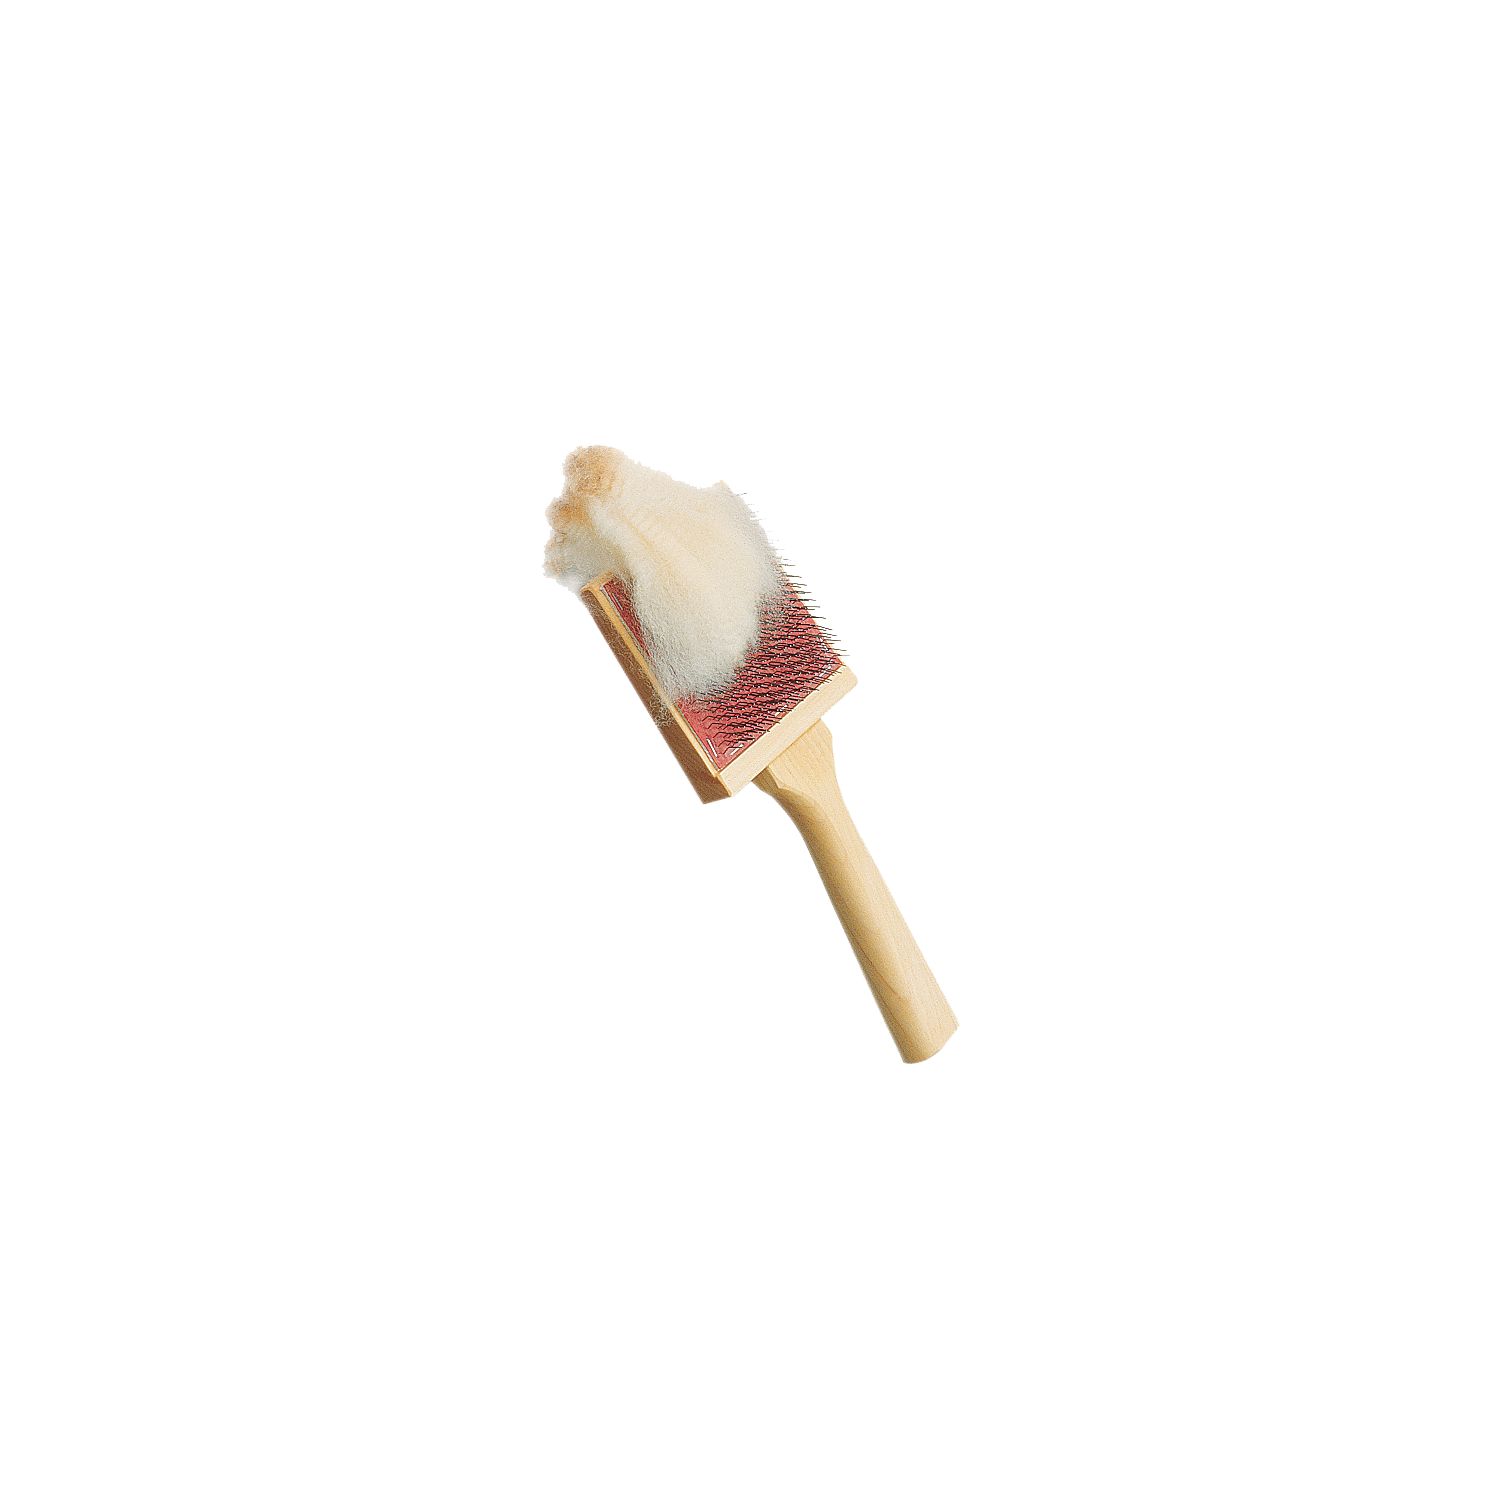
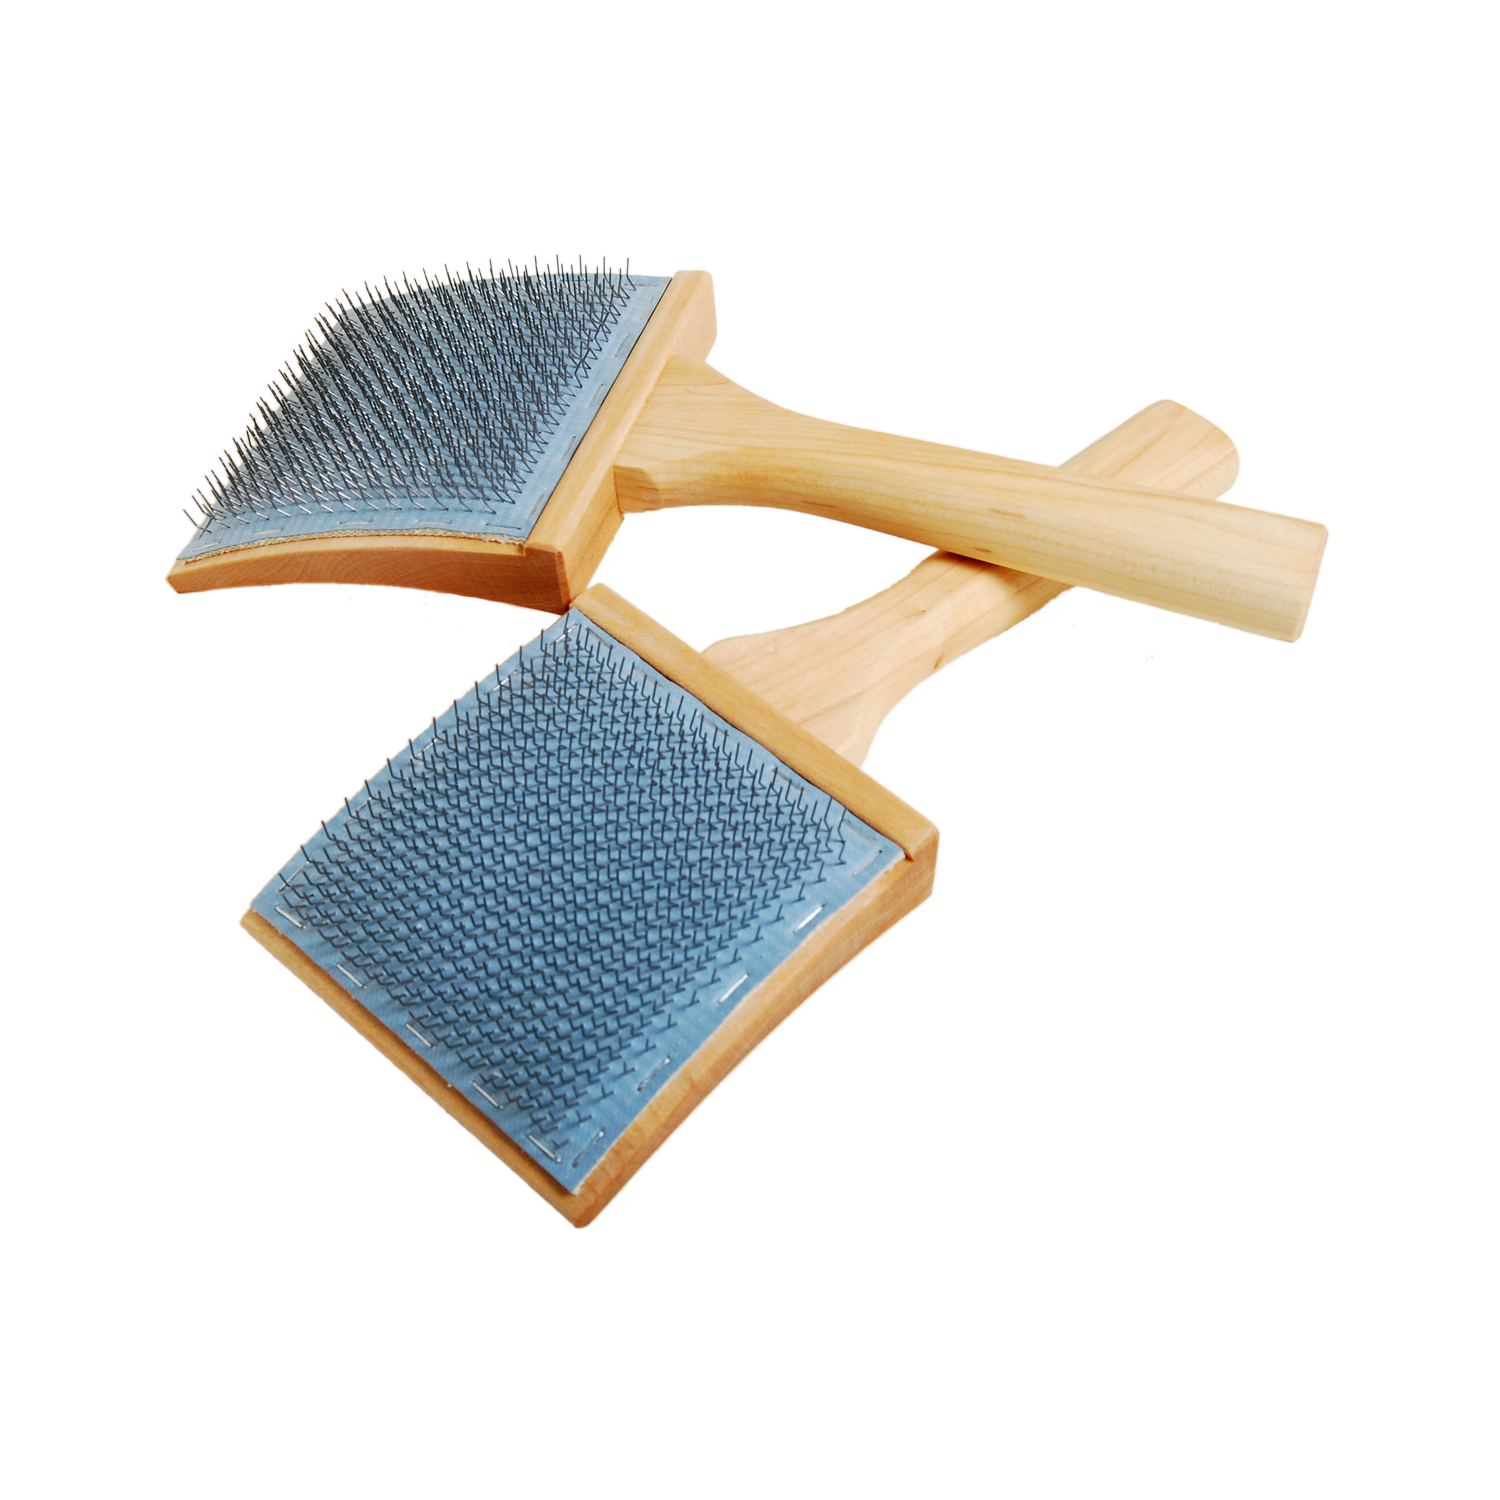
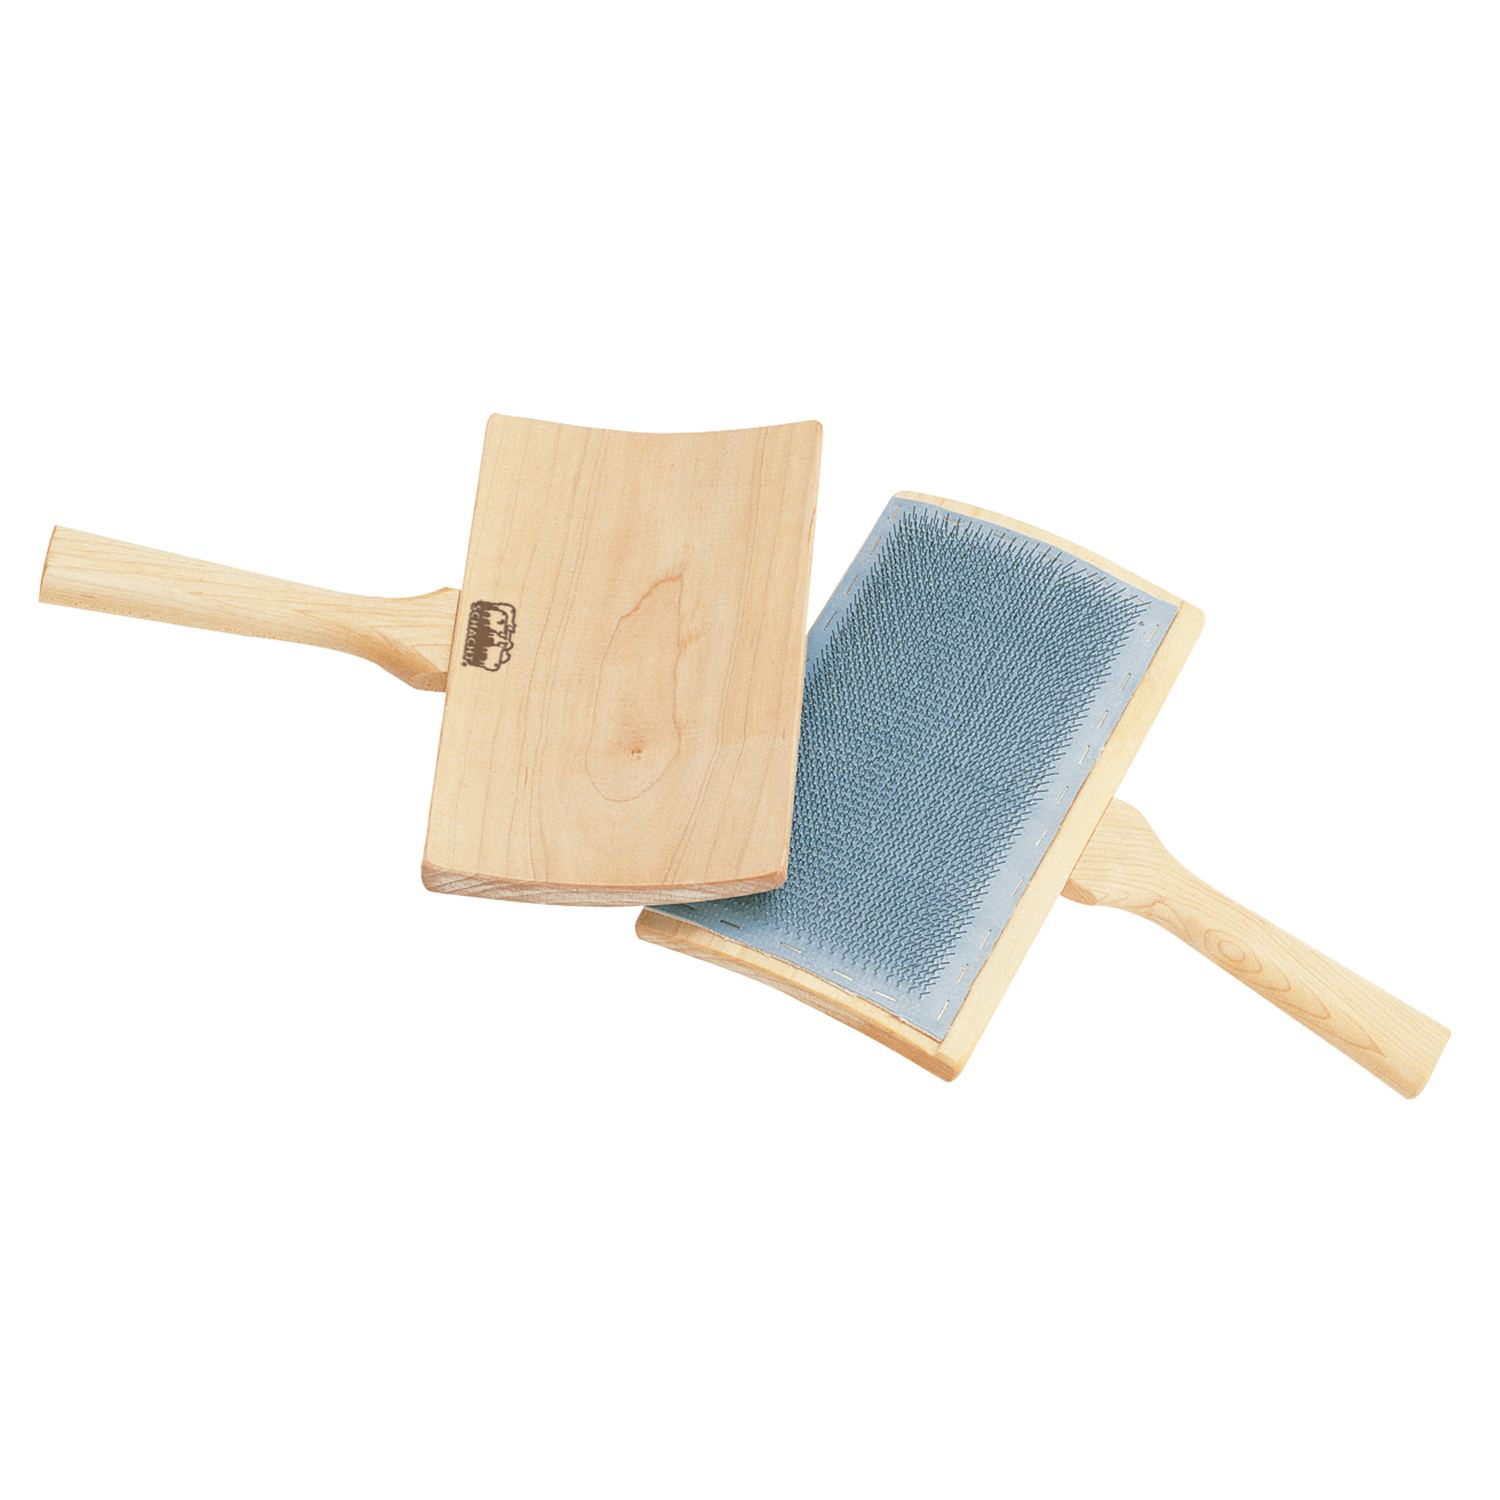
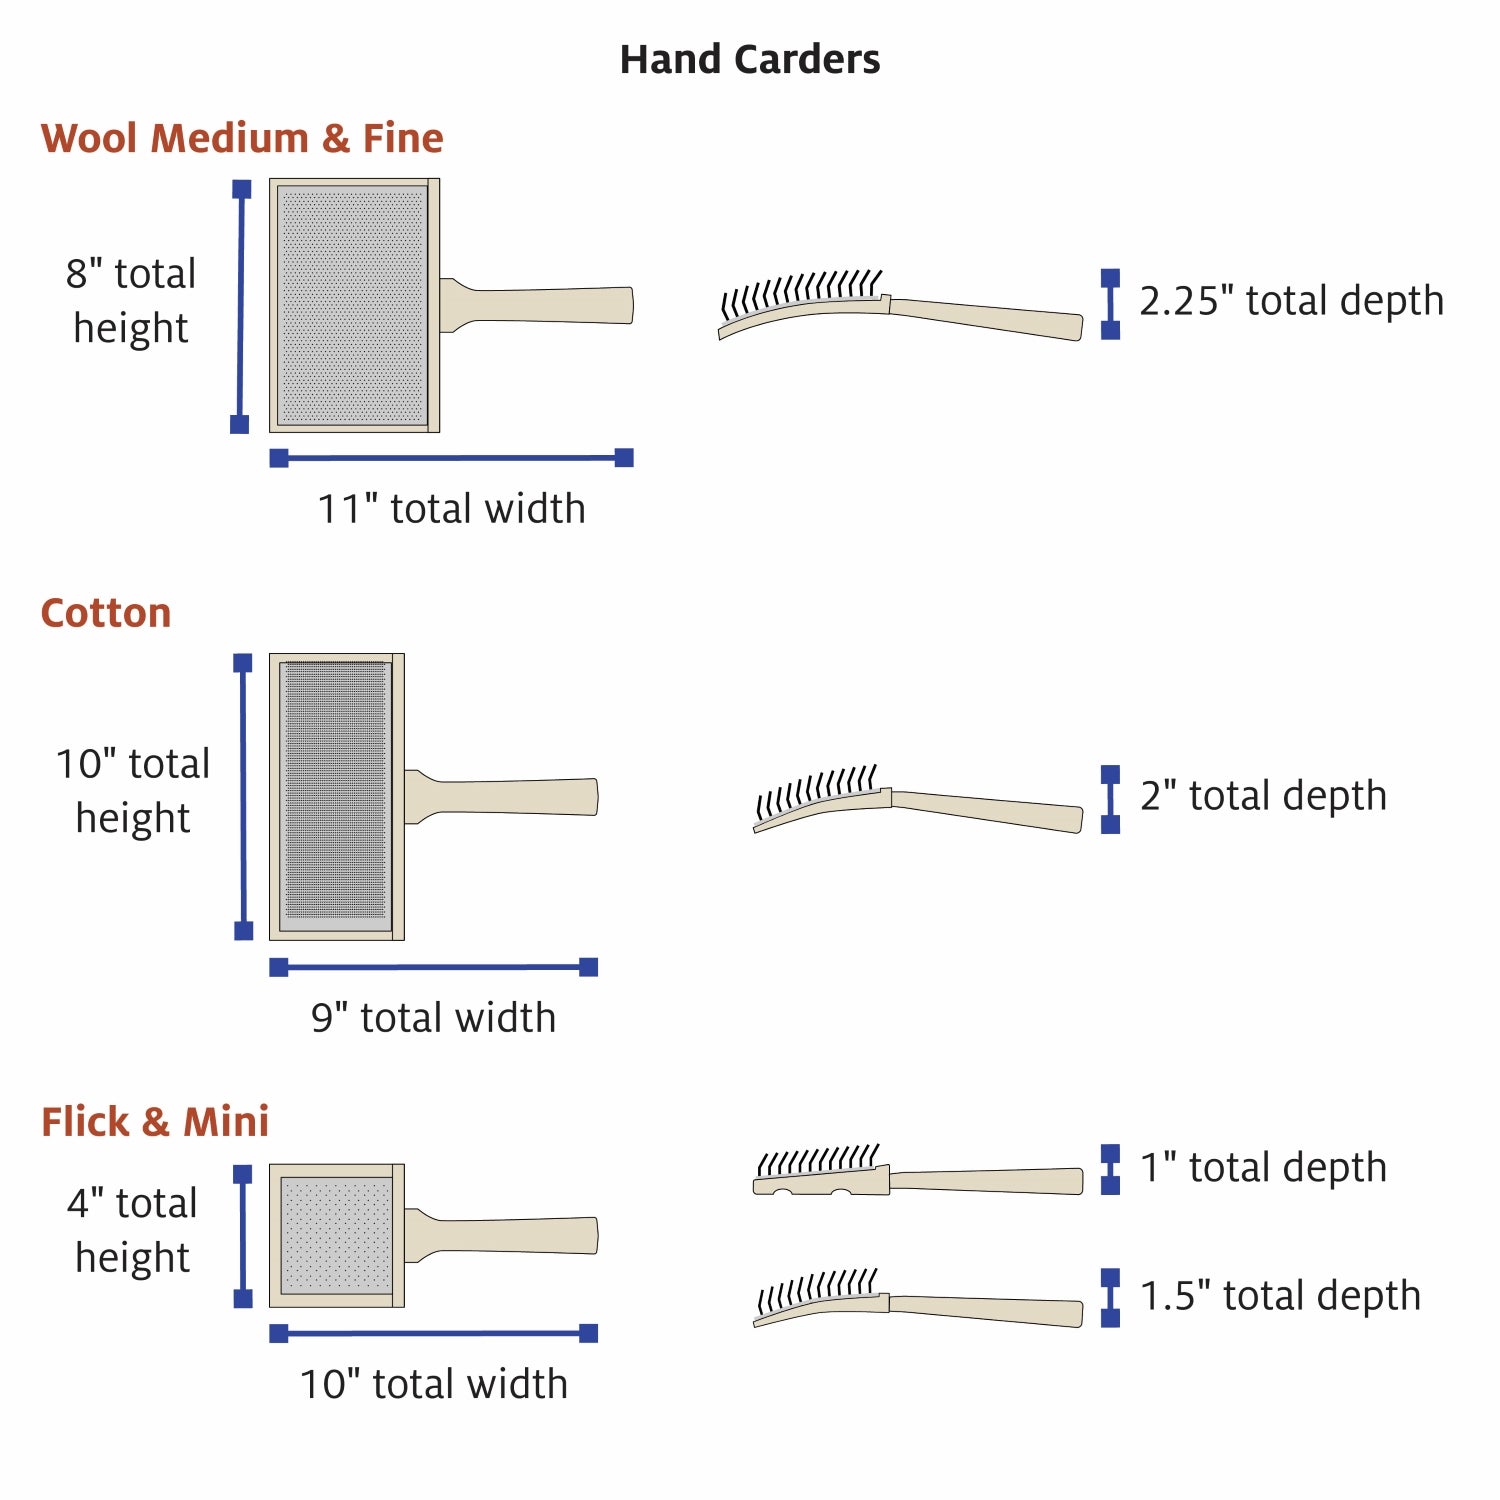
hand carders or drum carder (depending on fibers chosen)
Materials
Equipment
Directions
Spin the Colored Fibers
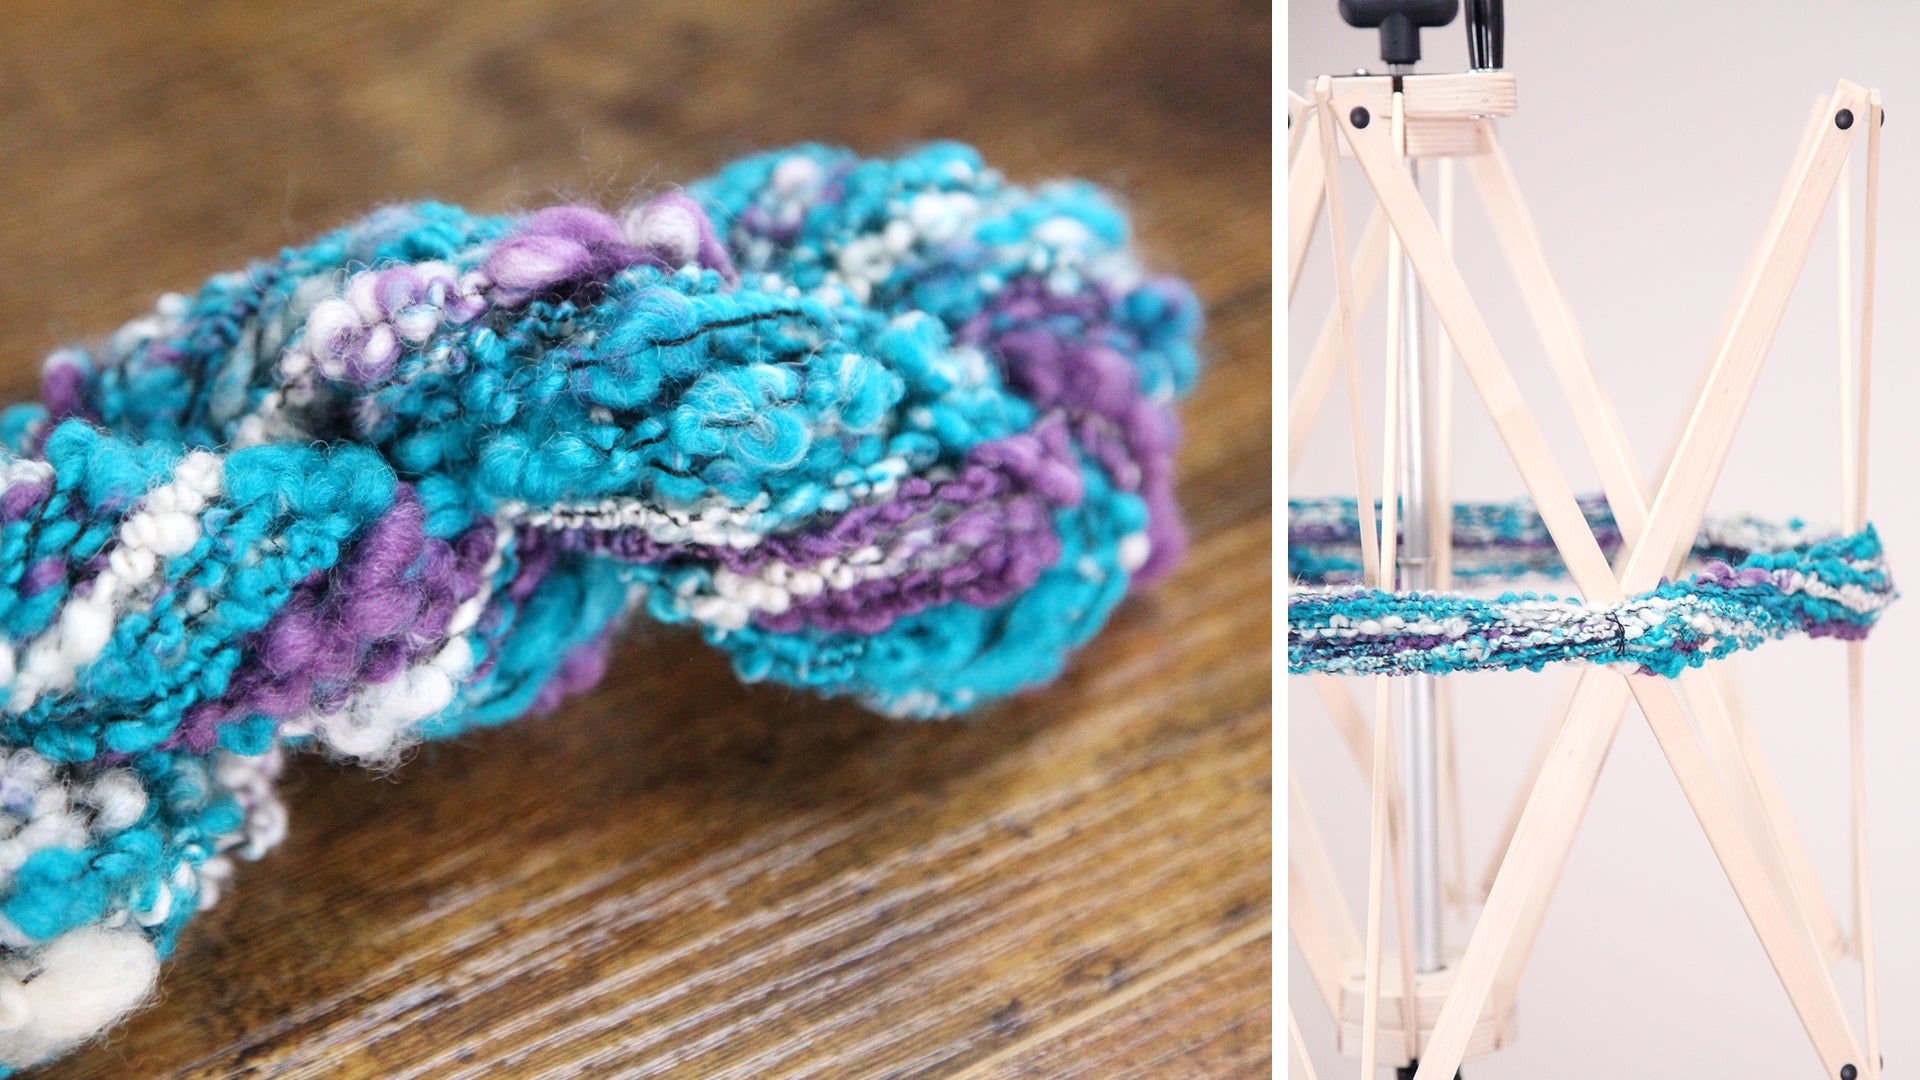
Card together the fibers and colors you want in the base yarn, adding in accent colors where desired. I combined turquoise, purple, and white for the skein shown here.
- For an artsier look, set aside some uncarded fiber. As you spin, hold this fiber next to the carded colors—it will feed into the thick-and-thin yarn randomly.
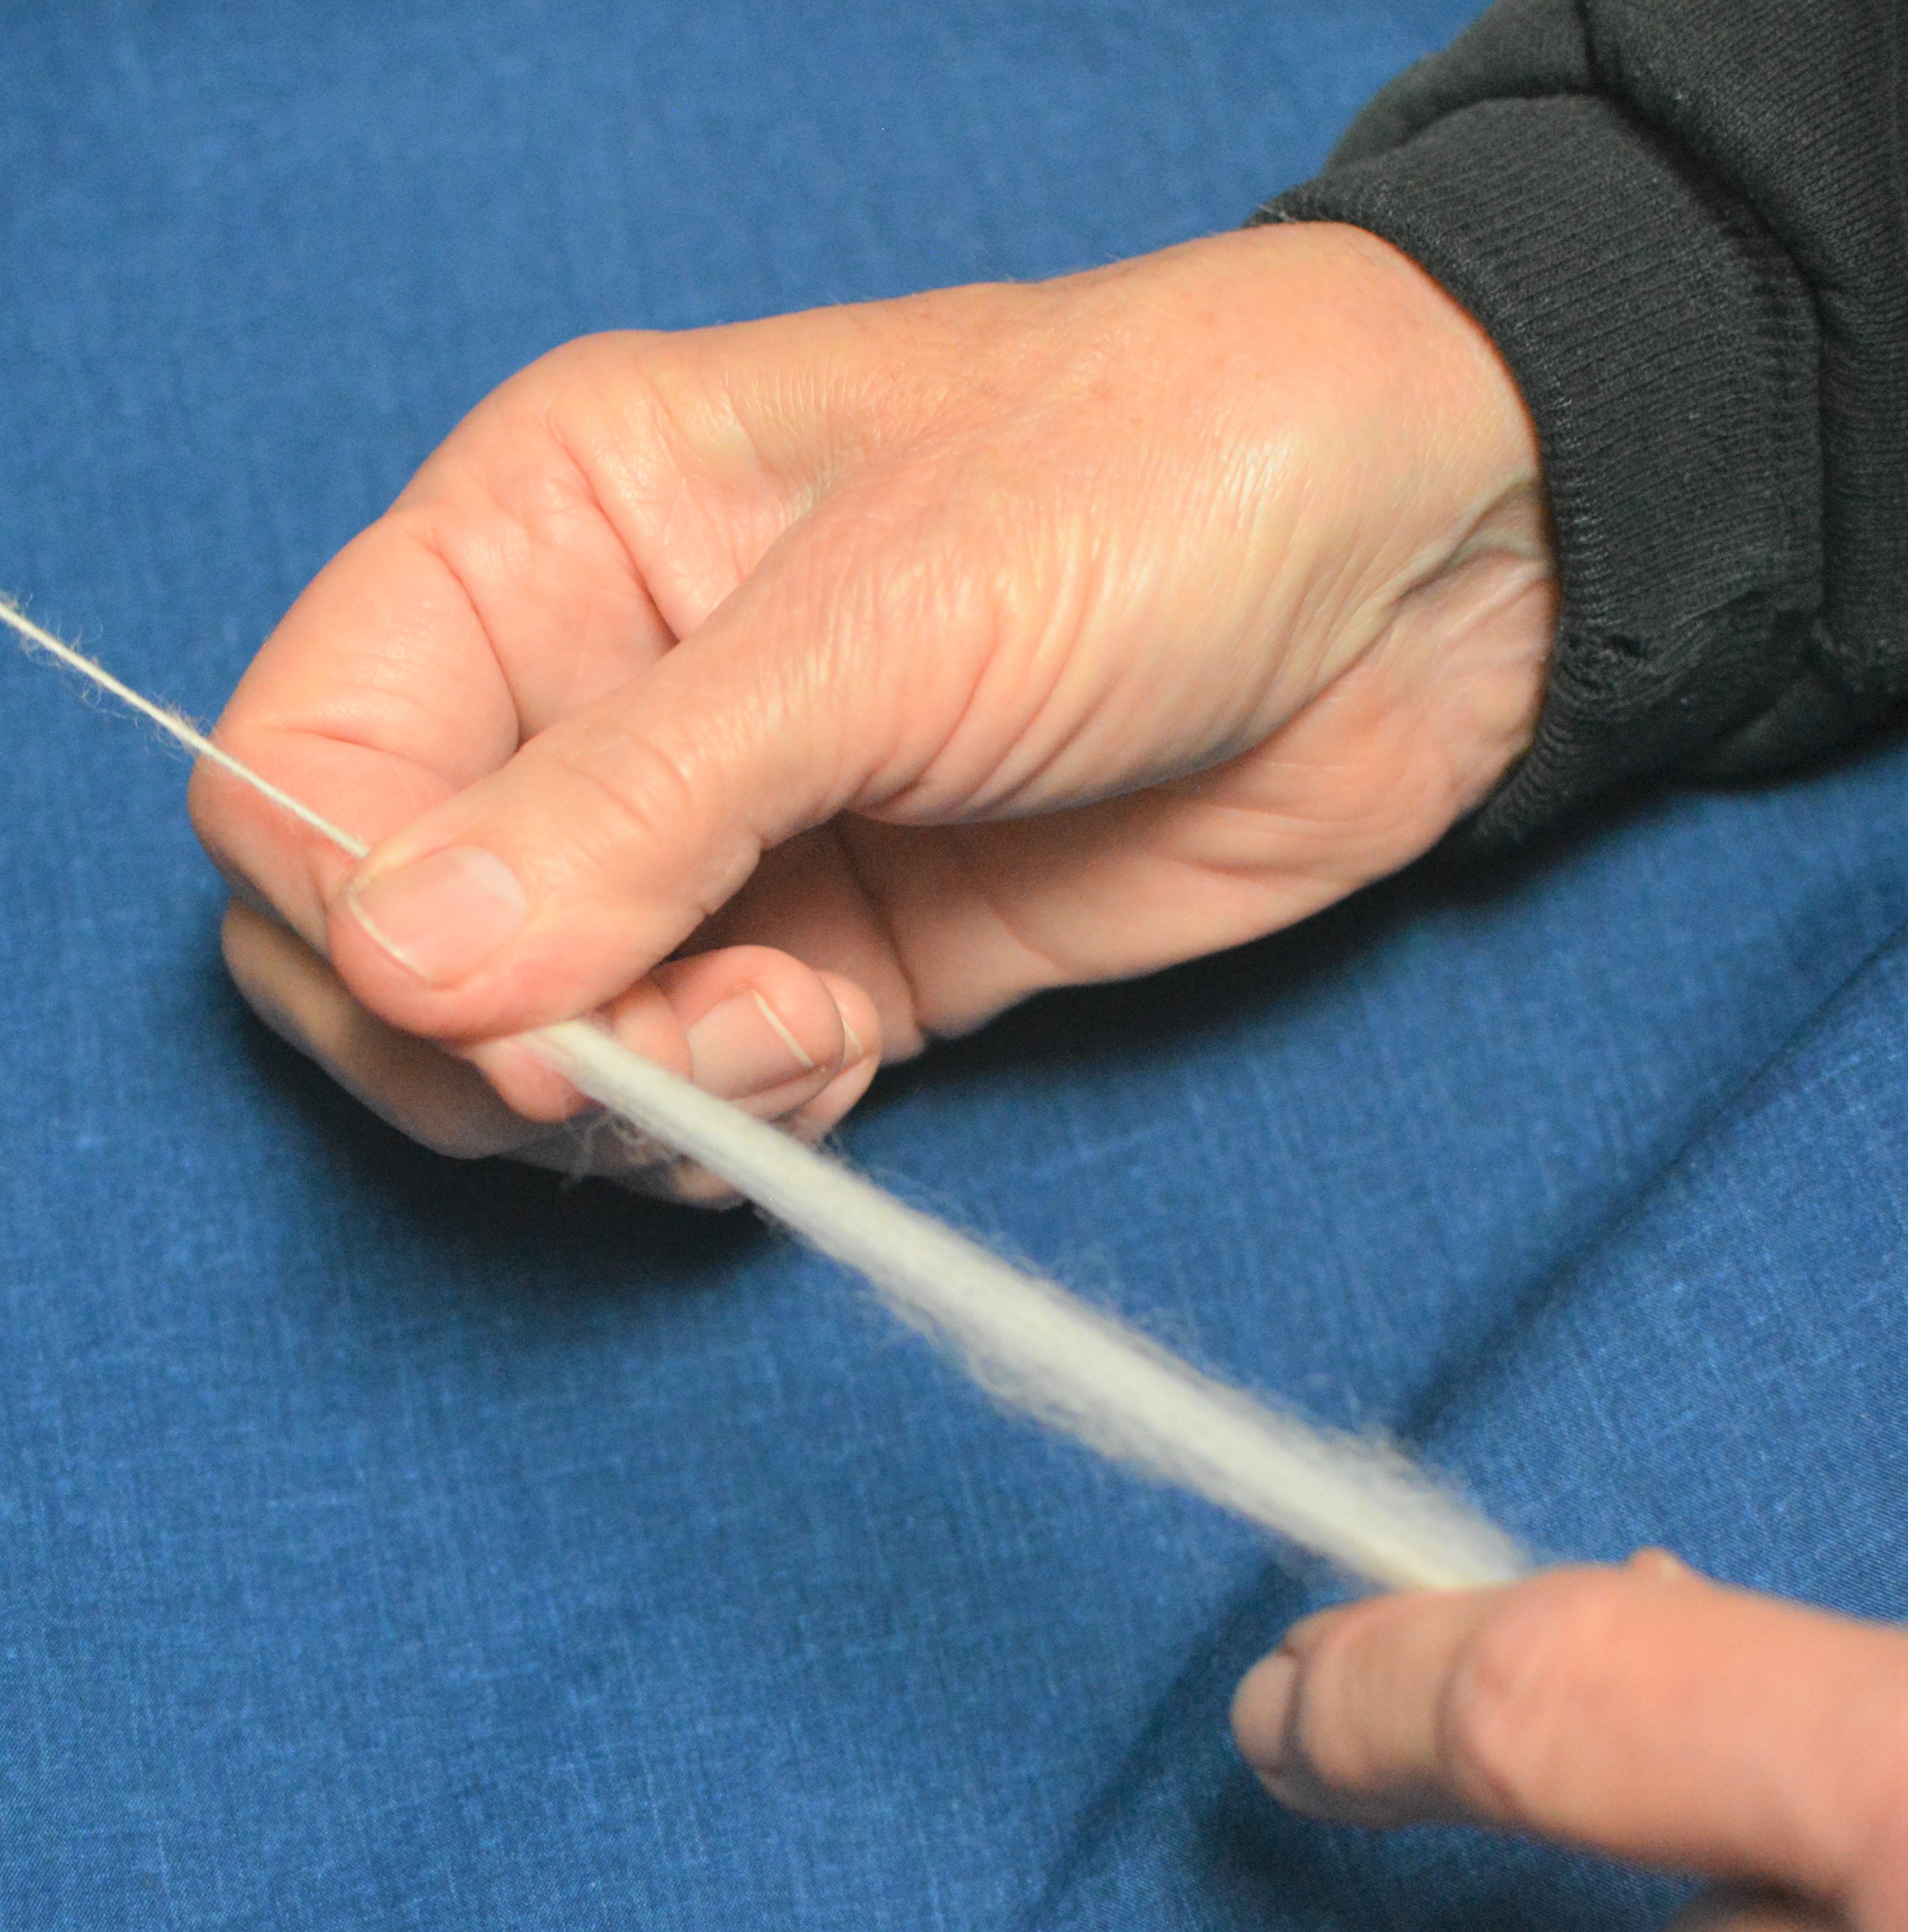
- Z-spin (flyer going to the right/clockwise) the prepared fiber using a thick-and-thin technique. If you have not spun thick and thin before, the secret lies in where you place your hands. Grab the fiber in an area where it is not twisted and draw out until you get a thin spot. For the merino I used, the thin spot occurs about 2 to 3 inches from the fiber supply. With a longer staple length, the distance will change and the bumps will be spaced differently. Sample to see how your fiber behaves and how to get the look you want.
Spin the Looped Yarn
Make a corespun yarn with the thick-and-thin singles you have just spun, wrapping it around black 8/2 cotton. (Yes, you can combine commercial and handspun yarn into something new.) You can wind the core yarn onto a spare bobbin or you can pull it directly from a cone.
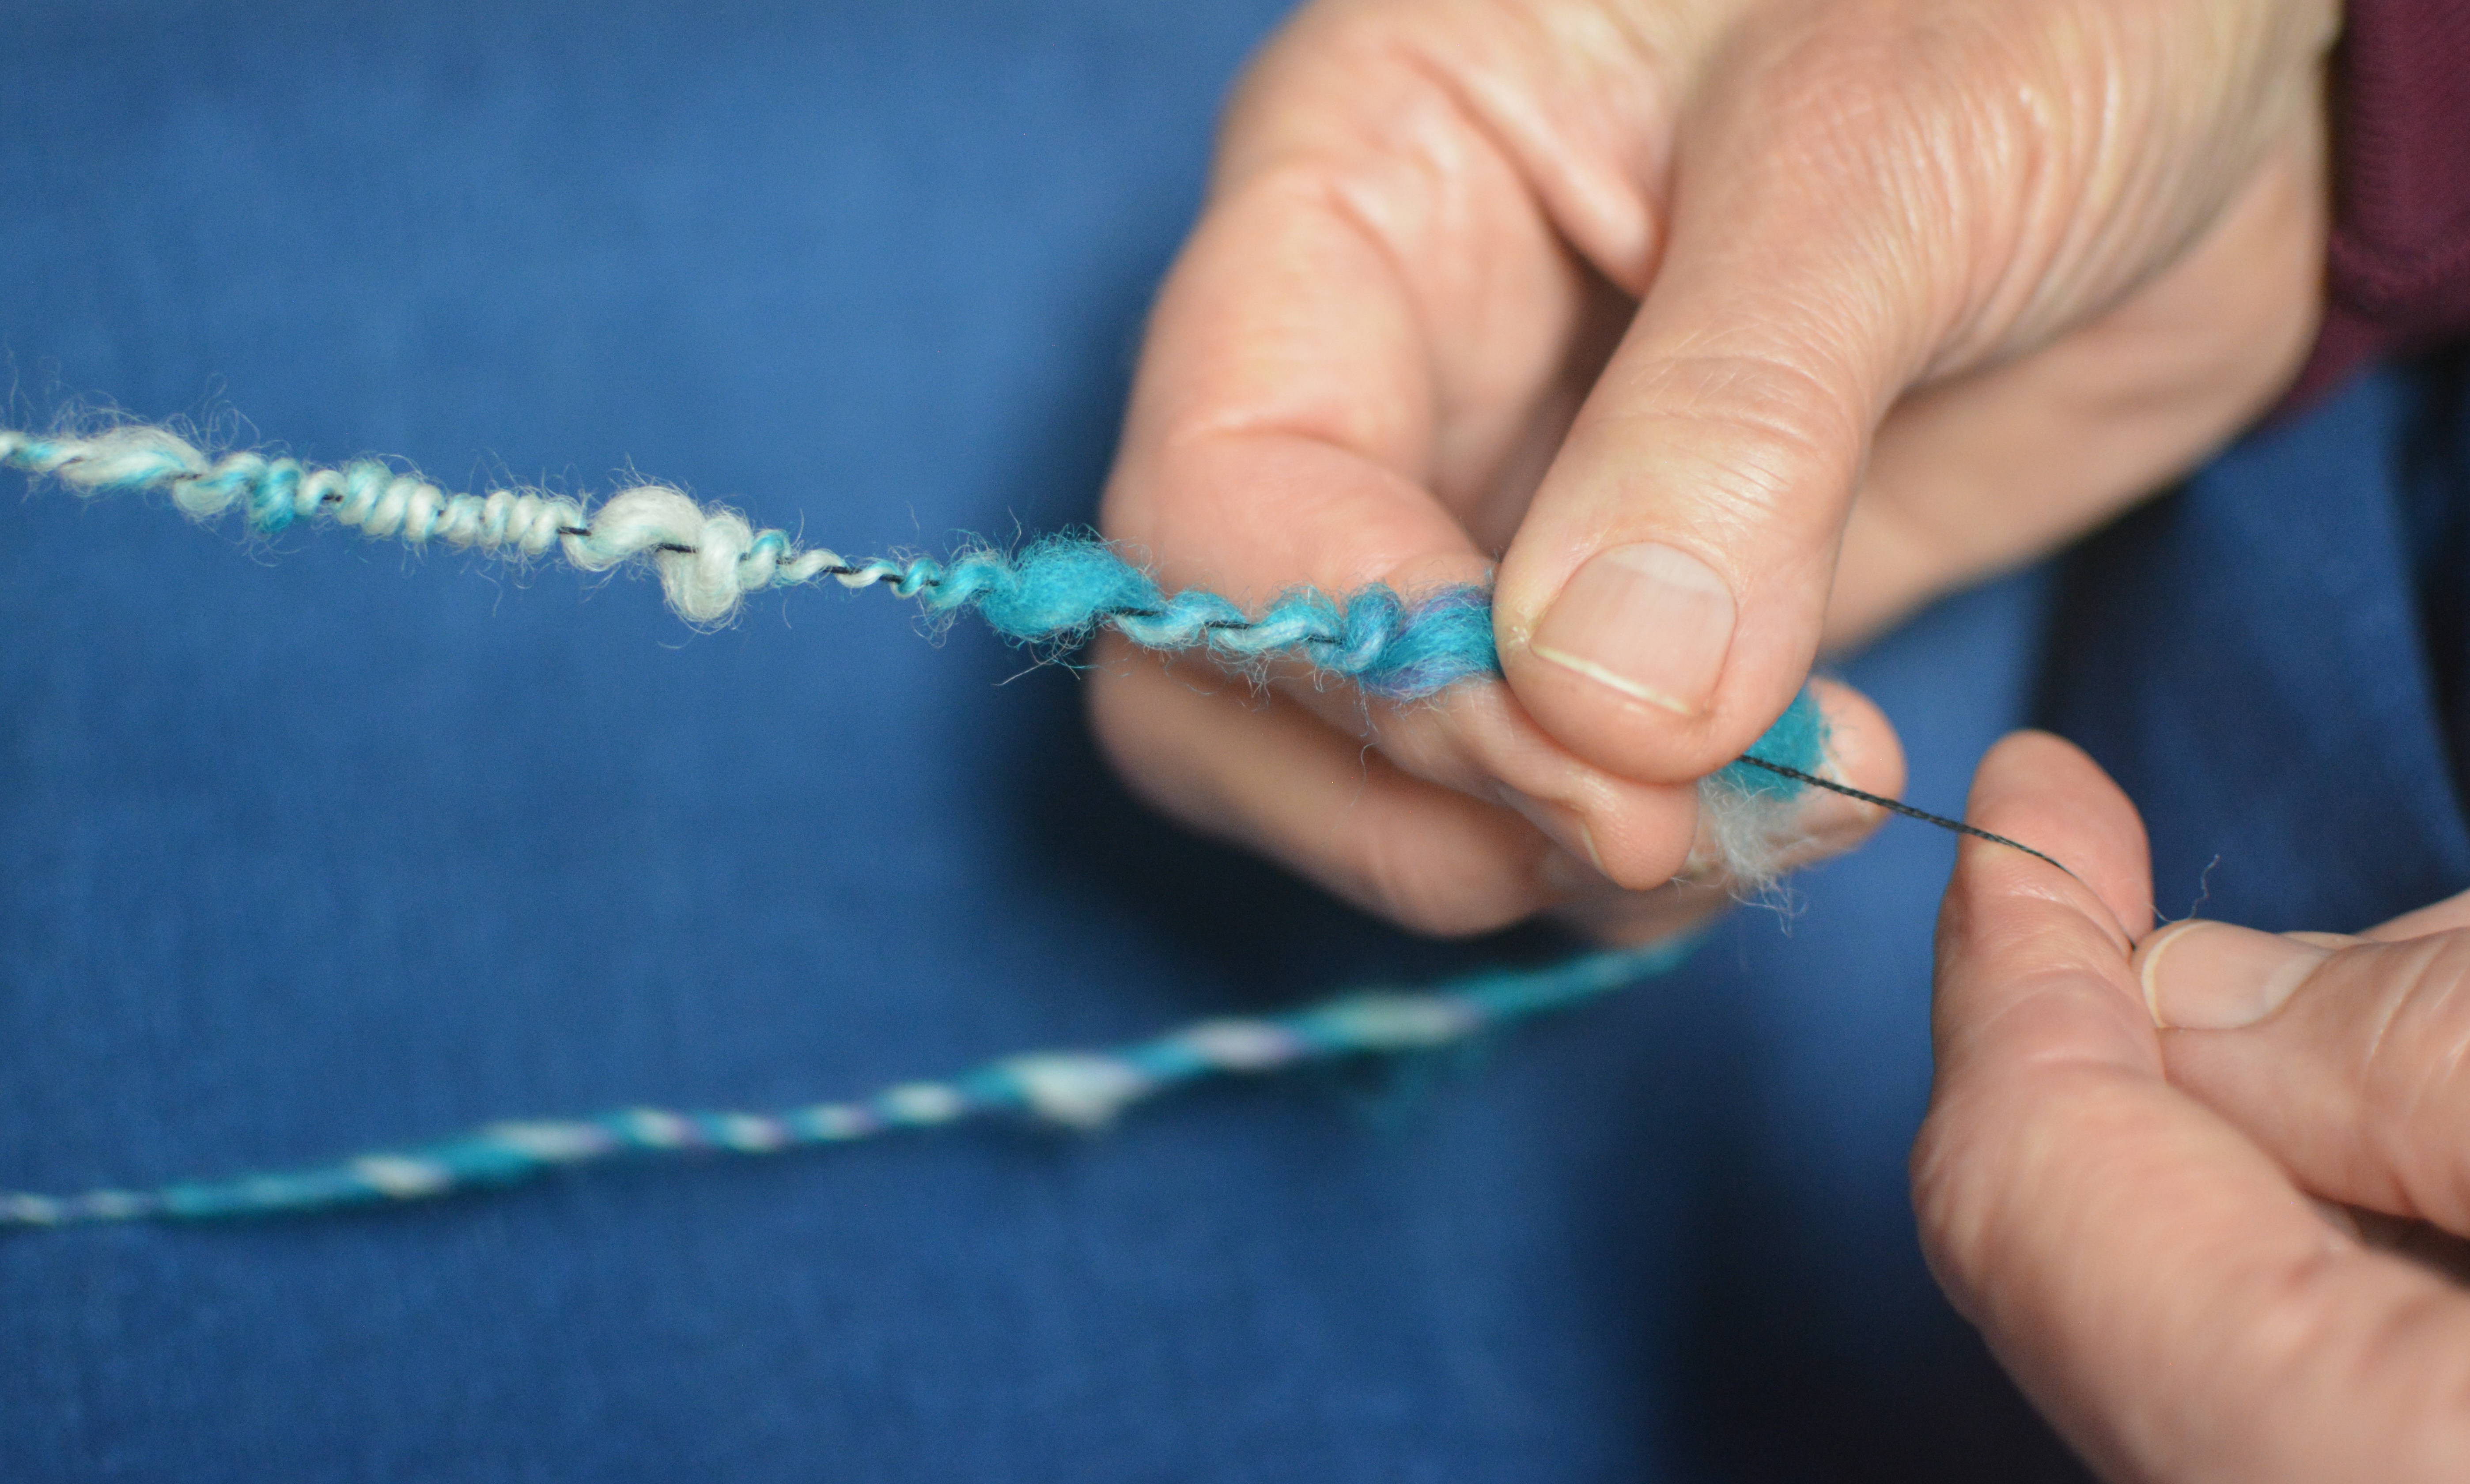
- Tie both yarns to the leader. This time, spin in S direction (flyer going to the left or counterclockwise). Keep tight tension on the core yarn and hold the thick-and-thin at an angle of 30 to 45 degrees.
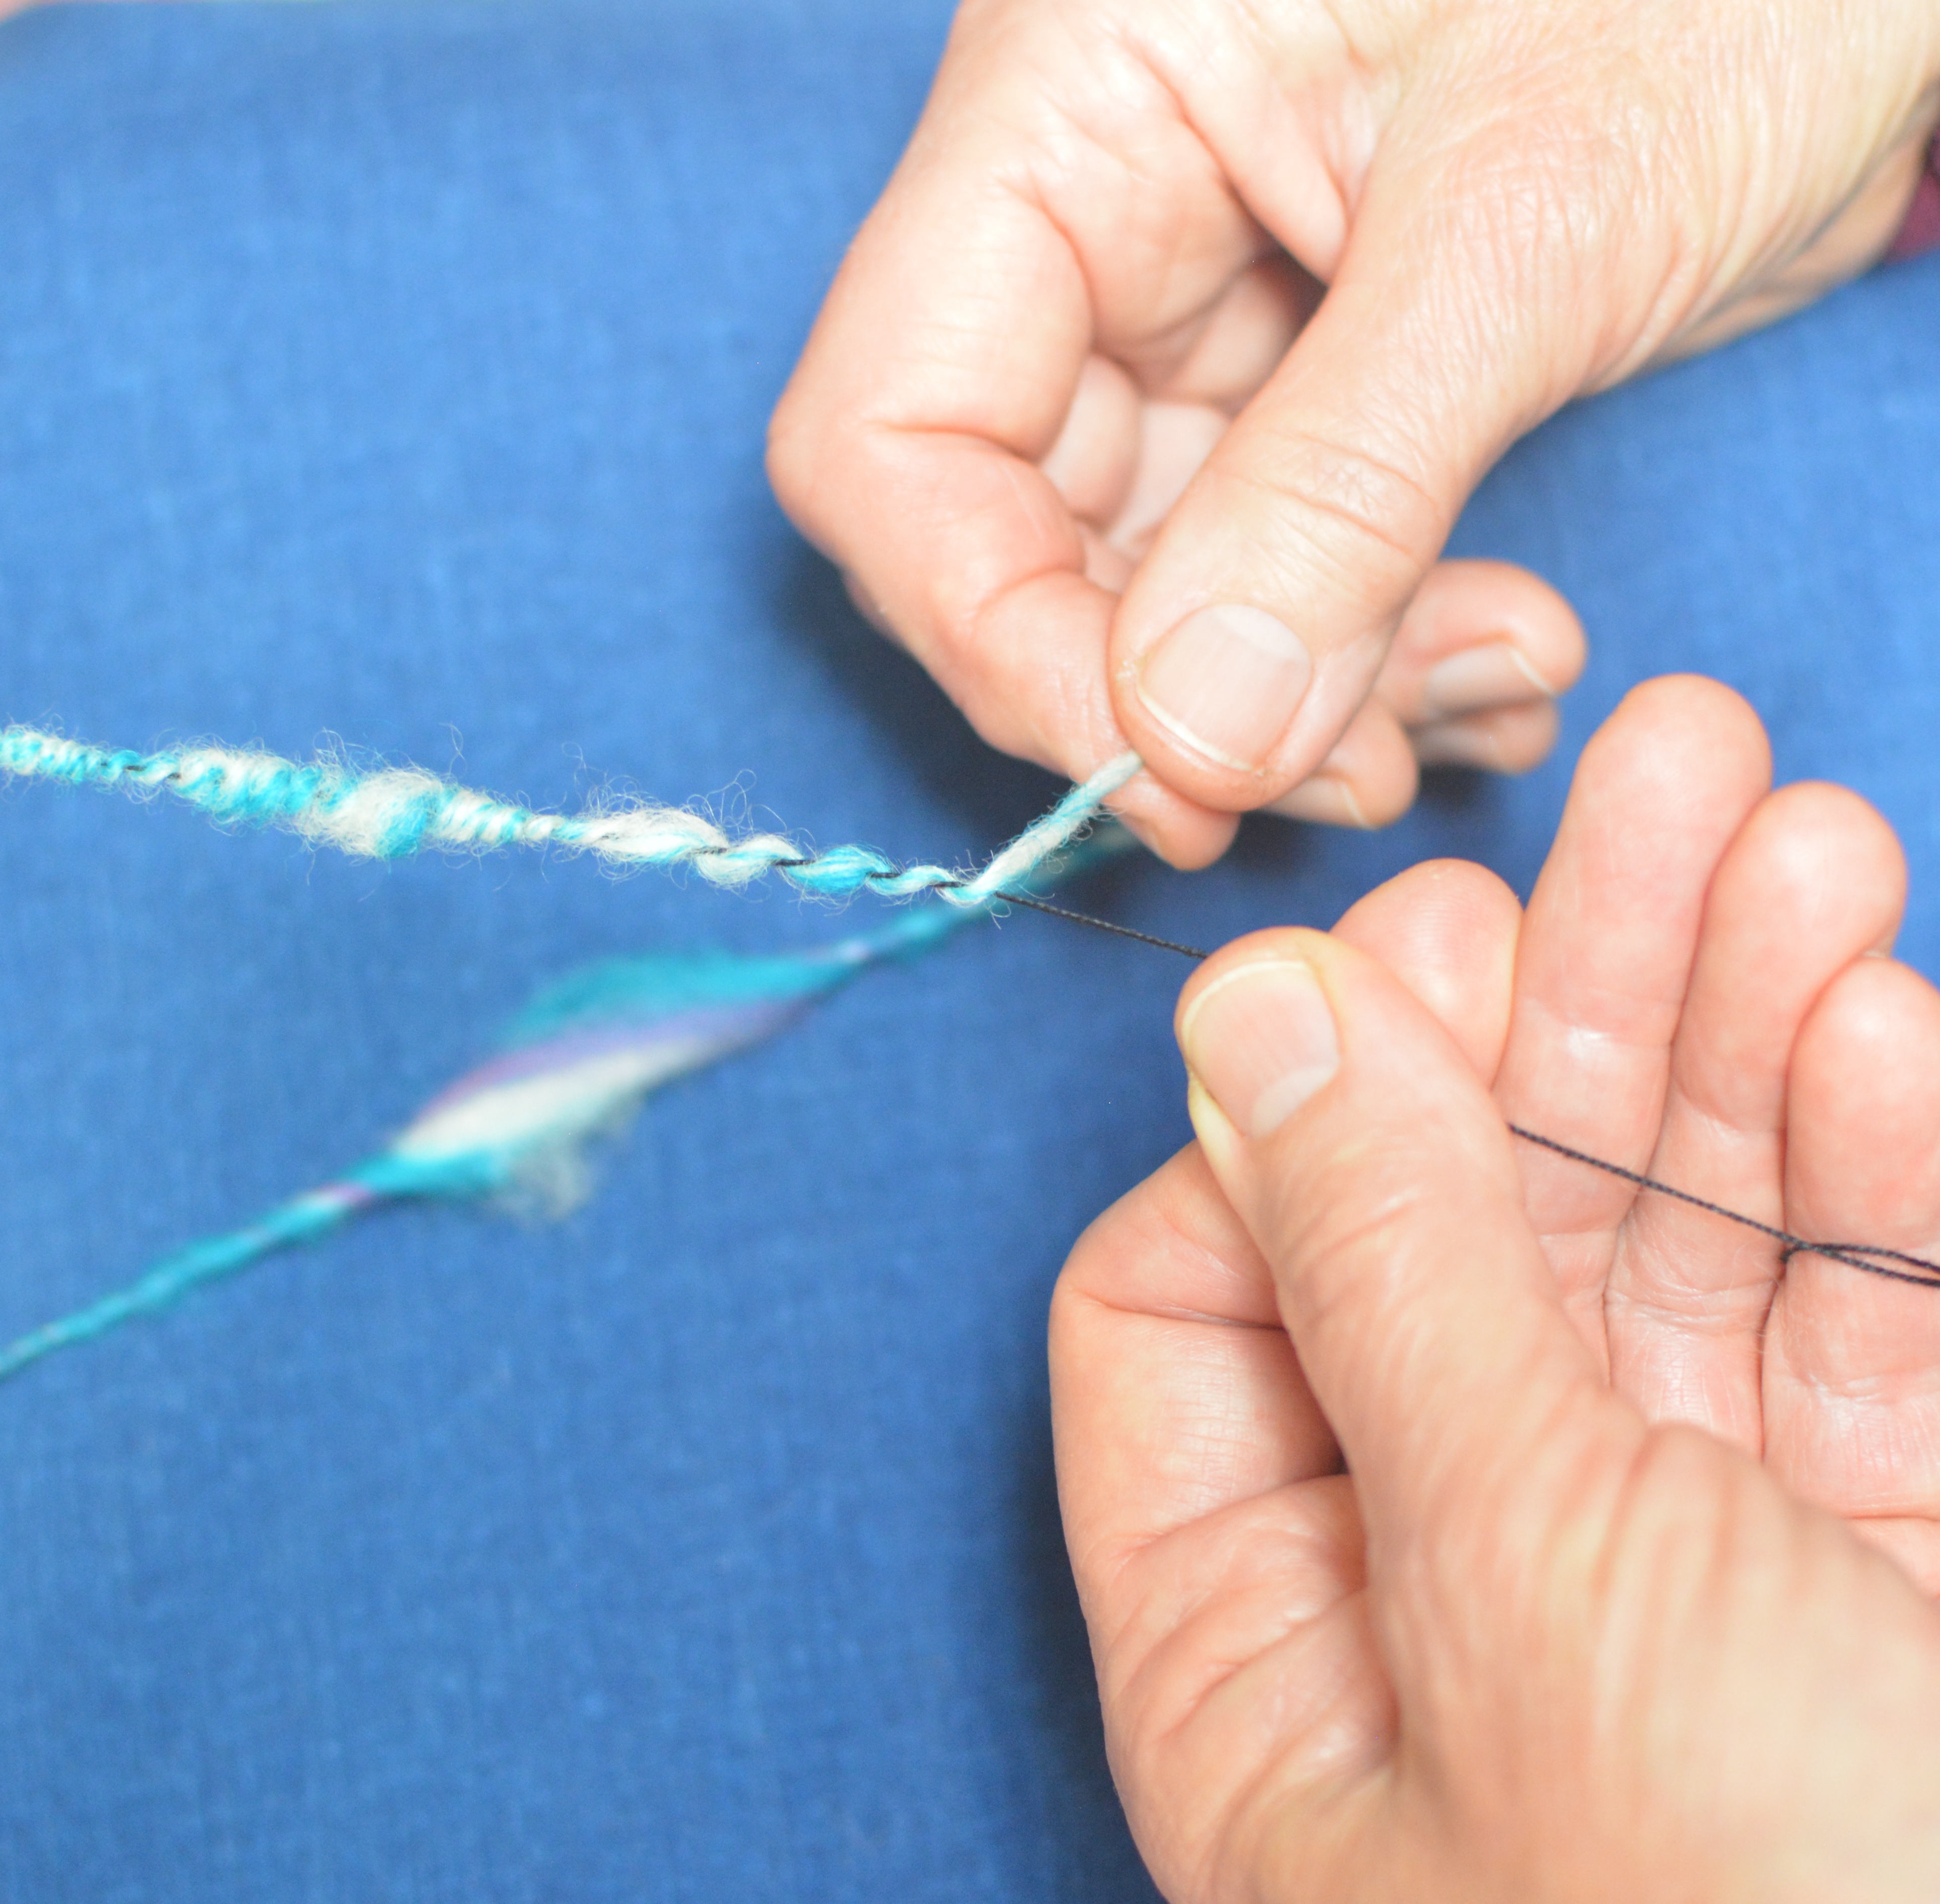
- Spin very slowly for consistency and accuracy. Every now and then, slide up the thick-and-thin to form some loose loops—you can do this easily because the yarn isn't stable.
Bind the Looped Yarn
Set up the looped yarn and the binding thread on opposite sides of your body. Tie both to the wheel's leader. Hold the binding thread at a 45-degree angle to the yarn and spin Z (flyer going to the right/clockwise) as you ply.
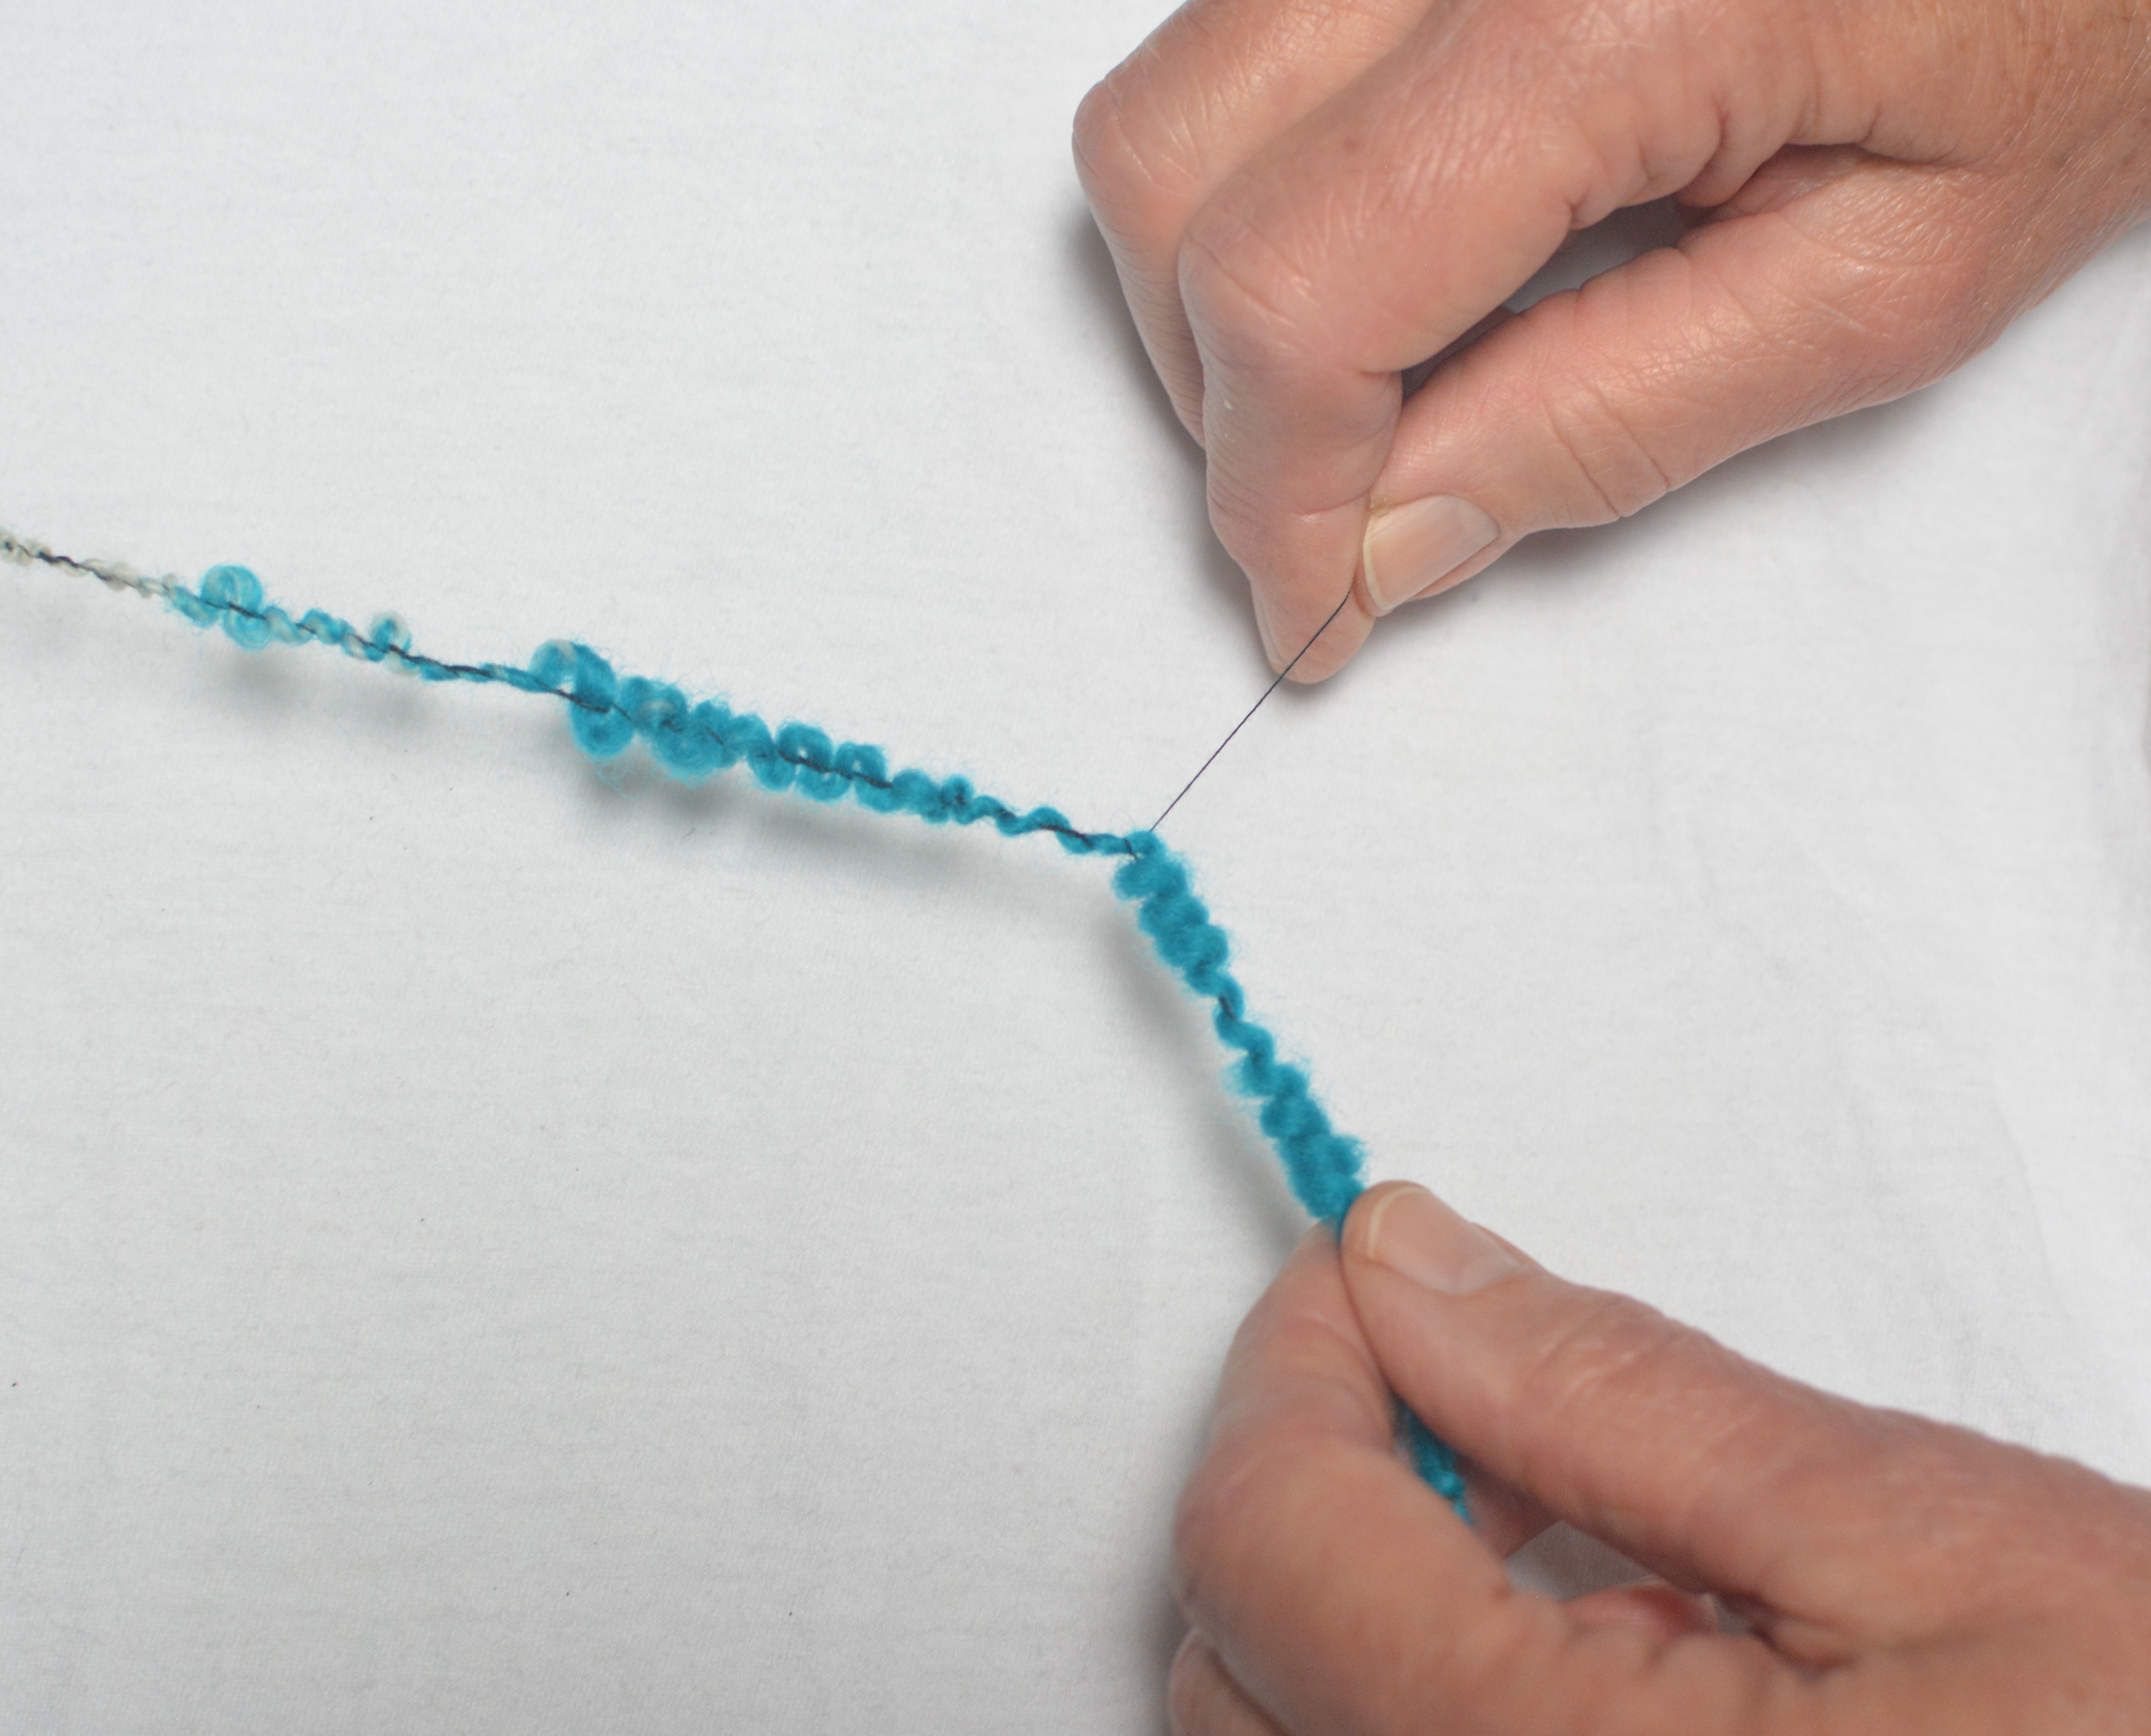
- The loops you made in the previous step will now become looser, since you're going in the opposite direction. You can move loops around wherever you like, evenly spaced or bunched together with bare spots in between. Move loops before you wrap the binder, because this step stabilizes the yarn.
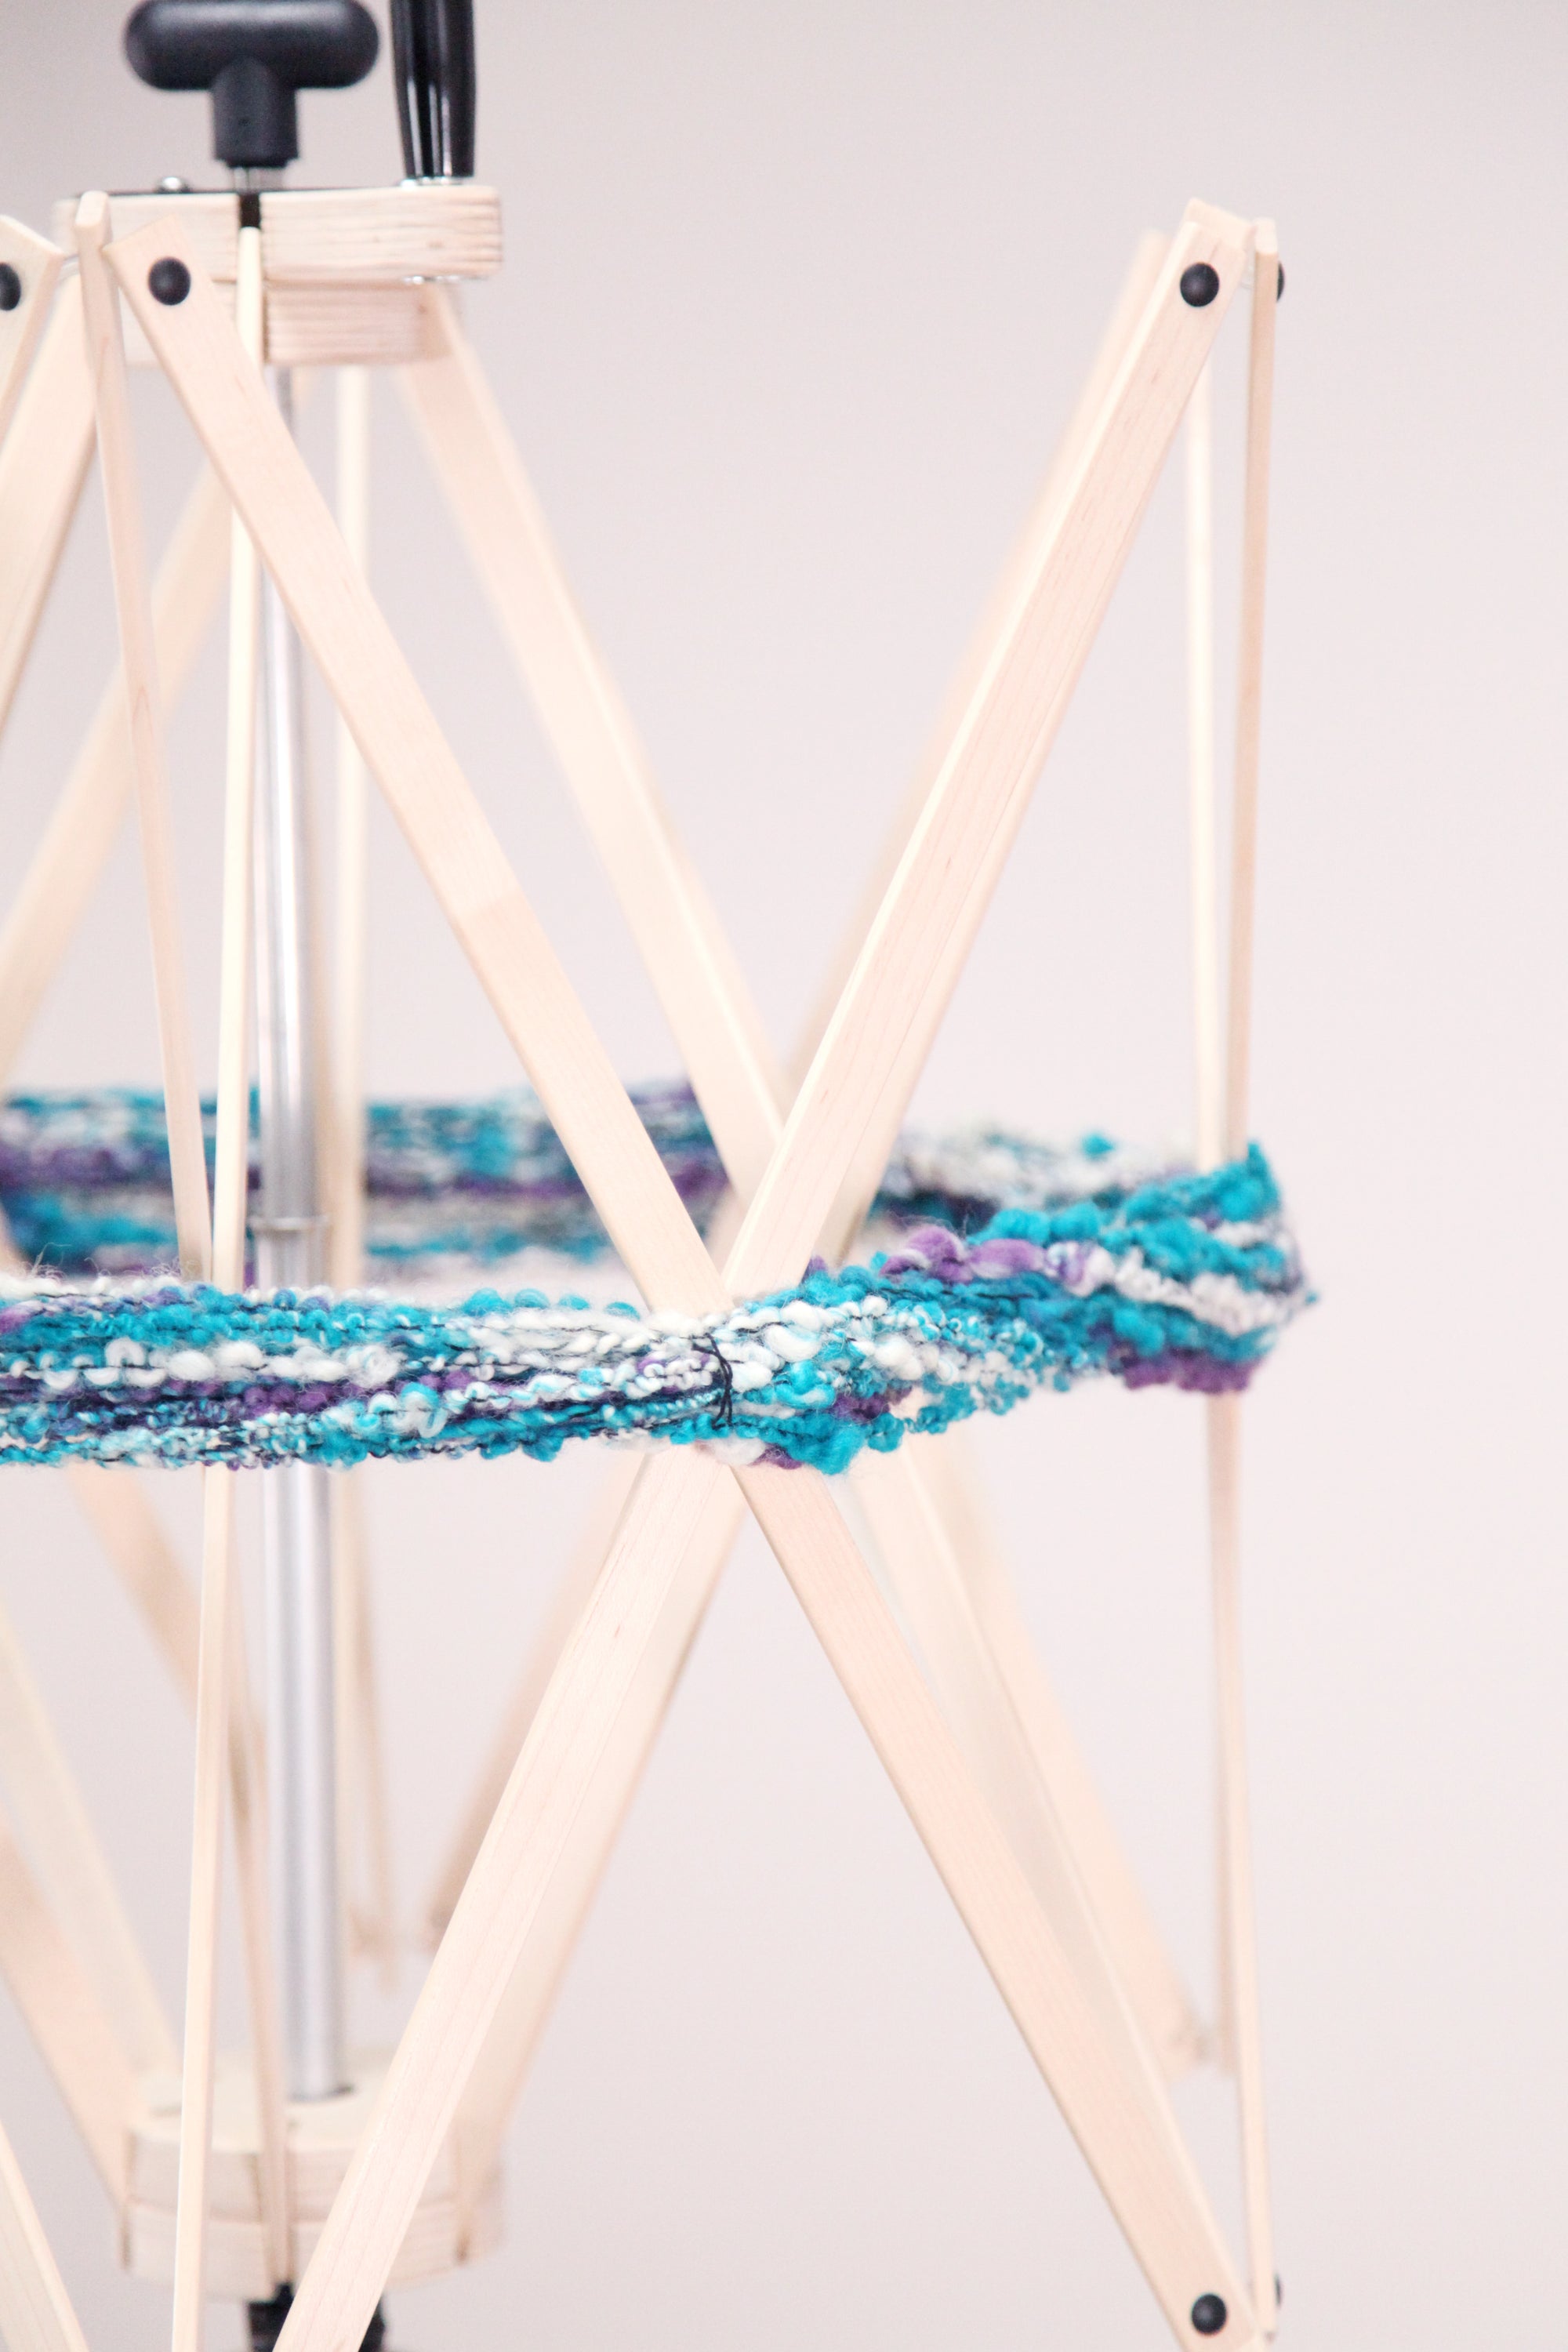
- Your new yarn will be springy. For knitting, I like to use the energized yarn right off the bobbin. For weaving, I wind a skein, let the yarn relax in warm water, and then hang to dry with a weight attached at the bottom.
- Let your imagination run wild with design ideas. Vary the color, color placement, and the fiber. Spin the first ply with a technique other than thick-and-thin. Use the yarn for an entire project or an accent.
Notes
Anderson, Sarah. The Spinner’s Book of Yarn Designs. Storey Publishing, 2012.
Anderson, Sarah. Building Blocks of Spinning. Digital download from Long Thread Media.
Boggs, Jacey. Spin Art. Interweave Press, 2011. This book is no longer in print; you can find an e-reader version, used copies, and library copies.

