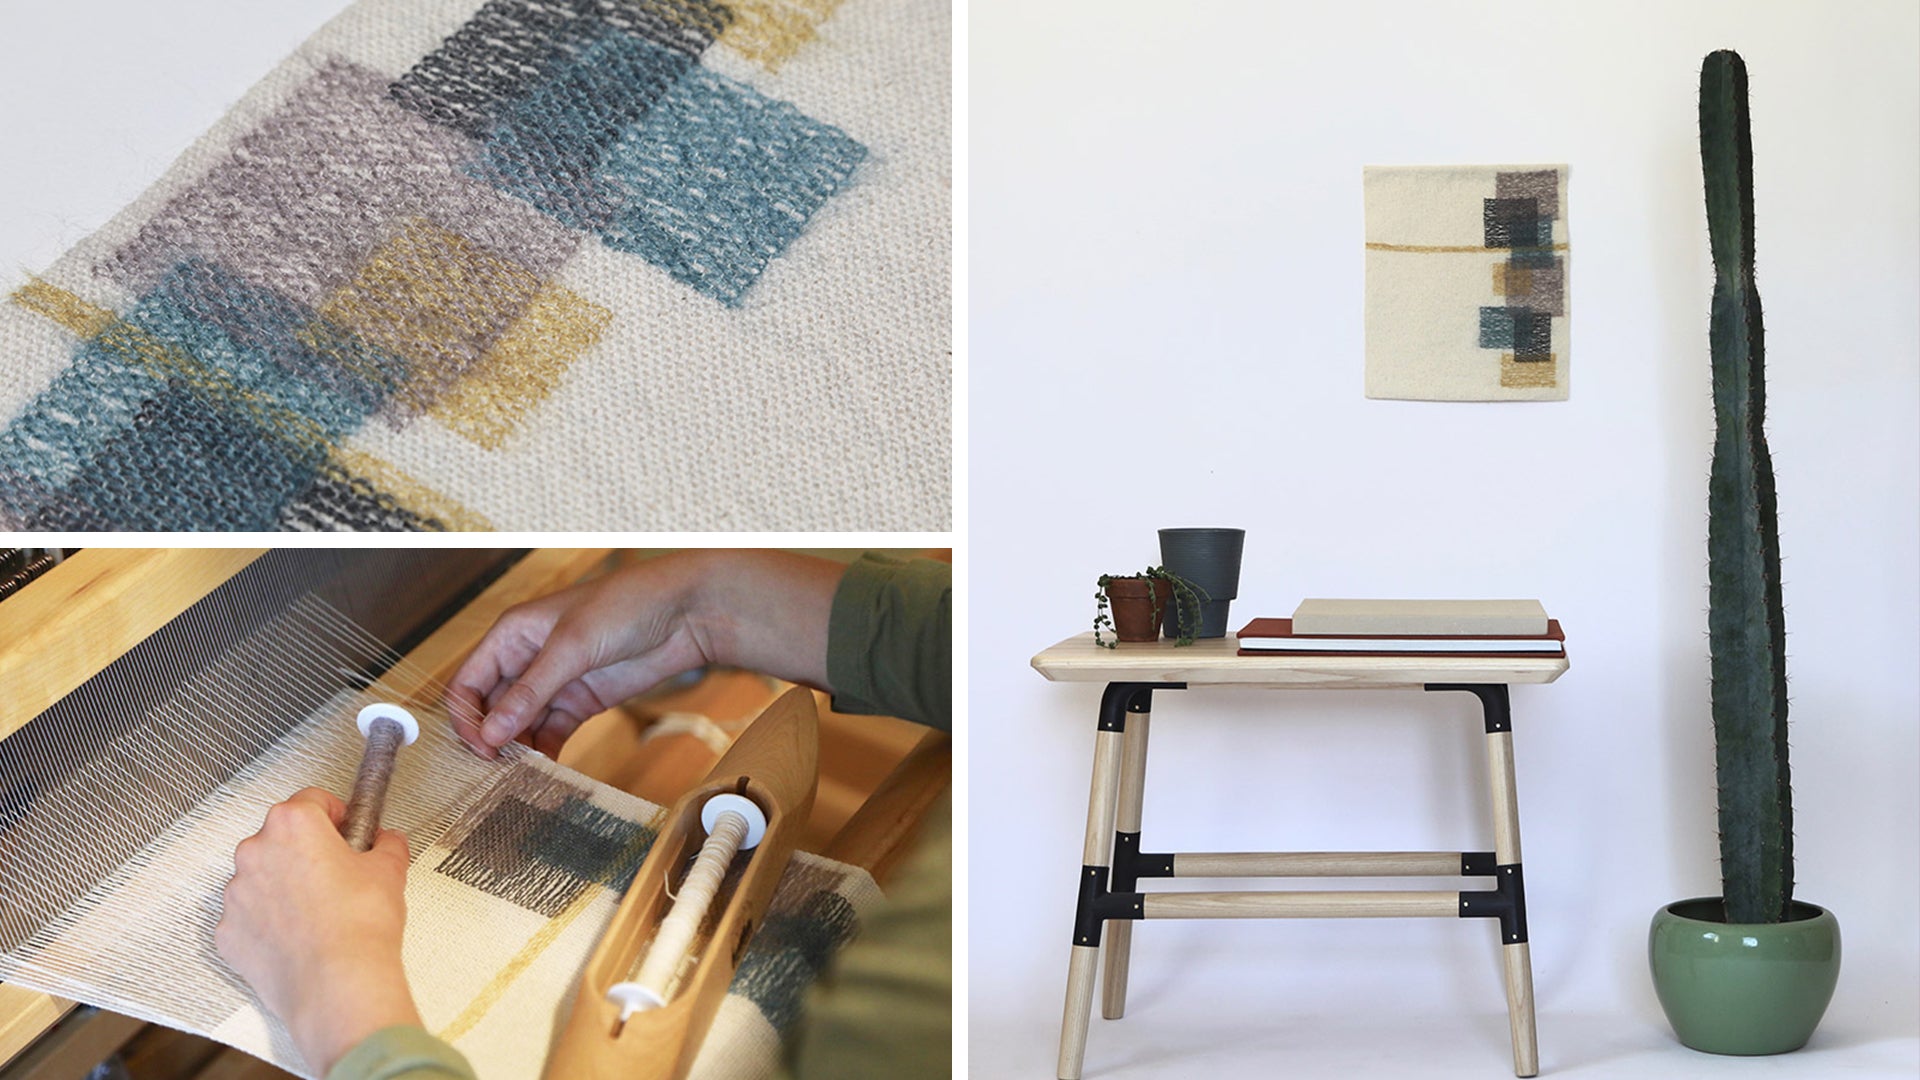
Stained Glass Wall Hanging Using Inlay Technique
Designed by Sienna Bosch
This piece was my first experience using Theo Moorman’s inlay technique. Once I got going, I couldn’t stop—there are endless possibilities. I always find that every weaving idea brings a million more.
As with all my weaving projects, there is a creative process that I go through:
- I start by researching and beginning to understand the technique if it is new to me.
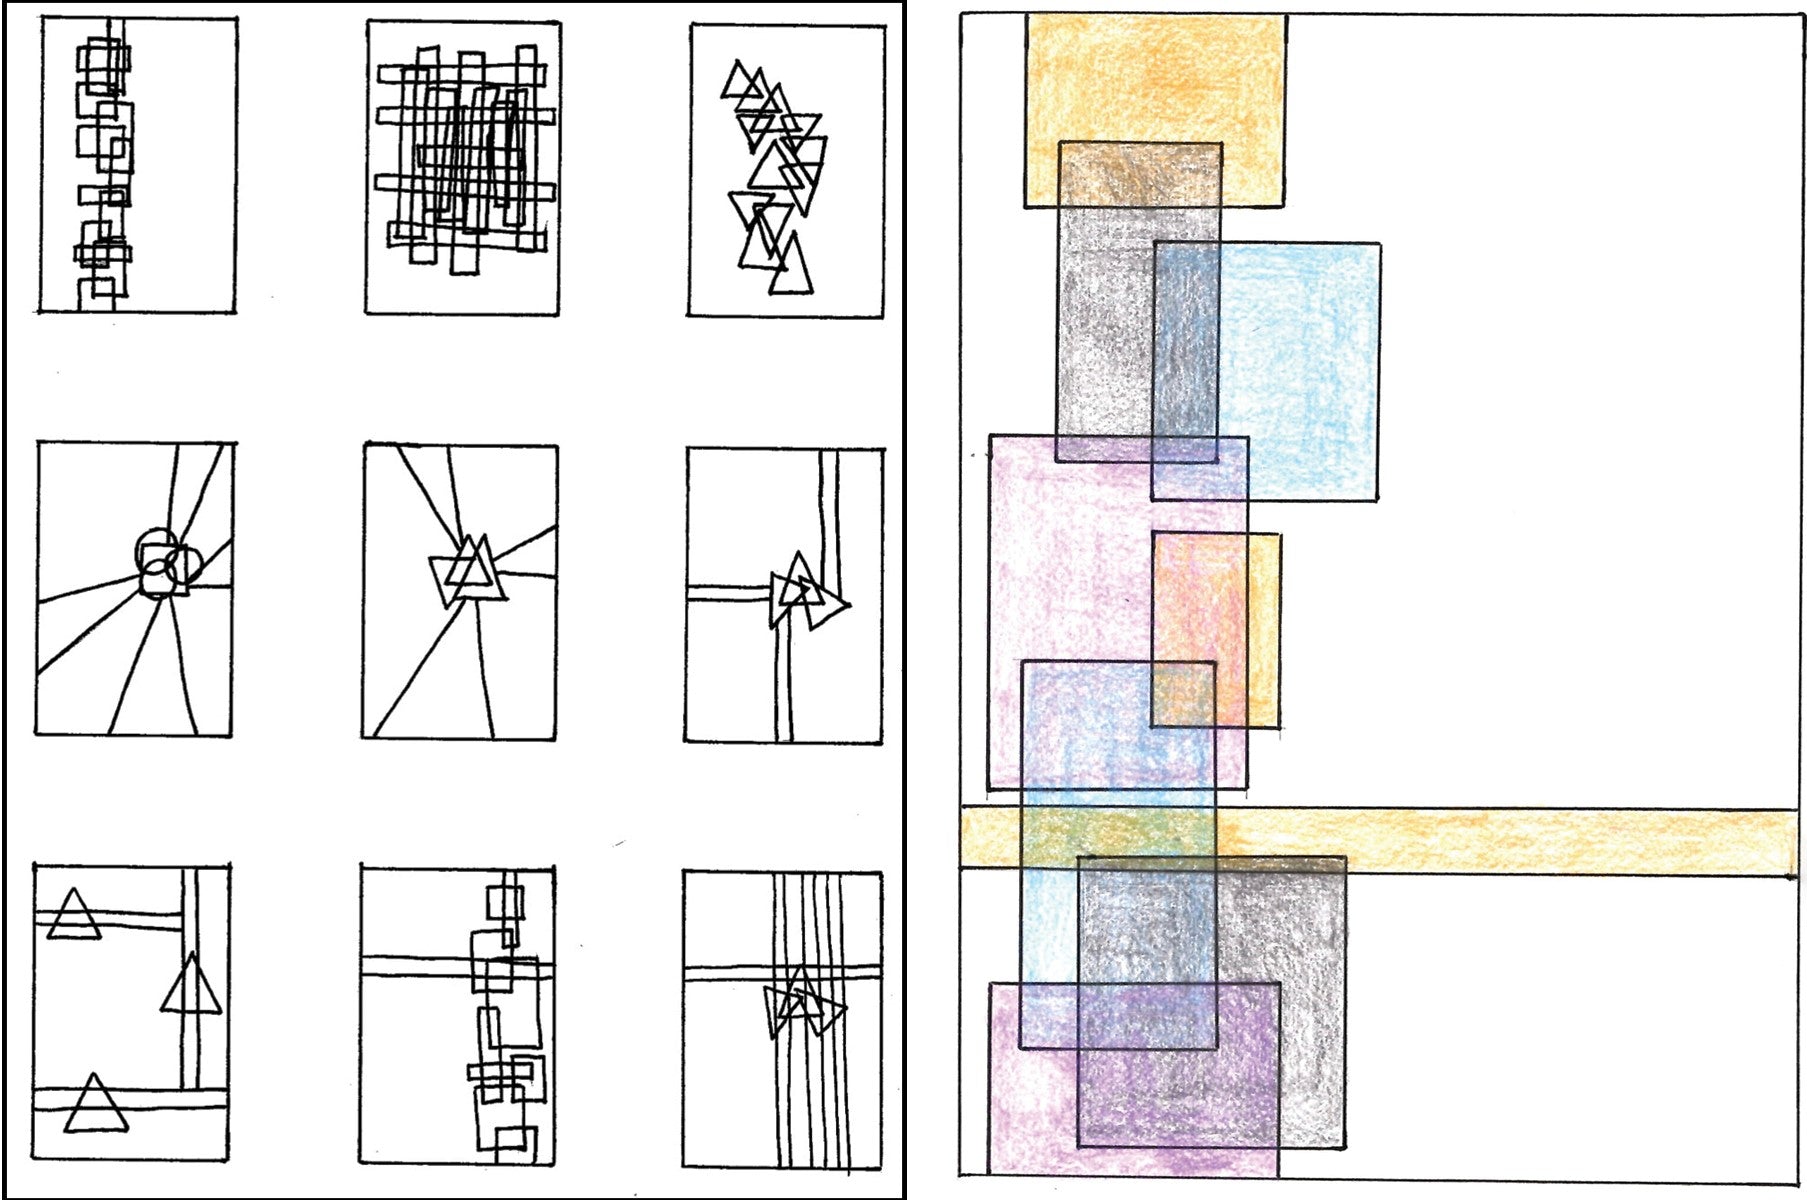
- I sketch my ideas and possible designs to start exploring all the possibilities.
- Next, I sample, which I find extremely valuable. I was able to try out a variety of different yarn types, as well as experiment with the possibilities of creating a design. With this particular technique, I learned that fine yarn was important for creating the inconsistencies and wavelike forms in the inlay that I wanted to achieve. This got me thinking about how I could begin to contrast this inconsistency with a geometric design.
With my new samples and ideas, I went back to my sketchbook. At this point, I also added color to my sketch to think about how the colors would interact with each other.
Throughout the weaving of the final piece, my ideas changed slightly and I adjusted my plans as new ideas came about. I hope you have as much fun as I had exploring and experimenting with this technique!
Project Specs
Finished size: 8-3/4" x 11"
Weave structure: Theo Moorman inlay technique
Number of warp ends: 300
Warp length: 2 yds
Width in reed: 10"
EPI: 30
PPI: 15
What You'll Need
-
Warp yarn:
Base warp: 6/2 (Natural) – 100% unmercerized cotton (400 yds)
Tie down warp: 30 wt All Purpose Cotton (Natural) – 100% mercerized cotton (200 yds)
-
Weft yarn:
Base weft: 6/2 (Natural) – 100% unmercerized cotton
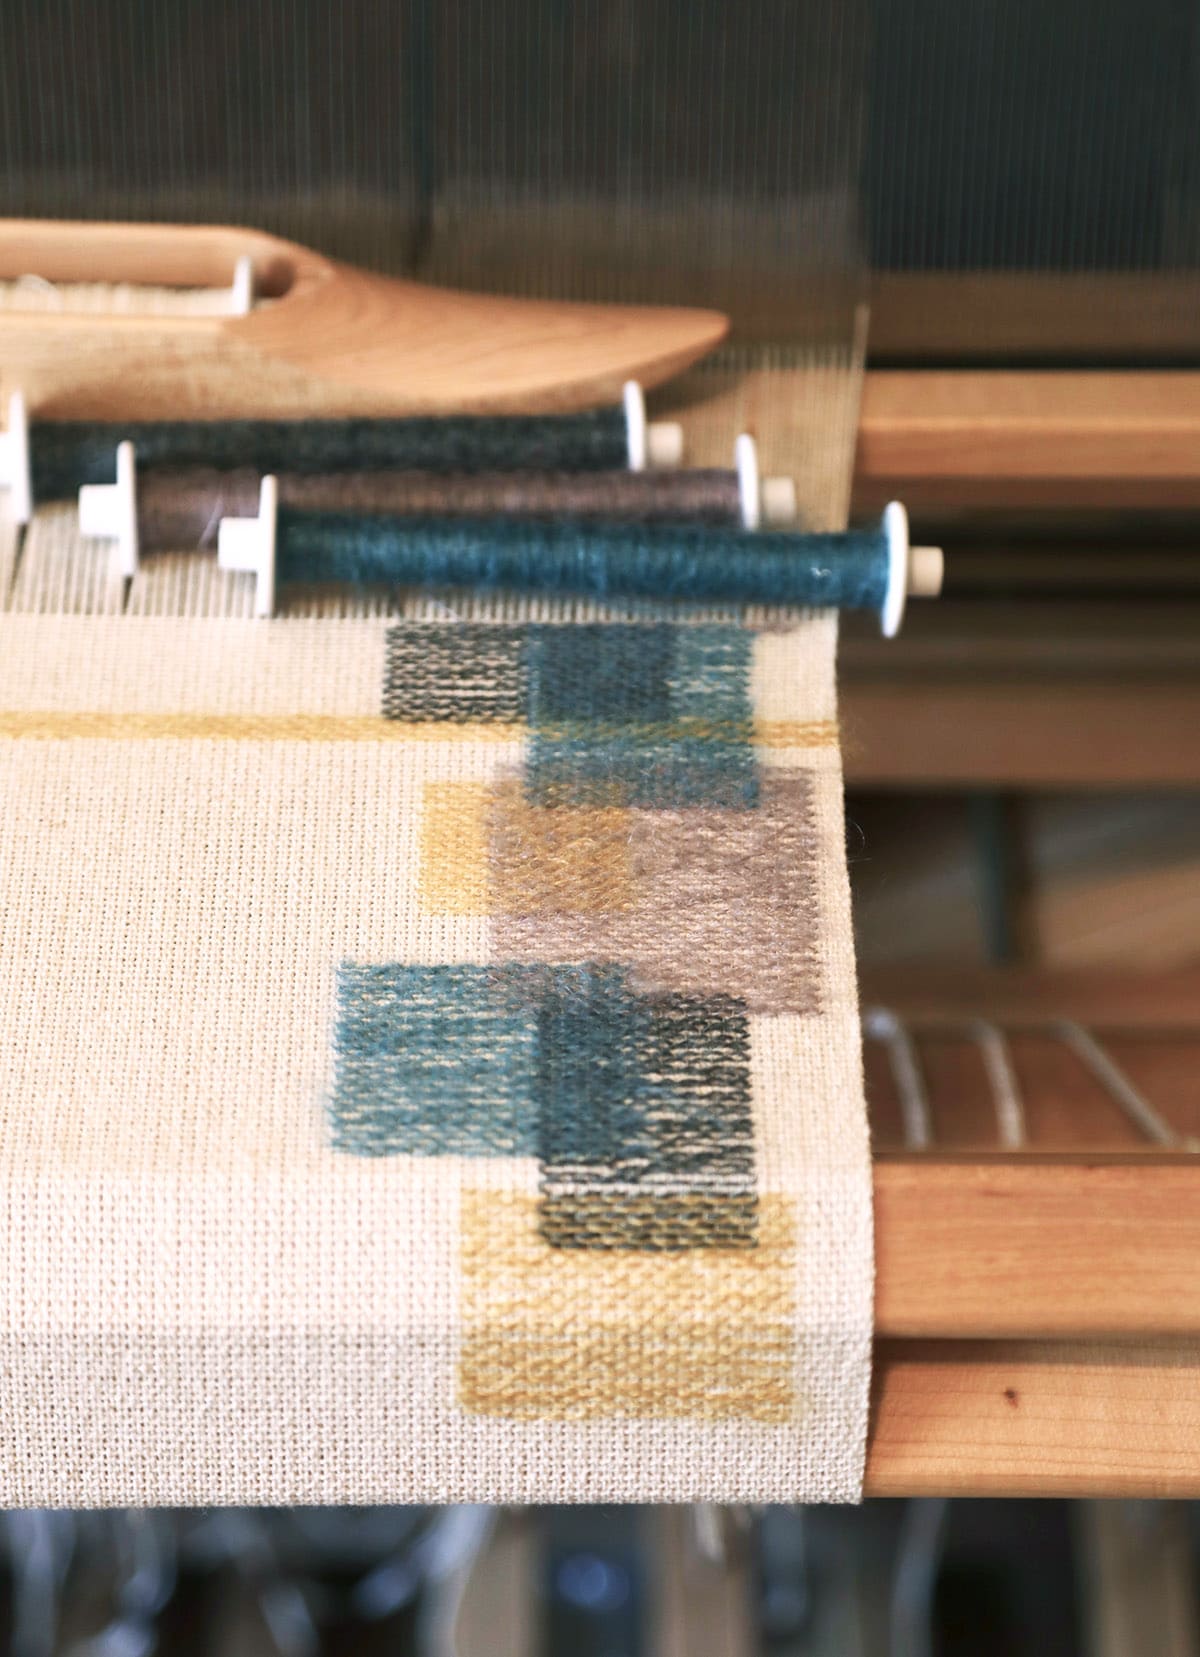
Blue design weft: Rowan Kidsilk Haze (Trance 582) – 70% mohair 30% silk
Purple design weft: Rowan Kidsilk Haze (Majestic 589) – 70% mohair 30% silk
Yellow design weft: Lang Yarns Lace Mohair Superkid Silk (Golden 50) – 58% mohair 42% silk
Gray design weft: Cascade Yarns Alpaca Lace (Charcoal 1414) – 100% Baby Alpaca
-
sewing thread matching the base weft color
- 1/4″ dowel, cut 1/4″ shorter than weaving width
- 2 pins for wall hanging
- monofilament thread and 2 nails for window hanging
-
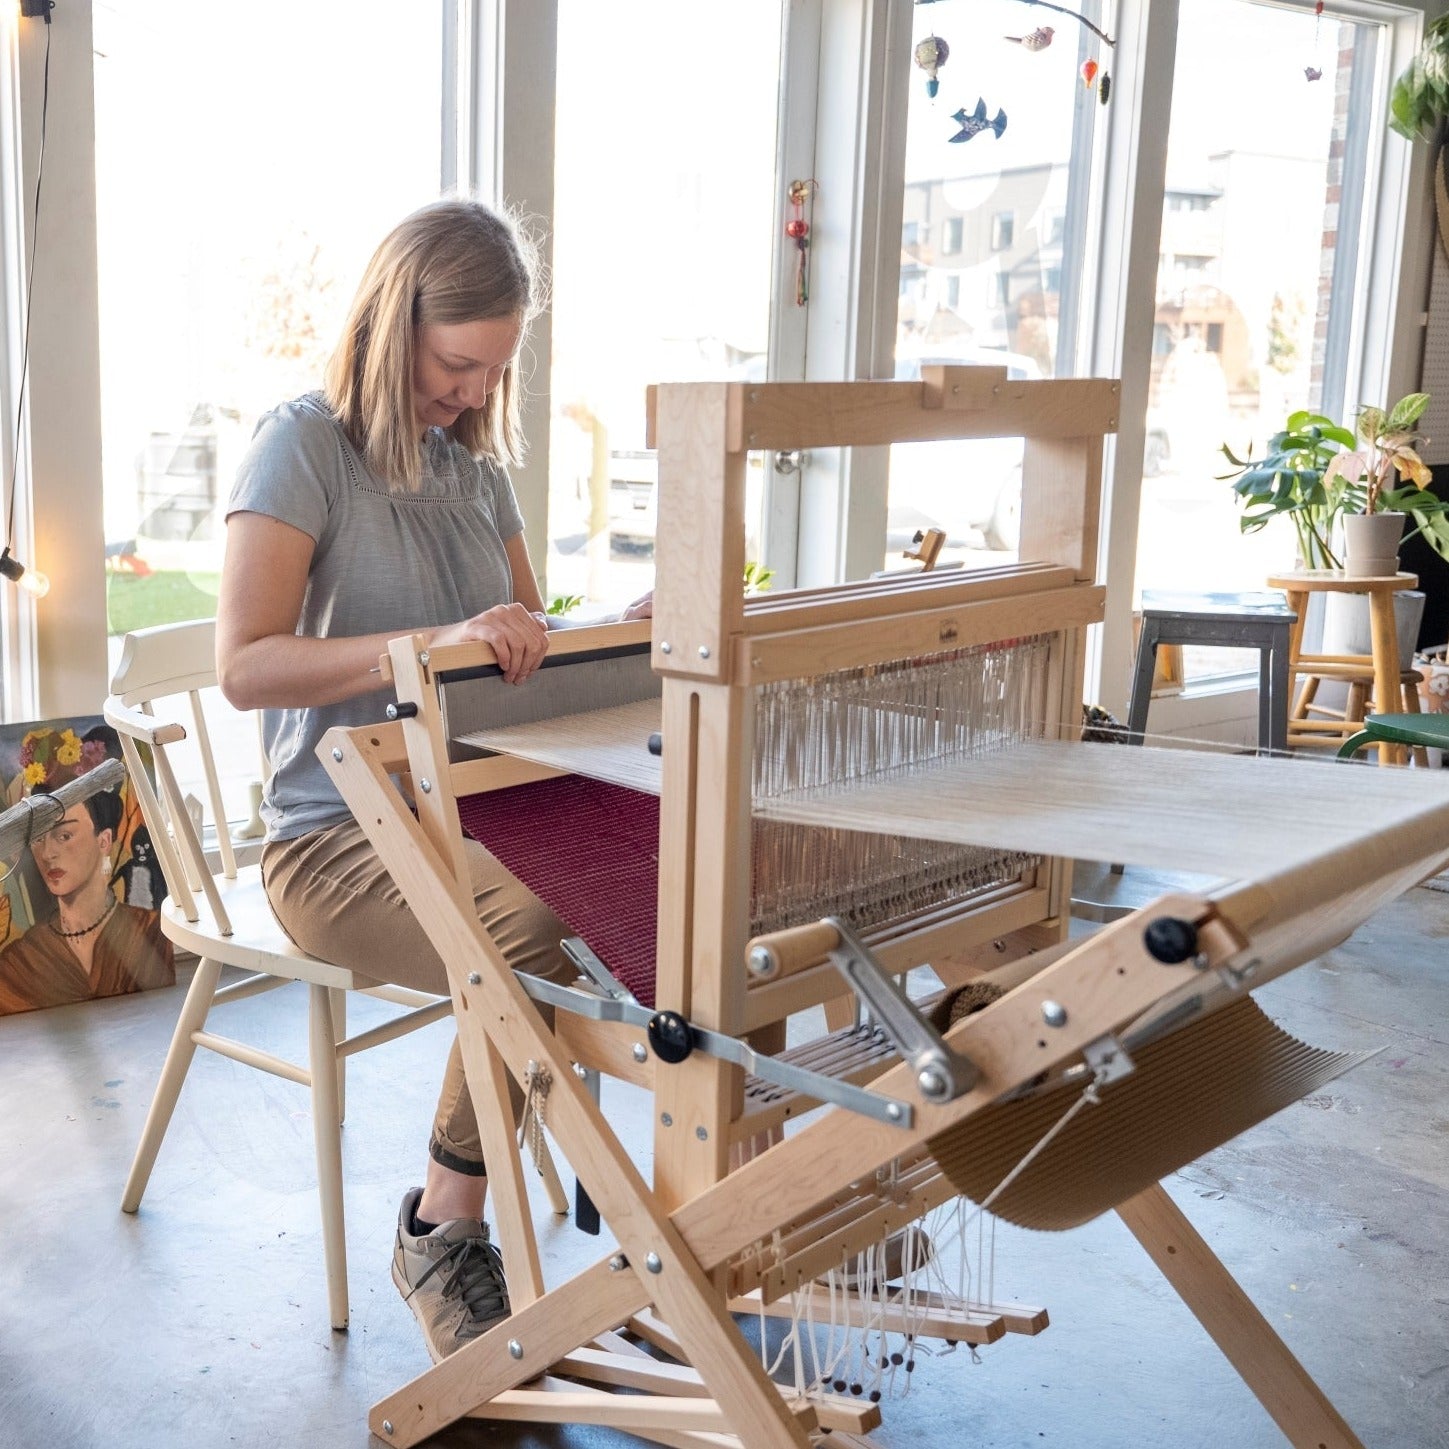
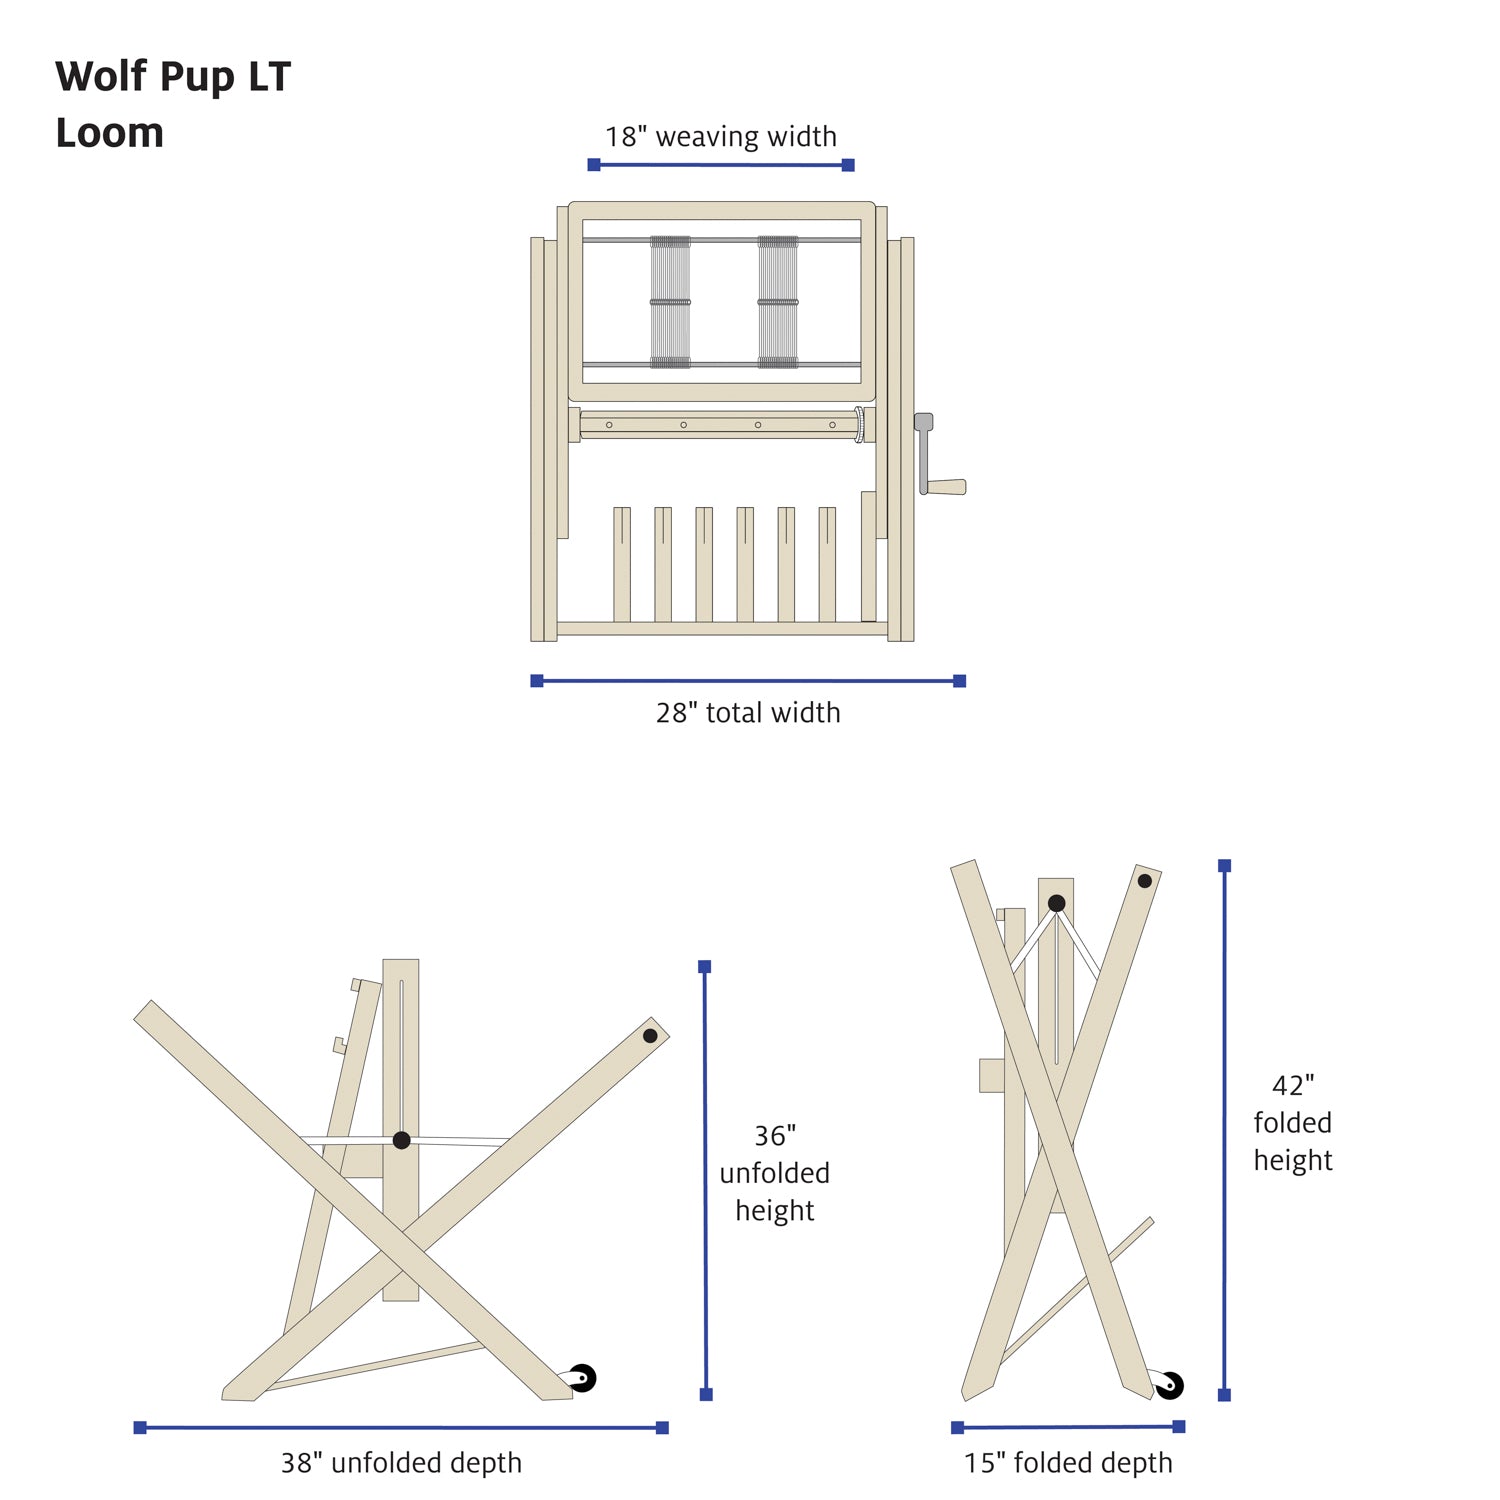
4+ shaft loom (I used a Schacht Mighty Wolf with 8 shafts)
-
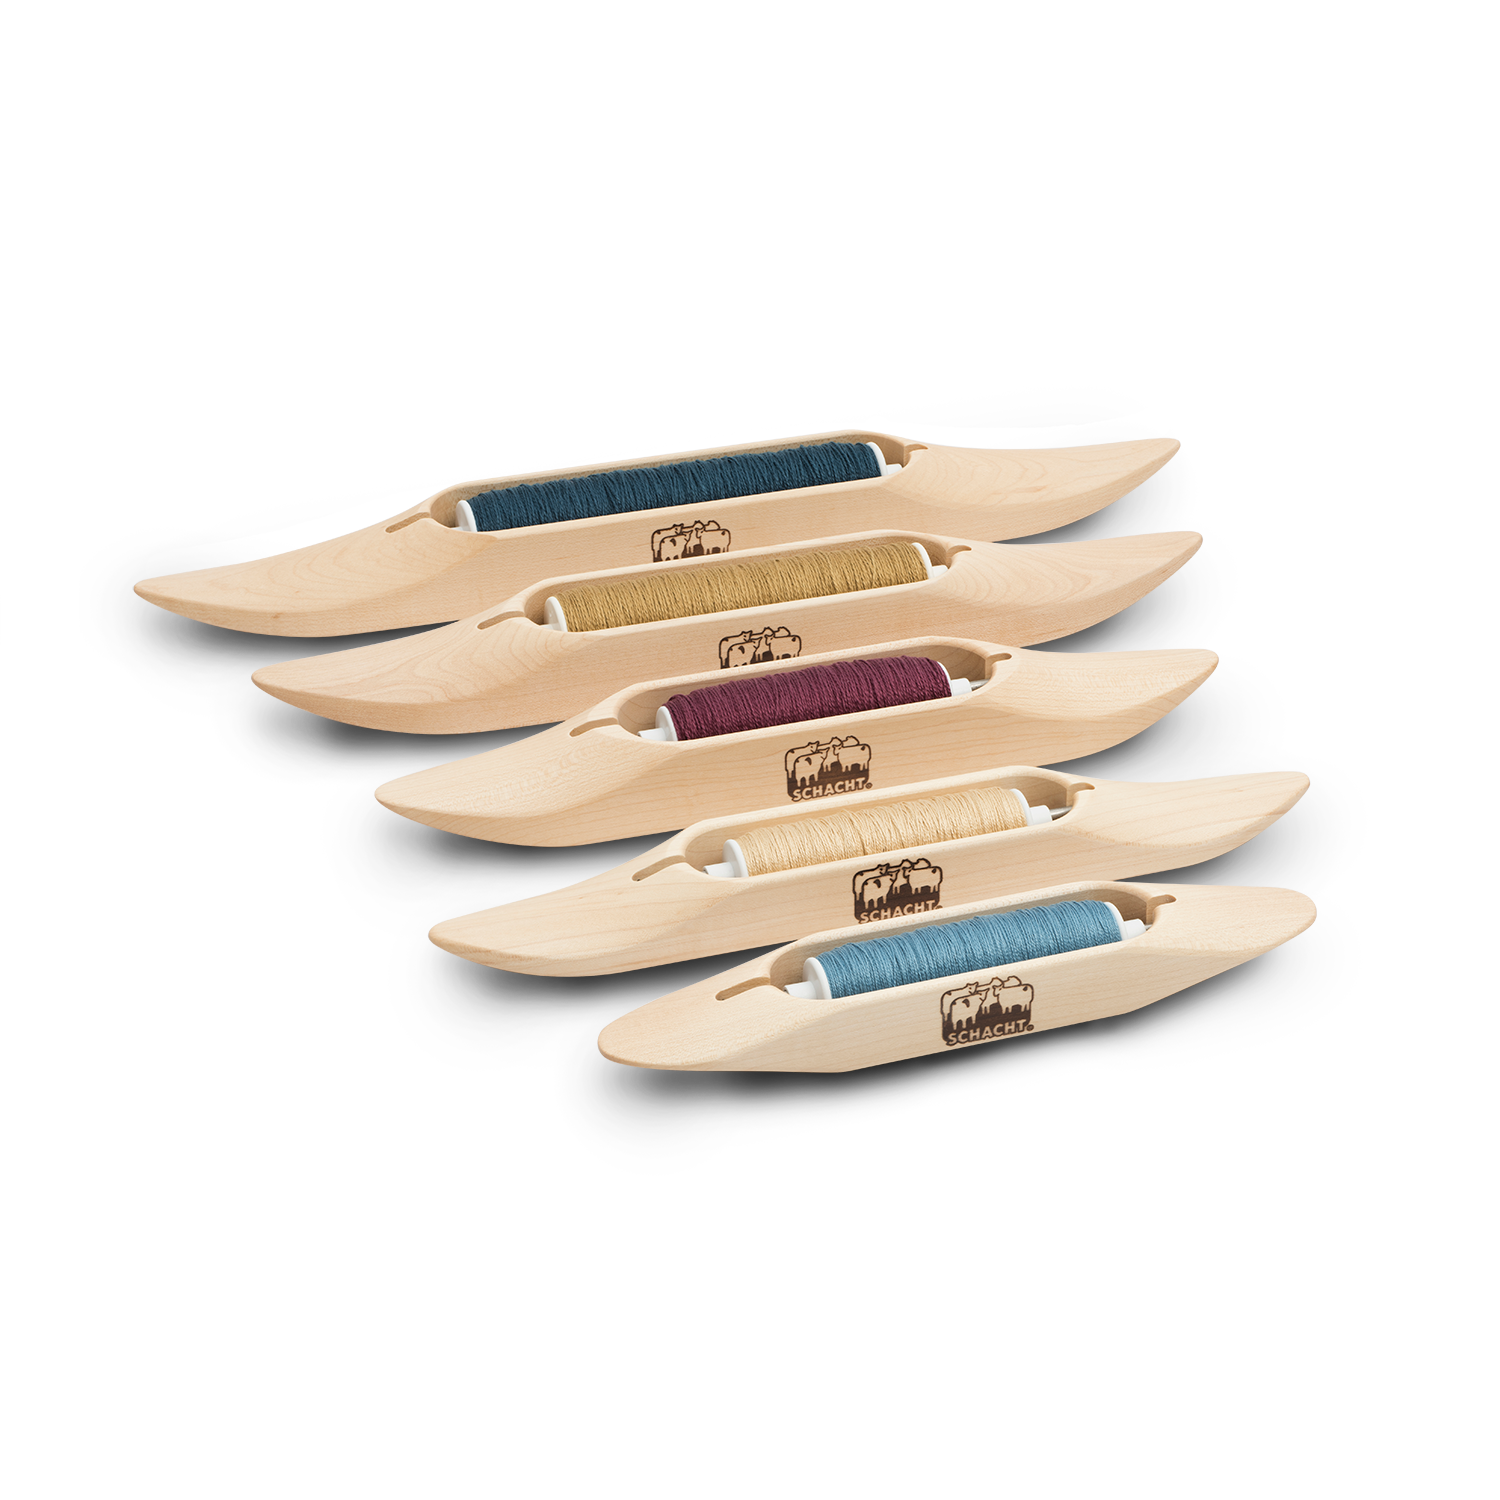
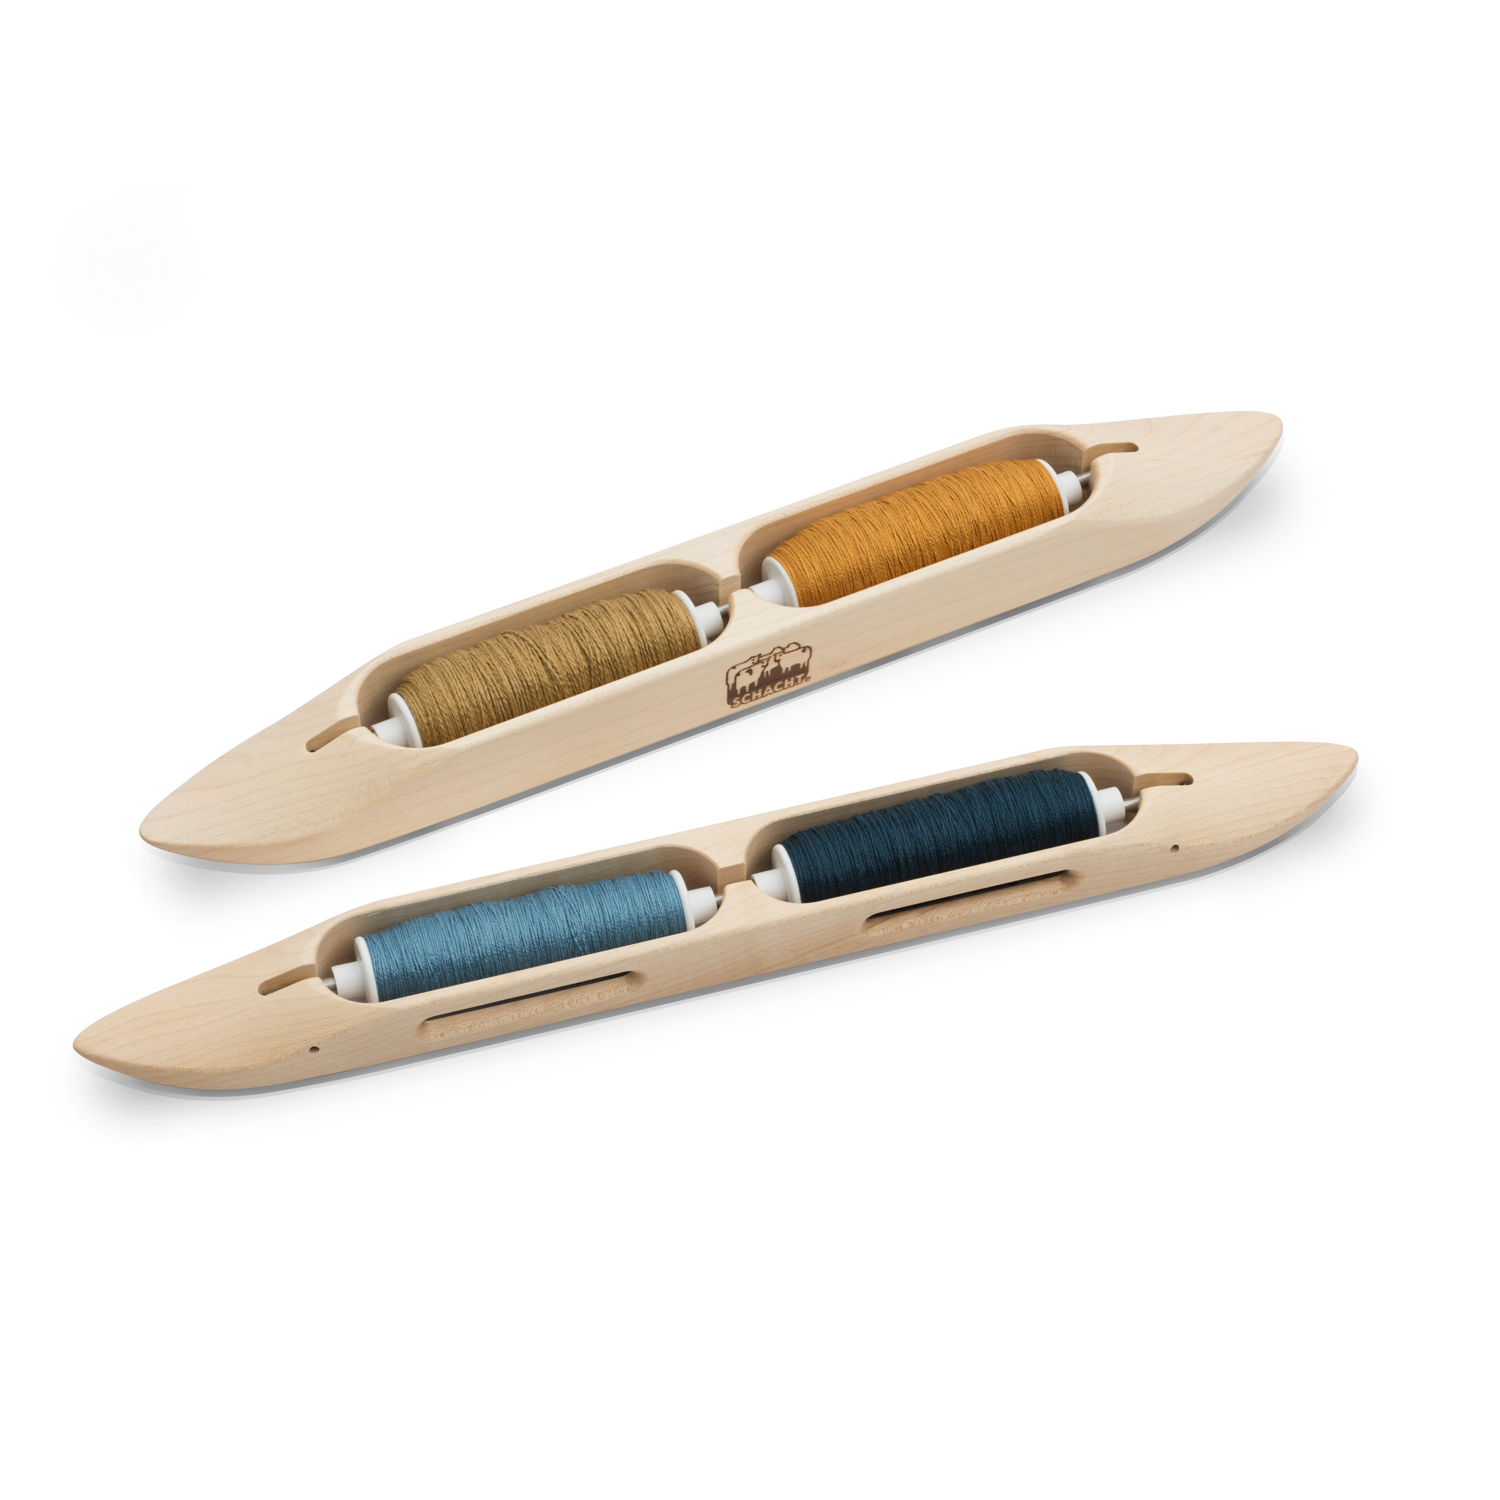
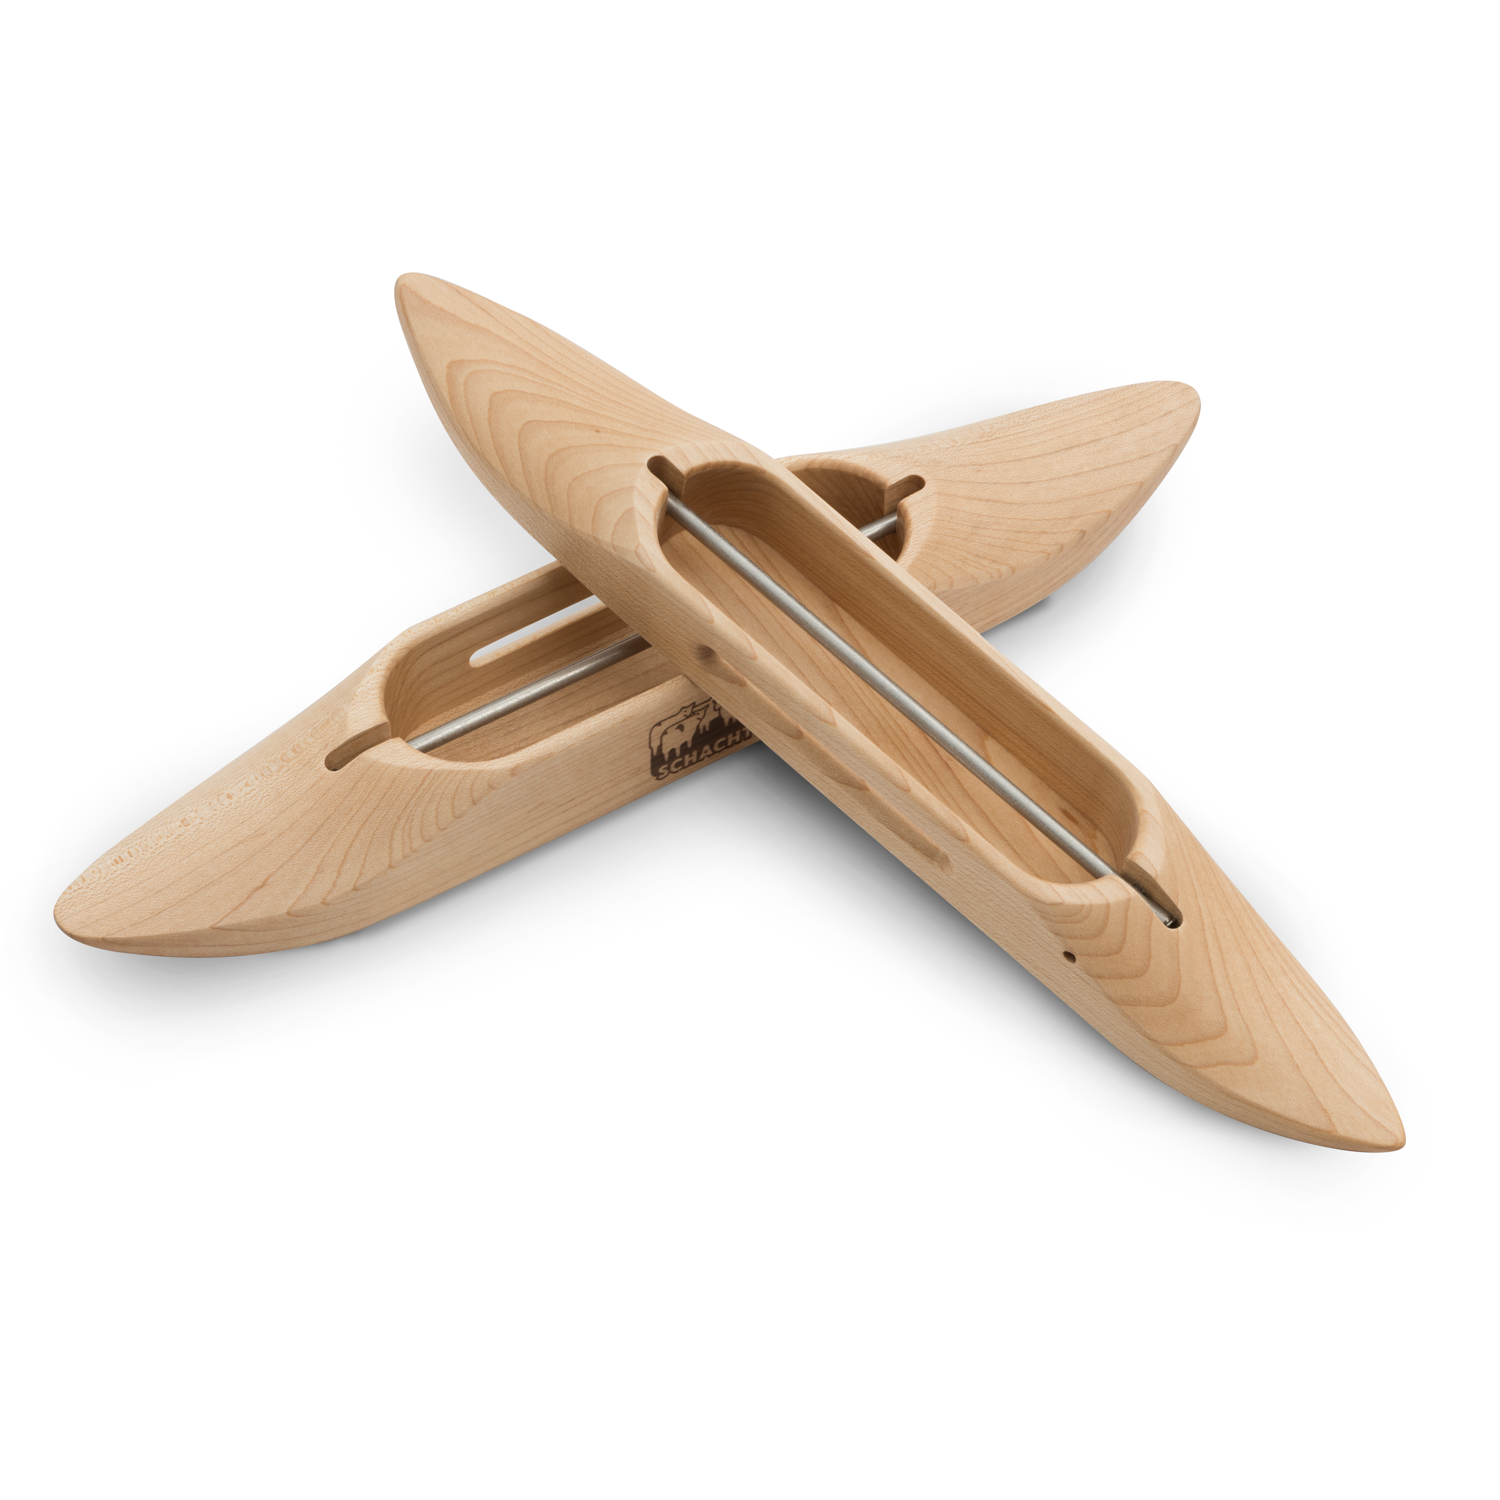
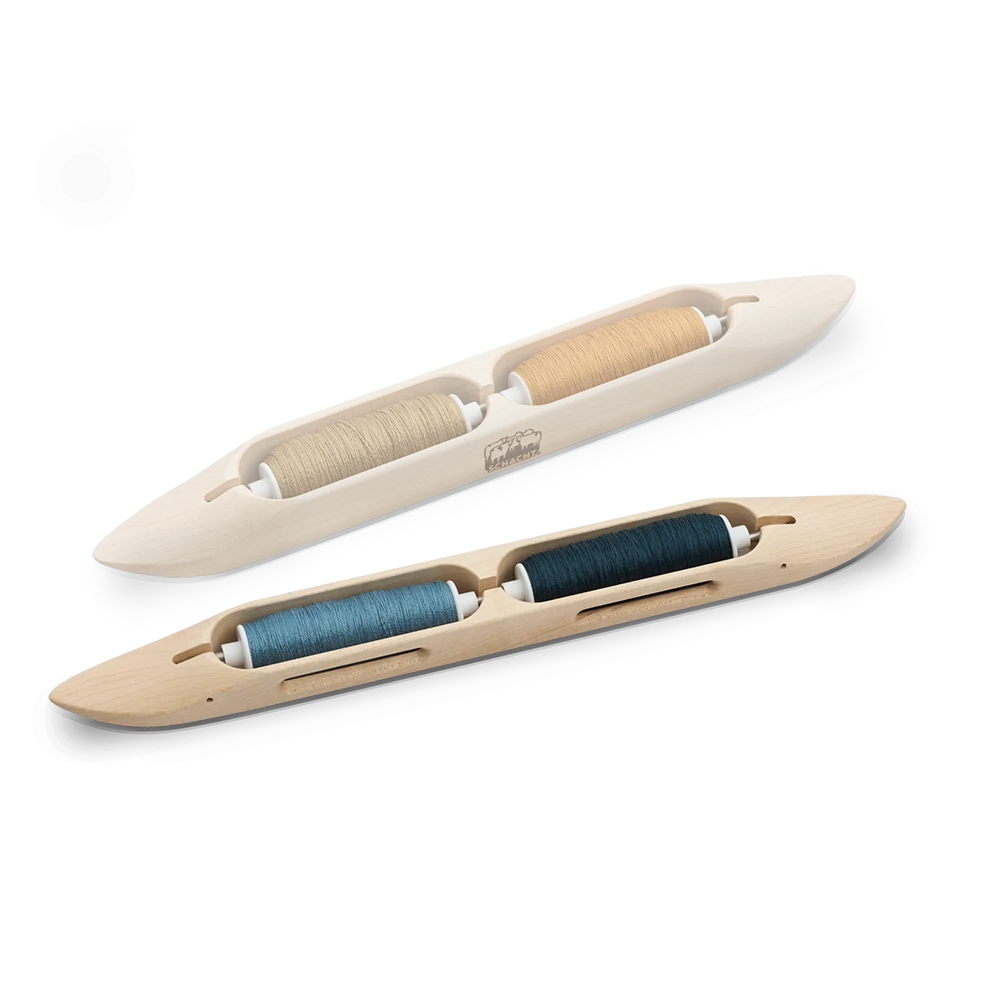
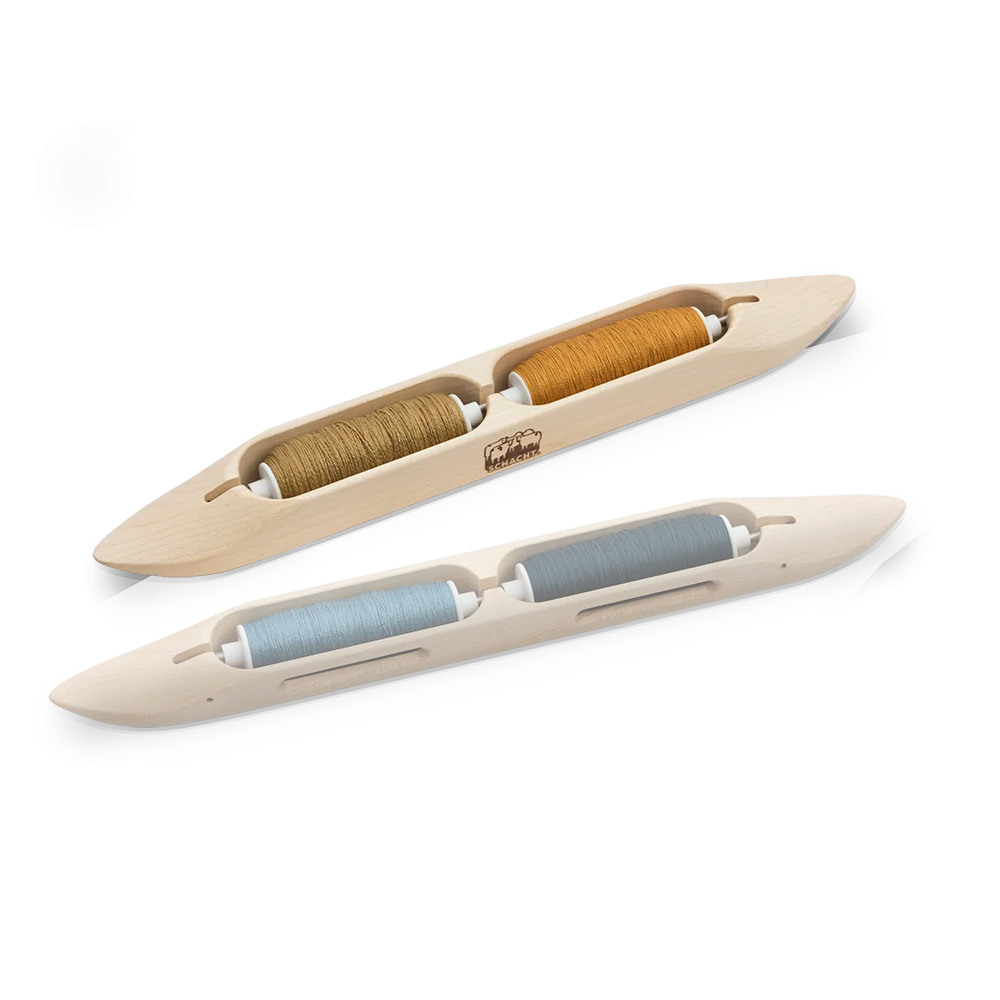
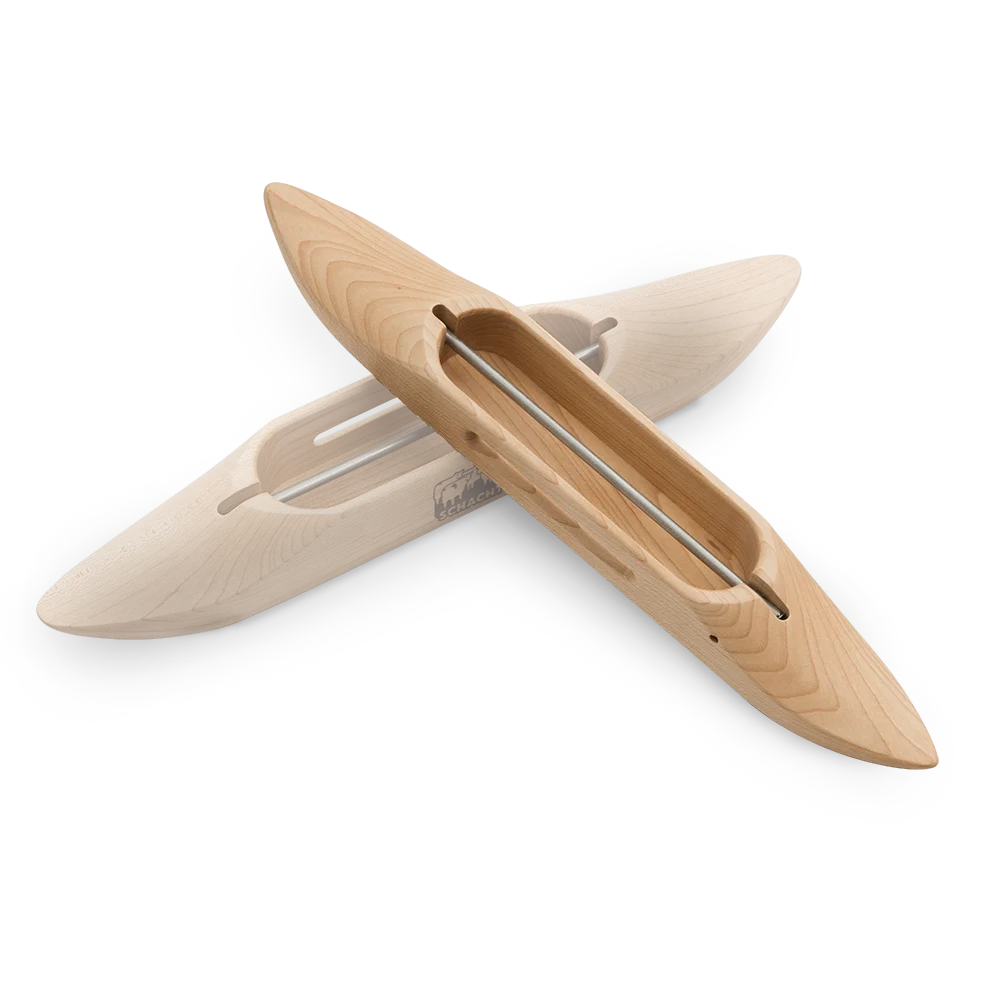
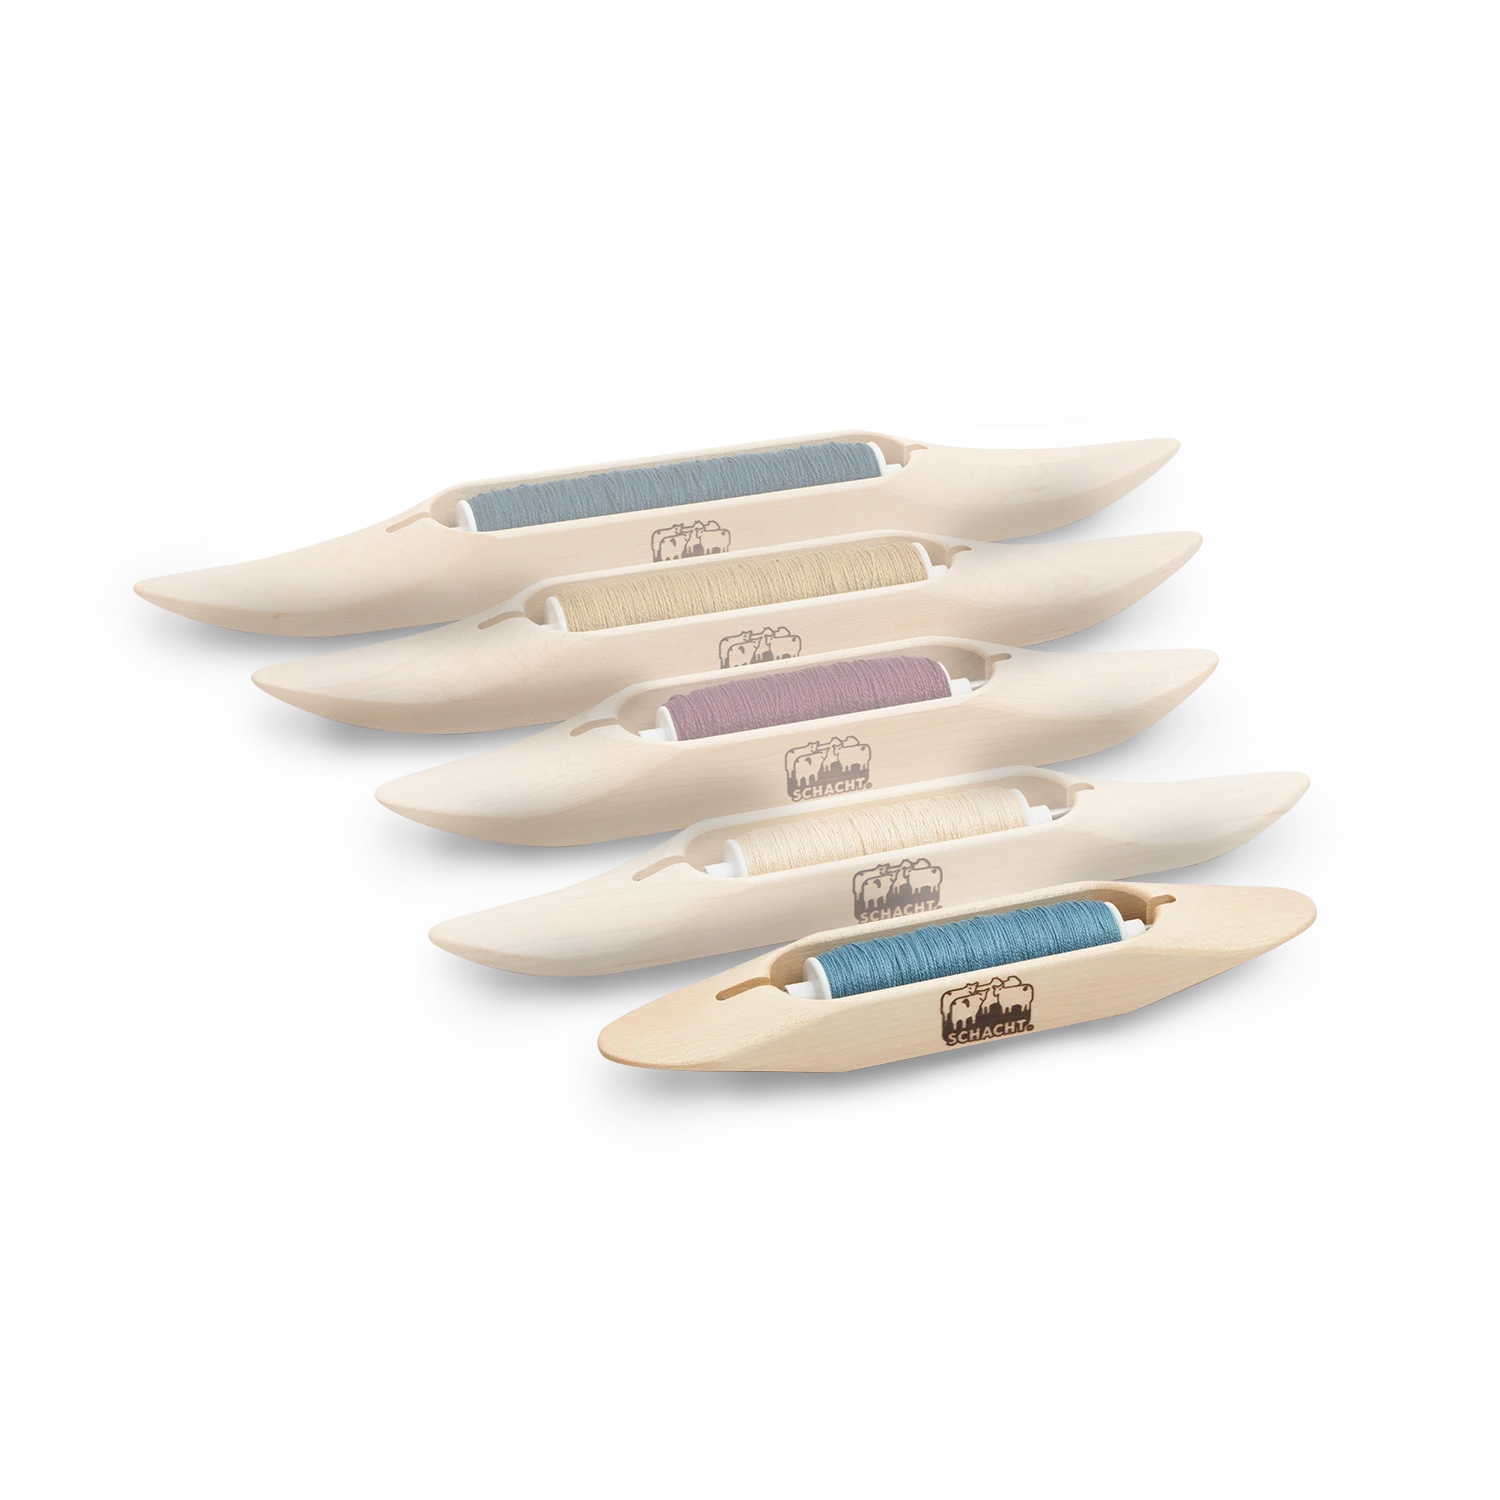
Shuttle and bobbins
-
Bobbin winder
-
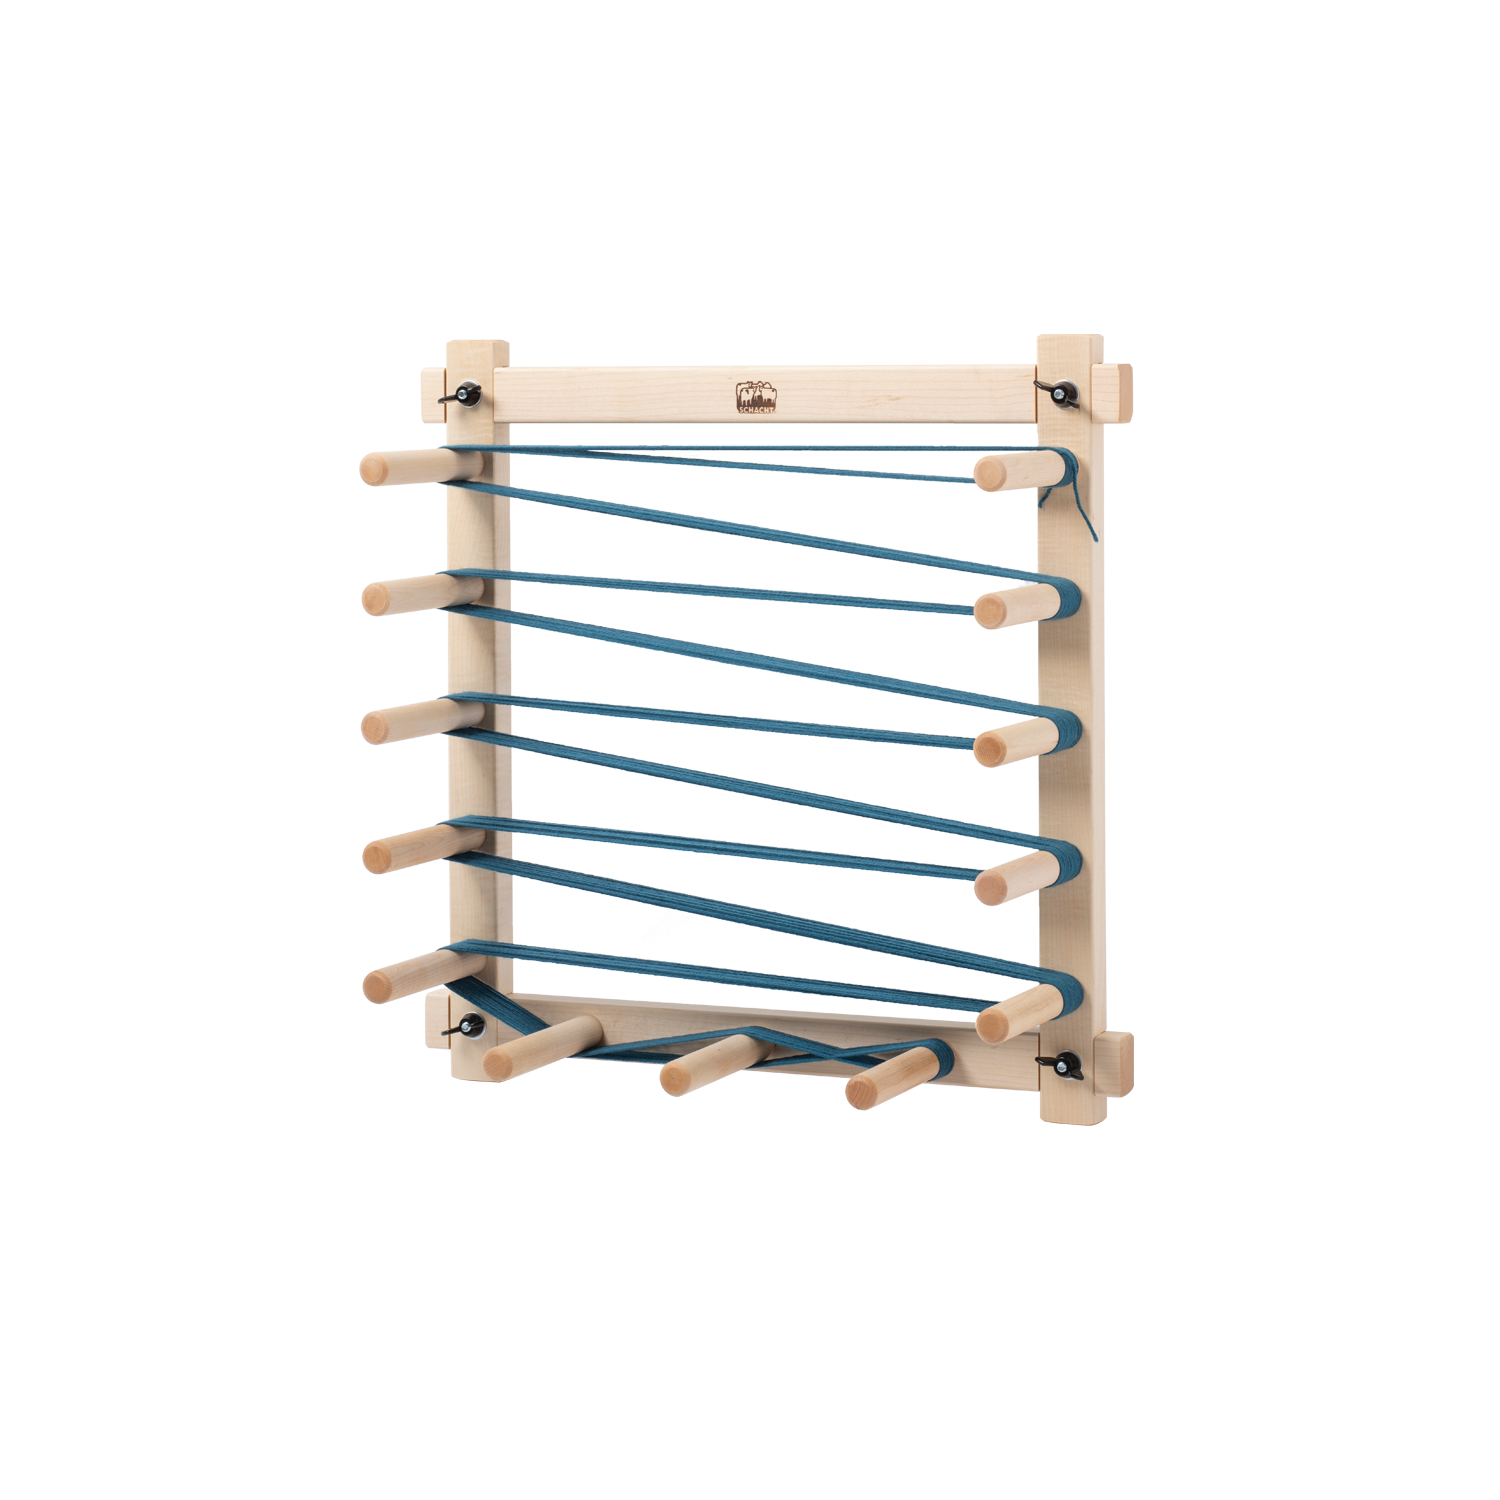
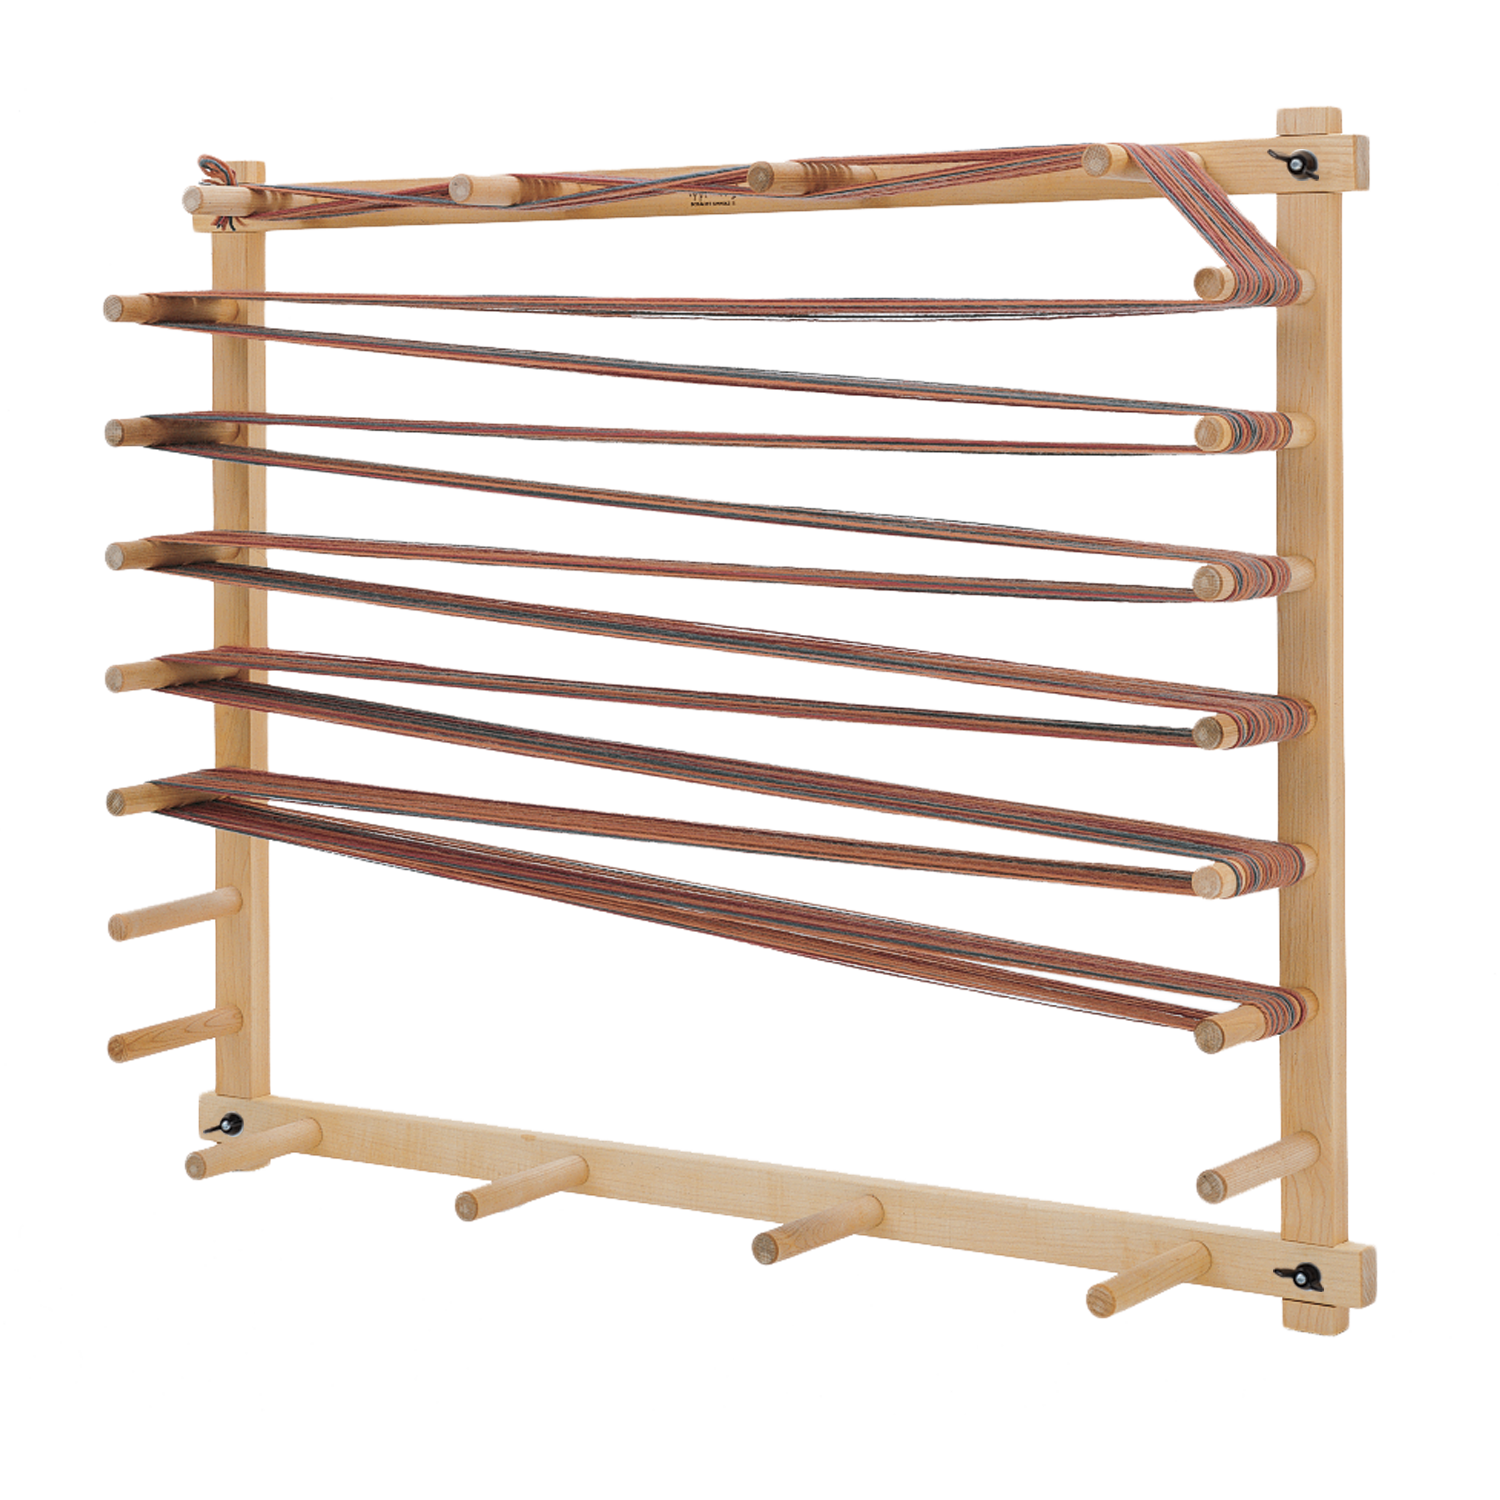
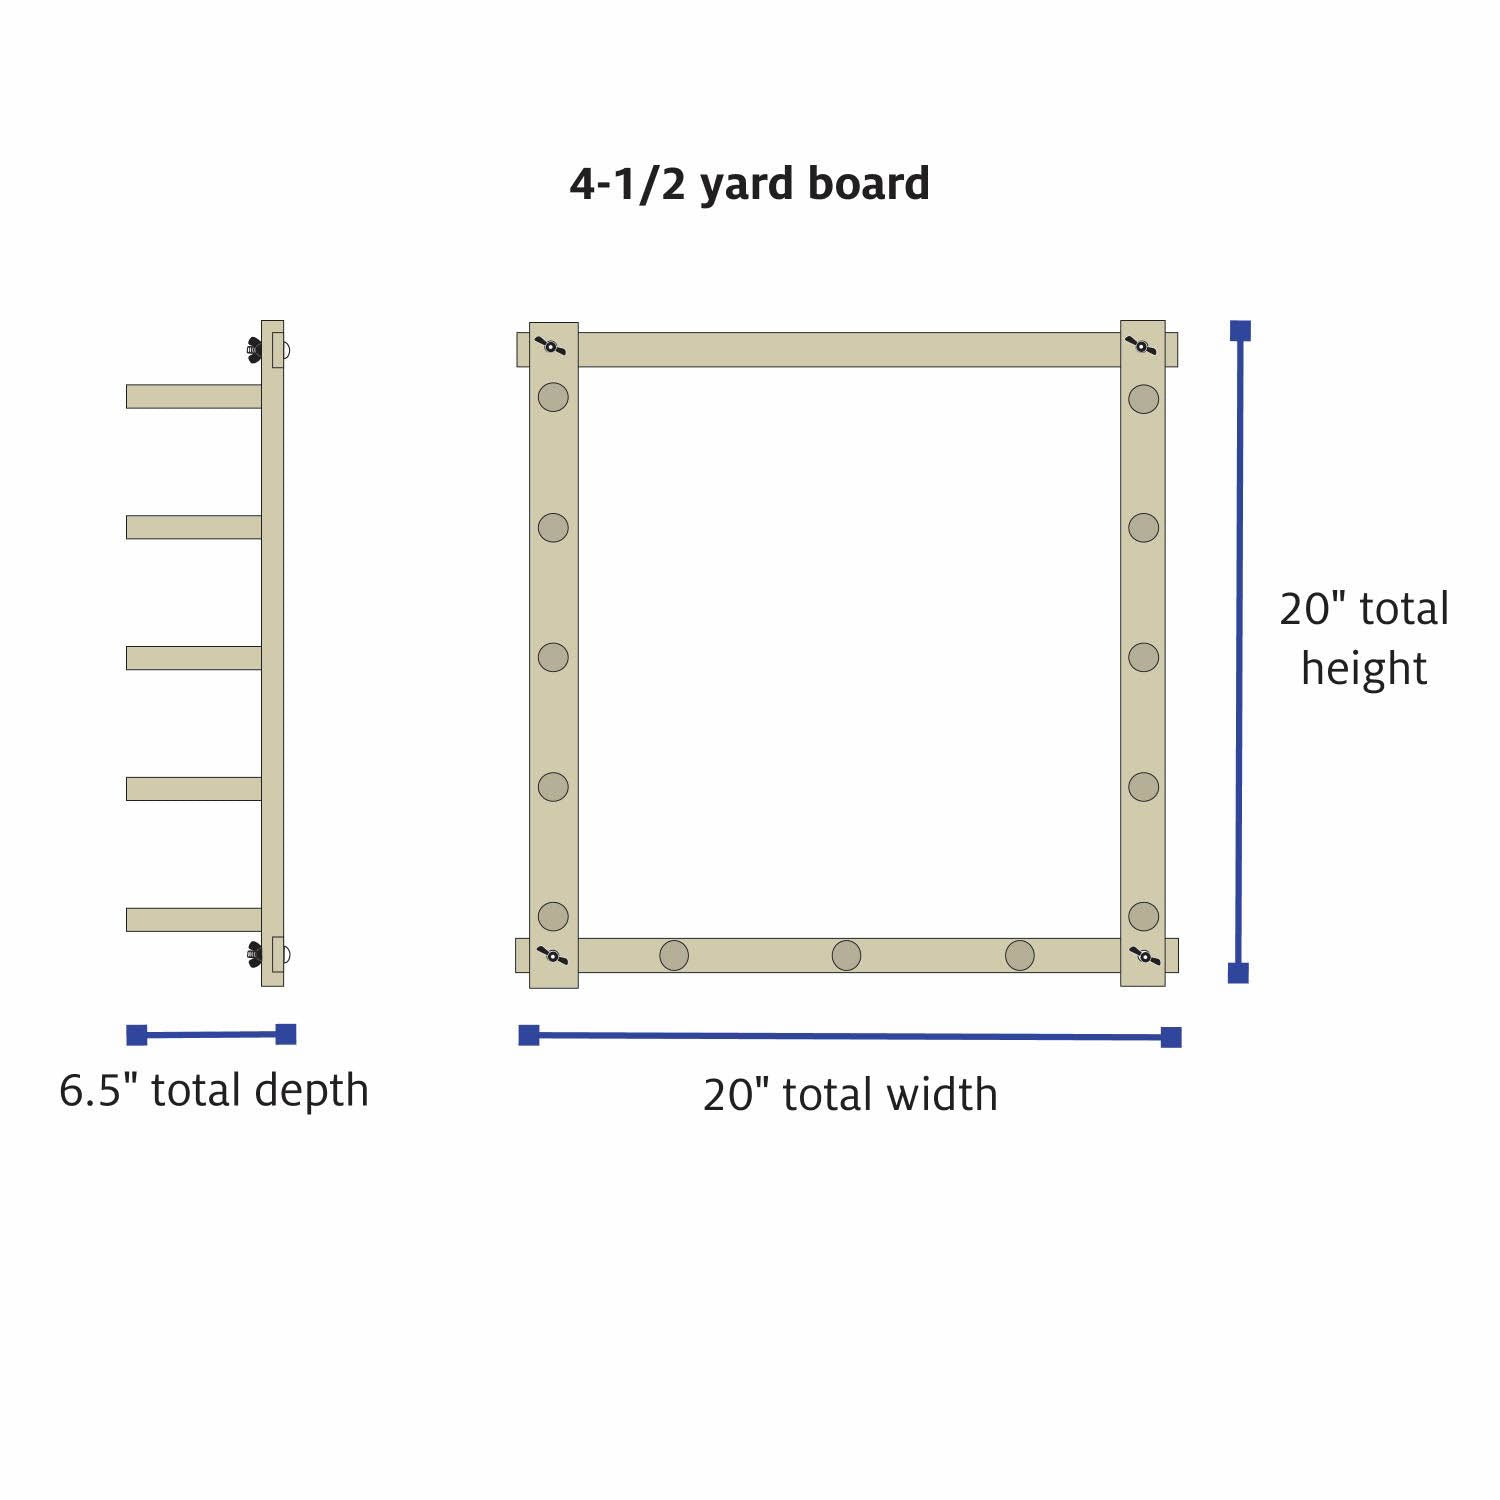
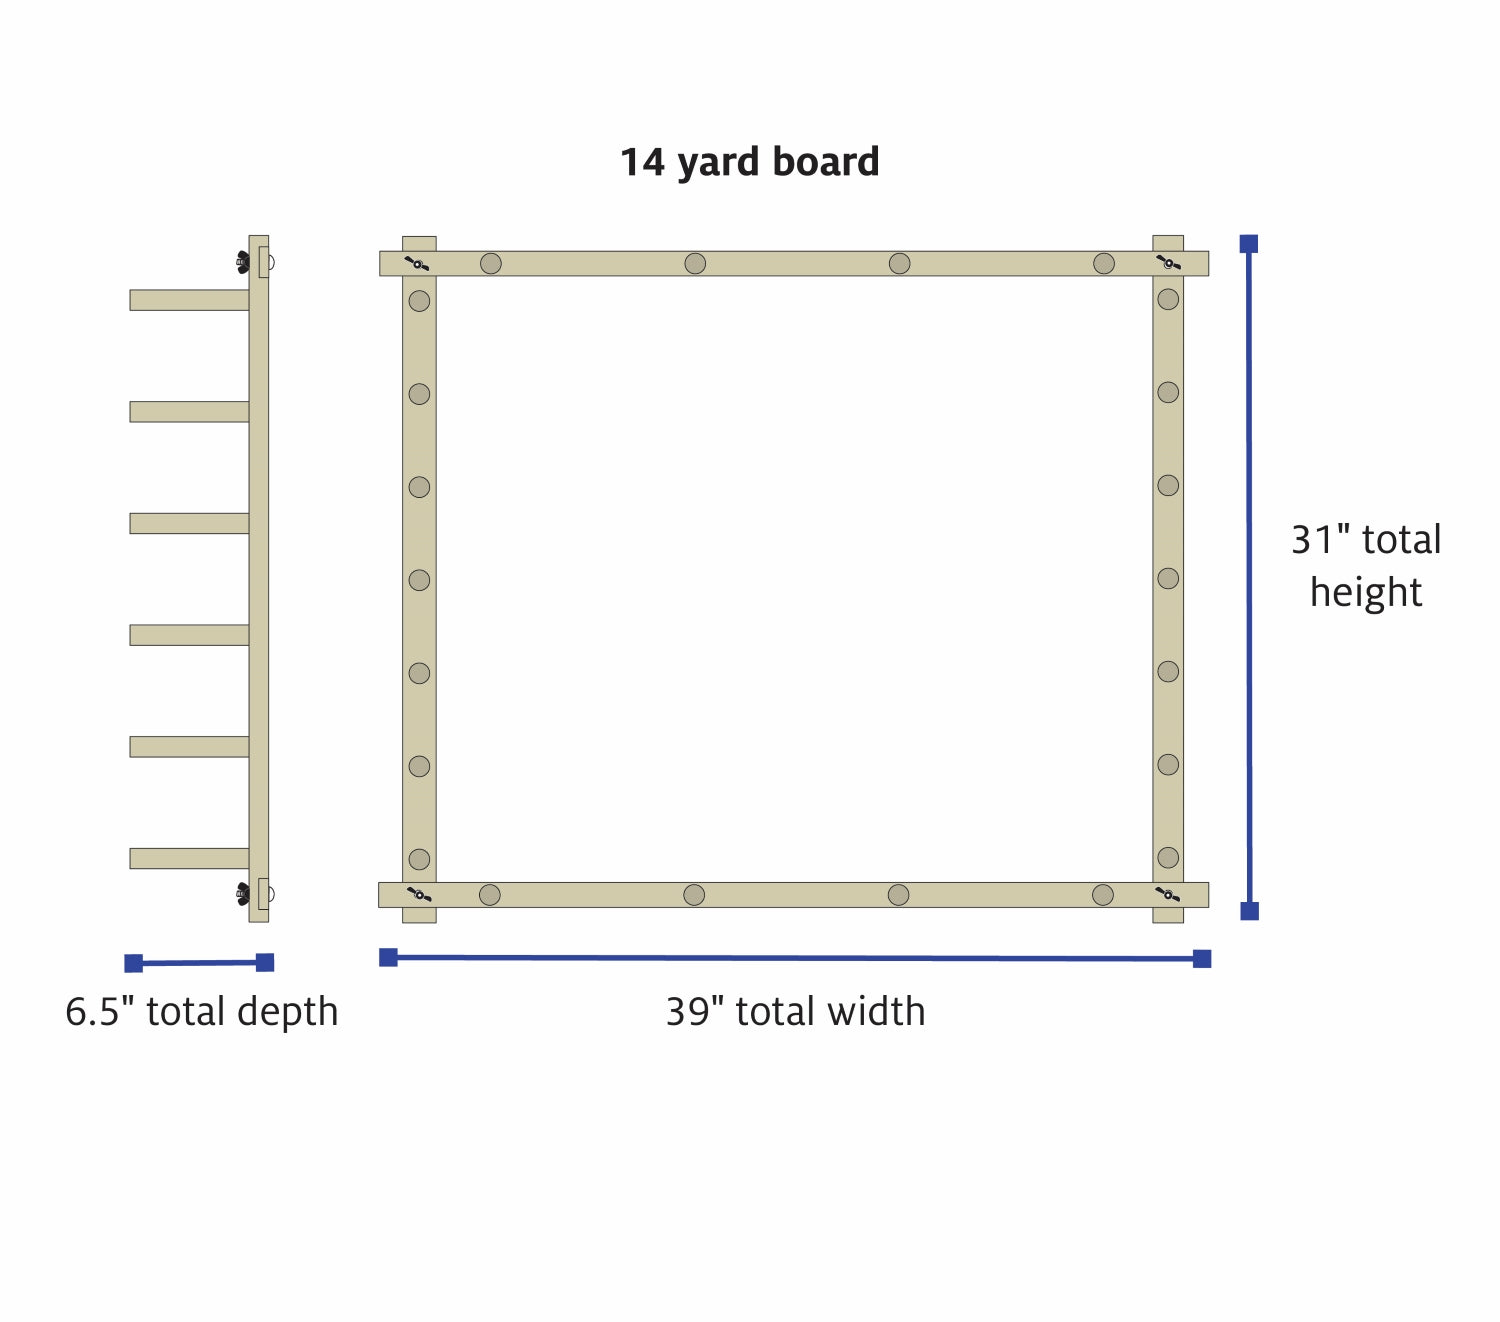
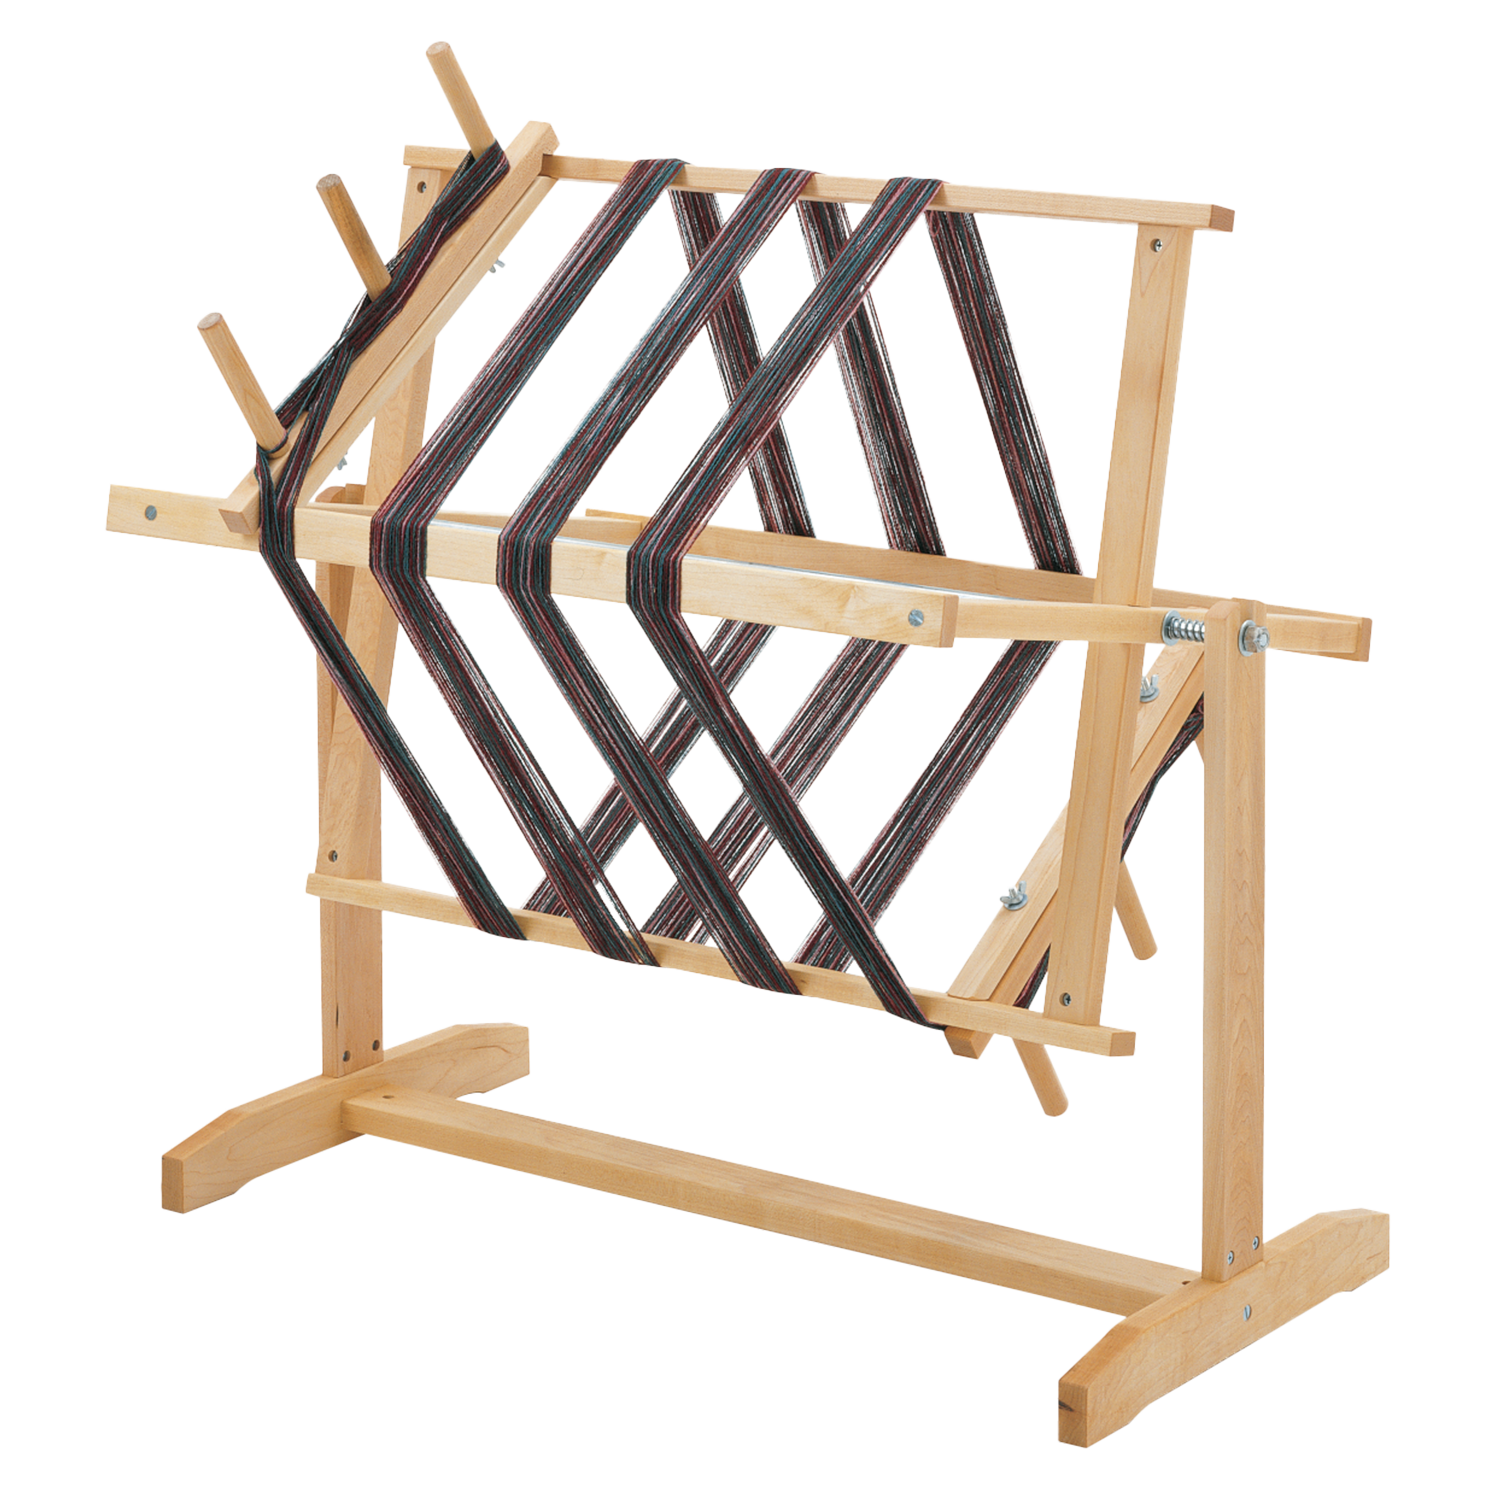
Warping board or mill
-
Sewing machine or sewing needle
Materials
Equipment
Directions
Warping and Weaving
Warp the loom according to the draft.
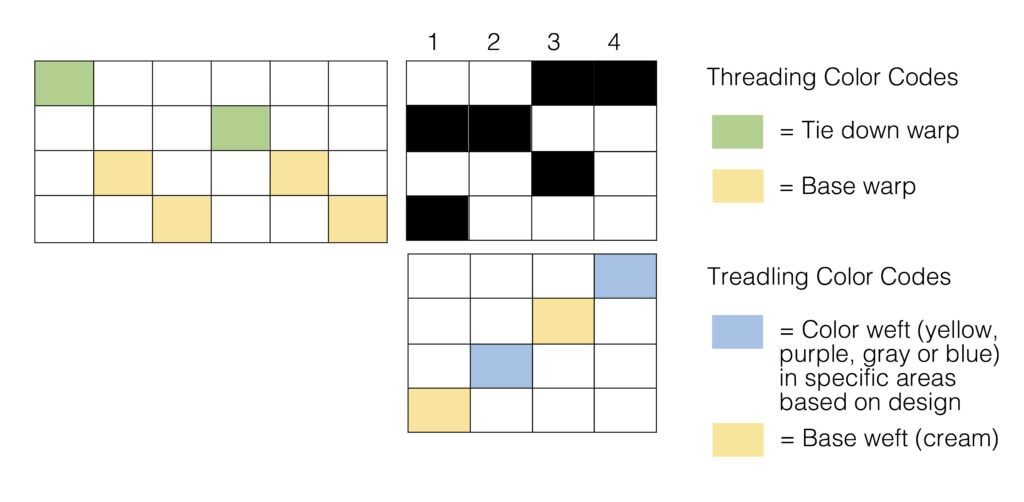
- Weave two inches of the base weft using treadles 1 and 3. Finish this step by weaving the base weft with treadle 1.
- When you’re ready to start the inlay, use treadle 2 to insert the inlay yarn. This will only be in specific spots, according to your design.
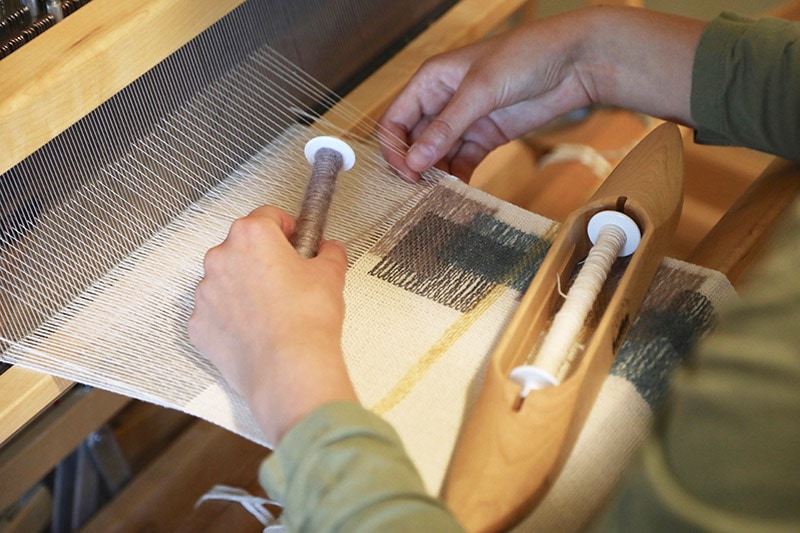
- Weave another base weft pick using treadle 3.
- Use treadle 4 to continue your design with the inlay weft.
- Weave the base weft using treadle 1.
Repeat steps 3–6 for the entirety of your design.
- Weave two inches of base weft using treadles 1 and 3.
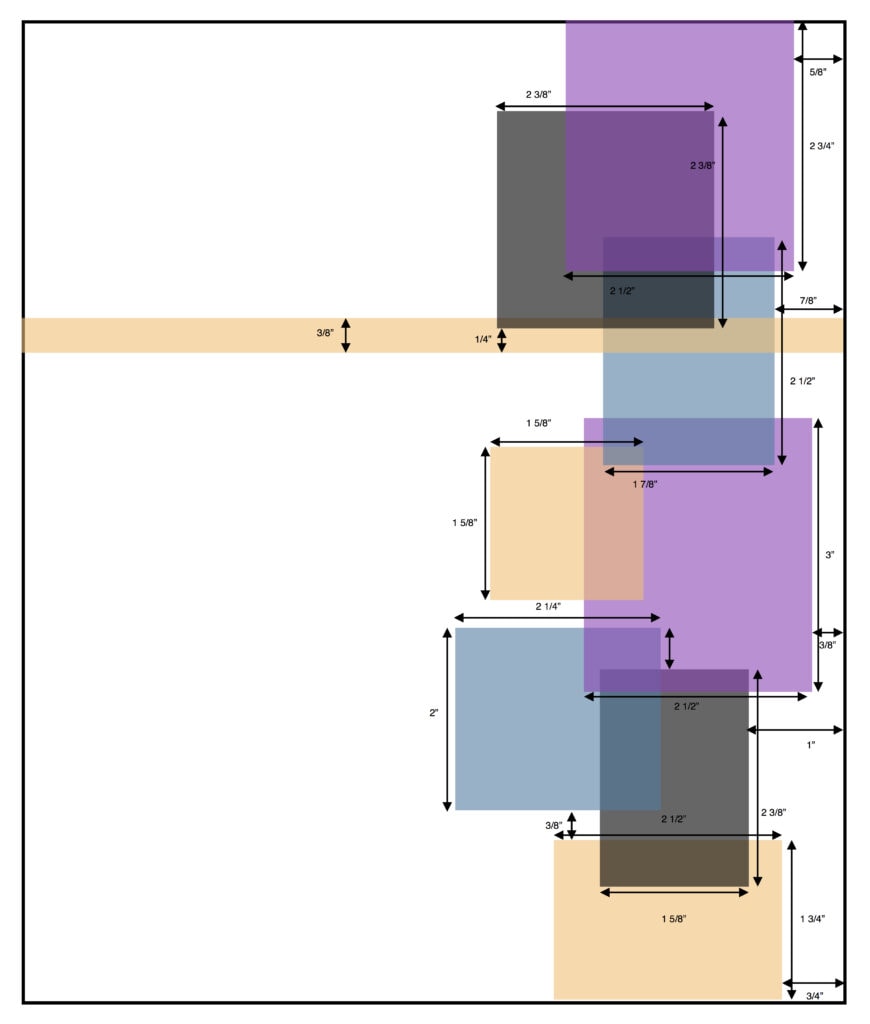
Note: There can be more than one inlay thread with each pick. This comes into play for overlapping shapes or designs.
Finishing
- Cut weaving off the loom. Wash with a mild detergent and allow to air dry.
- Secure the weft at top and bottom by finishing the edges with a sewing machine. Trim excess warp at these edges. There should be approximately 1-1/2″ of base weft, without inlay, on each of these edges that you can use for hems.
- Cut a 1/4″ wooden dowel for hanging, subtracting 1/4″ from the weaving width. For a window hanging, drill a 3/16″ hole at each end of the dowel—the hanging thread will go through these holes.
- Fold the top edge of the weaving under 1/4″, then fold this edge over the dowel. Pin in place. Sew by hand to form a casing for the dowel.
- Fold the bottom edge under 1/4″, then fold again by the same amount to fully enclose the raw edge. Sew this hem by hand.
- For a wall hanging, insert the dowel into the casing. Hand sew the casing closed at each end. Position pins in the wall 8″ apart. Carefully fit the heads of the pins into openings in the weaving, so that the dowel rests on these pins but the pin heads are not visible.
- For a window hanging, cut 2 lengths of monofilament 12″ to 20″ long. You can shorten these threads later, but you can’t make them longer. Insert the dowel into the casing, then use a needle to insert monofilament through the weaving and the drilled holes at each end. Tie the monofilament around the dowel and trim off the knot tails. Hand sew the casing closed at each end. Position nails in the window trim so the monofilaments will hang straight; tie the loose ends of the monofilament to these nails.

