Woven Bracelet With Many Uses
Designed and woven by Annie MacHale
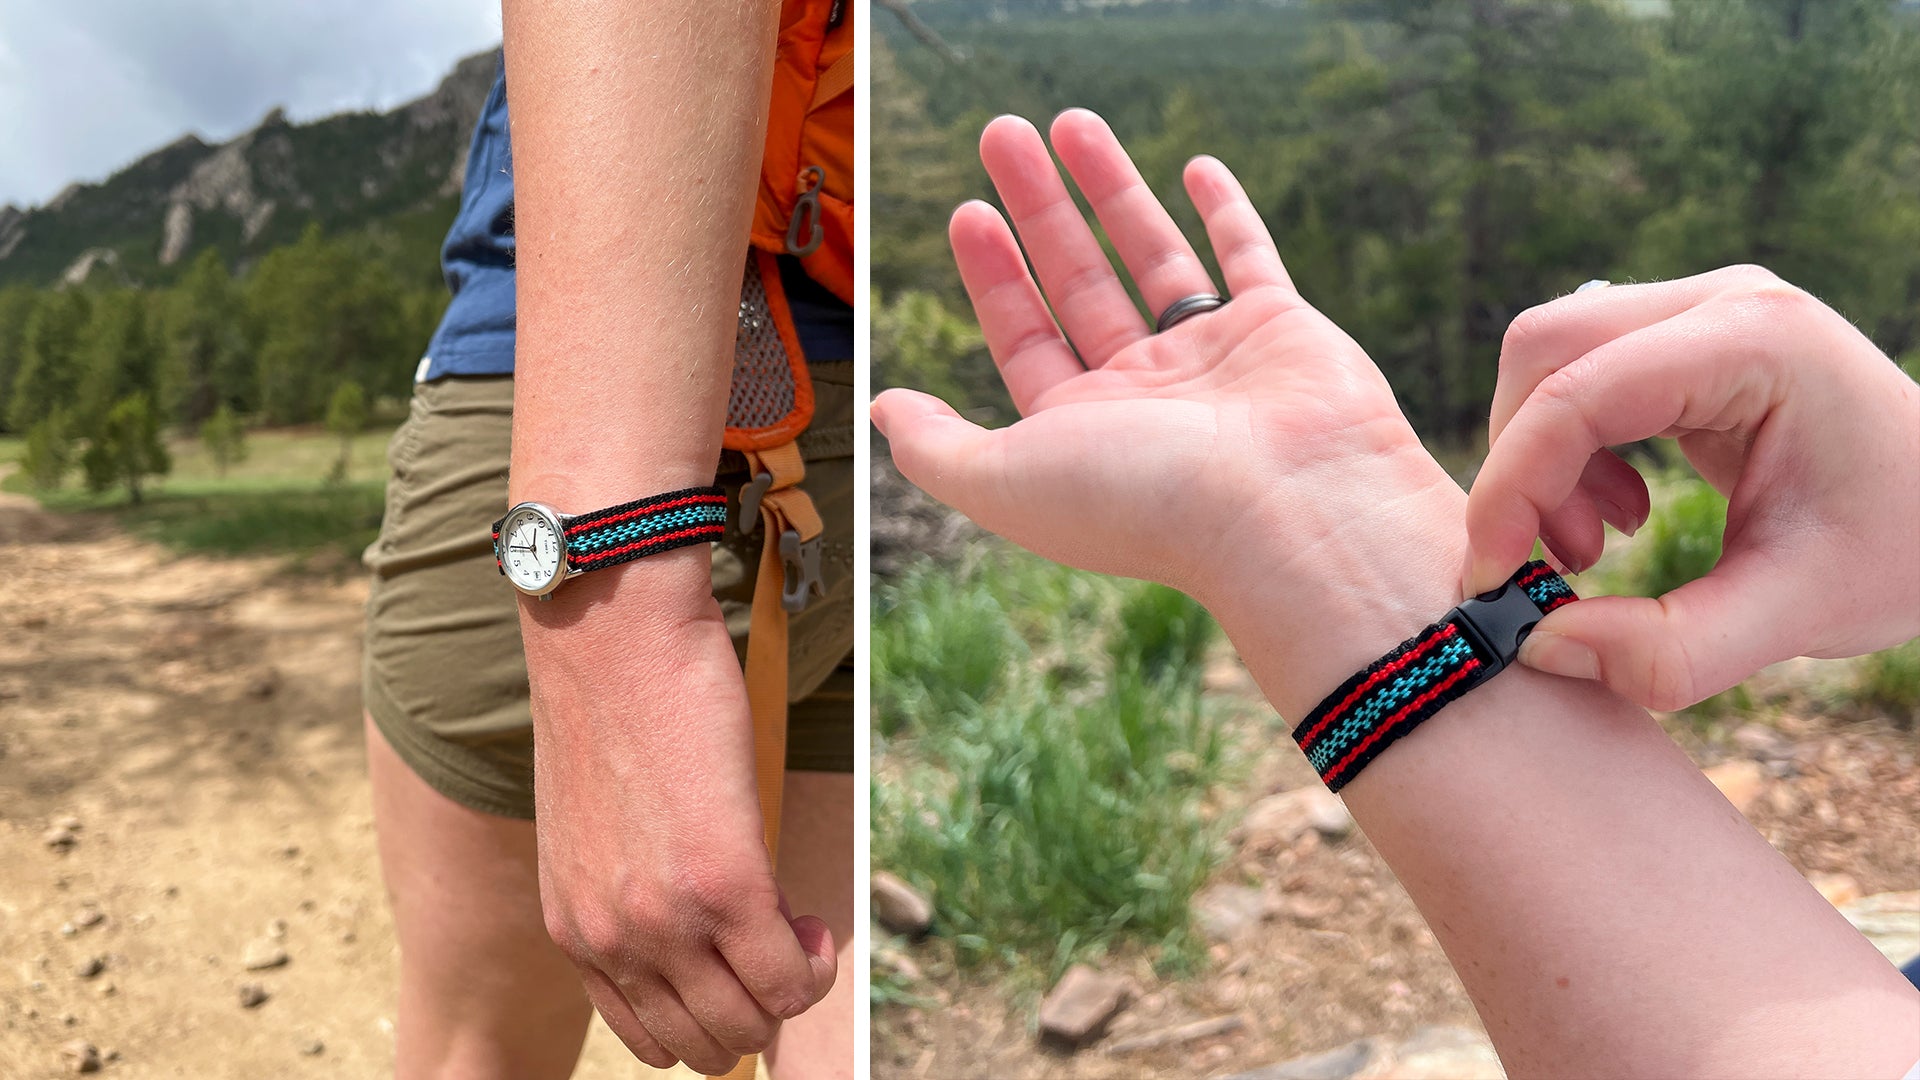
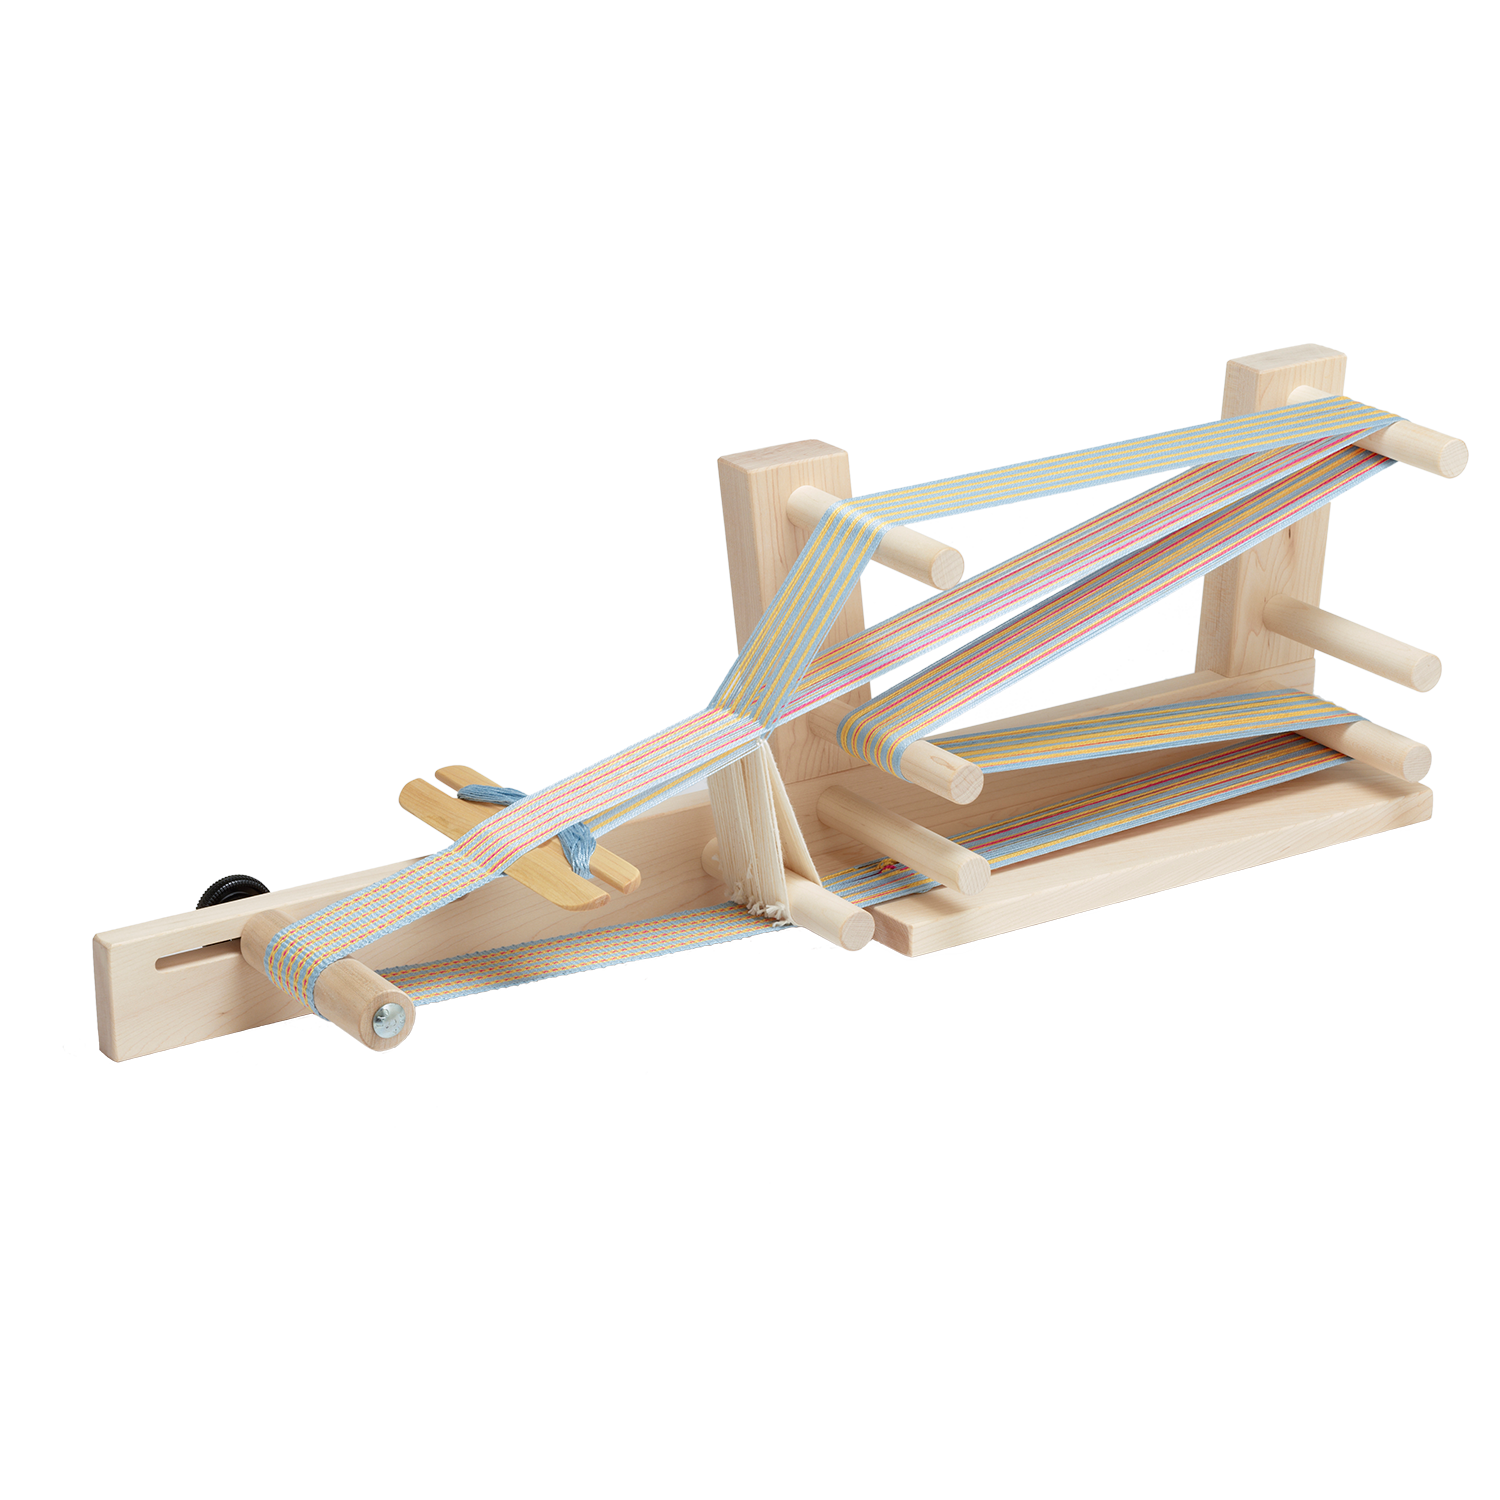
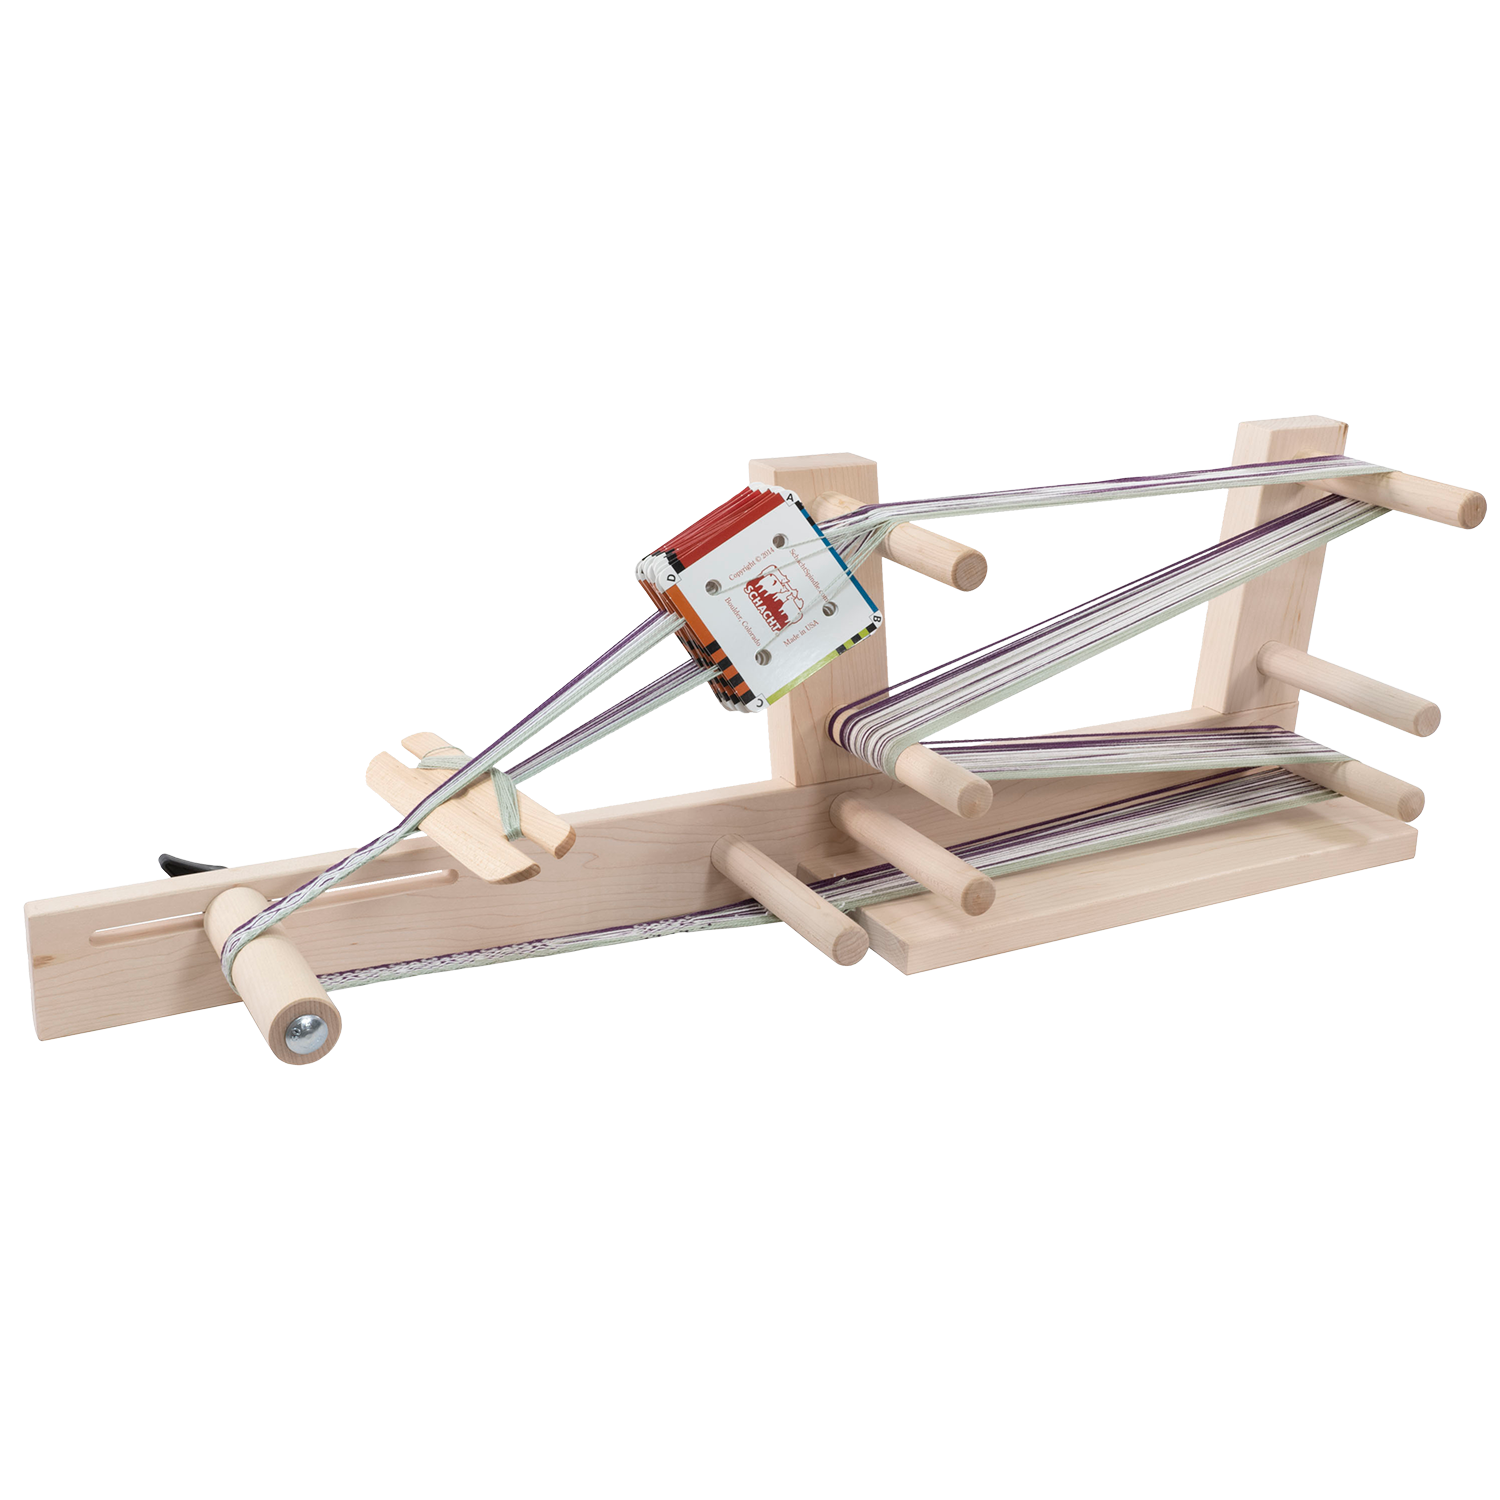
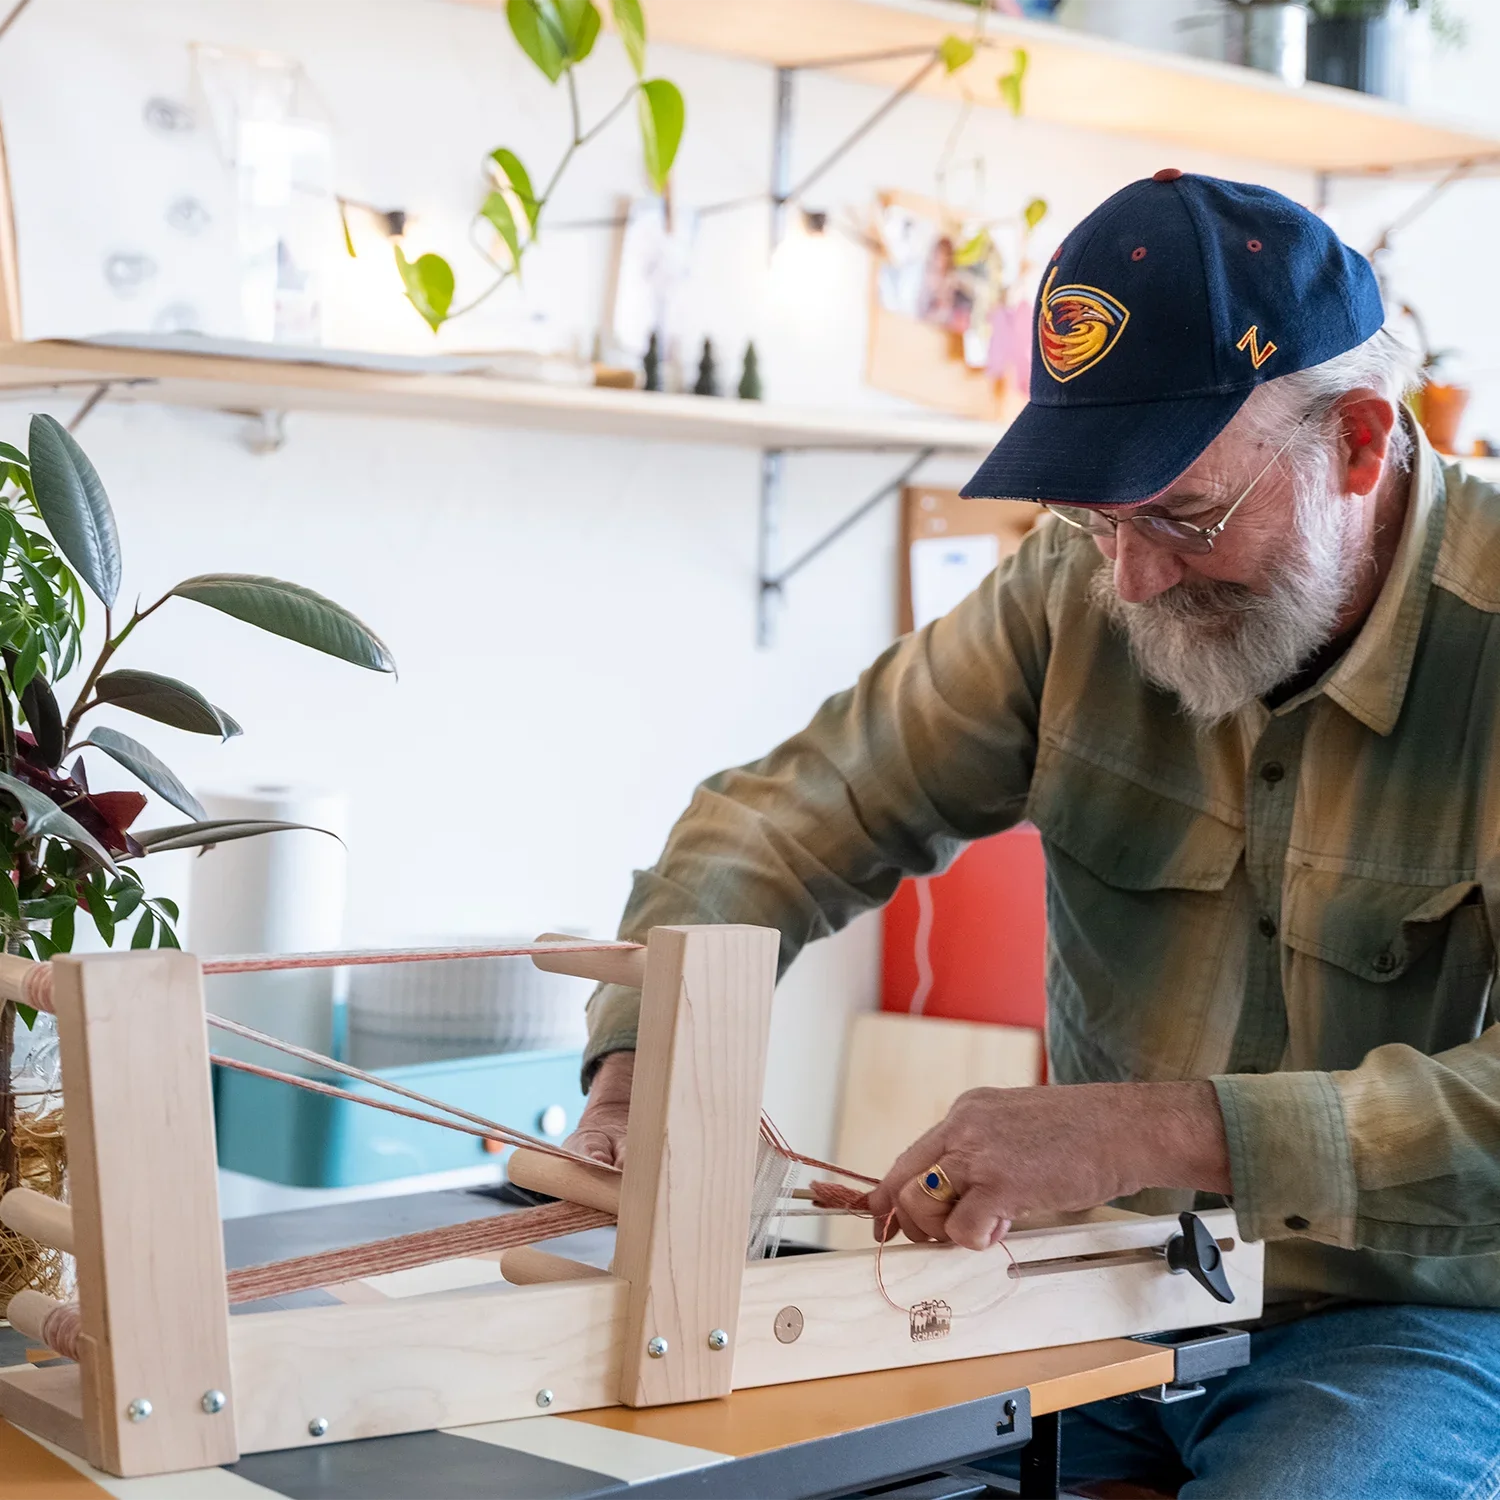
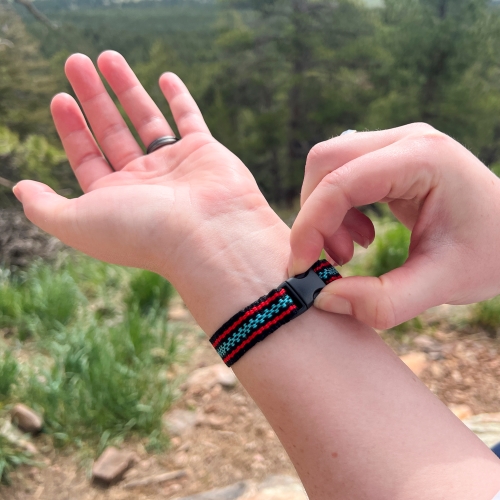
Inkle weaving gives you the ability to make so many practical and beautiful items for everyday use. Of all the things I have woven on my Schacht inkle looms—I currently have 8—one of the most useful has been this little bracelet, which I also use as a watchband.
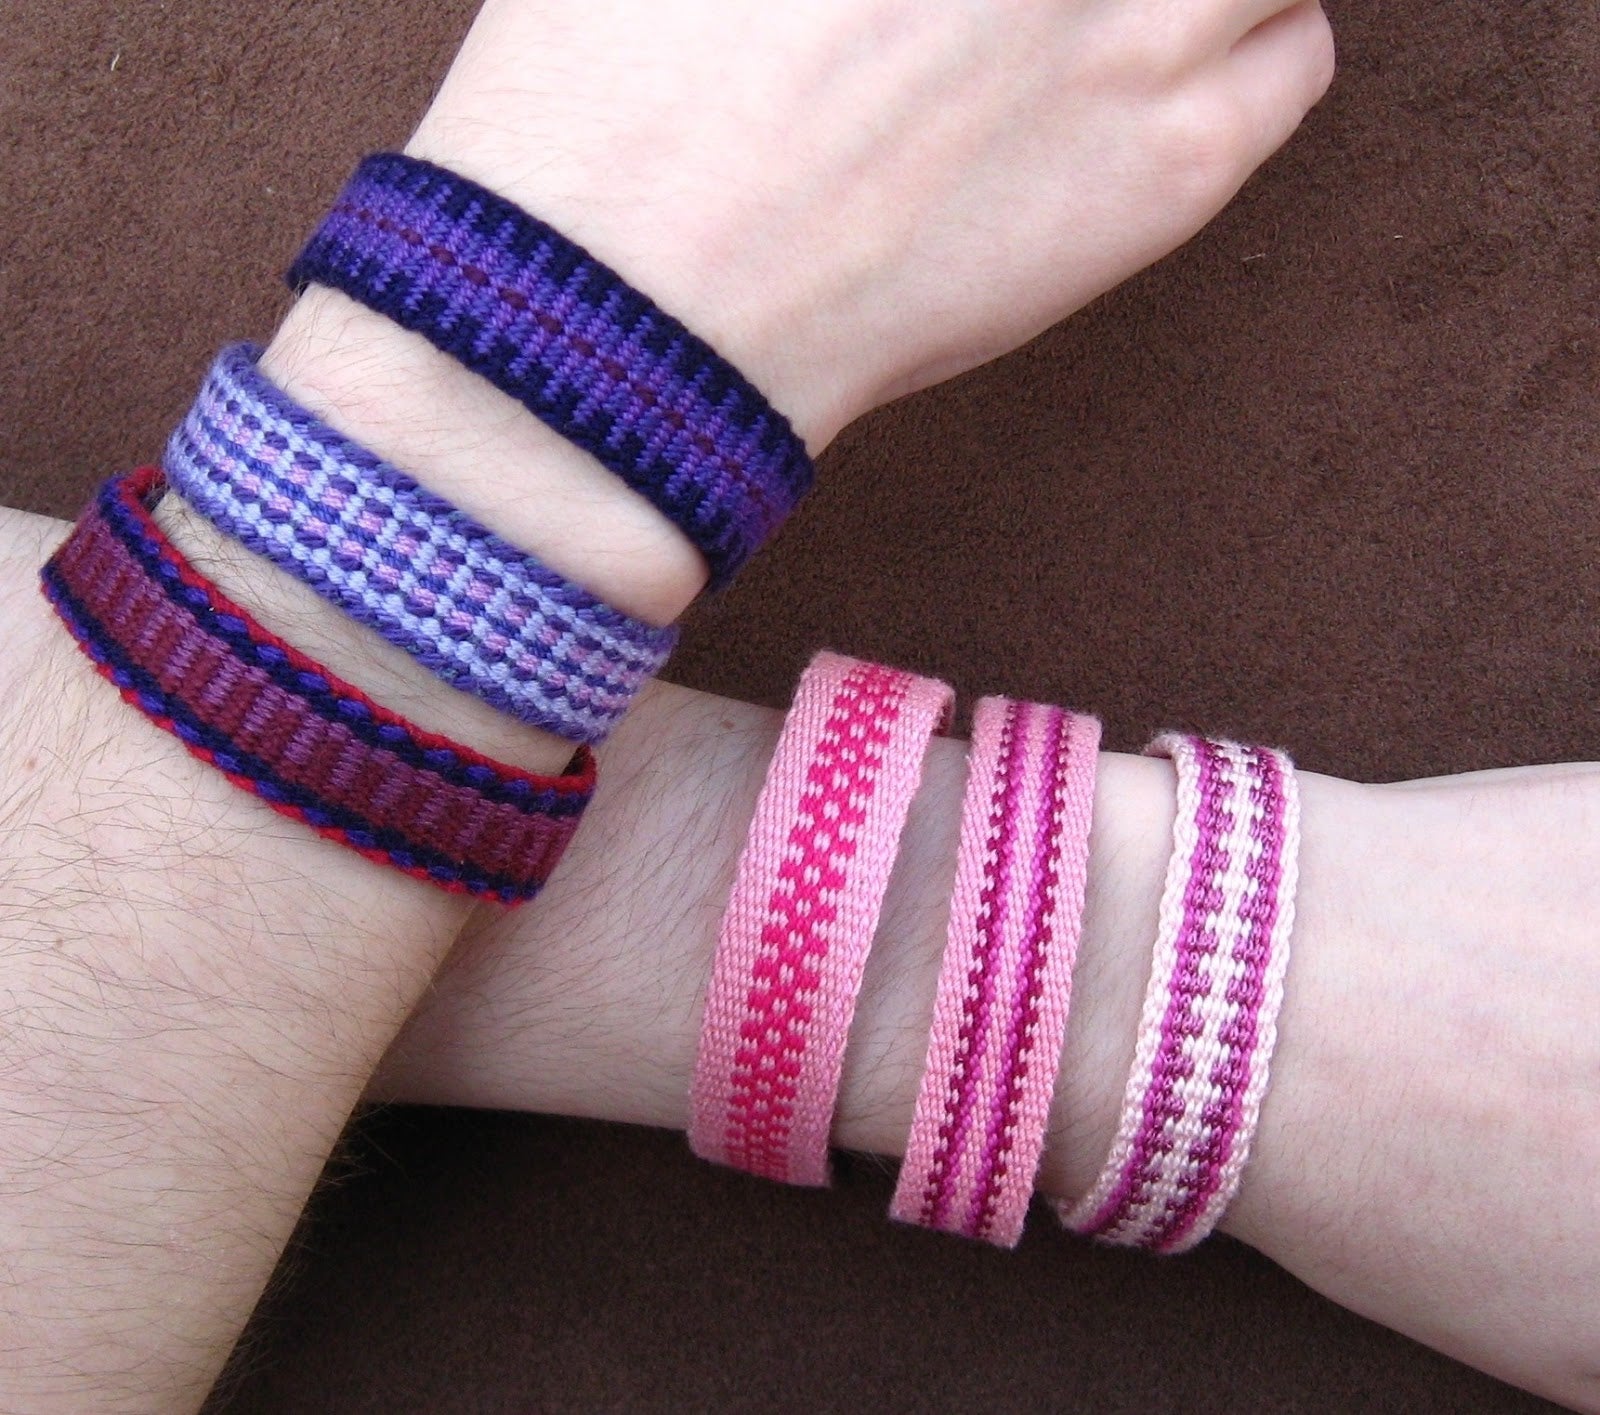
It all started when I came across some small 1/2" side release buckles and thought that they would work nicely for a little woven bracelet. I wove bands using crochet cotton, which comes in so many wonderful and bright colors! The bracelets were so lightweight and comfortable to wear, I began making collections of them that I could mix and match in bunches. I then made the happy discovery that the 1/2" band fitted my watch perfectly. Naturally, I made my own custom watch band, and it is truly the most comfortable watch band that I have ever owned.
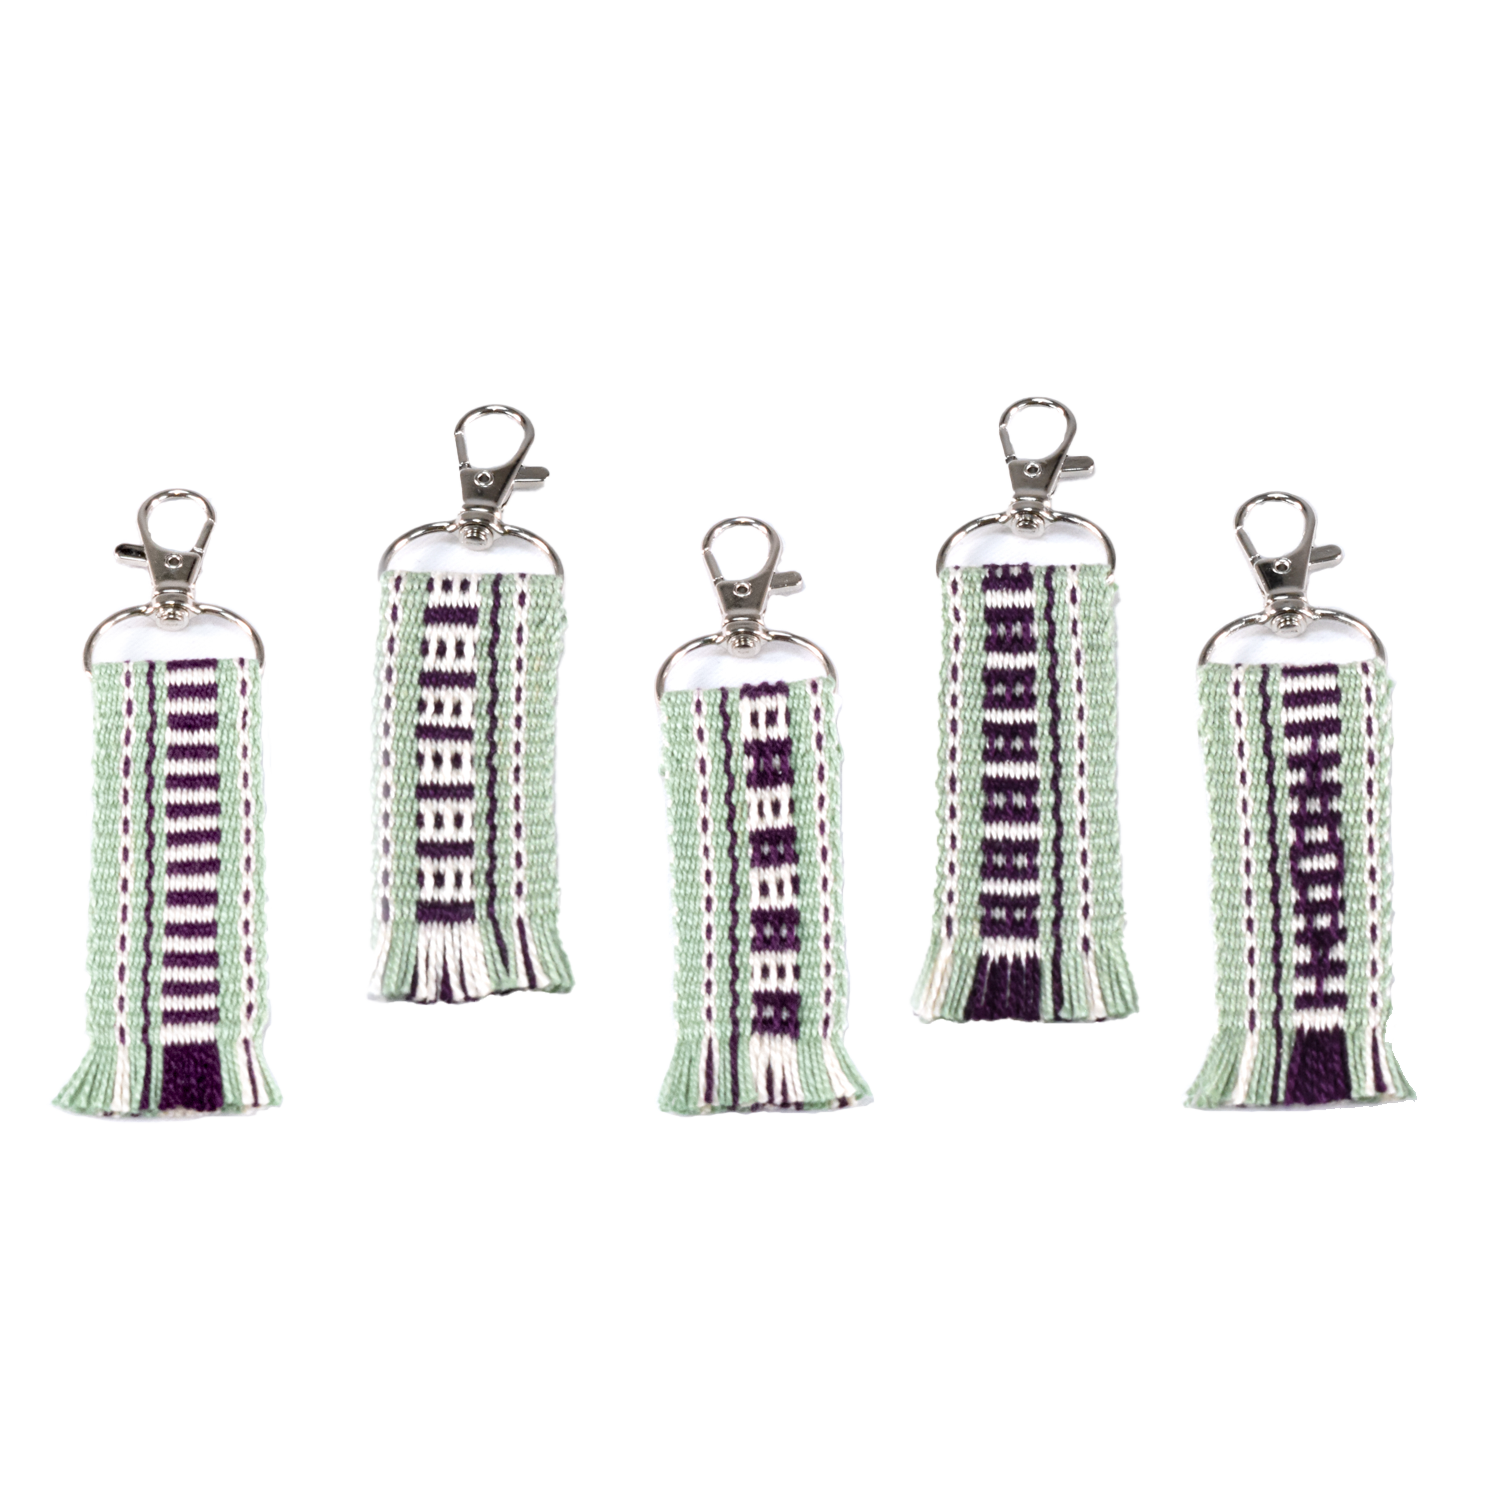
My coworkers and friends saw them and loved them, too. They helped me imagine other uses for this little strap with a side release buckle. They can be used as bracelets or watch bands. You can also attach your keys or water bottle to a purse or backpack. They are versatile and useful for everyone!
Project Specs
Weave structure: plain weave
Weaving width: 1/2"
Number of warp ends: 35
Warp length: 78", which will yield 6 to 8 bracelets.

What You'll Need
-
Aunt Lydia's Crochet Cotton, size 10: 18 yards Black for weft; 50 yards Black for warp; 19 yards Atom Red for warp; 15 yards Peacock for warp.
-
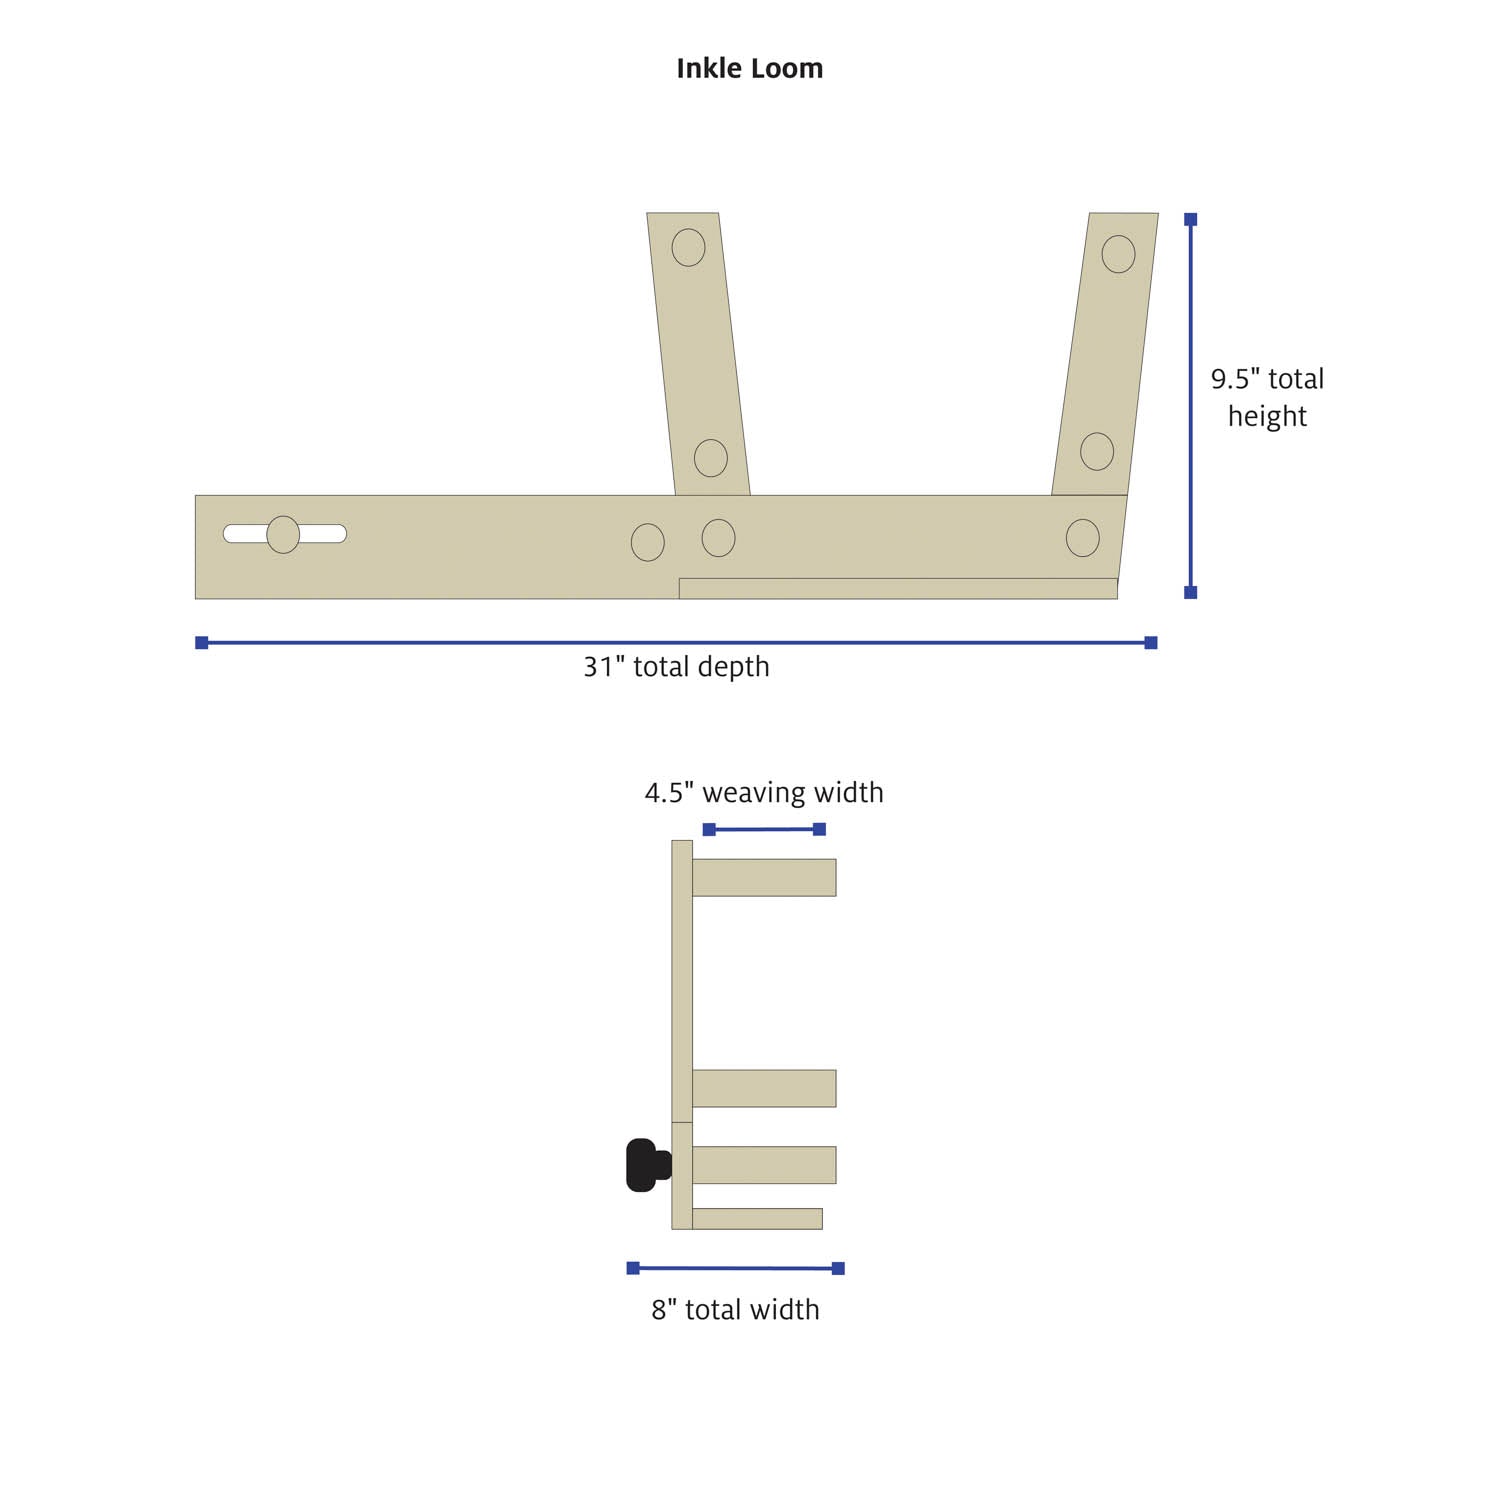
inkle loom and belt shuttle
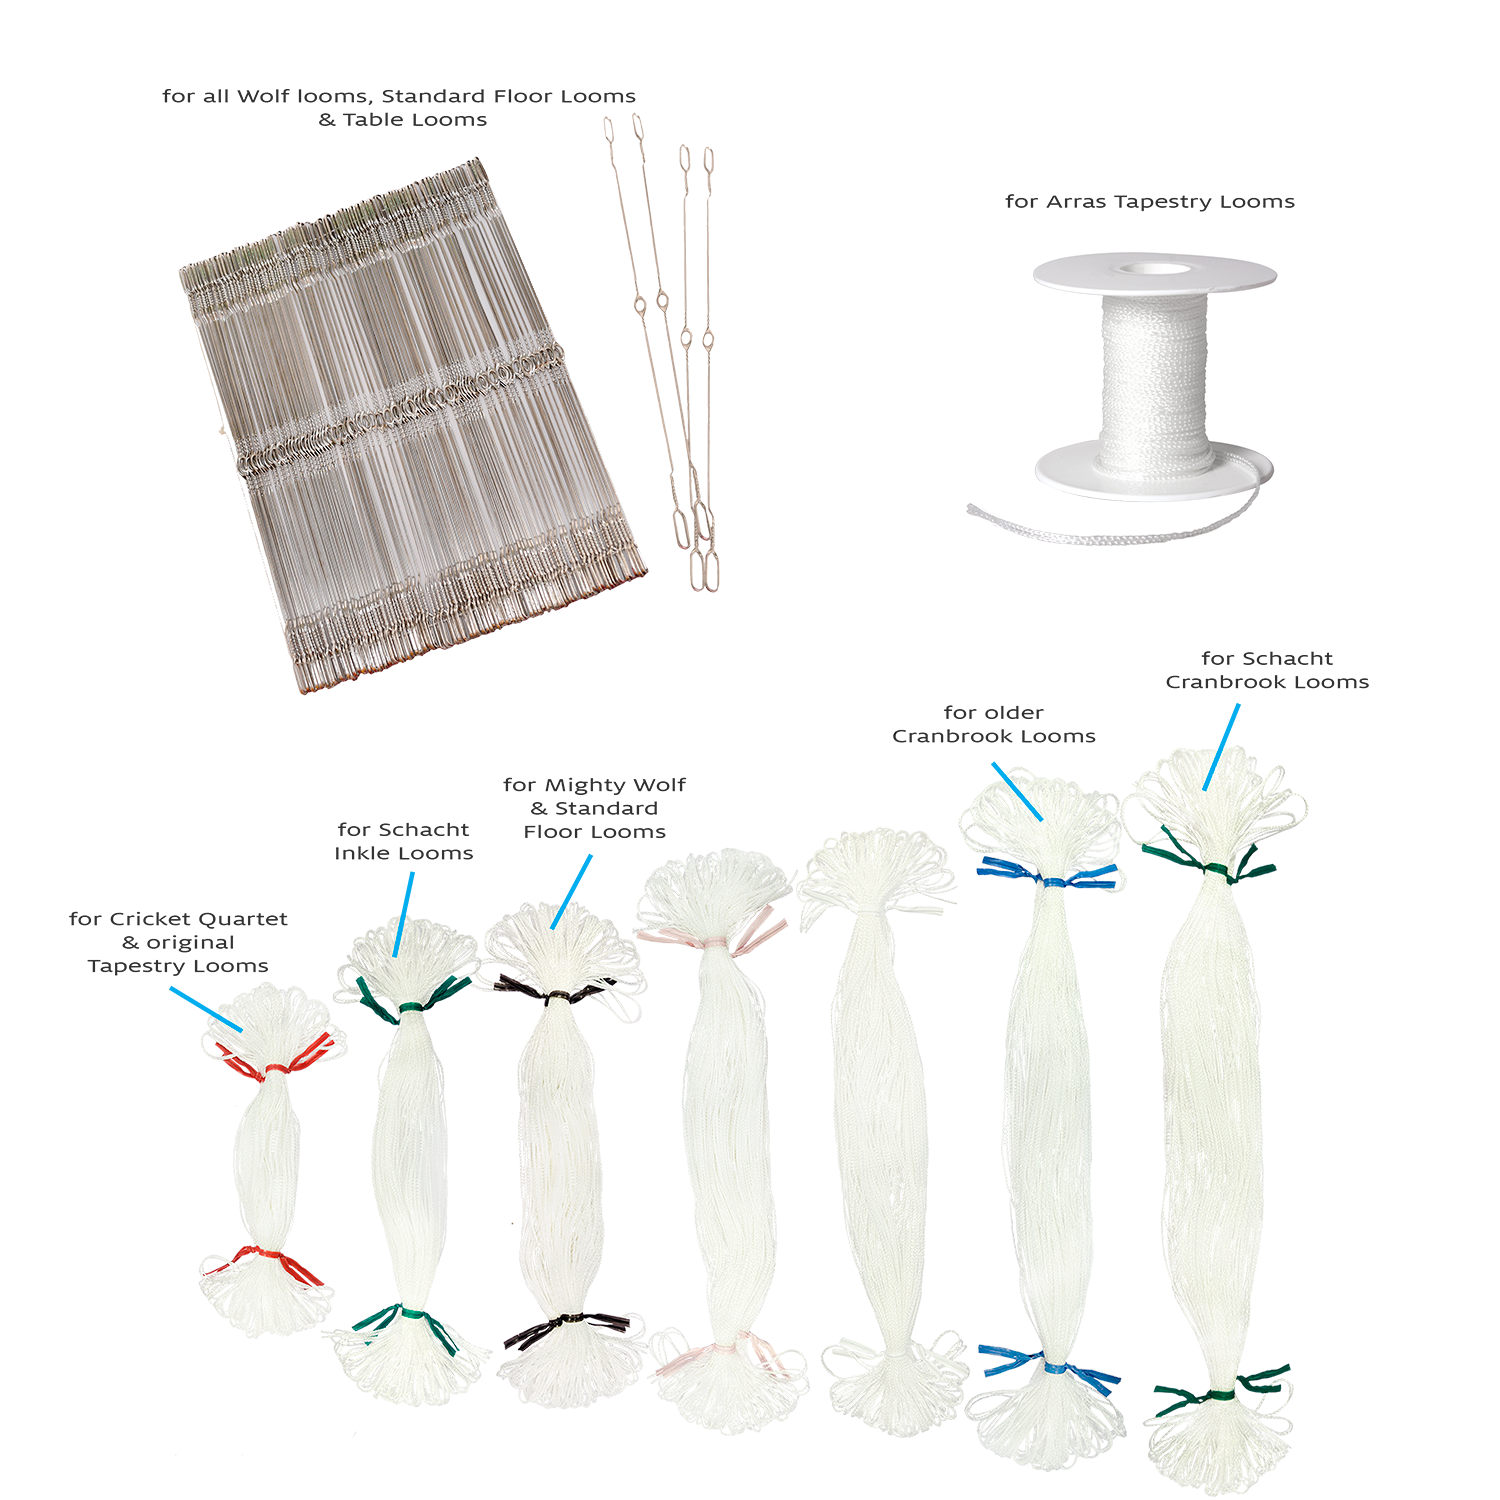
- 18 string or Texsolv heddles
- sharp fabric scissors
- sewing thread and needle
- 1/2" or 3/8" side release buckle (3/8" is easier to find and will work as well) or closure of your choice
Materials
Equipment
Directions
Notes
Weave a test piece so you can adjust the band's width to fit your closures. Each weaver uses a different tension, beat, and pull, so if weaving with 35 warp threads gives you a different width, add or remove a few ends. If you did not do a test, no need to fret! Just measure the width of your band after you have woven an inch or so, and add a couple of warp threads, or cut a couple of them out to achieve the desired width.
If you plan to make watch bands, make sure they'll fit in the watch case lugs or connectors. Luckily, many ladies’ watches can hold a 1/2" wide band. If the watch has removable spring bars, run the band over the first spring bar, behind the watch case, and back up over the second spring bar. You can also attach the band with other types of adaptors.
Warping
For each bracelet, you will need a woven band of 9" to 12" in length. If you warp your loom following the mediumlength path, you should have enough material for 6 to 8 matching bracelets. Use the warping chart above, substituting colors as you wish. Or design your own pattern with 35 warp threads.
Weaving
Once you start weaving, check the width of your band to make sure that it measures 1/2". If it’s too wide, calculate how many warps you might need to add or remove to get the right width. If you need to add or subtract warps, you can unweave back to the beginning to do this. Have fun weaving! Weave the length of your warp and, when finished, remove it from the loom.
Finishing
Wet finish the weaving by soaking it in a bucket of water overnight. This allows the band to shrink and tighten up, and any excess dye will rinse out. (Tip: If you use yarns which you suspect might bleed, add a Shout Color Catcher sheet to the bucket. You can also check frequently for bleeding and change the rinse water as often as needed.) Wring out excess water from the band and hang to dry completely
For each bracelet, take the wearer's wrist measurement and add 3". Measure and cut a band to the desired length using sharp fabric scissors. There is no need to glue or sew the rough cut ends, as they will be folded under and enclosed within the sewn portion in the next step.
For side release buckles, separate the buckle into two pieces. Thread one buckle piece onto one end of the band. About 1-1/2" from the end of the band, fold the band over the bar of the buckle and then fold a second time, tucking the cut end under so that it ends up totally enclosed in the fold.
Using your sewing thread and needle, sew by hand with a whip stitch. Sew up one side of the folded section, across, and down the other side. Attach the second part of the buckle in the same way.
For a watch band, thread the band behind the watch case, before attaching the second buckle piece. You may need to adapt these instructions for different types of buckles, connectors, or watch band adaptors—just make sure the cut ends of the band are completely enclosed inside folds.
Finished bracelets can be embellished with beads, buttons, or anything that you can dream up. Have fun with this!
Notes
How To Warp An Inkle Loom, video by Schacht Spindle Co; https://www.youtube.com/watch?v=WSLi1KXO5y0&t=6s
How to change / remove a watch strap without tools! video by Nordic Watch Channel; https://www.youtube.com/watch?v=42xQfckD-PM&t=7s
Band Weaving Pattern Editor https://www.raktres.net/seizenn/#/inkle
Strapworks A source for side release buckles as well as a lot of other useful hardware; https://www.strapworks.com/shop-by-product-type/plastic-hardware/side-release-buckles
Author’s blog includes ideas, patterns, resources, and a list of uses for a woven band; ASpinnerWeaver.com
MacHale, Annie. In Celebration of Plain Weave: Color & Design Inspiration for Inkle Weavers. ASpinnerWeaver, 2019.

