7 Essential Tips for Weaving with Linen
By Carrie Miller
carrie-miller.com/
Linen has become an increasing popular fiber choice in home goods and accessories over the past few years. Many of the usual suspects for weaving projects look just fabulous in linen—its rustic sophistication brings handwoven table runners, placemats, and napkins to a new level. But, let’s be honest, linen is also a bit intimidating. You may have heard horror stories of your friends working with tricky, springy linen that frays and is impossible to tension correctly. Although I’m sure all these stories are terrifyingly true, the good news is that there are solutions to each of the unique issues that arise when working with linen. Whether you’re making a small linen project or a large one like the example I used for this tutorial, the tips and tricks below will help you achieve a lovely result while having fun!
In this tutorial, I’ve tackled weaving with linen in the warp and weft to showcase the full experience. This is recommended for an intermediate to advanced weaver who has already experimented with linen as weft.
While luxurious and sought-after in handwoven goods, the characteristics of linen do make it a challenge to weave. Linen is an unforgiving fiber that has very little elasticity. These qualities can result in breakage, uneven tension, and visibly uneven beat in the finished project. Linen is also prone to fraying. The linen fiber is very strong when wet, but almost brittle when dry. This can result in fraying and eventually breakage during the weaving process if the warp isn’t kept damp.
As you’re shopping for linen, you’ll also notice that it isn’t cheap! Diving into a huge project that goes awry can be very costly, so start small and grow slowly. Don’t be discouraged by the obstacles of working with linen! The tips below will help you along your journey and trust me, the finished project will be so worth the fussing.
If you want to ease into weaving with linen you can try a blend like Gist Yarn’s Duet. The yarn I used for the example in this tutorial is Normandy Linen.
What You'll Need
Directions
Tip #1: Start with a sample—don’t skip this step!
In my sample, I wanted to test the threading method, tension, and durability of my yarn. There are many kinds of linen and depending on how the yarn is spun, it can behave differently when it's woven. I also used this opportunity to test wefts and choose the most suitable size. My sample was 5" wide and 2 yards long. This was large enough to help me understand the properties of the yarn and what I needed to do to ensure success with my project.
Tip #2: Back-to-front warping is a must
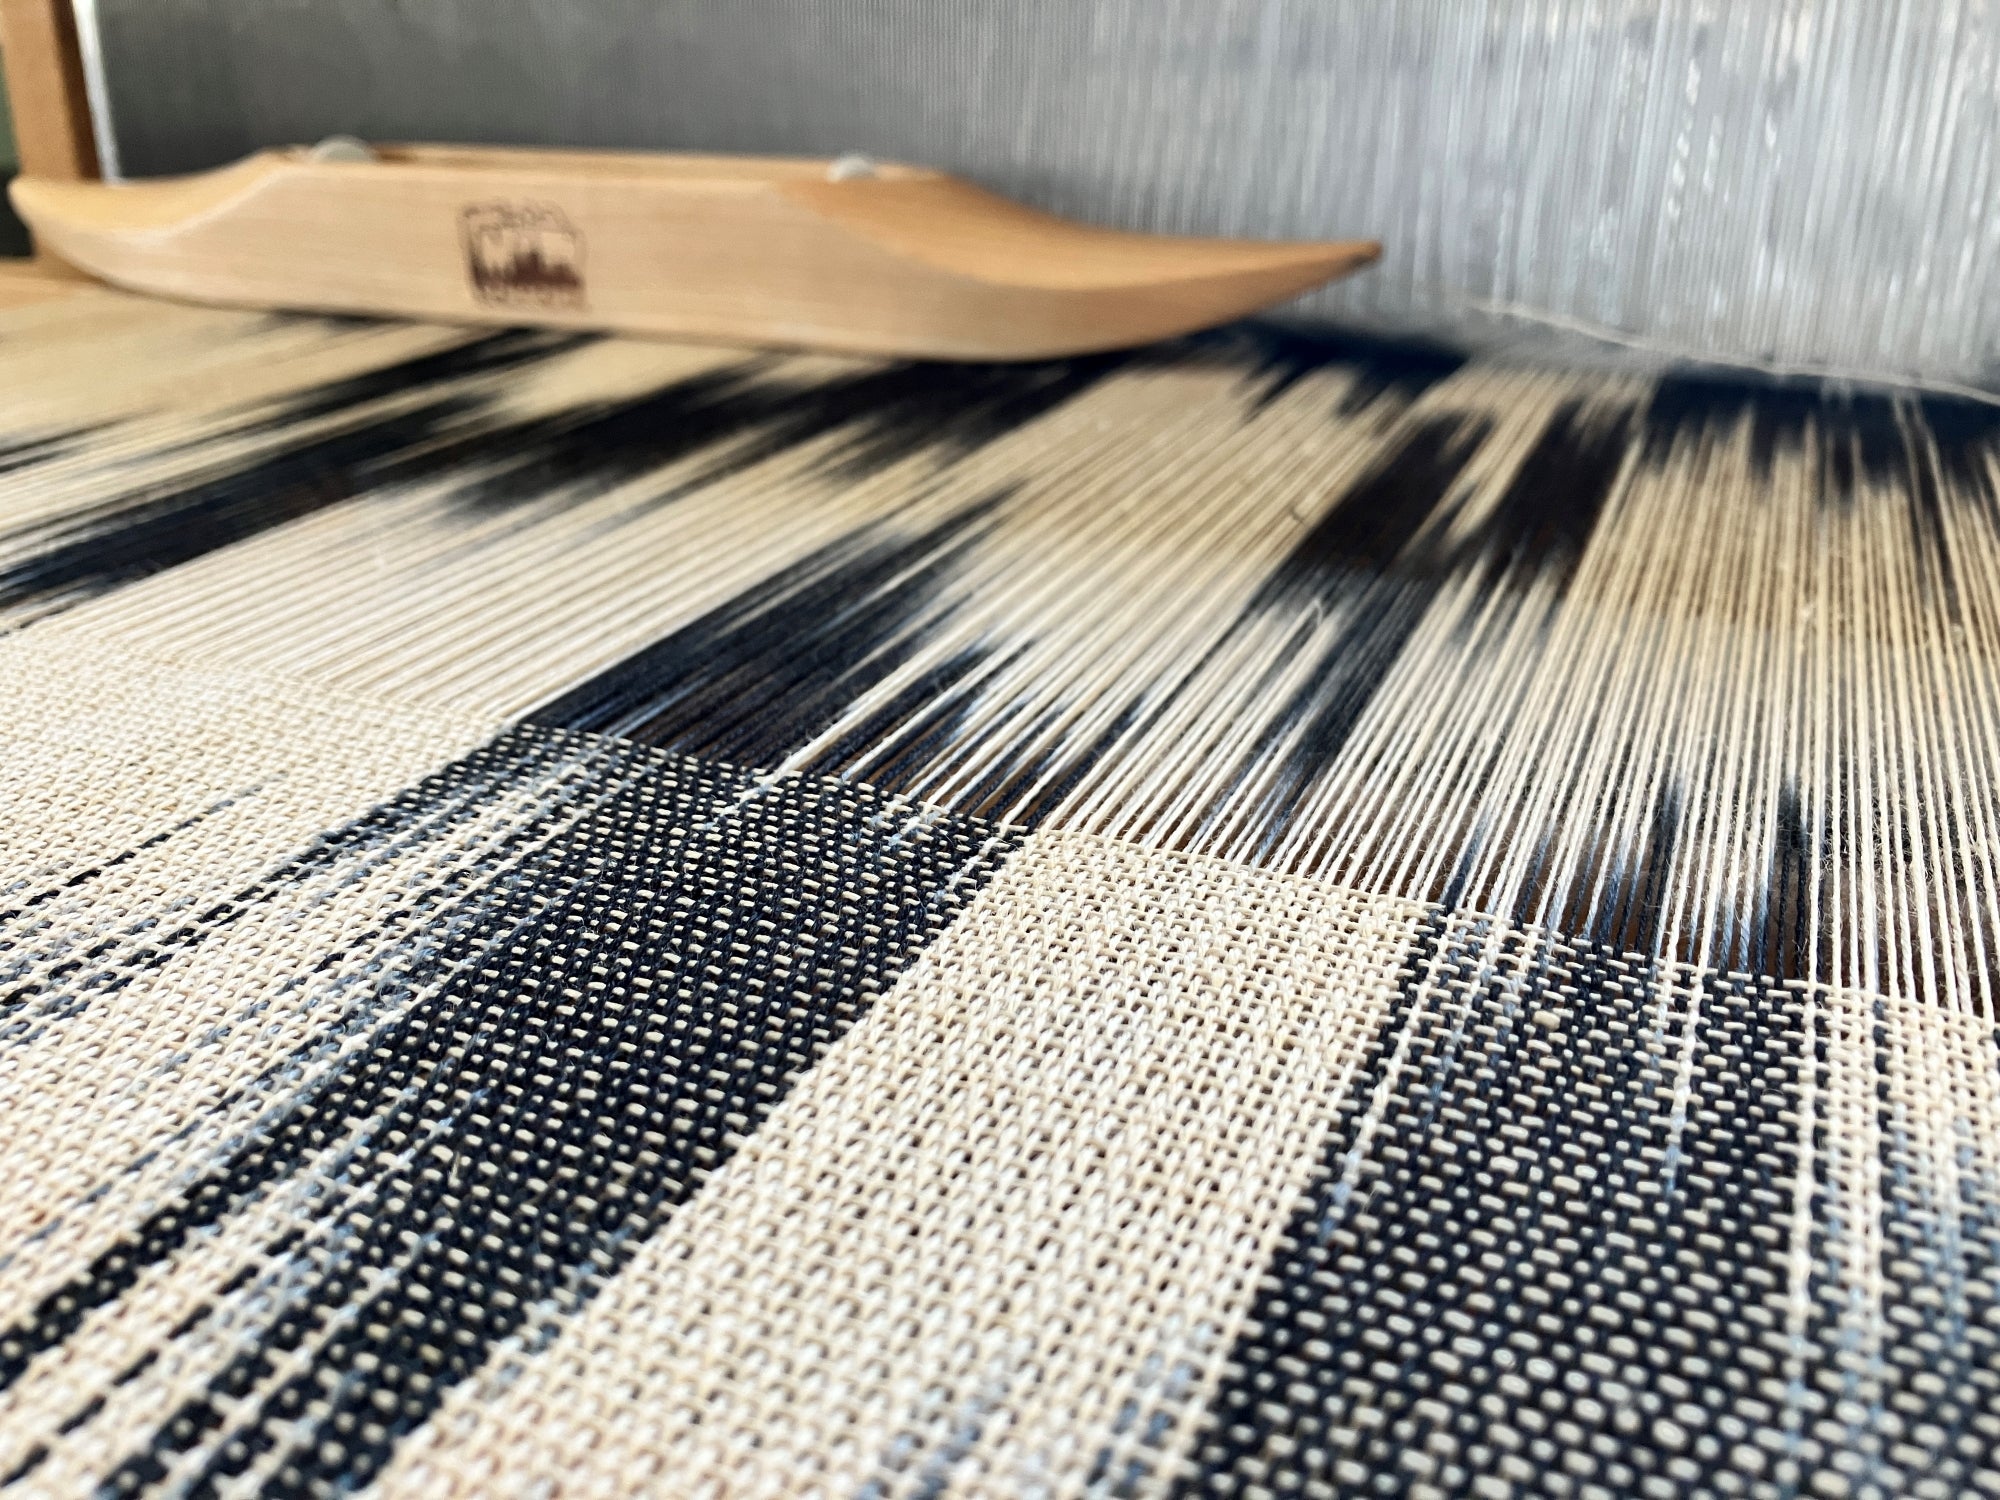
Since linen lacks elasticity, creating even tension during the warping process is key. Most tension issues happen during winding on and tying on. In researching, I found that back-to-front sleying was recommended for consistent tension with linen. I had to try both back-to-front and front-to-back for the sake of research. I found that keeping the tension even throughout the whole process of dressing the loom was much easier with the back-to-front method. As we discussed in the beginning, linen is springy, and I did not enjoy the process of organizing all of my ends after threading. The other issue with sleying front-to-back with linen is the amount of abrasion that is a normal part of winding on when the reed is already sleyed. I actually broke a few threads just in the winding on process! I didn’t have a single broken thread when I used the back-to-front method. Remember that if you generally warp front-to-back, you'll need a raddle and lease sticks for warping back-to-front.
Tip #3: Tie on carefully
Tying on is the moment of truth for tensioning your warp, so take your time. After trying both lashing on and tying directly onto the apron bar, I have to admit that I did not see a significant difference between the end results. Stick to what you know and feel comfortable with. There are already enough complications to weaving with linen!
If you do end up with a few loose threads, it is no problem. Just weight your yarns off the back of the loom.
Tip #4: Weave with Water
One of the most fascinating properties of linen is that water strengthens it. I live in very dry Colorado, so adding moisture to the yarn was key for me. If you live in a more humid climate, this may not be necessary.
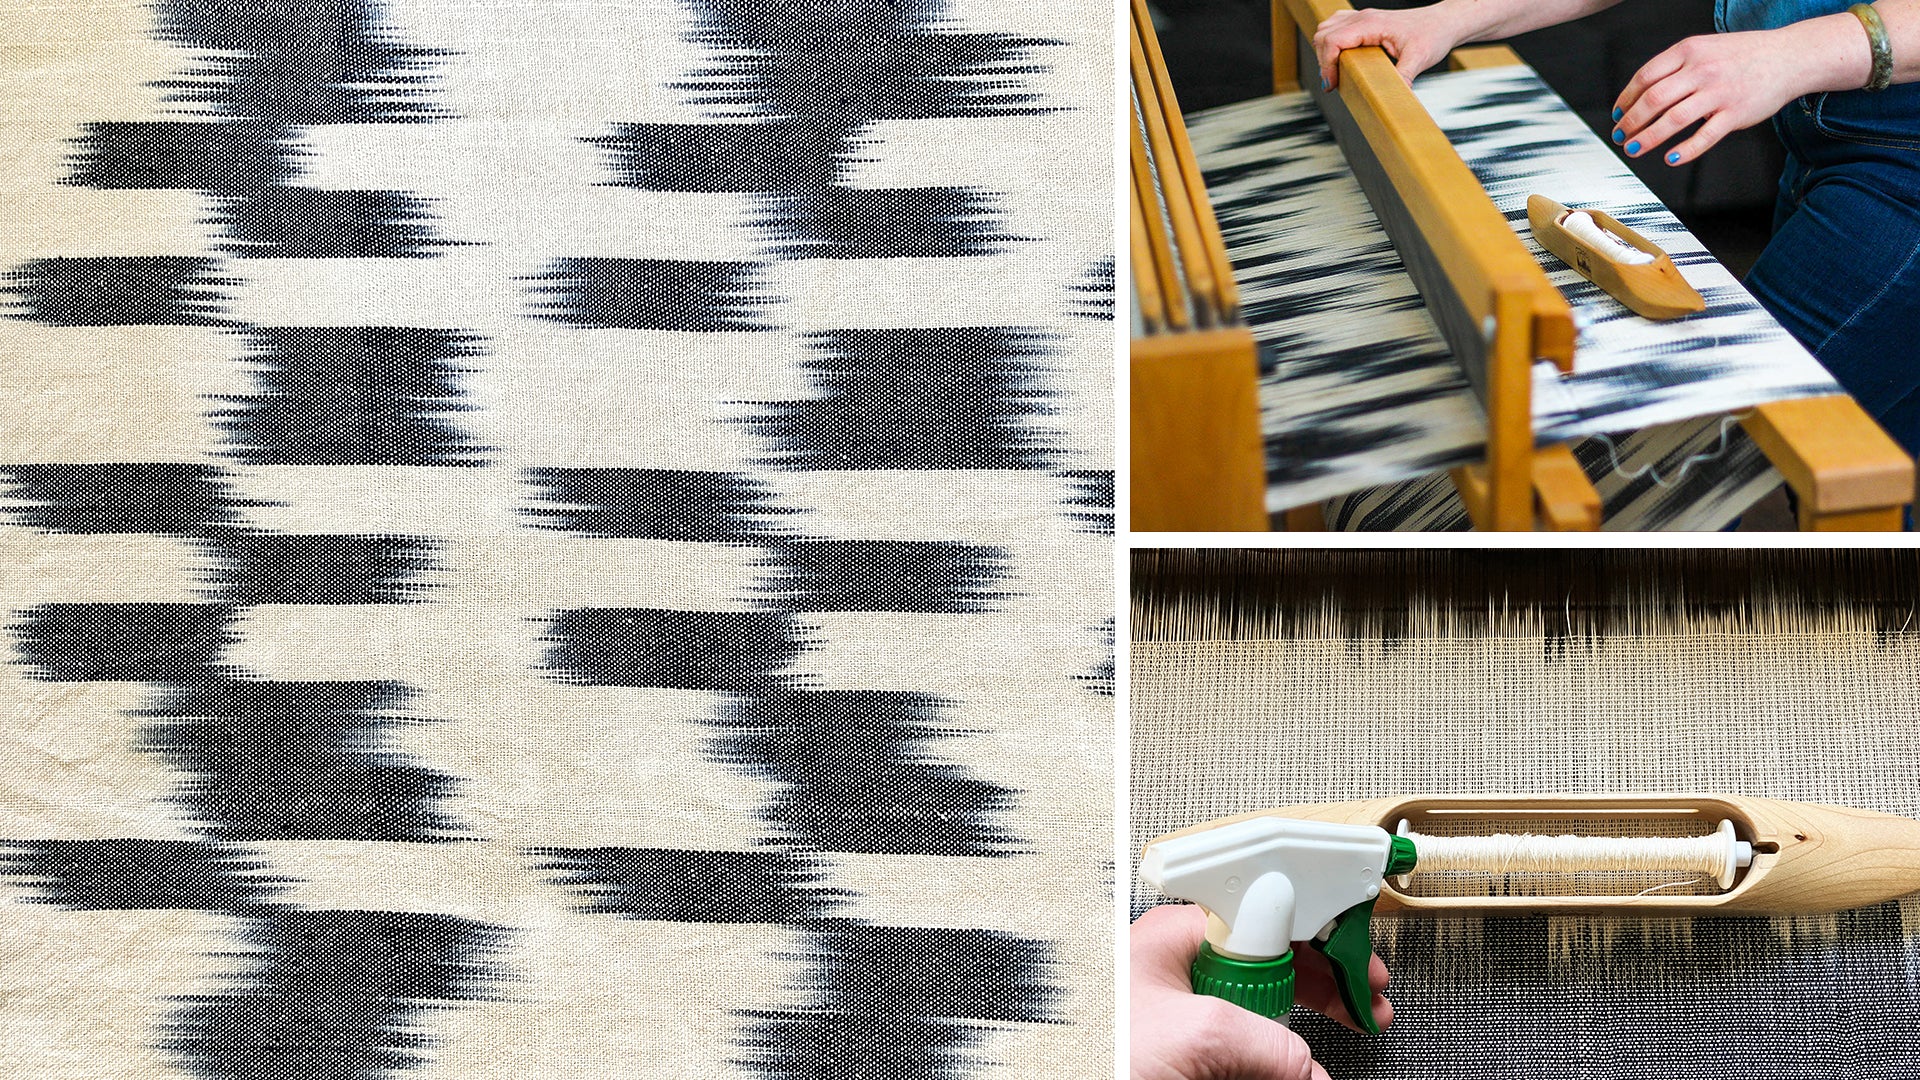
When I started spraying my warp, it made an enormous difference. Sometimes you can actually see the fibers relax when you spray them and it makes for a very smooth and fun weaving process. I found that spraying my warp each time I advanced it onto the cloth beam was enough.
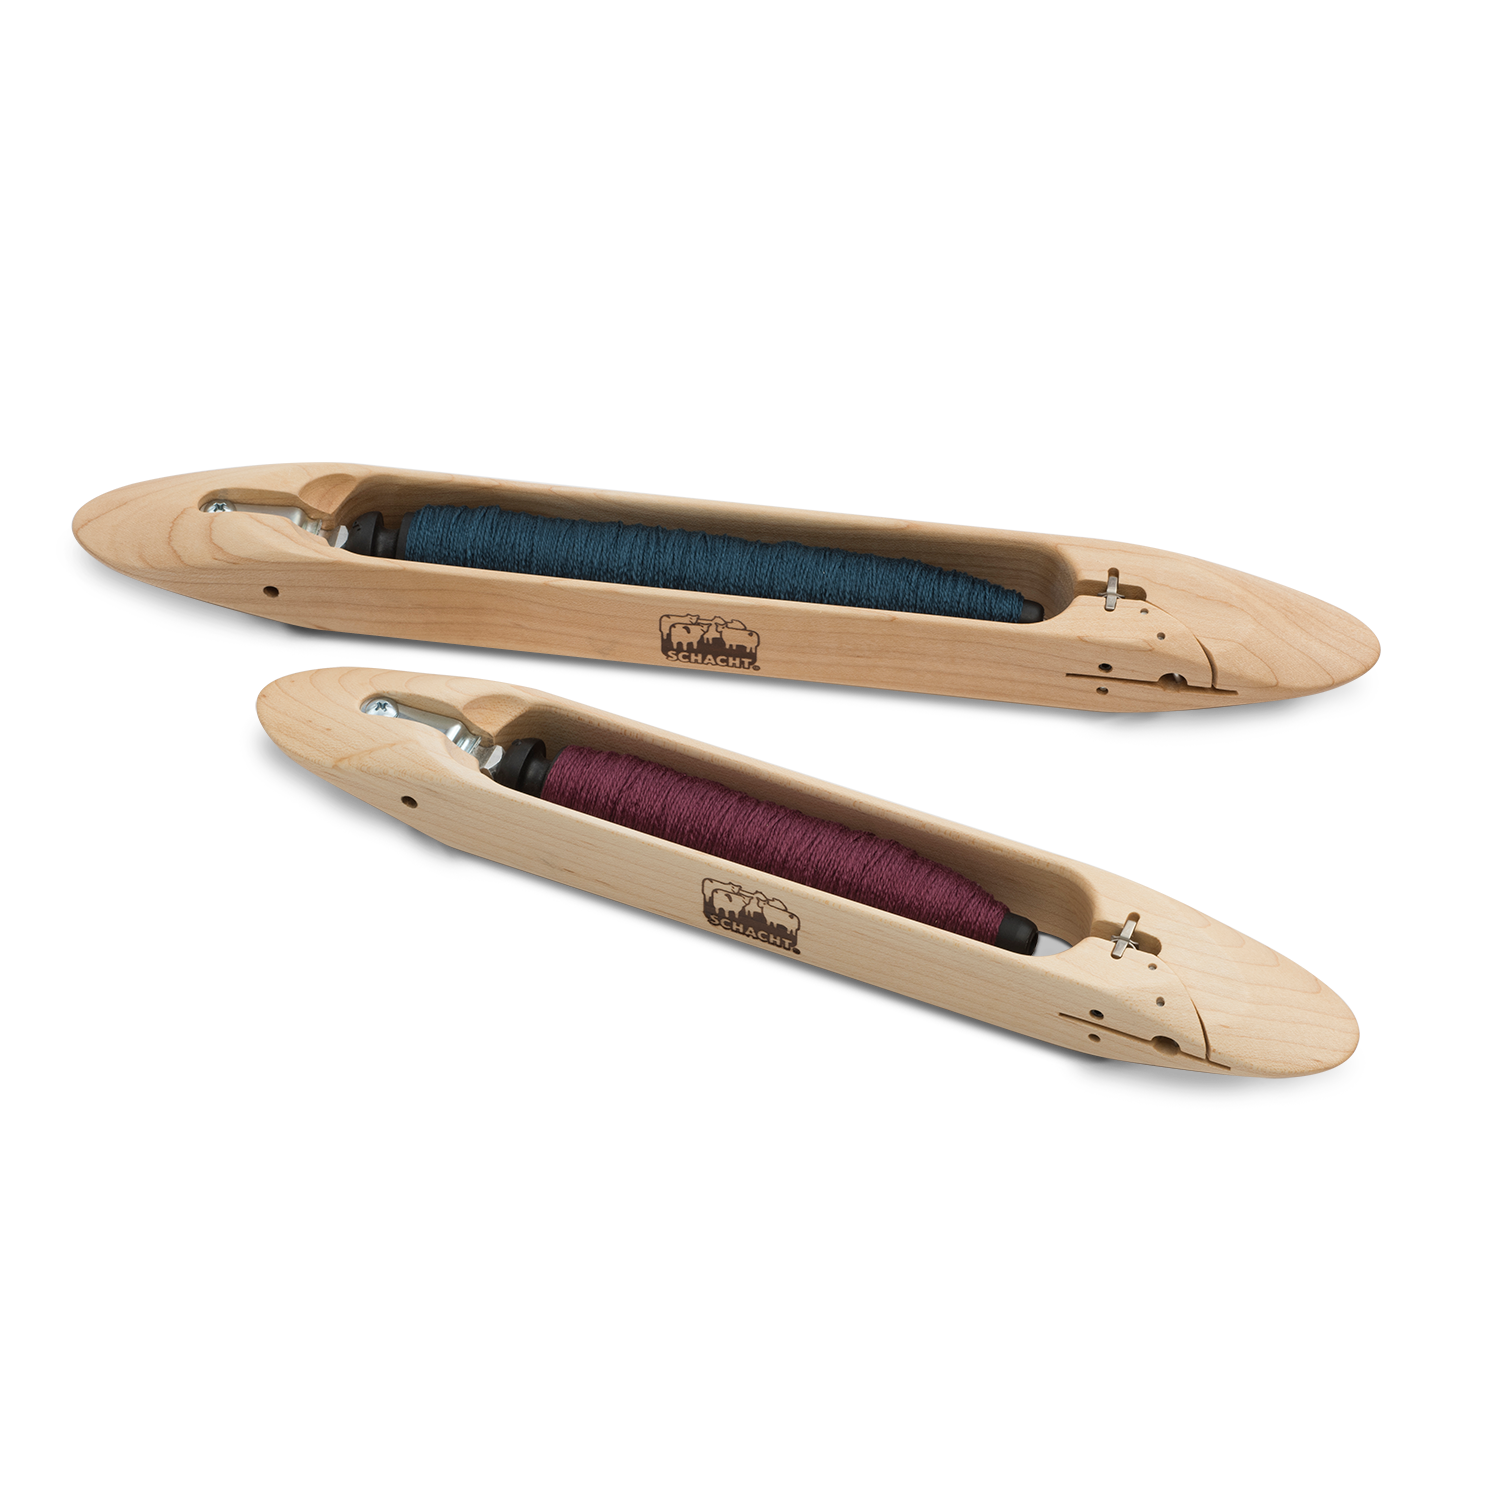
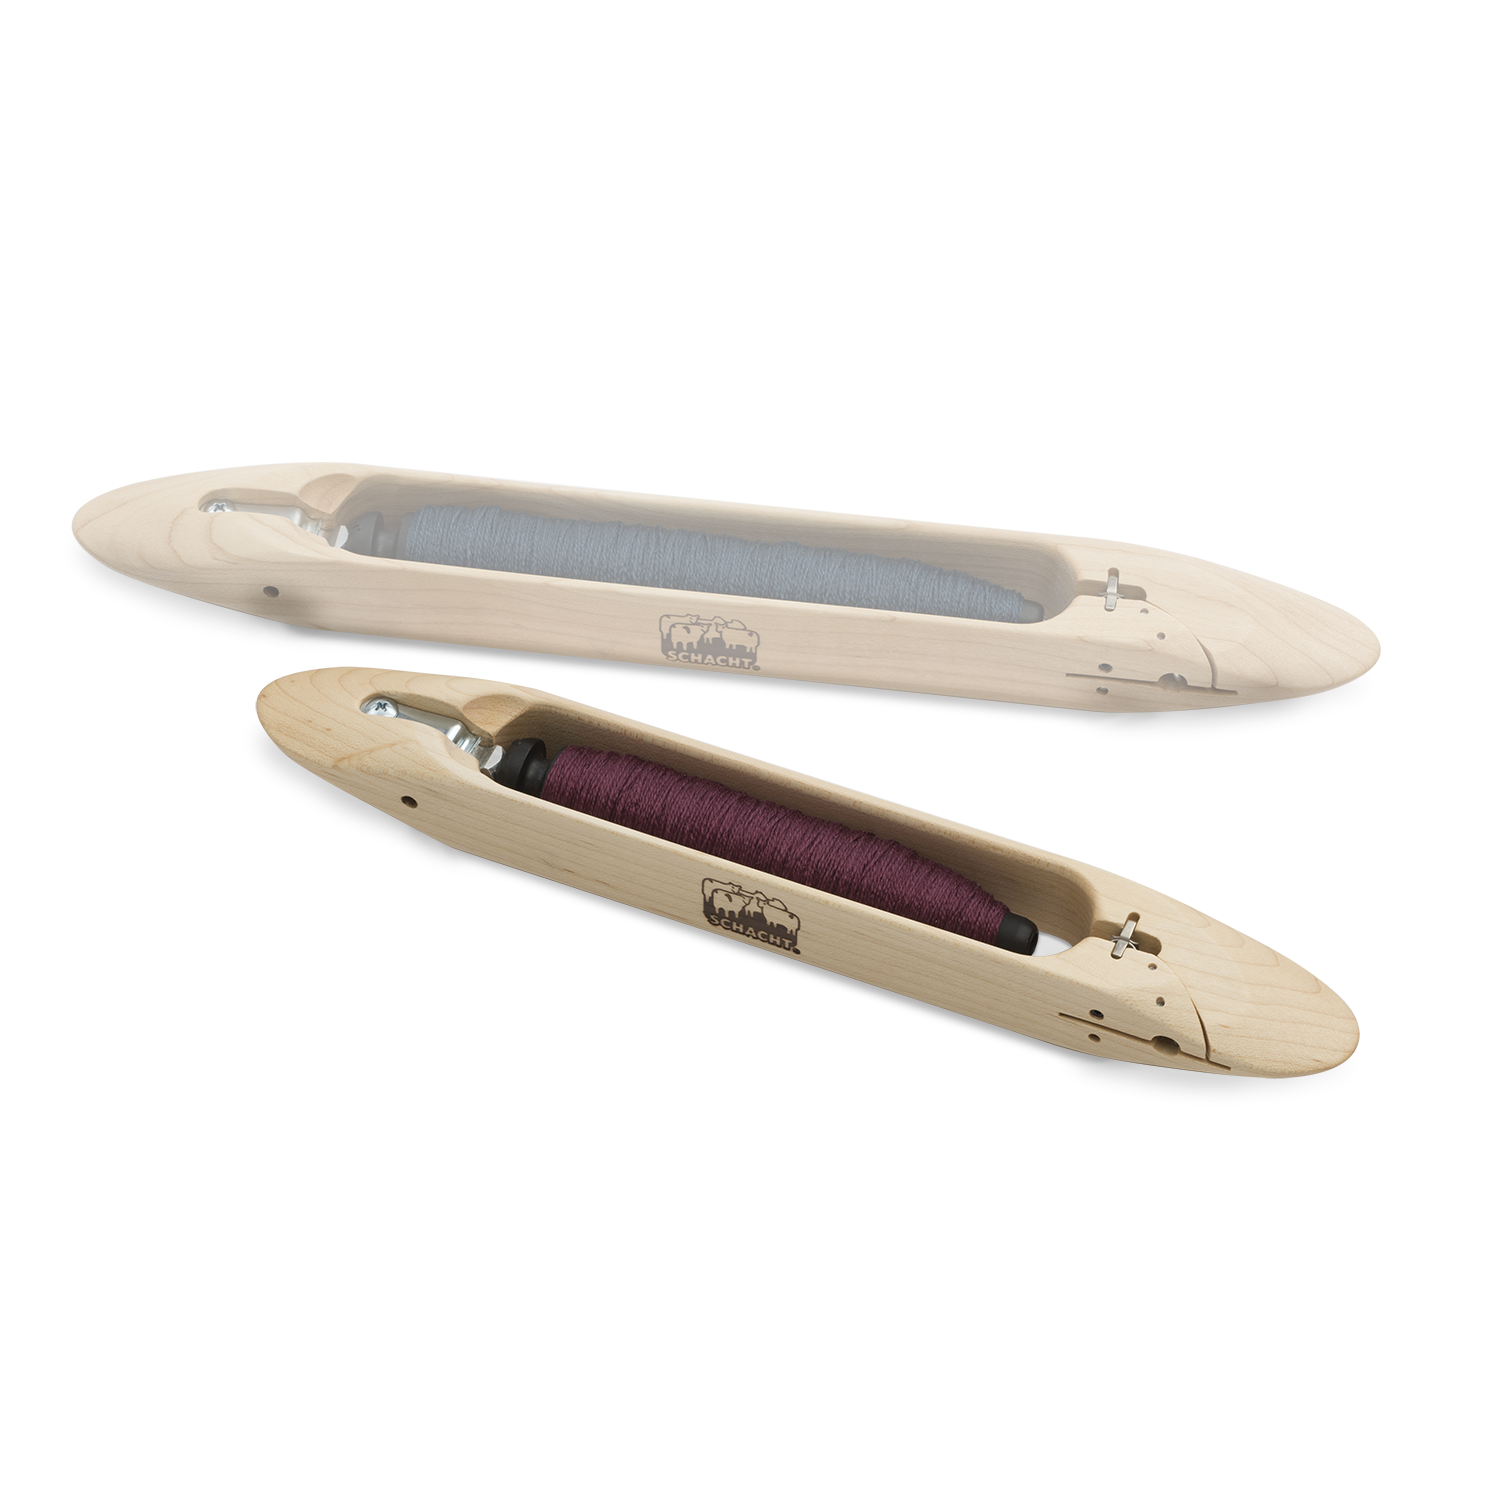
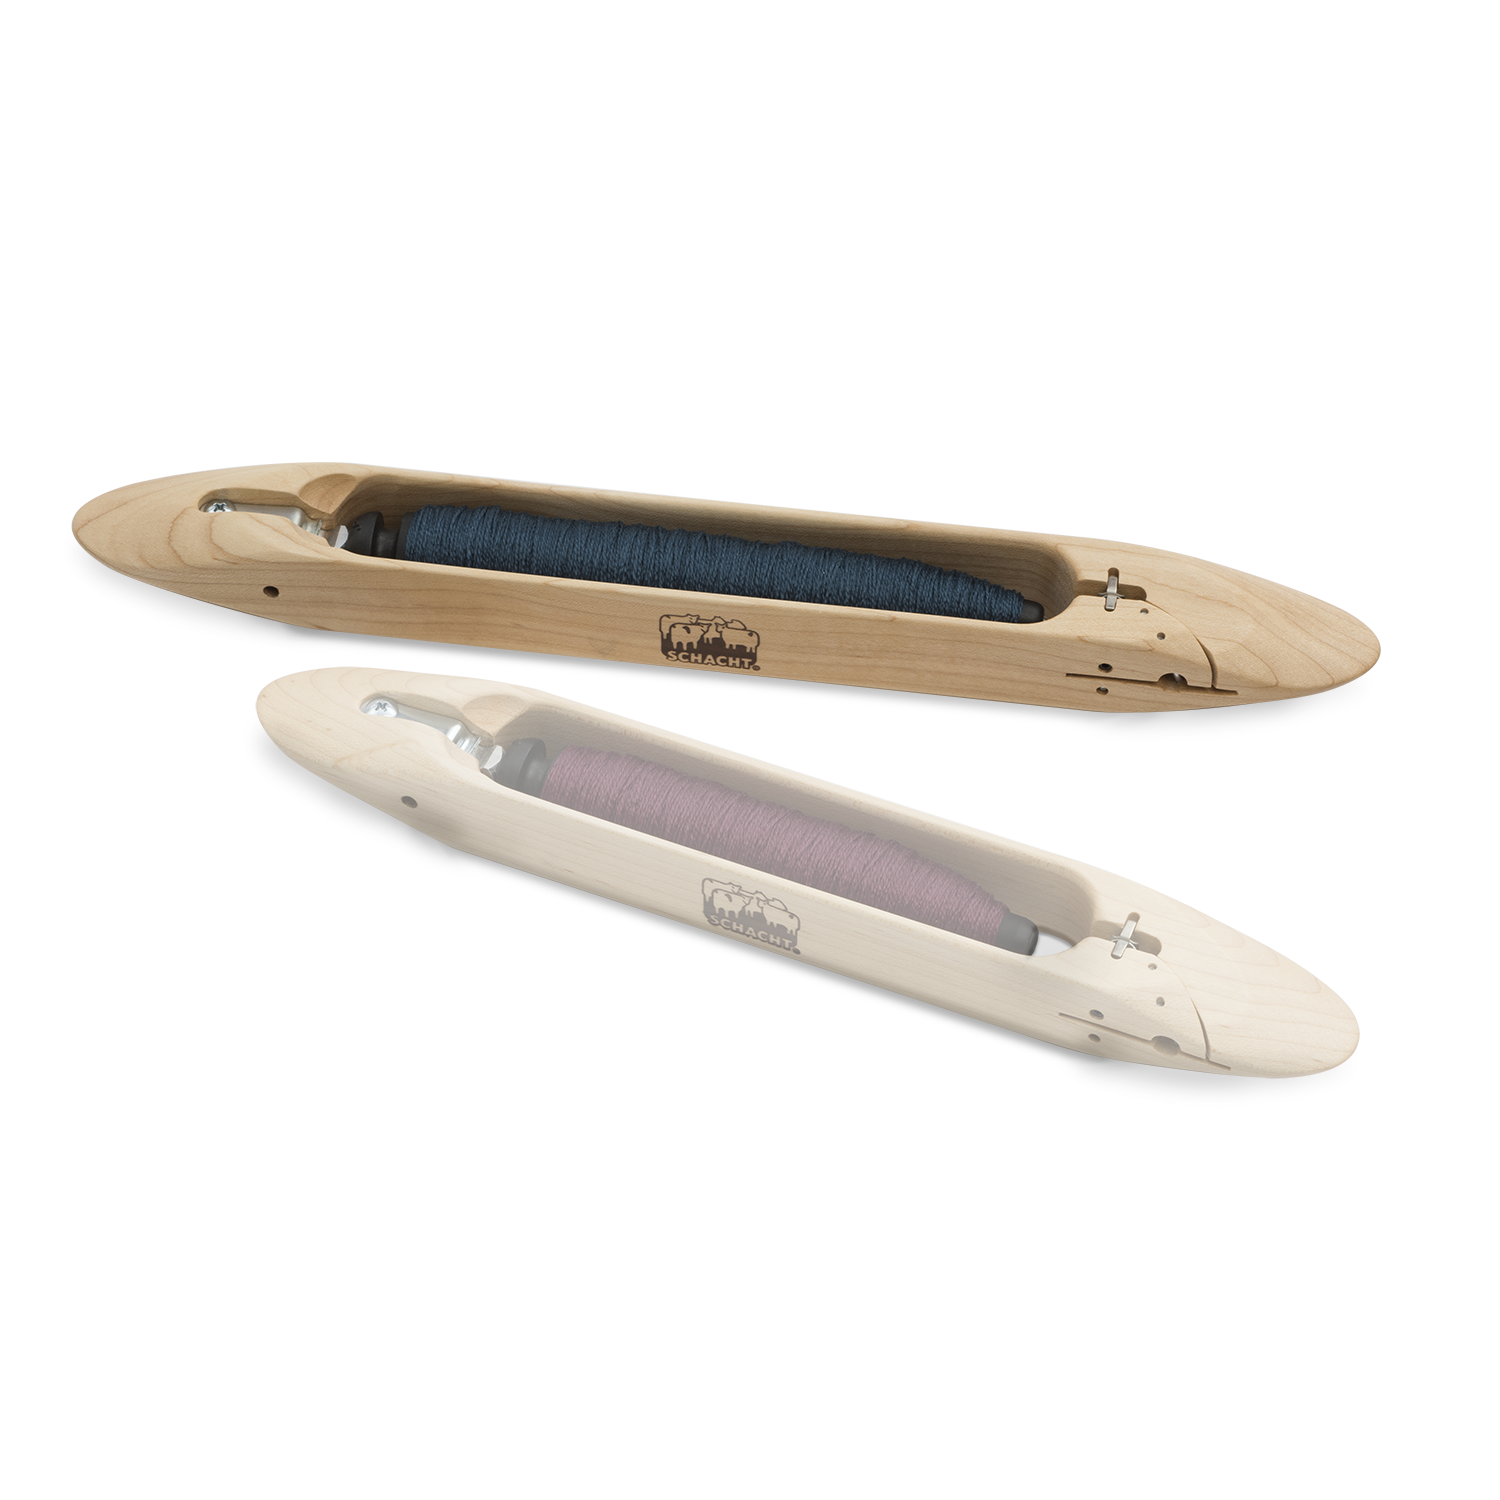
Water can tame your weft yarn too. I noticed that I was having issues with my weft yarn: when I pushed it through the shed, the yarn would unwind in a springy, uneven way, getting caught on the shuttle and stopping. So I sprayed my weft thread as well to tame its enthusiasm. There are two ways to do this. You can actually wind the yarn onto the bobbin wet. This is the recommended method, but it isn’t always practical. So instead, I sprayed the full bobbin after winding and I had very good success with this method.
Tip #5: Minimize abrasion
There truly can’t be enough said about advancing the warp often while weaving linen. Although I find this to be pretty annoying, it is completely worth it! Every time you beat, and the yarns move through the reed, they face more abrasion. Weave for too long in the same area of the warp, and you may get broken threads in your linen project. While keeping the warp moist helps, it is still crucial to advance the warp much more often than you’d like to. Gist Yarns suggests advancing every 1 to 2 inches and I had great success with this method.
Tip #6: Keep the Beat
Because linen has very little elasticity, it is especially unforgiving of an inconsistent beat. This was by far my biggest challenge! Other fibers absorb a softer or harder beat and will relax into uniformity when they are washed. Linen gives a little . . . but just a very little. Madelyn van der Hoogt suggests focusing on picks per inch. After weaving a few inches, measure your picks per inch to check for consistency and adjust your beat accordingly. I would also suggest taking a video of yourself weaving. The visual of seeing yourself beating can help you recognize what speed and intensity of beat you need.
Tip #7: Wash Vigorously
With a lot of handwoven projects, finishing instructions say to gently hand wash the item and hang to dry. I would argue against this approach if your linen fabric is balanced or a warp-faced weave. When my yardage came off the loom, it was stiff, almost like canvas. I washed it vigorously in warm water with mild detergent. It soaked for an hour and I manually agitated it every 15 minutes. After 2 rounds of this, I put the fabric in the dryer on delicate. I took it out when it was still just a little damp and pressed. The result was magnificent: lusciously soft yet sturdy fabric with that classic rustic linen look.
Notes
Resources
Jablonski, Christine. "Tips for Weaving with Linen." https://www.gistyarn.com/blogs/how-to-weave/tips-for-weaving-with-linen
Lukauskiene, Inga. "How to Weave Linen Fabric." https://www.linenbeauty.com/blog/how-to-weave-linen-fabric
McCollum, Kim. "All About Weaving with Linen." https://gathertextiles.com/blogs/gather-textiles-project-blog/all-about-linen-how-to-start-weaving-with-this-classic-fiber
Stafford, Jane. "Weaving Linen on Your Loom." https://janestaffordtextiles.com/knowledge-base/weaving-linen-on-a-jack-loom/
van der Hoogt, Madelyn. "Ask Madelyn: Tips for Beating the Weft." https://handwovenmagazine.com/weaving-techniques-beating-weft/

