How to Make a Rolag on Hand Carders
By Jacqueline Harp
Instagram @foreverfiberarts
Photos by Susan Harp
When you want warmth, loft, and individuality, you spin woolen-style yarns. Yarns made from woolen fiber preps or with a woolen draft are squishy, insulating, and full of character when turned into fabric, so they make your coziest projects come to life. Imagine dancing in the snow wearing a gorgeous woven scarf with a soft, fleece-like texture, or sporting a pair of scrumptious, knitted fingerless gloves to the local coffee shop for your favorite beverage and perhaps a yummy baked treat.
You can spin any fiber prep with a woolen draft, but a woolen fiber prep—a rolag—will add extra loft to your yarn. A rolag is the bread and butter of a hand spinner’s toolbox: an airy, fluffy tube of fiber that a hand spinner can effortlessly control and direct when spinning. Hand carders are the perfect tool for making rolags. Let’s learn how to make rolags with our Schacht hand carders in a few easy steps.
Choosing Hand Carders
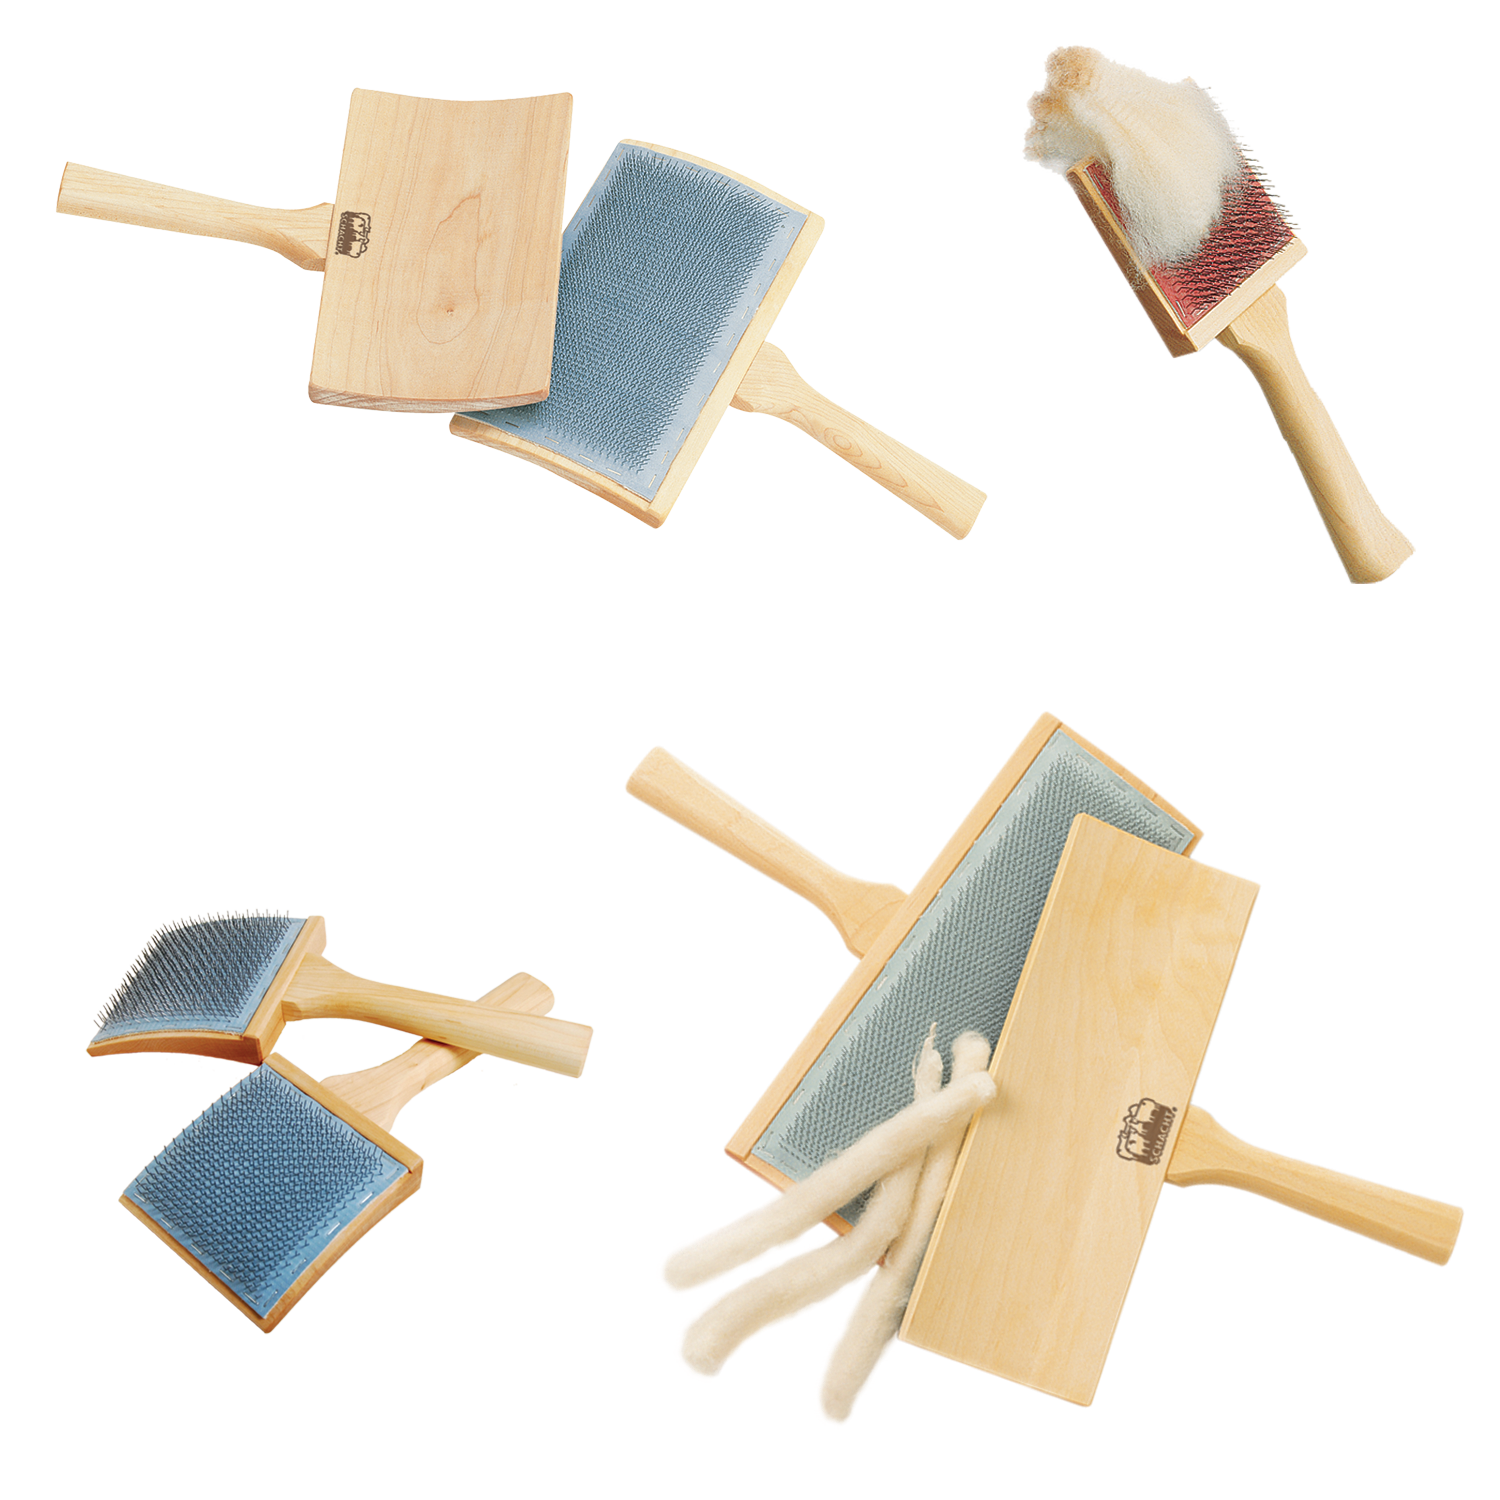
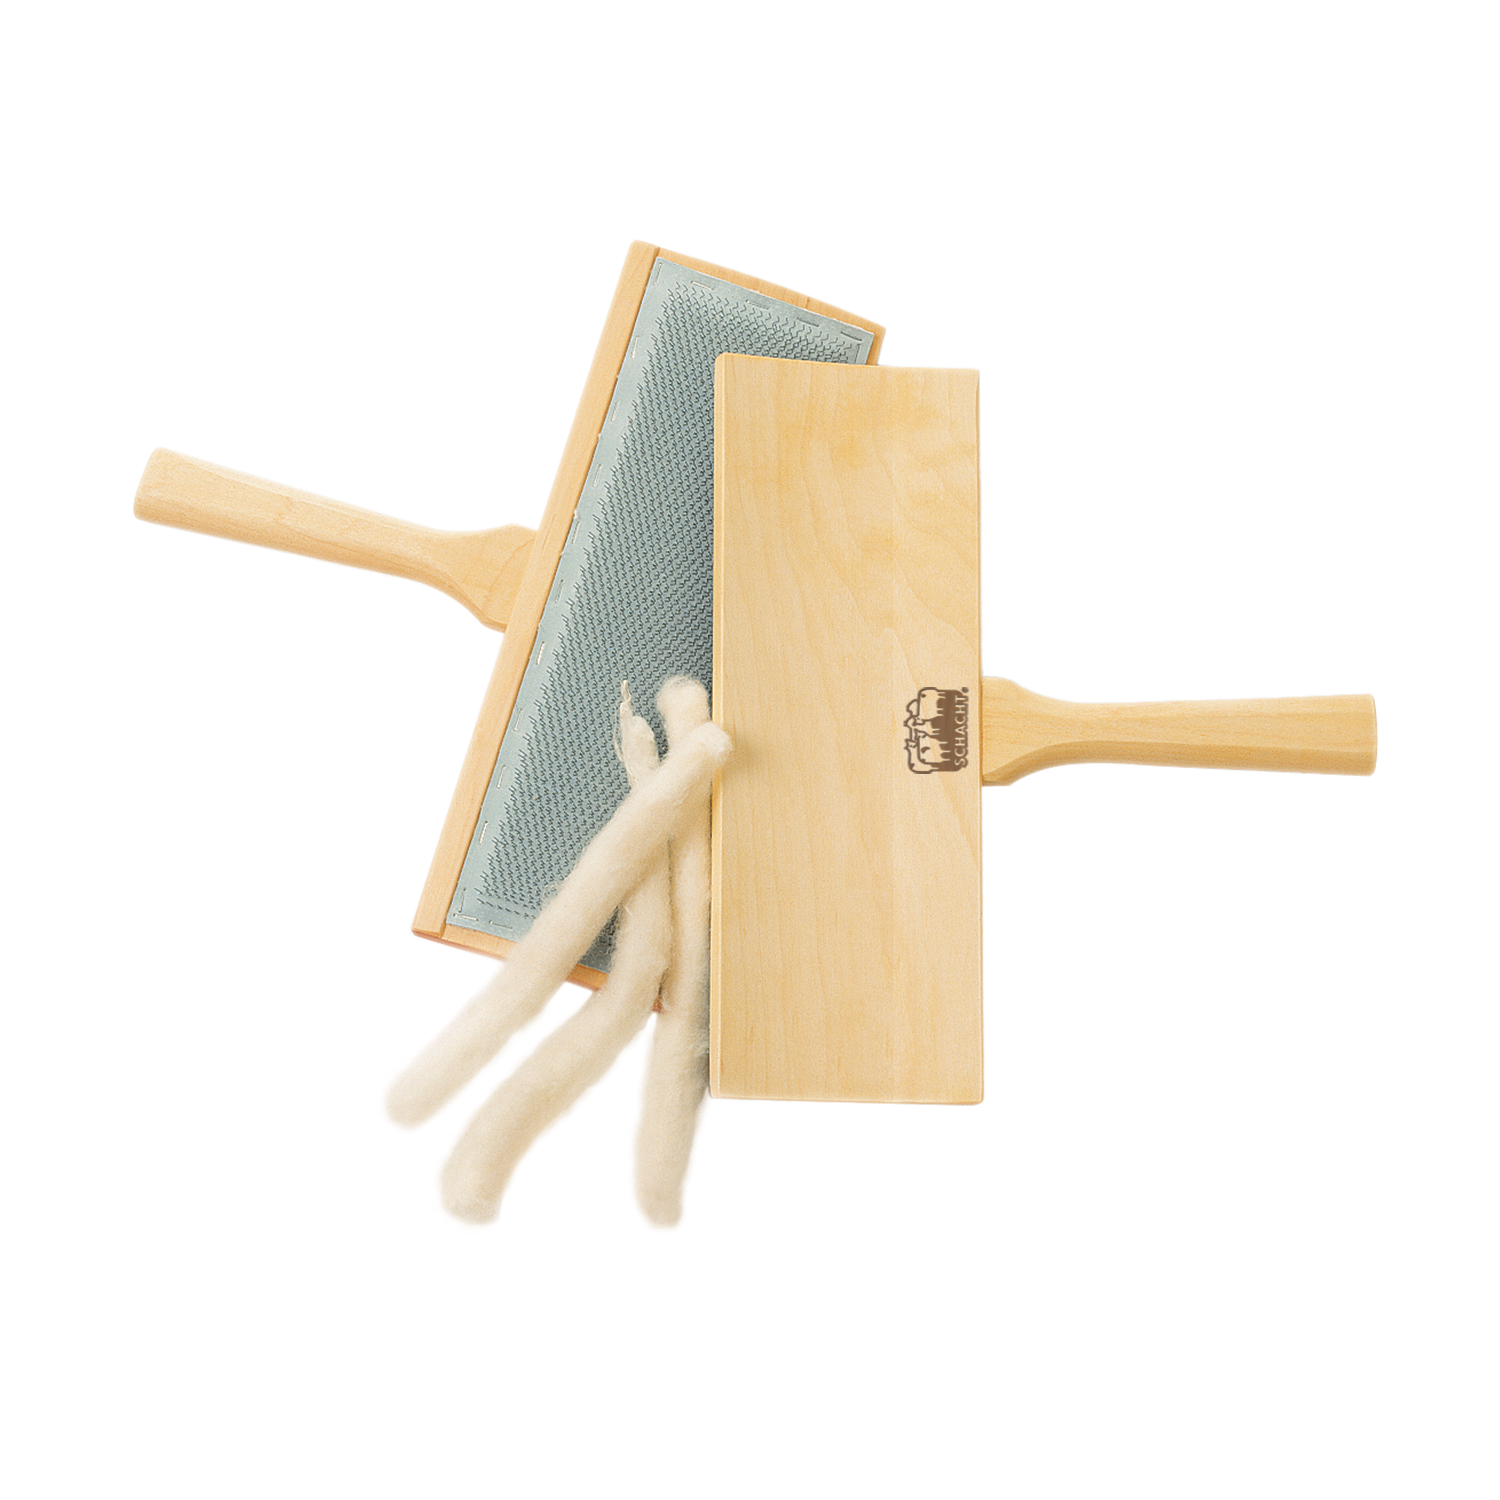
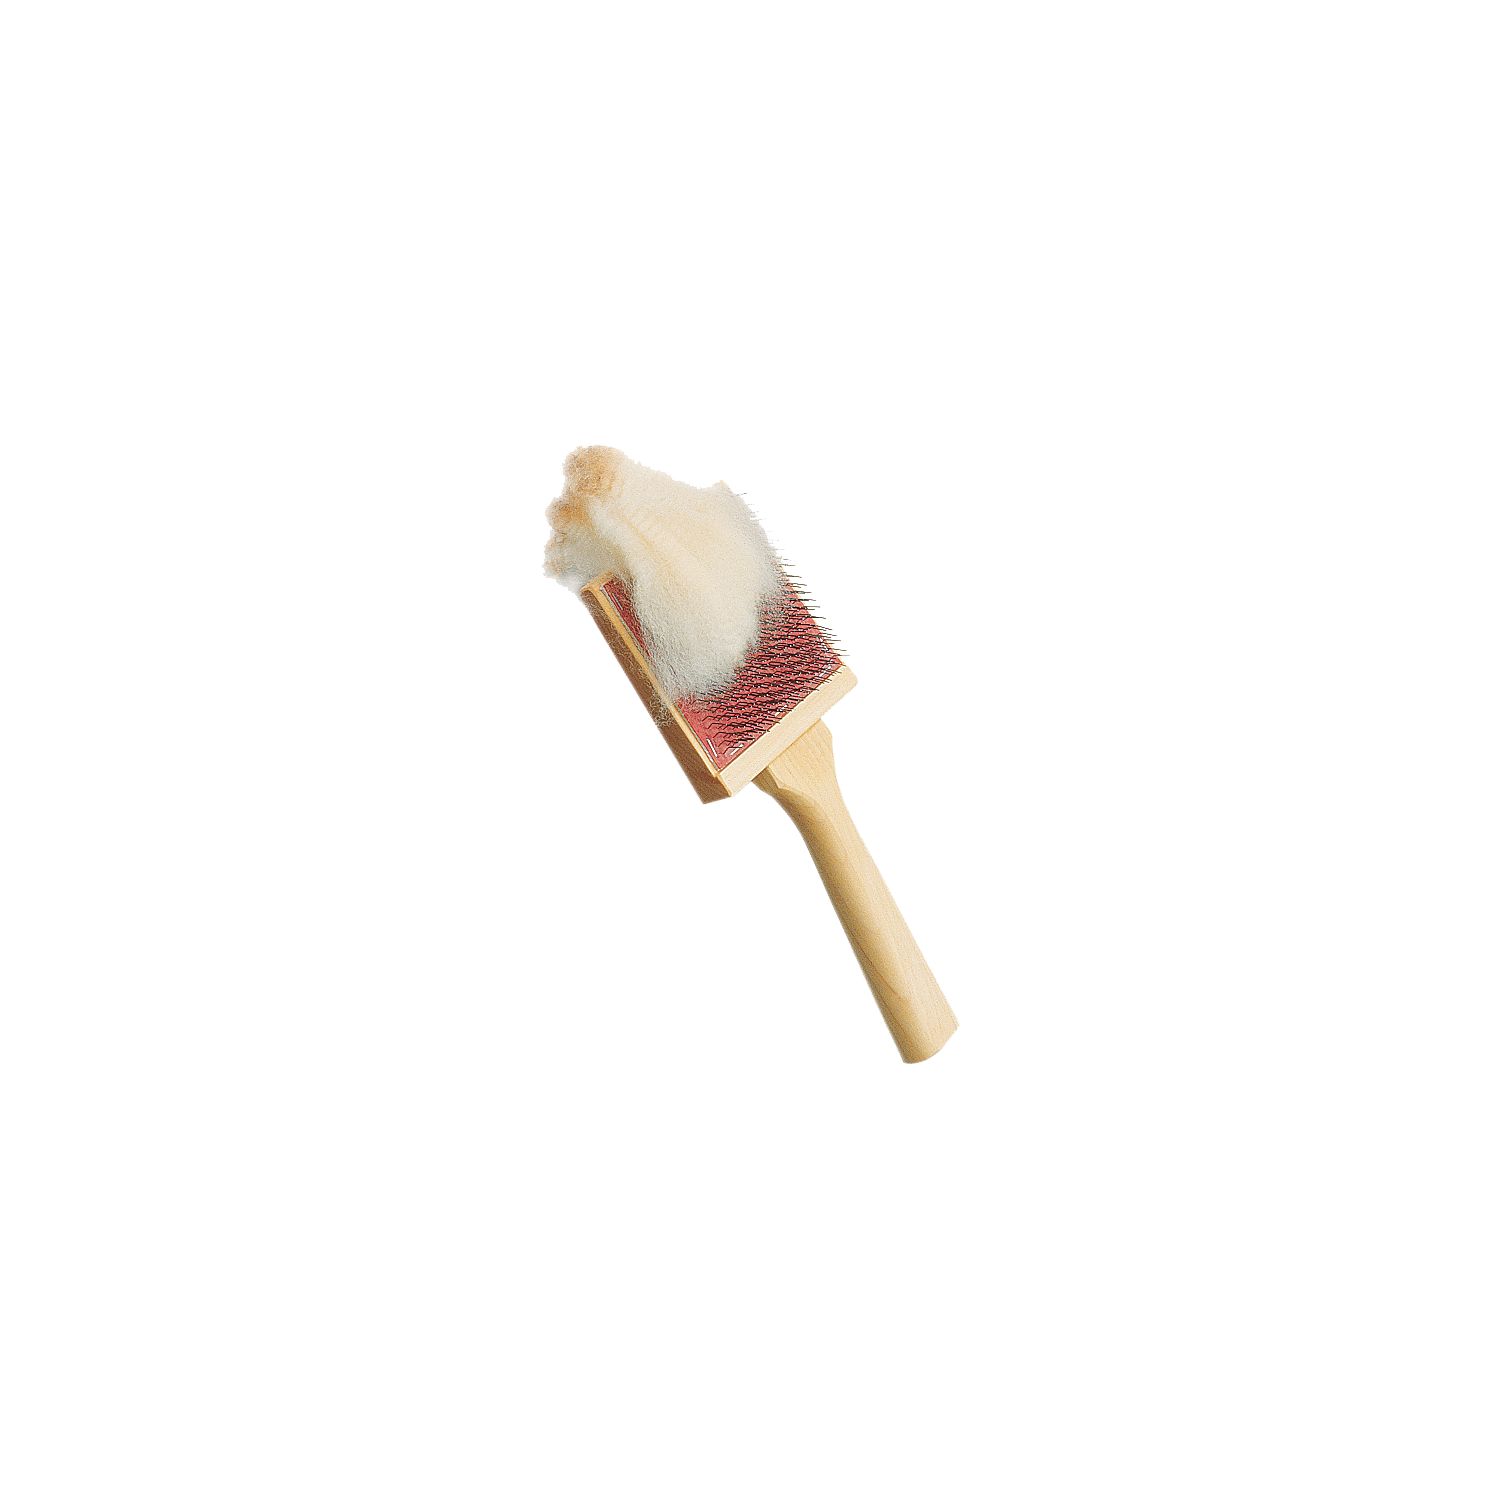
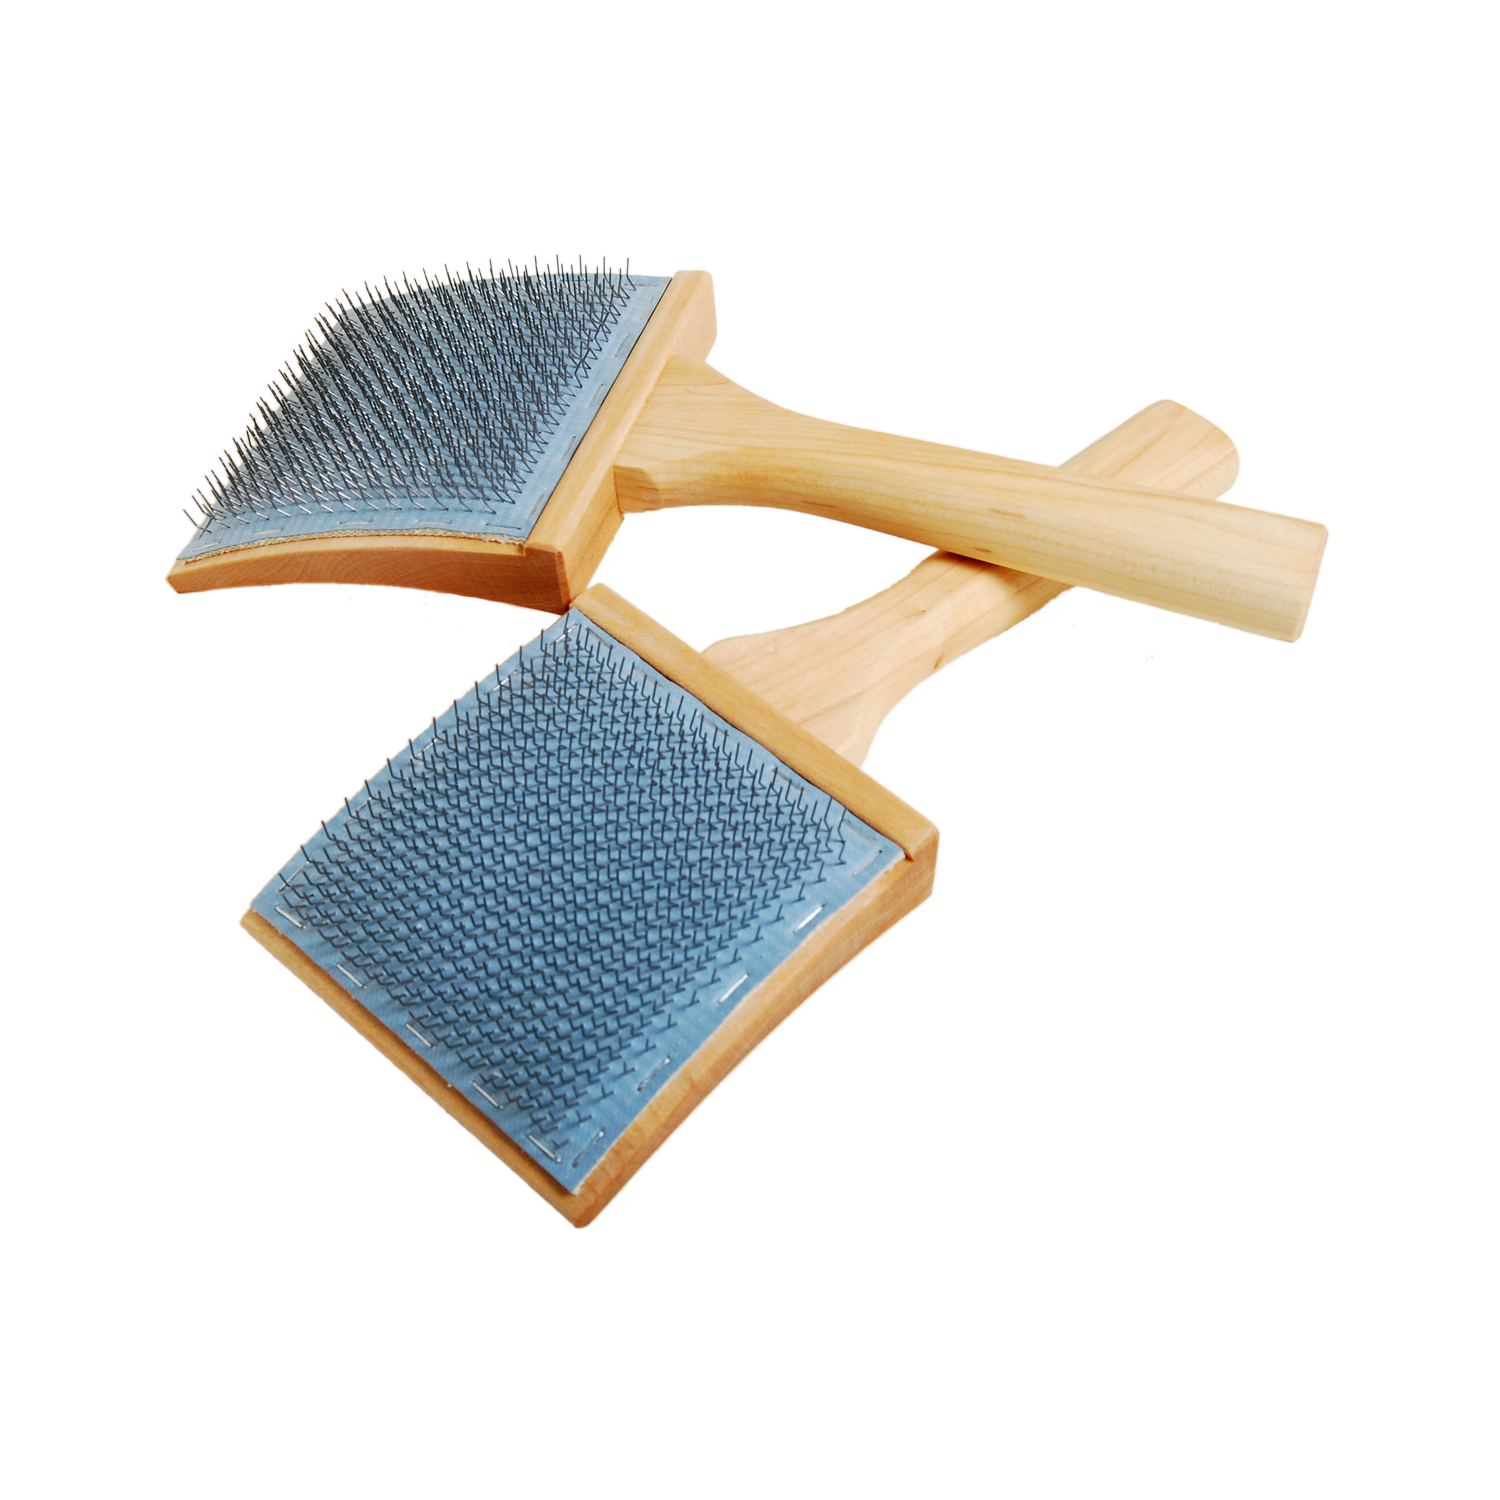
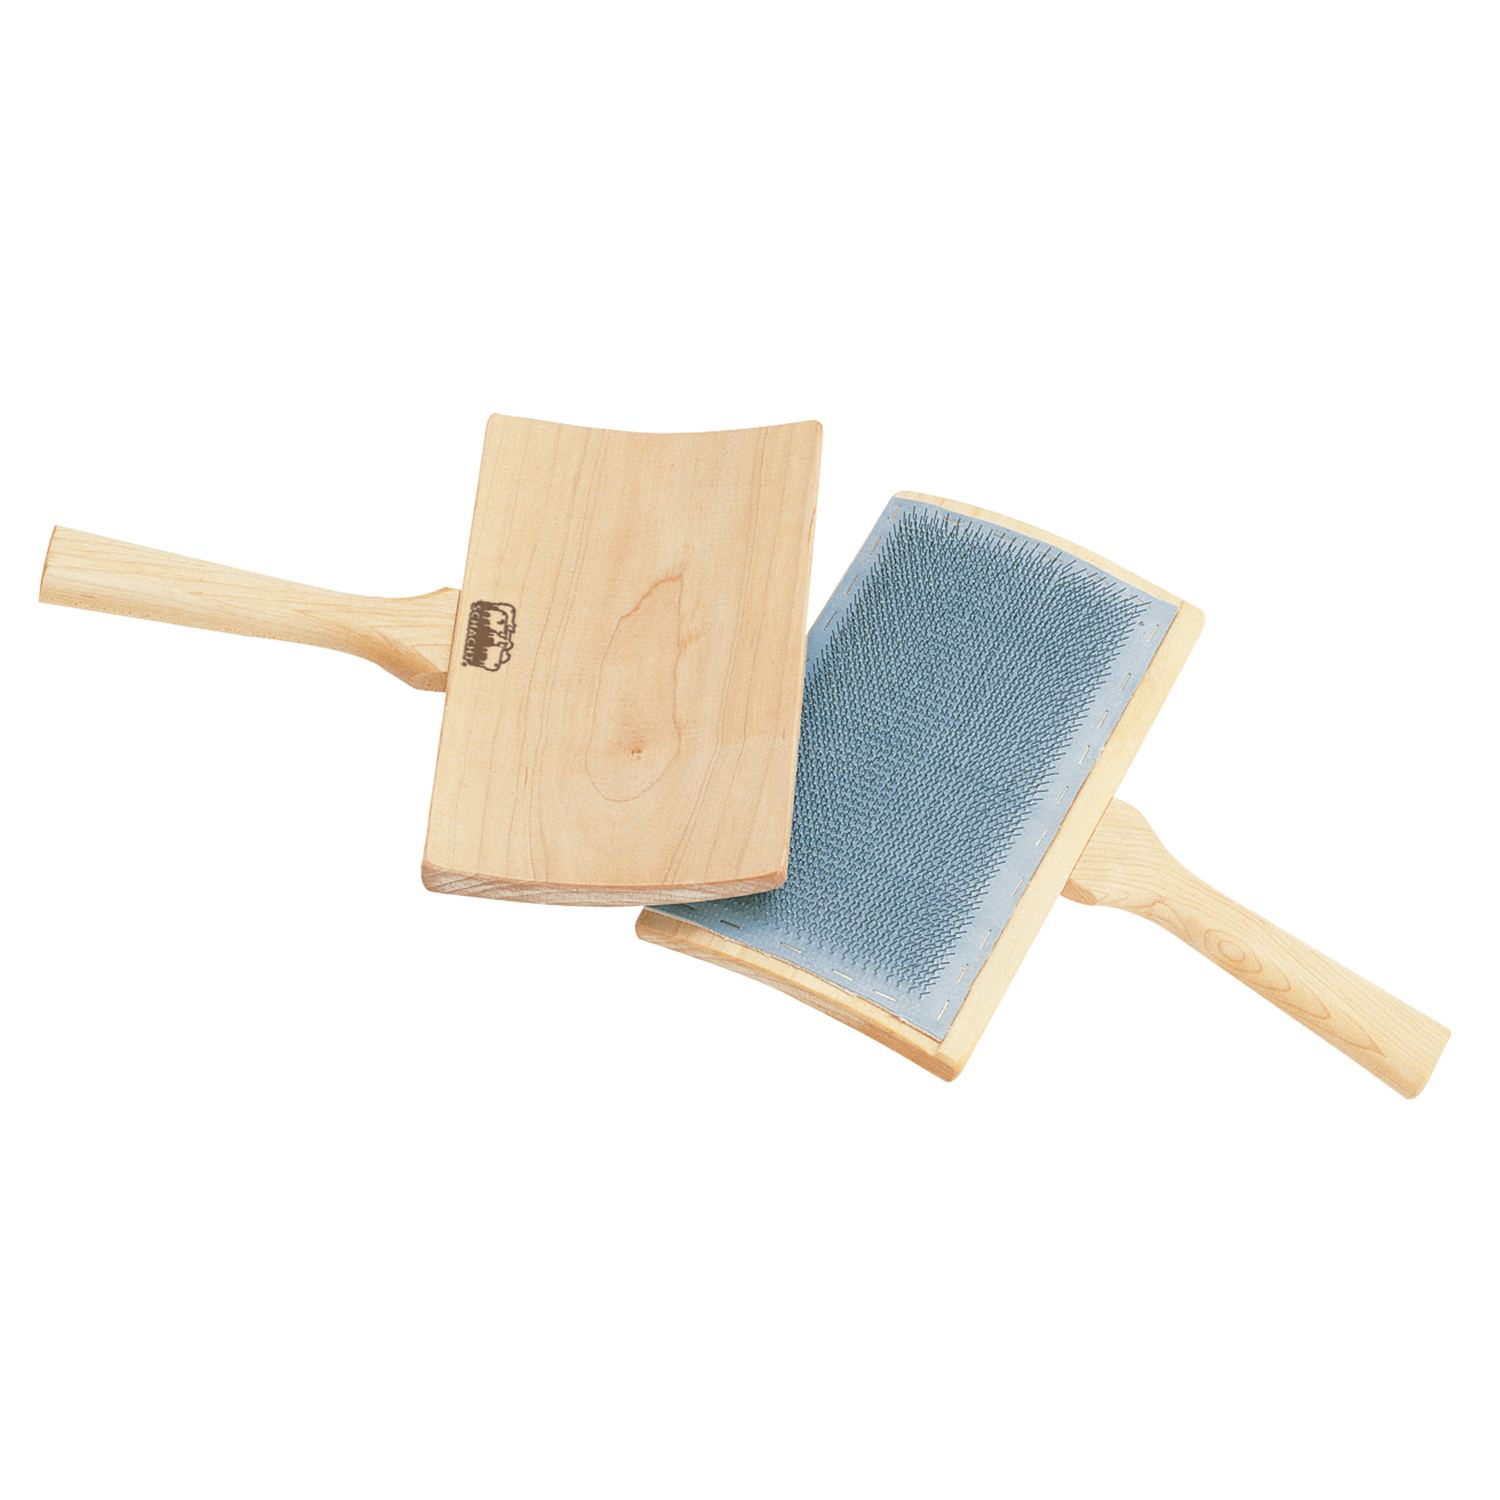
Hand carders are built with a carding cloth attached to the face of the paddle. The carding cloth is comprised of hundreds of tiny points, also called “teeth,” which grab and open fibers. As a general rule, the finer the fiber, the higher the number of points needed on the carding cloth. Schacht hand carders have a carding cloth of either 72 or 112 points per square inch (psi). I will be using a pair of Schacht 72 psi hand carders that feature beautifully curved paddles for ease of movement. From personal experience, I have found that 72 psi hand carders can easily handle a variety of fibers from coarse (e.g., Karakul, Lincoln Longwool, llama) to very fine (e.g., Rambouillet, Merino, lotus fiber).

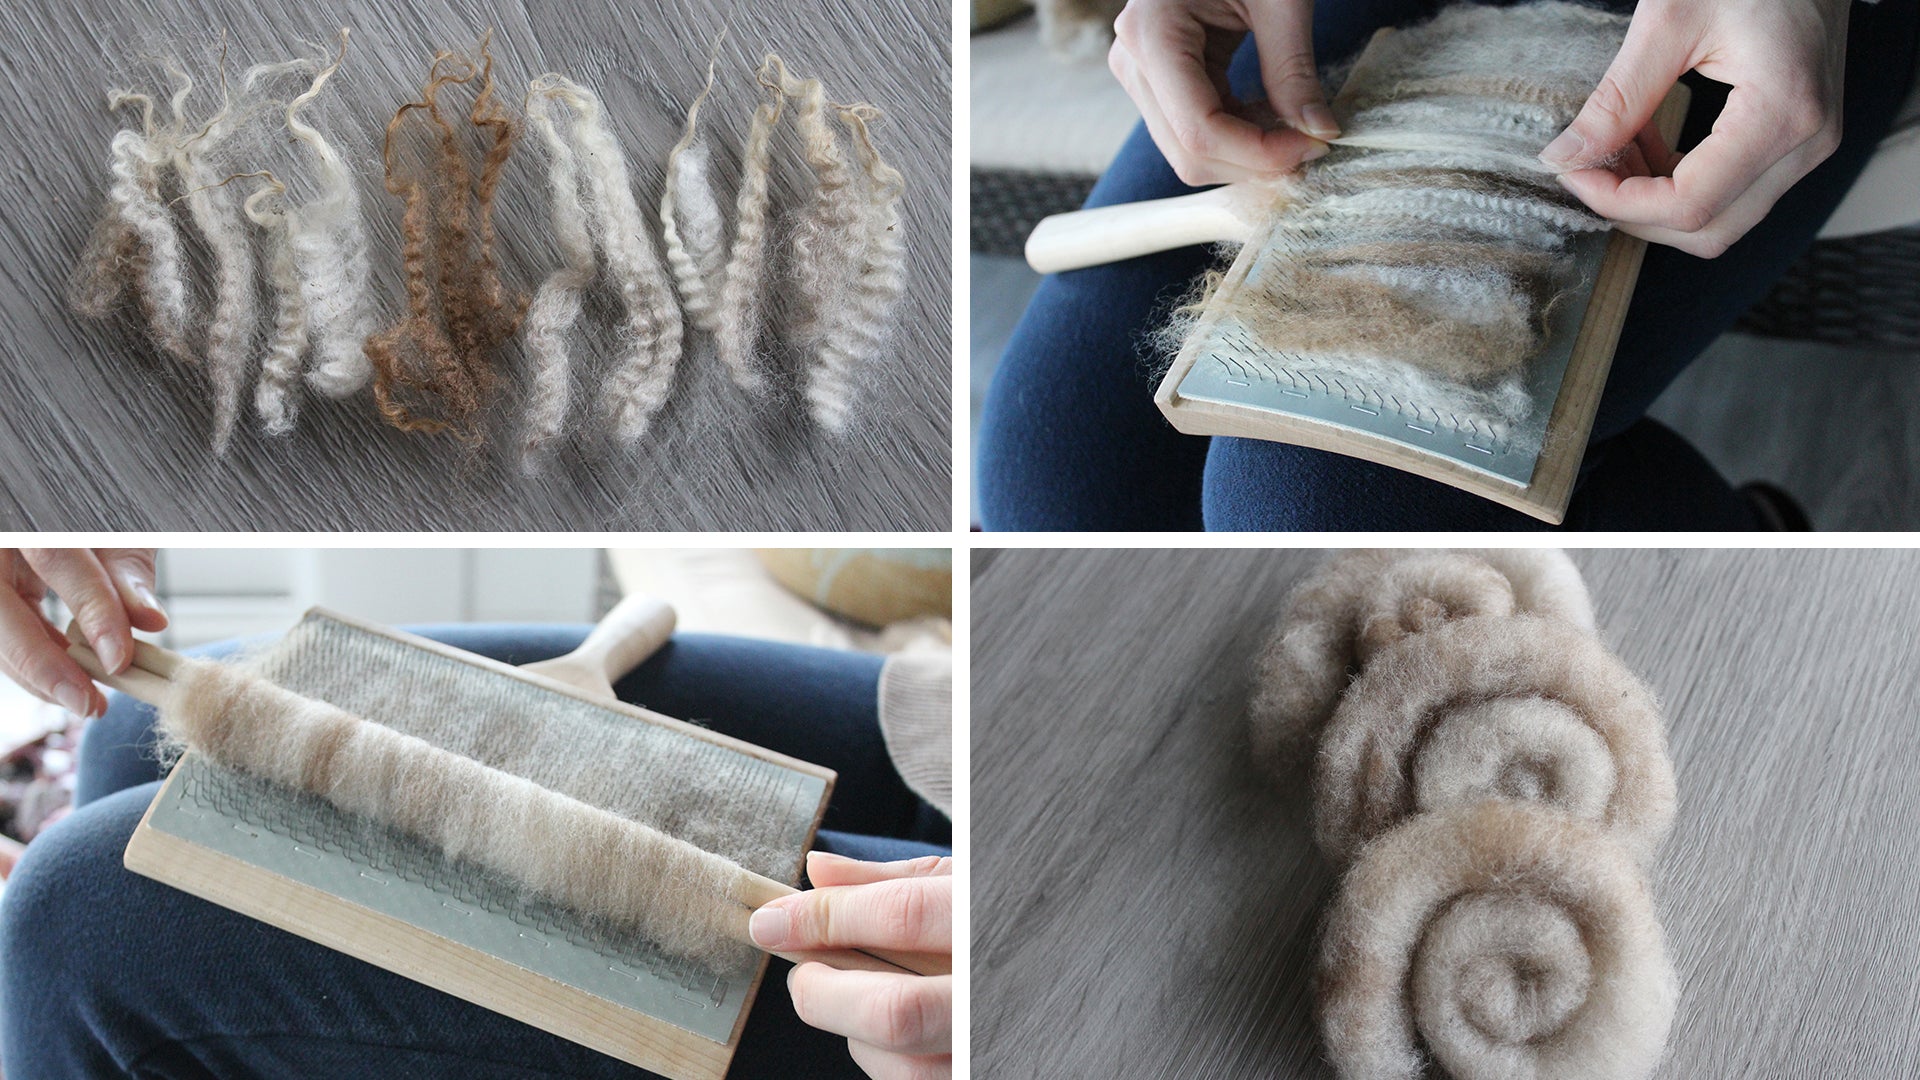
Finnsheep locks
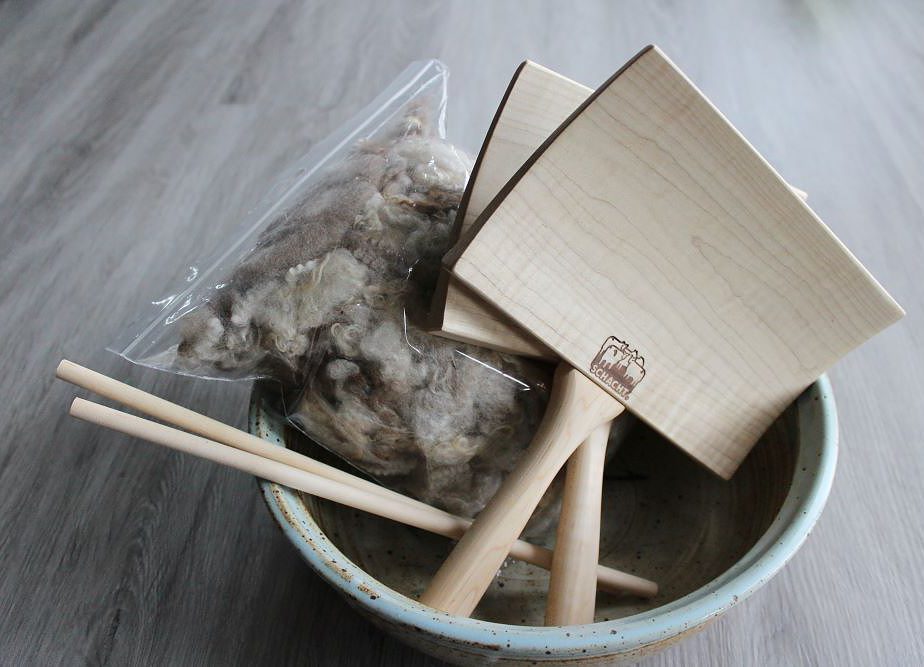
What You'll Need
-
Fiber: I used washed, undyed Finnsheep lamb locks sourced from Ashley Hoffman at Cedar View Farm in Mitchells, Virginia.
-
Schacht hand carders
- comfortable chair
- tablecloth
- container for finished rolags
- dowels, knitting needles, crochet hooks, or chopsticks longer than the width of your hand carders
Materials
Equipment
Directions
Getting Started
I continued to fill and layer my hand carder with locks, working my way back and forth across the carding cloth until I could barely see the points showing through the locks. This is called "charging the card."
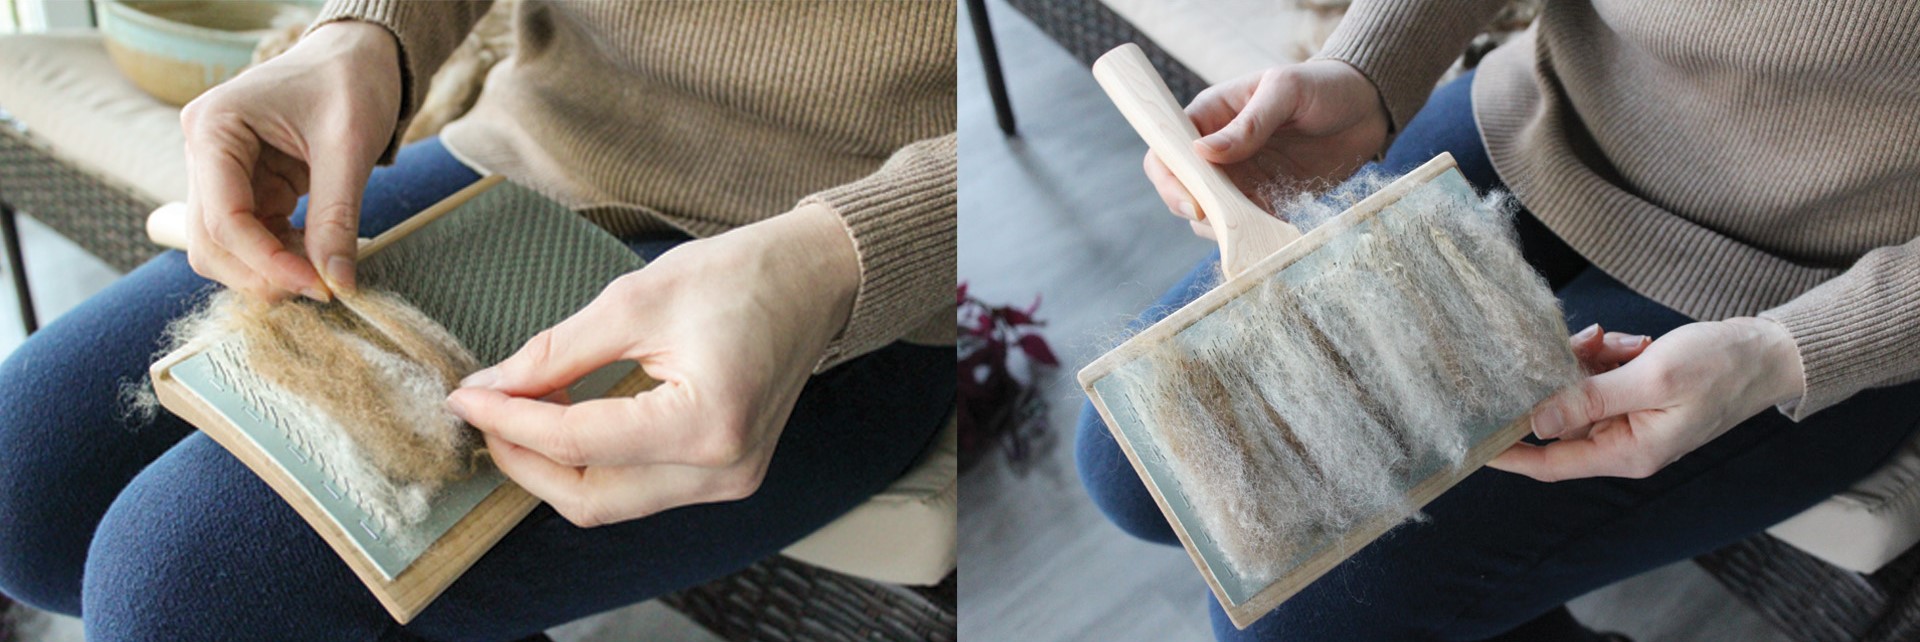
Once my first hand carder was covered, I gripped the handle and held it firmly on my lap, with the paddle exposed and supported.
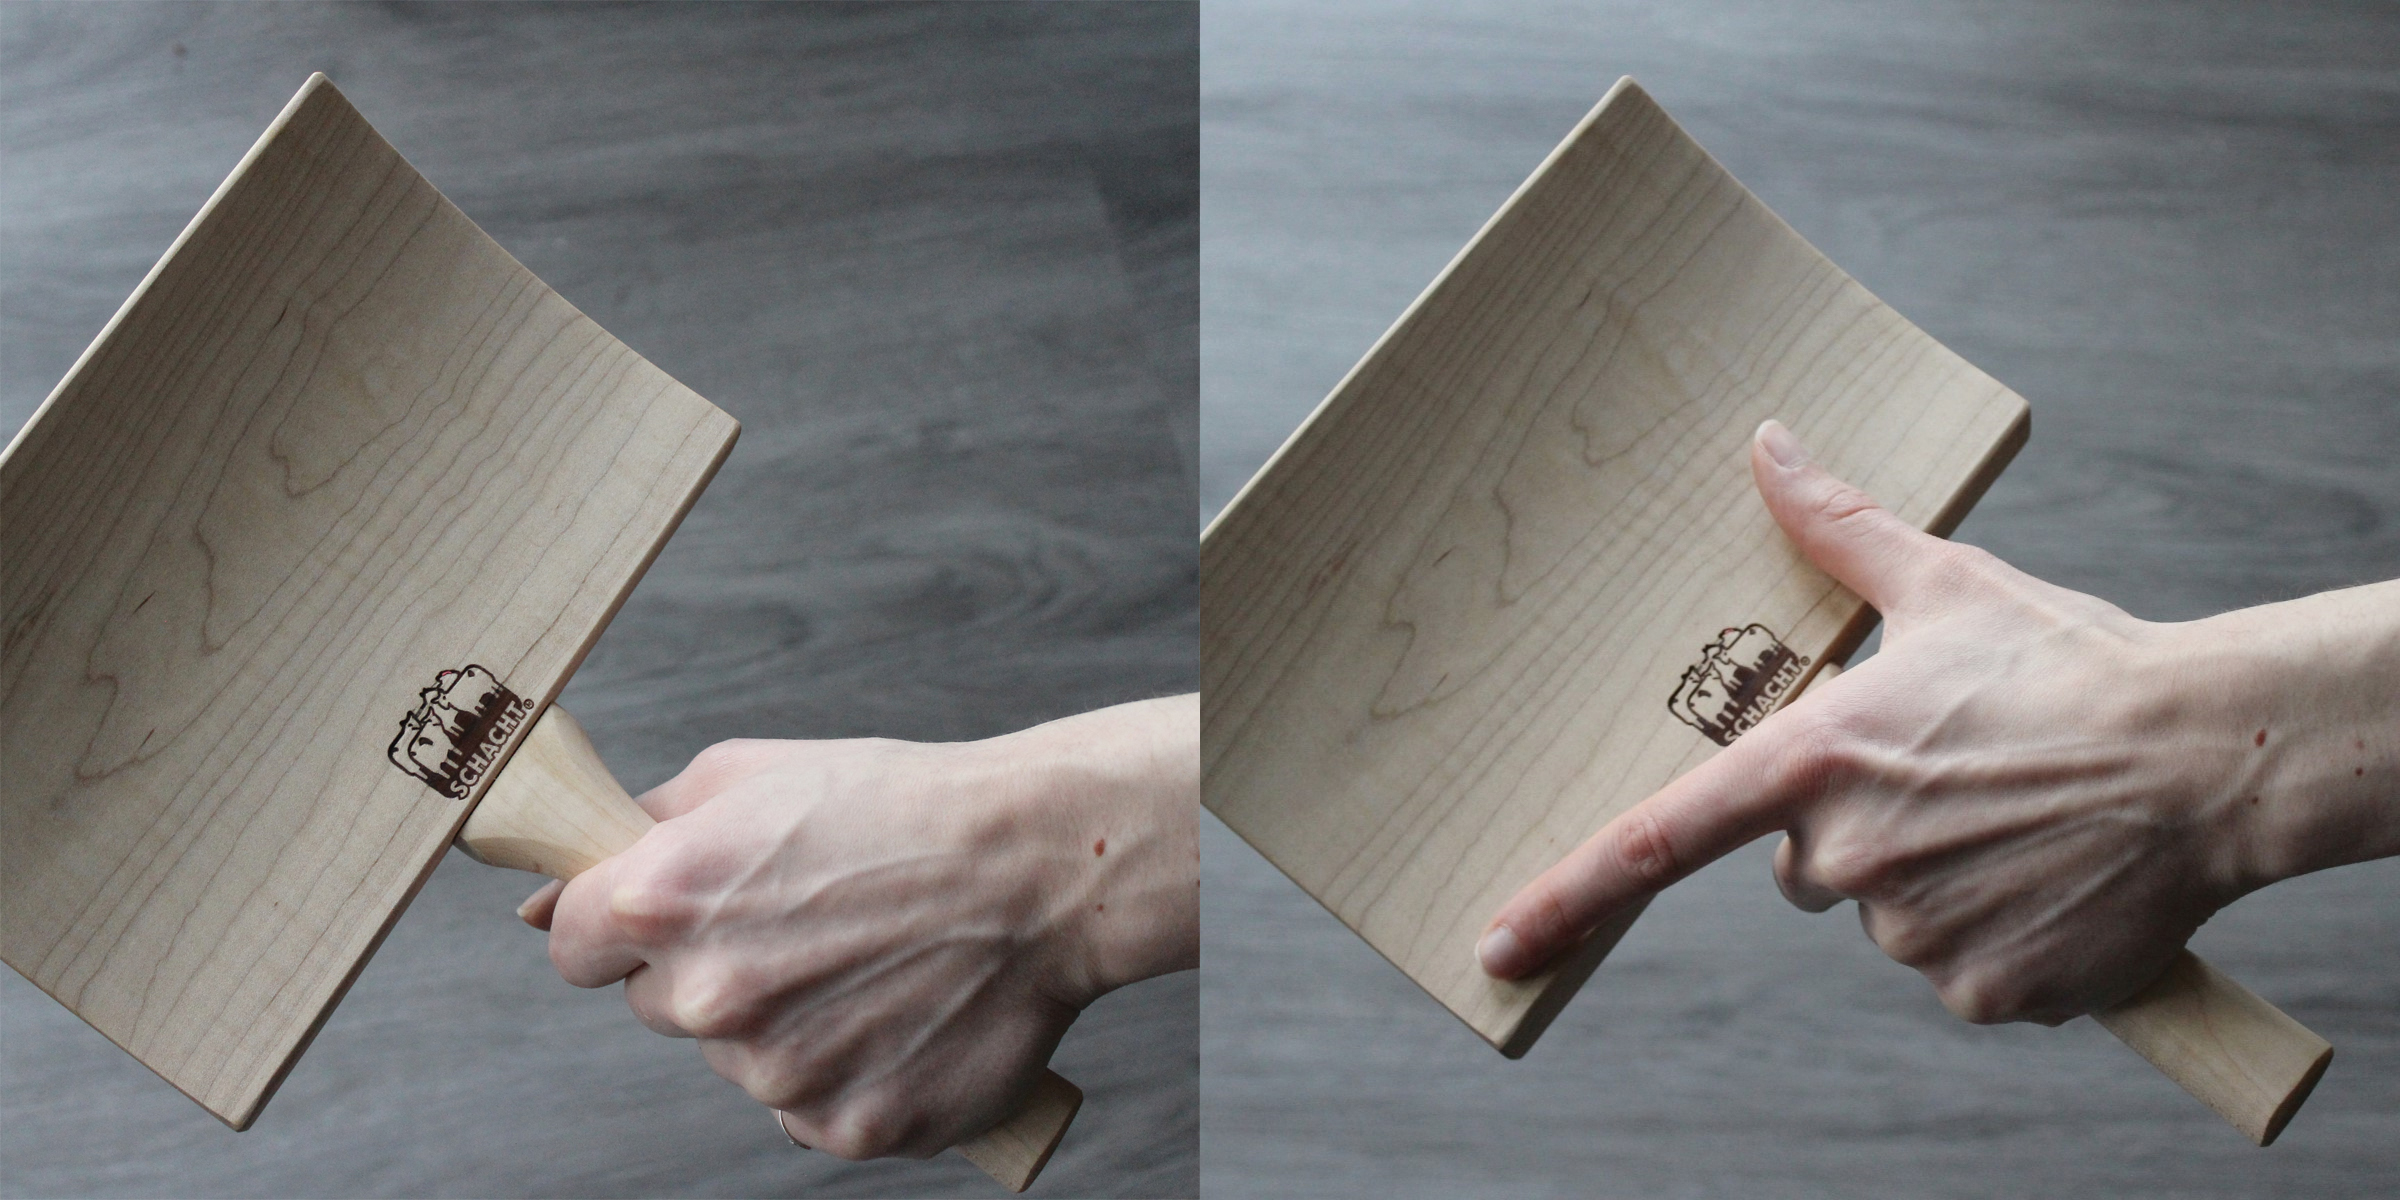
I took the second hand carder by the handle and placed it over the filled carder. You can hold the hand carder in either way shown here.
I gently brushed the fibers in a rolling motion that followed the curve of the carder on my lap. I repeated this motion, causing the locks to become open and distributed between both hand carders.
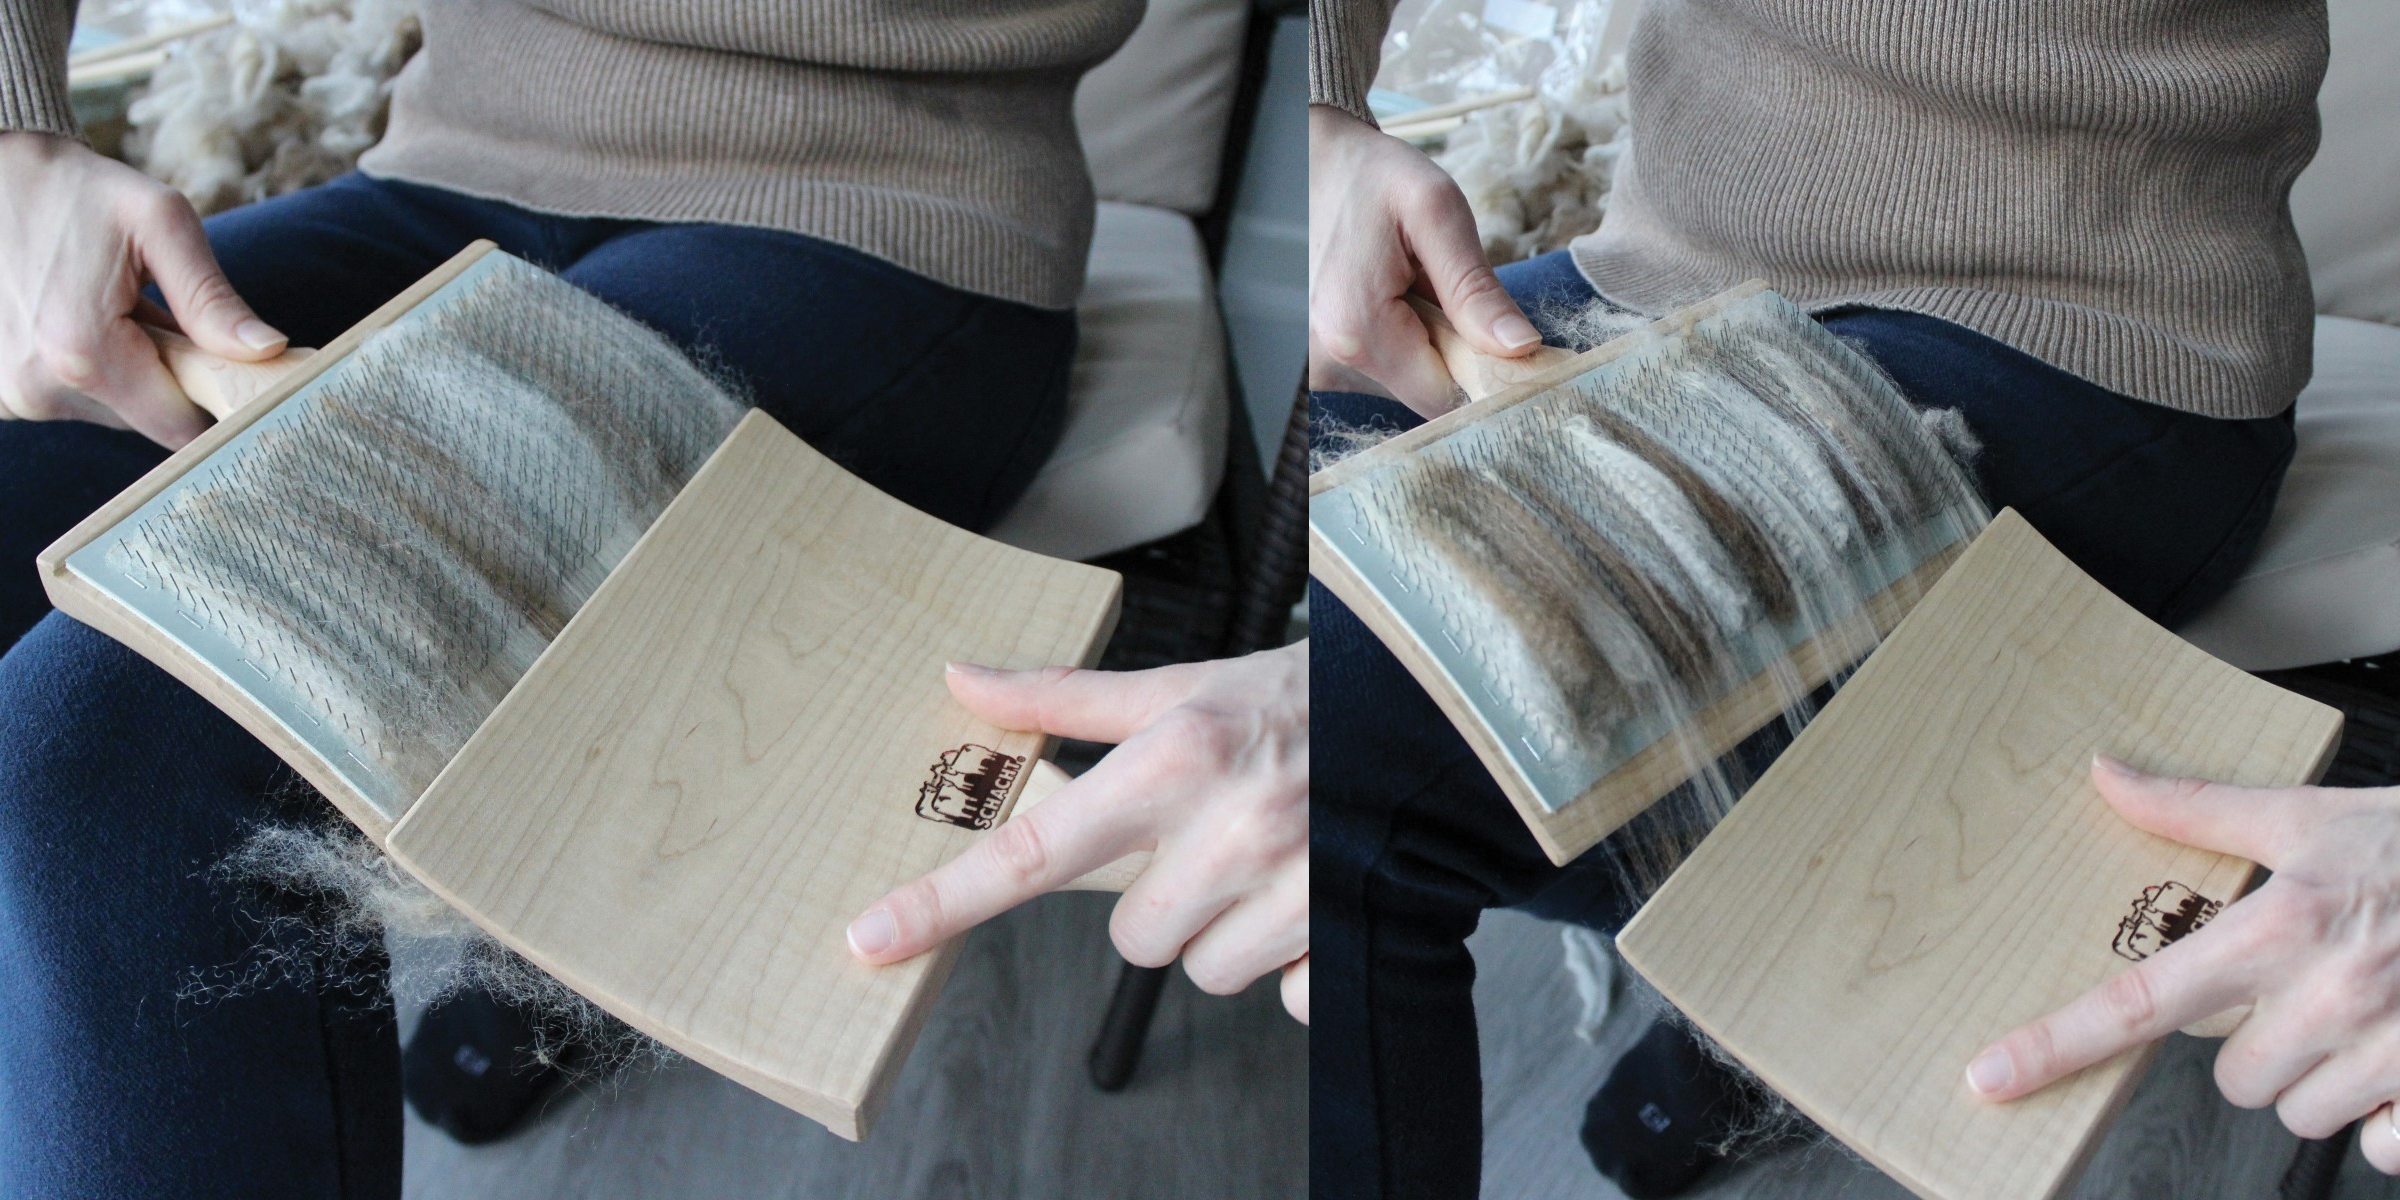
Once the fibers were predominantly moved to the second hand carder (with roughly 25% of the fiber still on the first hand carder), I switched the positions of the two hand carders and continued carding as described above. As the top carder became filled with more fiber than the bottom carder, I stopped carding and switched the carders, doing this approximately 4 to 5 times. I like to think of this process as tossing a salad between two bowls until I get the desired blend.
When the locks have become opened, blended, and fluffed, I took the fuller carder and scraped it slowly and deliberately across the carder with the remaining fibers to transfer as much fiber as possible to the fuller carder. You can choose to do this with the carders in any order—that is, with the fuller carder on your lap or in your hand. Now I was ready to make rolags.
Rolag Method (Hands)
Pro tip: As you navigate around the carding cloth, remember that the points are sharp. Avoid pressing your fingers directly into the points. Instead, your fingers should be moving in a scraping motion across and away from the points.
With the hand carder on my lap, the handle facing me, and the fibers facing away from me, I carefully lifted up the feathery pieces of fiber hanging off the edge of the hand carder, and then gently finger-brushed the fibers up and towards the middle, forming what looks like a pointy triangle (i.e., looks like the hair of a troll doll).
Using my index and middle finger like a pair of scissors, I pinched the top of the fibers and rolled it snugly towards myself and the hand carder. I removed my fingers, and continued to roll the fibers down the face of the hand carder until all the fibers were rolled up.
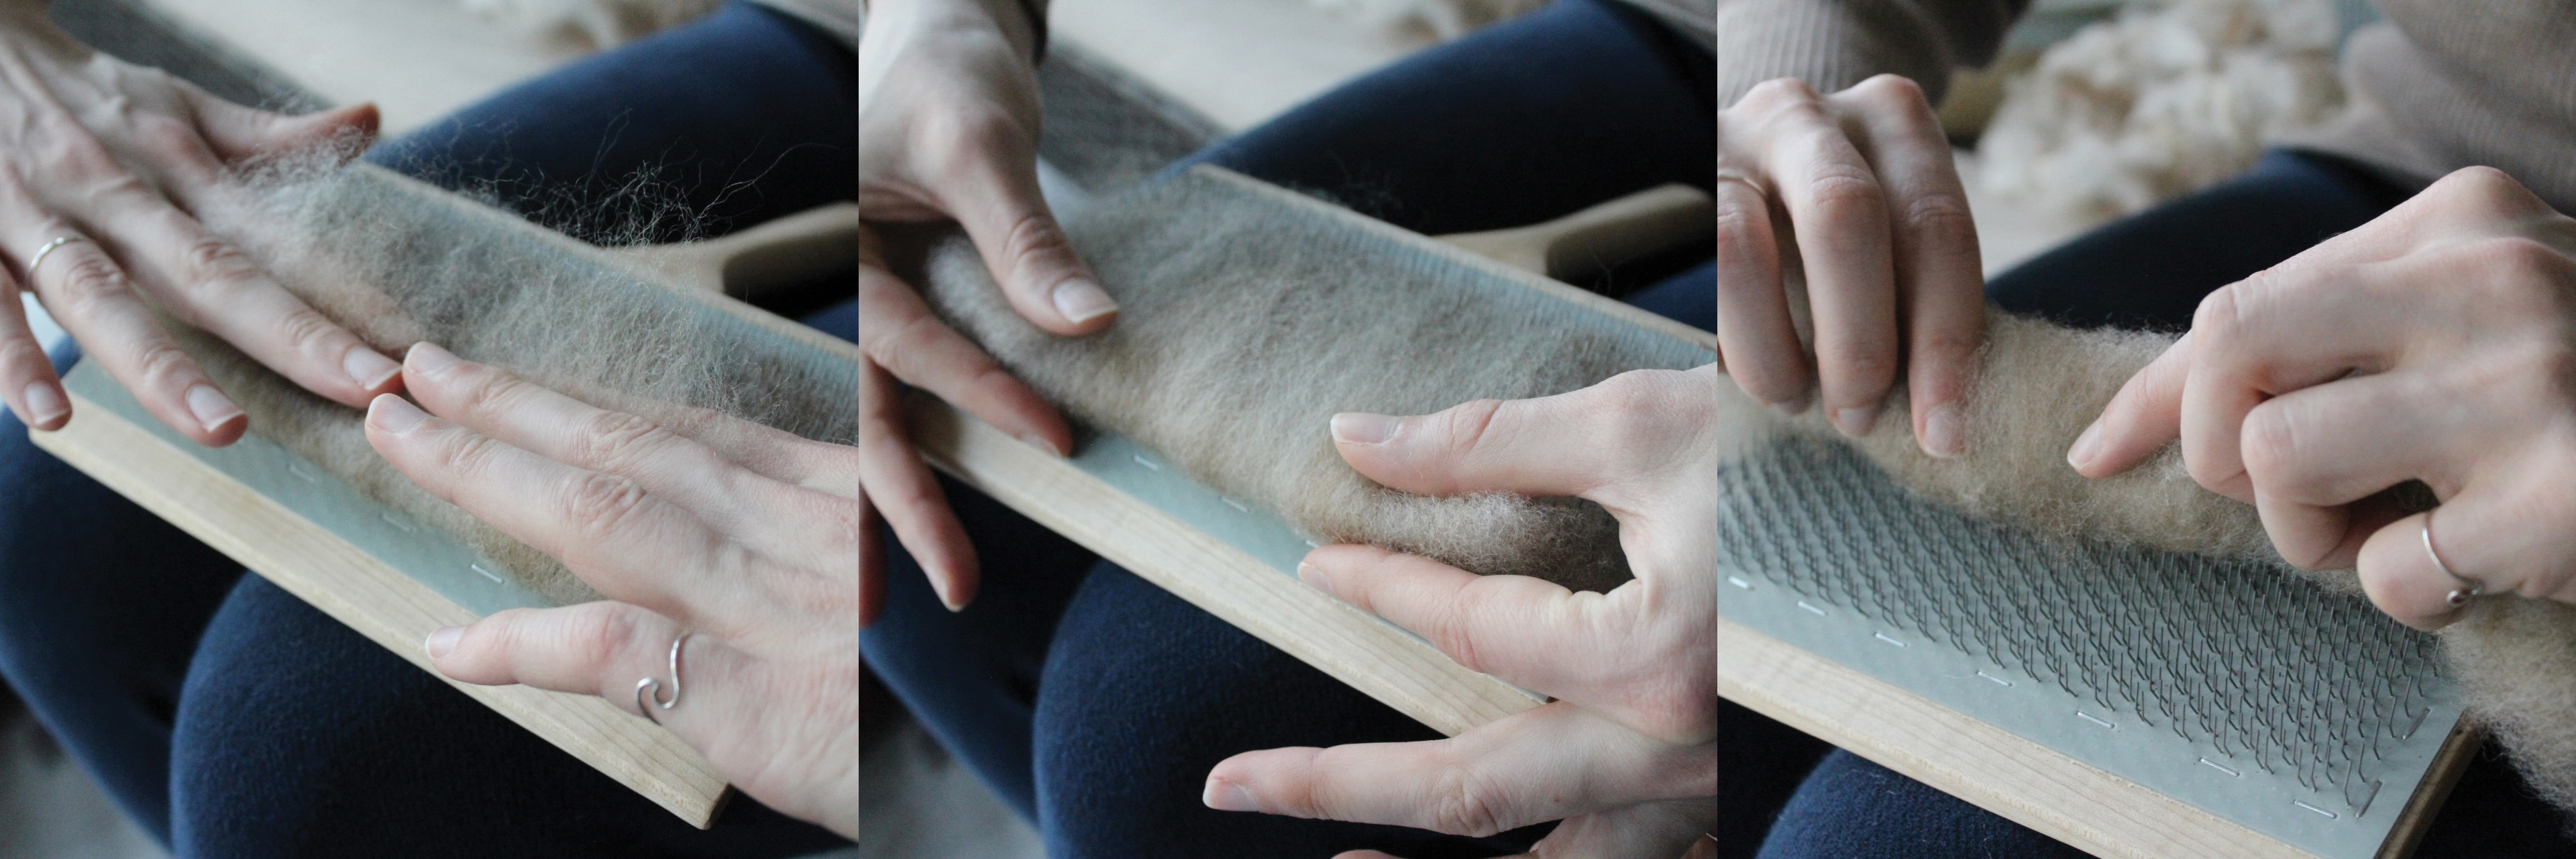
I then took the fresh rolag from the hand carder and placed it in container for later use.
Rolag Method (Dowels)
As in the hand method above, I feathered out the tips of fiber on the top edge of my hand carder. I then placed one dowel under the fibers, and then clamped another dowel on top. Pressing the dowels closely together keeps the fibers pinned.
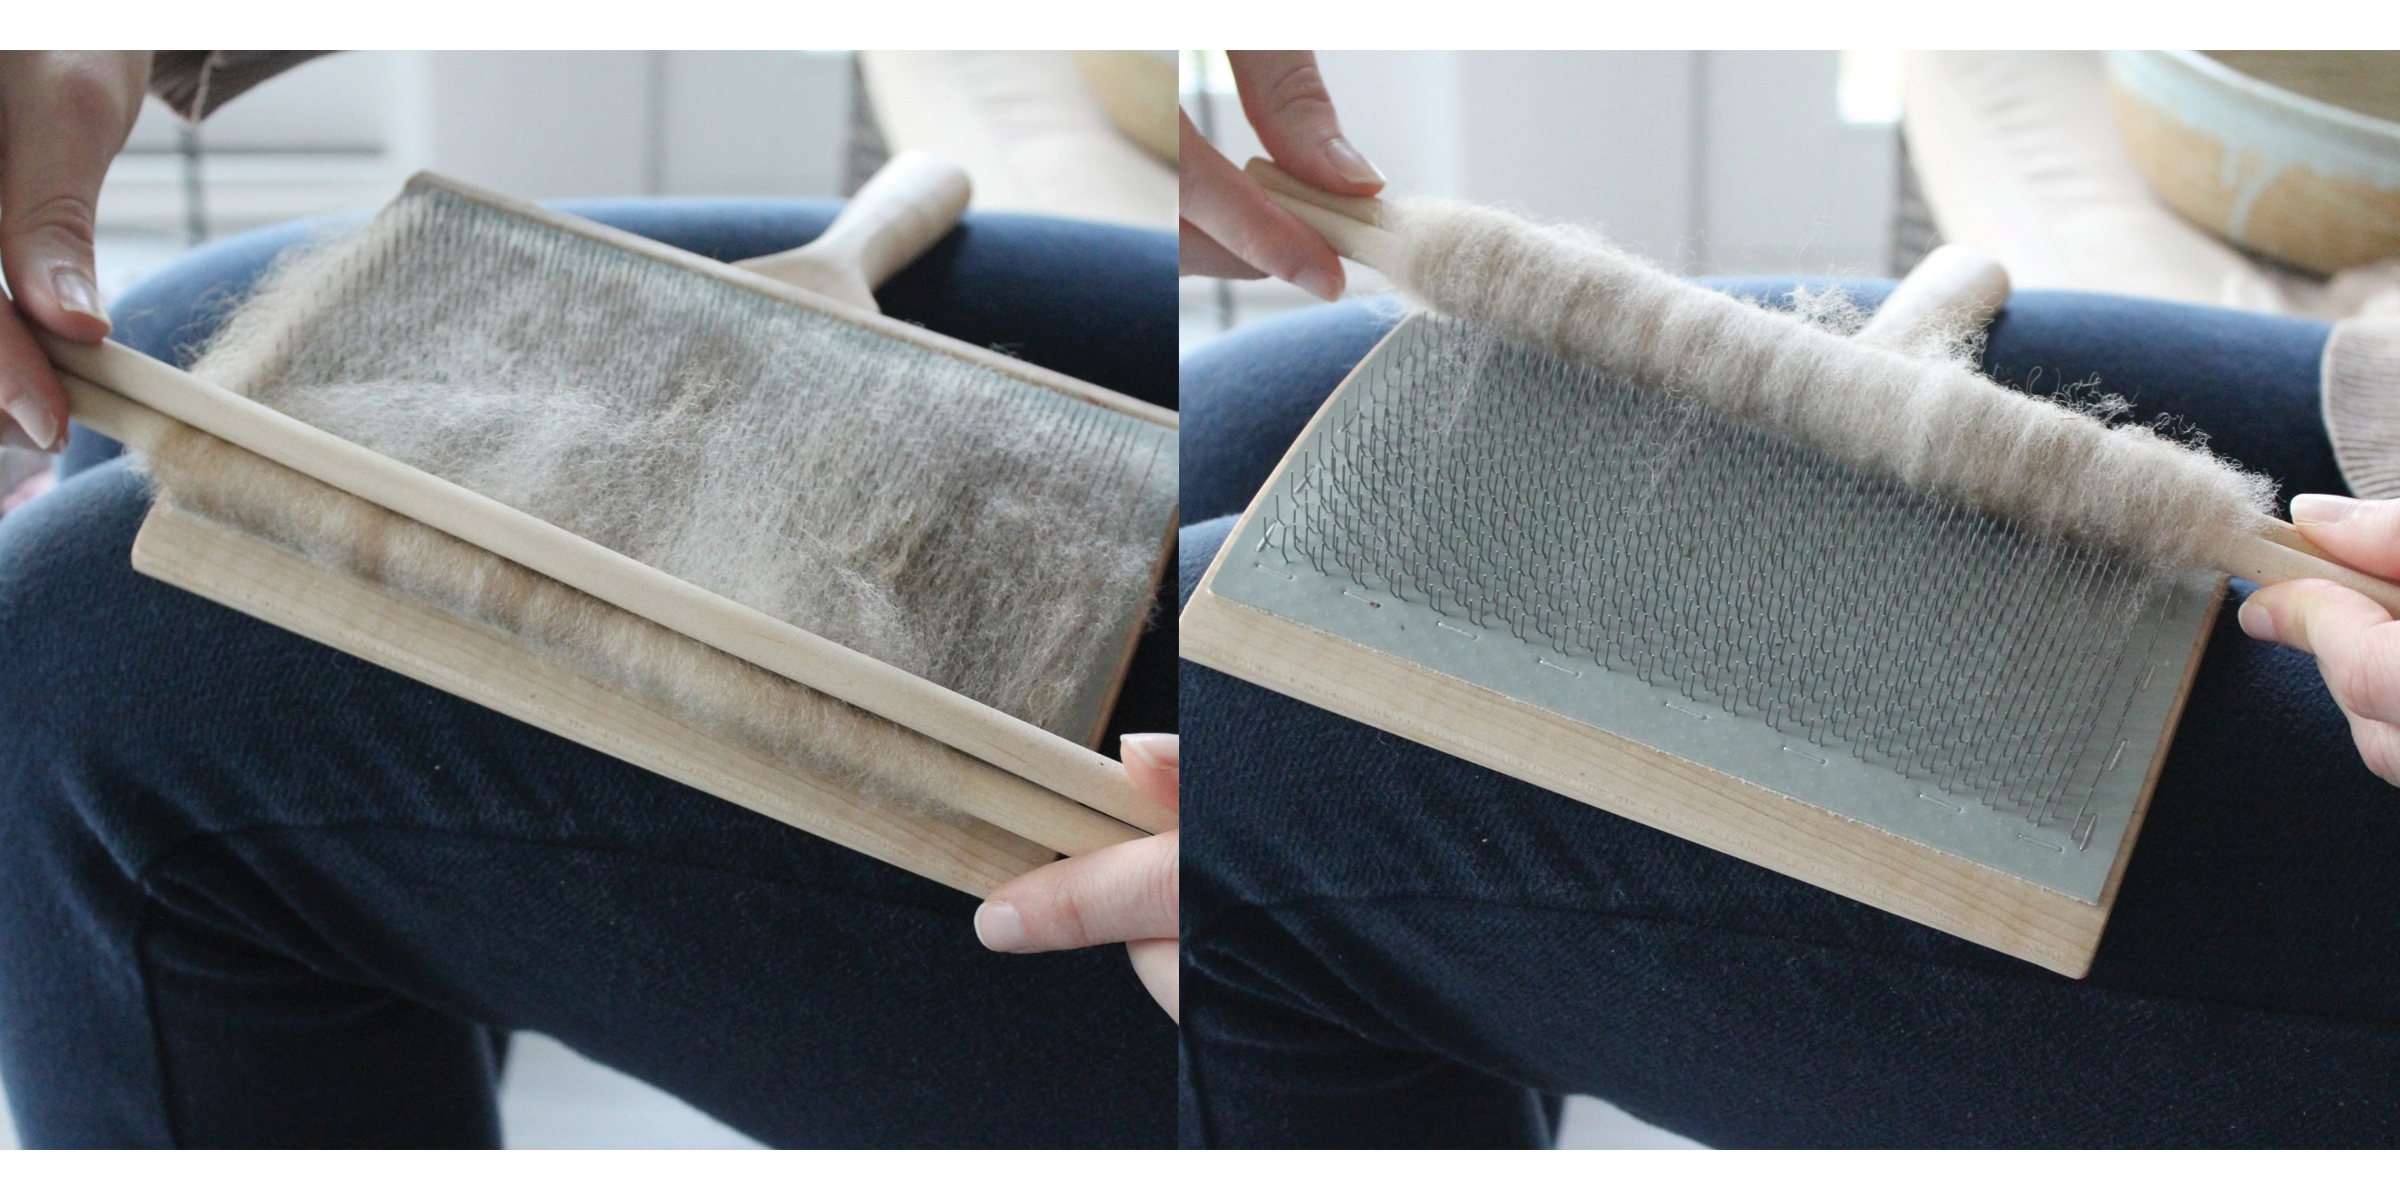
Keeping a firm grip, I began to roll the dowels towards me in a gentle tug-and-roll motion; the fiber and the dowels are moving together.
Once the fibers are all rolled up, you can remove them from the hand carder. To avoid tangling or tightening, pull out one dowel at a time to free your new rolag. Do not pull out both dowels at the same time.
Notes
- Keep your workspace tidy by placing a tablecloth on the floor or on your lap before you start hand carding. Carding will dislodge second cuts, short fibers, and pieces of vegetable matter.
- When working with washed wool locks, I like to tease and open them before carding, making the carding process much more efficient. I can pick out big felted pieces and chunks of vegetable matter, preserving the carders’ points.
- It is better not to overload your hand carders. You should always be able to see the tips of the points peeking out from your fibers on the carder. You can then avoid jamming or breaking the carders, or creating neps from overworked fibers.
- Finally, take care of yourself as you card! Keep your back straight and take multiple breaks from sitting. While some people prefer to card with the paddles in the air, I recommend holding one carder firmly on your lap to avoid wrist fatigue.
- Hand carders enable you to produce rolags from your fibers. Furthermore, hand carders can handle not only locks, but also tops, rovings, and pieces of batting. You can blend colors, fibers, and even textures into your rolags. Rolags photograph well, and you may be tempted to forgo spinning your rolags into yarn to keep these lovelies in your studio!

