Designed and woven by Anne Sammons
Stash Buster Scarf
Designed and woven by Anne Sammons
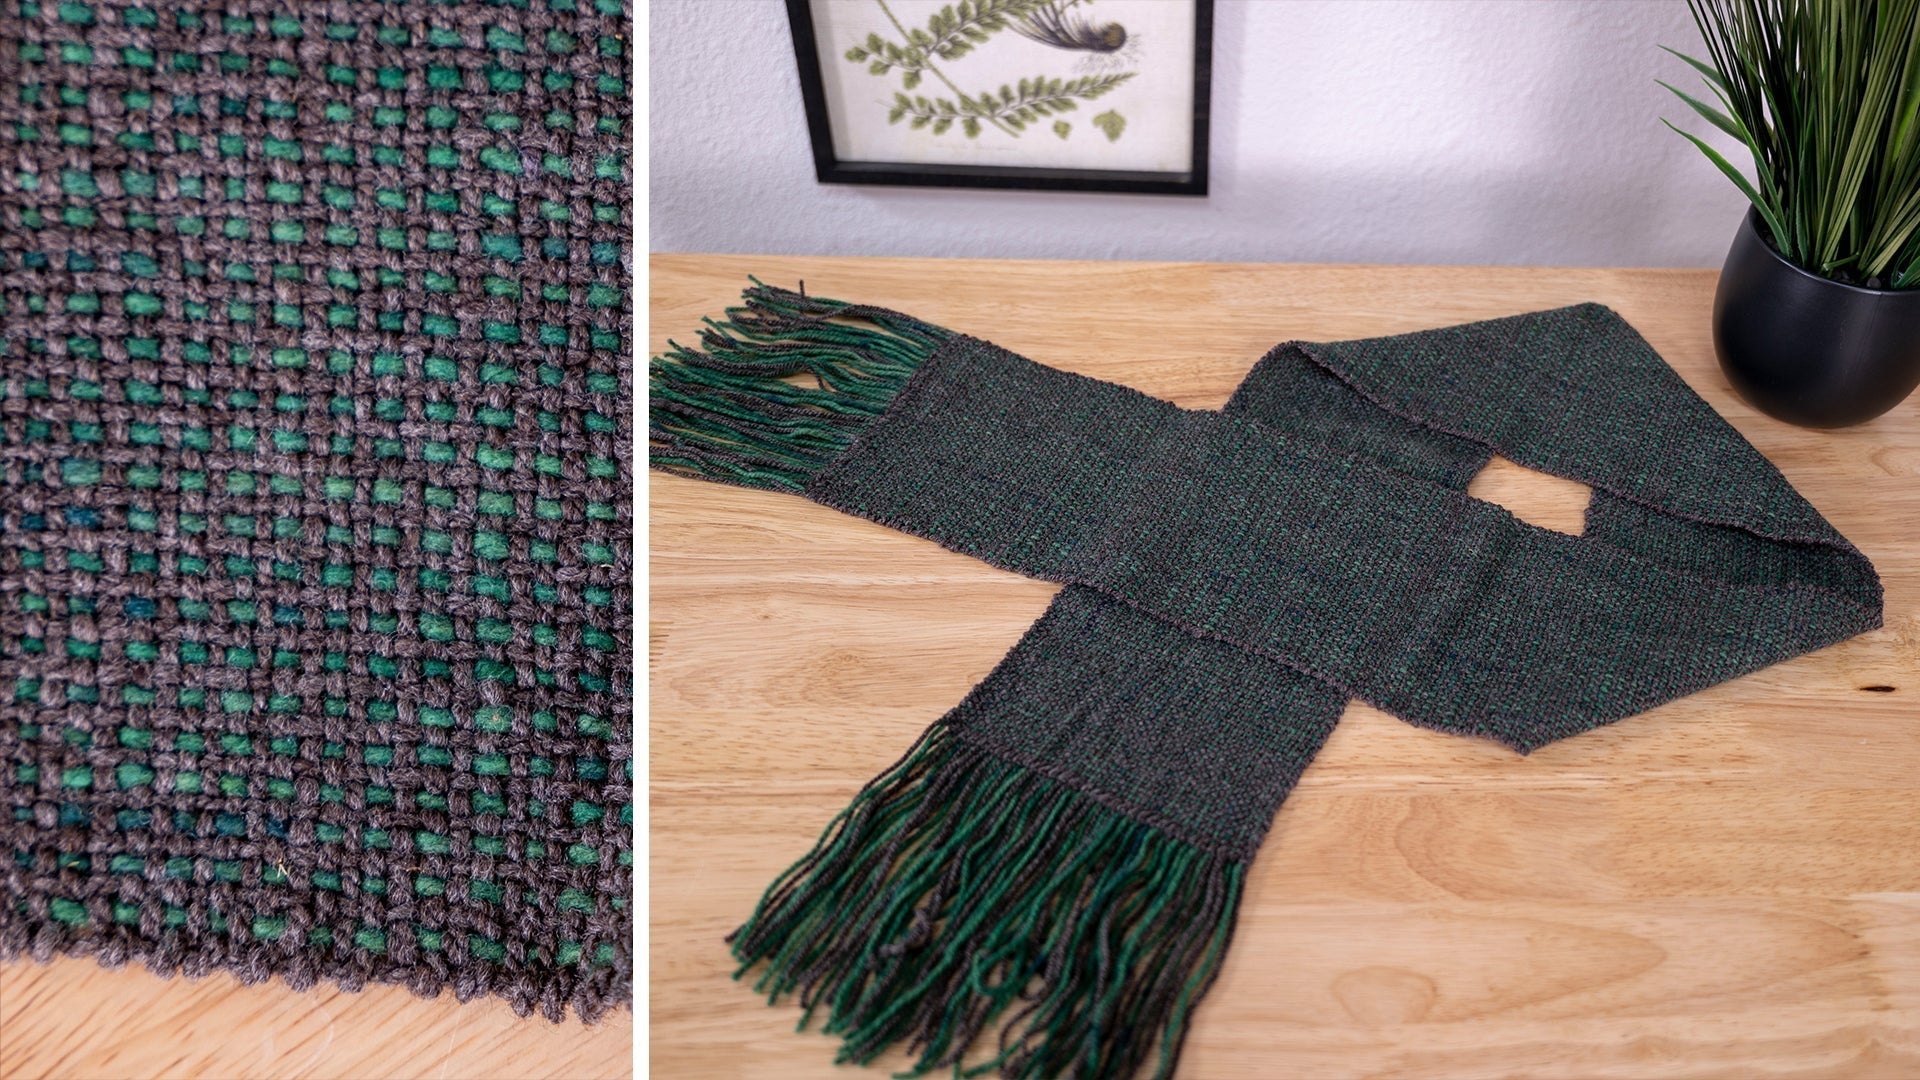
What do you do with your last little ball of yarn? I save mine for a stash busting project!! This scarf is a lightweight stash buster that can be created longer or shorter, wider or thinner to meet your amount of yarn or your needs.
Project Specs
Weave structure: Plain weave
Finished size: approximately 6” x 54” (excluding fringe)
Width in heddle:8-1/8”
Total warp ends: 65
Warp length: 84”
EPI: 8
PPI: 6-7 Use a light beat to show the pattern best.
What You'll Need
-
Two contrasting colors of DK weight yarn from your stash. 180 yds needed of Color A (gray in this case) and 80 yds needed of Color B (green in this case). Adjust the weight of yarn as necessary, also adjusting the EPI as well as the yardage calculations.
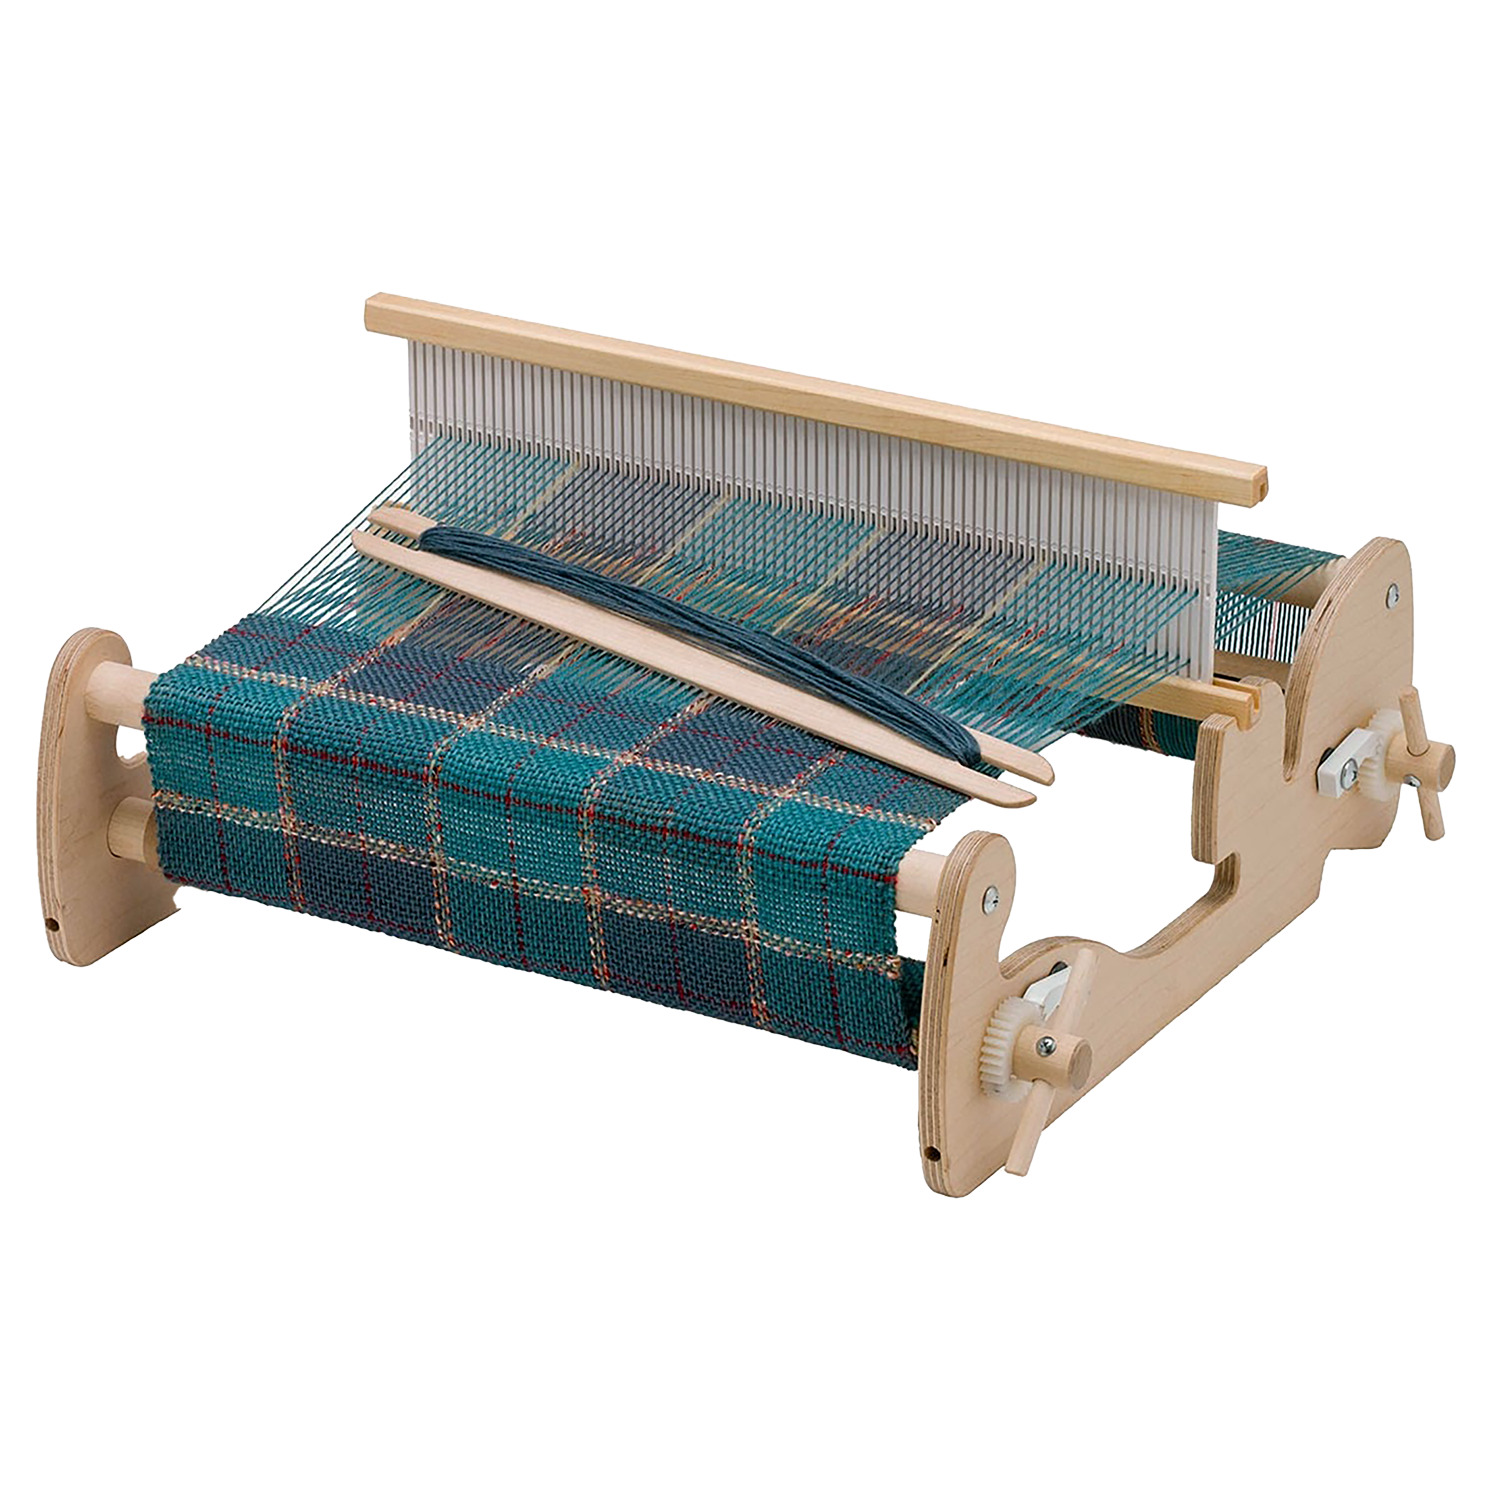
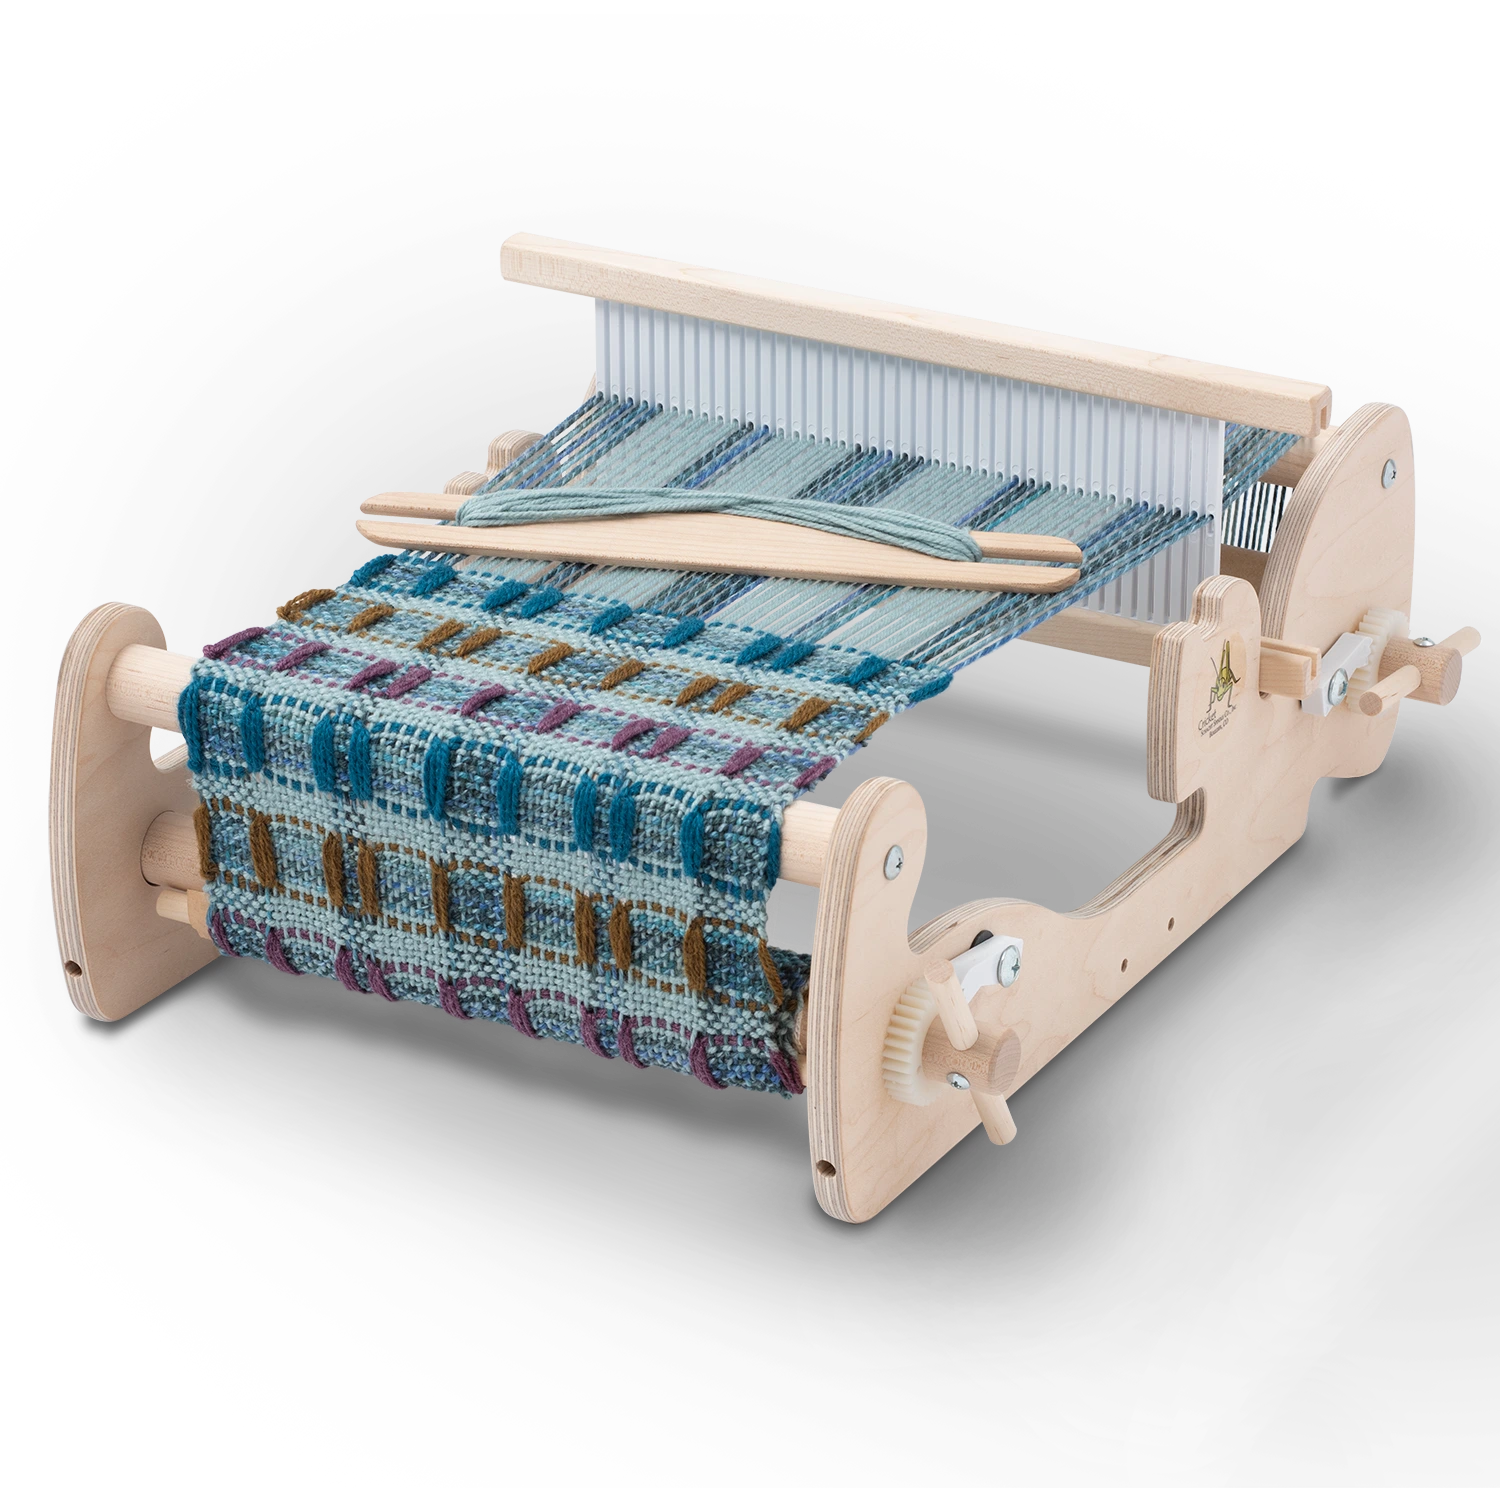
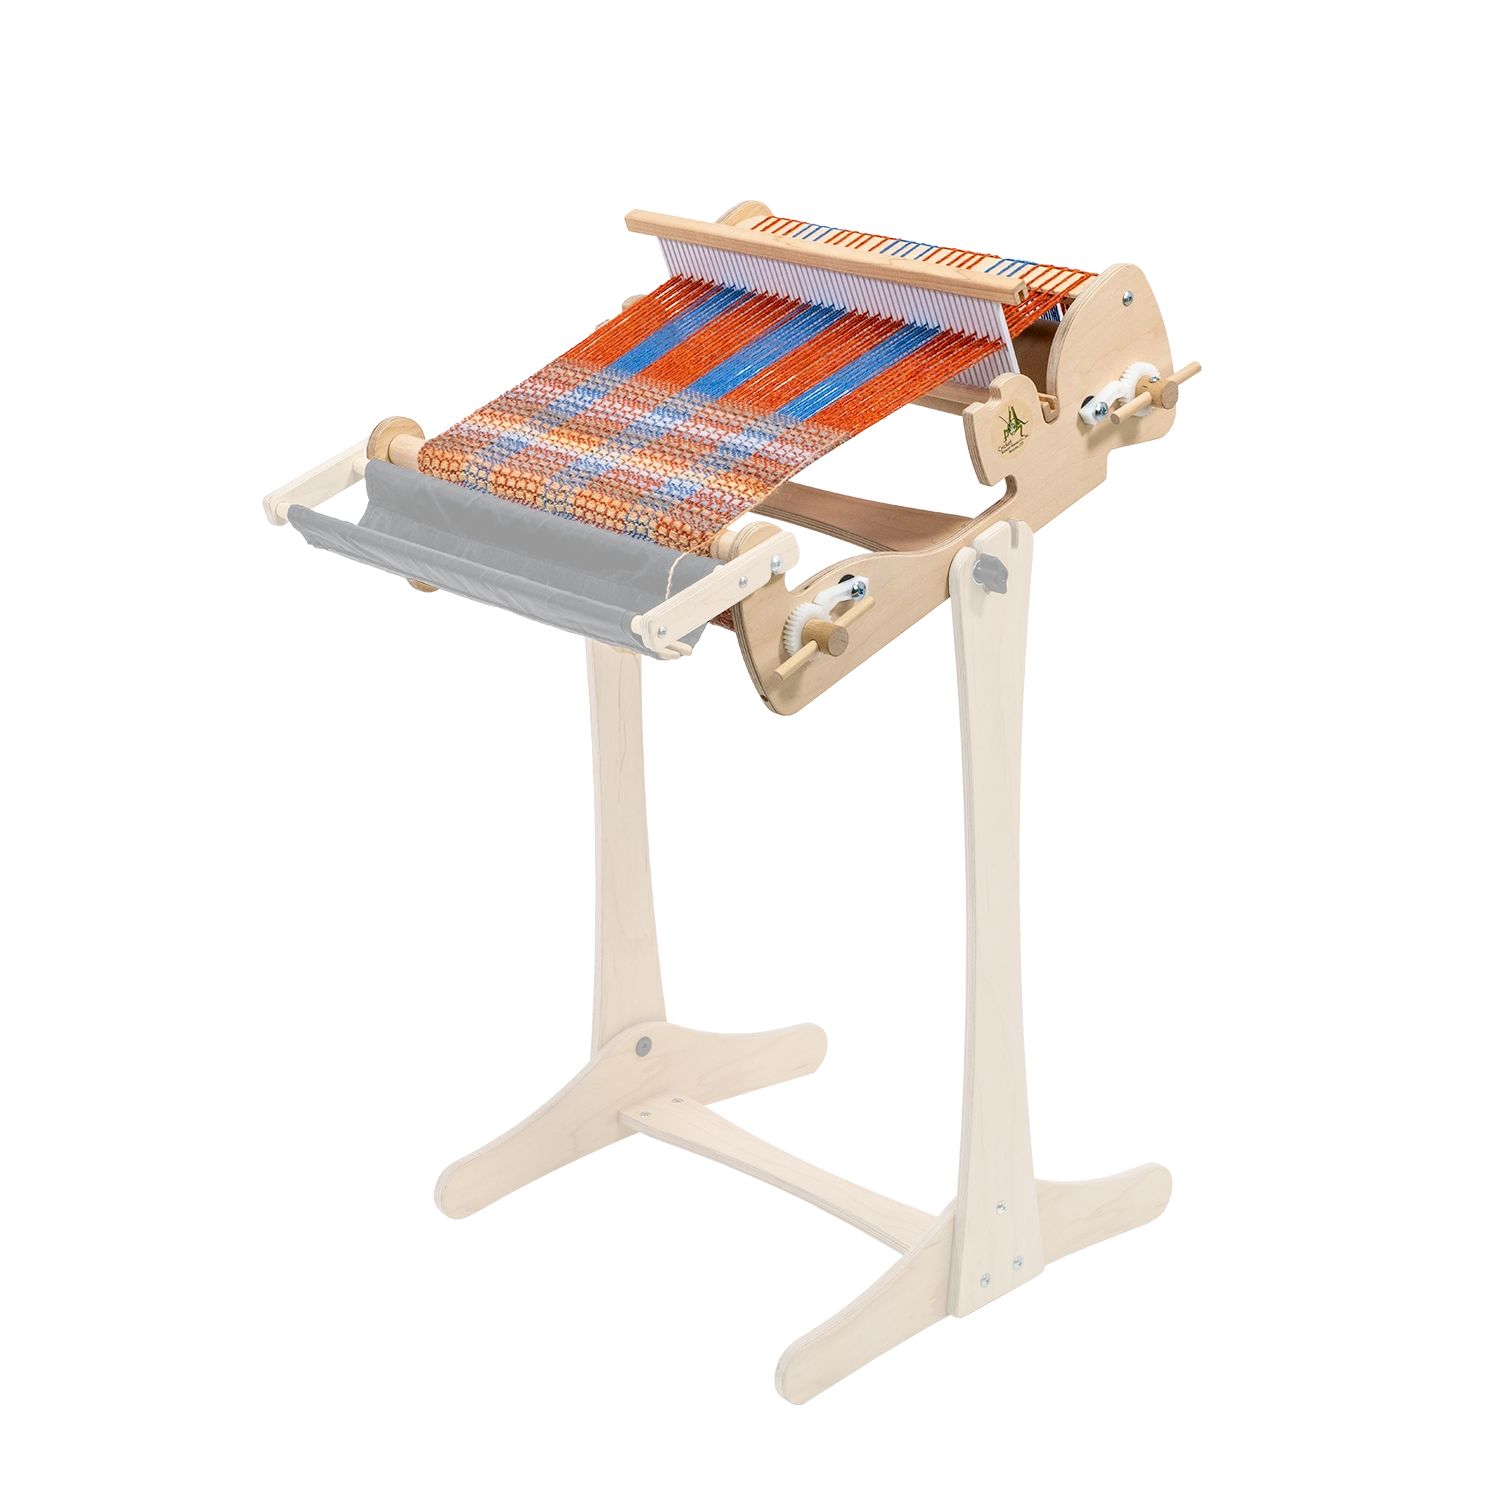
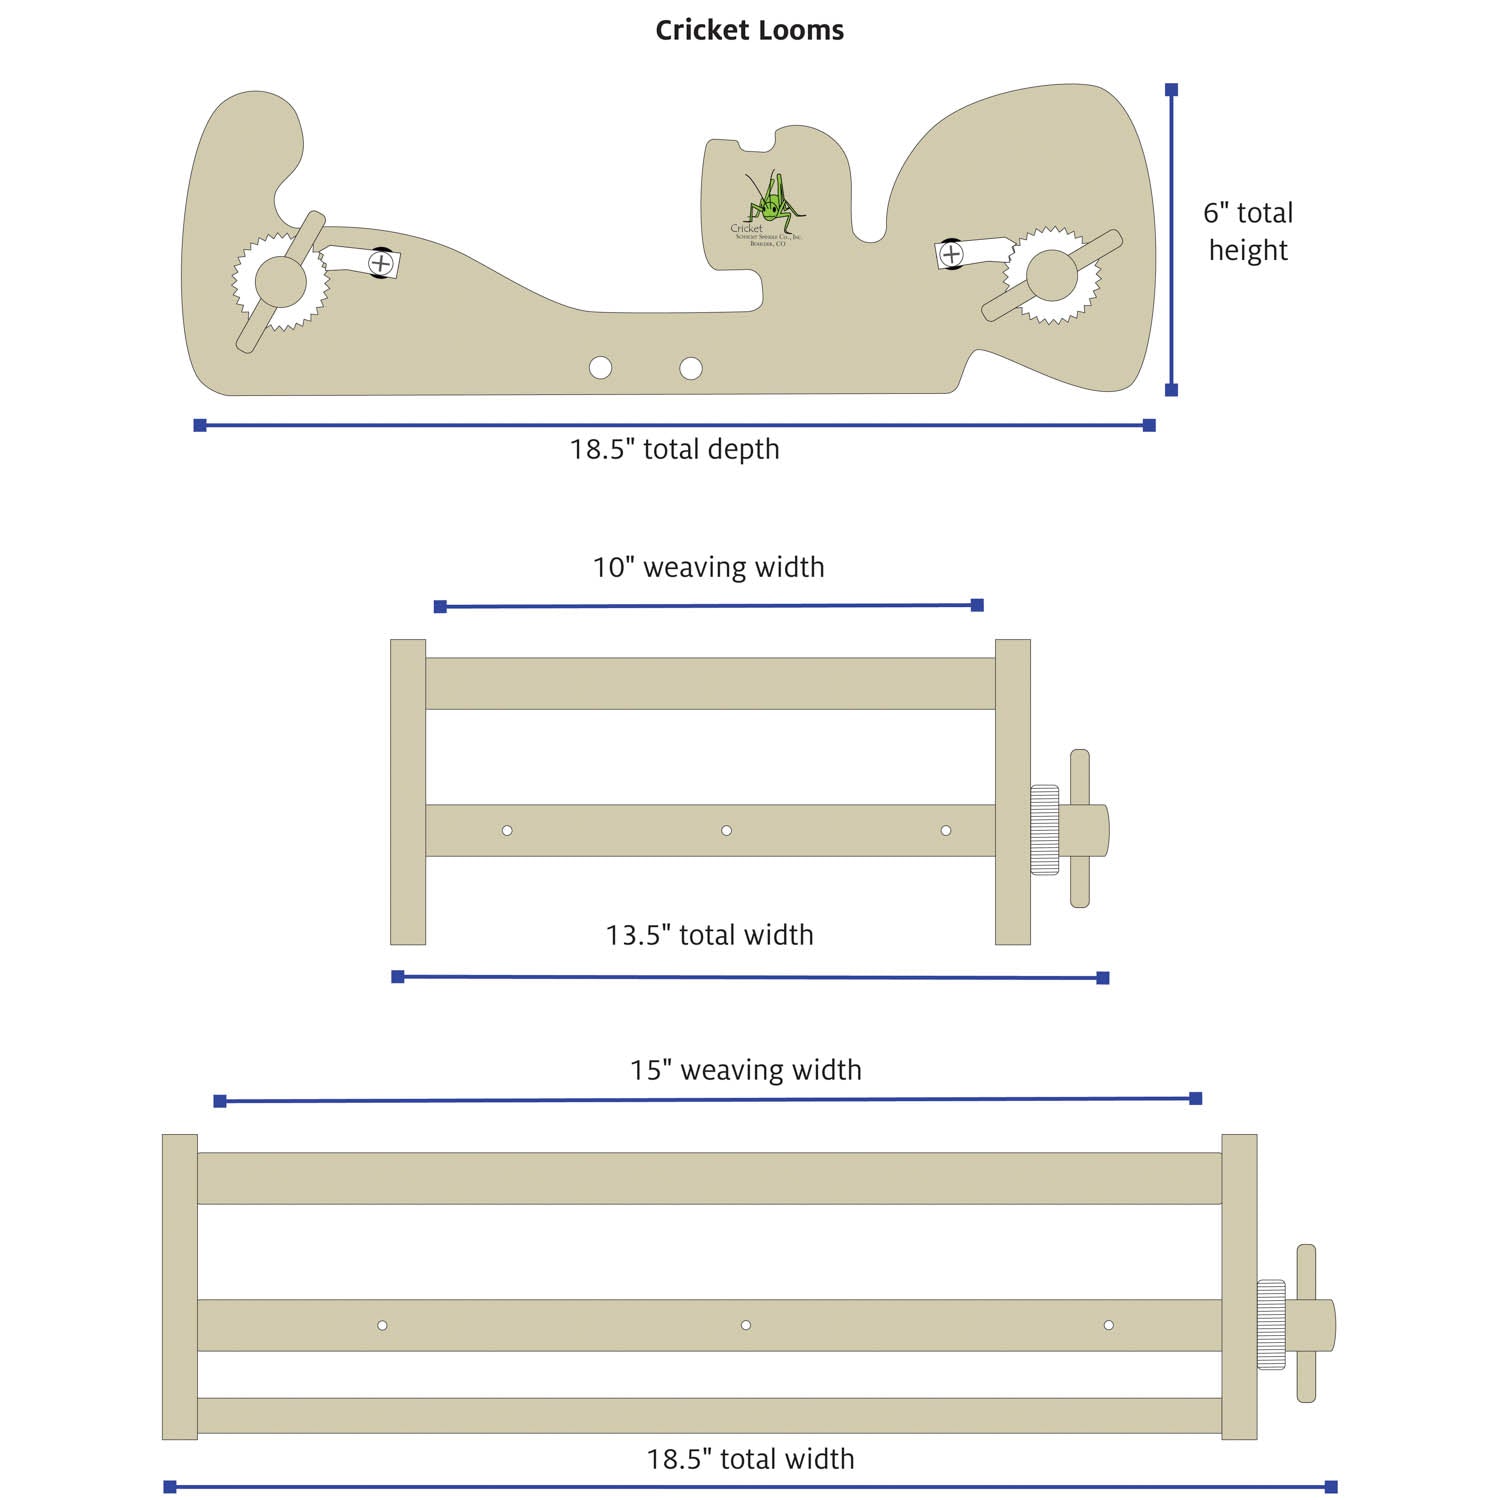
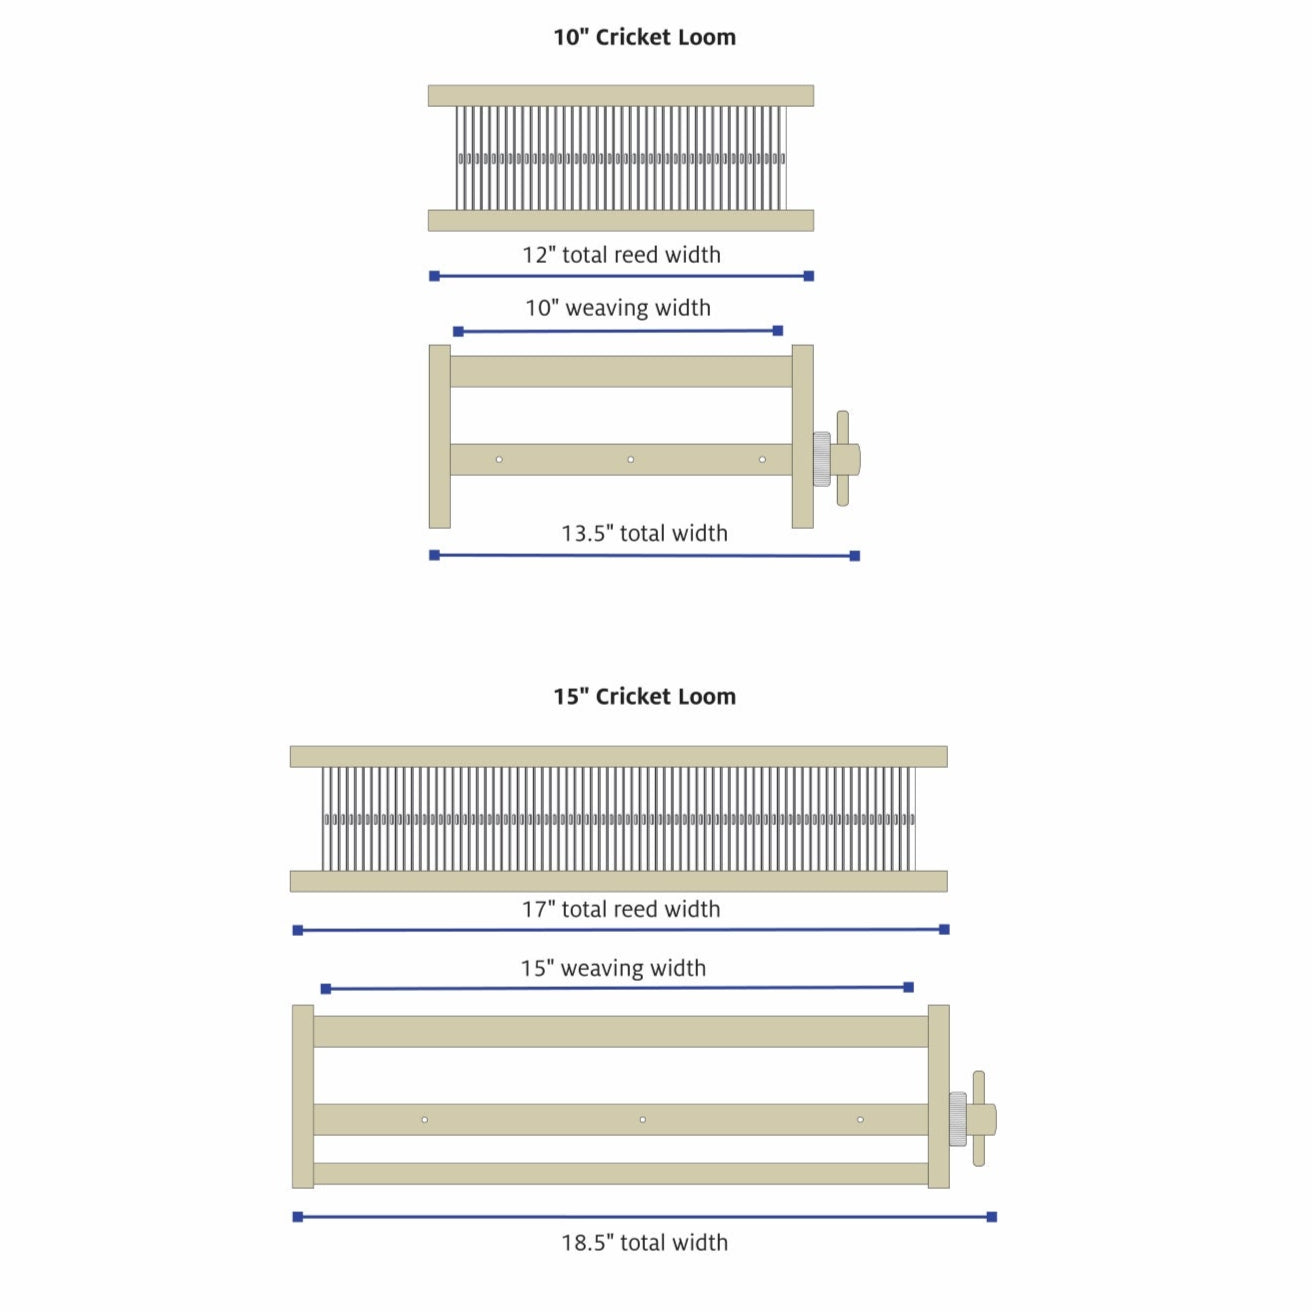
- Cricket Rigid Heddle Loom
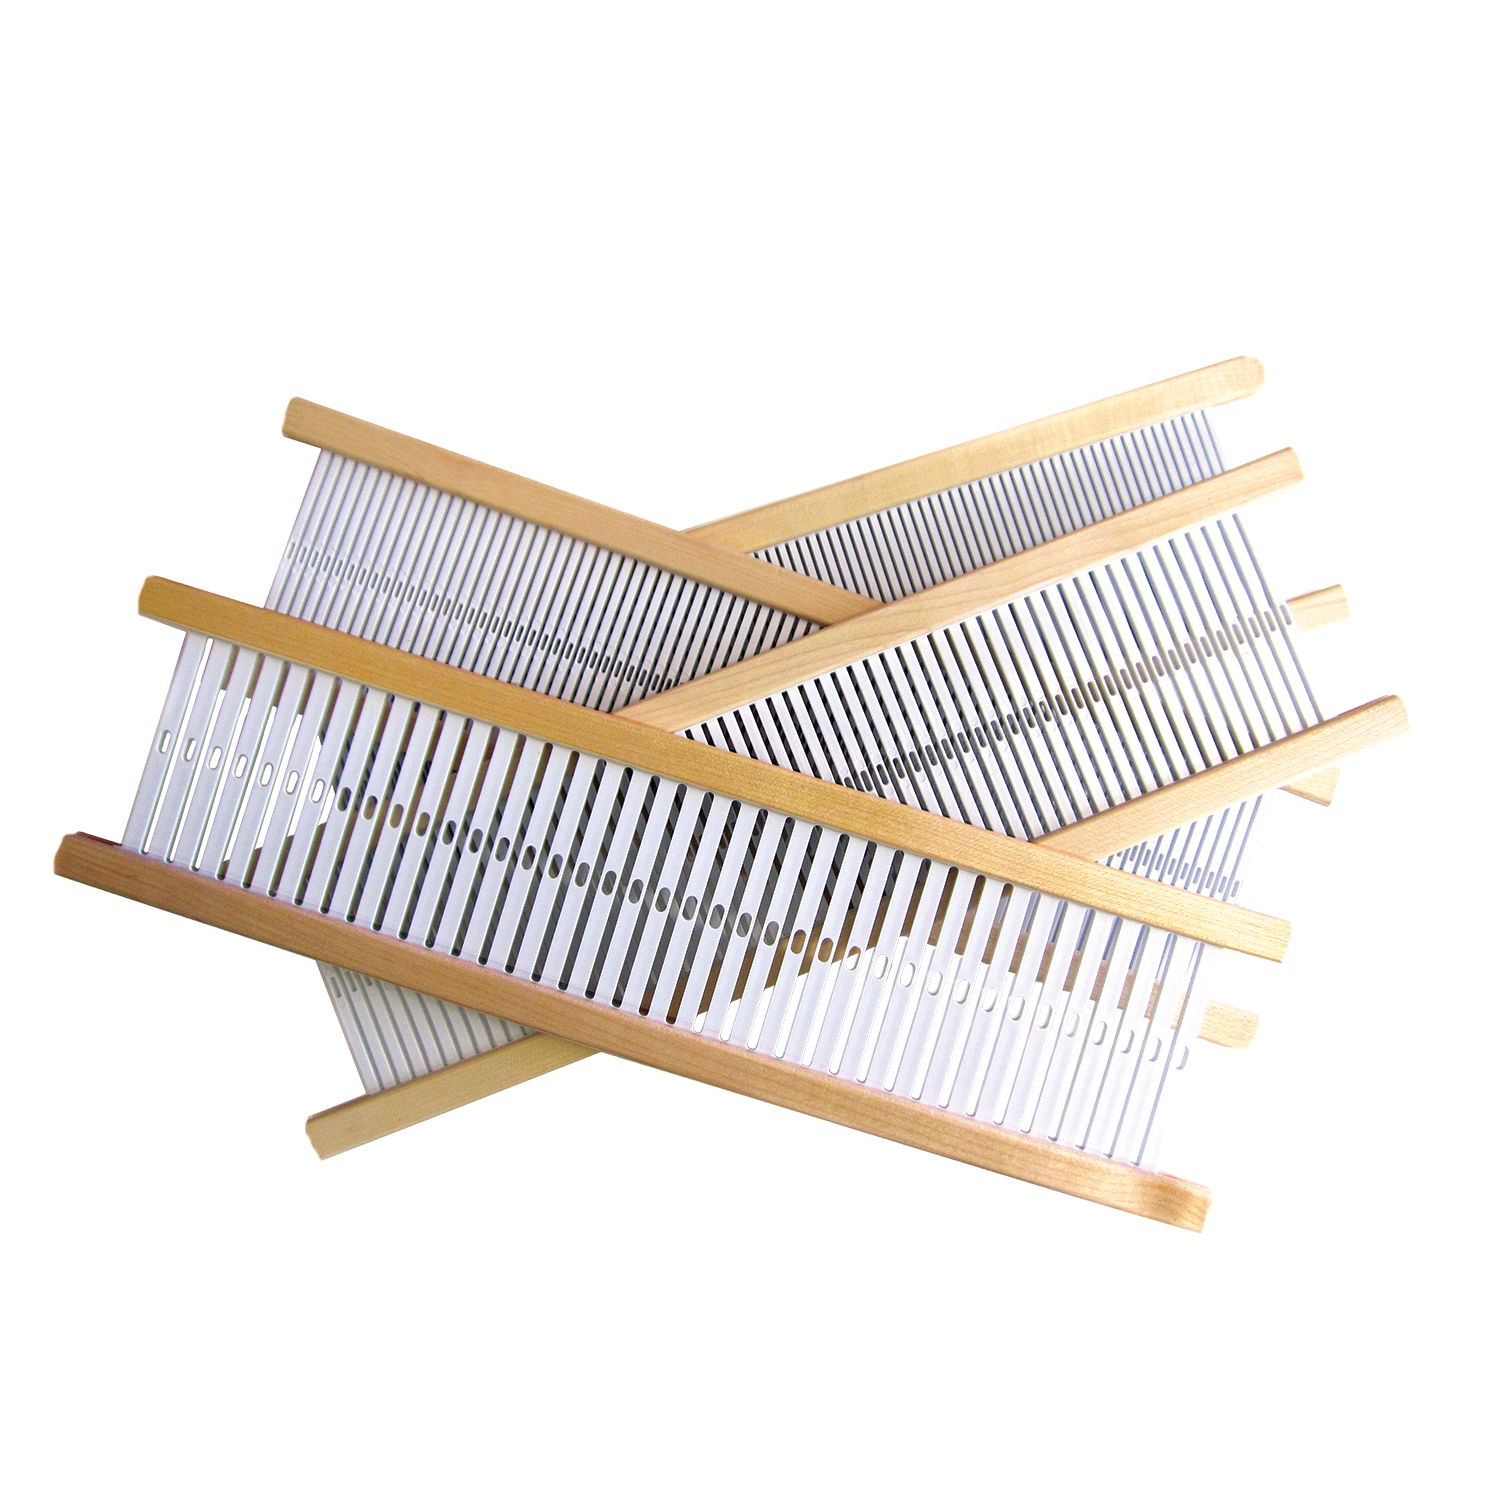
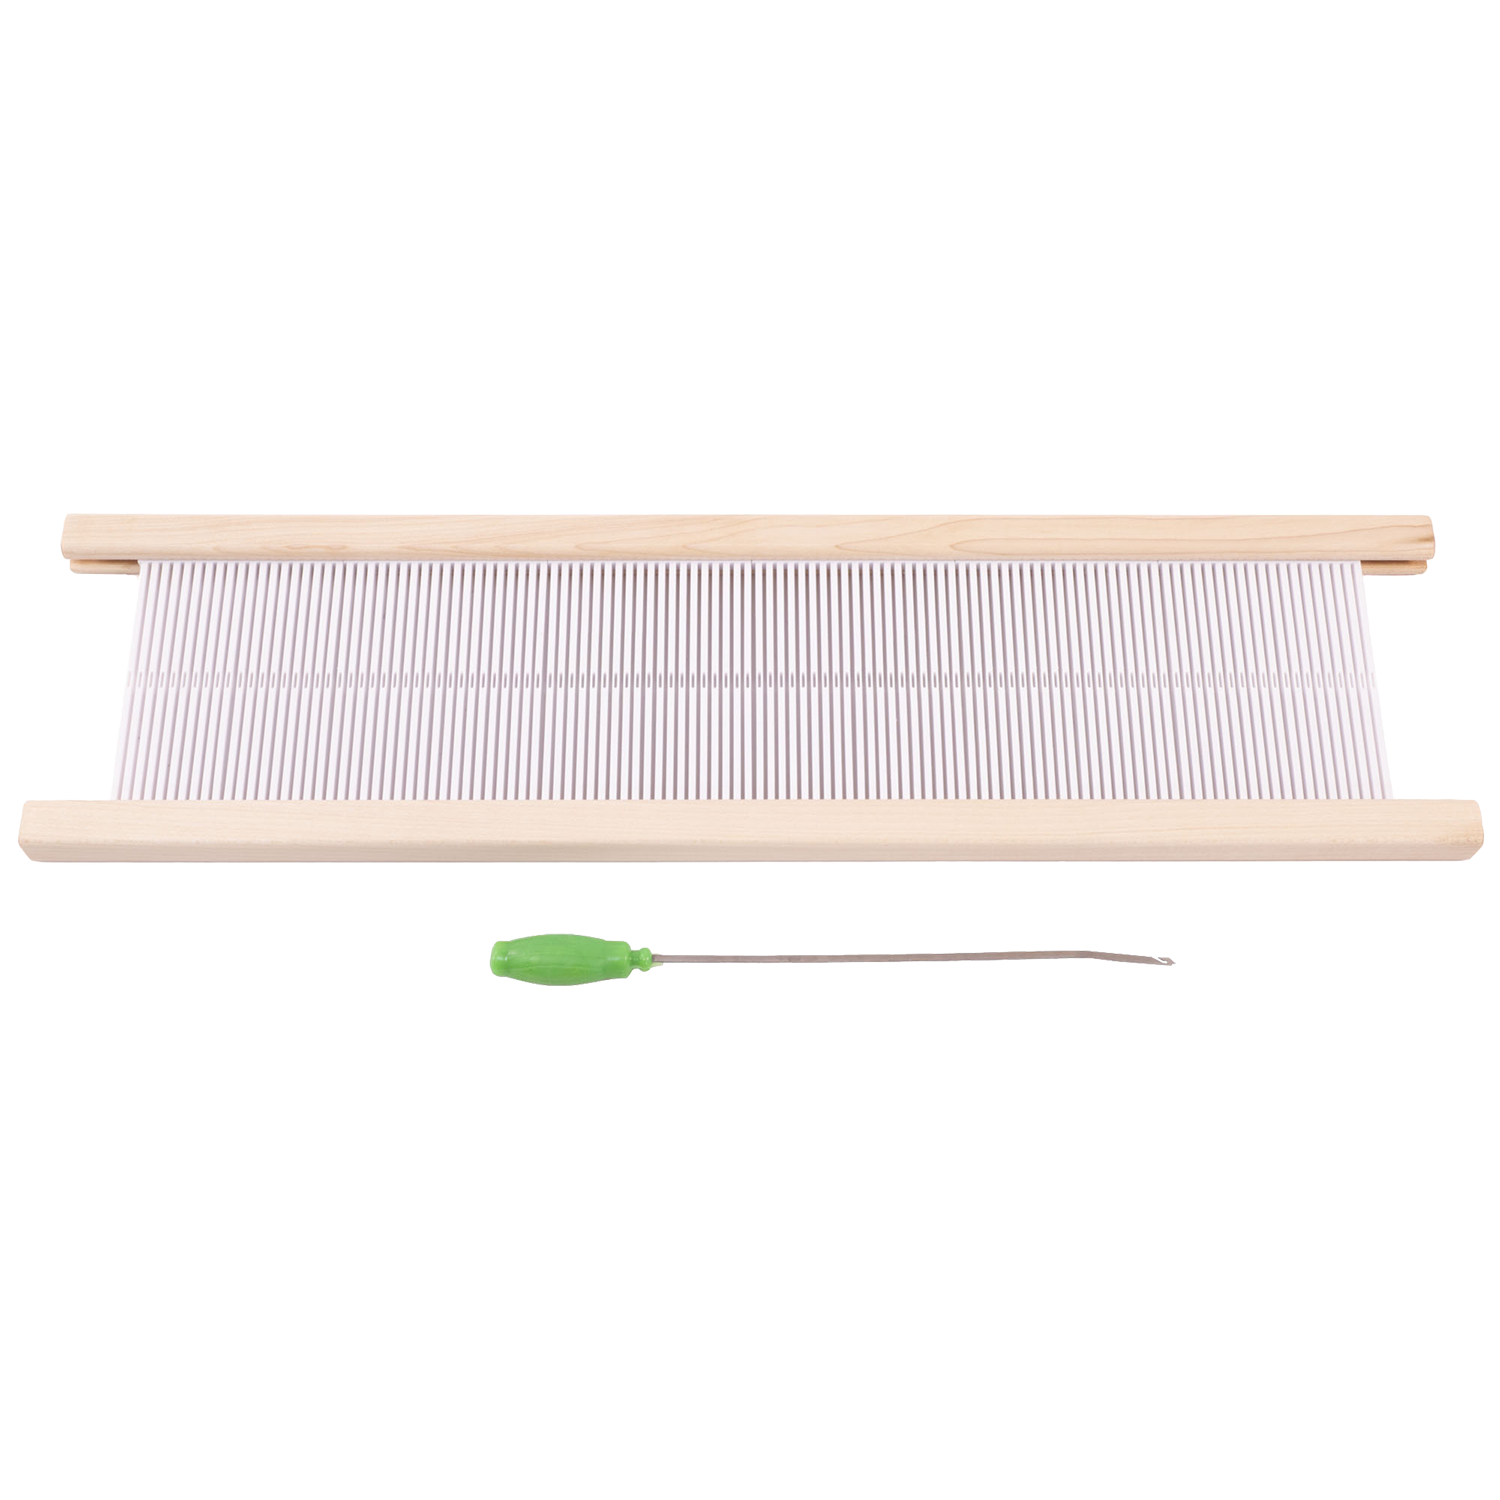
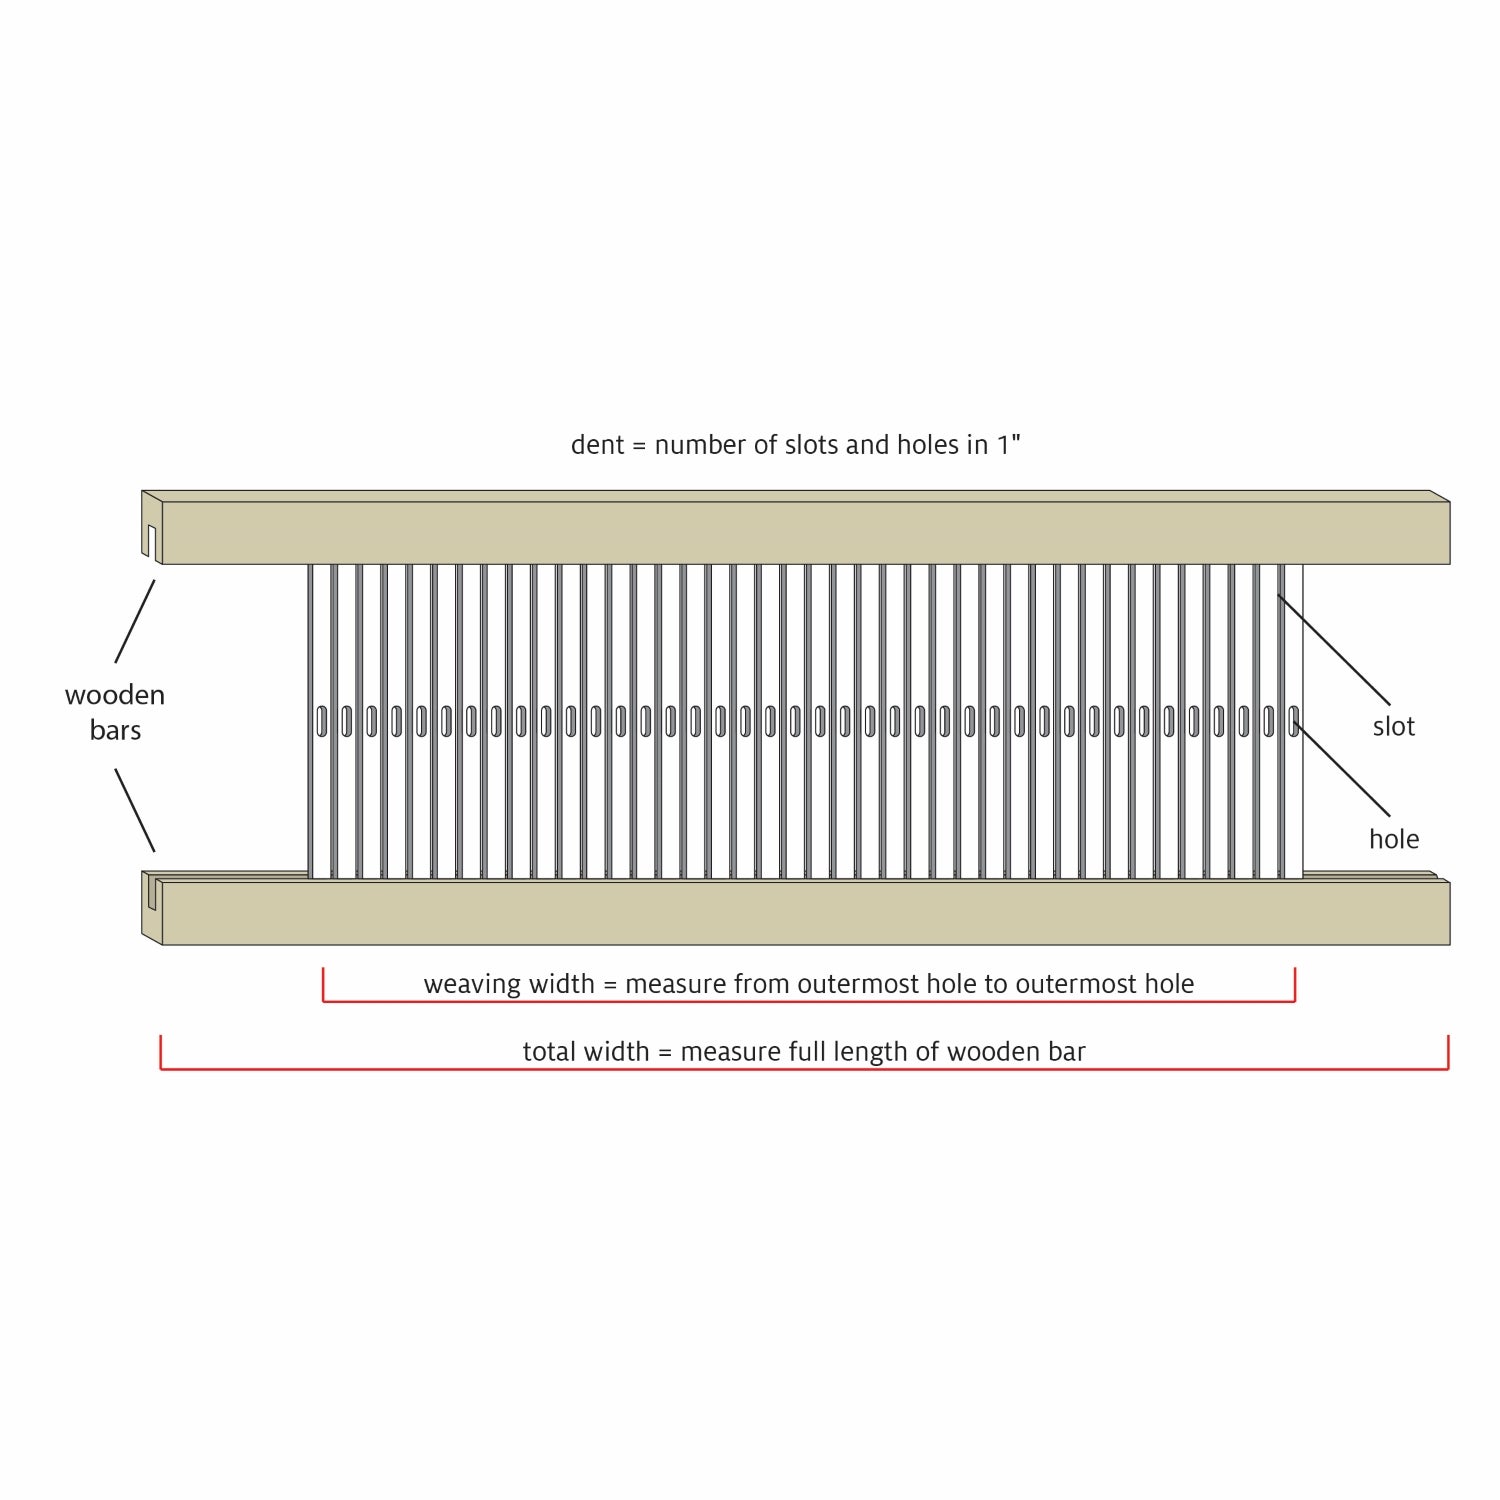
- 8 dent rigid heddle reed
- Warping Peg and Clamp
- Loom Clamps
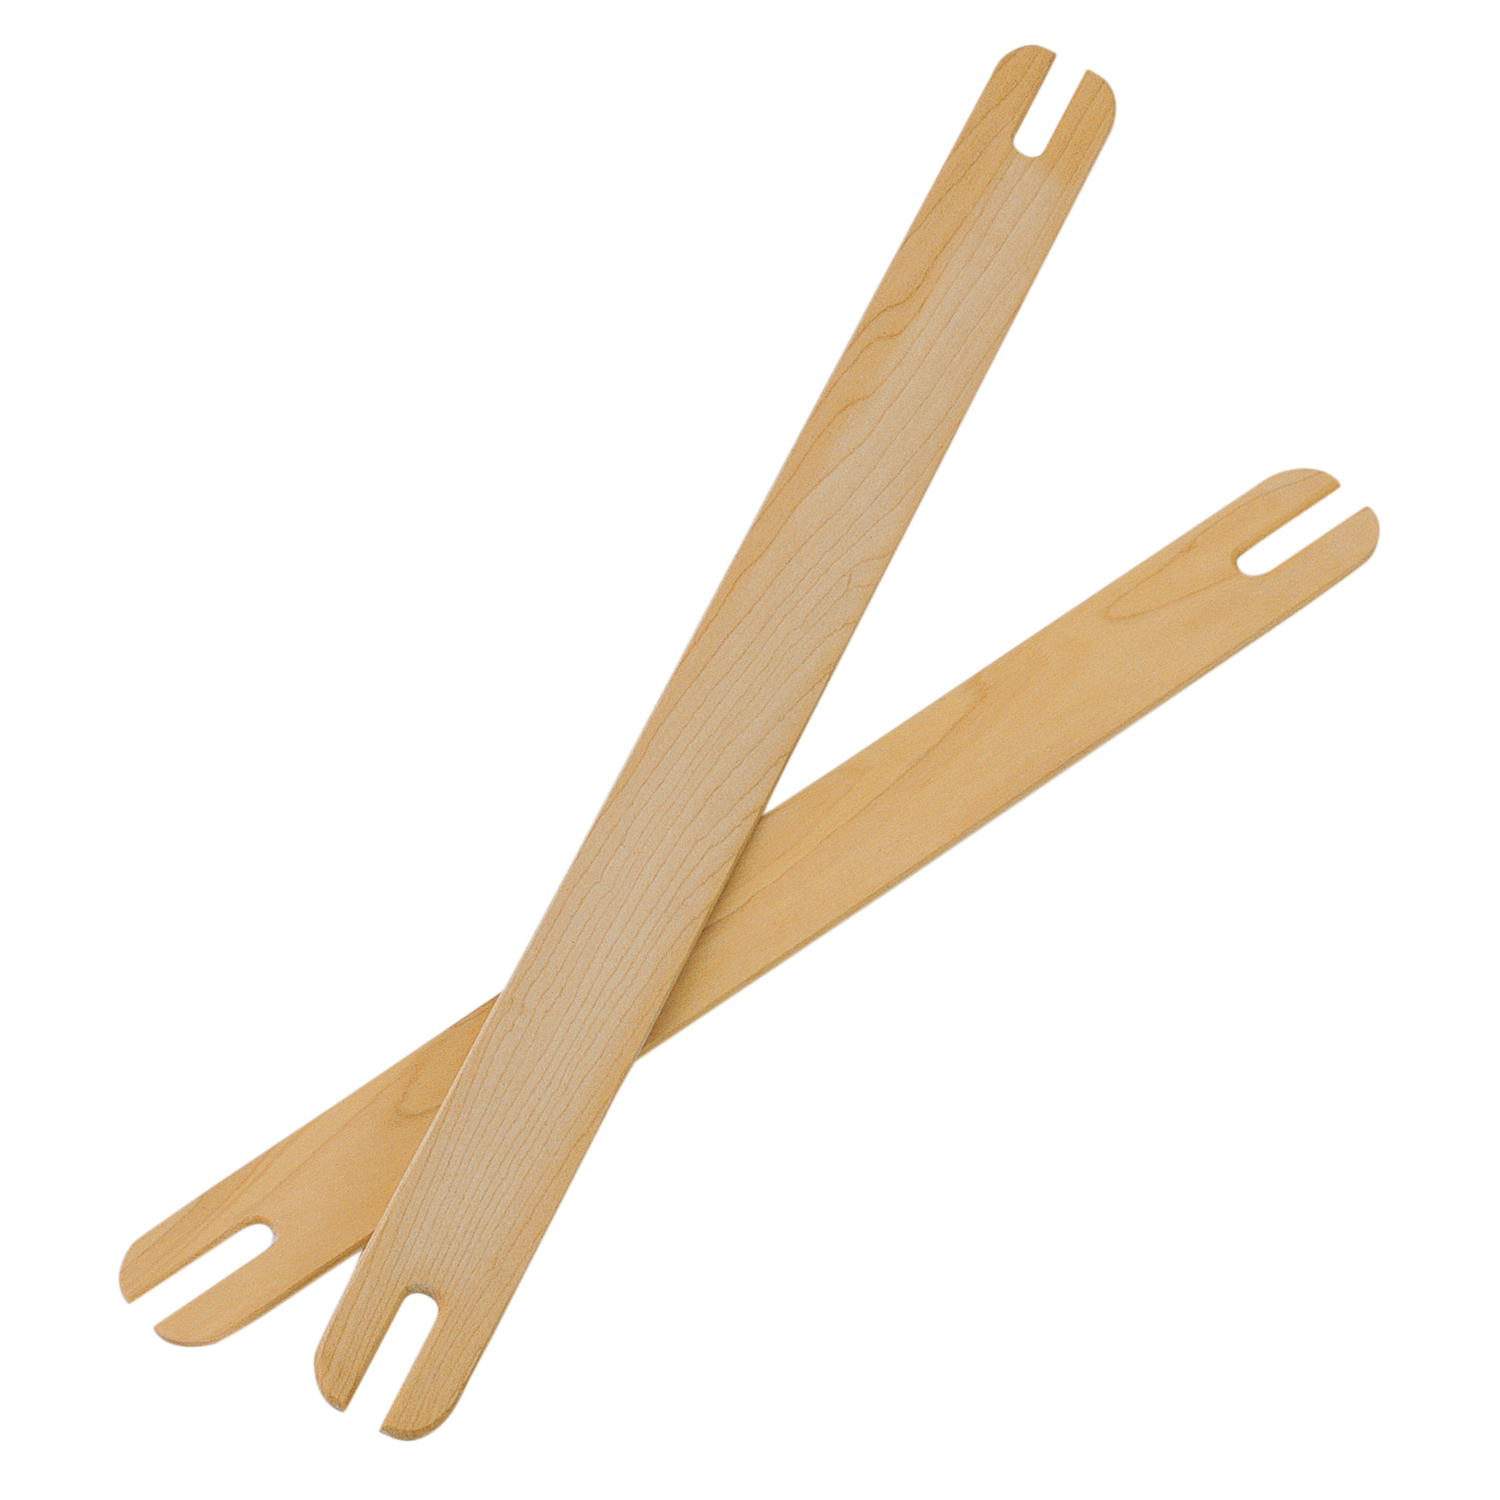
- Stick Shuttle
- Hemstitching needle
Materials
Equipment
Directions
Threading the Slots
- Set up the warping peg 84” from the back apron bar.
- Tie both color A and color B to the back apron bar and place the yarn sources behind the loom.
- Centering the warp in the reed, thread the first slot with color A.
- Thread the next slot with color B.
- Thread across the width of the warp alternating color A and color B.
- End with color A in the final slot, and cut at the peg so that the final warp end is a single end through the slot. Tie around the warping peg.
- Wind the warp onto the back beam.
Threading the Holes
Place color A in all slots and color B in all holes.

Tie on to the Front of the Loom
Tie on to the front apron rod ensuring the tension is consistent across the warp.
Weaving
- Spread the warp with scrap yarn.
- Leave enough unwoven warp for the fringe you’d like. My fringe is approximately 6” long.
- Weave plain weave with color A for about an inch, leaving a tail 5 times the width of the weaving at the beginning for hemstitching.
- Hemstitch the beginning of the weaving in groups of 2 warps and 2 wefts.
- Weave the length of the scarf, approximately 60”, ensuring there is enough length for fringe at the end.
- Trim the tail to 5 times the width of the weaving.
- Hemstitch in groups of 2 warps and 2 wefts.
Finishing
- Cut the weaving off the loom, ensuring you leave enough length for the fringe.
- Trim the fringe to your desired length.
- Handwash with mild soap and room temperature water, avoiding agitation.
- Lay flat to dry.
- Trim the fringe to your desired length.
- Wear your handwoven scarf with pride!

