Weaving for the Birds
Designed and woven by Elizabeth A. Cote
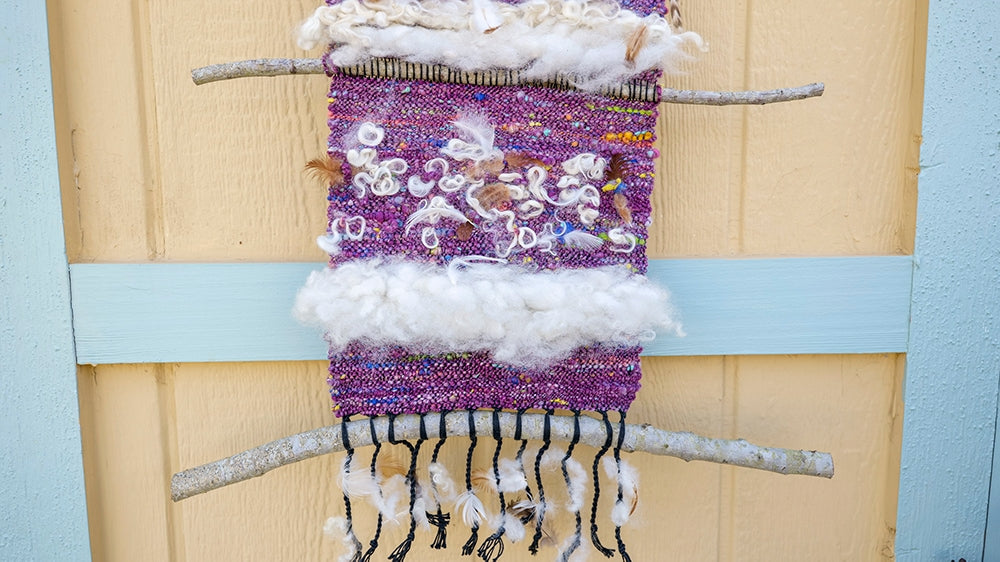
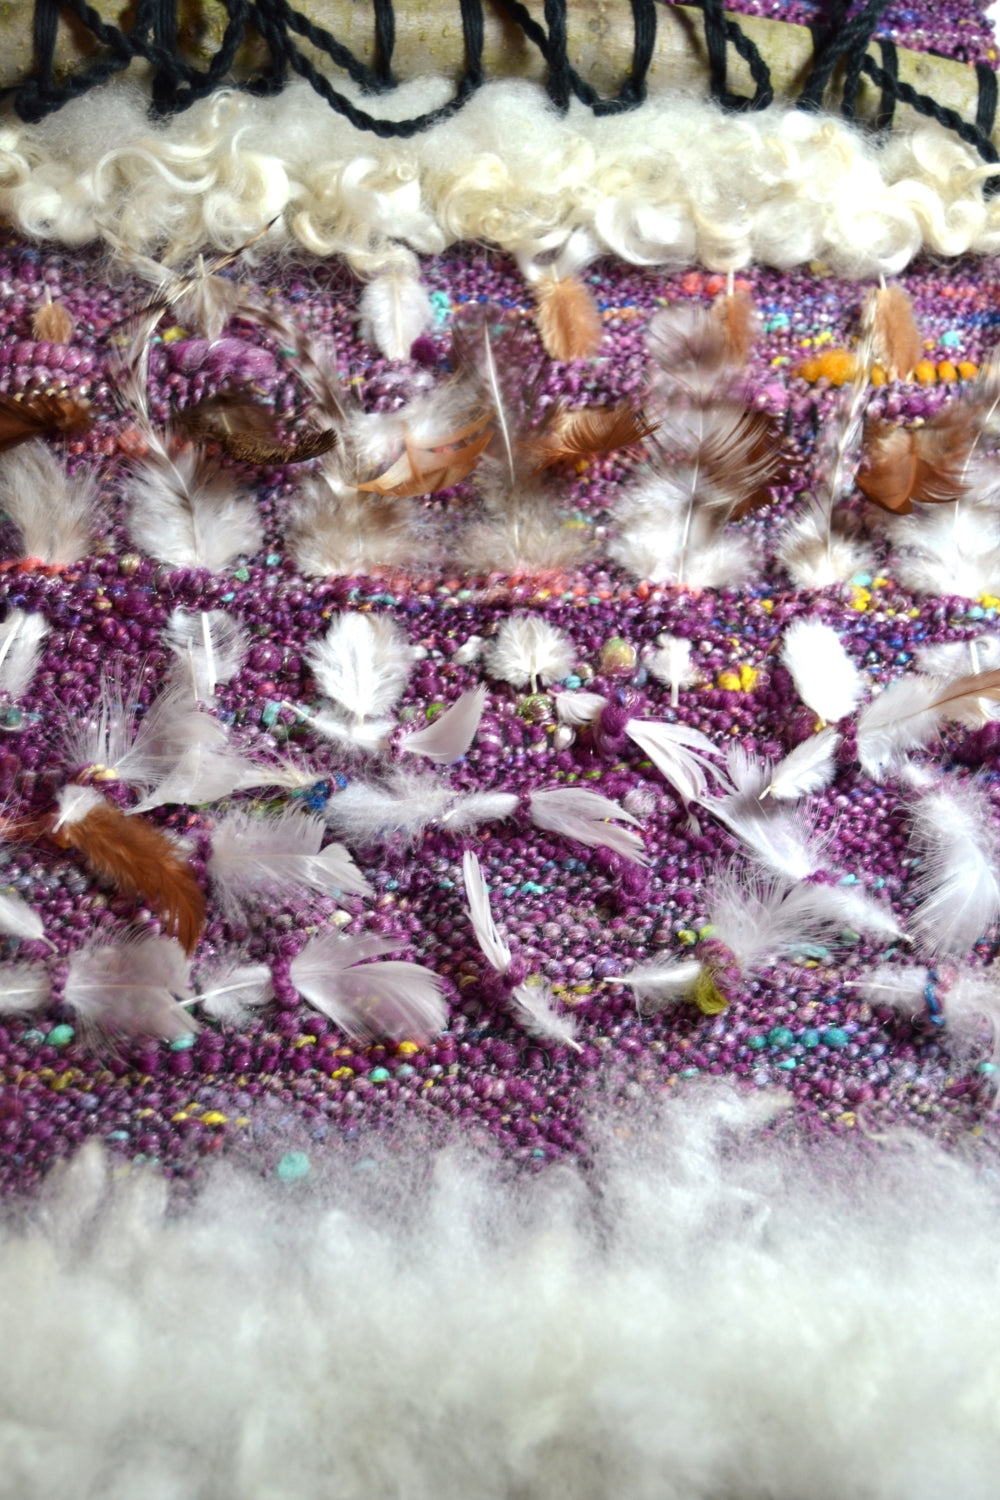
This outdoor banner was inspired by the nesting songbirds that visit my home. I had placed an outdoor banner on my front door and to my surprise, found that the birds were picking at the fibers as they gathered nesting materials. After researching safe nesting materials for a variety of birds, I designed and wove my first Weaving for the Birds and placed it on my front door. This weaving is perfect for a beginner weaver. The birds don’t mind if your selvedges are a bit wonky, or your PPI strays a bit. I used my Flip rigid heddle loom, and inserted fleece into the warp, created floats for feathers, and loops for feathers and locks. You can customize this outdoor banner by adding more inserted fleece, more loops or even more plain weave. The structure can be woven in any order, although I have found the birds like the fleece placed closer to the branch perches. This provides a place for them to sit while pulling out materials.
Place your finished weaving in a location that is a bit sheltered from the rain, or a sunny spot where the fleece will dry quickly after the rain. Similar to other outdoor textiles such as prayer flags, eventually the weaving will break down and the fibers will fly off to the wind.
To ensure the health of the birds, all nesting materials were chosen after consulting The Cornell Lab of Ornithology site.
Project Specs
Finished size: 12" x 30"
Total warp ends: 96 ends (or any multiple of 8 to narrow or widen)
Warp length:60"
Width in reed: 12"
EPI: 8
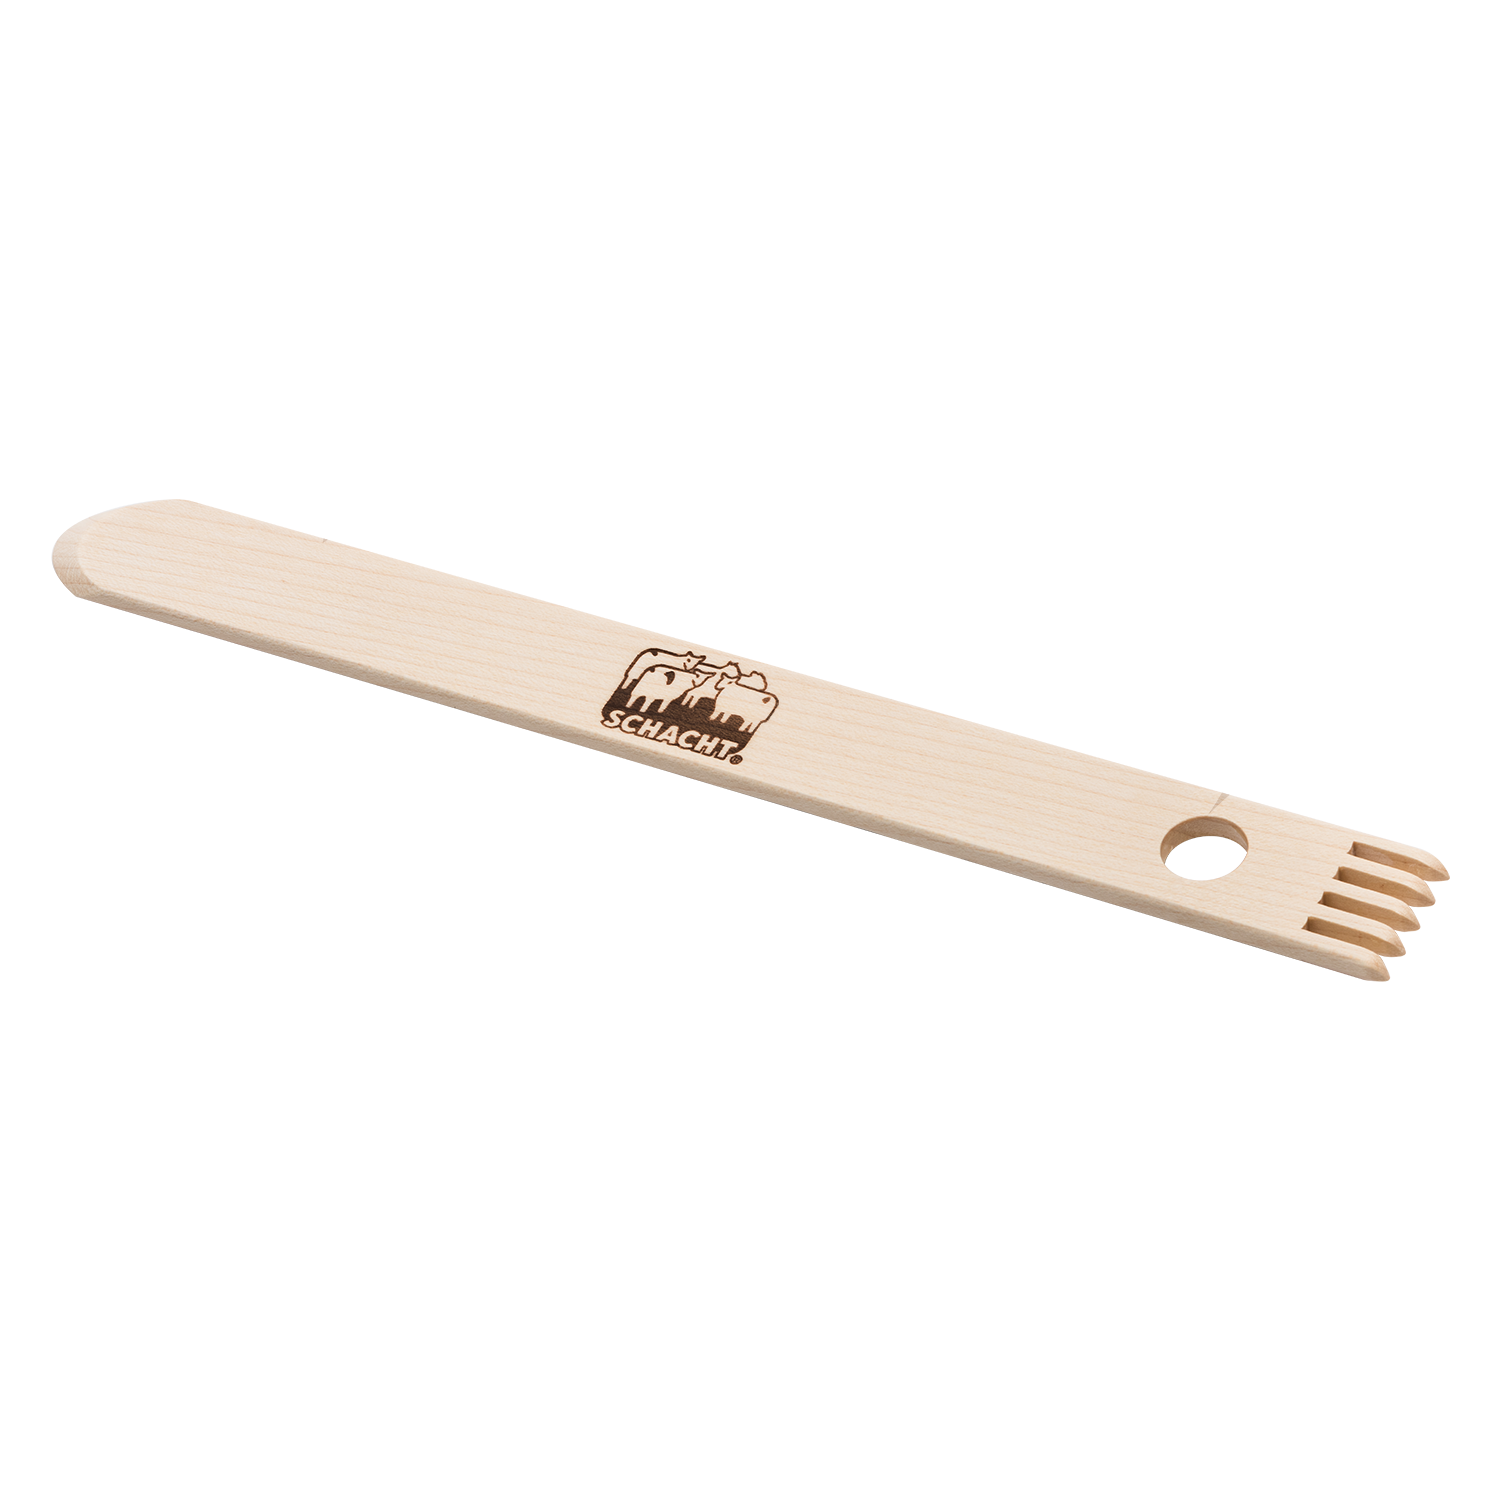
PPI: 10 (beat with 3-in-1 magic stick)
Notes
- Throughout the tutorial, I will be focusing on the steps for weaving the larger weaving, but you can adapt the same steps for a smaller project.
- Stashed yarns are great for this project. Combine two strands of worsted weight yarn, or use a bulky yarn.
- Variegated or gradient yarns create textural interest and will attract the birds.
- For the safety of the birds do not use acrylic fiber as it may mold.
- Please be sure that yarn is tightly compacted as long strands of yarn can be harmful to the birds.
What You'll Need
-
Warp: 1 - 8 oz cone 8/4 Mayville Cotton Carpet Warp (200 yds needed) I used black (larger weaving) and blue (smaller weaving).
-
Weft:
Larger Weaving: I used 300 yds of textured handspun art yarn
Smaller Weaving: I used 1 skein (175 yards) of stashed Big Kureyon by Noro.
-
Additional weaving materials
3 x 16"-18" tree branches for perches (2 larger and heavier branches for the top and bottom, one smaller and lighter branch to be woven in)
undyed real feathers (thoroughly washed and dried)
clean undyed fleece: romney, alpaca, wensleydale locks
twigs
grasses
-
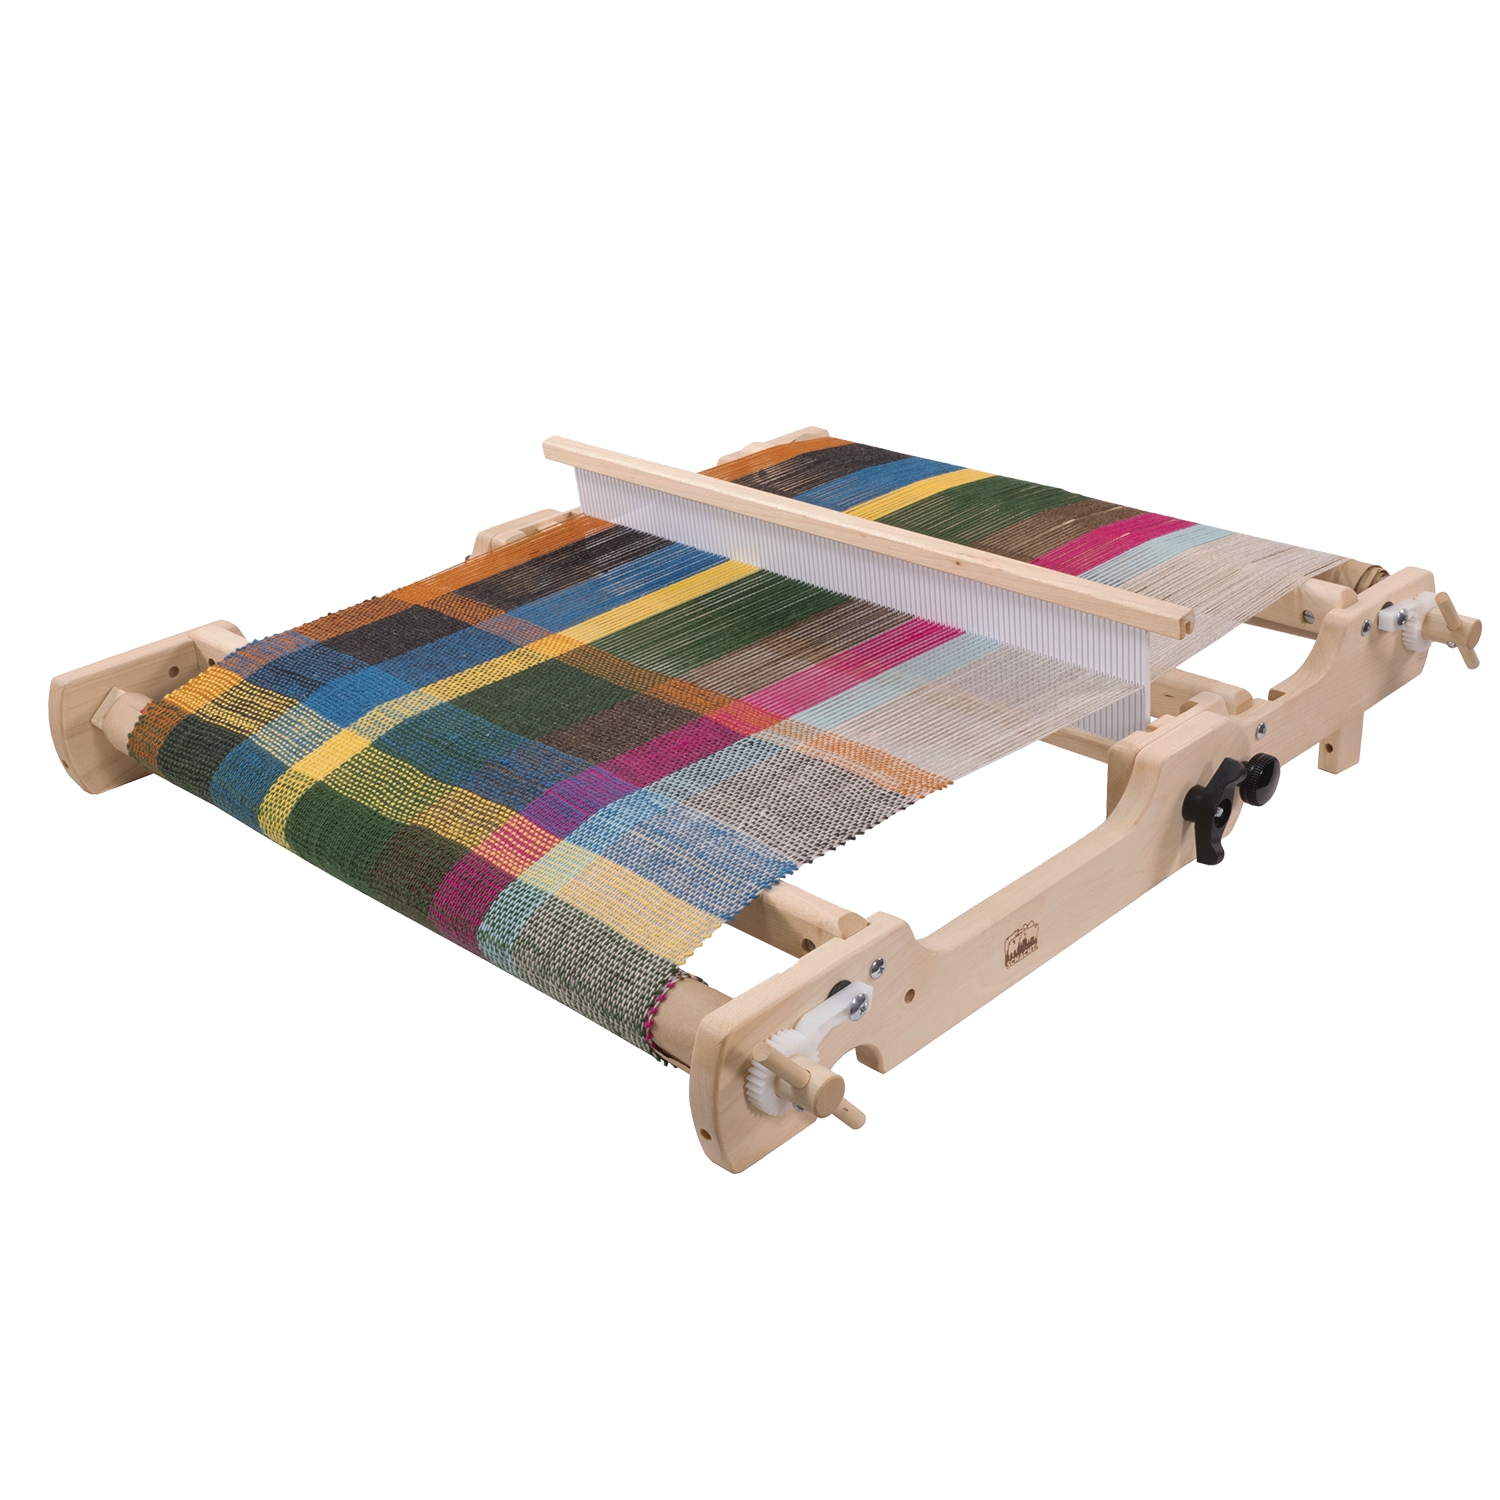
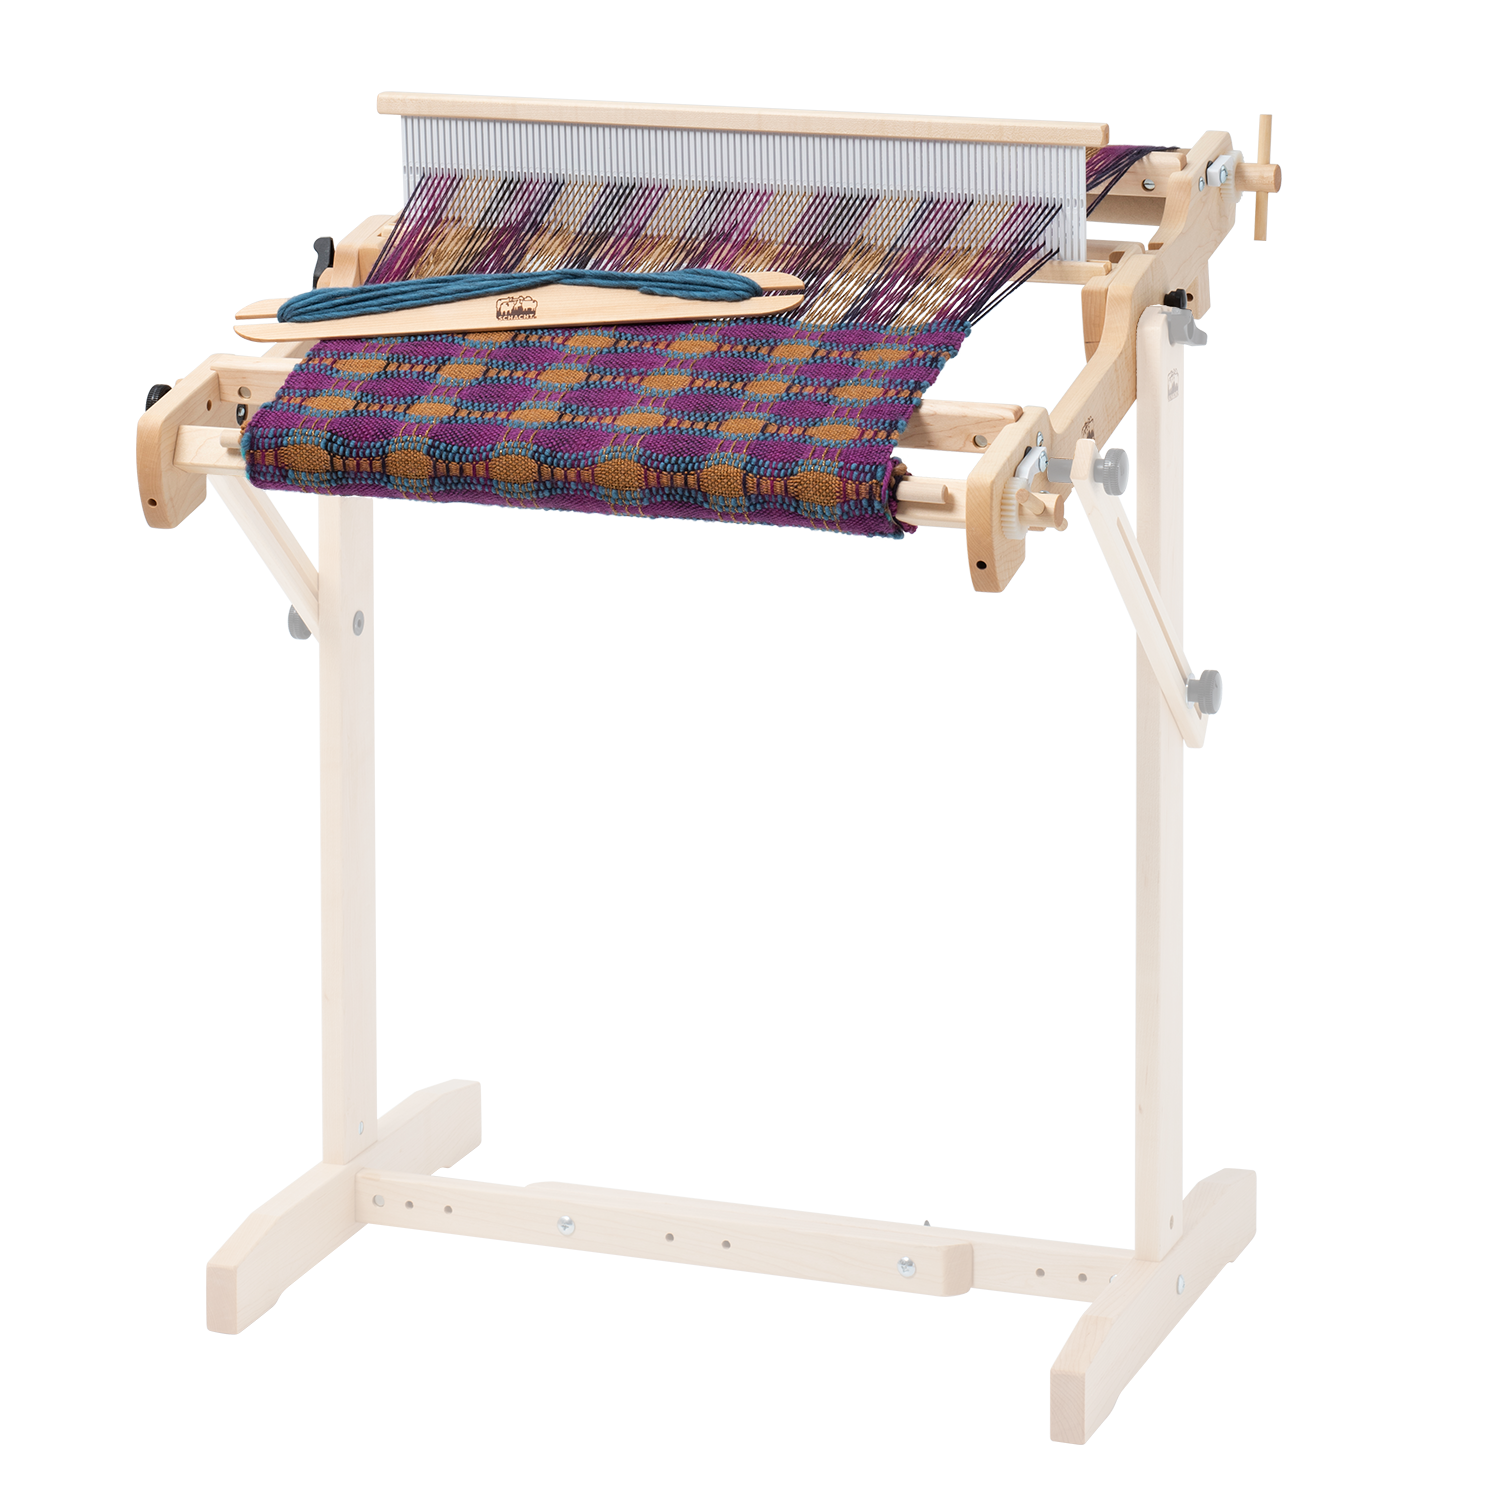
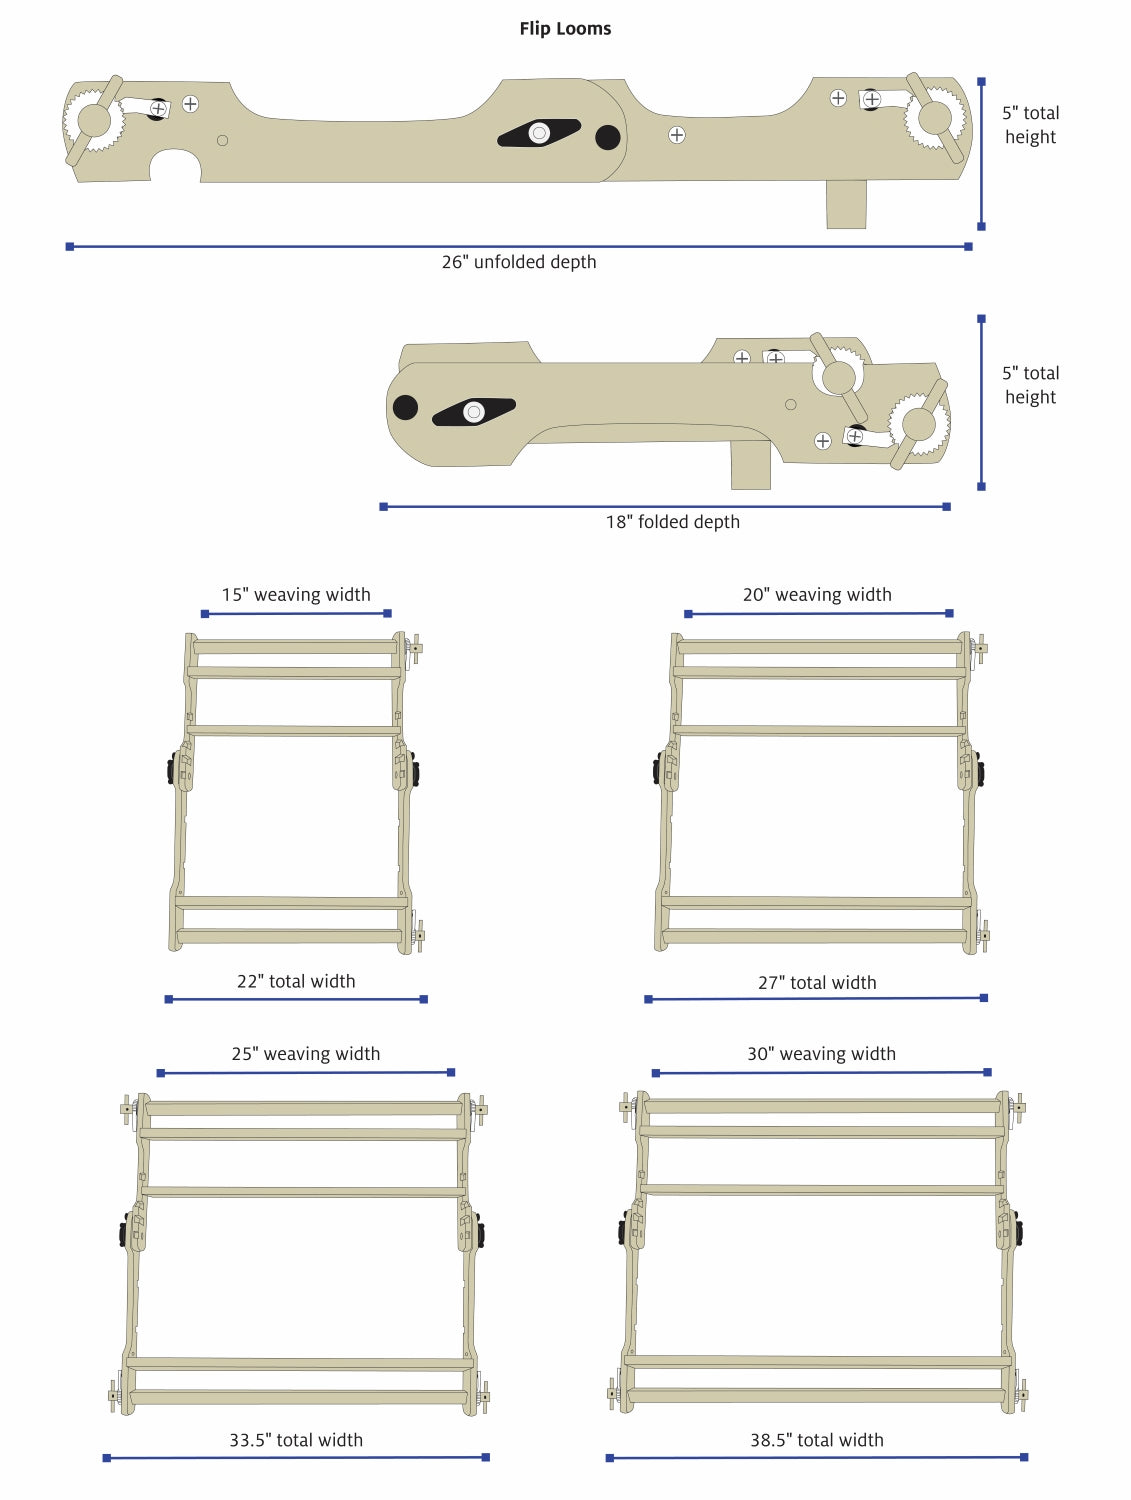
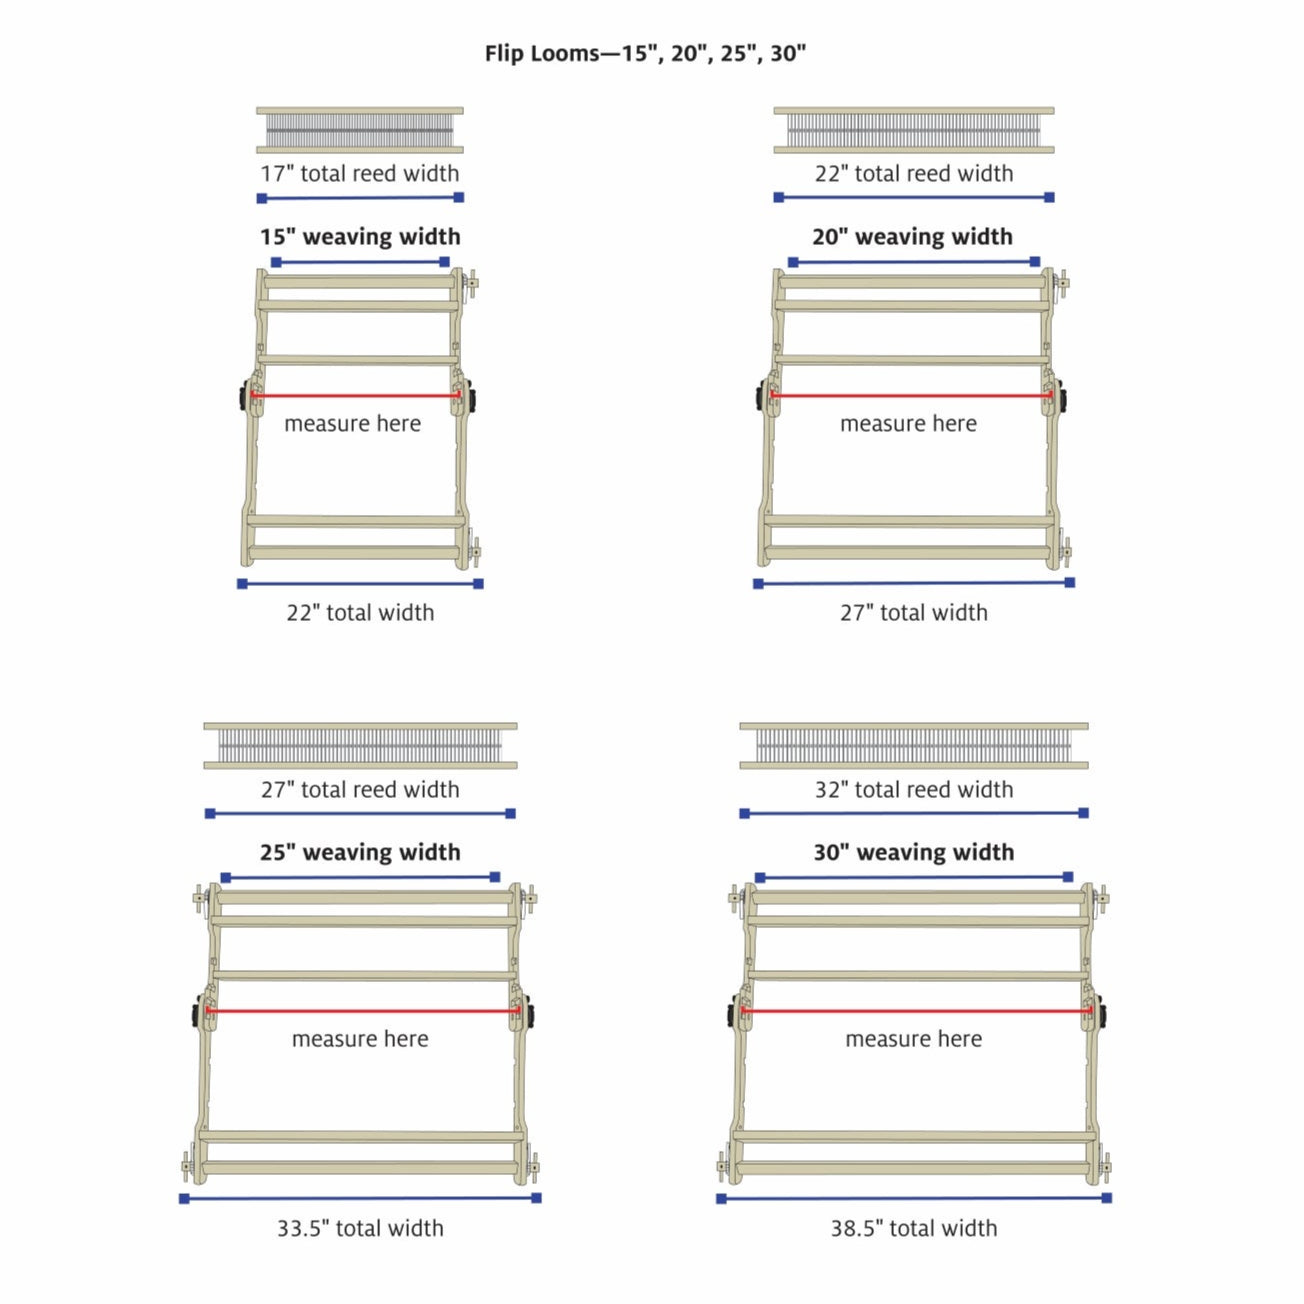
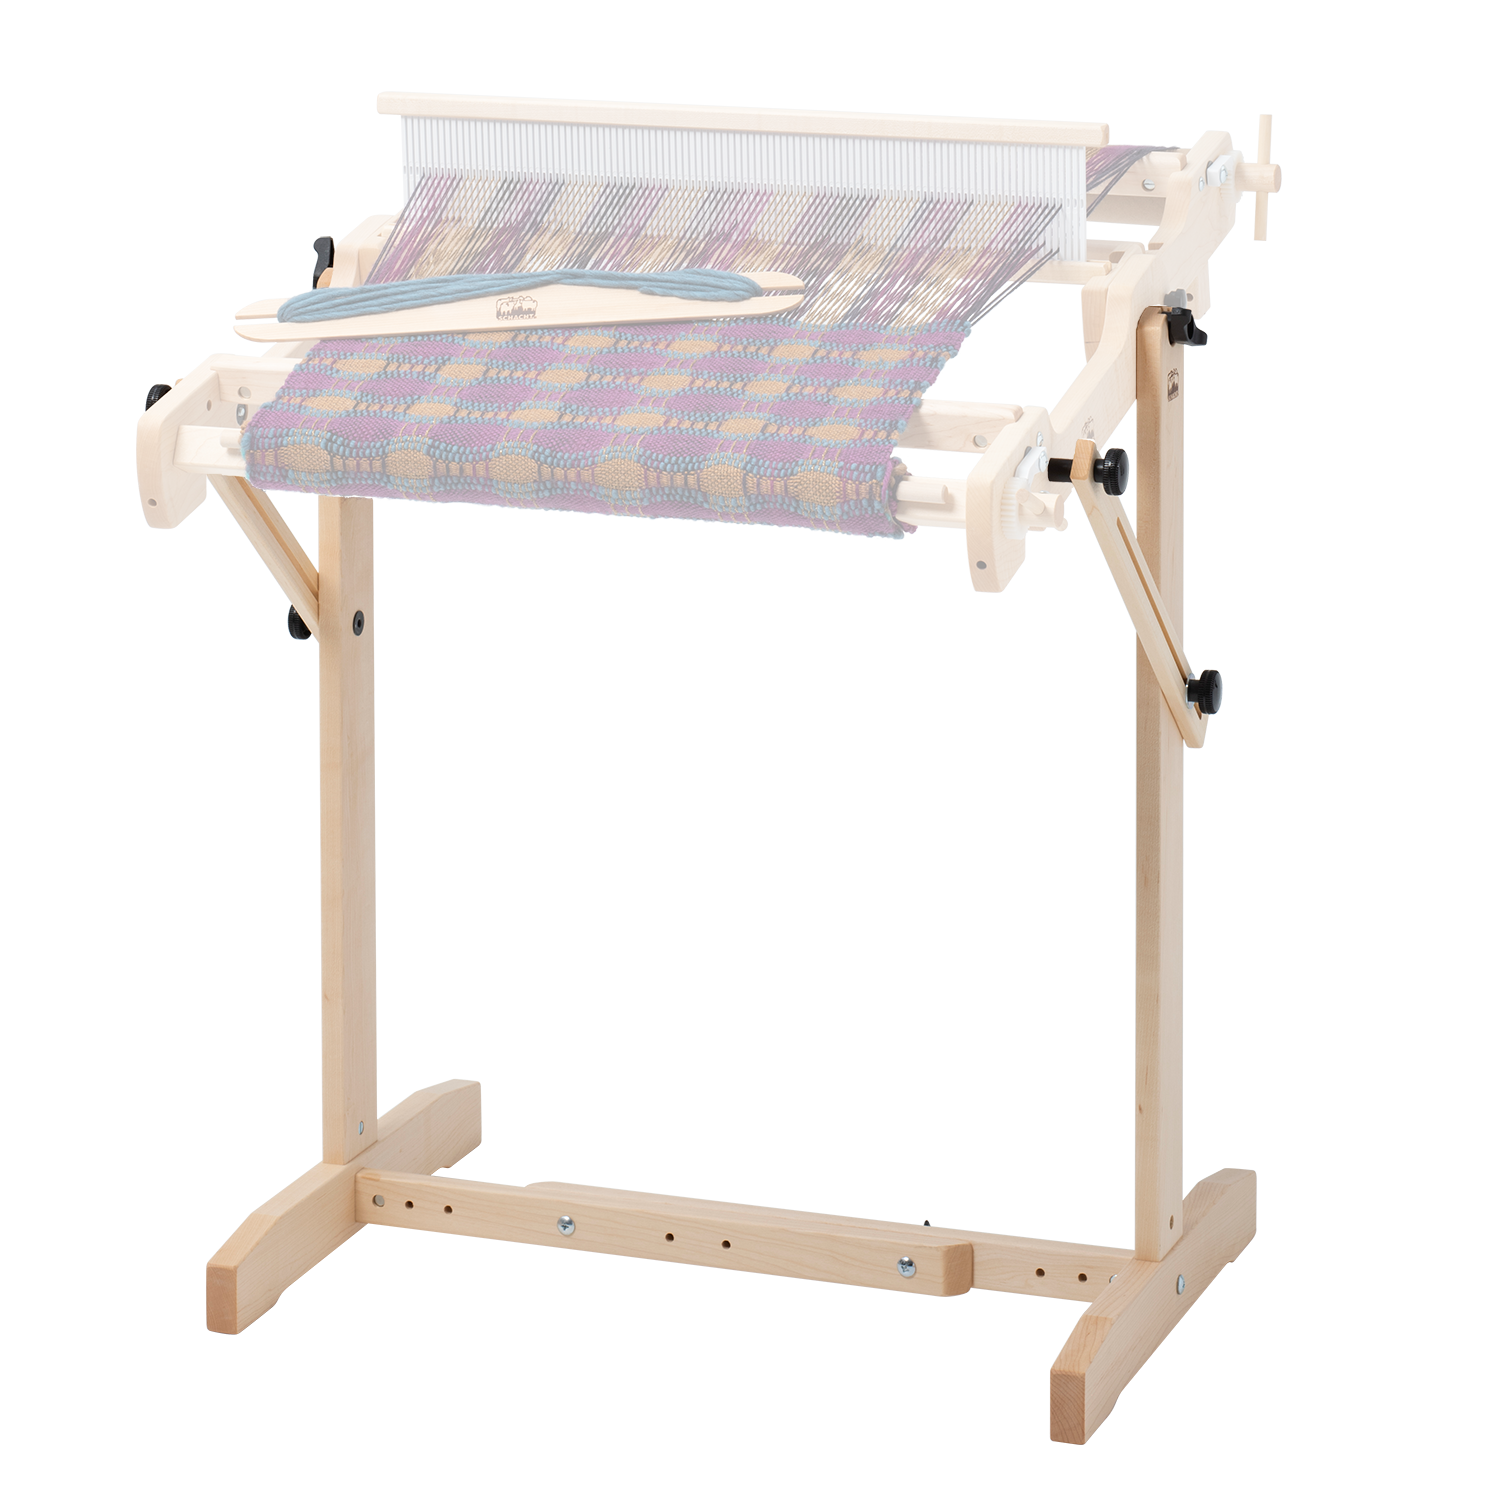
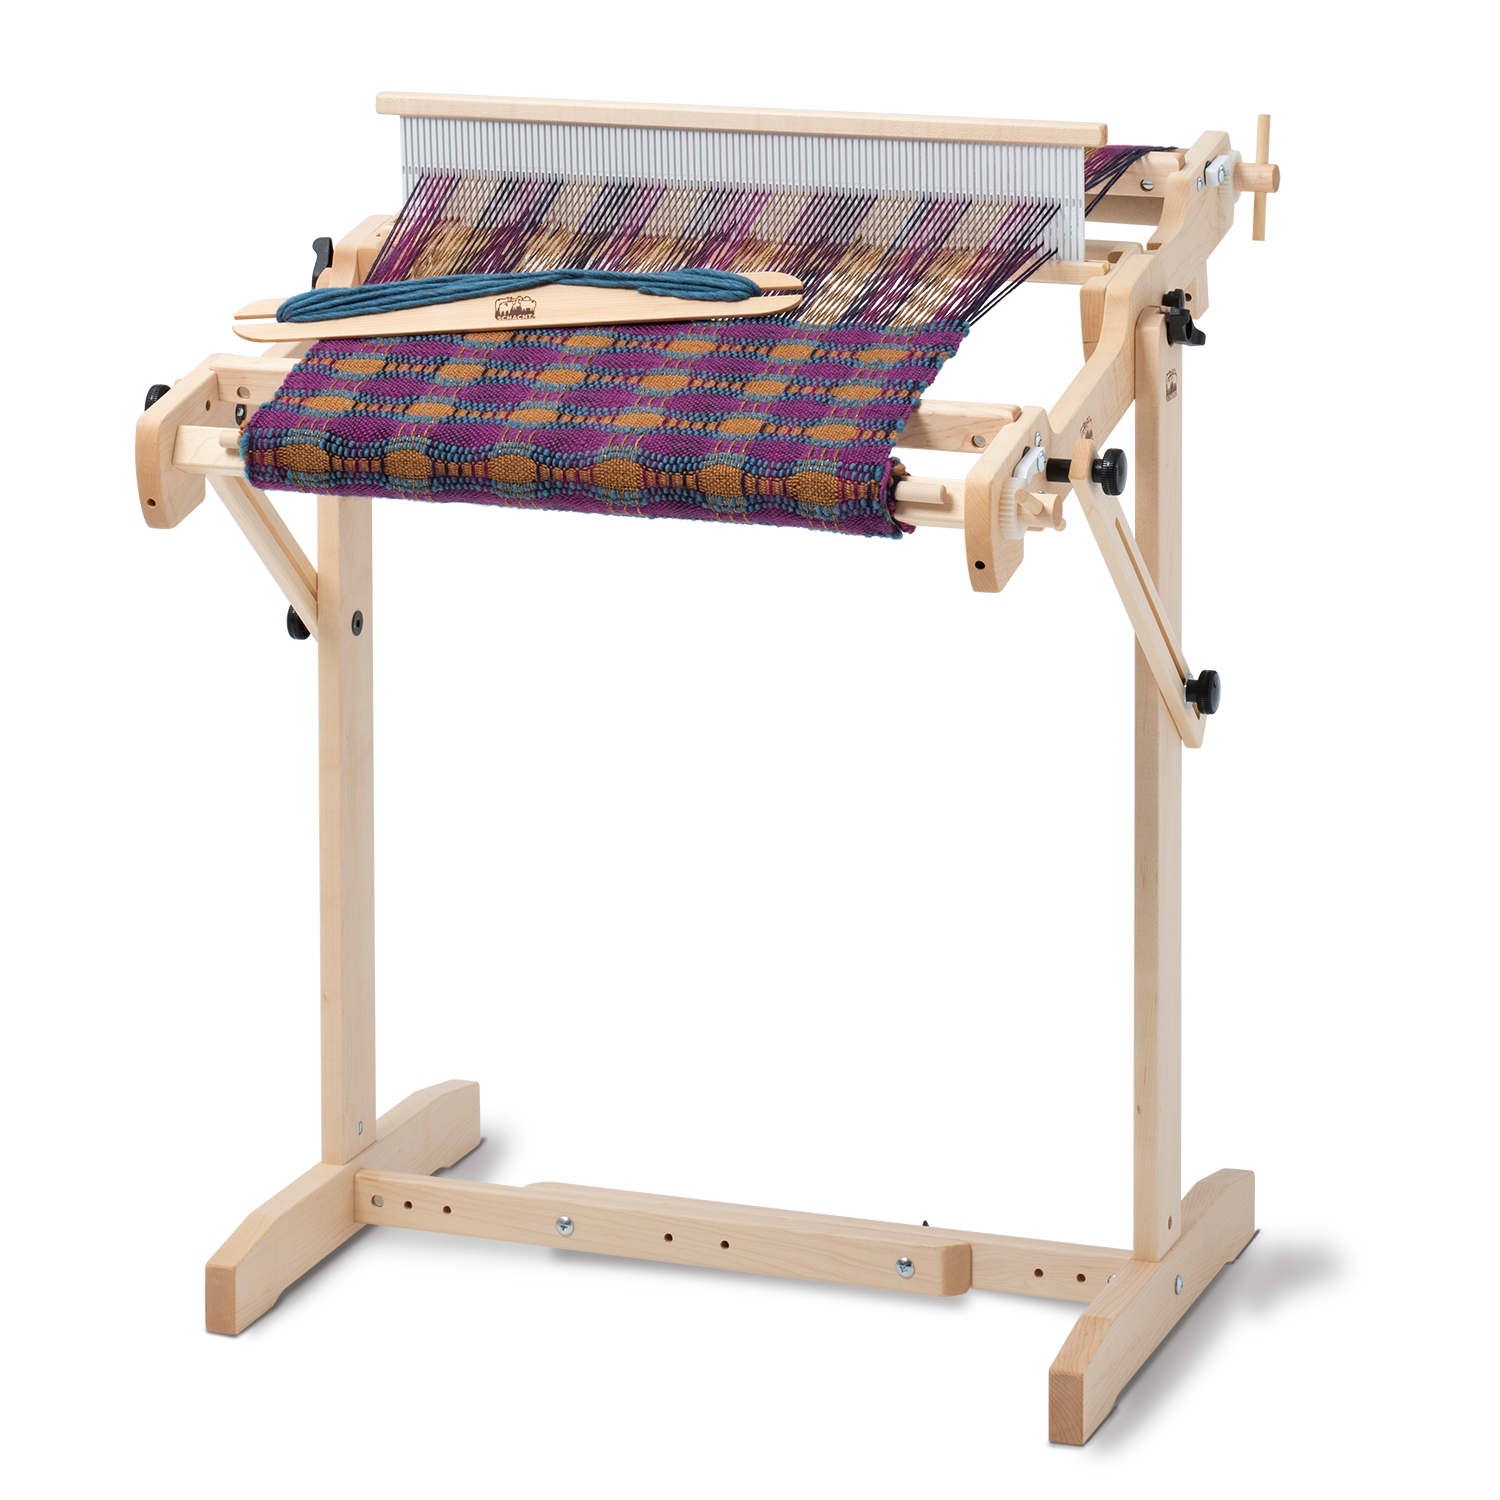
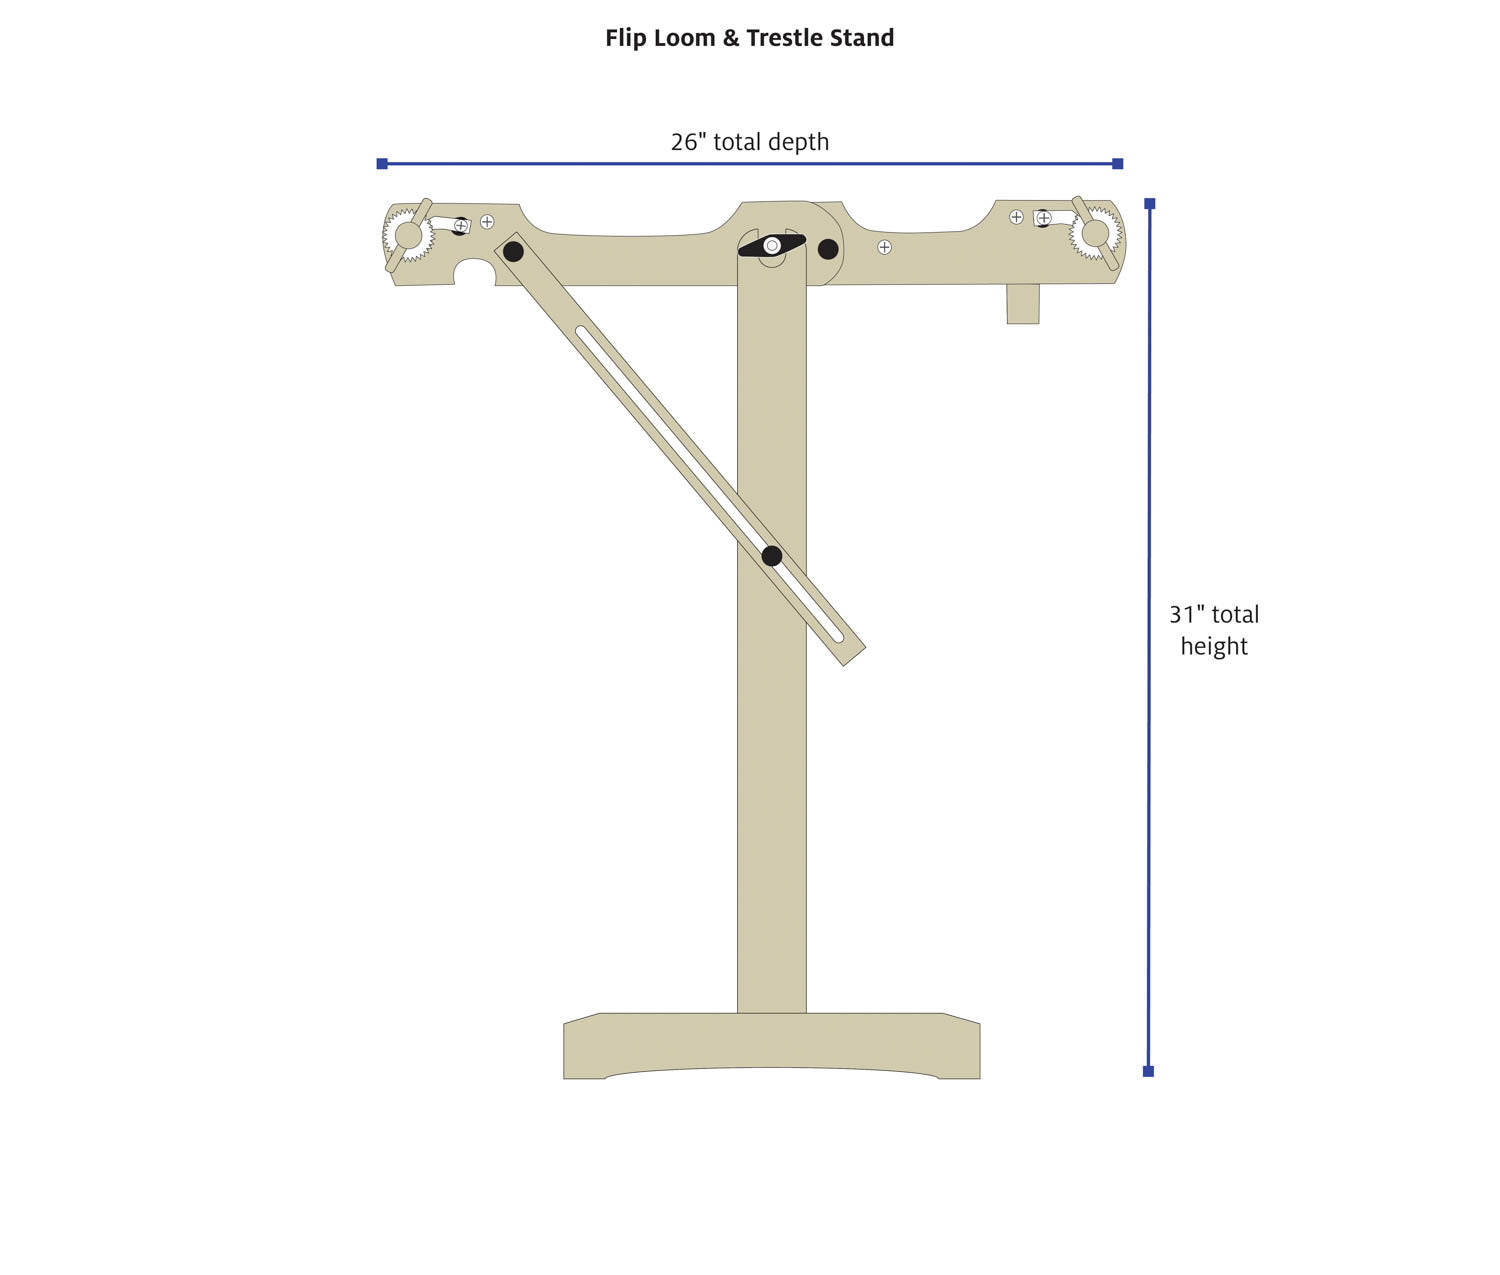
rigid heddle loom with at least a 20" weaving width – I used my 20” Flip loom.
- 8 dent rigid heddle
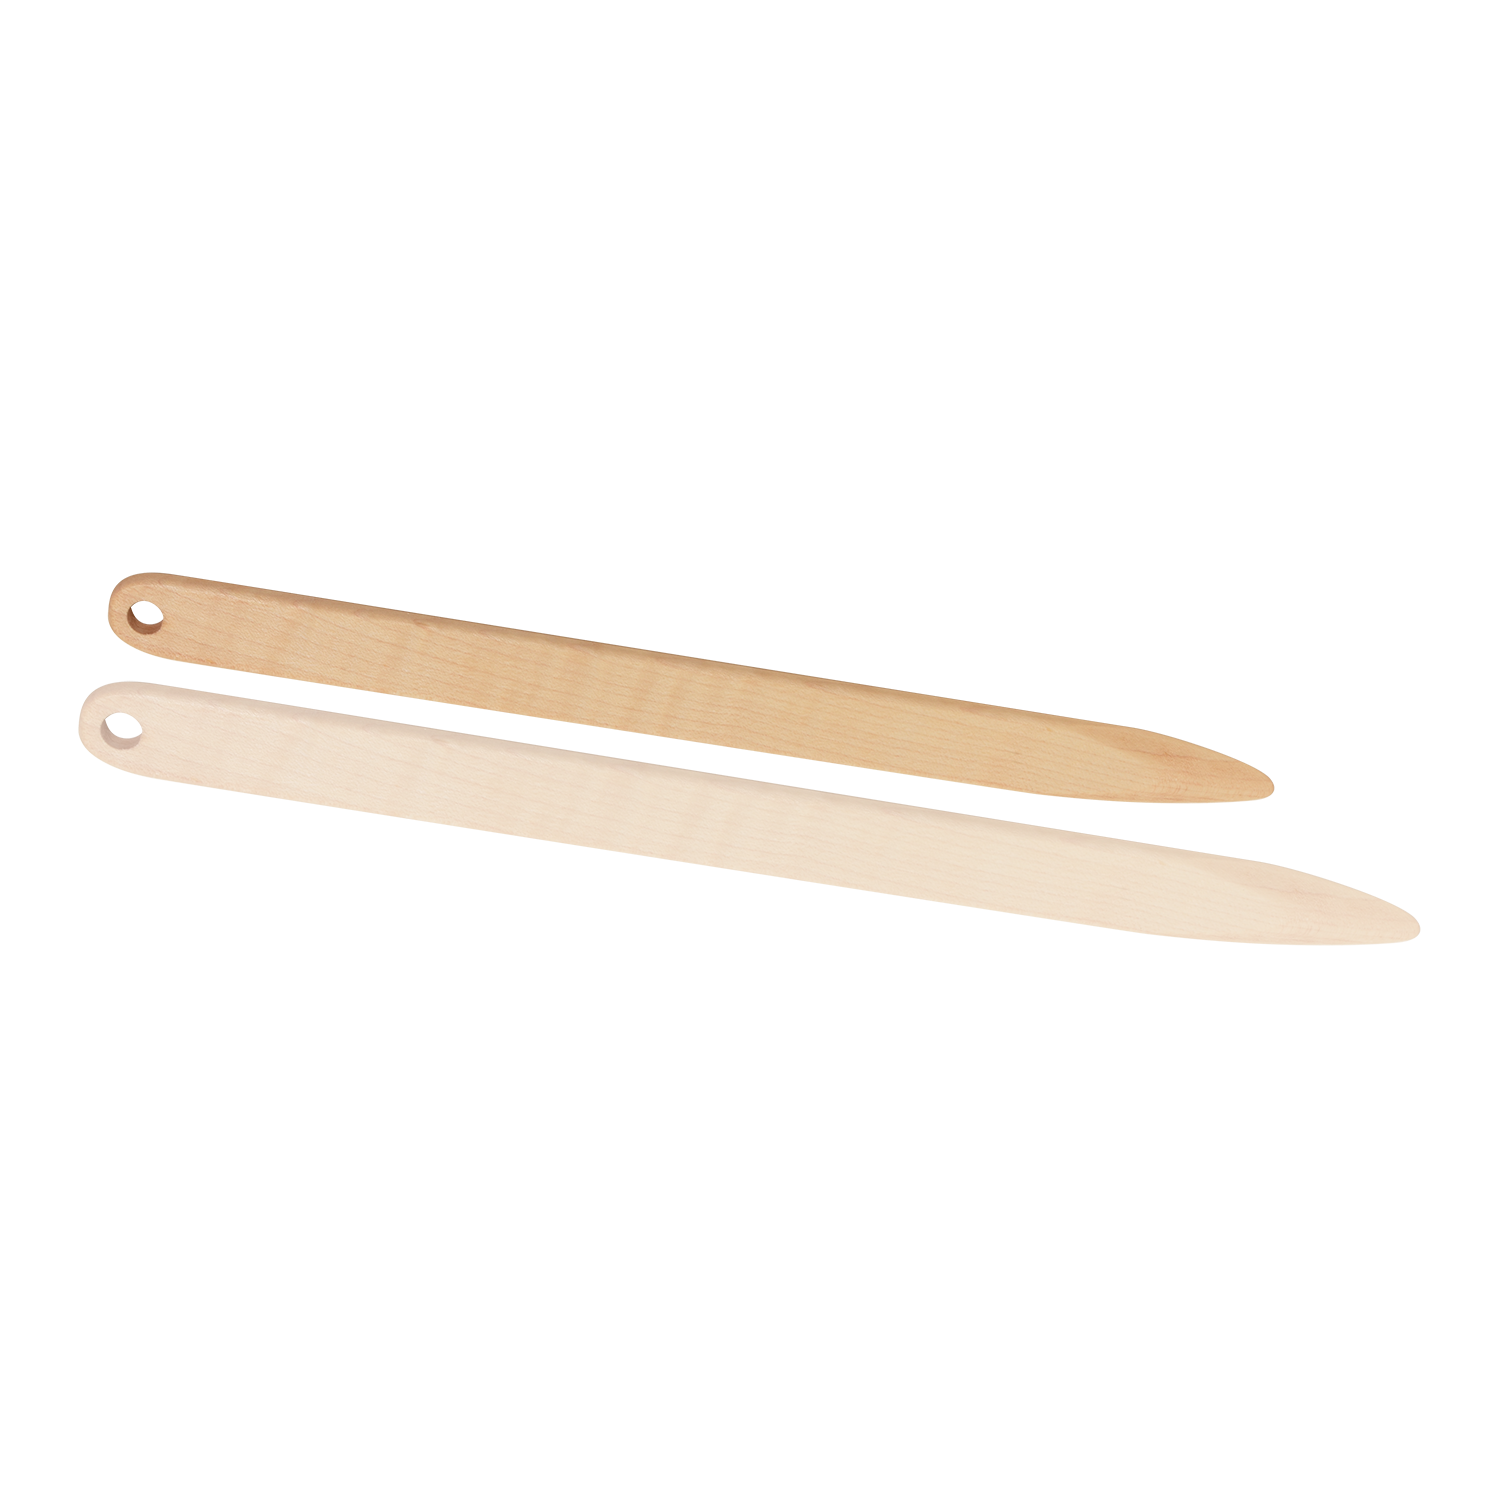
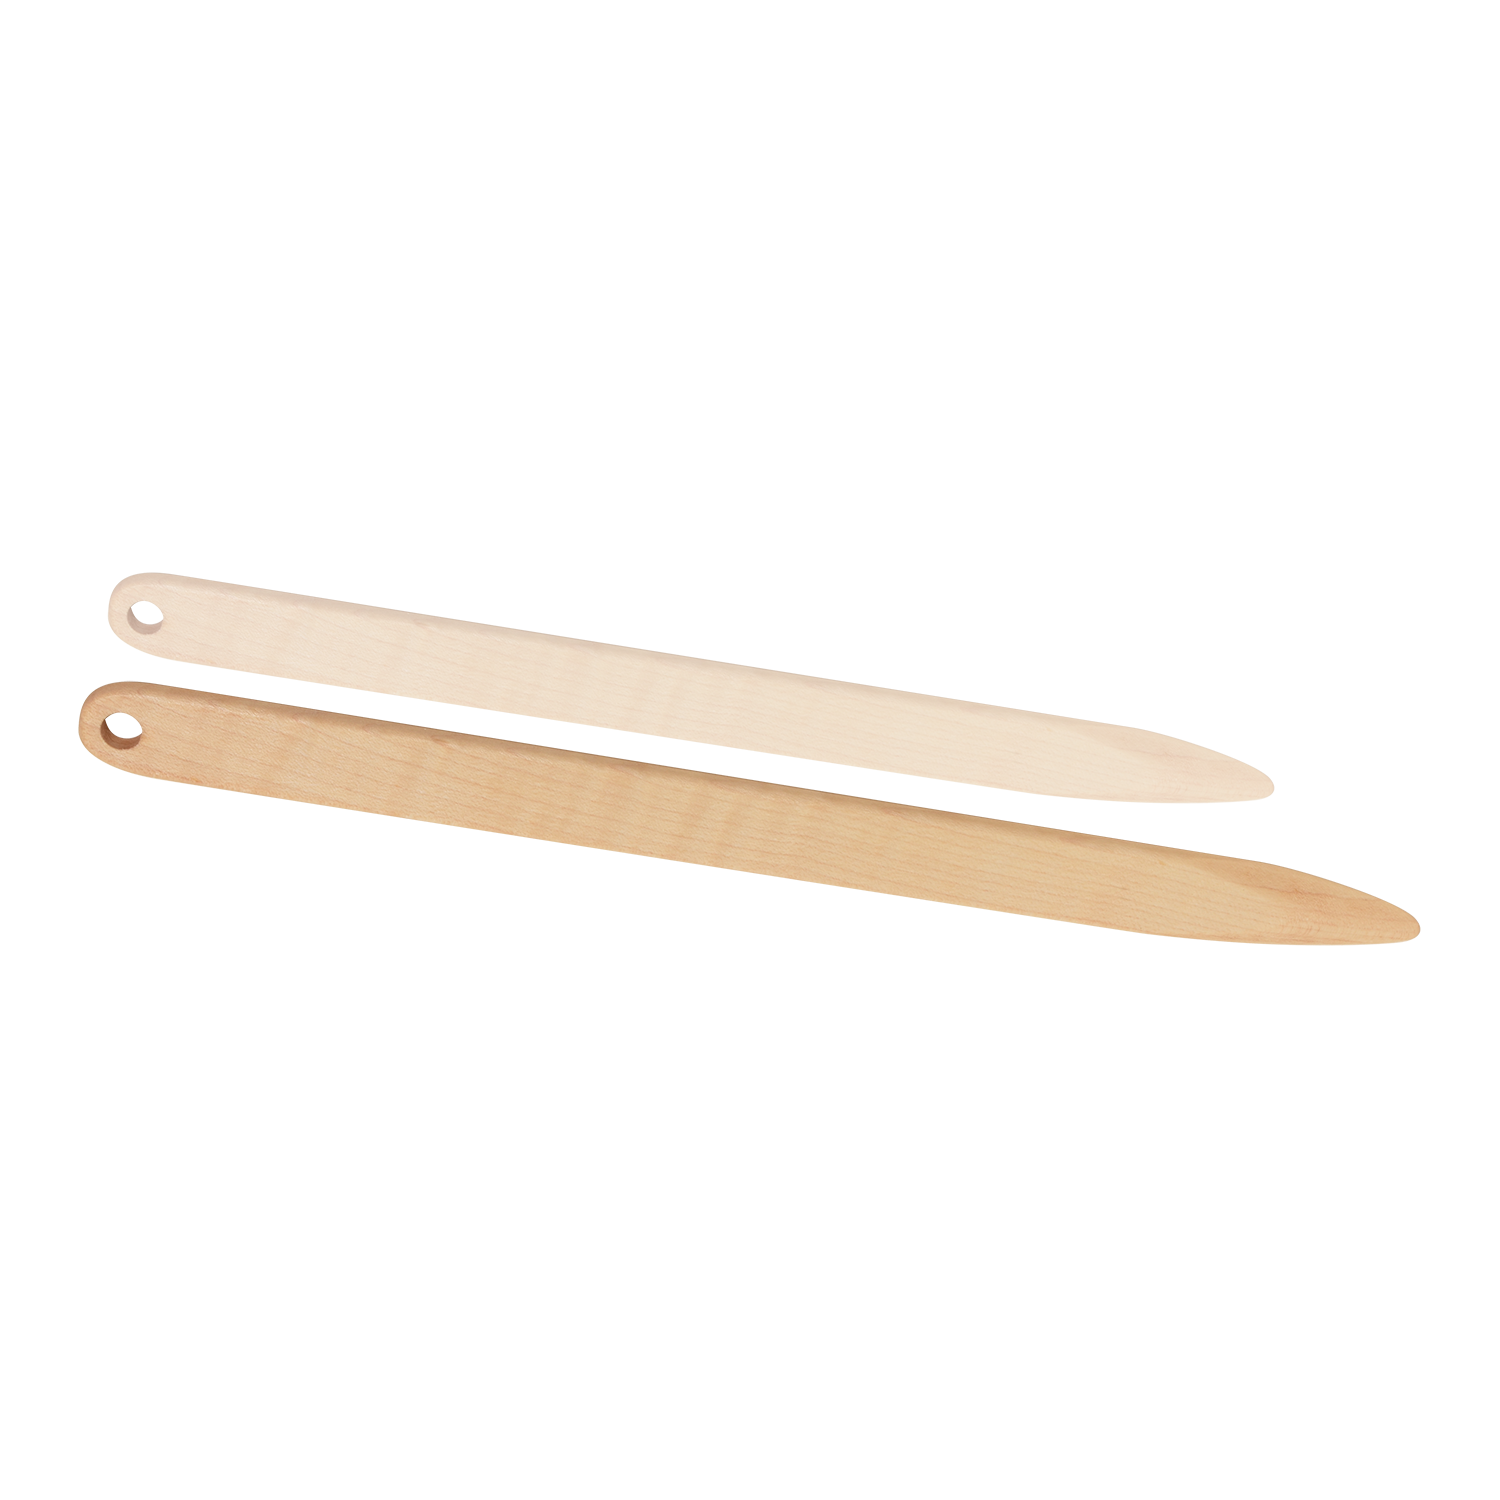
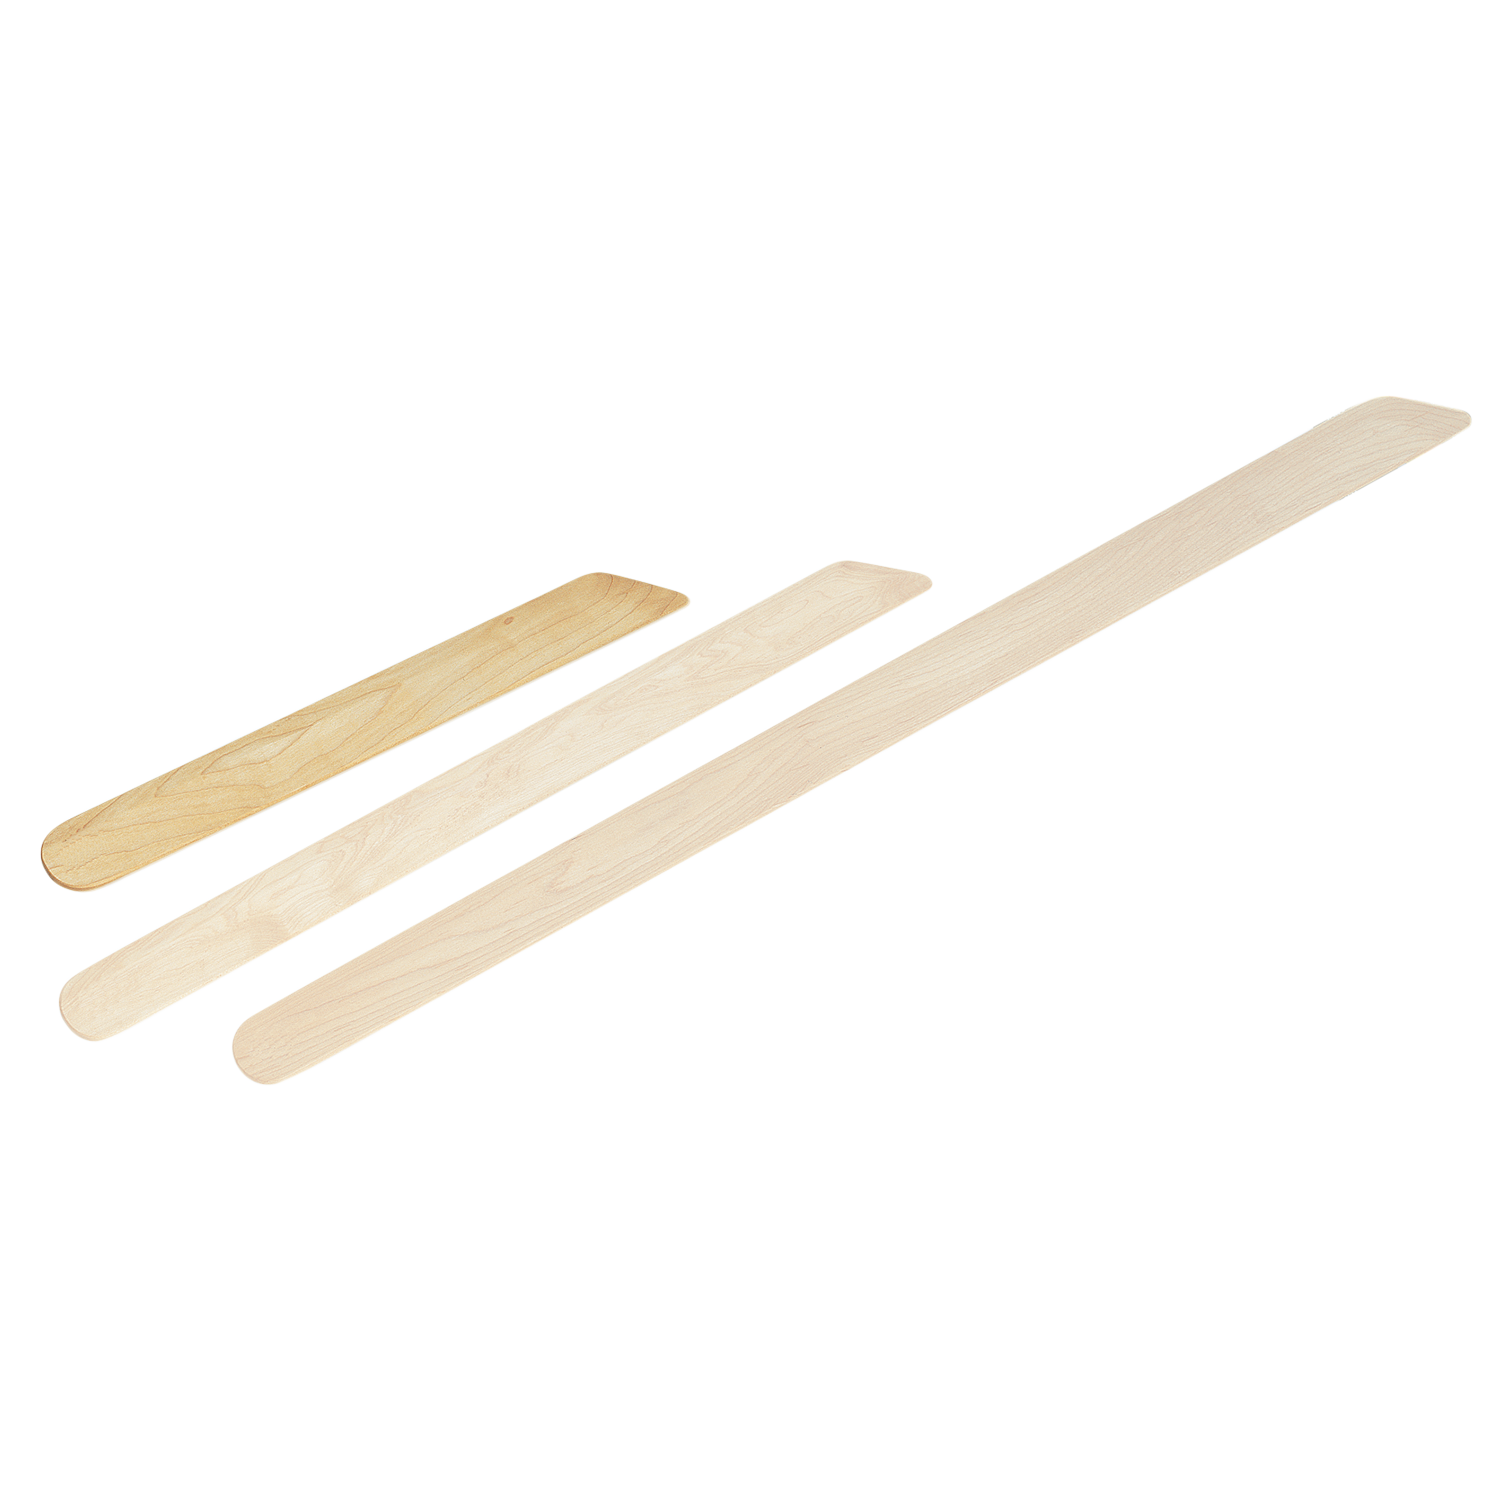
- 16” stick shuttle
- pick-up stick
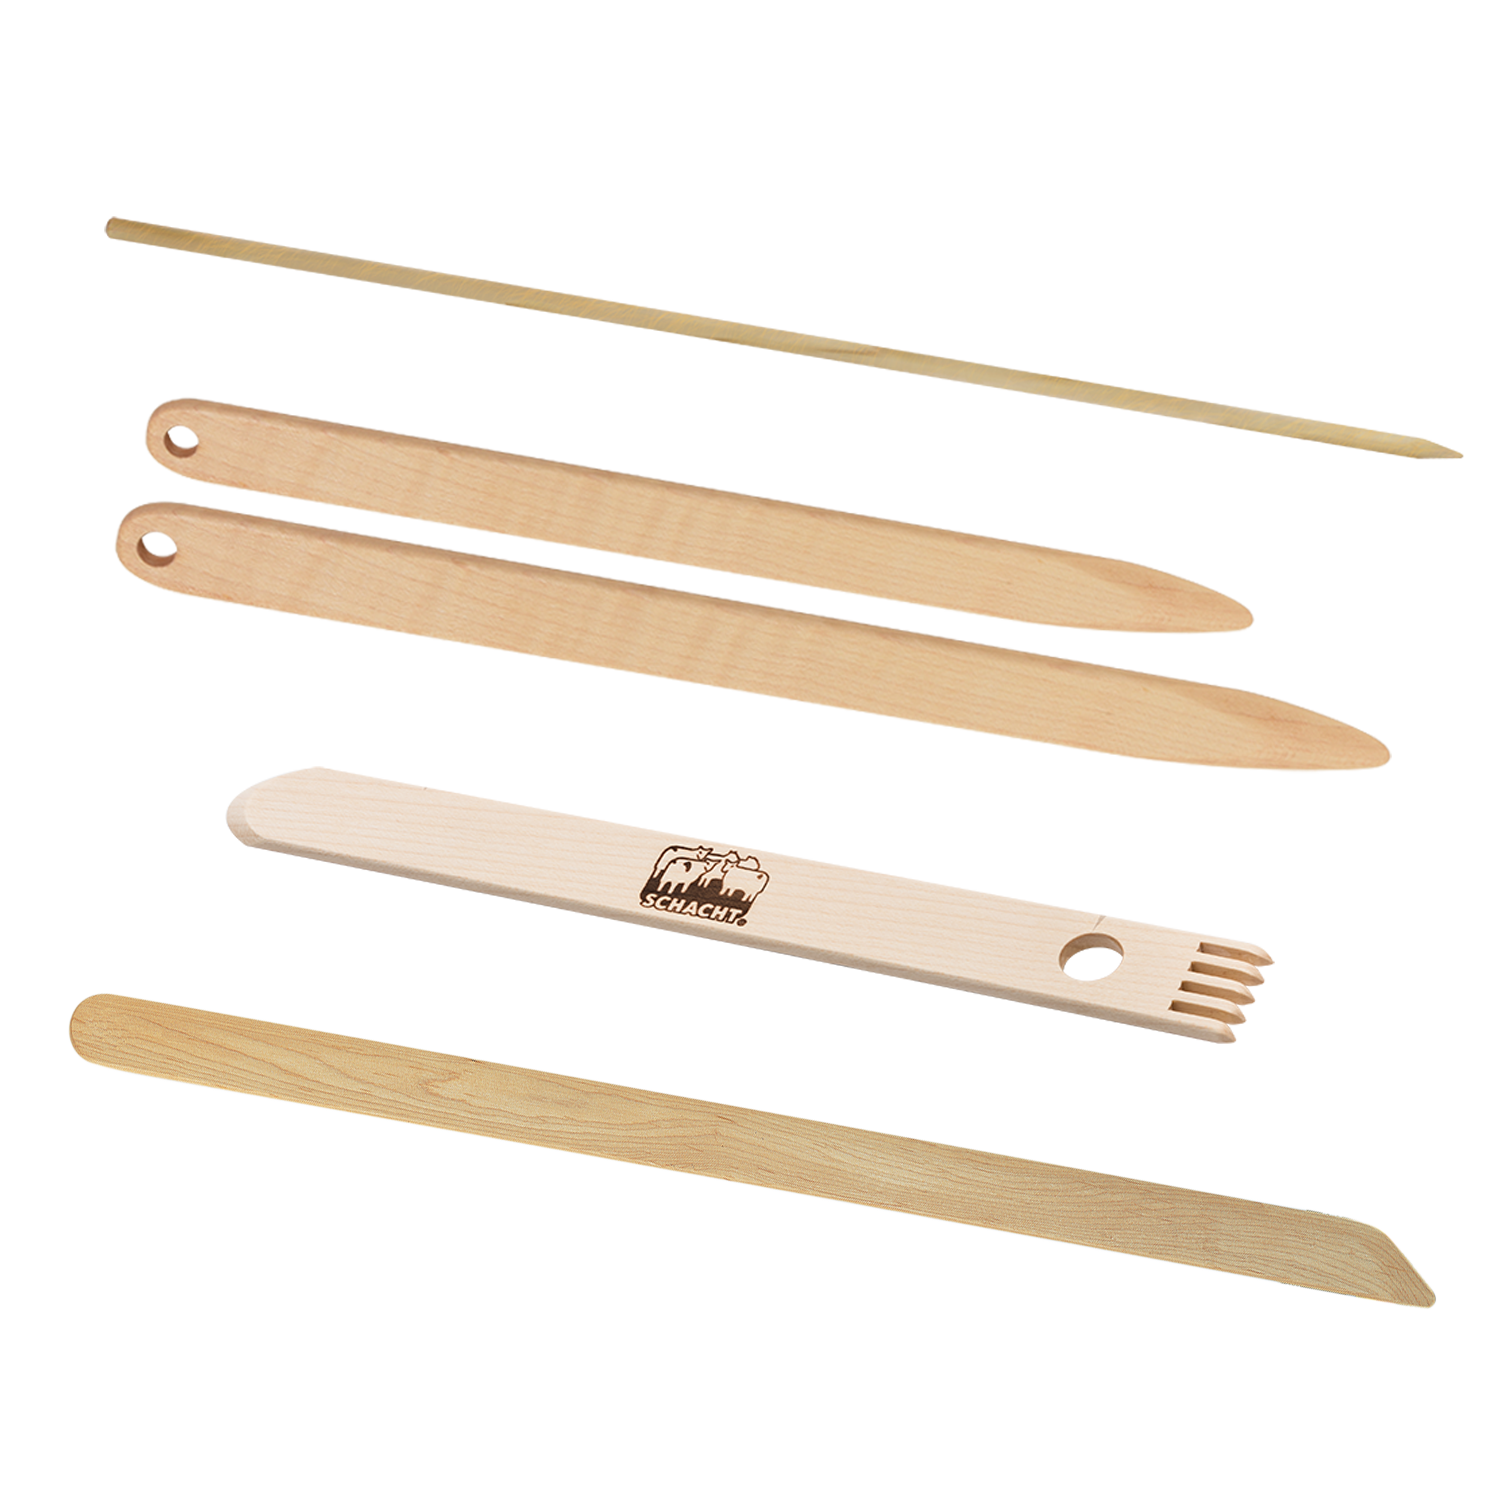
- 3-in-1 Magic Stick
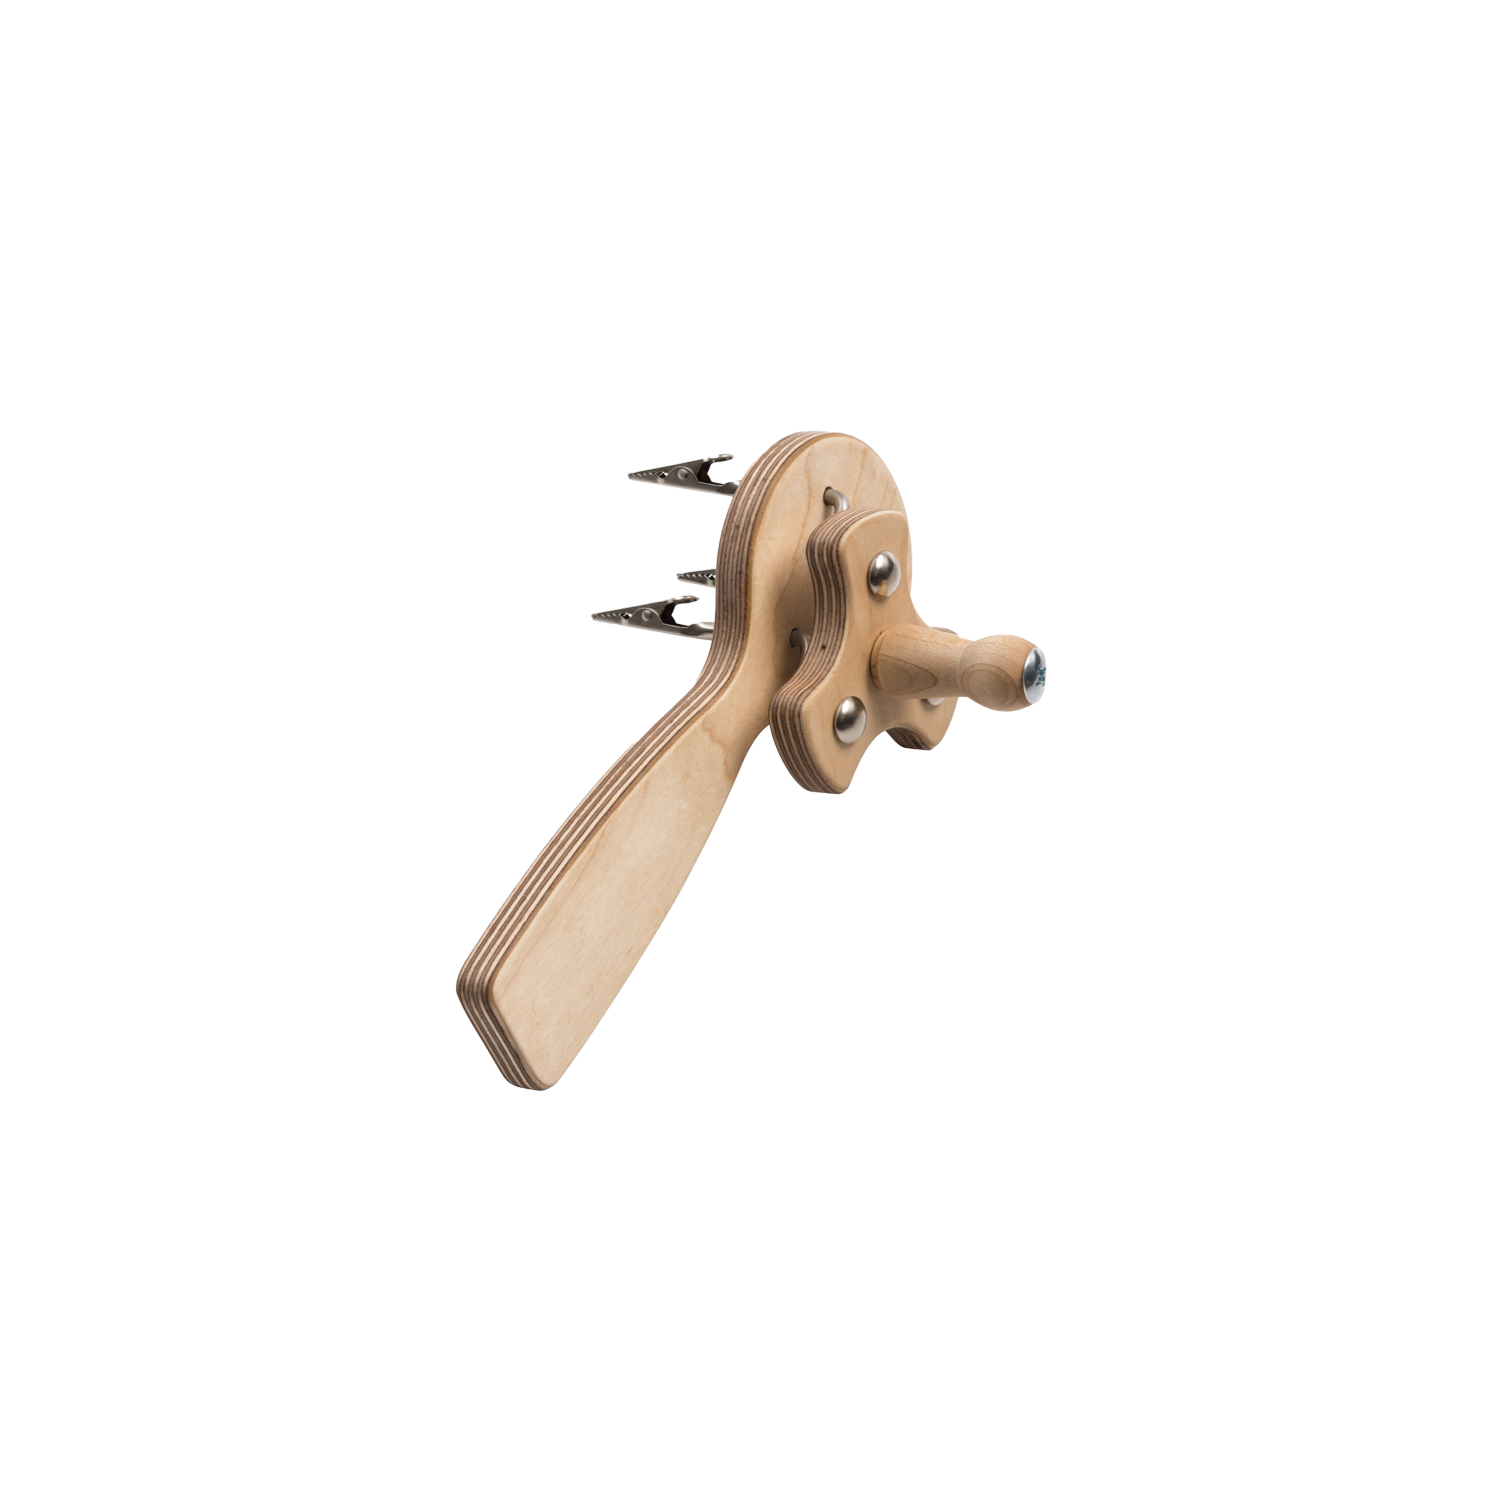
- Schacht Fringe Twister
- knitting needle or chopstick
- paper towel tube
- Optional: crochet hook
Materials
Equipment
Directions
Warping
Wind a 60" warp chain of 96 ends, then warp the loom centering the warp in the rigid heddle. Or direct-warp with the warping peg positioned 60" away from the apron bar, centering 96 ends in the rigid heddle.
Leave at least 6" of warp for the fringe.
Weaving
Spread the warp with a header.
Begin your first pick 5 inches from the apron bar (this length is for the fringe), starting with the rigid heddle in the up position and the yarn on the right. If you prefer, hemstitch the start of the weaving.
Weave 3 inches of plain weave, packing the weft tightly with the 3-in-1 magic stick, finishing with the heddle in the down position.
Tip: throw pick, beat, change shed then beat with the 3-in-1 magic stick.
Technique A: Weaving in the Fleece
Change sheds (heddle in the up position), weave across and beat.
- Keep the rigid heddle in the up position and place small bundles of fleece at approximately 1" intervals: starting 1-2" from the selvedges, slightly lift two warp threads, and place the fleece behind the threads. Leave a tail of fleece on both sides of the warp threads. Continue inserting fleece until the end of the row. Beat and pack loosely (so birds can pull the fleece from the weaving)
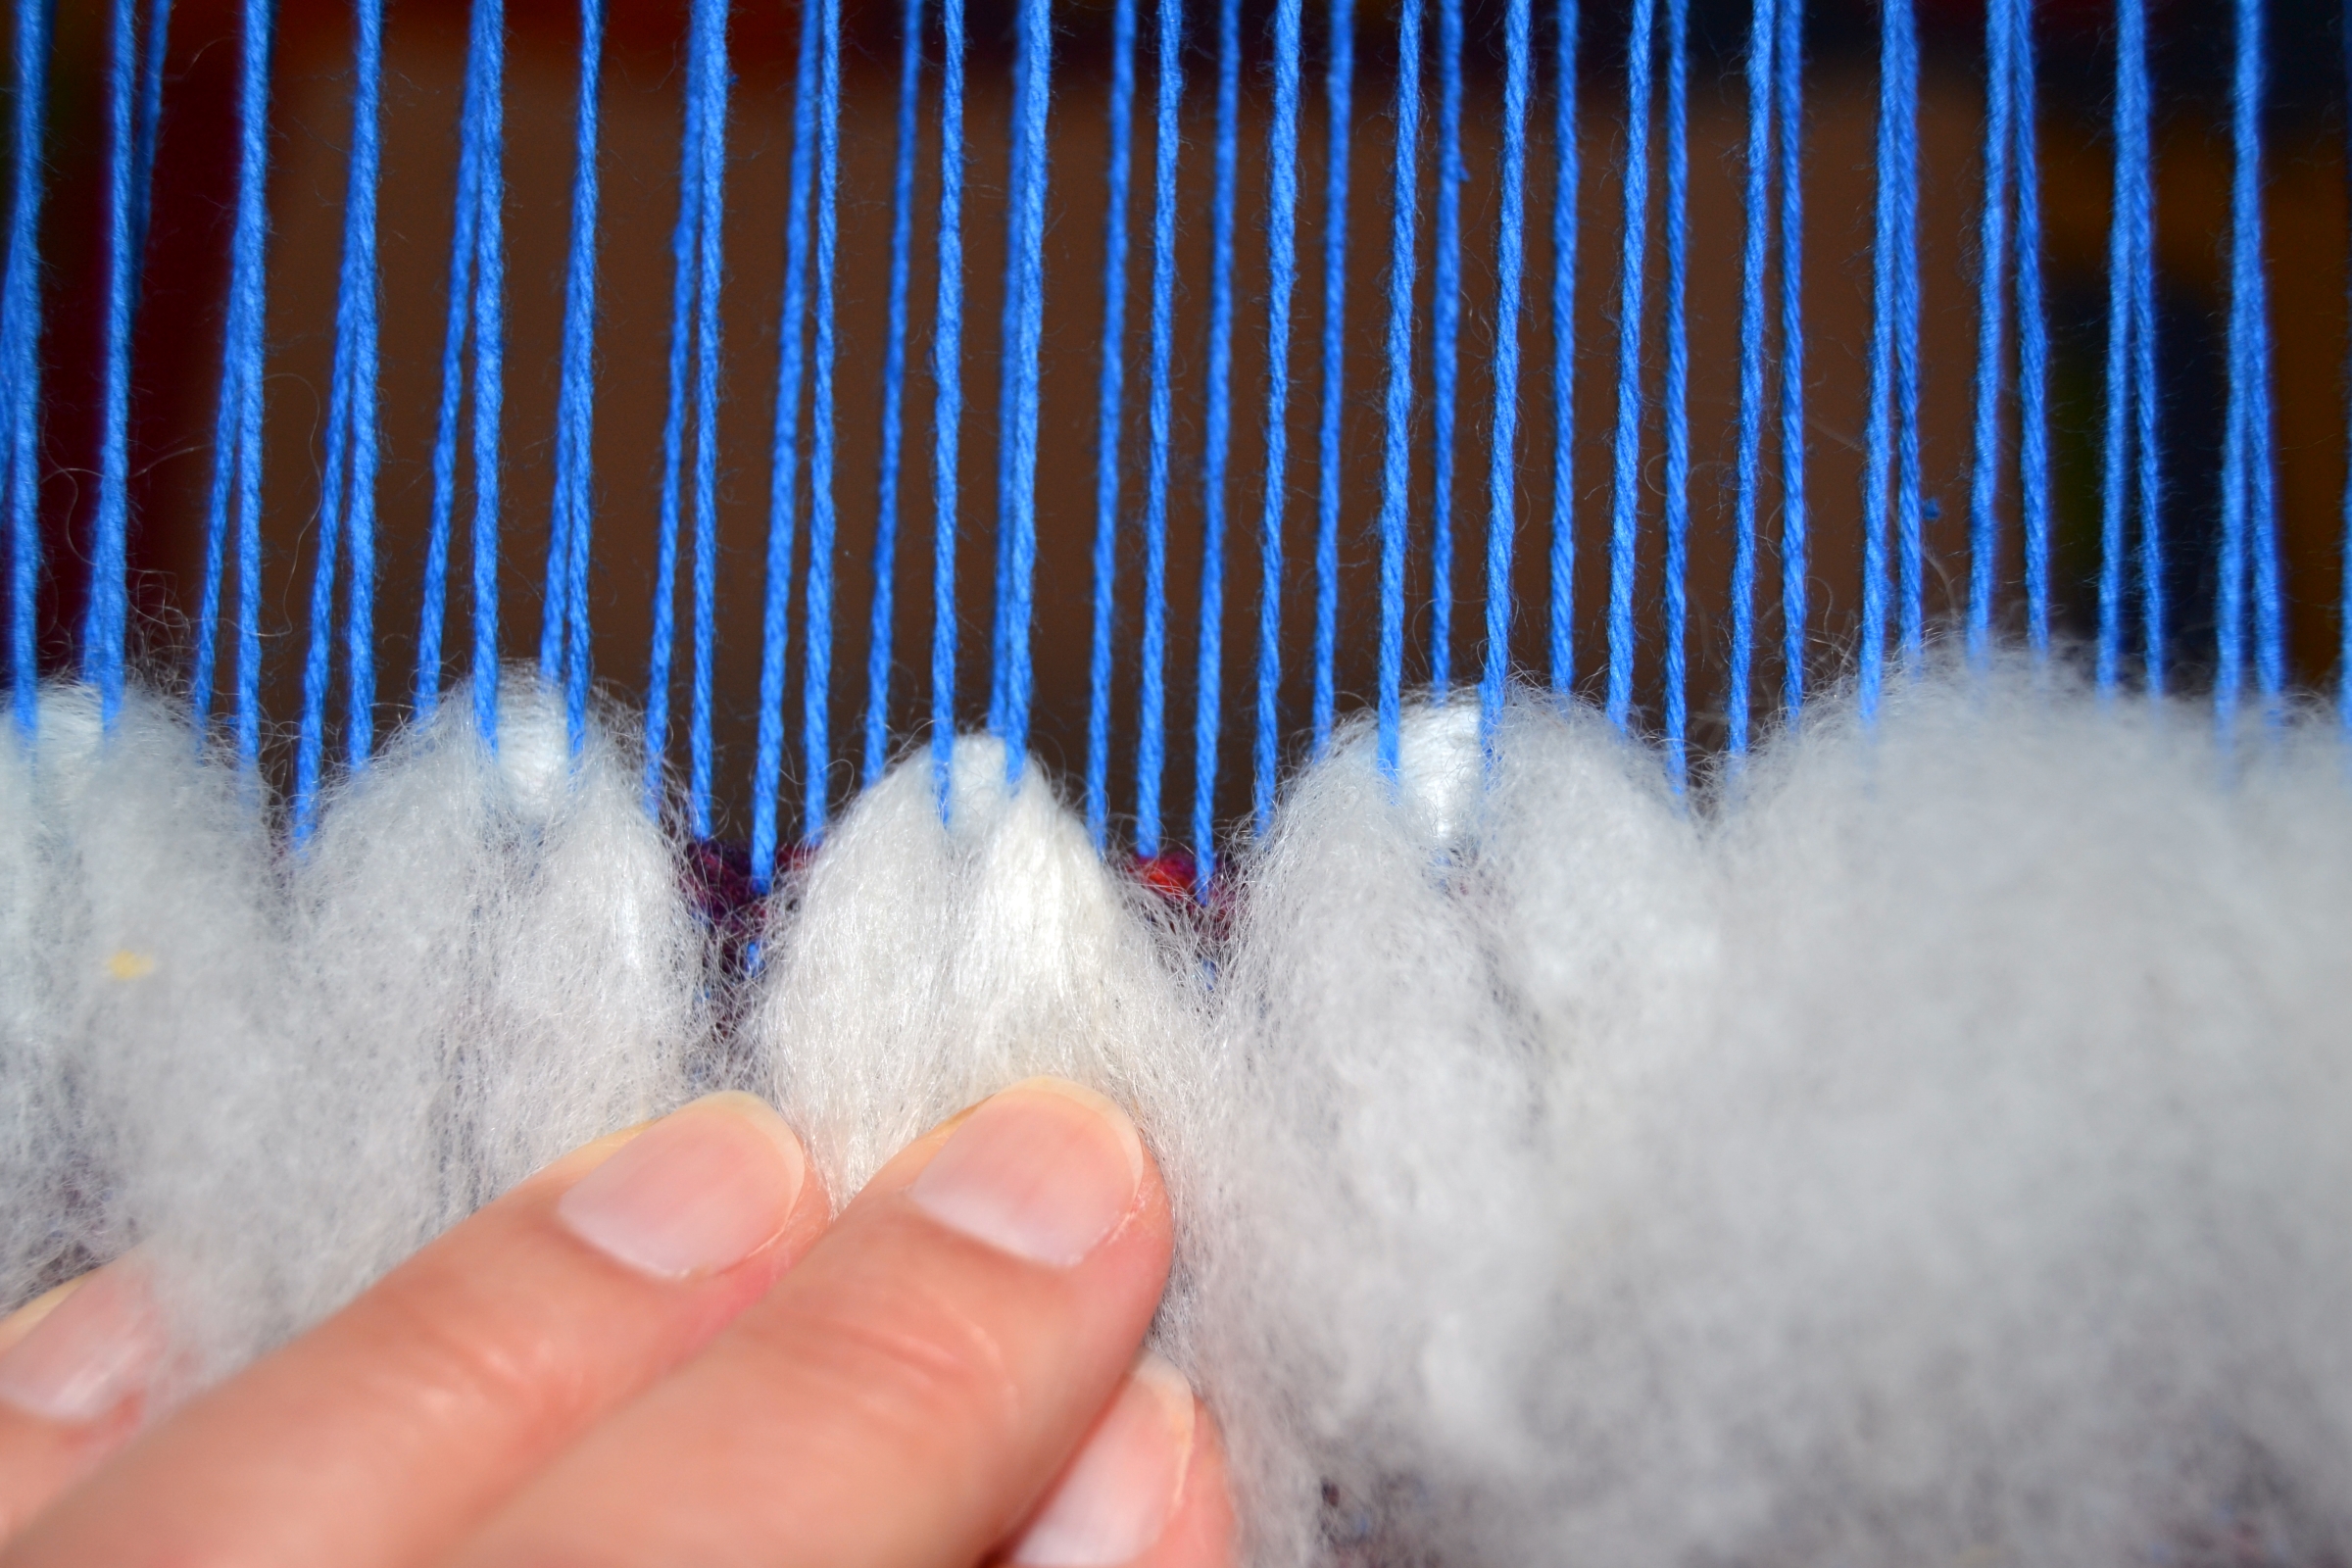
- Weave three plain weave picks ending with the heddle in the down position, and beat securely.
- Keep the rigid heddle in the down position and place small bundles of fleece at approximately 1" intervals: starting 1-2" from the selvedges slightly lift two warp threads, and place the fleece behind the threads (be sure that this set of fleece is staggered with the previous set). Leave a tail of fleece on both sides of the warp threads. Continue inserting fleece until the end of the row. Beat and pack loosely (so birds can pull the fleece from the weaving)
- After you've added two rows of fleece, weave plain weave for 2-3 inches. Cut a slit down the length of the paper towel tube. Cover the fleece with the tube as it winds onto the cloth beam.
Technique B: Loops for Feathers and/or Locks
Begin with the heddle in the up position. Lay weft loosely across warp.
- Starting at the right selvedge, leave approximately 1 inch and pull up the weft thread between warps, create a loop and twist the loop to the left.
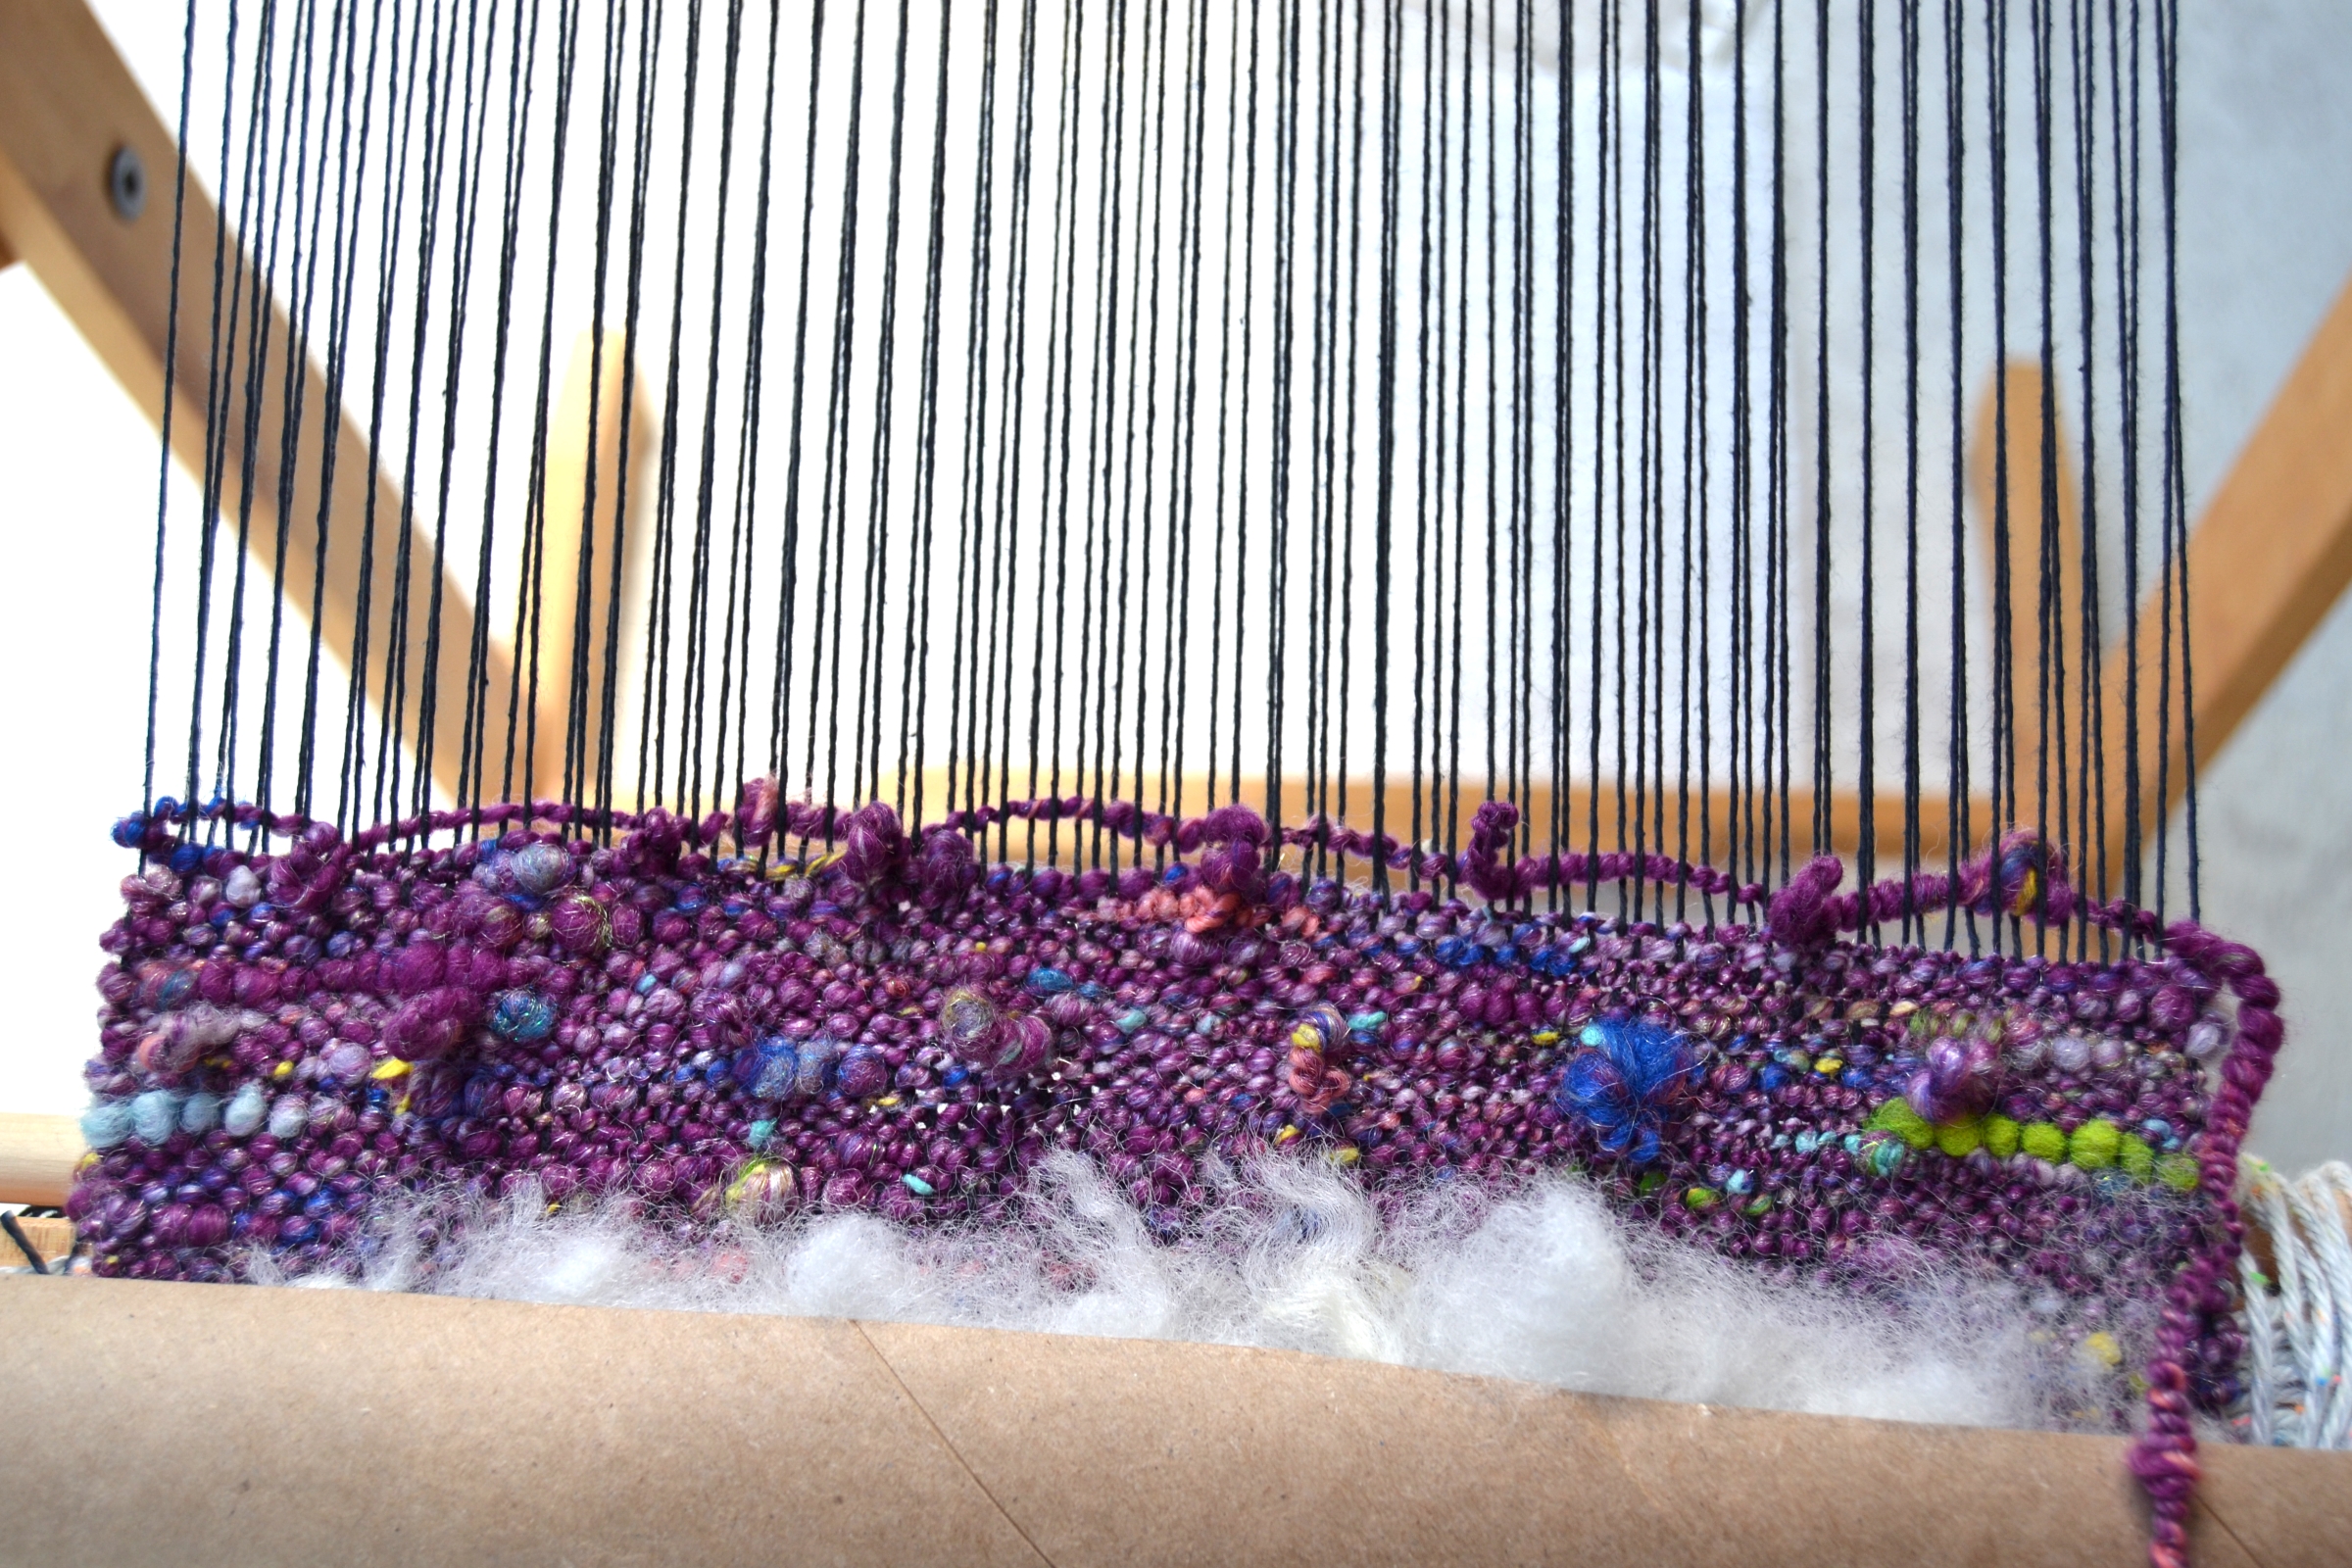
- Holding the previous loop, continue spacing 6 loops across the row (approximately every 2").
- Weave six picks of plain weave ending with the heddle in the down position. Beat each pick well with 3-in-1 magic stick.
- Place the rigid heddle in the up position, place loops across the row. Be sure that this set of loops is staggered with the previous set.
- Weave 6 picks of plain weave, then place a final row of loops. This set should be in line with the first set.
- Weave 6-8 picks of plain weave.
Technique C: Inlaying a Small Branch in the Weaving
With the heddle in the up position, lay a small branch centered across weaving (be sure that the branch you use is not wider than your loom).
- Wrap the weft yarn around the branch at right selvedge to secure.
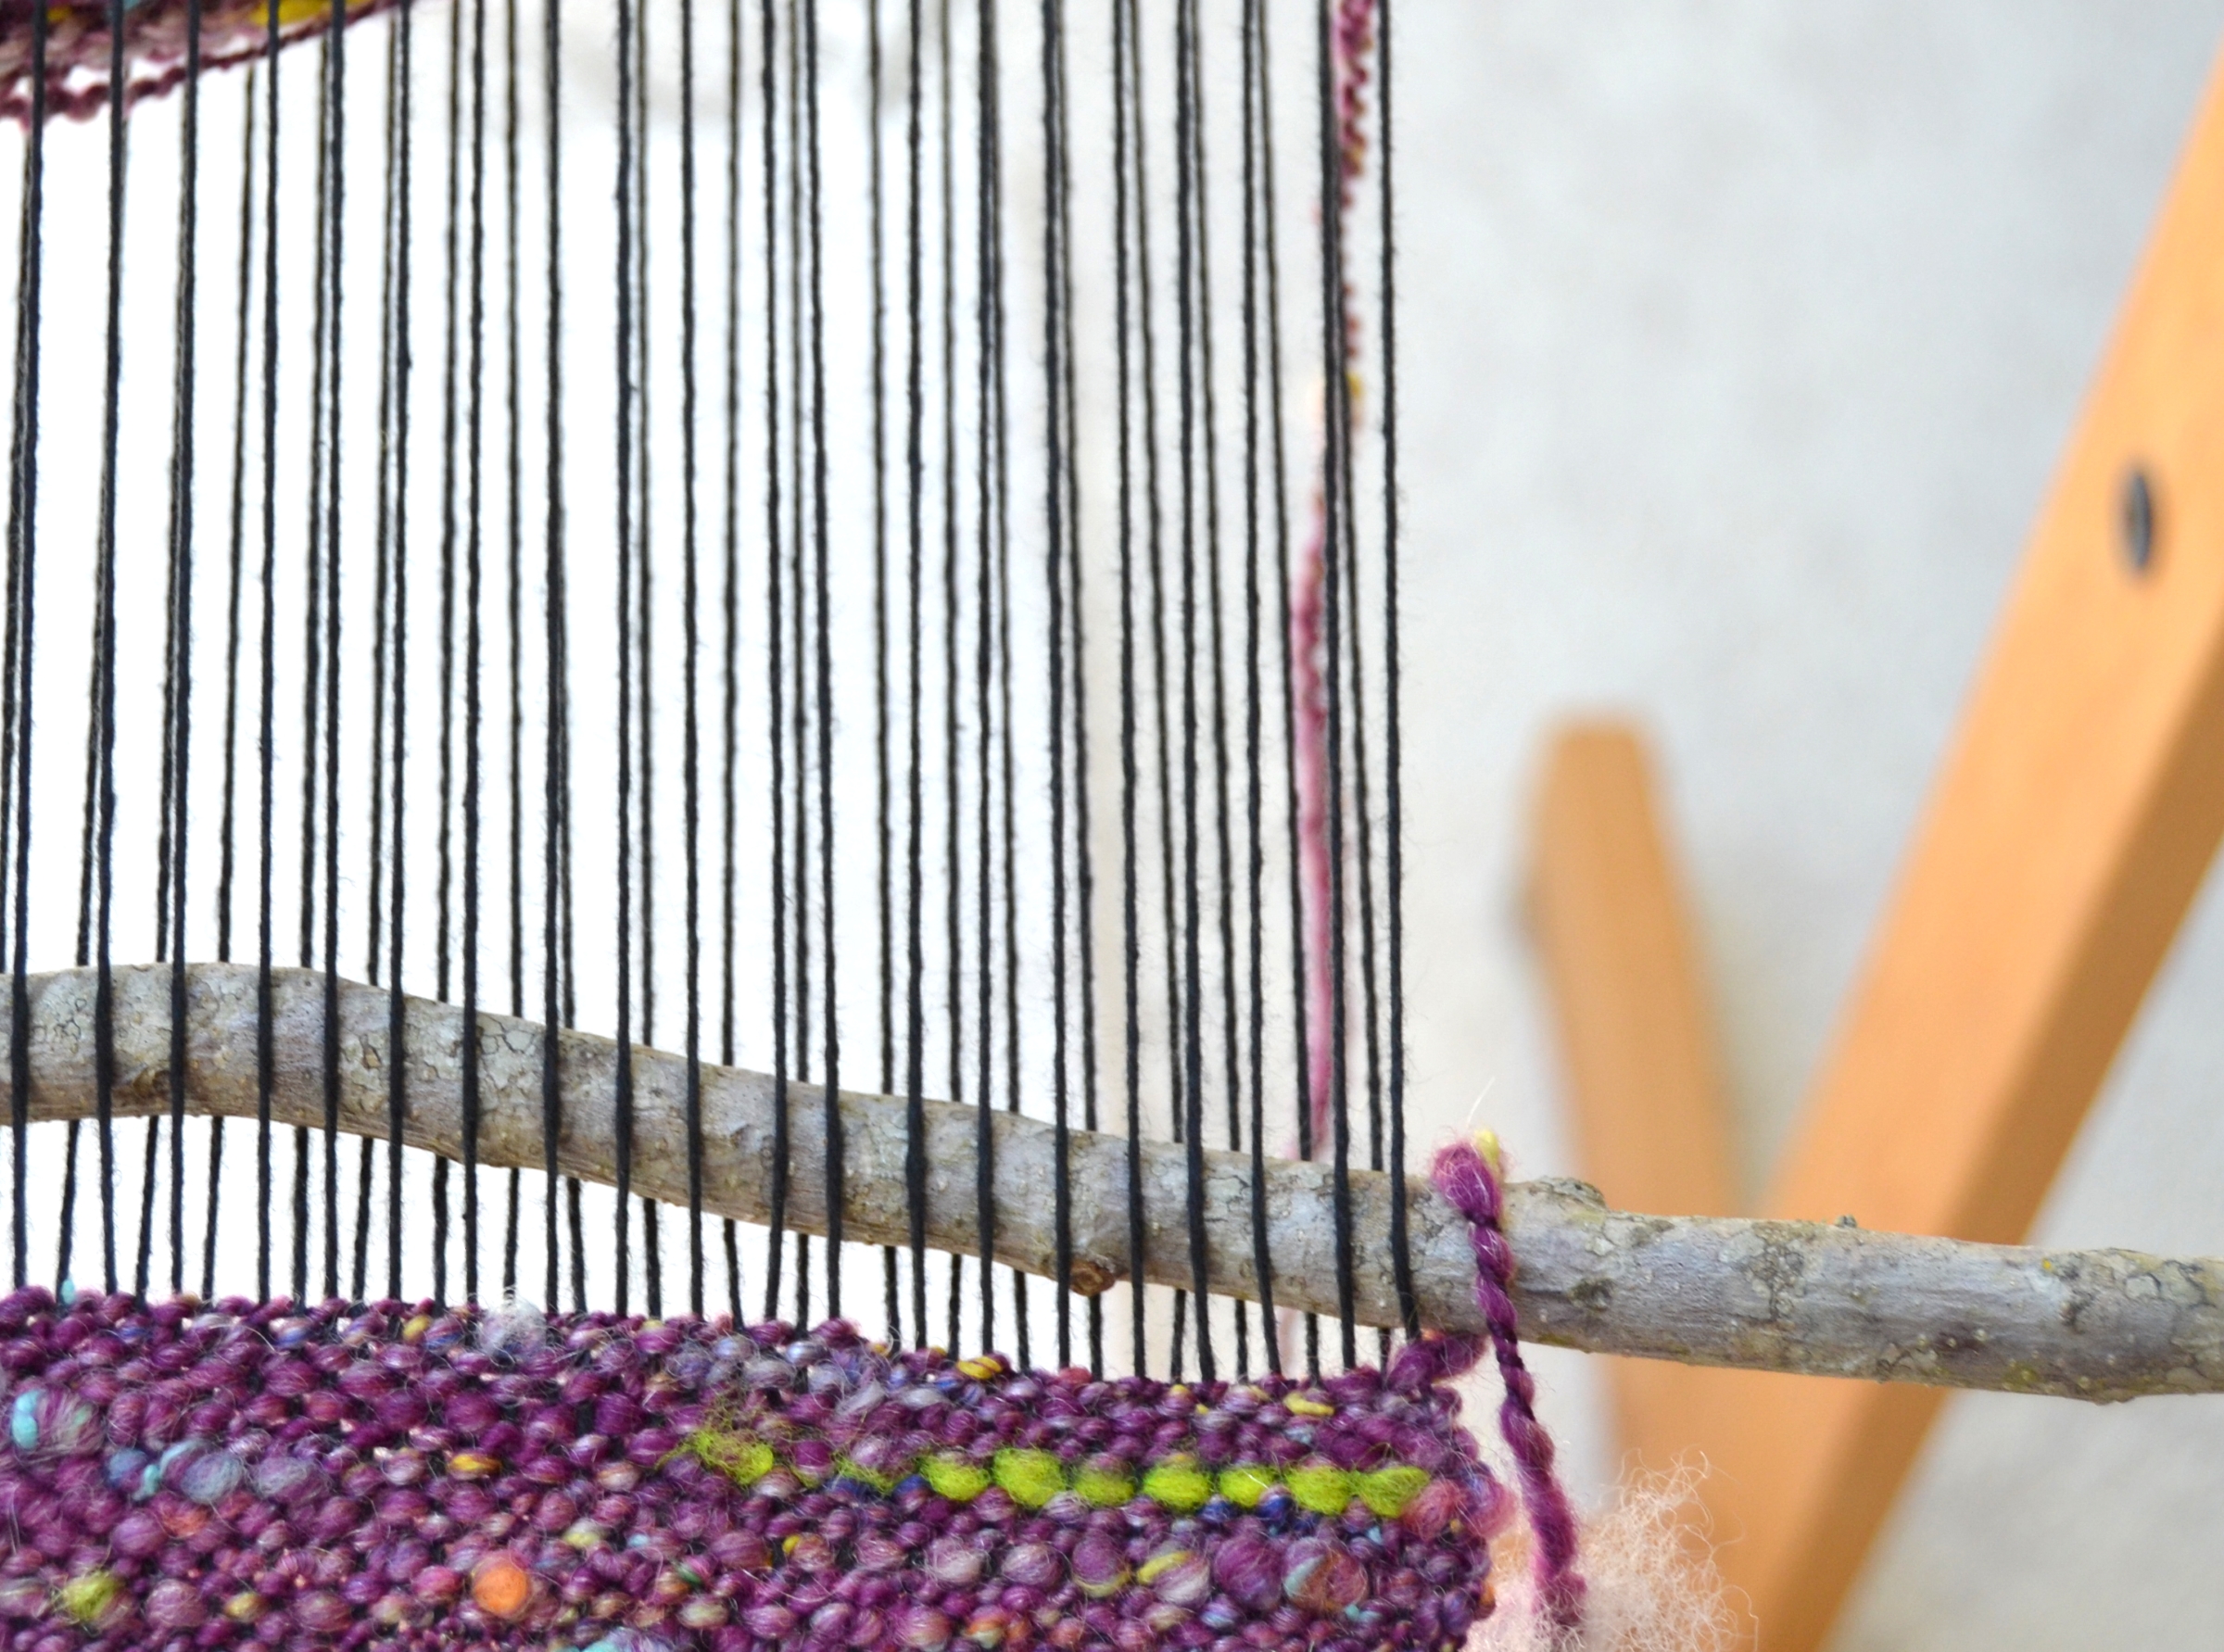
- Weave across with the weft yarn.
- Beat with the heddle, then again with the 3-in-1 magic stick. Be sure that the weft is very compacted.
- Wrap the weft thread around the branch at the left selvedge, weave across (heddle in the down position) and beat. Be sure that the weft is very compacted.
- Continue weaving plain weave and tightly packing warp at the top of the branch until 1-2 inches above the perch.
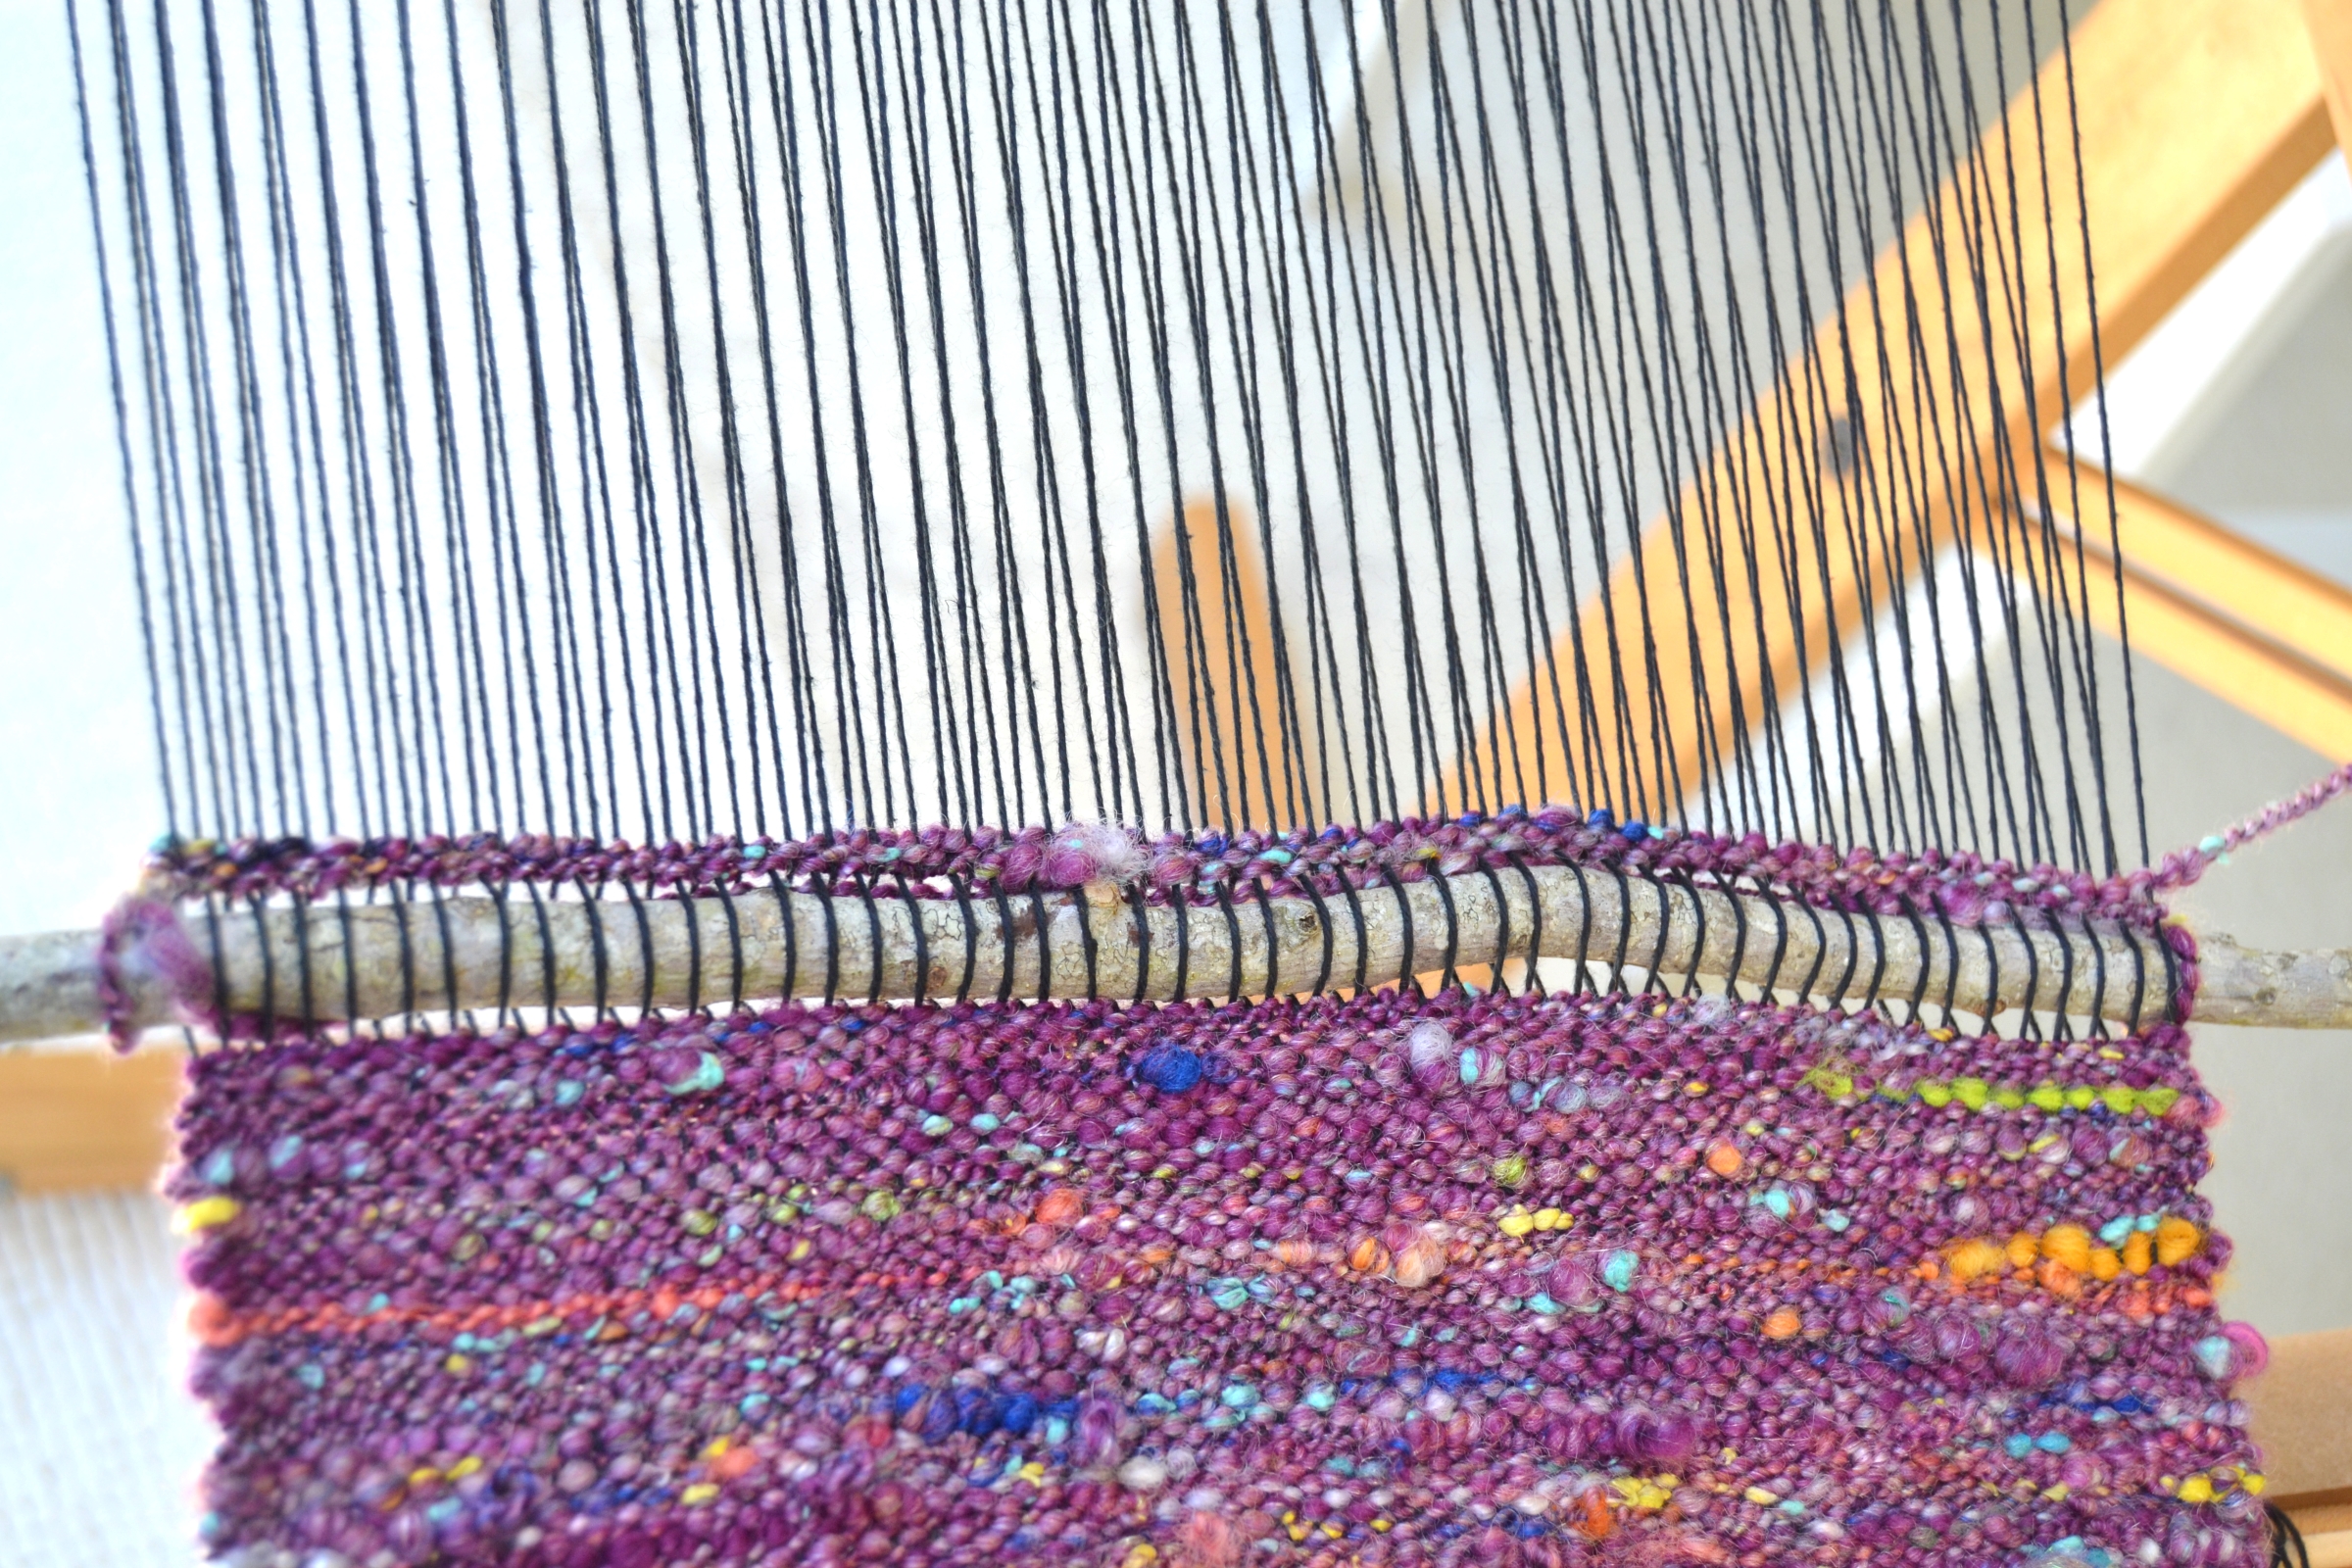
Before moving on to Technique D: Weave another section of fleece following the steps for Technique A. Then weave 1"-2" of plain weave ending with the rigid heddle in the down position.
Technique D: Weaving Weft Floats for Feathers
Place the rigid heddle in the down position.
Behind the heddle, insert a pick-up stick: 4 up, 4 down, repeat from *.
- Place the heddle in the up position and move the pick-up stick directly behind the heddle.
Weave across, and beat. Weave with the weft yarn for this technique.
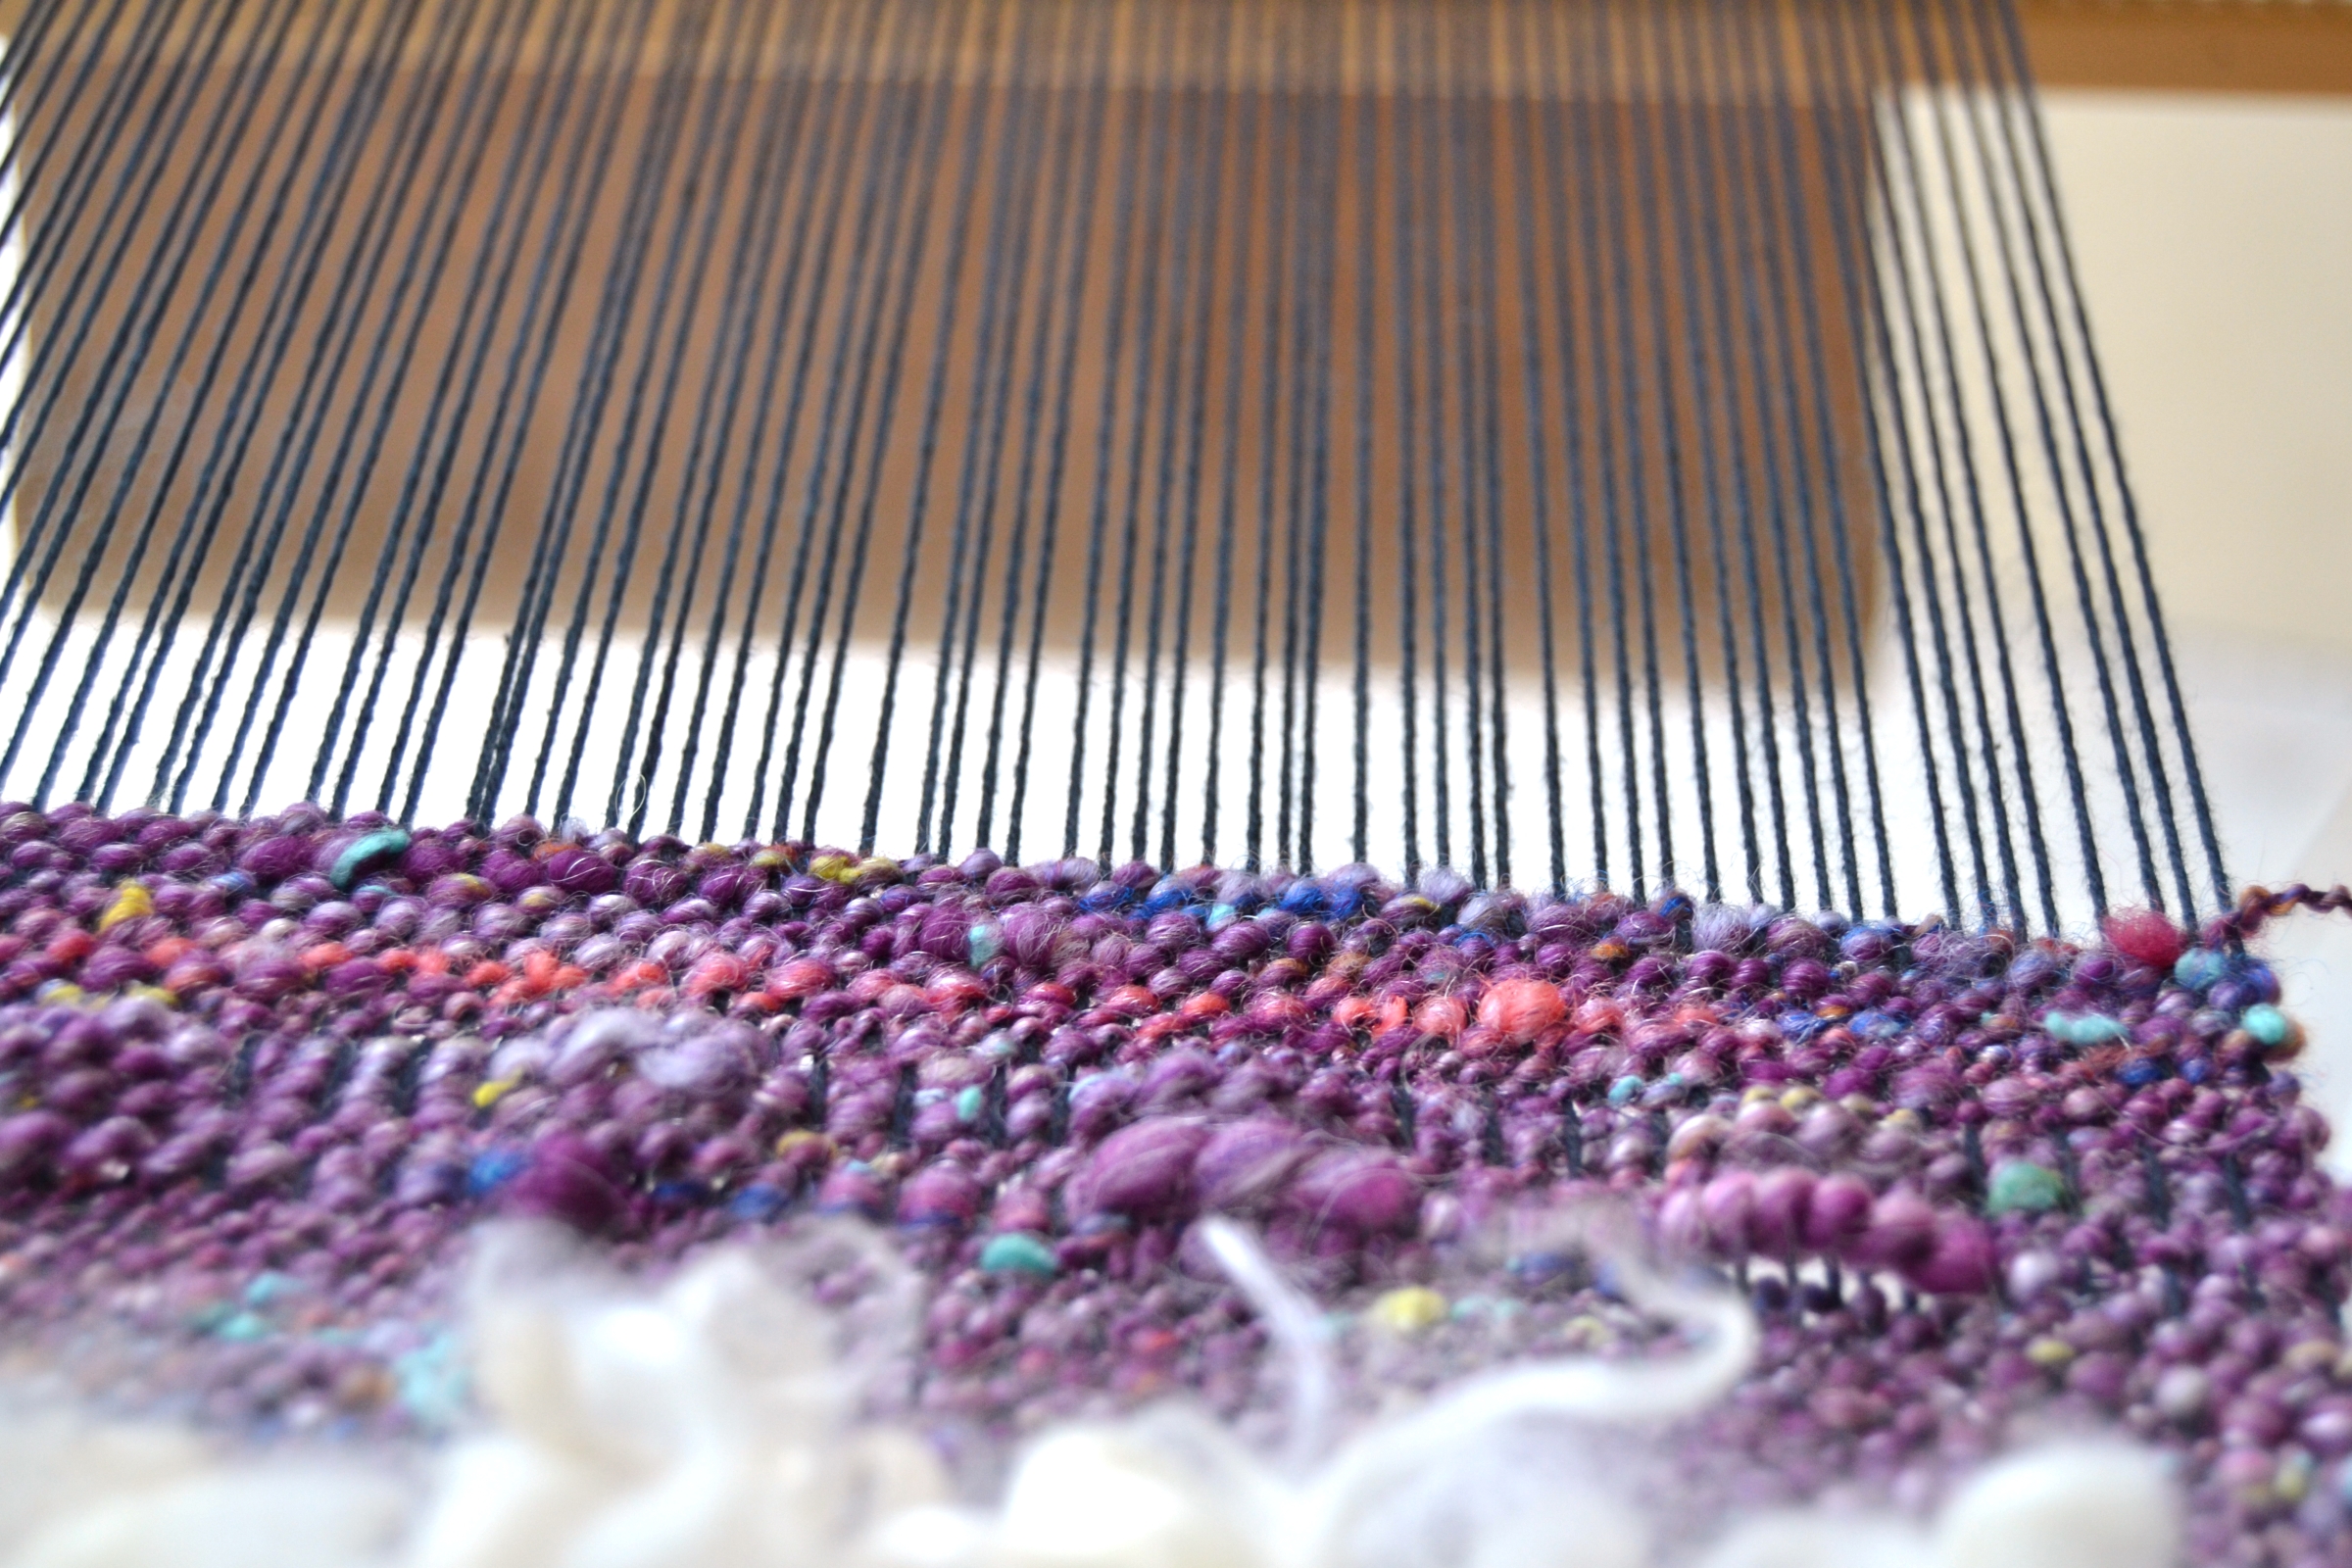
- Place the heddle in the down position, weave across, and beat.
- Repeat steps 3-5 three more times. Please note that you will add feathers in a later step.
Final Weaving Instructions
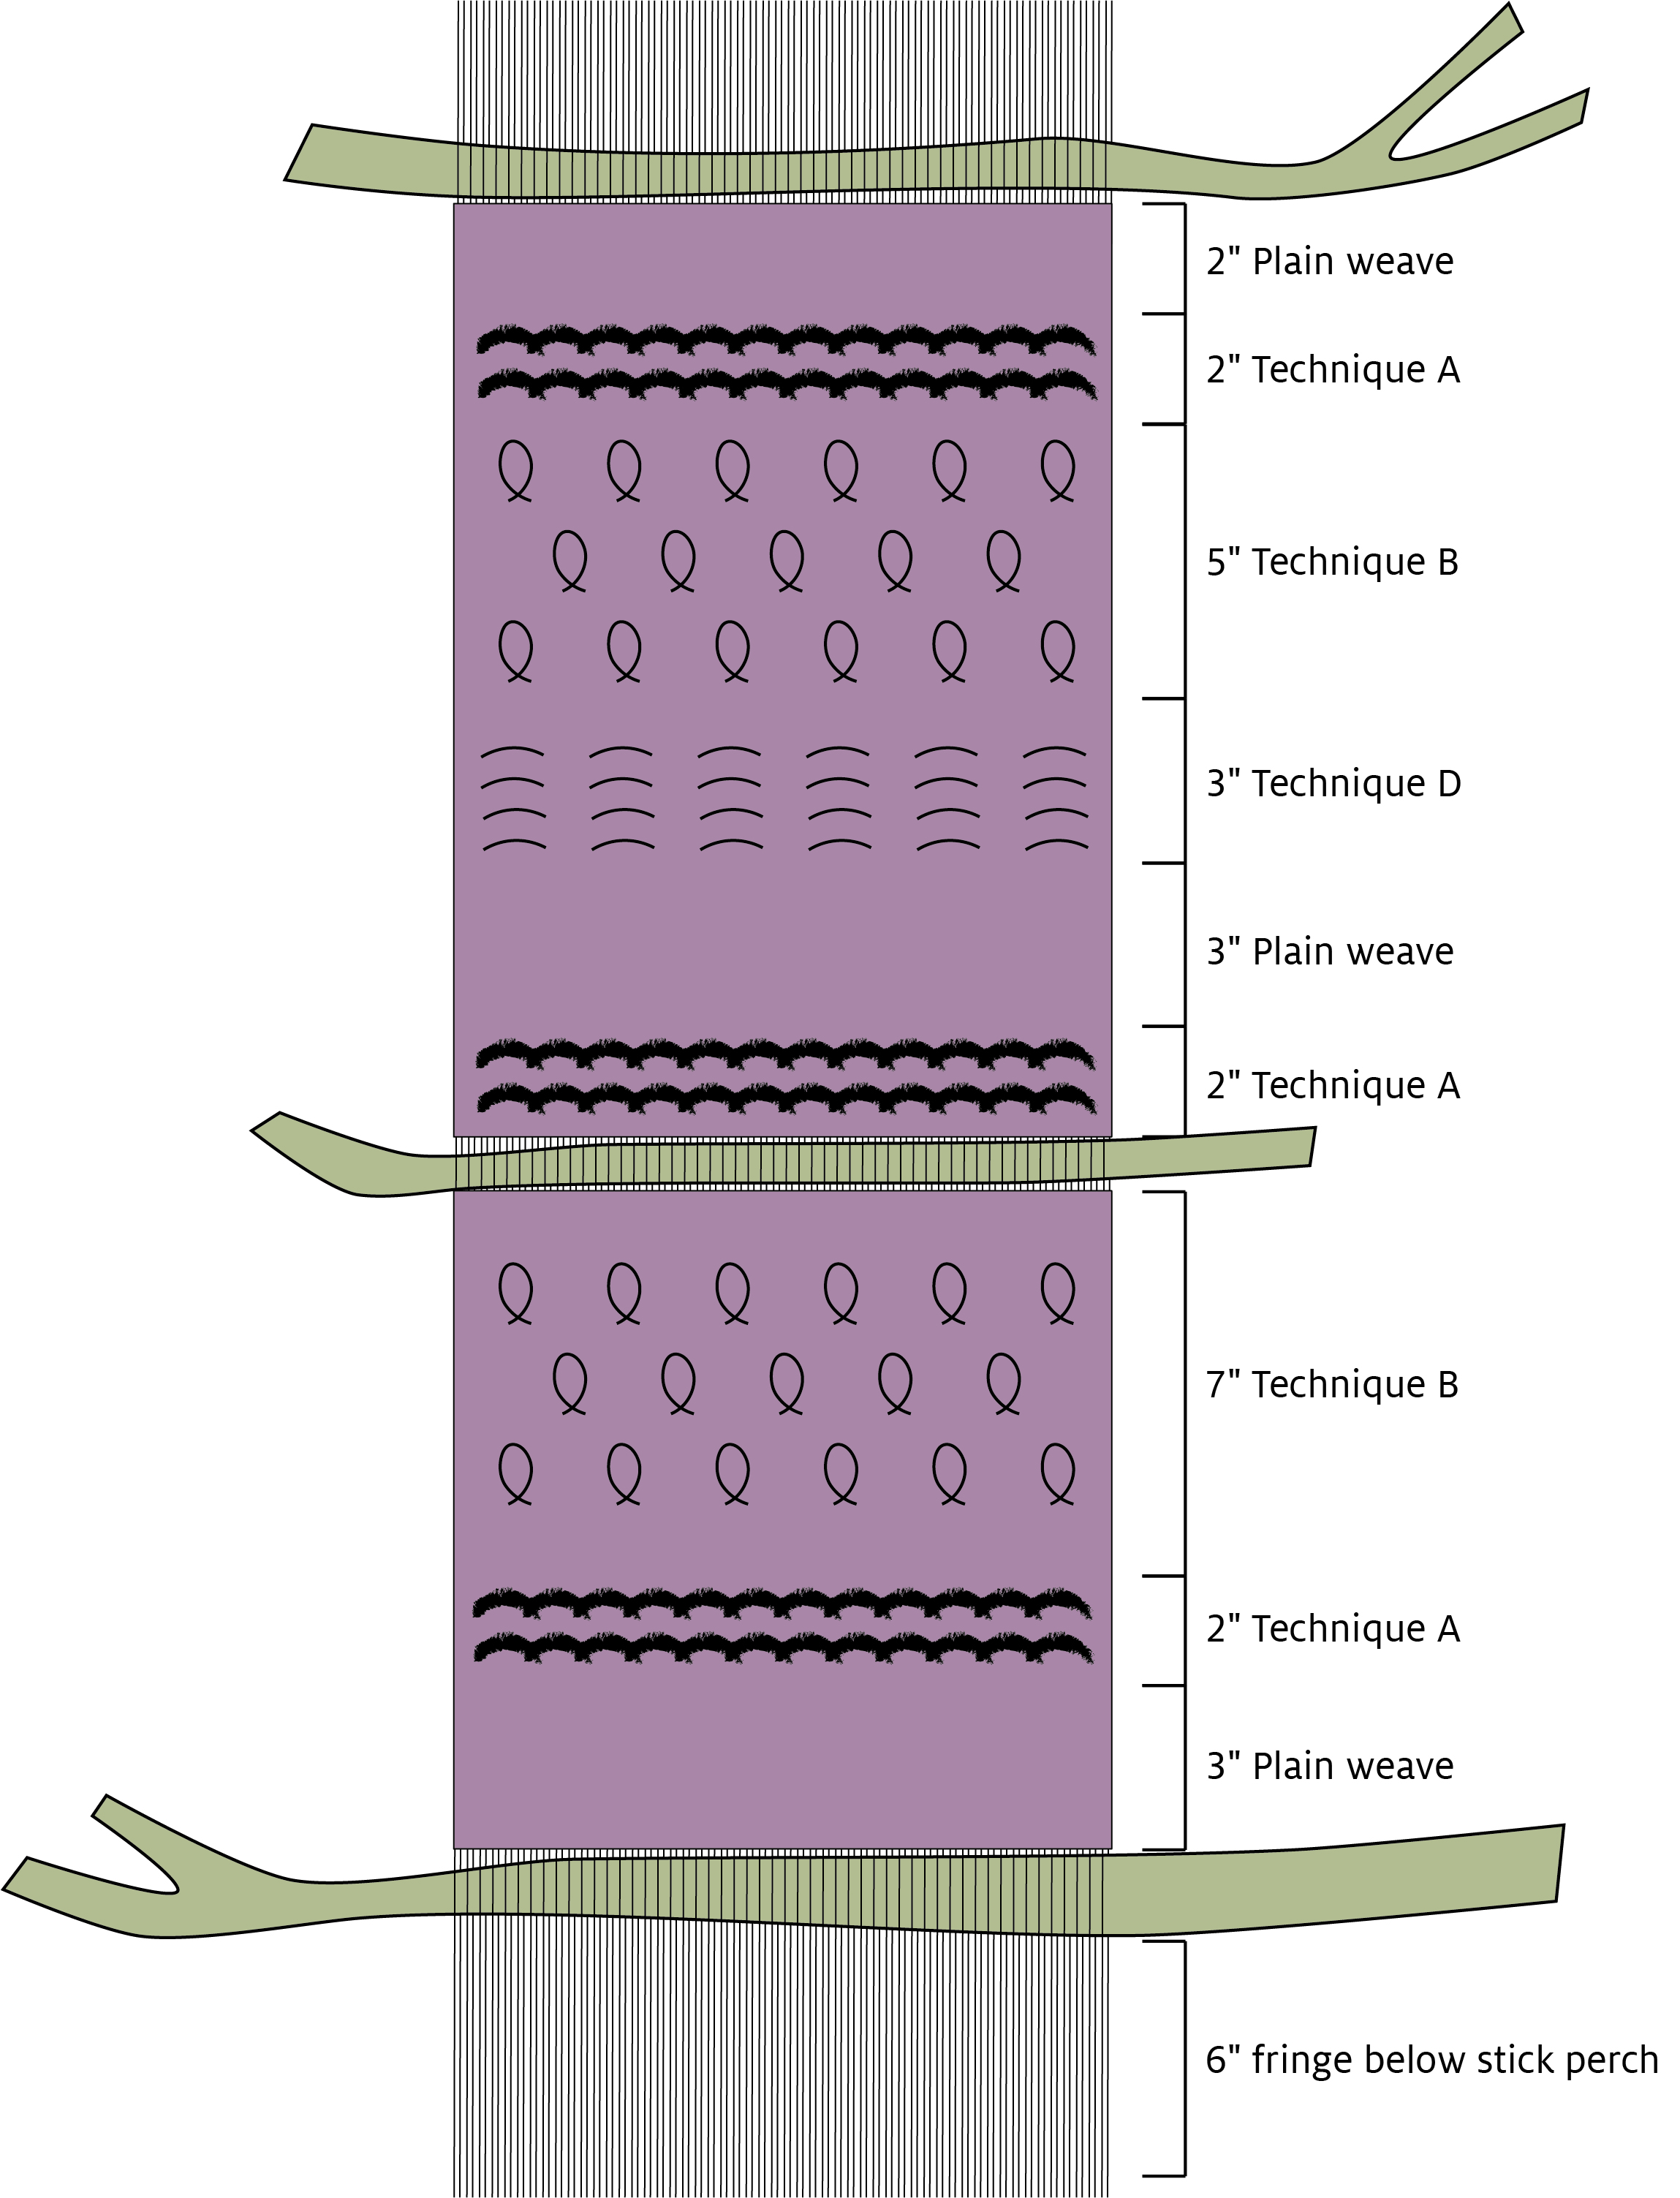
Follow the schematic and complete another section following Technique B. Weave another section following Technique A. End the weaving with two inches of plain weave, and hemstitch if you prefer.
Finishing
Remove the weaving from the loom.
If you hemstitched, skip this step. On each end secure the weft with an overhand knot (you will need to remove your header at the start of the weaving). I secured in groups of 4 warps, being sure to place the knot as close to the fell as possible.
Bottom Perch
Lay weaving on a flat surface. Place every other bundle of warp threads up onto the weaving, and the others below the weaving.
- Lay a large branch at the fell. Tie alternate warp bundles (one bundle above the branch, and the other below the branch) together. Tie square knots to secure the branch.
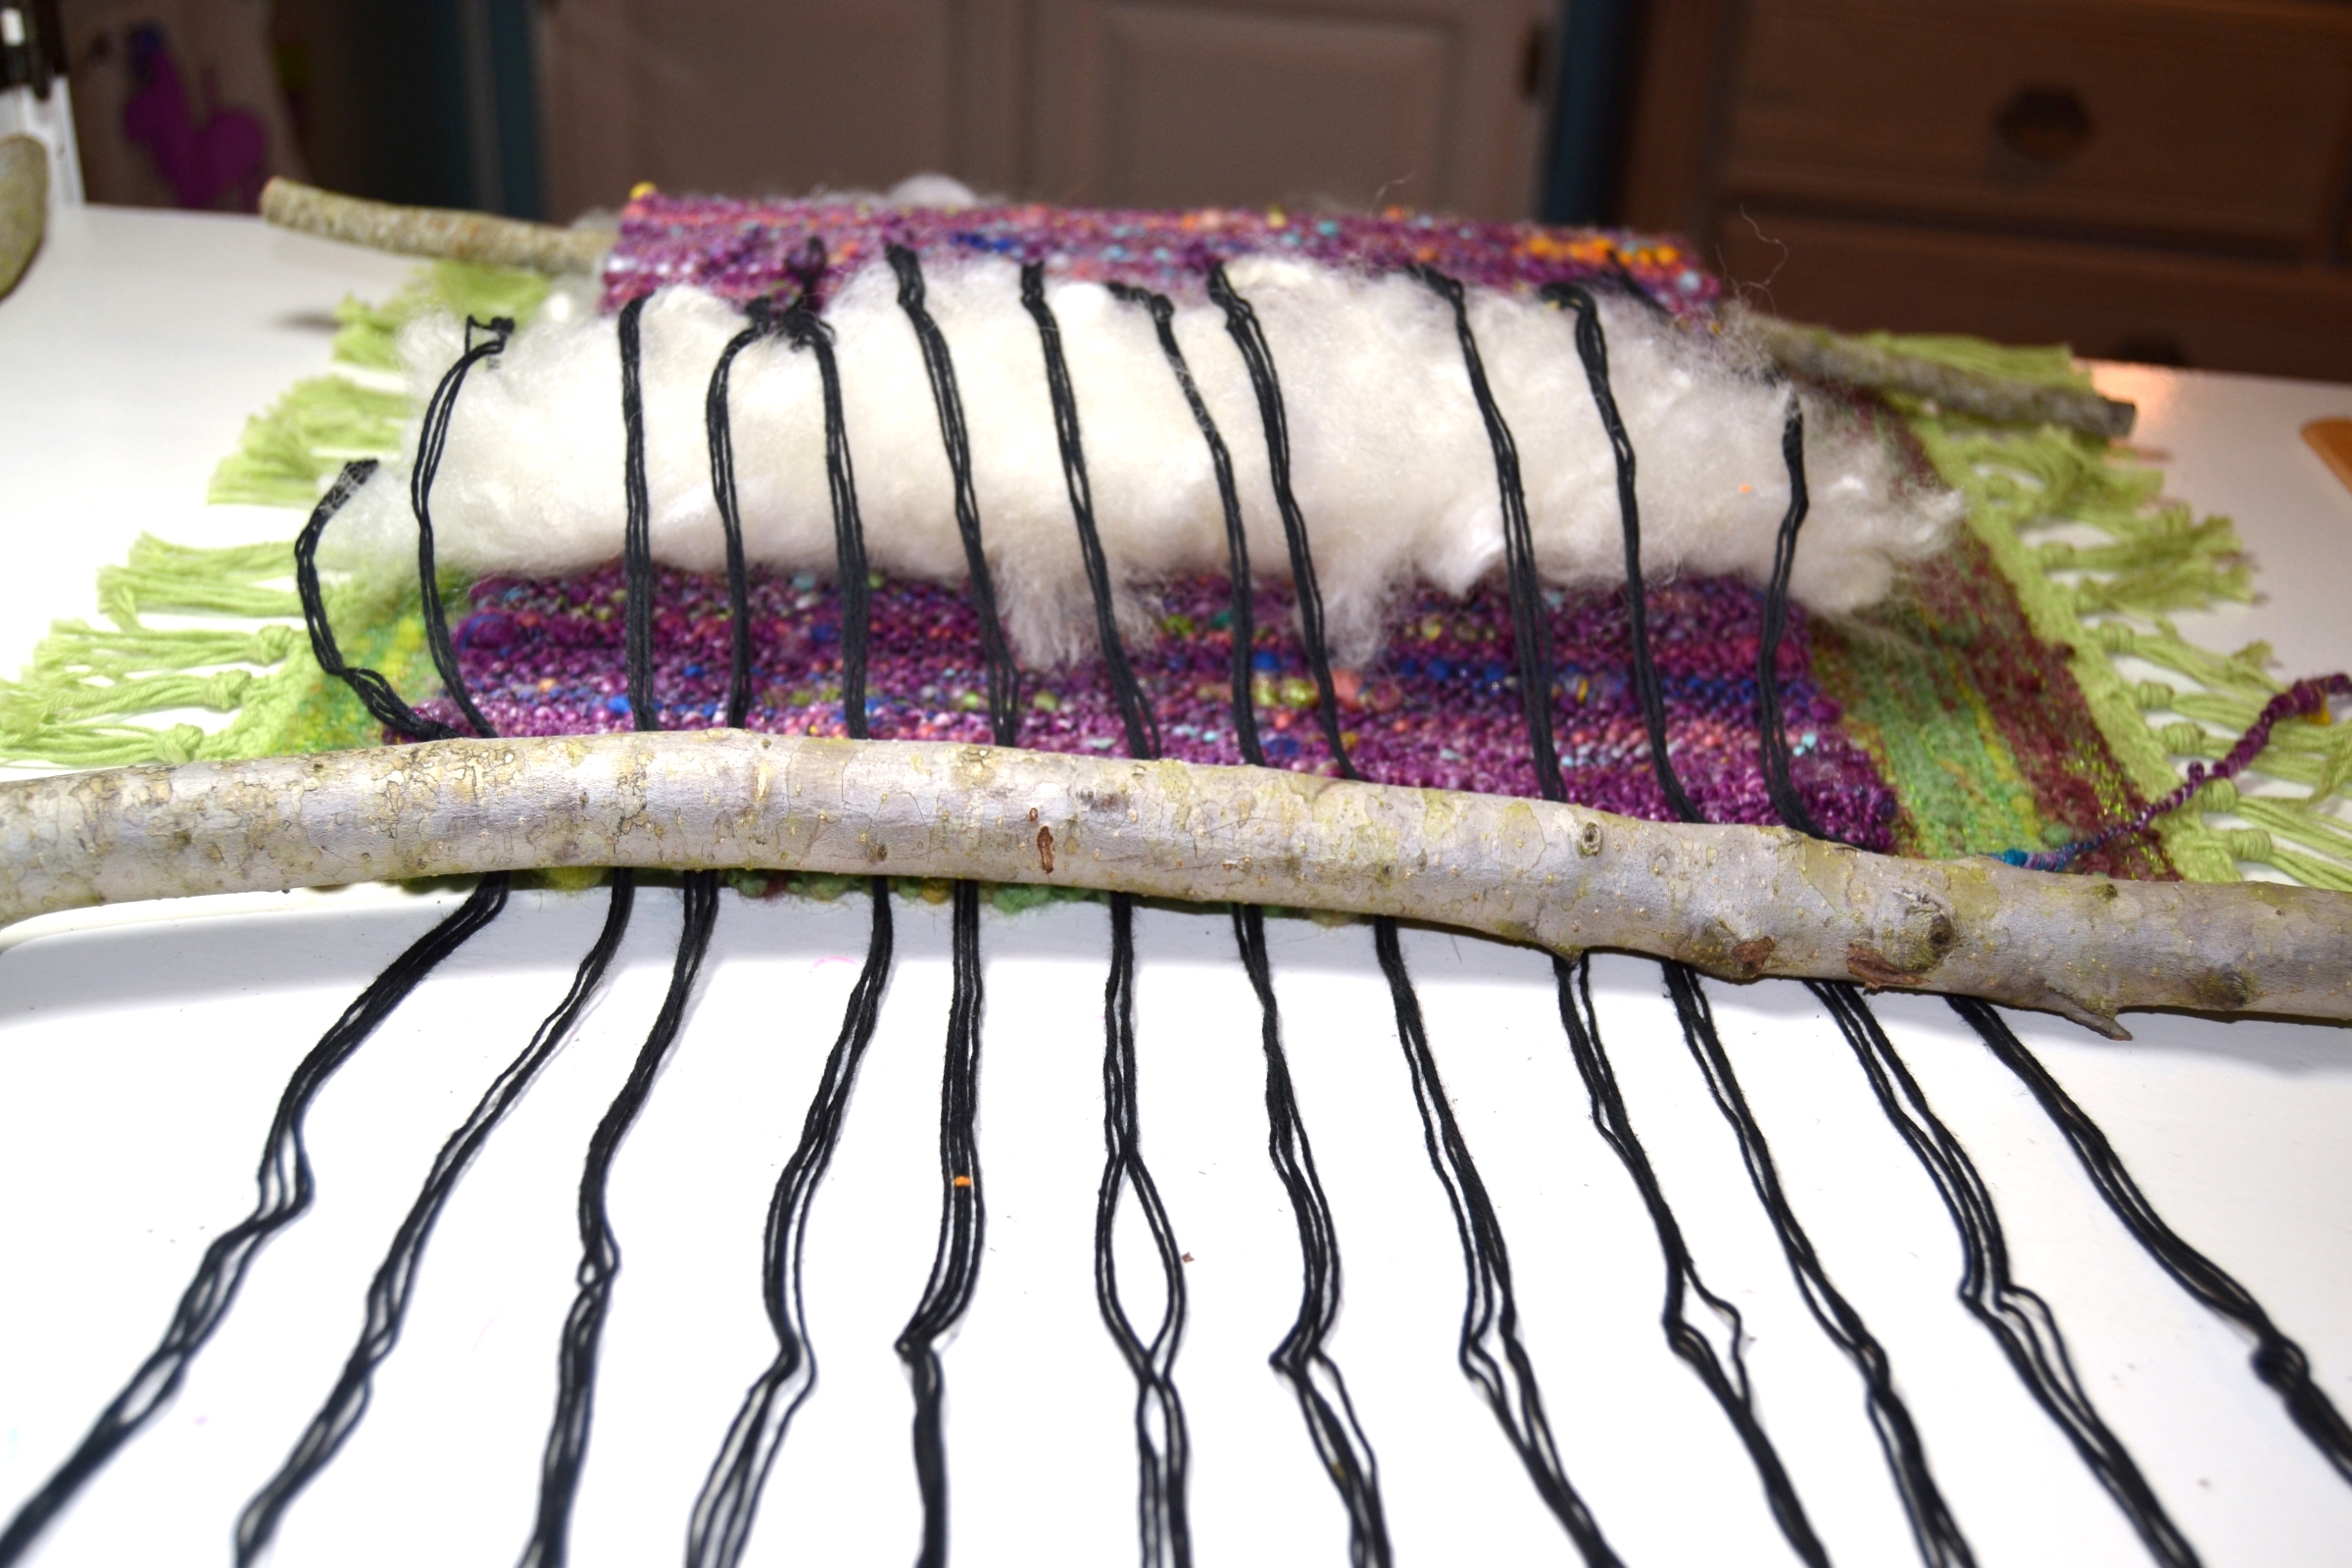
- Twist fringe for each bundle.
Top Perch
Repeat steps for bottom perch to add a perch at the top.
- Either trim warp ends close to branch or place them behind the weaving.
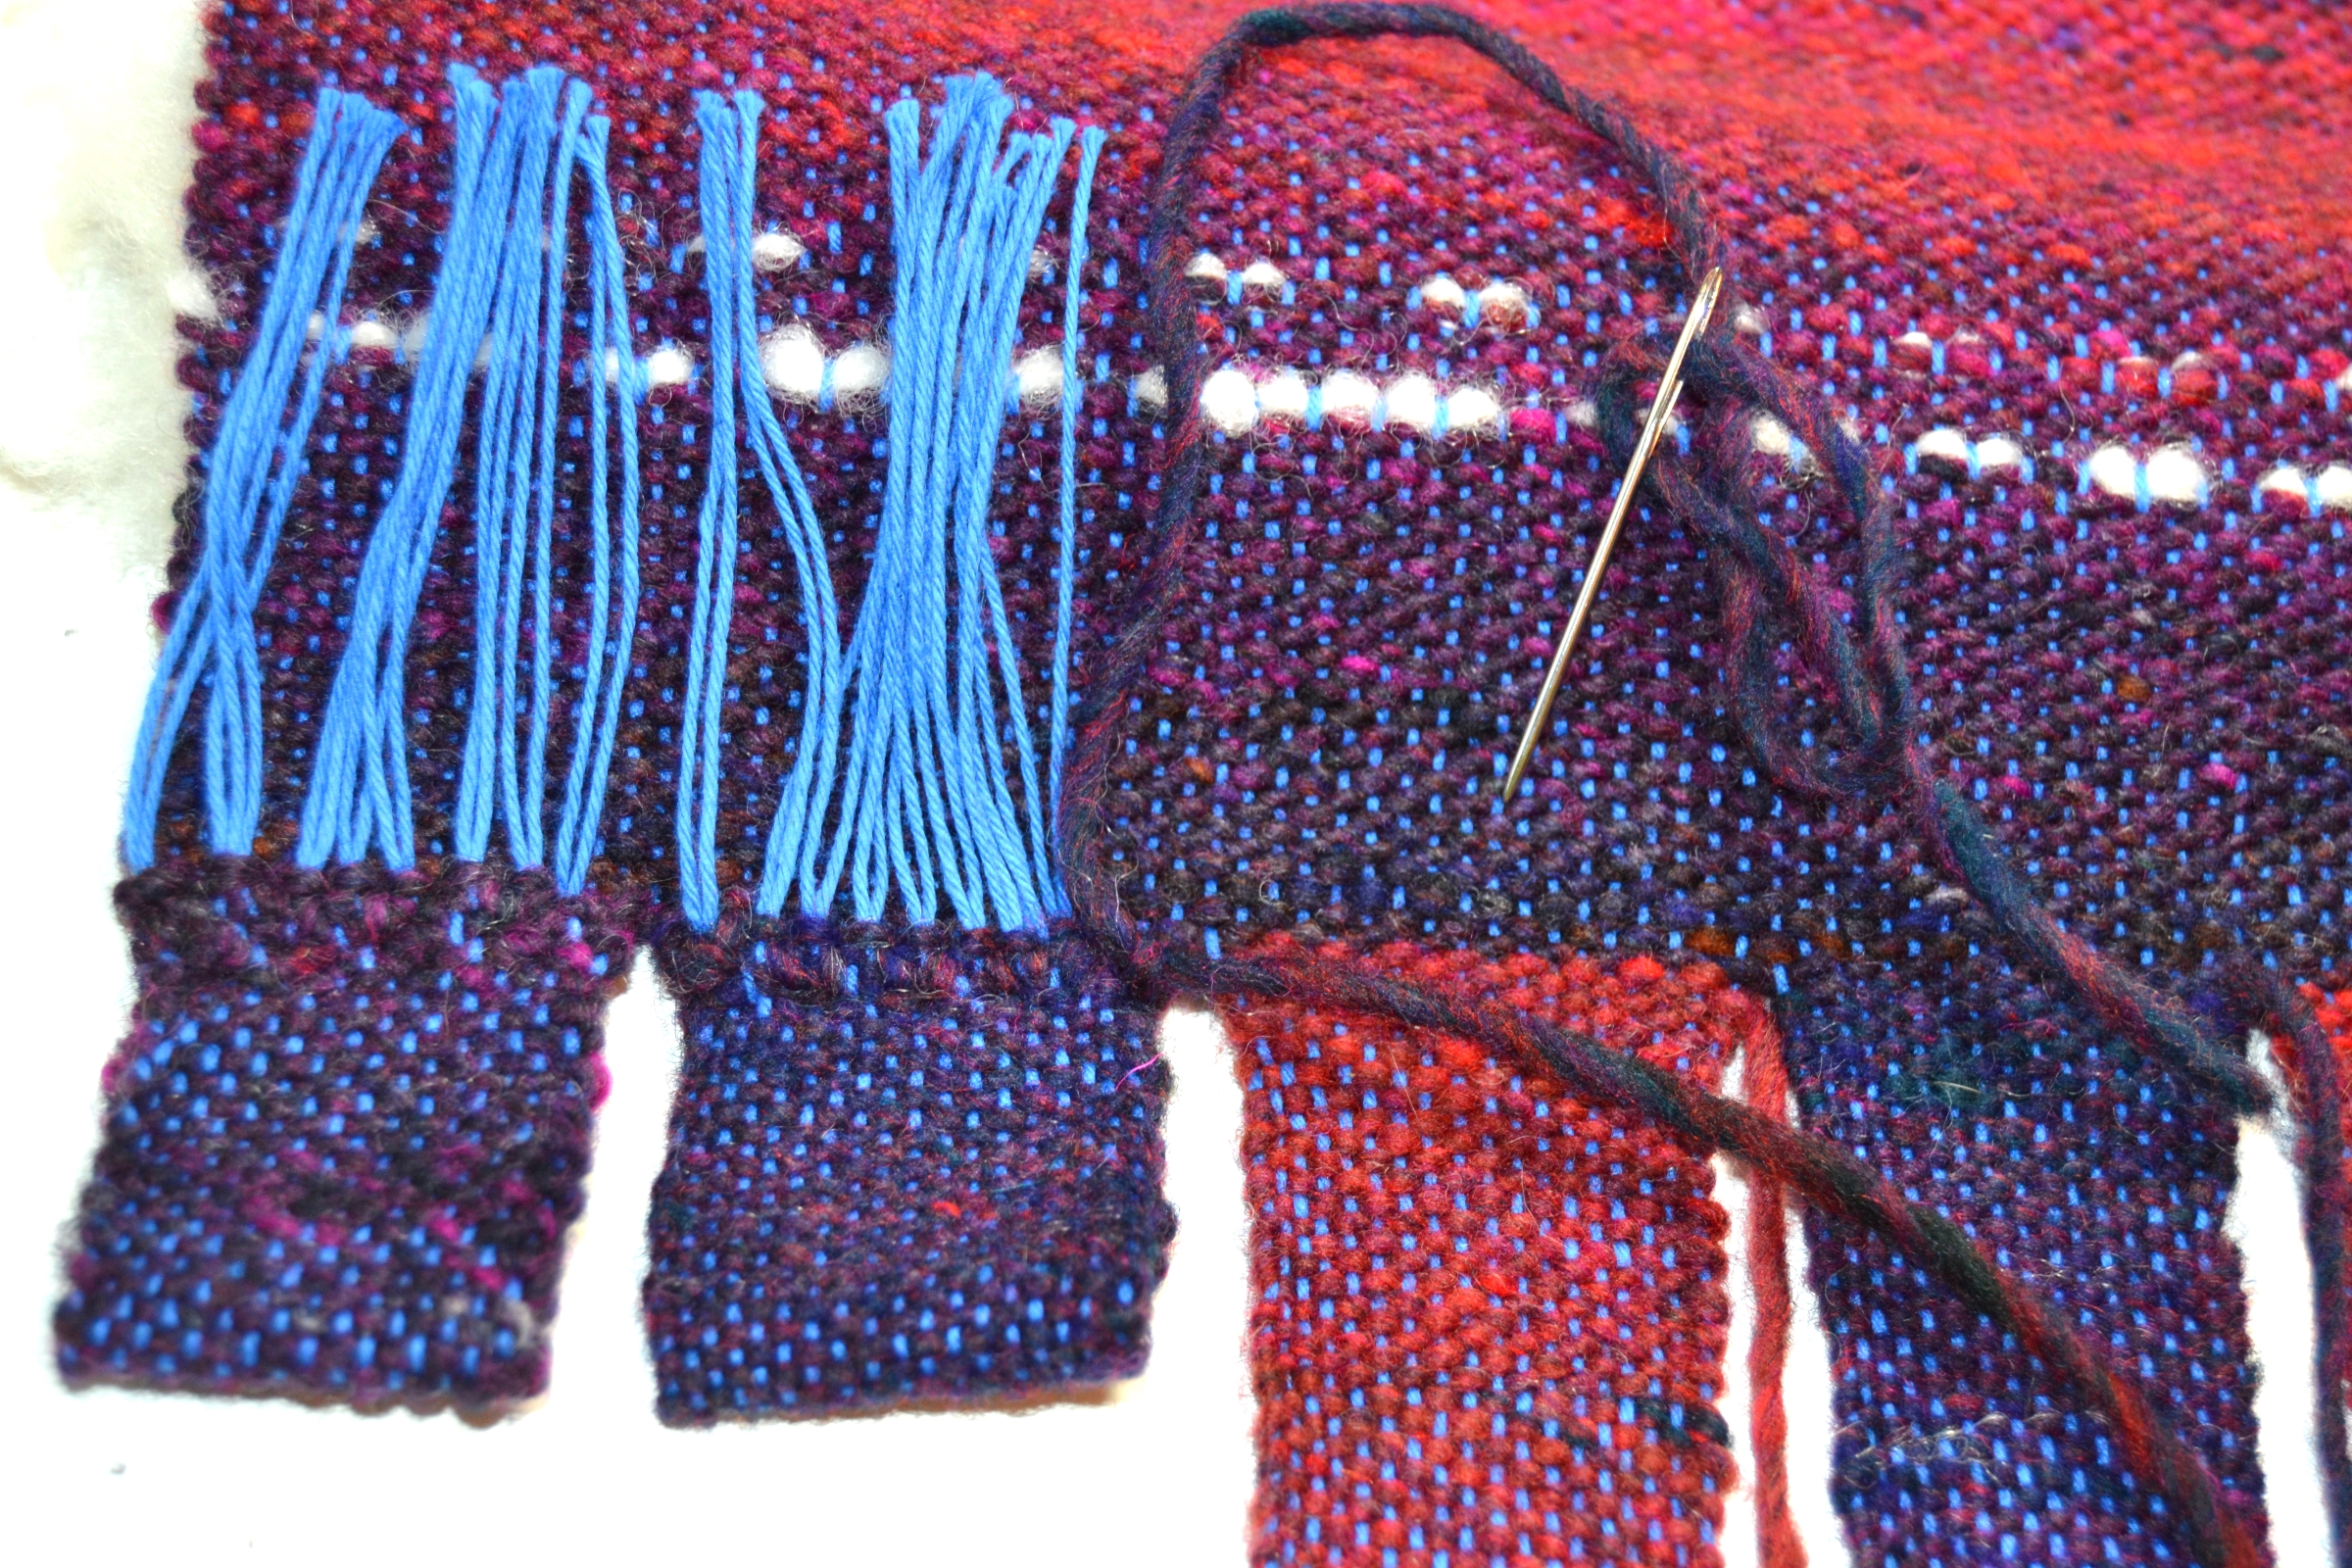
Finger tabs can be used for securing a smaller weaving to a garden flag stand.
Adding Nesting Materials
Using a crochet hook or your fingers add feathers and locks to loops created with Technique B.
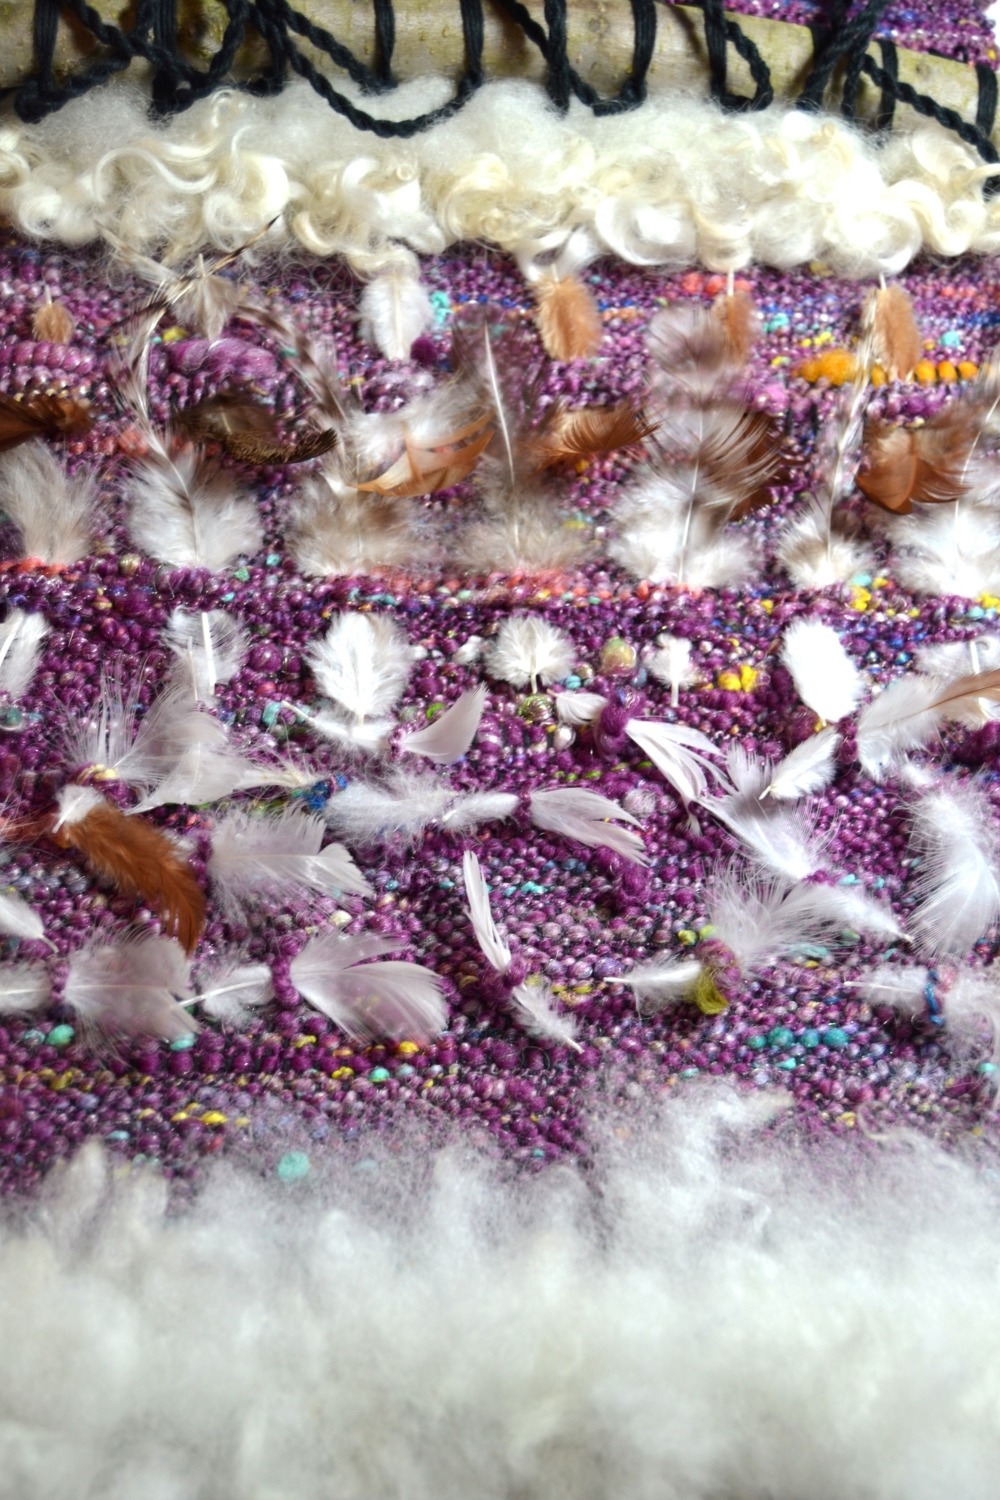
- Place large feathers in floats created with Technique D.
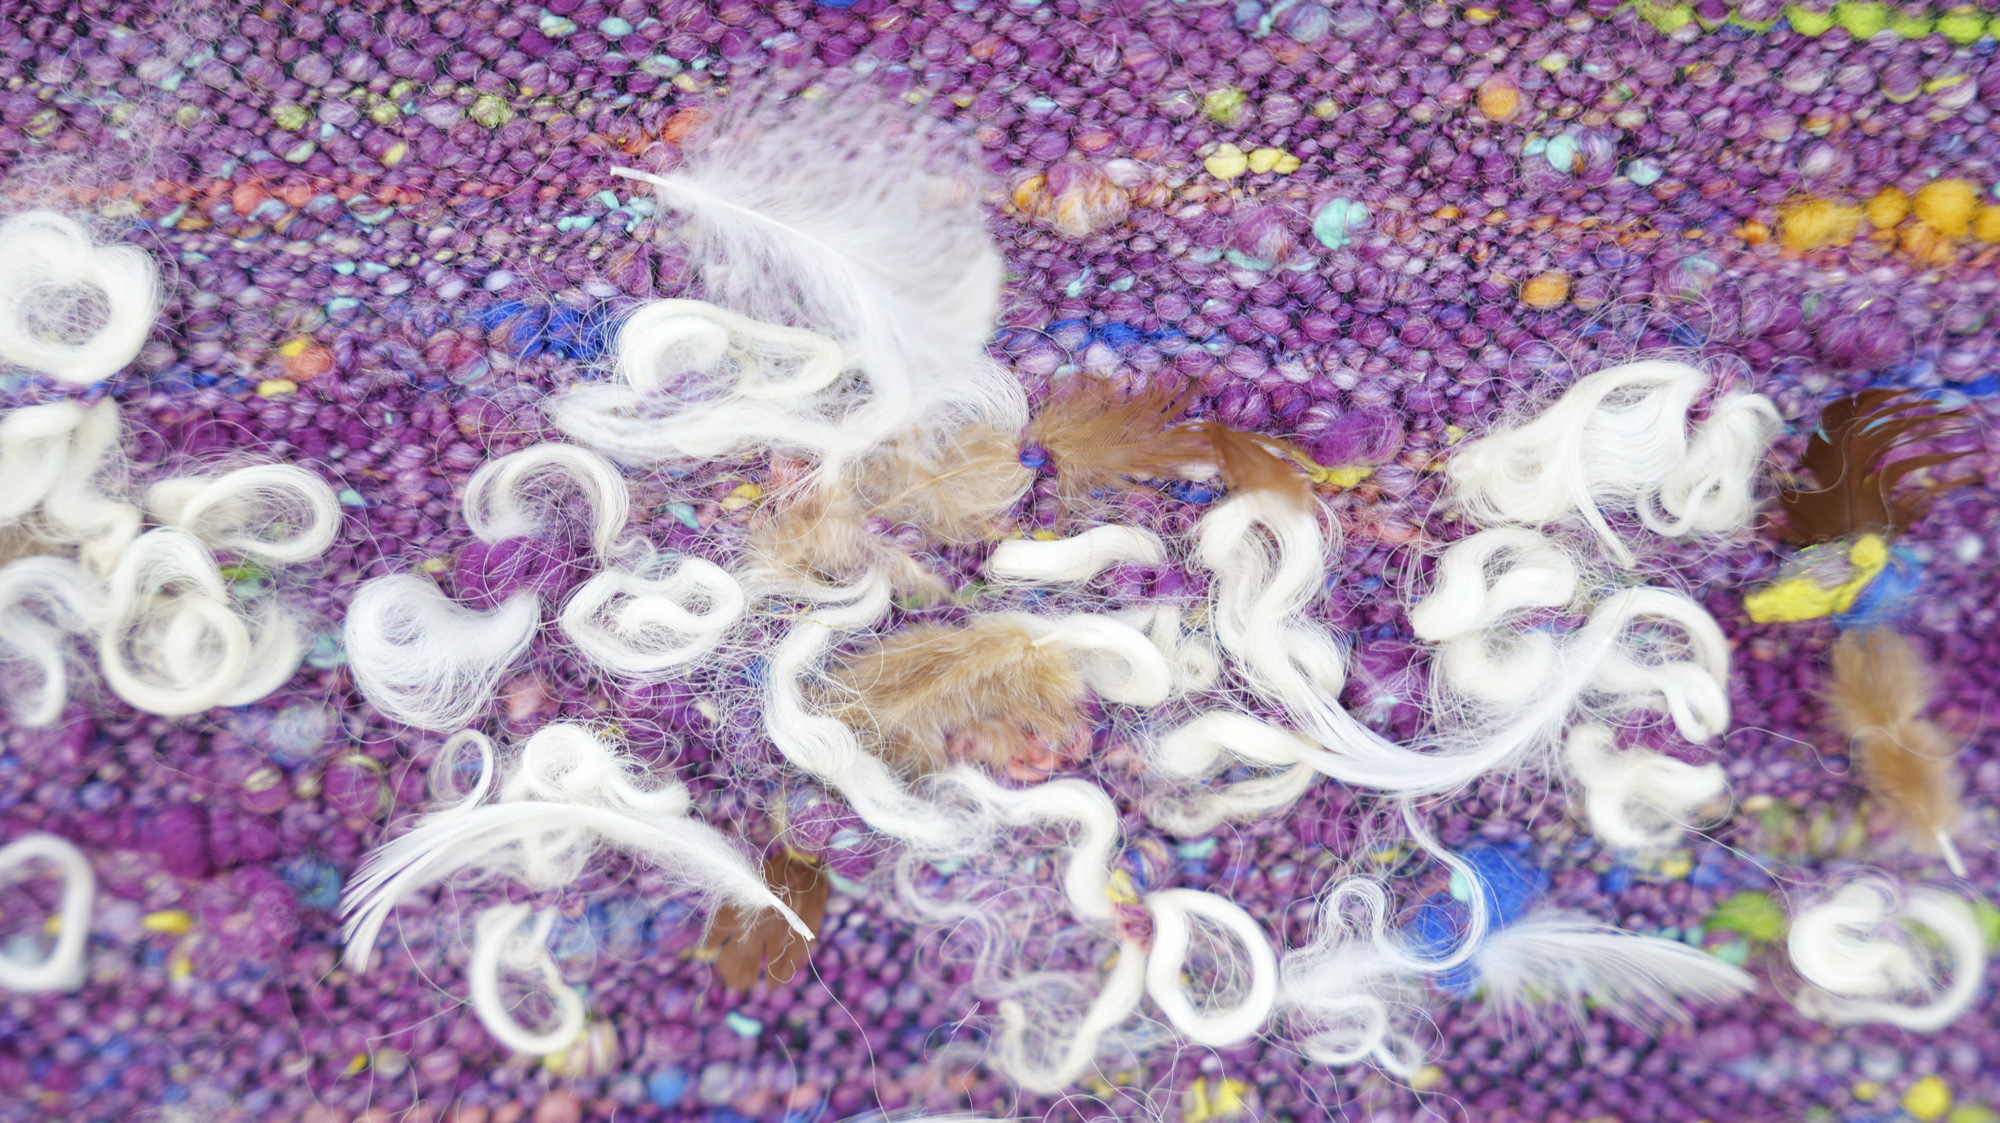
- Add feathers and locks to twisted fringe.
Hanging the Weaving
Create or find a 25" length of rope.
- Tie on to the right and left sides of the top branch.
- Hang your gift to the birds in a location sheltered from rains, but where birds will find it.
- Replenish feathers and locks as needed. To customize your weaving, add grasses or small twigs that are native to your area in the loops or the float sections.

