Double Weave—Pockets and Tubes
By Carrie Miller
In my previous post on double weave, I covered tips for setting up, weaving two separate layers, and switching layers. Today we’ll use these skills to create pockets and tubes.
Typically, handweaving creates a flat object (a textile) that can be sewn into three-dimensional forms off the loom. But double weave offers a whole new world of possibilities for developing three-dimensional works on the loom.
Project Specs
Sett: 20 EPI (10 epi x 2 for 2 layers of cloth)
Weaving width: 5 inches
Ends: 100 ends
Warp length: 2.5 yds

What You'll Need
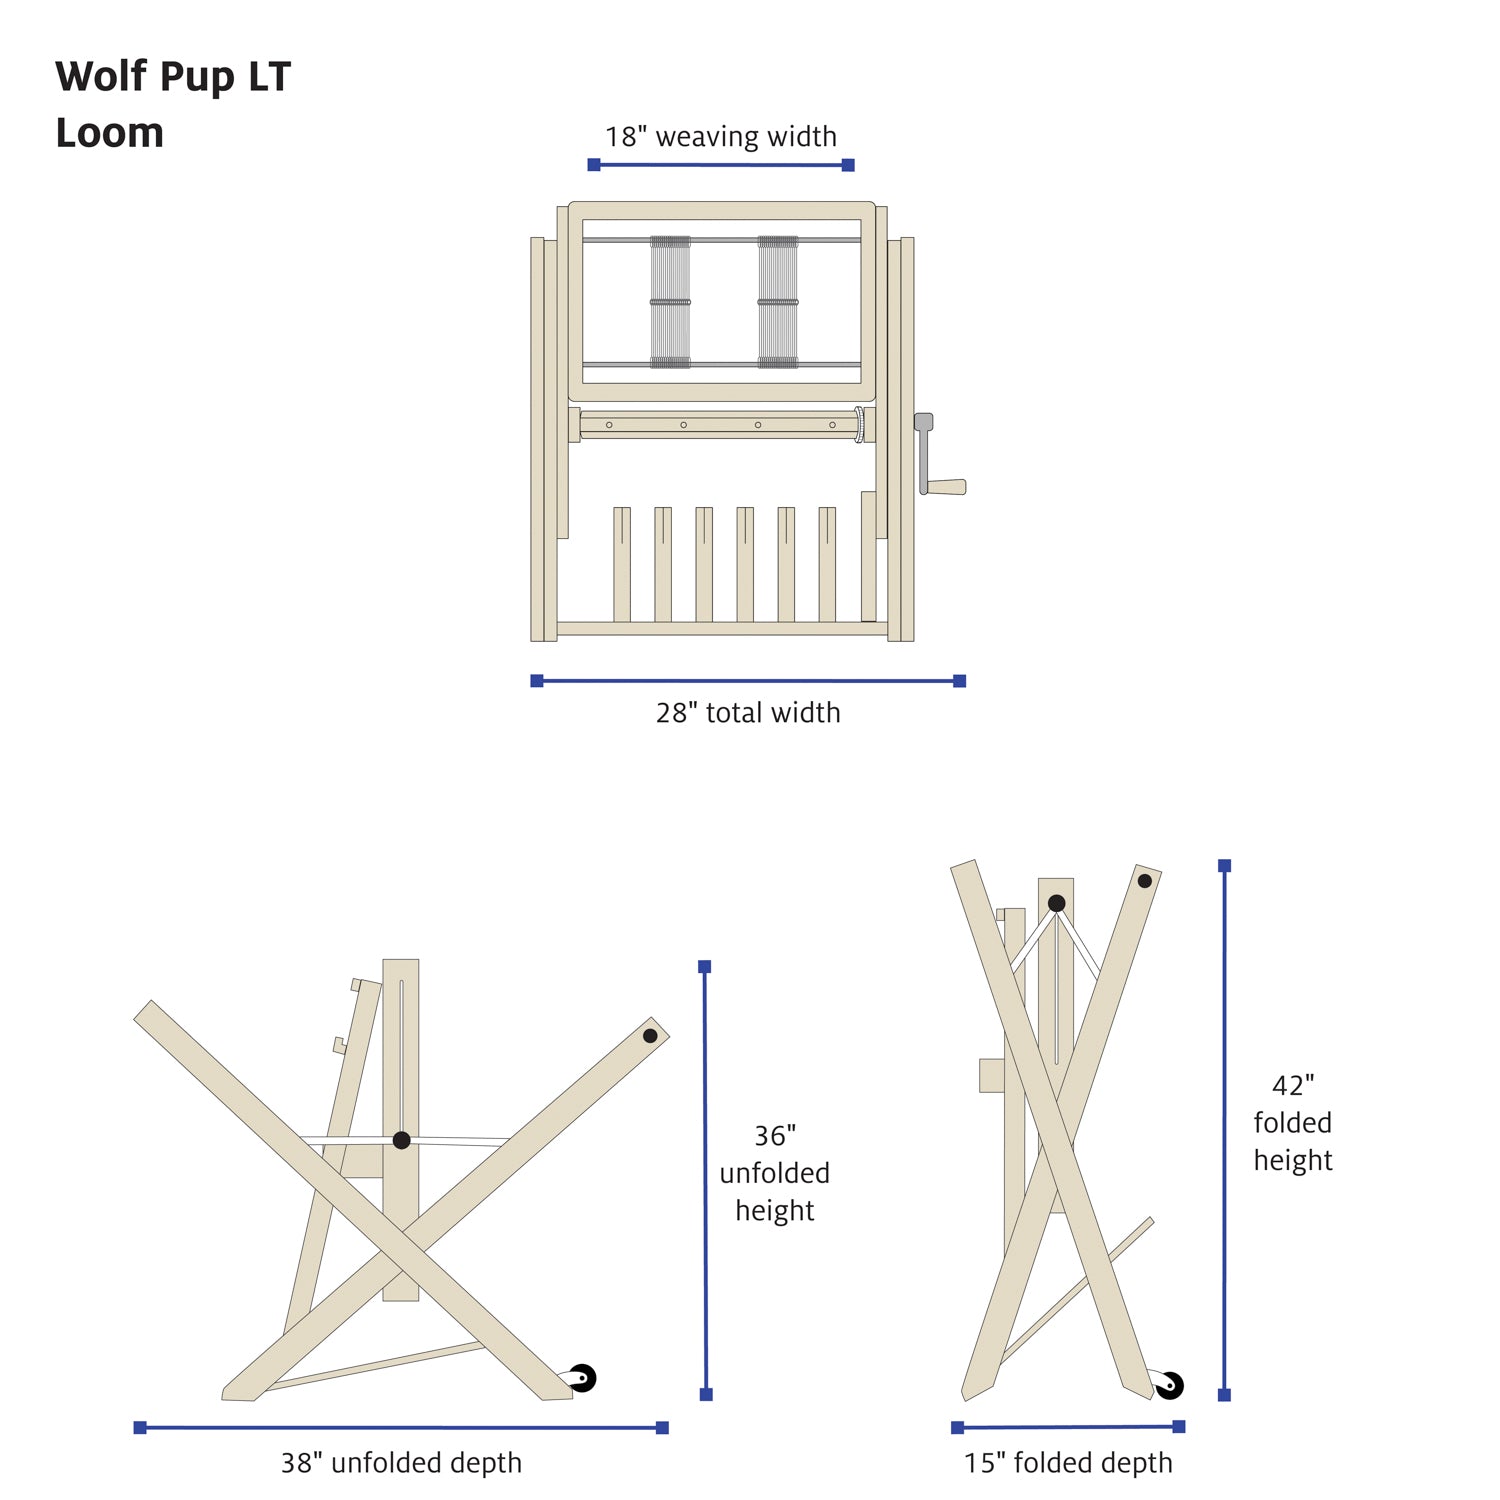
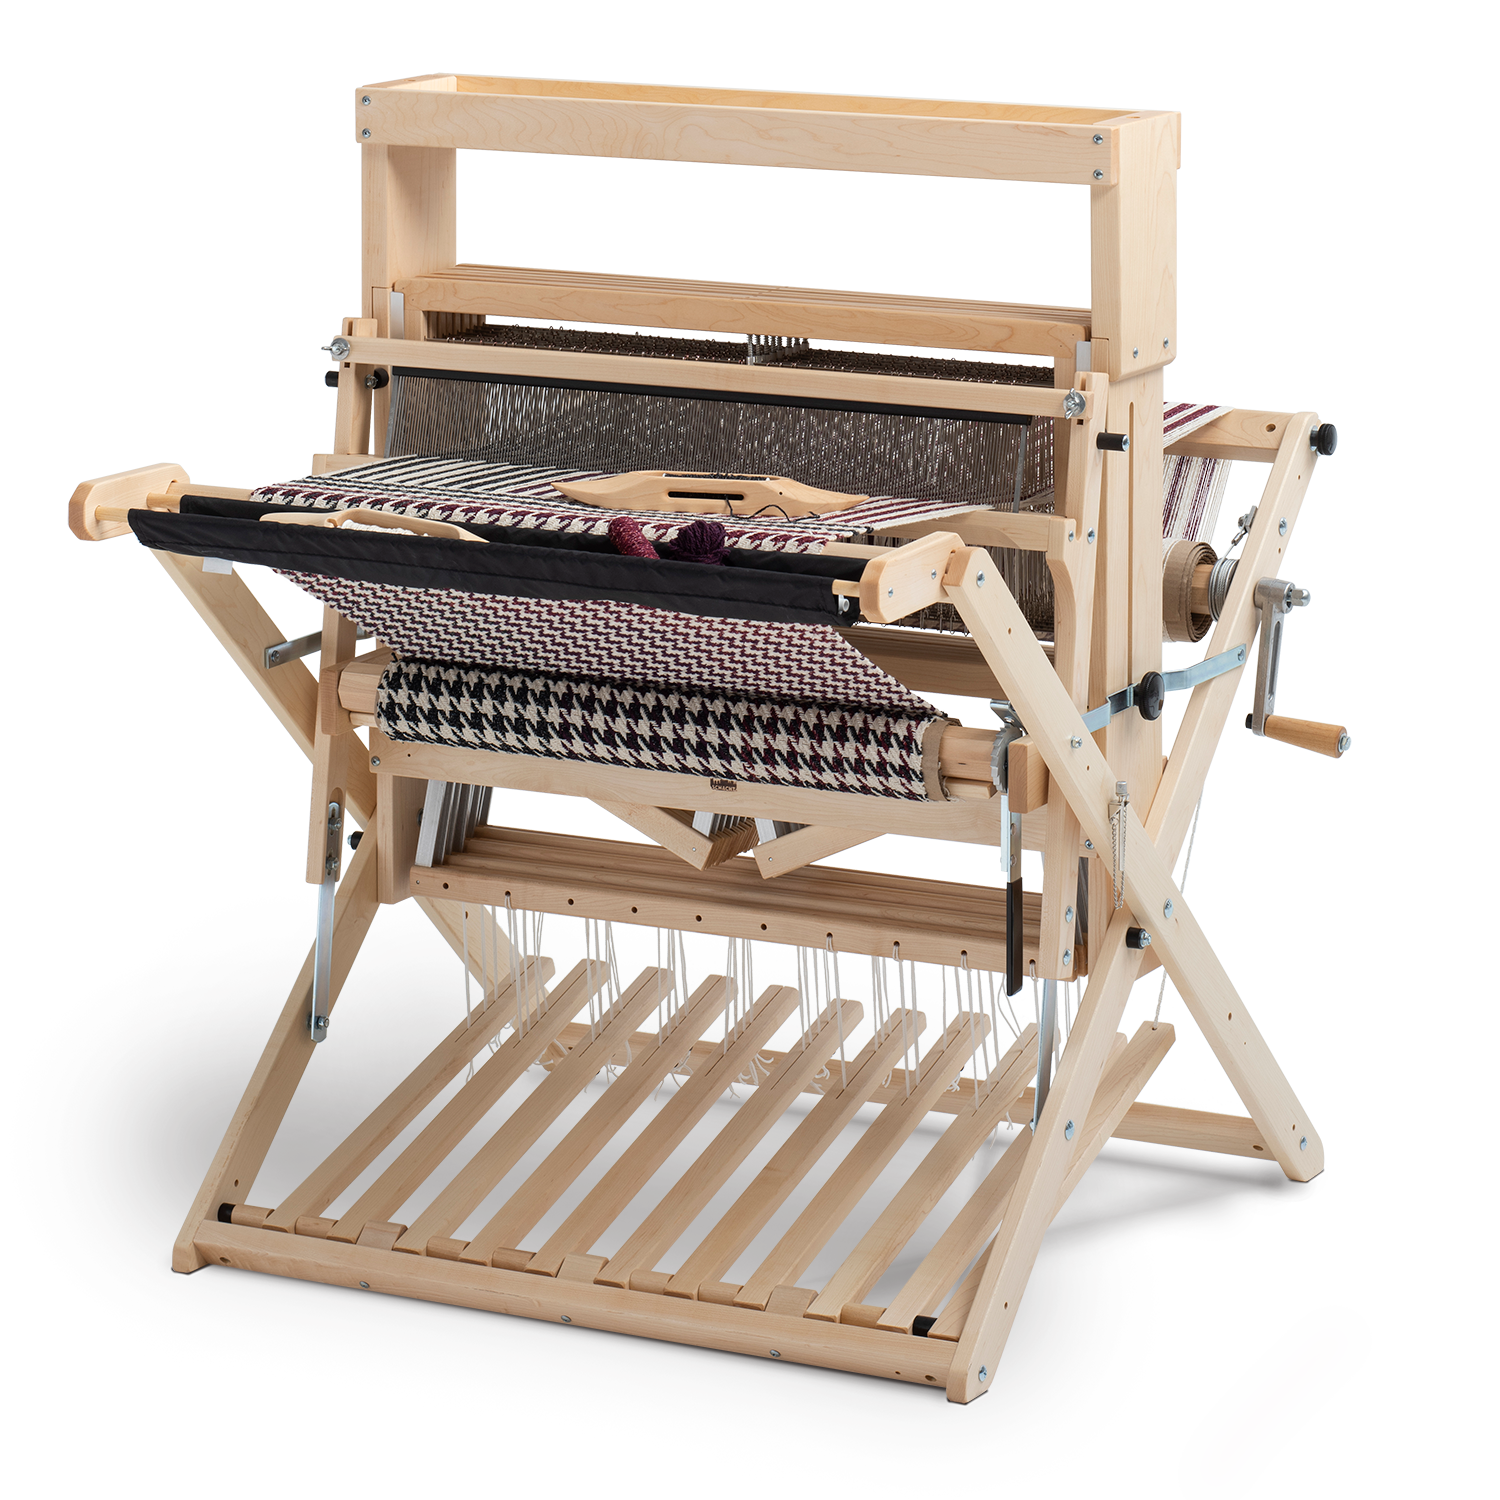
- 4 shaft loom
-
two shuttles
Materials and Equipment
Directions
Pockets
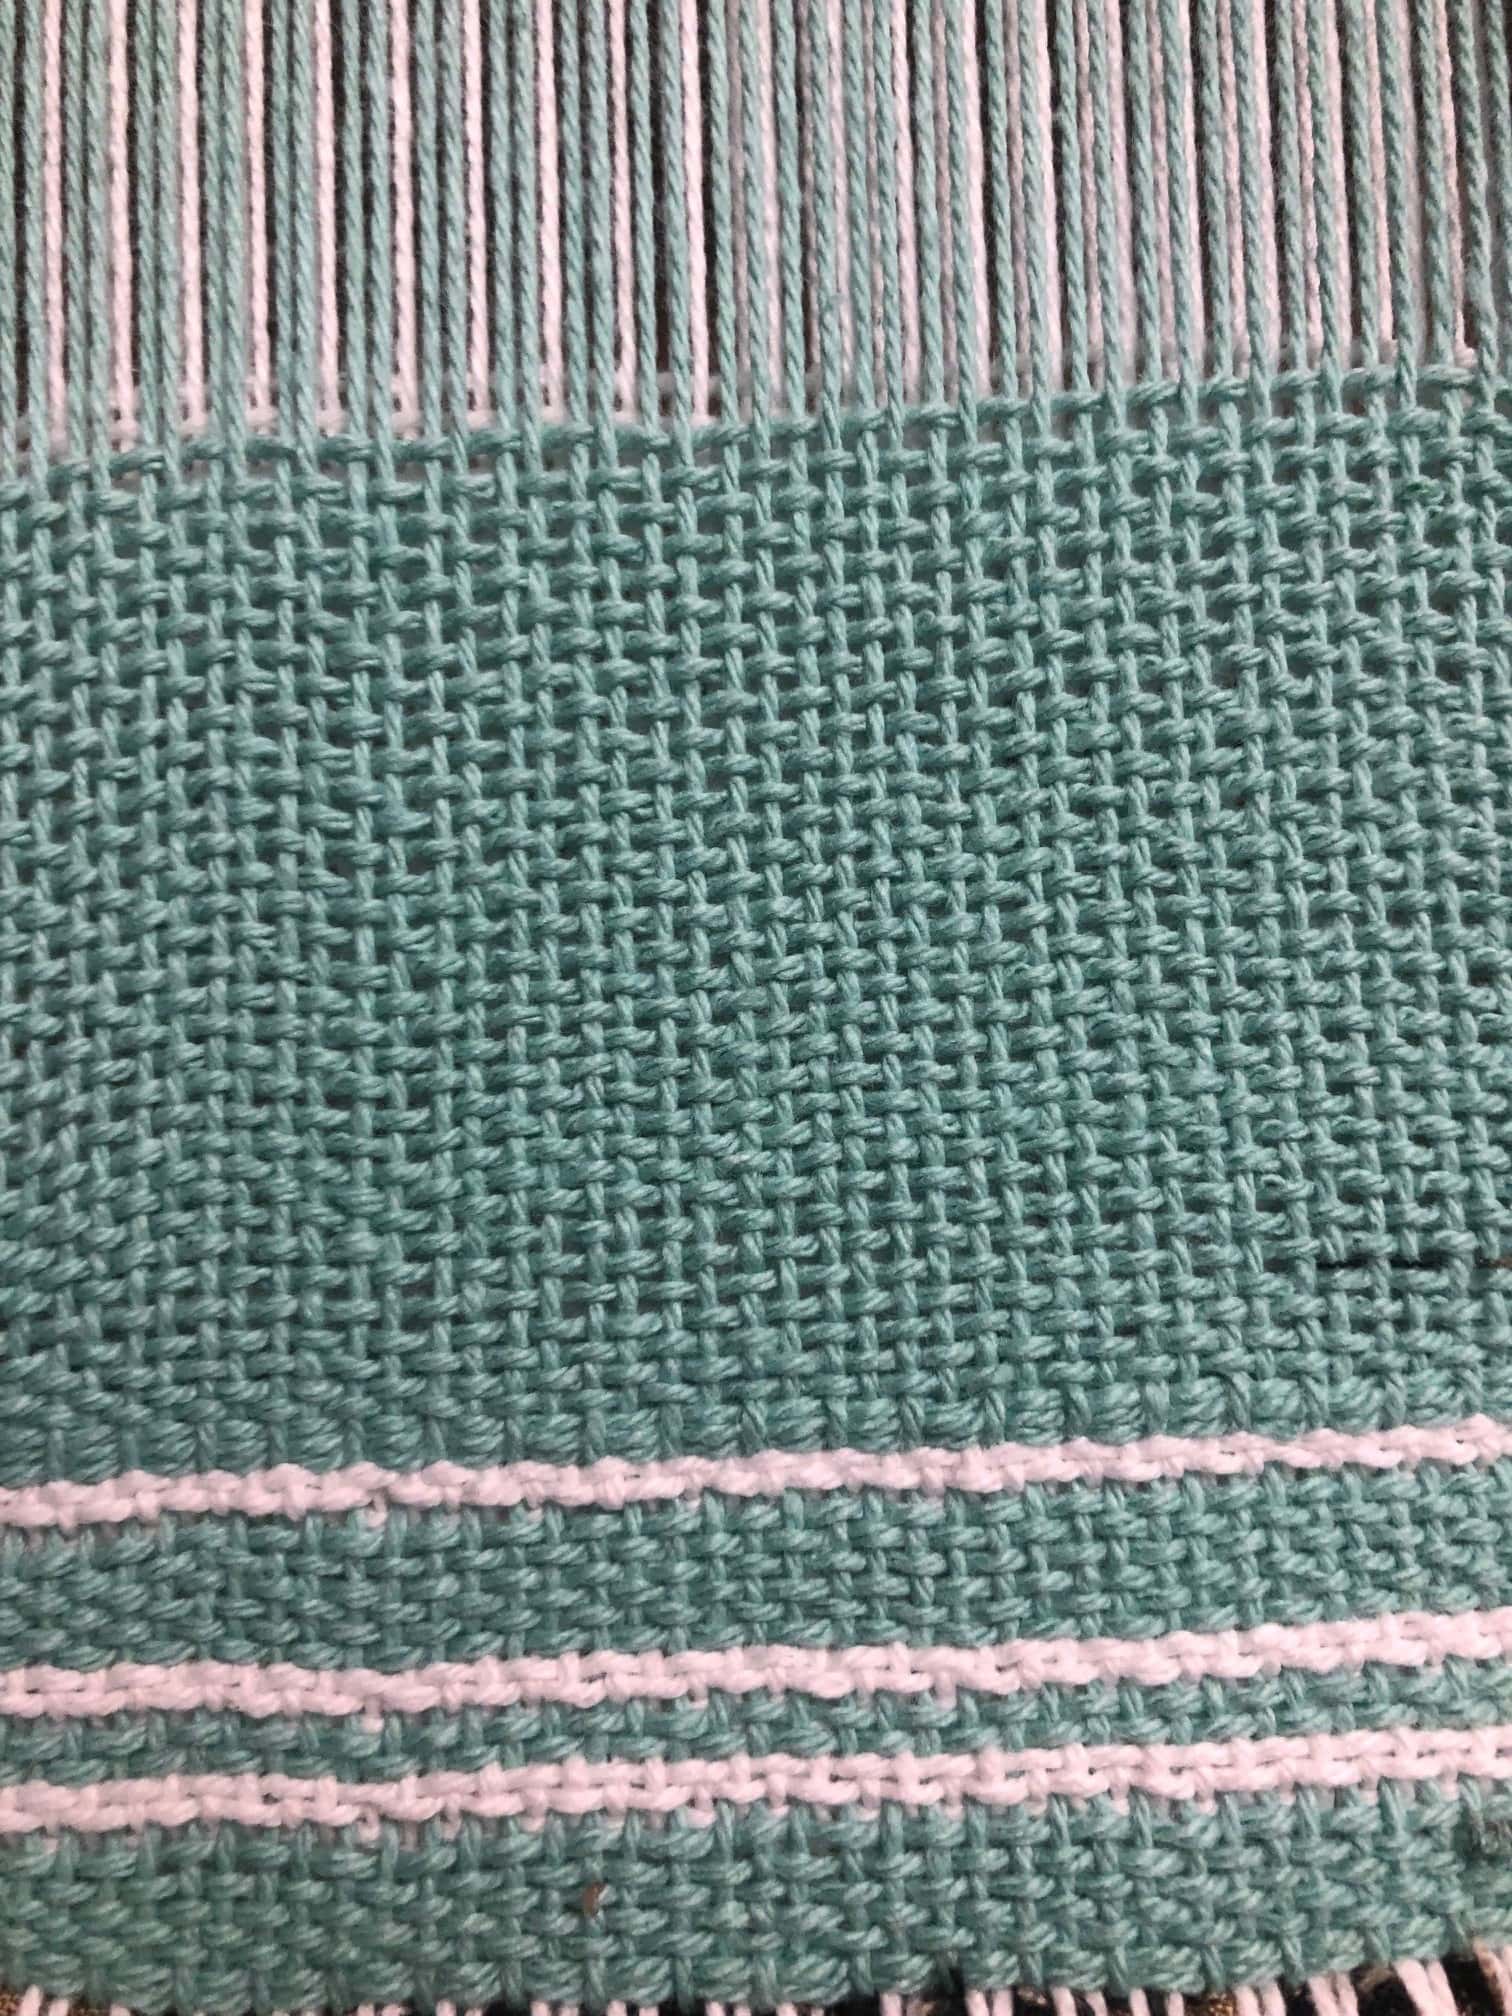
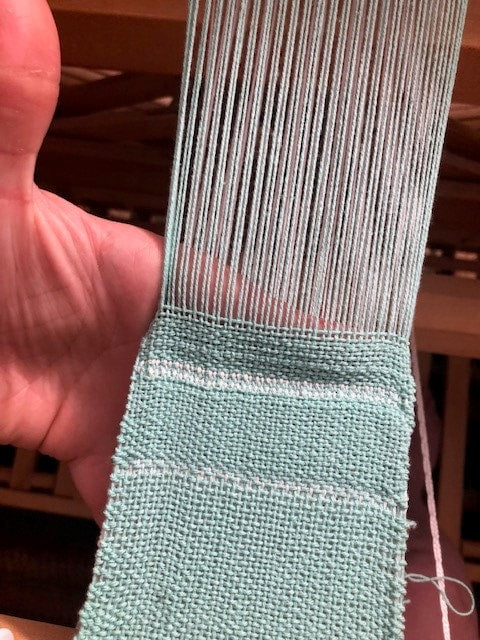
Working on the same warp as before, I can make a pocket by weaving the top layer and the bottom layer consecutively, with one shuttle. I will work in this order:
First begin by closing the bottom of the pocket by switching the top and bottom layers. (In my first post the top layer (aqua) alternated shaft 1 and shaft 3 and the bottom layer (white) alternated shafts 123 and 134. To close the bottom of the pocket, switch layers. The top layer will alternate 2 and 4 and the bottom layer will alternate 124 and 234.)
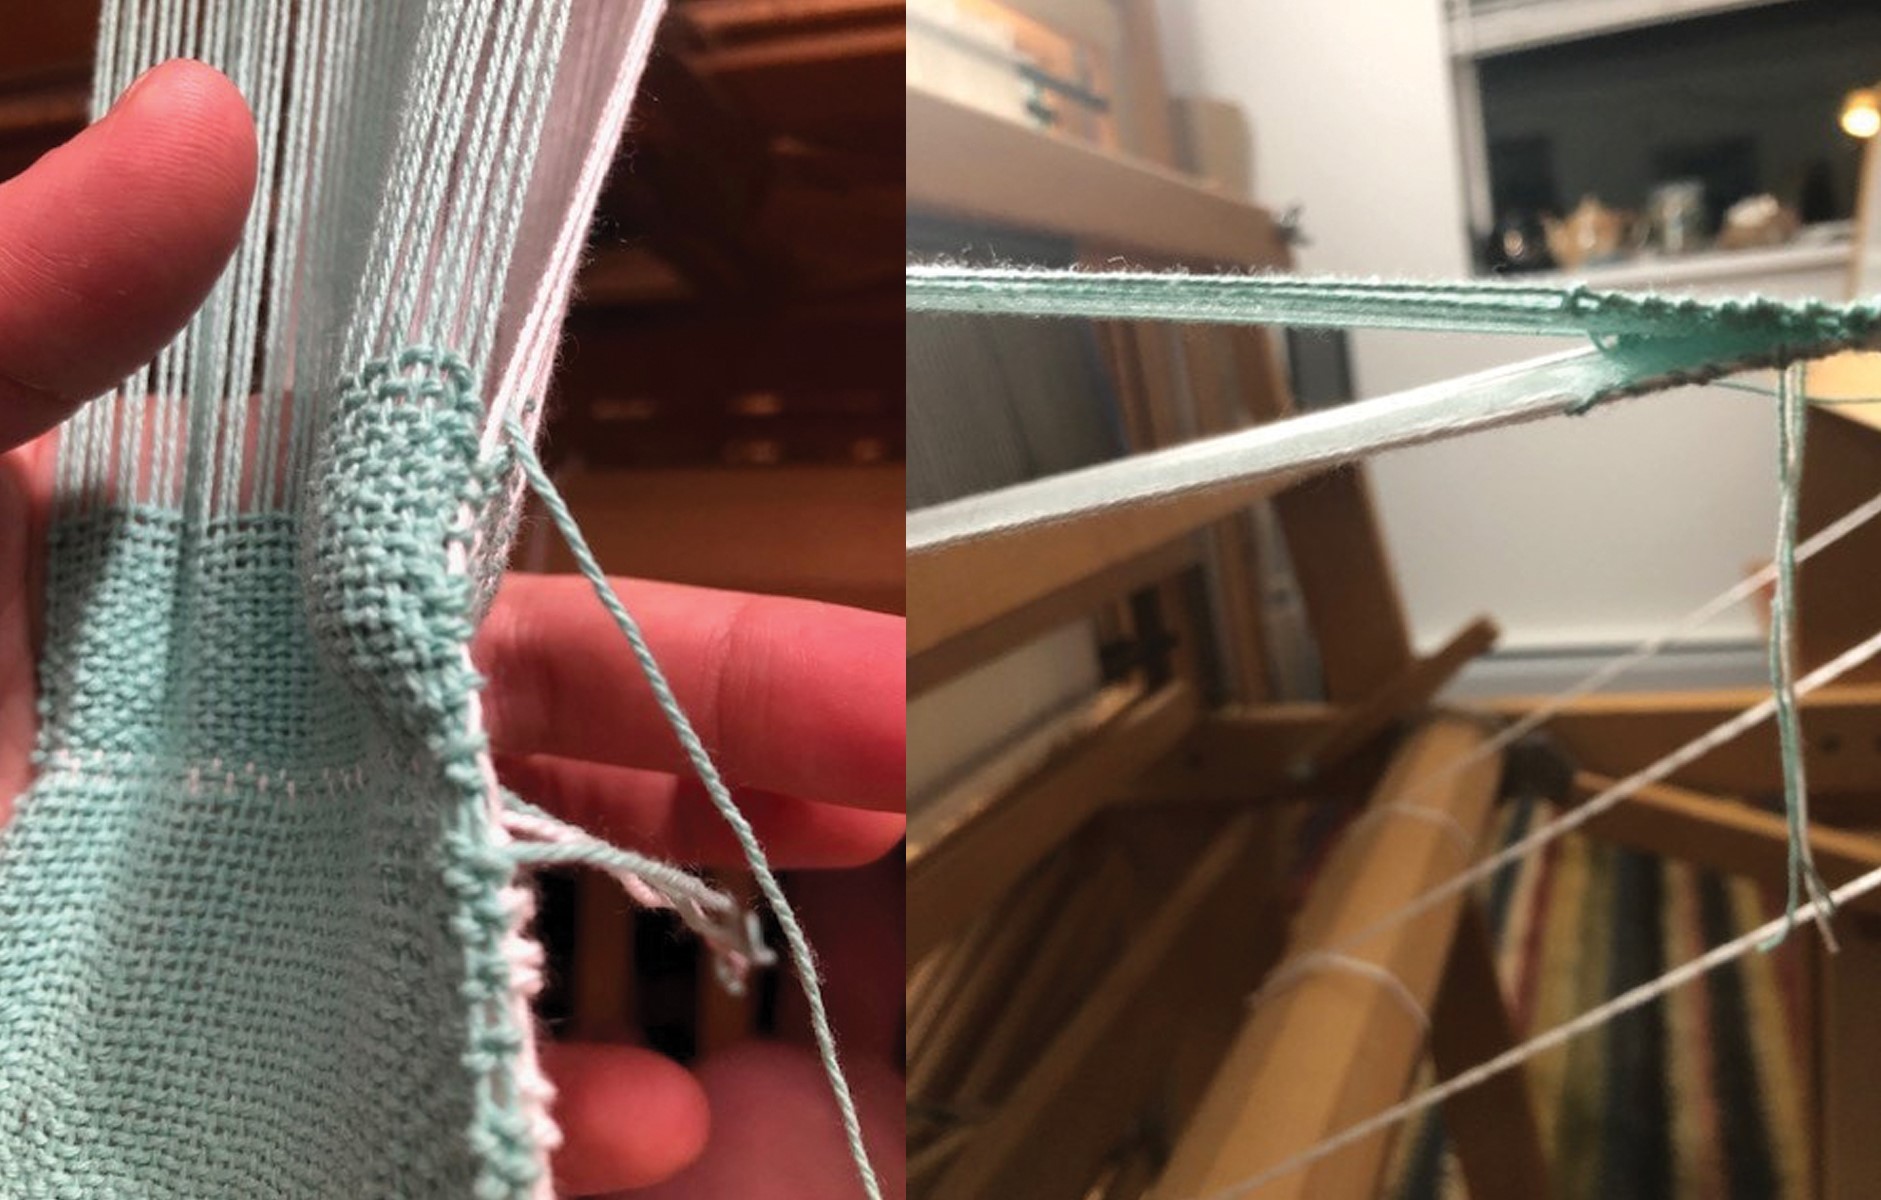
Once the pocket has reached the desired length, switch layers again to create a top seam for the pocket. When the fabric is taken off the loom, it can be washed and used as it is, or added to another project. It can also be turned sideways so the pocket opens at the top instead of one side.
Tubes
To make a tube, you will use one shuttle for both layers, alternating picks on the top and bottom layers. You’ll quickly see that you’ll be weaving round and round to create a tube. Both selvedges will be joined. Work in this way:
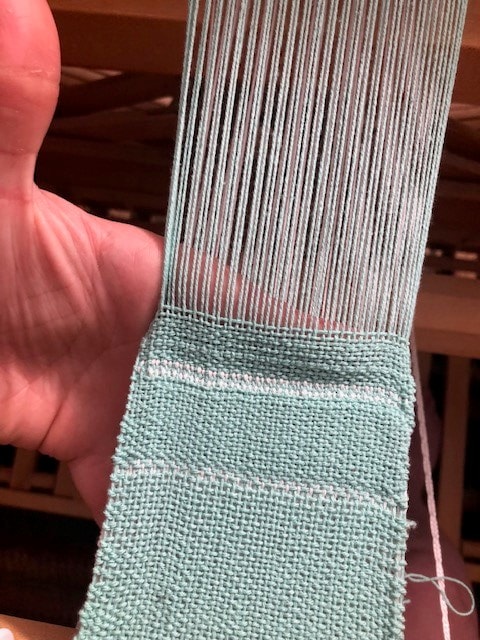
Top layer (shaft 1)
- Bottom layer (shafts 123)
- Top layer (shaft 3)
- Bottom layer (shafts 134)
When this fabric comes off the loom, it can be washed and sculpted or filled with a material that will give it volume. You can also create closed tube sections that get filled with stuffing material while still on the loom. To do this, follow the instructions above for creating a tube and repeat until the tube is the desired length and exchange layers to close the tube.
Notes
Please look for an upcoming blog on double weave pick-up later this month!
And don’t forget to check out Gist Yarn for podcasts, yarn and equipment!

