Natural Dyeing, Part 1: Hand-painting a Warp Chain
By Caroline Worrell
Warp painting isn't just for acid dyes or fabric pigments—you can paint a warp with natural dye extracts too. Hand-painting lets you design the overall look of your warp, giving you full creative control over its design. The painted pattern can be organic and free-flowing or a structured repeat. In this tutorial, I’ll make stripes for a hand-painted ikat effect. This is a great project for beginner natural dyers or those interested in learning to make some basic natural dye extracts.
In Part 2, we wove a table runner with all this beautiful yarn.
NOTE: While natural dyes are non-toxic and safe, it's best to reserve separate equipment for dyeing. Alum is also food-safe, but other types of mordants (such as iron) are not. Do not re-use dye equipment for food preparation or serving.
What You'll Need
-
unmercerized cotton for warp—I used an 8-ounce cone of Brassard 8/2 (1,680 yards) in Natural, from Gist Yarn.
For natural dyes, you always want an unmercerized cotton. Dye binds with the raw, absorbent fibers much more easily.
- skins of at least 3 yellow onions (yellow)
- 3 to 5 avocado pits (fresh or frozen) (pink/mauve)
- at least 3/4 cup processed ground madder root (rust/red-orange)
- 20 grams logwood shavings (purple)
-
tap water—note that natural dyes are very pH sensitive, and the slightest changes in pH can dramatically change the color of your dye. I’m using tap water in Boulder, Colorado; the water in your area may produce slightly different colors. (This is the magic of mother nature. Don’t be discouraged if your colors aren’t identical—embrace the process!)
-
isopropyl alcohol, 70 to 99% strength, to saturate the dye colors
- 24 grams of alum (aluminium potassium sulfate) for mordanting. It can often be found near pickling spices in the grocery store or ordered in larger quantities online.
-
baking soda or soda ash to adjust pH—just a pinch can have a big effect. Oftentimes it makes your dye more vibrant and saturated, although it can also completely change the color of the dye. I will note when to avoid baking soda! Soda ash can also be ordered online from many suppliers.
-
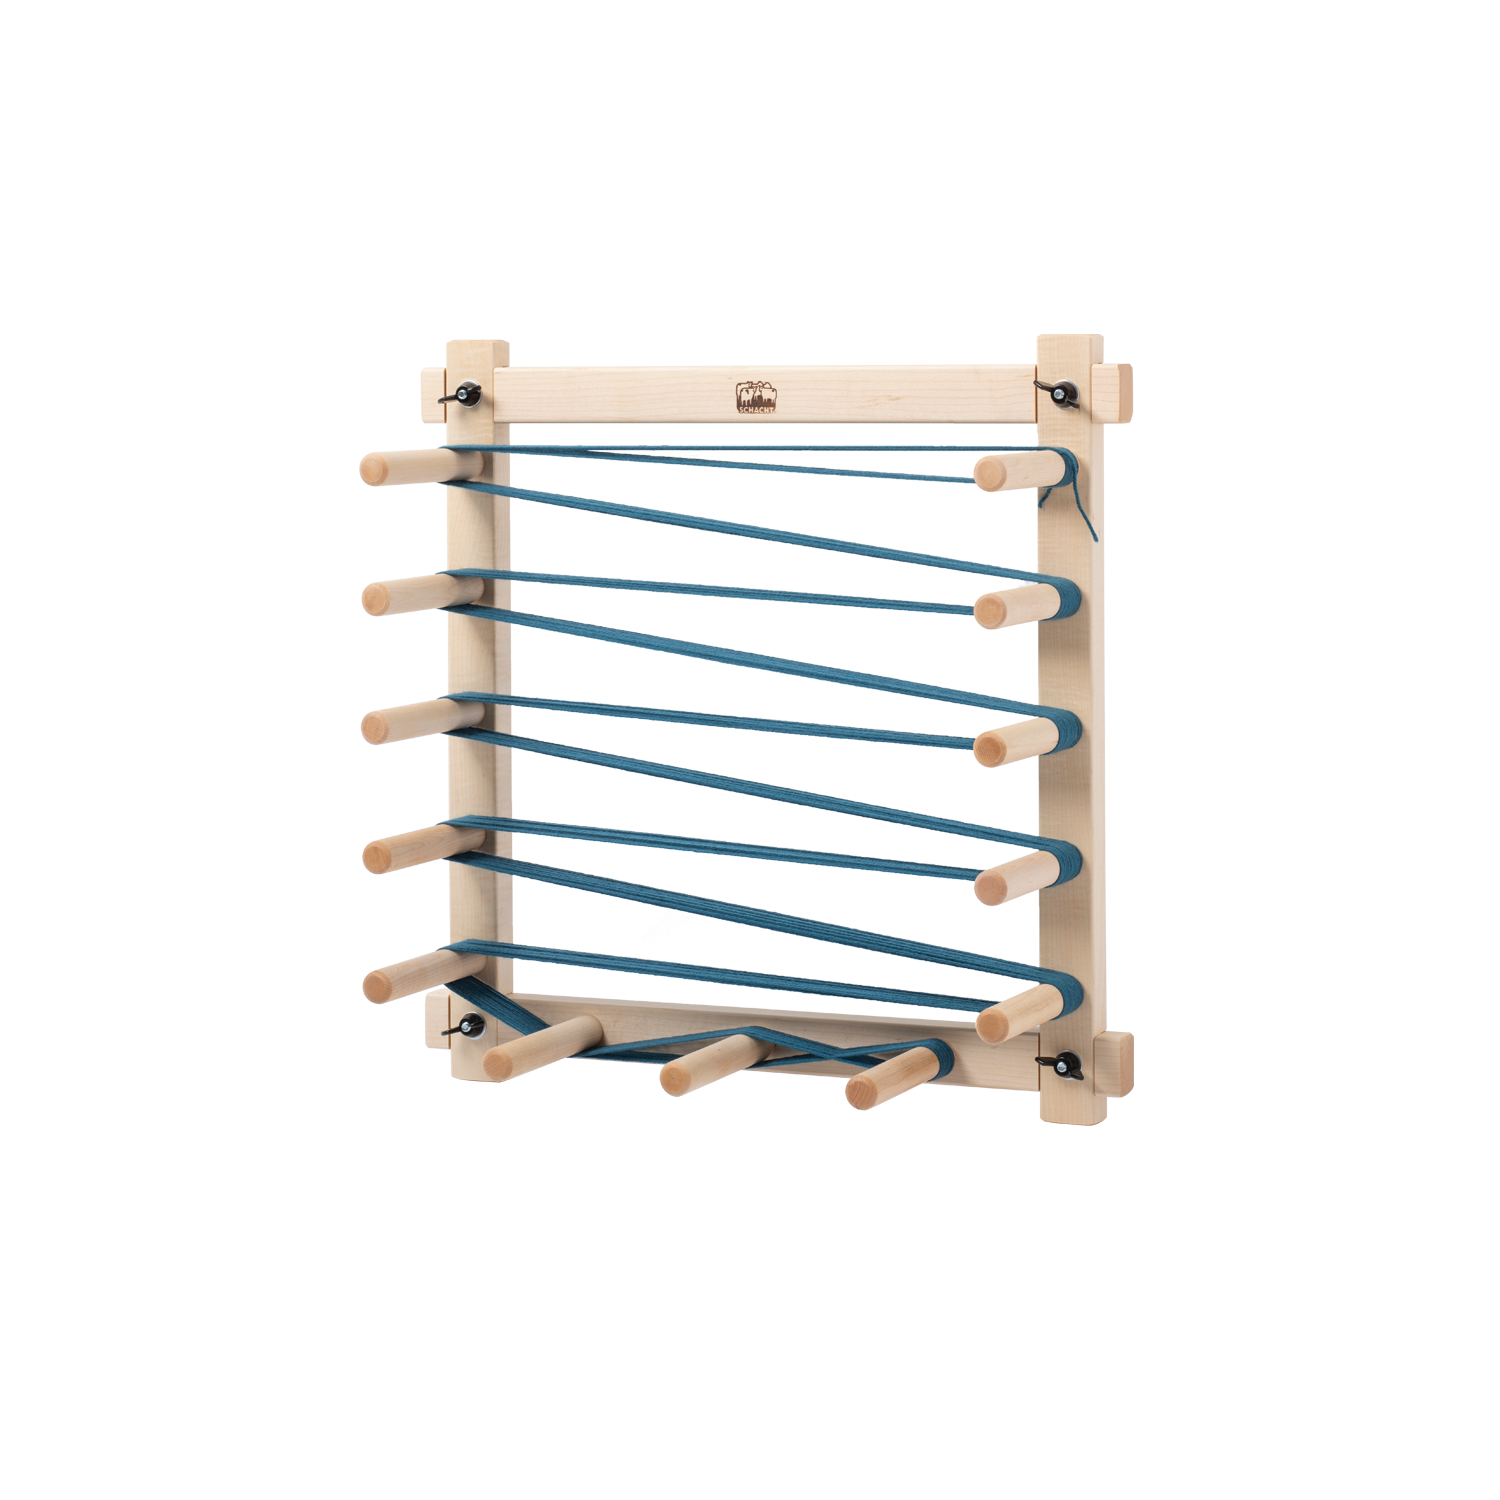
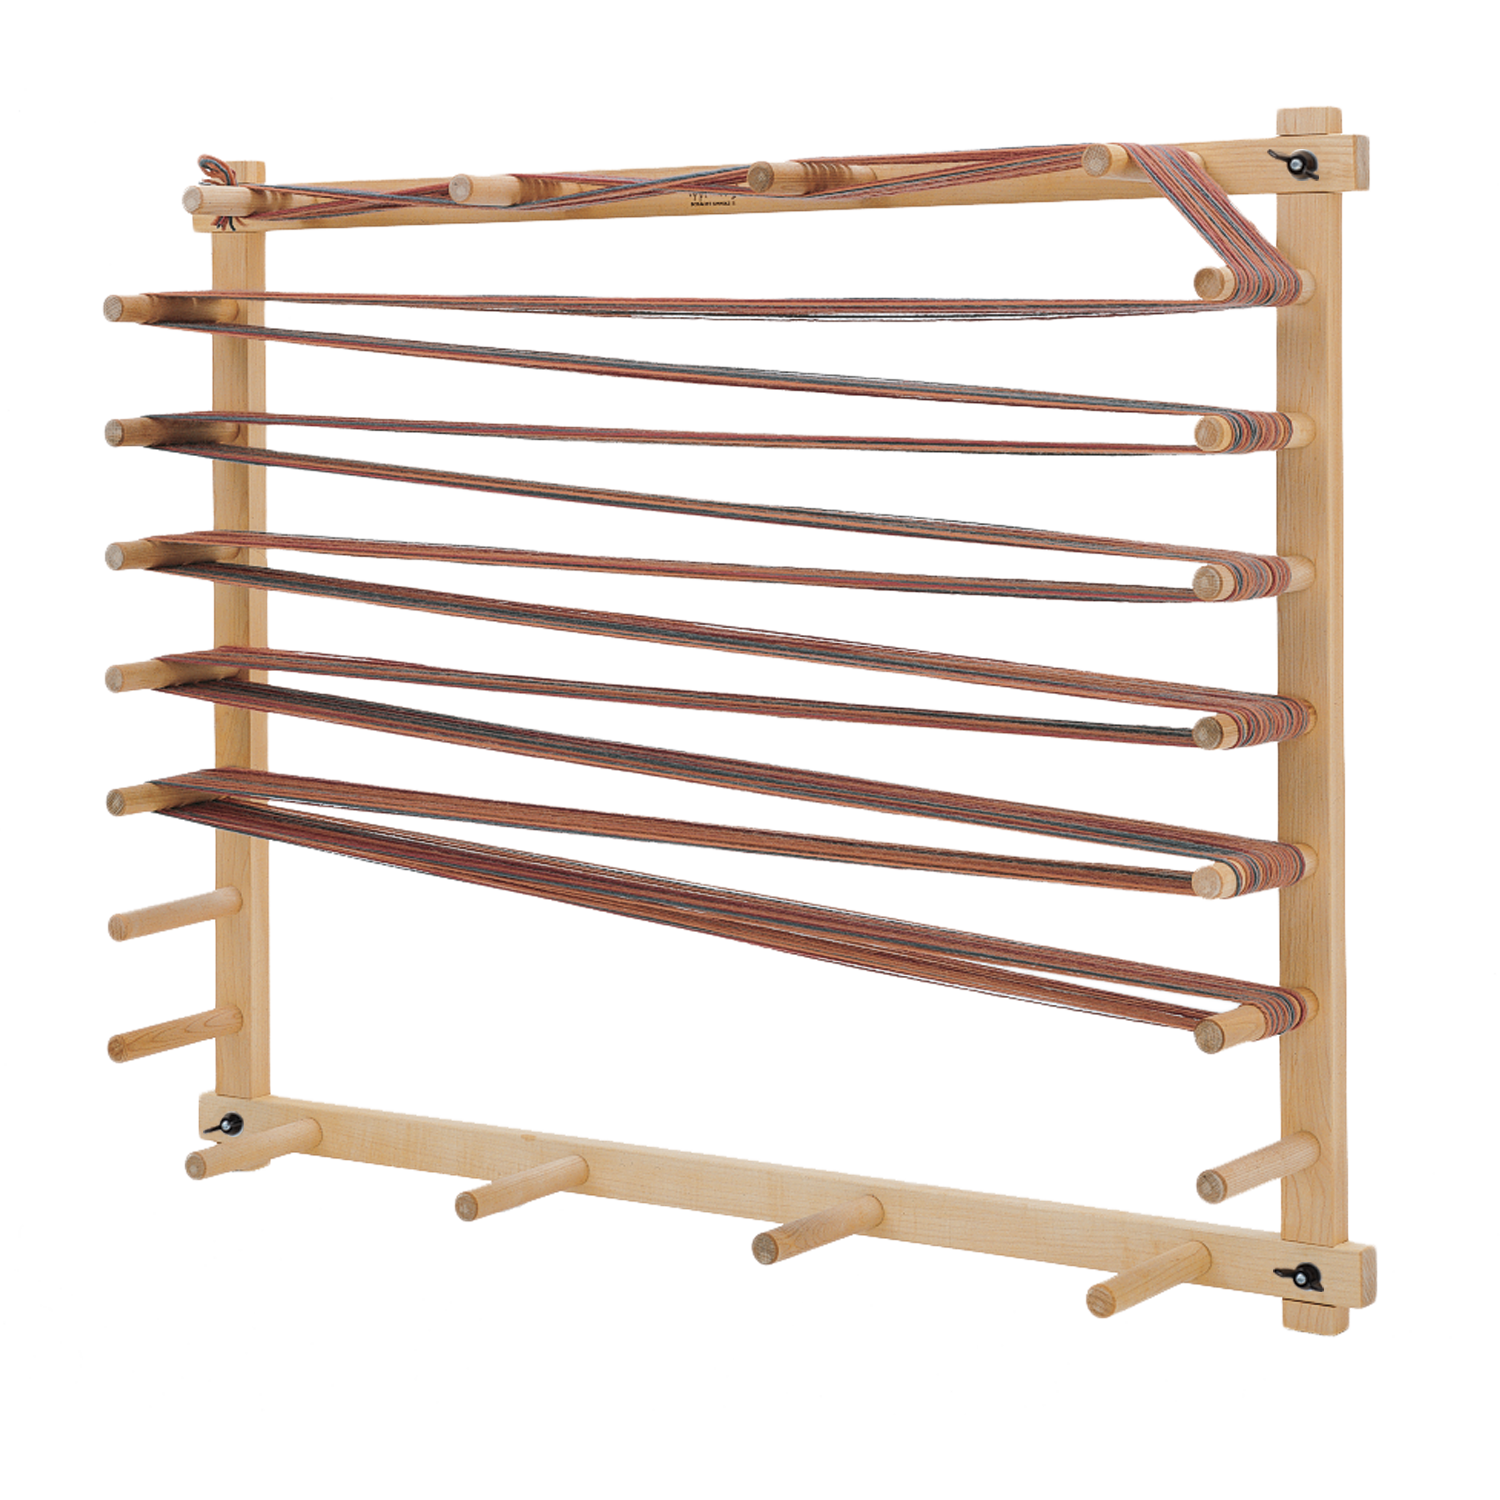
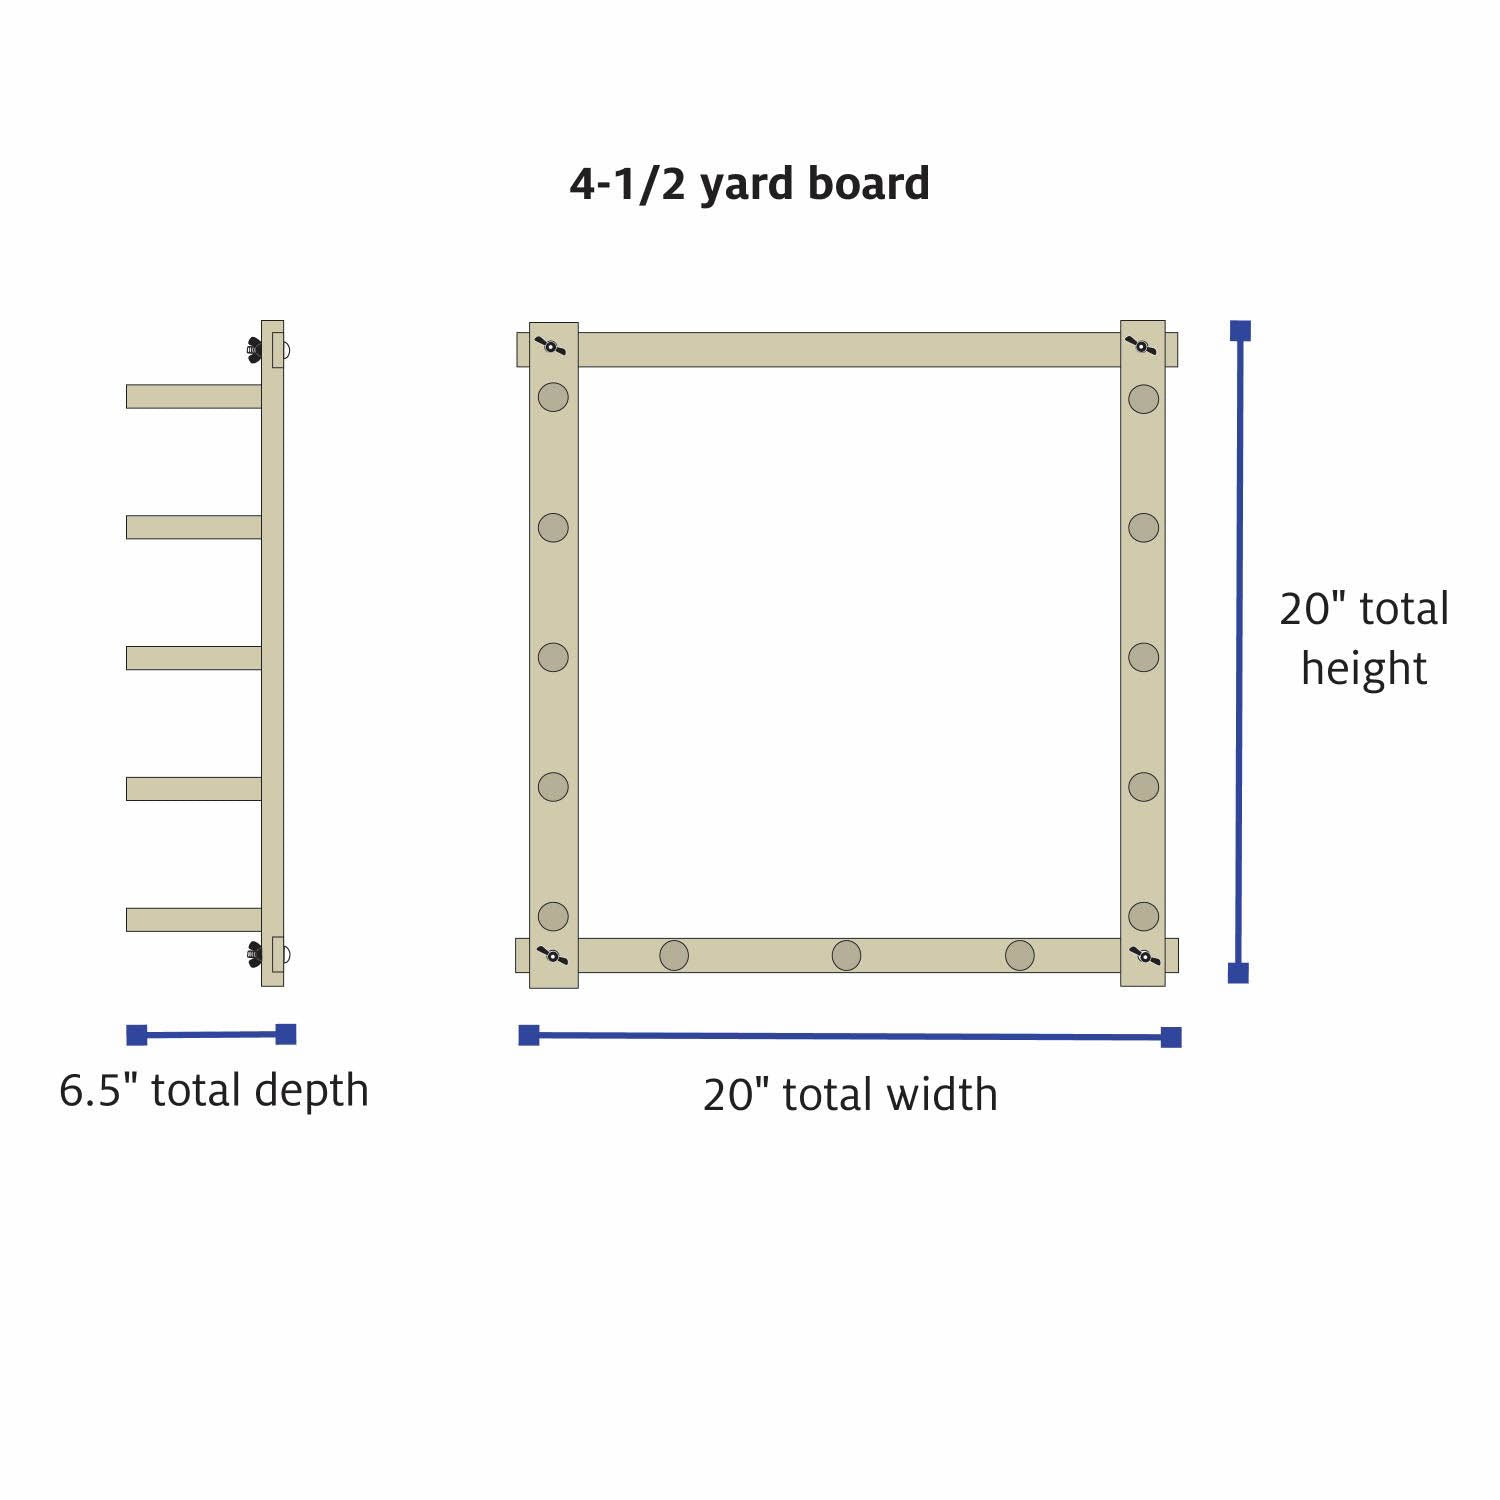
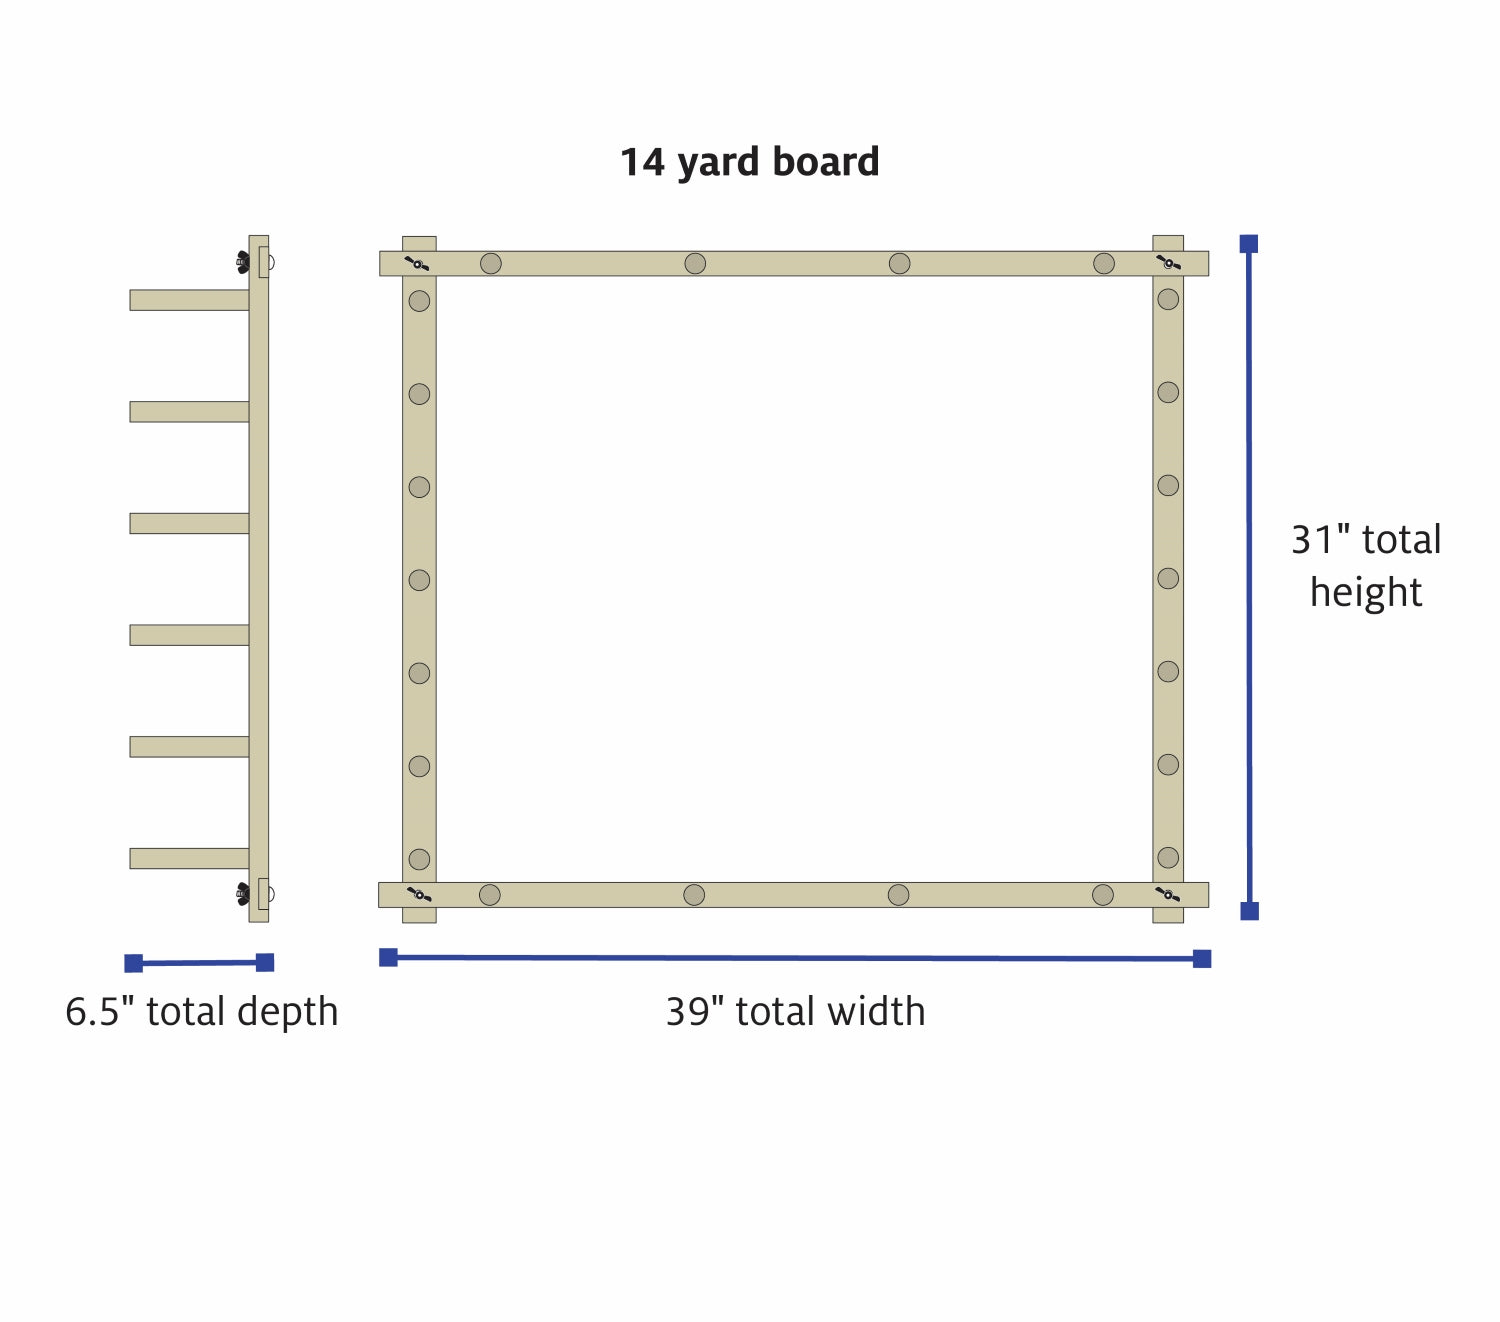
warping board
-
aluminum stock pots to create dyes and soak yarn
-
liquid measuring cup and dry measuring cups for dyestuffs
-
strainer or cheesecloth for straining dye concentrates.
-
jars or bottles with tightly sealing lids for storing dye concentrates—if possible, use dark glass to protect the dye from light.
-
digital food scale—you'll need to weigh your warp chain before mordanting it. You can also weigh out other ingredients. While I'll give measurements in cups, tablespoons, teaspoons, and grams, weight is the most accurate measurement system.
-
wide paint brushes for painting the warp
-
spray bottle to dampen the warp as you paint
-
thick plastic drop cloth or tarpaulin to protect your work area—natural dyes can dye most surfaces, including hardwood flooring. Cover your work surface and the floor around it.
-
steamer (optional but highly recommended) or steamer rack in a pan with a tight-fitting lid—you can use any garment steamer or hand-held model that won't drip when you're steaming a horizontal surface. Small steamers run about $35 at big box stores; the dye colors will stay put better if you steam with a steamer. If you steam the painted warp chain into a steamer pan, colors are more likely to bleed into each other.
Materials
Dyestuffs
Dye Concentrates
Equipment
Directions
Planning Your Project
You'll find natural dyeing relatively simple, especially if you take some time to plan out your project. I recommend breaking up the process over 3 to 4 days.
- One day to make the dye concentrates. I like to let logwood and madder root concentrates sit at least overnight before using, as they can get darker and more vibrant. You can use avocado pit and onion skin dyes the same day they're made; in my experience, their color will not change over time. When dye concentrates are stored in dark jars, they will retain their color for months. If they're stored in clear jars, left in the sun, or without airtight lids, they will likely brown. Note that the fastness of natural color always varies depending on the mordant, fiber, and type of dye you’re using.
- One day to wind the warp chain and mordant it. Plan to spend about an hour to 2 hours winding the warp, and a little over an hour for the whole mordanting process. After all the alum is rinsed out, you can go immediately into dyeing your warp if you want. You can also let it dry and rehydrate your warp with a spray bottle or rinse again and ring out really well when you’re ready to dye. The key is not having the warp too wet or too dry, but dye at your own leisure. Remember to use the loom waste as a test to gauge the wetness and reaction of dye on the fiber.
- One day to dye the warp chain. You can dye right after rinsing out all the alum from mordanting, but if you're new to dyeing, you don't want to rush. Set up your workspace, relax, and commit a few hours to painting the colors. You could even break up the dye process into separate days, allowing the painted sections to dry so you can see the final colors as you go. (When you come back to dyeing, rehydrate the warp chain with a spray bottle.) After you've finished painting and steaming the warp, it needs to dry completely—let it sit at least overnight.
- One day to rinse the warp chain. Allow it to dry completely before you warp your loom.
Natural Dye Concentrate Recipes
Note: Natural dyestuffs can vary depending on where the dyestuffs were grown, their freshness, the amount used, etc. Making the concentrates will require a certain amount of guesswork and independent judgment. We could all go through the exact same steps and we would come up with slightly different results.
When you see "simmer until desired color is reached," decide whether you want let the concentrate go a bit longer or not. Because the dyestuffs will vary, making the concentrate will be a little different each time. Sometimes the 30 minutes elapse and you realize the dye is lighter than you'd like. Let it simmer for a while longer, and the saturation may increase. But remember that the liquid will cook off as it sits over heat—the longer it simmers, the more you'll lose.
Logwood Purple
20 grams logwood shavings; 1-1/2 cups tap water; 1/4 cup isopropyl alcohol; 1 tsp baking soda
Add shavings and water to a small stock pot. Bring to a boil quickly (using the highest possible heat) and then turn down to low heat. Simmer for 30 minutes. Strain out the shavings and pour the dye into a jar or bottle. Add isopropyl alcohol and baking soda. Seal the jar tightly and let sit for 1 to 2 days before using—you can use it immediately, but the color will get stronger over time. Makes about 1-1/2 cups.
Avocado Pit Pink/Mauve
3 to 5 avocado pits, chopped if possible; 1 cup tap water, or enough to fully submerge the pits; 1 tsp baking soda; 1 tbsp isopropyl alcohol
You can use fresh or frozen pits, but fresh will always give you a more saturated dye. Avocado pits are soft and porous when they're thawed. You can chop them with a sharp knife; please use caution.
Add chopped pits and water to a small stock pot. Bring to a boil quickly (using the highest possible heat) and then turn down to low heat. Simmer at the lowest possible heat for 30 minutes or until desired color is reached. If the temperature gets too hot for too long, the dye has a tendency to brown. Strain out the pits and pour the dye into a jar or bottle. Add isopropyl alcohol and baking soda. Makes about 1 to 2 cups.
Onion Skin Yellow/Gold
skins of 3 yellow onions—the crunchier and darker, the better; 1 cup tap water, or enough to fully submerge the skins
Add skins and water to a small stock pot. Bring to a boil quickly (using the highest possible heat) and then turn down to medium-low heat. Simmer for 30 minutes or until desired color is reached. Strain out the skins and pour the dye into a jar or bottle. Makes about 1 to 2 cups.
Do not add baking soda, soda ash, or isopropyl alcohol to this concentrate—it will turn the beautiful yellow/gold color into brown. I’ve also found that sometimes alcohol changes the color too.
Madder Root Rust/Red-Orange
3/4 cup ground or processed madder root; 2 cups tap water; 1 tsp baking soda; 1 tbsp isopropyl alcohol
Add madder root and water to a small stock pot. Bring to a boil quickly (using the highest possible heat) and then turn down to low heat. Simmer for 30 minutes or until desired color is reached. Strain out the roots and pour the dye into a jar or bottle. Add isopropyl alcohol and baking soda. Use within 1 to 2 days. Makes about 2 cups.
Winding a Warp Chain
Wind a warp chain the way you normally do. I made a 4-yard chain of 280 ends (14 inches wide at 20 epi) from 8/2 unmercerized cotton.
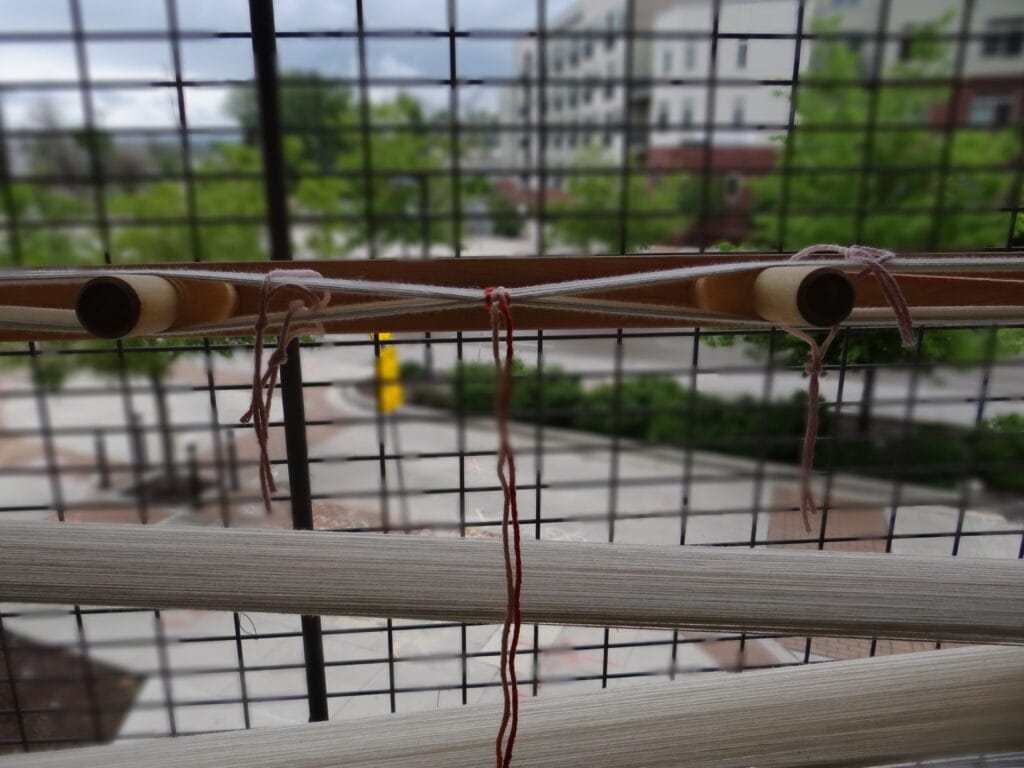
Before you remove the chain from the warping board, tie the cross carefully.
Instead of making choke ties, add several loose figure-8 ties at different parts of the chain. Keep all ties loose and easy to move, so that you can adjust them as you paint the warp. A tight tie will create a resist where the dye can't reach the yarn.
Once your warp chain is ready, weigh it carefully so you can calculate for mordanting—see the next section.
Mordanting your Warp
Mordanting is the most important step in any natural dye process. It involves treating the yarn or fabric with a chemical that will allow the dye to bond with the fibers permanently and evenly. Not all natural dyes require mordants: avocado pits, for instance, contain strong natural tannins that permanently bond the color. But because our different dyes have varying amounts of tannins, the warp chain has to be mordanted.
I used an alum mordant. Alum can be found near pickling spices in the grocery store or purchased in larger quantities online (see Resources below).
Always weigh the dry yarn, even if you made a warp chain identical to mine. Weigh before you put the chain into water—you need the dry weight—and write down the weight in grams. Once the chain gets wet, you can't re-check its weight.
Then calculate the amount of alum you'll need to use. This ratio changes depending on the fiber content. For cotton, you'll need a 15% solution. The formula is simple:
dry weight of goods (WOG) in grams x .15 = weight of alum in grams
My dry warp chain weighed 158 grams, giving me the following:
158 grams x .15 = 23.7 grams alum, rounded up to 24 grams
Soak the warp chain in a bowl of plain water for about 20 minutes, so it's thoroughly wet.
Fill a stock pot with enough water to fully cover the warp chain. Measure the alum into the pot and mix until it's fully dissolved. Set the pot on medium heat.
Add the wet warp chain to the pot, taking care not to tangle the warp (you'll thank yourself later). Allow the pot to simmer for 1 hour. Drain out the water and rinse the warp chain thoroughly. Wring out the excess water from the warp chain.
You can now start painting your warp, or you can let it dry and dye it at a later time.
Dyeing Your Warp
After all that prep, you are finally ready to dye your warp! Some tips before you start:
Get all your equipment: drop cloth, damp warp, dye concentrates, small containers or a palette for your dyes, paint brushes, water spray bottle, and steamer. Set up your dye area—I worked on my porch so I wouldn't ruin my floors or carpeting with dye.
Start at one end of the chain, in the loom waste. Lay the damp warp on the drop cloth and spread out the chain out as much as you can. It’s okay if you need to dye in multiple sections. Don't comb the warp, but try to spread it out with your fingers so you can paint the stripes evenly.
Conduct some experiments in the loom waste before you commit to a design for the entire chain. Get comfortable playing with different dyes and brush strokes. See how the dye interacts with your fiber: if the yarn is too wet, the colors will spread; if it's too dry, the colors won't absorb. Notice how much dye it takes to saturate the warp—you don't want white warp threads or lighter colors underneath.
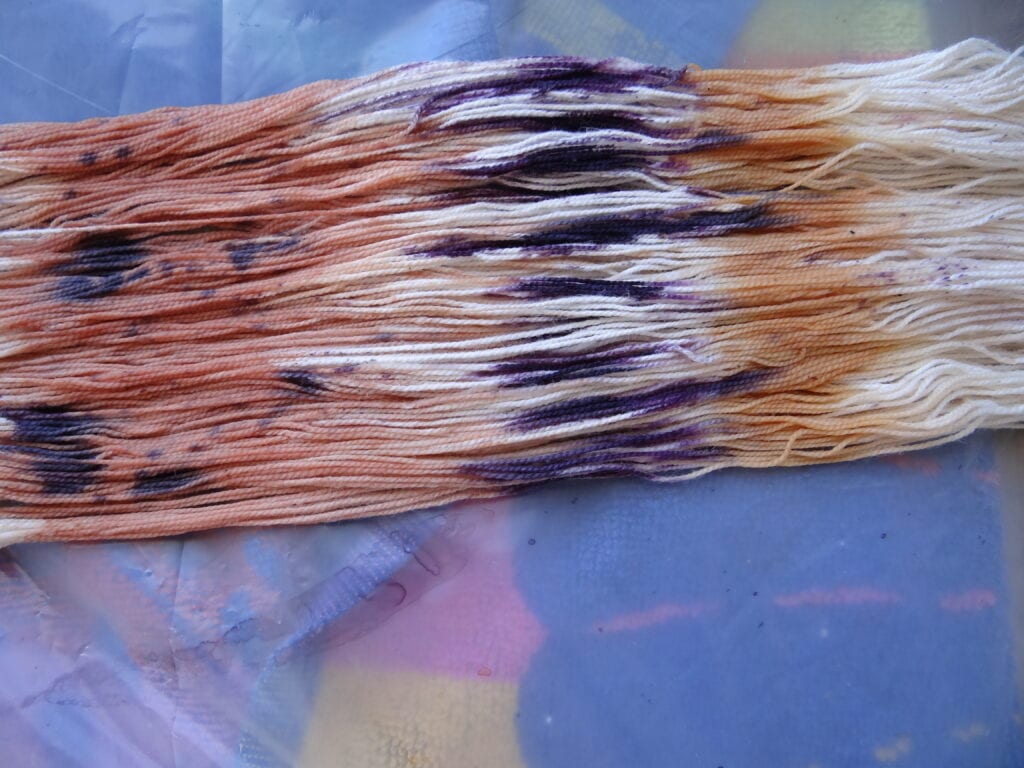
A hand-held steamer allows you to create intentional designs with less bleeding of colors. You can work in small sections of the chain: paint some stripes, steam them, and see how they look. The colors will stay where you put them.
If you don’t have a hand-held steamer, paint your entire warp chain and then steam it in on a steamer rack in a large stock pot for a few minutes. Colors will likely blend together, however. Let the steamed warp chain dry completely, then rinse it thoroughly.
Allow the warp chain to dry completely before you warp your project.
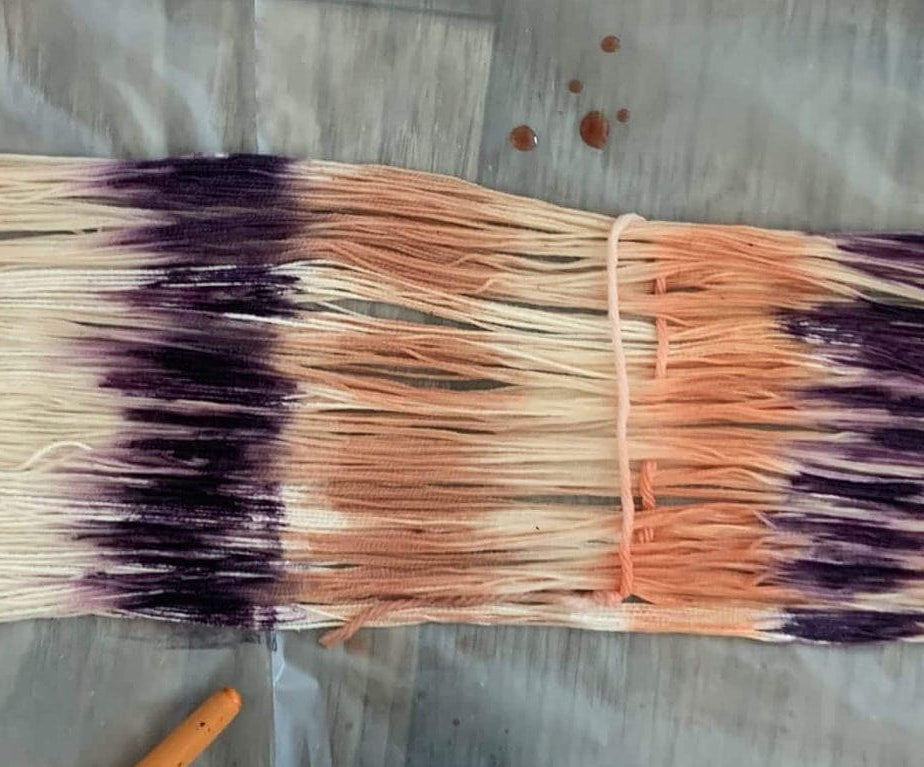
I chose to stripe my warp, letting the colors blend naturally for a hand-painted ikat look. Here's how I created my design with a hand-held steamer:
For a few inches, paint thick stripes crosswise across the warp, fully saturating the yarn with each color. Leave about 1/2" of warp unpainted between each stripes. (In the steaming process, the colors will spread, and if they mix into each other too much, they'll make brown.) Flip over the chain to check for hidden white threads—if you see them, paint the underside.
Steam the section of stripes for about 5 minutes. Note how the colors blend and make adjustments accordingly. If the colors are blending too much, leave more space between stripes. If the colors aren’t meeting each other, reduce the white space or make your stripes a little thicker. Without burning yourself, note how hot your fiber is getting. Heat will activate your dye and makes it permanent, so you want to make sure the steam is getting through the fiber completely.
Move on to the next section of warp, adjusting the width of the stripes or the white space between them. Steam again. Keep testing until you like the results.
Once you've achieved the colors you want, paint section by section until the warp is fully dyed. Let the chain dry completely. (I’ve found this helps the color stay in place and ensures that there is no bleeding.)
Fully rinse the warp chain and let it dry.
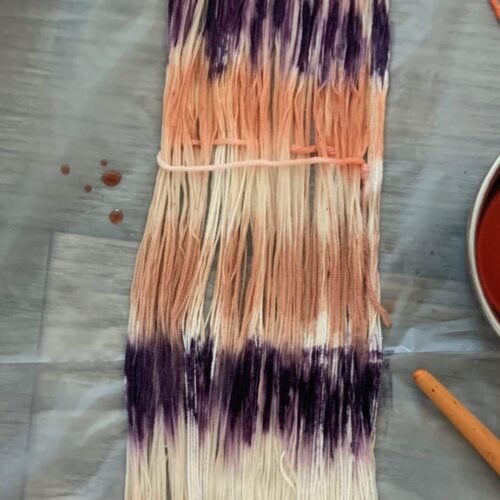
Now you have a unique, naturally dyed warp for any project you choose! Hand-painted warp works especially well in a warp-faced fabric. I love using this process to create organic patterns that can’t be made in the threading process. Try experimenting with resists and the tools used for applying the dye—eye droppers and syringes can add a splatter or droplet effect. Happy dyeing!
Notes
Resources
You can find dyestuffs and mordanting chemicals at many online suppliers, including Dharma Trading Company, Botanical Colors, and Maiwa.
I purchased madder and logwood at https://www.aninidesigns.com/
I ordered alum in bulk at https://www.etsy.com/listing/513690826/alum-potassium-aluminum-sulfate-natural?ref=yr_purchases

