Getting Started With Double Weave
By Carrie Miller
Double weave can be a very intimidating weave style to take on. Sometimes just the sheer volume of threads you need to wind and how to thread them through the heddles can seem overwhelming. This post covers a simple approach to winding and threading a double weave sample that can be adapted for a variety of projects.
This post is the first in a series on double weave. Initially I will cover the setup and warping process for a sample warp. Then I will cover how to use double weave for pockets and tubes, double weave pick-up mug rugs and a double weave block wall hanging.
Project Specs
Sett: 20 EPI (10 epi x 2 for 2 layers of cloth)
Weaving width: 5 inches
Ends: 100 ends
Warp length: 2.5 yds
Warping method: front to back
What You'll Need
-
I feel quite lucky to be using 8/2 unmercerized cotton from Gist Yarn! This yarn has a great rustic and natural feel while being extremely sturdy.
-
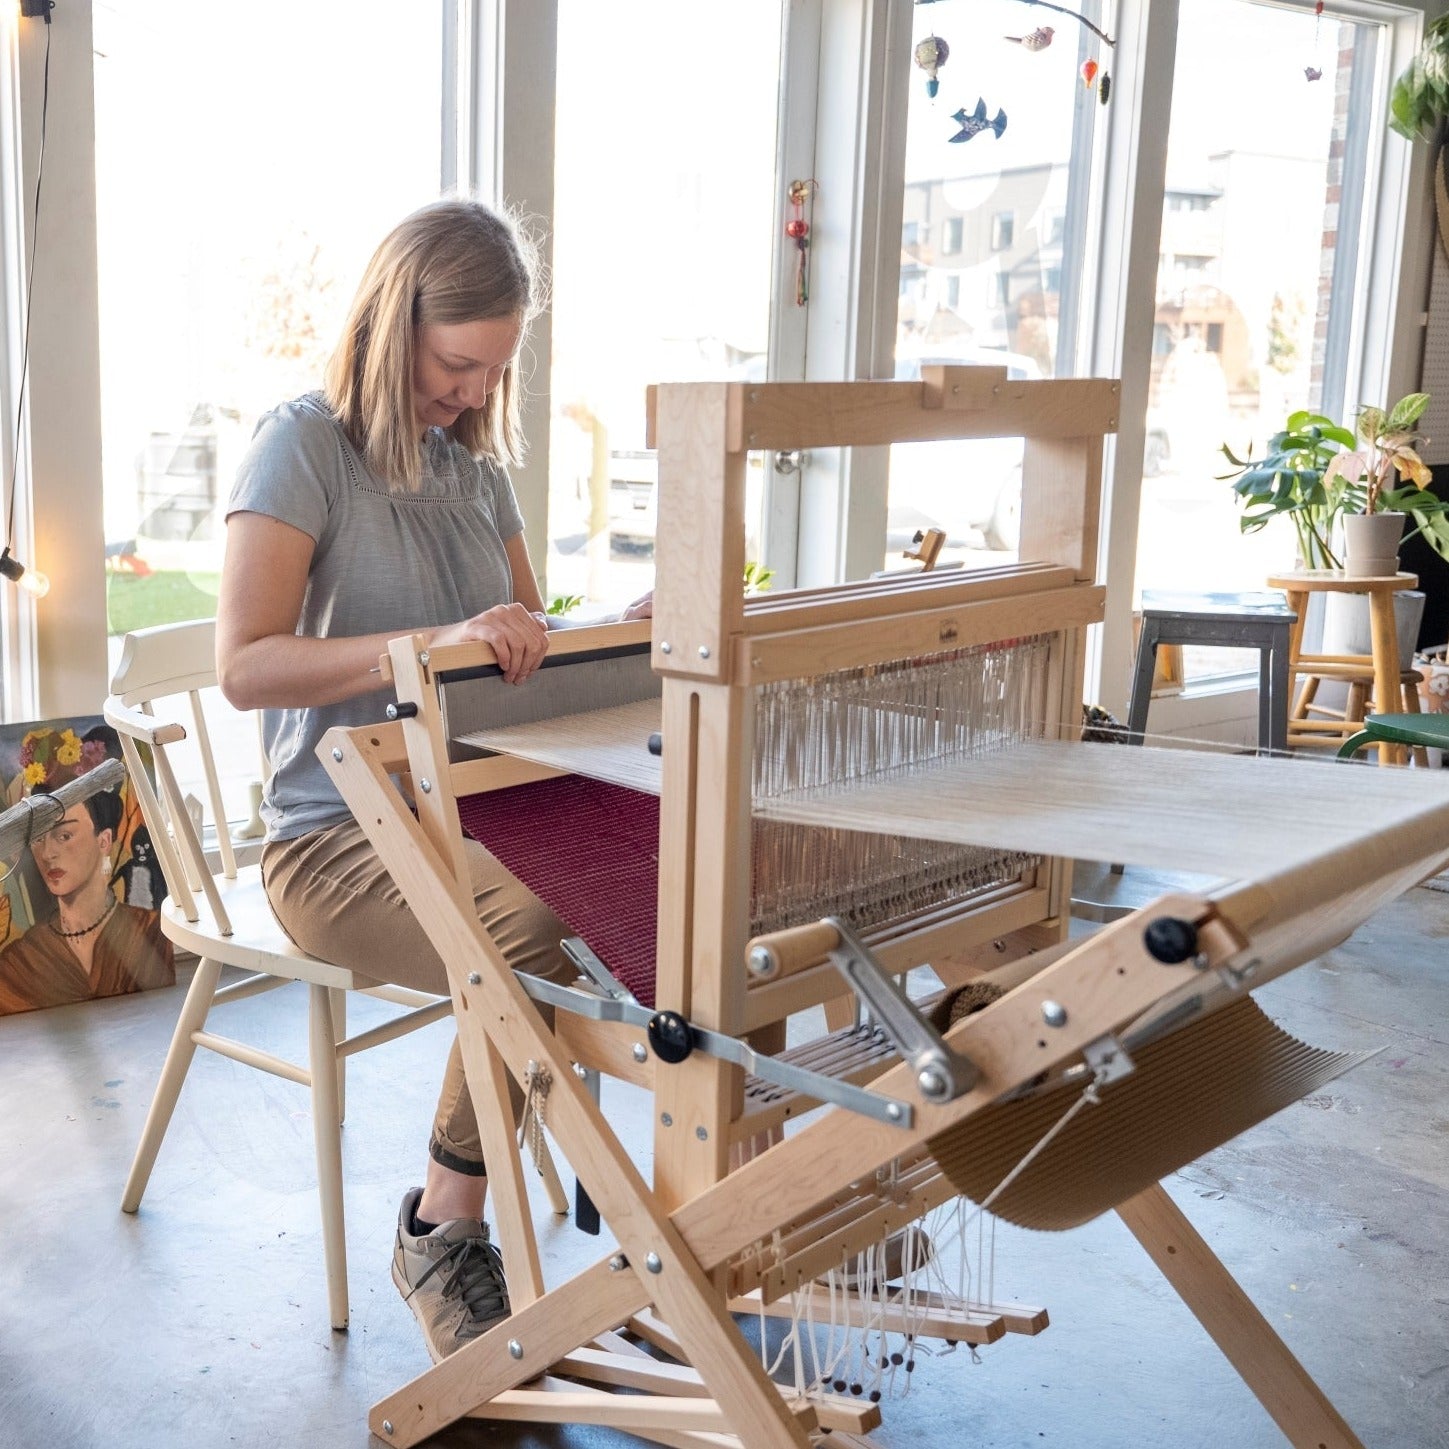
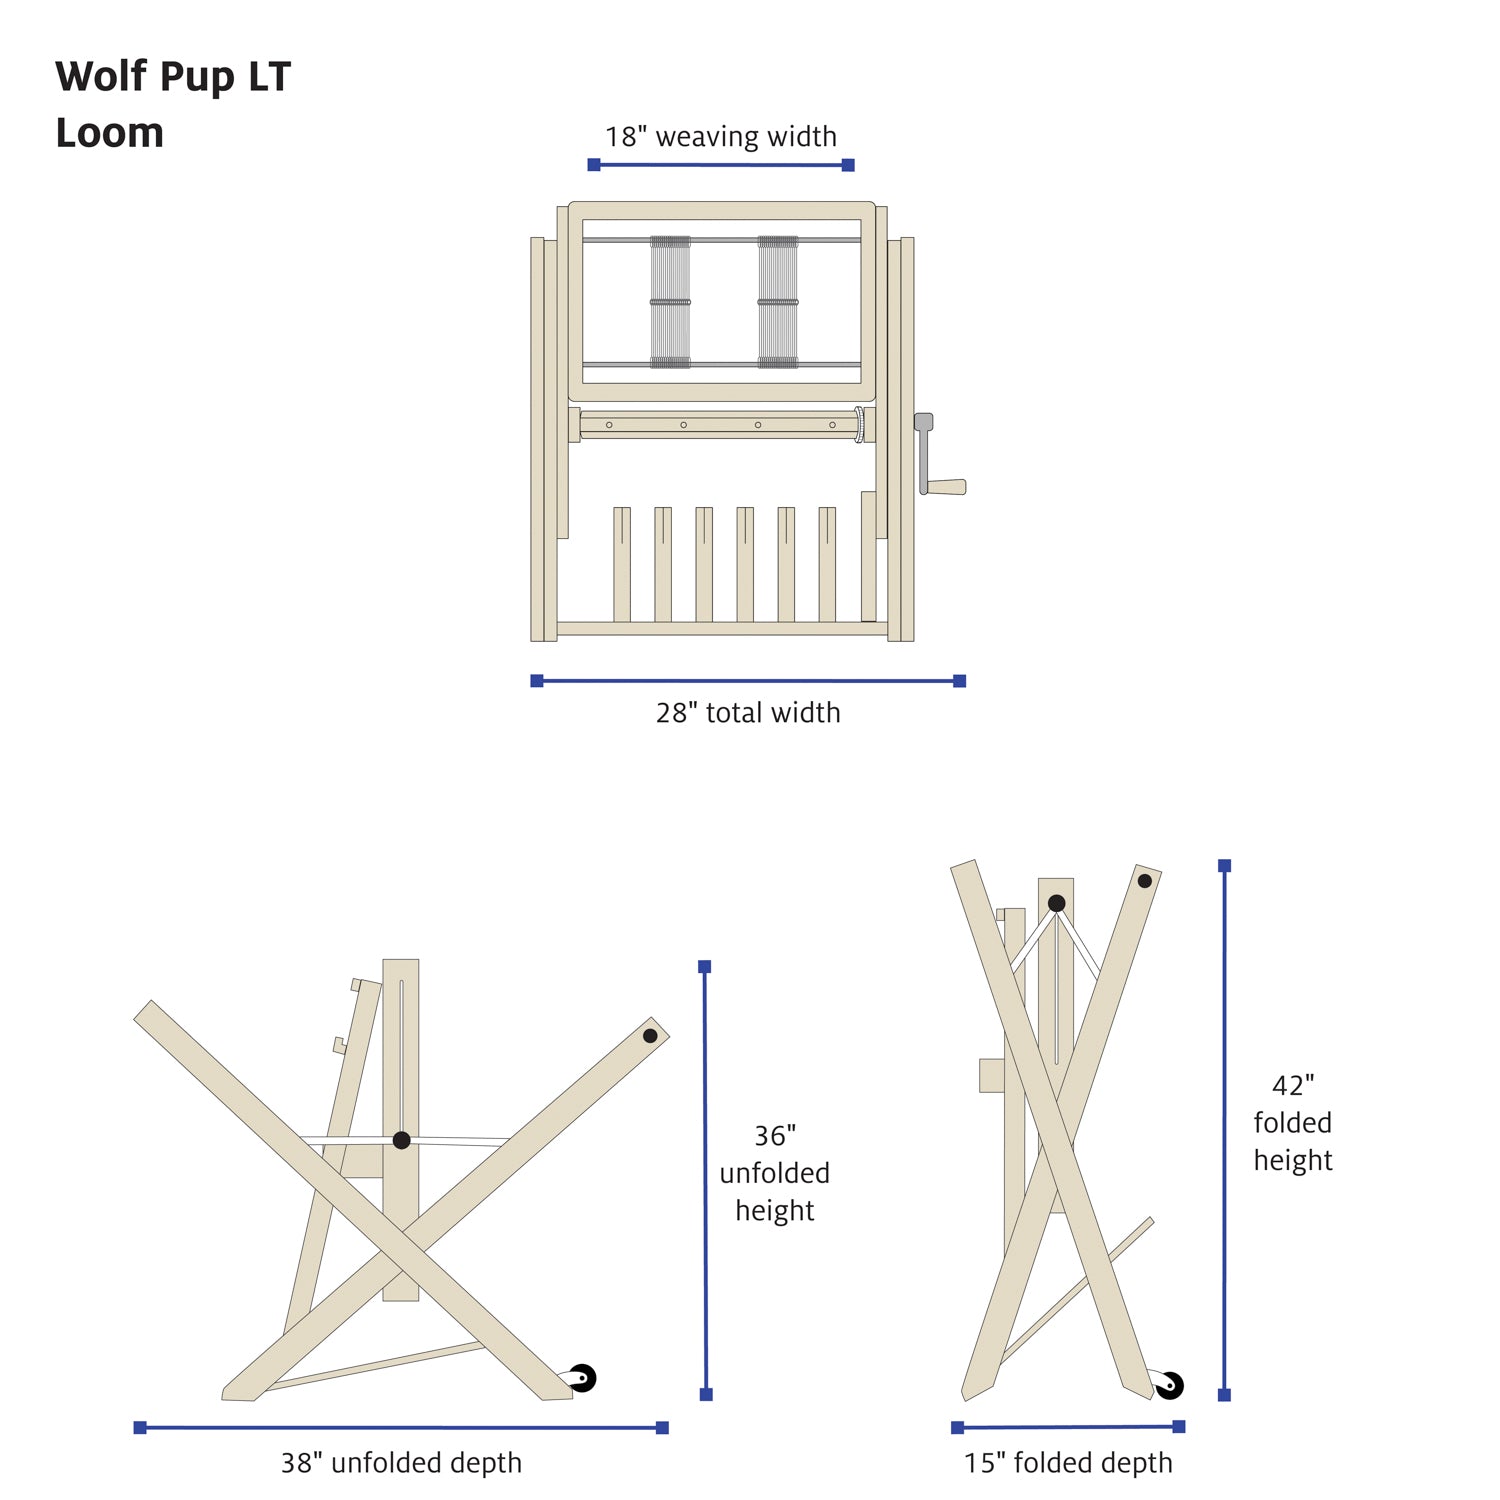
4 shaft loom
-
two shuttles
Materials and Equipment
Directions
Warping
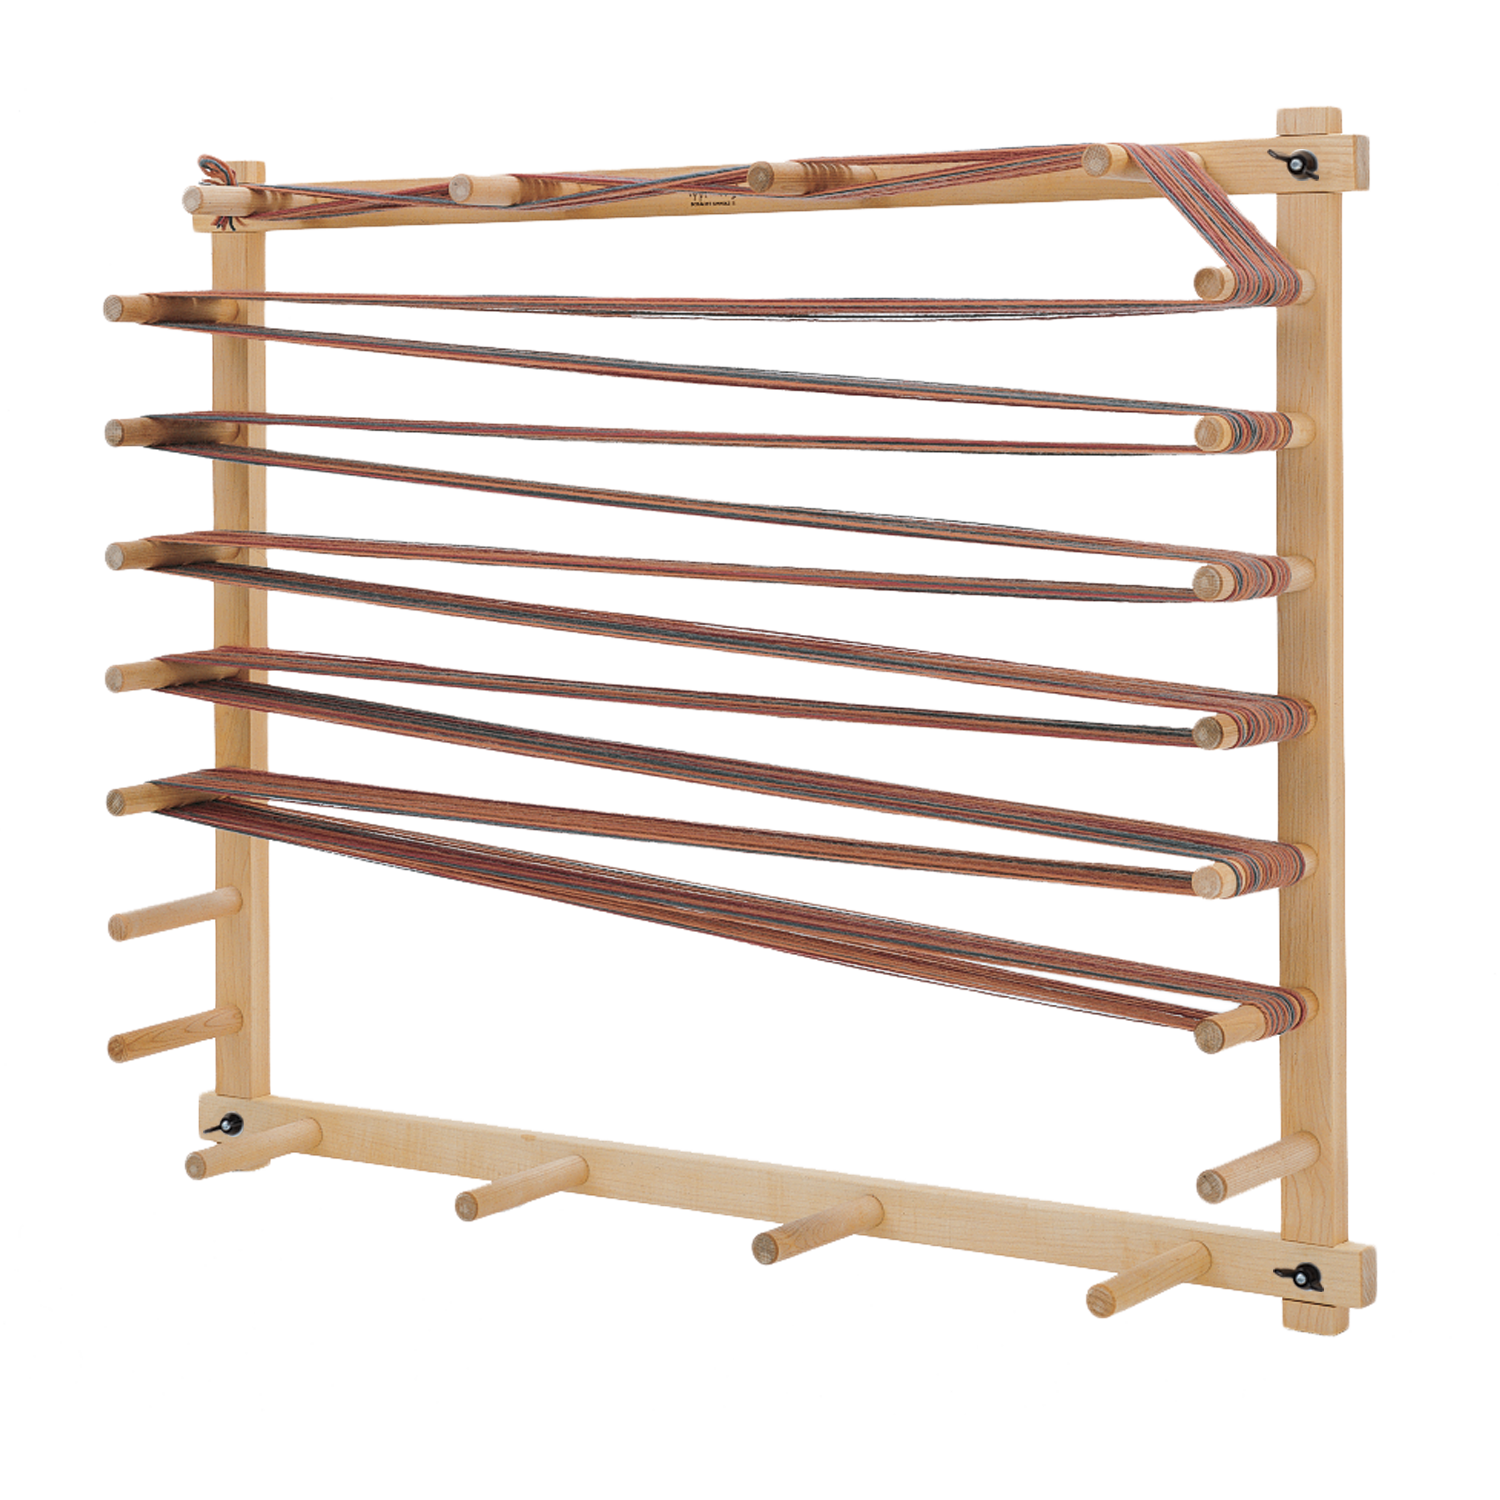
For my sample warp, and the project I’ll include in my next blog, I wanted to have one layer of cloth that would be aqua and one layer that would be white. In order to achieve this with the most efficiency, I wound both colors/layers at once. Using the Goko Swift, I put two skeins side-by-side and wound one yarn from each simultaneously onto the warping mill. In order to keep yarns as straight as possible, I kept one finger in between the two strands as I wound.
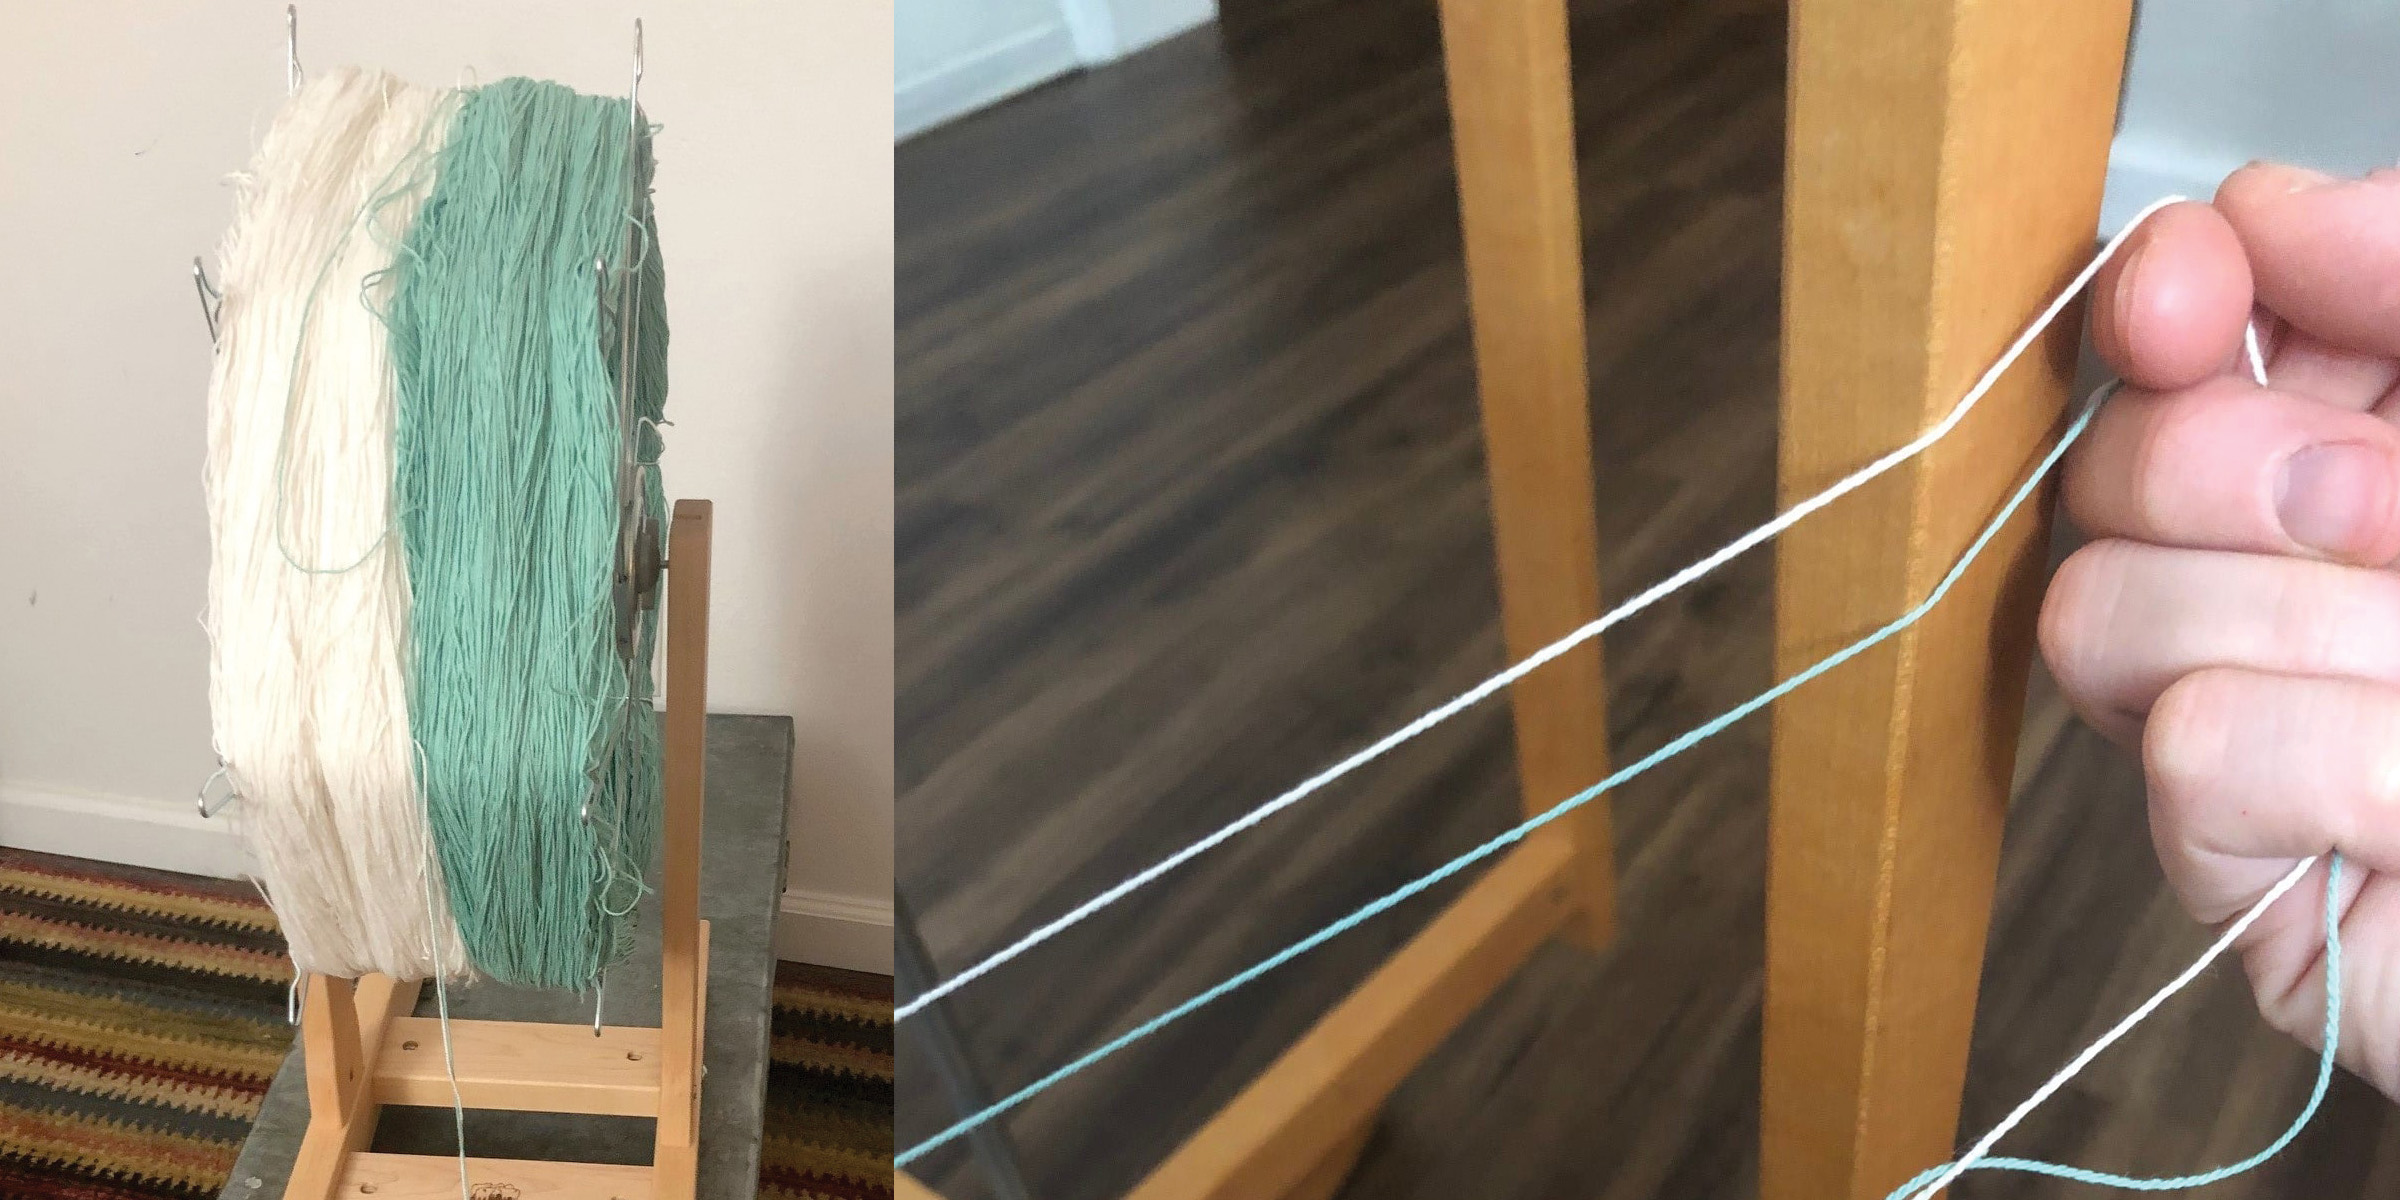
For a double weave, you can use as few as four shafts of the loom. Each layer of fabric needs at least two shafts. Because I already wound the warp in pairs of two yarns (one white, one aqua) it was simple for me to thread two yarns per dent of the reed. It is important that the pattern is maintained (one white and one aqua per dent). This makes the threading process simple! Use a straight draw threading that carefully alternates the colors. See draft.

Weaving Separate Layers
When thinking about the tie-up, keep in mind, that you are weaving two layers of cloth consecutively.
For the top layer, lift shaft 1 and pass the shuttle through and then lift shaft 3 and pass the shuttle through. Now the picks for the top layer are complete.
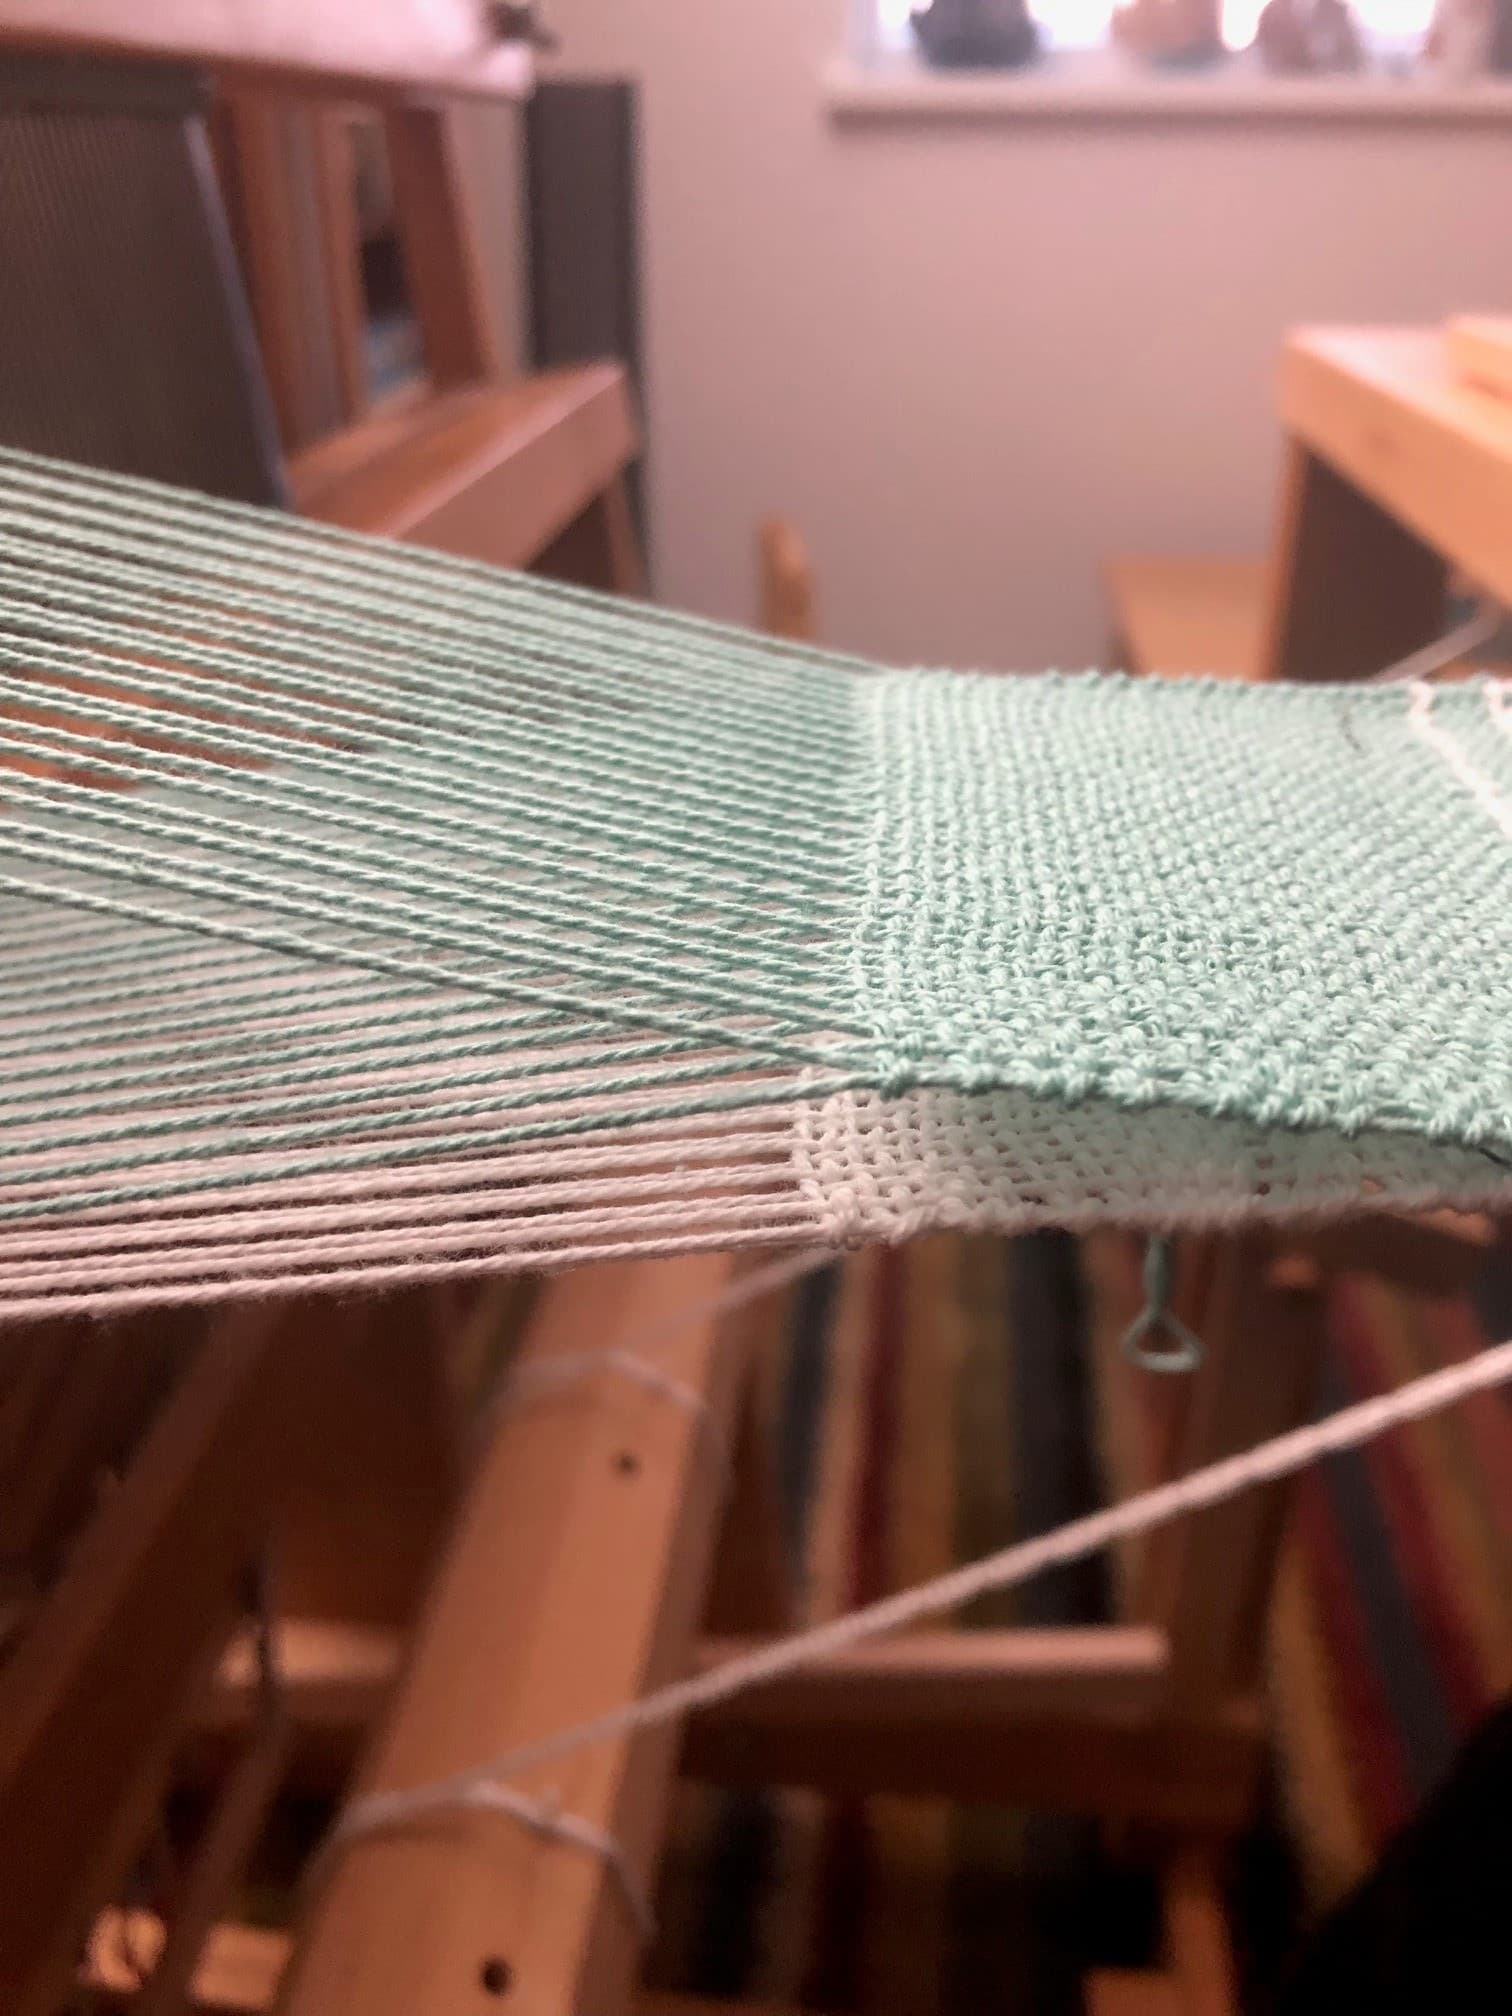
Then it’s time to weave the bottom layer. In order to do this, you need to lift the top layer (shafts 1 and 3) plus shaft 2 for the bottom layer.
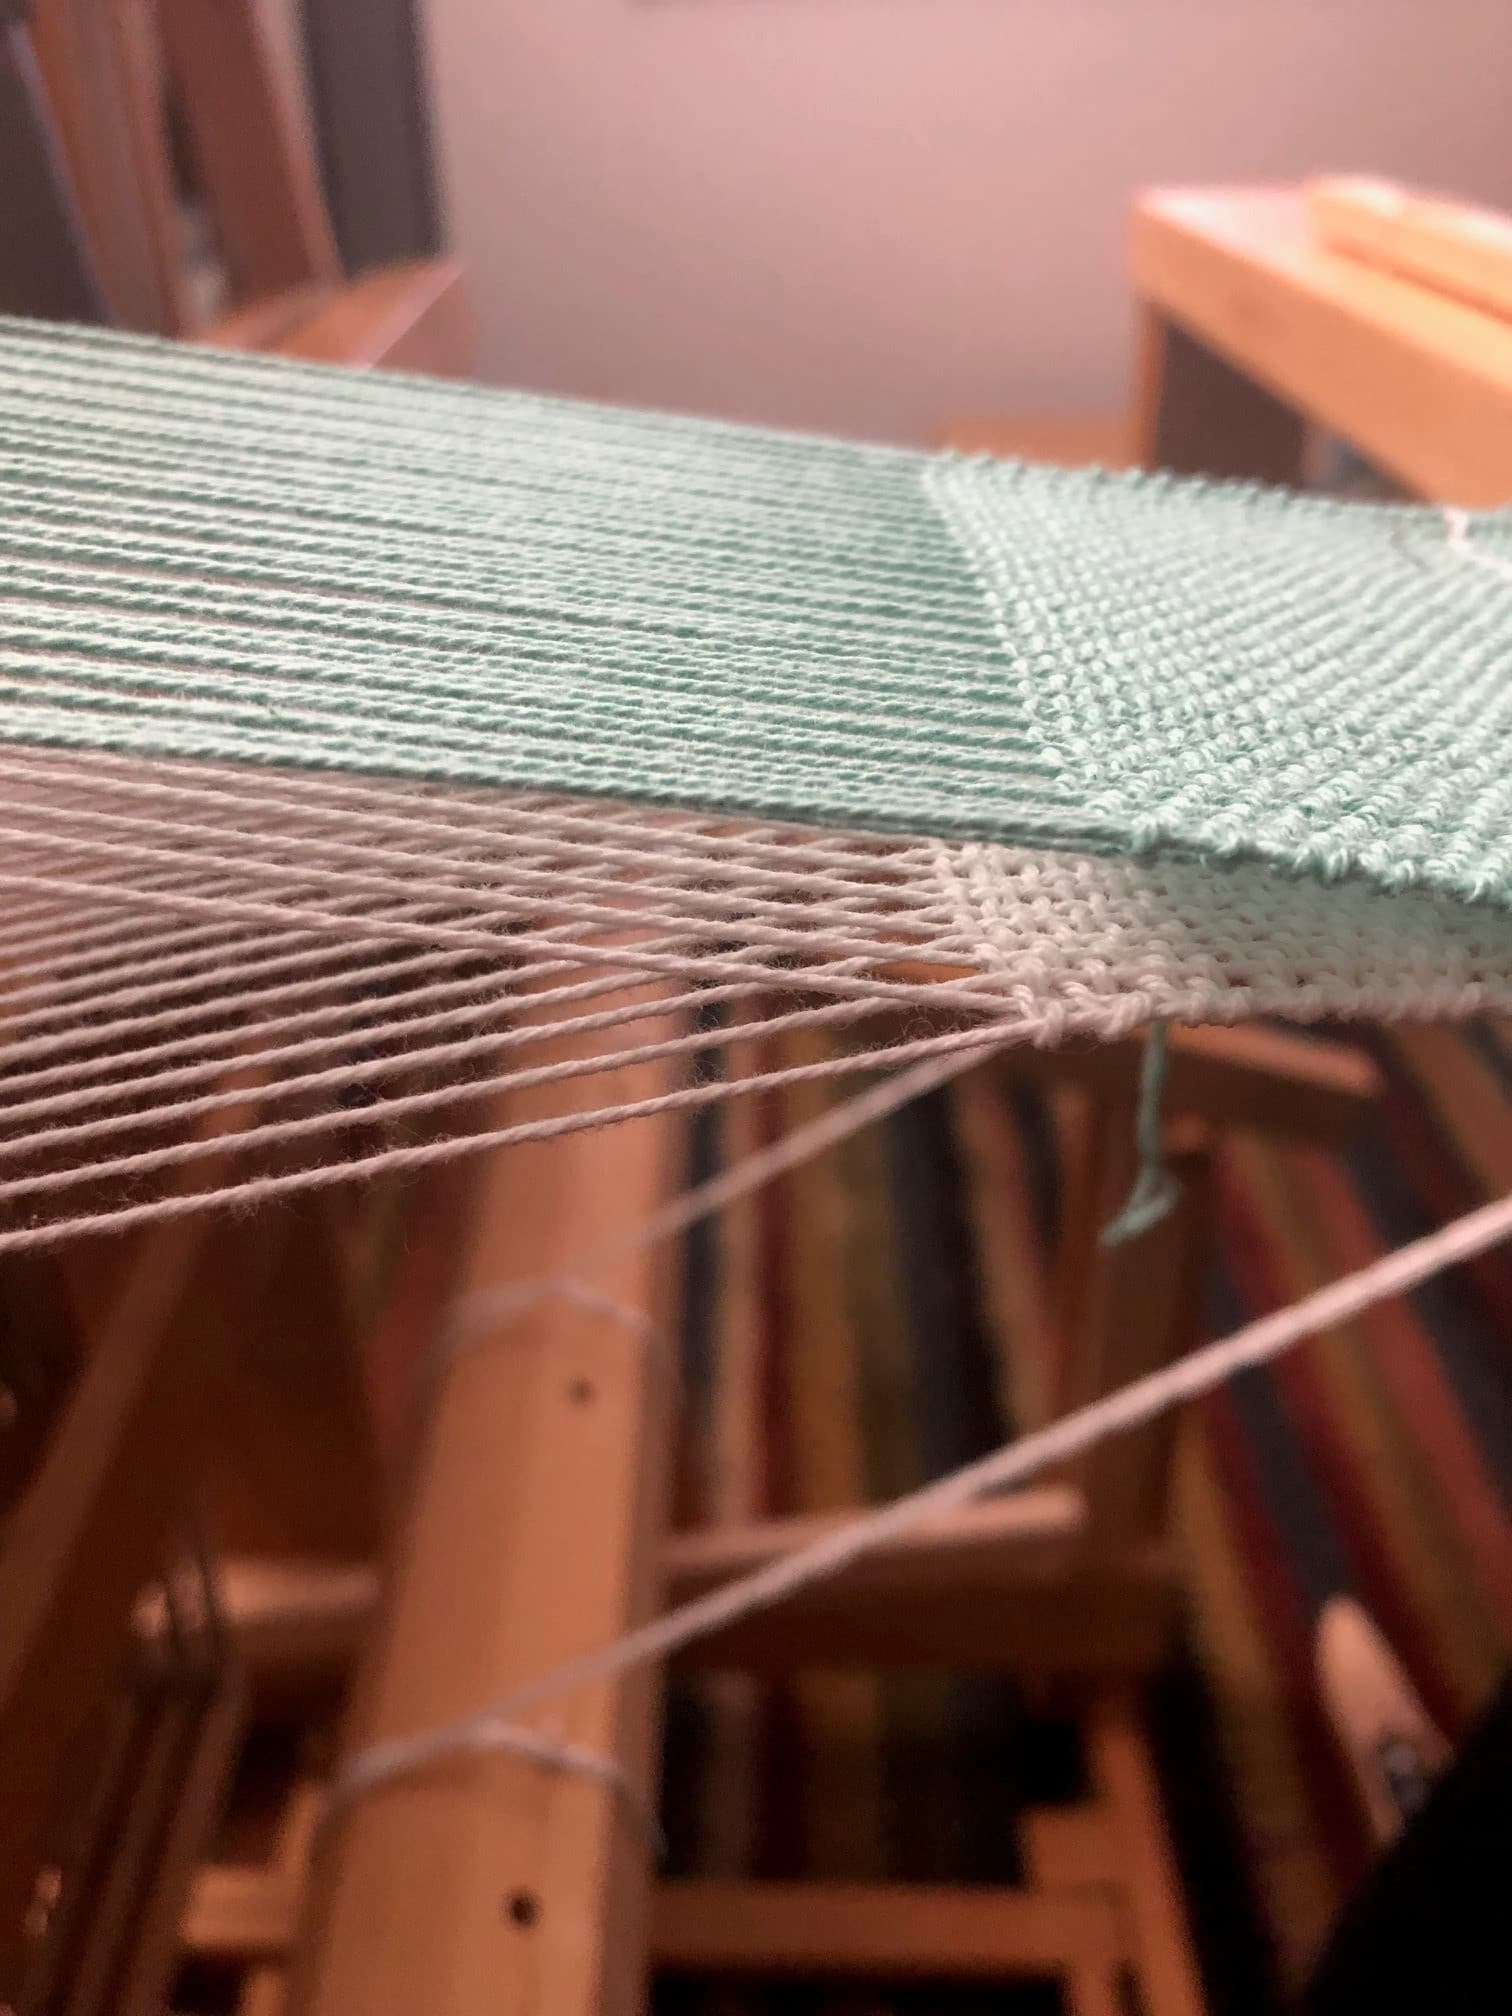
Keep shafts 1 and 3 lifted, lower shaft 2 and raise shaft 4 for the final pick.
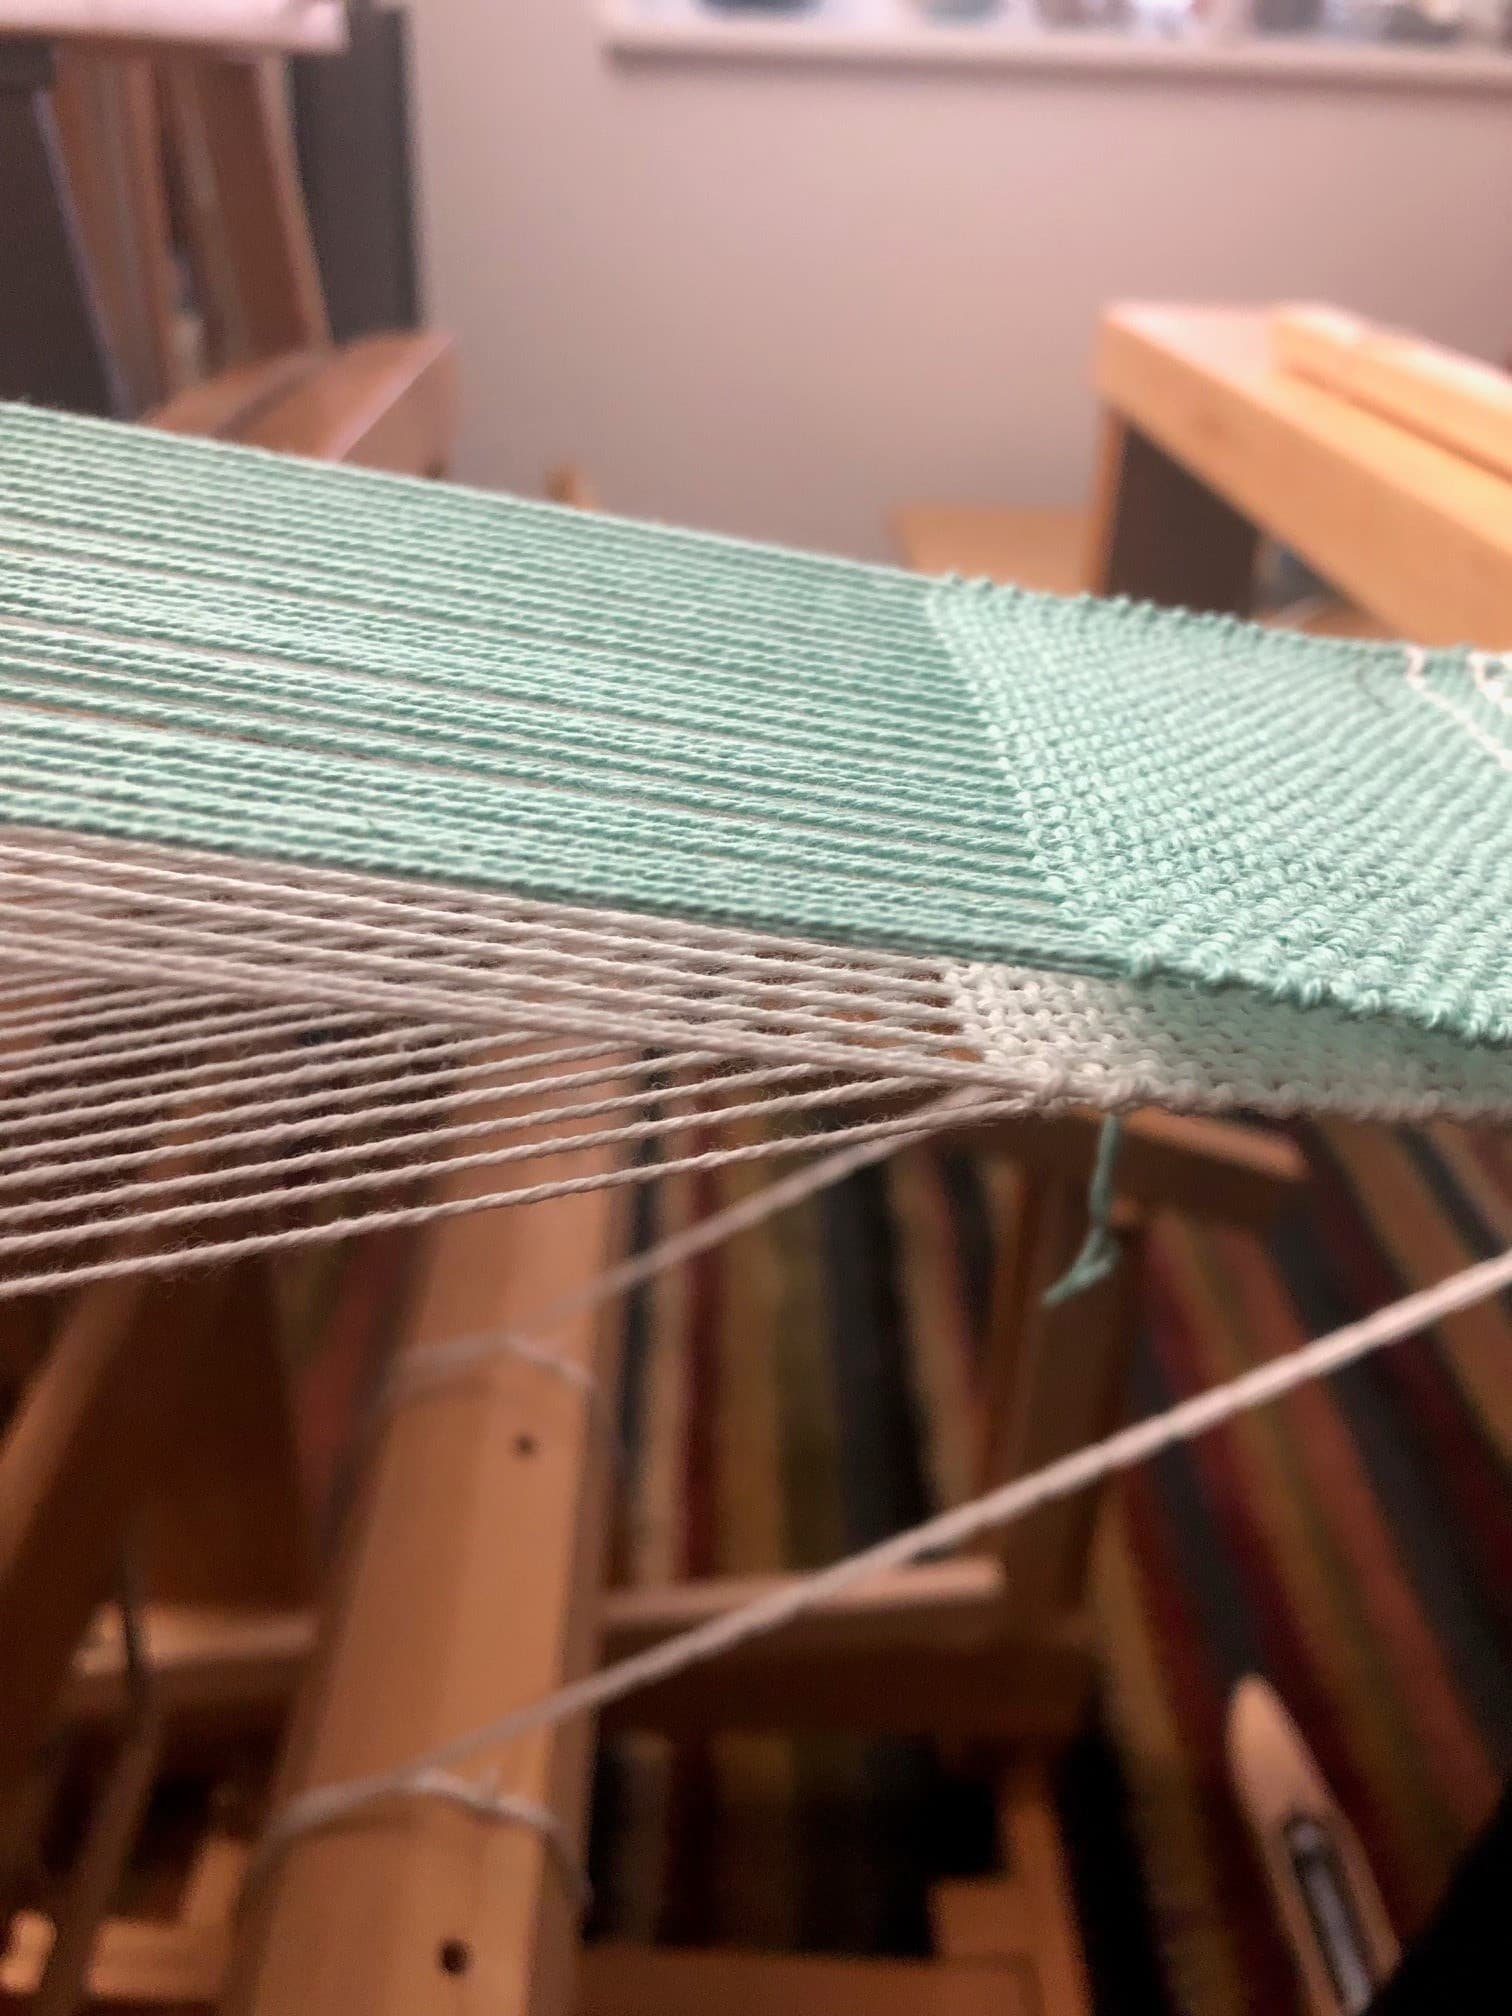
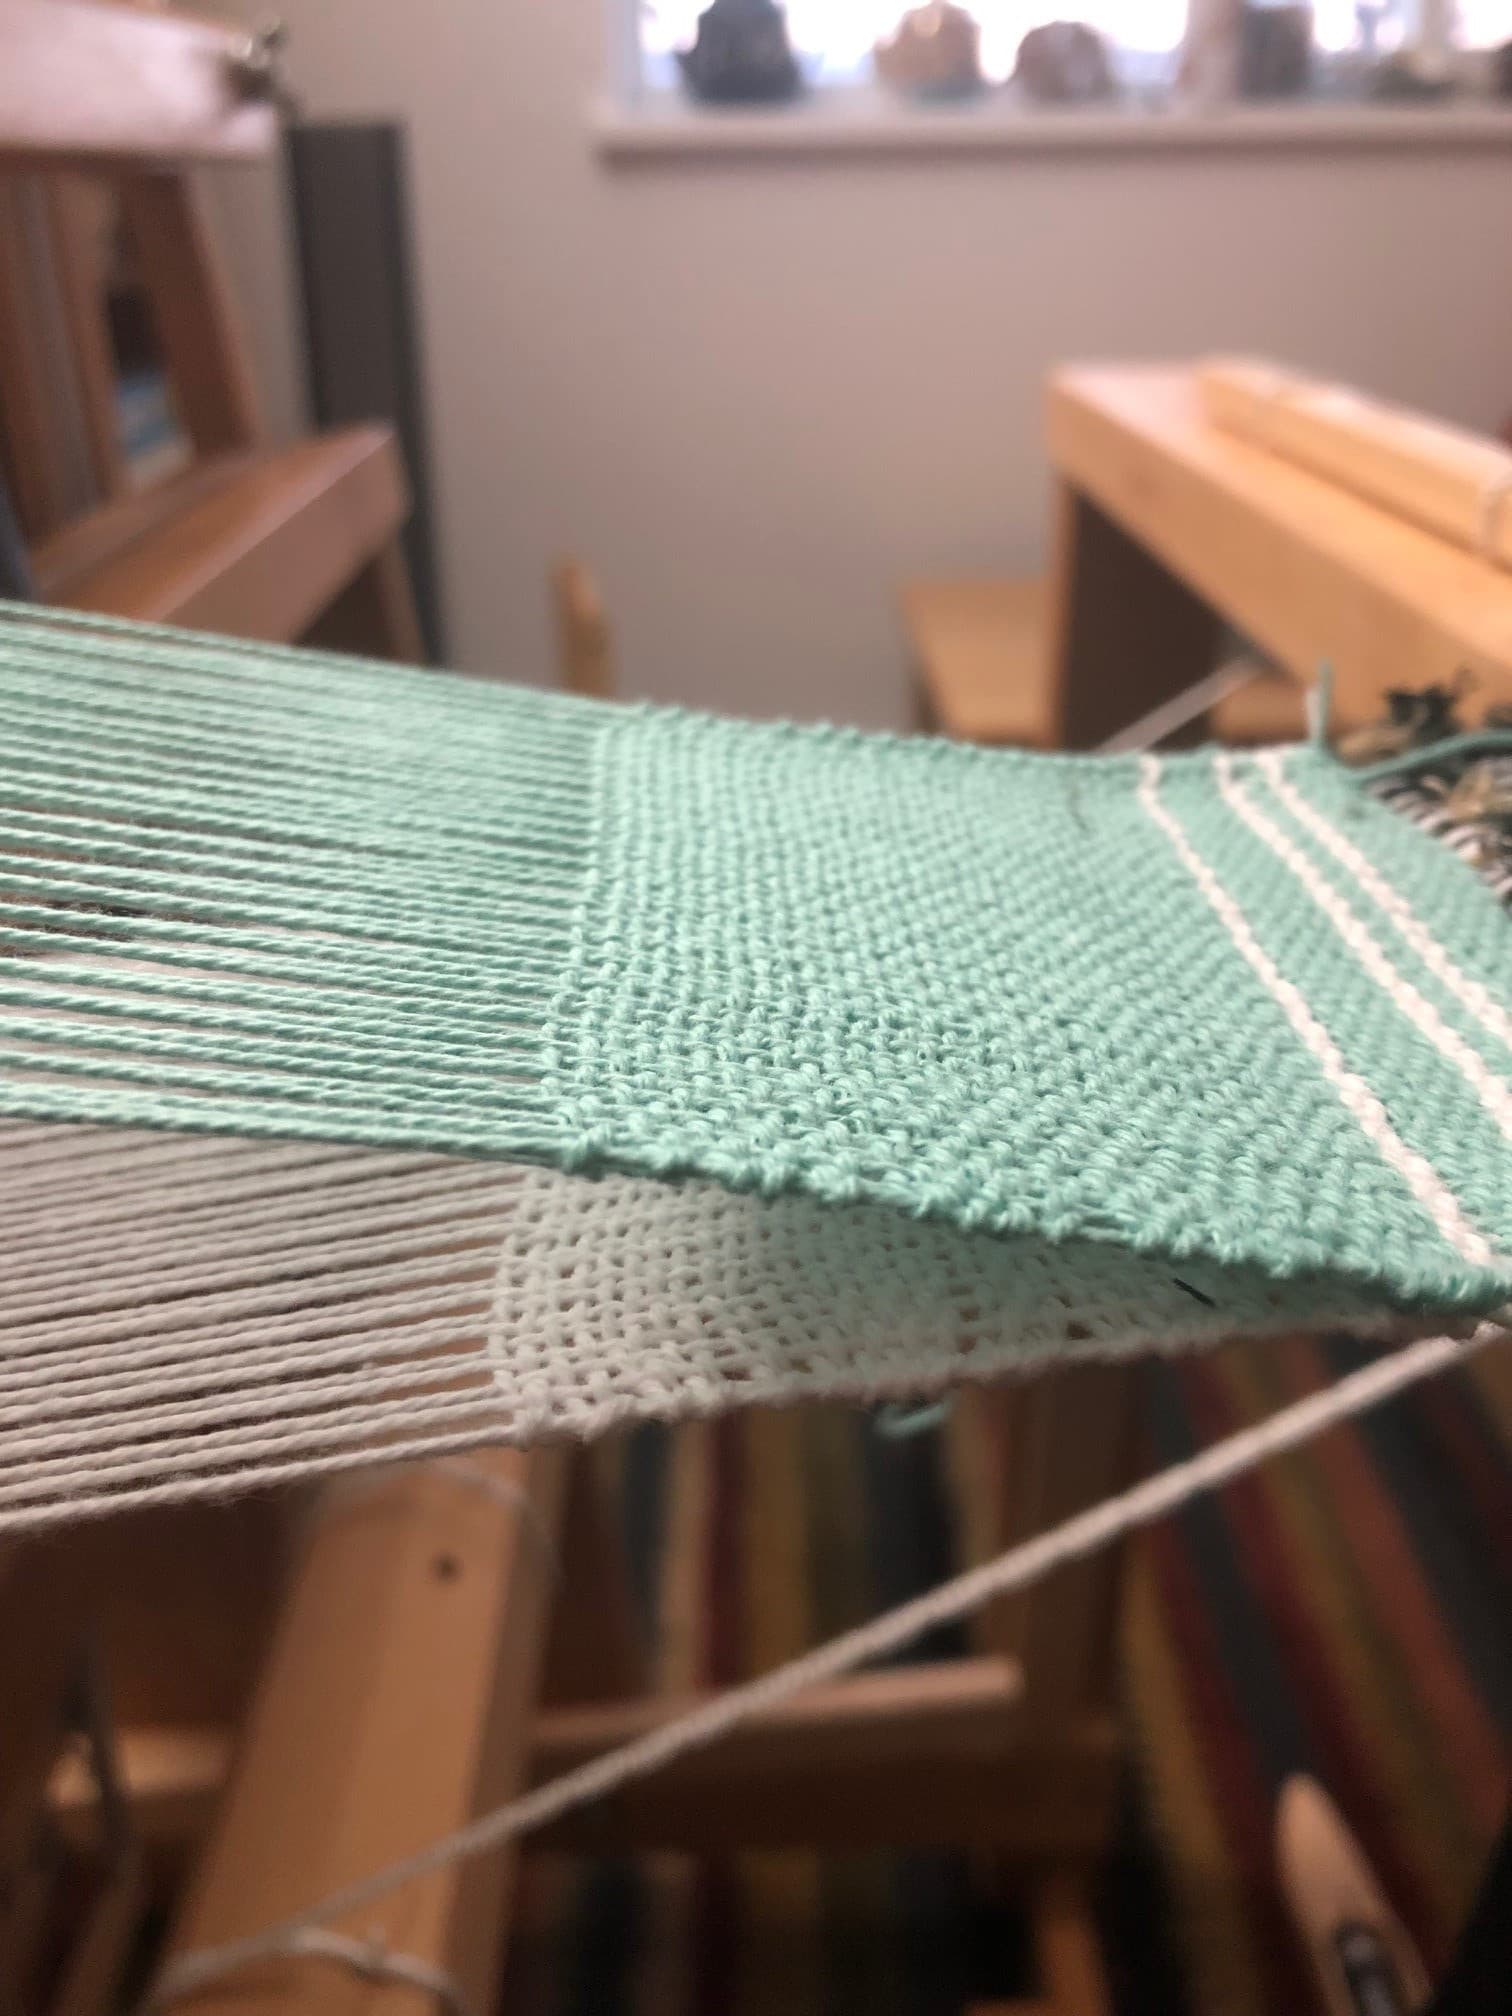
There are now two separate layers of cloth sitting on top of each other—aqua on top, white on the bottom.
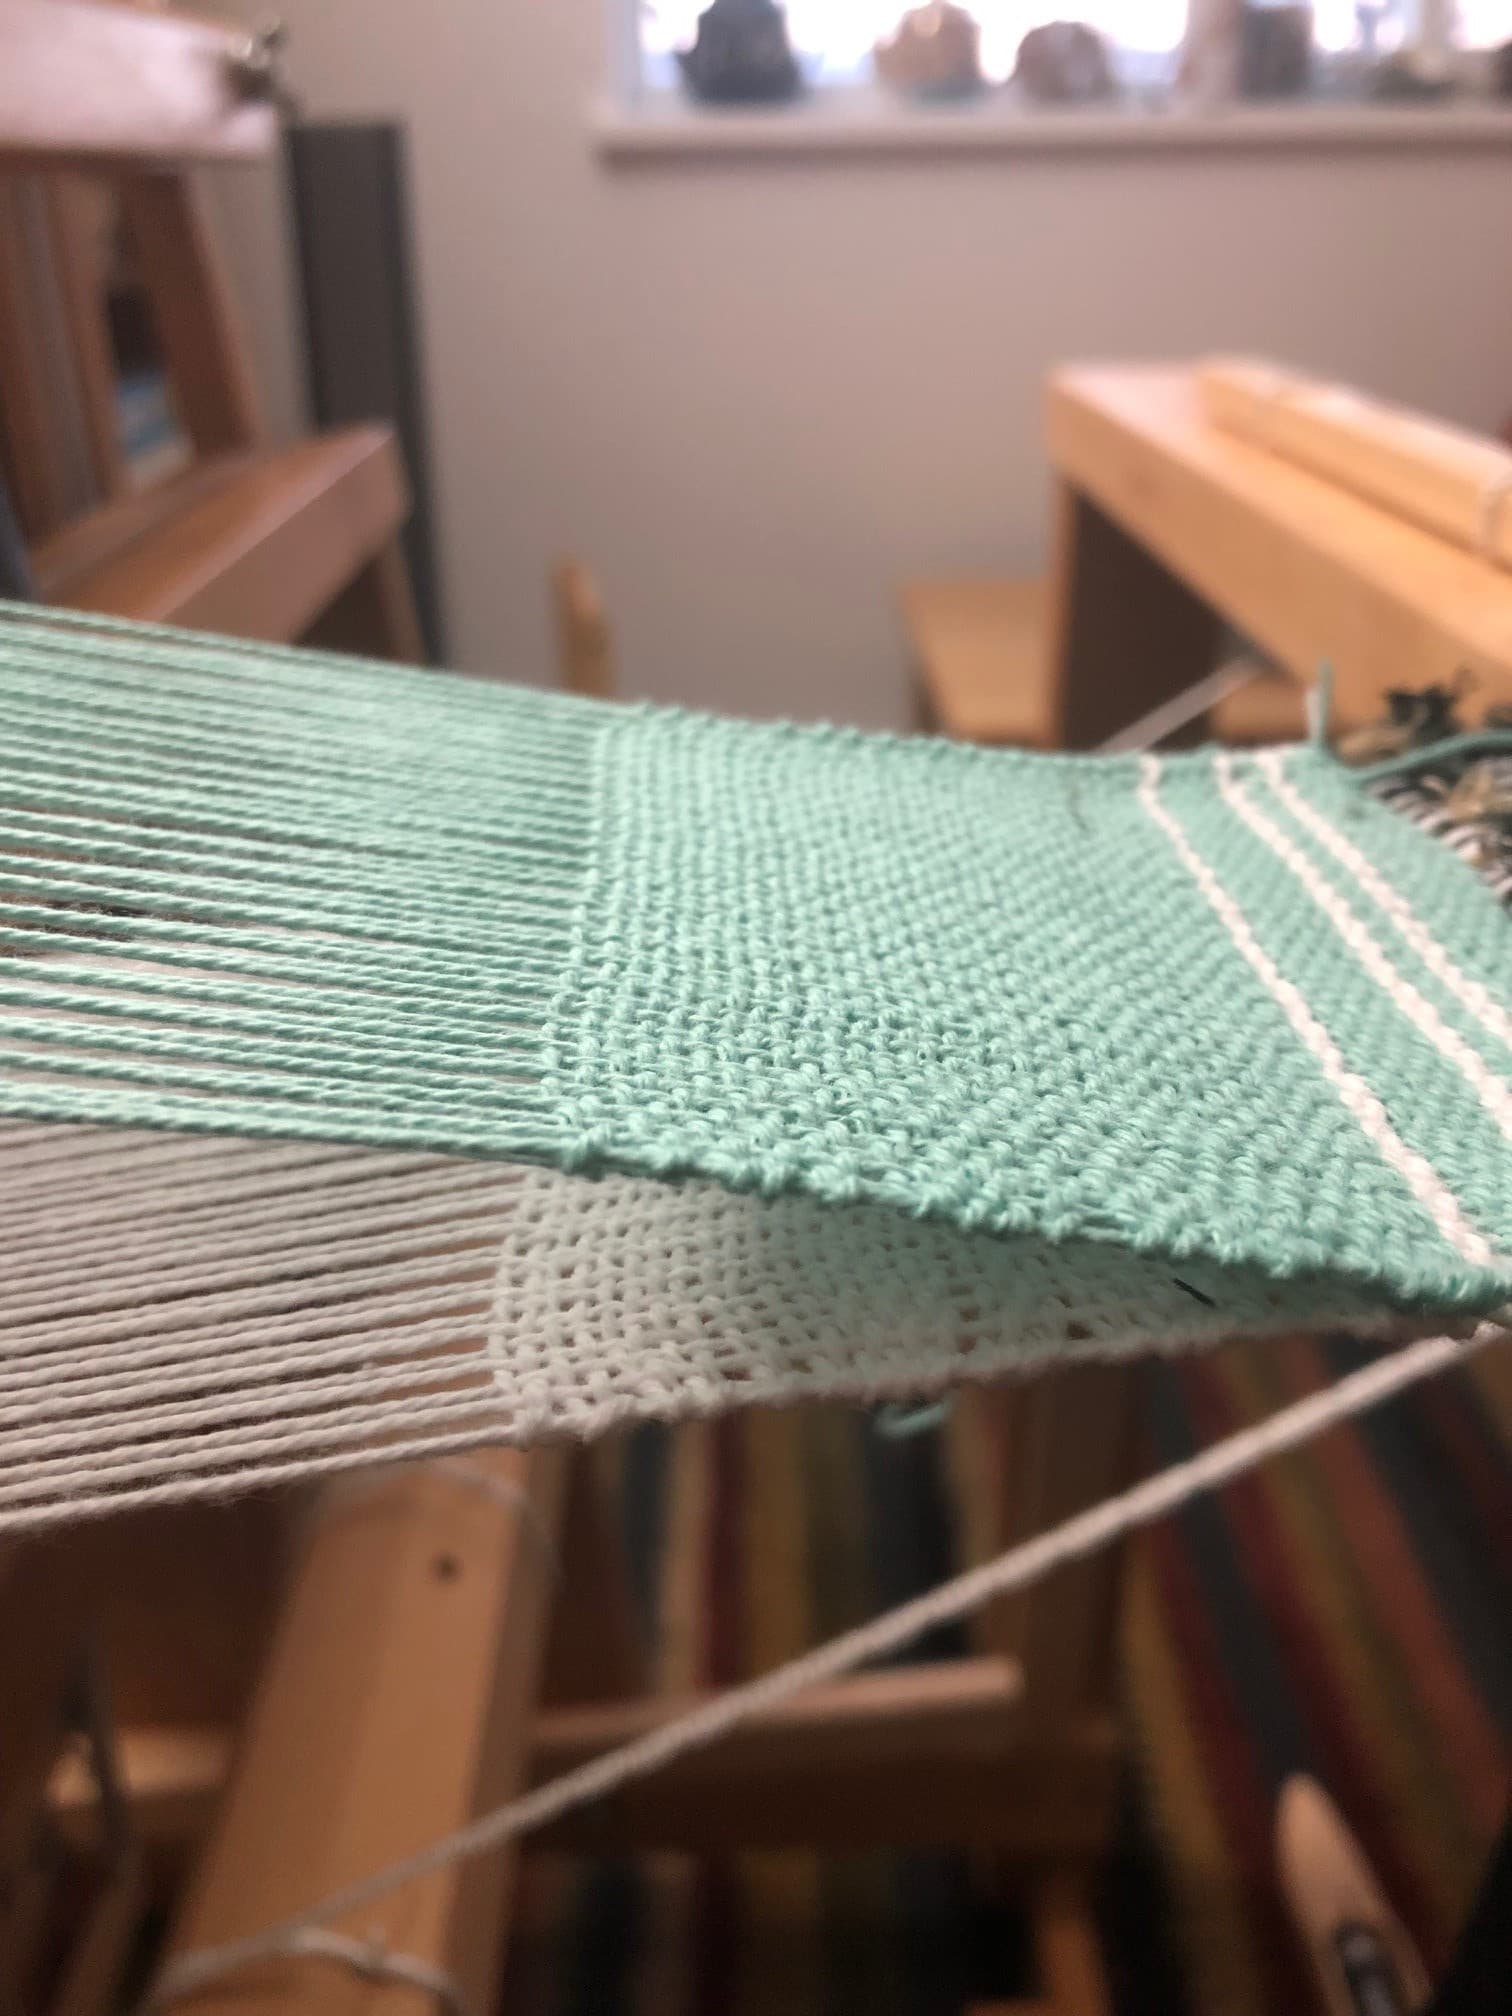
In order to switch the top layer and bottom layer, the treadling will change:
First lift shaft 2, pass the boat shuttle through, then lift shaft 4. The white yarns should actually pass in between the aqua yarns and make a white stripe.
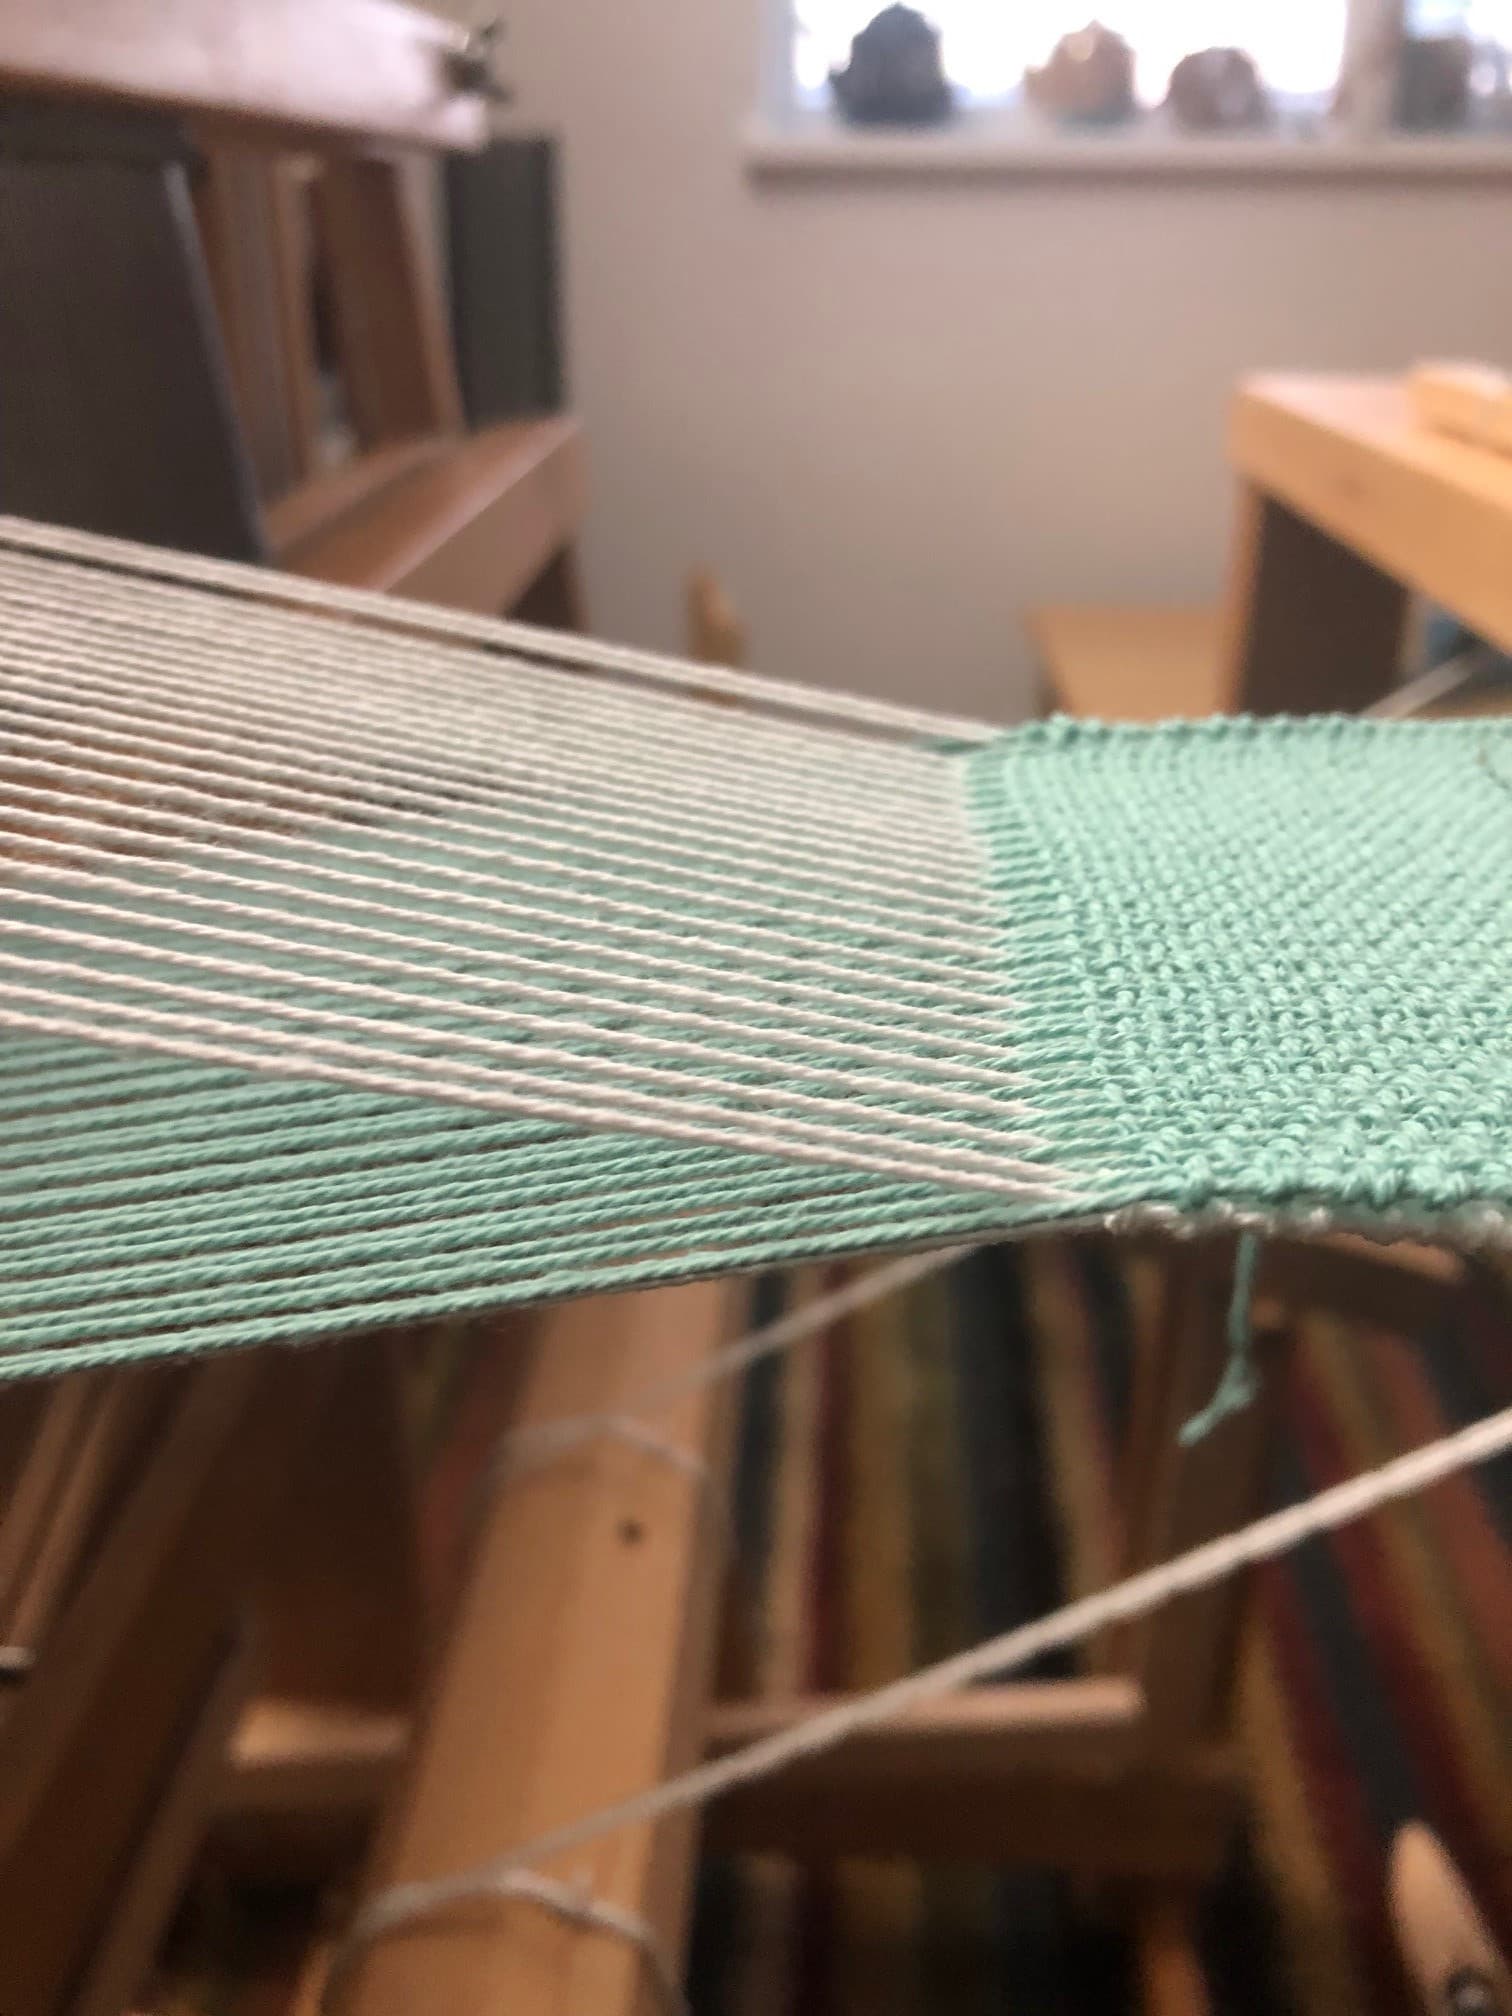
Now to weave the aqua layer on the bottom, lift the entire white layer plus shaft 1 of aqua. Pass the boat shuttle through and then lift shafts 2 and 4 plus shaft 3 of the aqua. This action intertwines the two layers. You may now proceed with either the white or aqua as the top layer.
This is the first step to being able to make tubes, pockets and slits which I will discuss in the next post.
Notes
Look for upcoming posts on double weave pick up and double weave blocks throughout the spring!
In the meantime, shop for yarn or listen to an informative podcast from Gist Yarn
Carrie Miller is a textile artist living on the Front Range of Colorado. Her working process and material curiosity are the products of an untamed childhood. Growing up on a farm, Carrie was constantly exposed to new life, death and whatever could be accomplished in between. Her time was split between adventures in horseback riding, backwoods archaeology, and whole days hunkered down behind her sewing machine. The rhythm of this lifestyle is the source of Carrie’s enthusiasm for the challenge to find and make tools, learn new techniques and manifest a plan.

