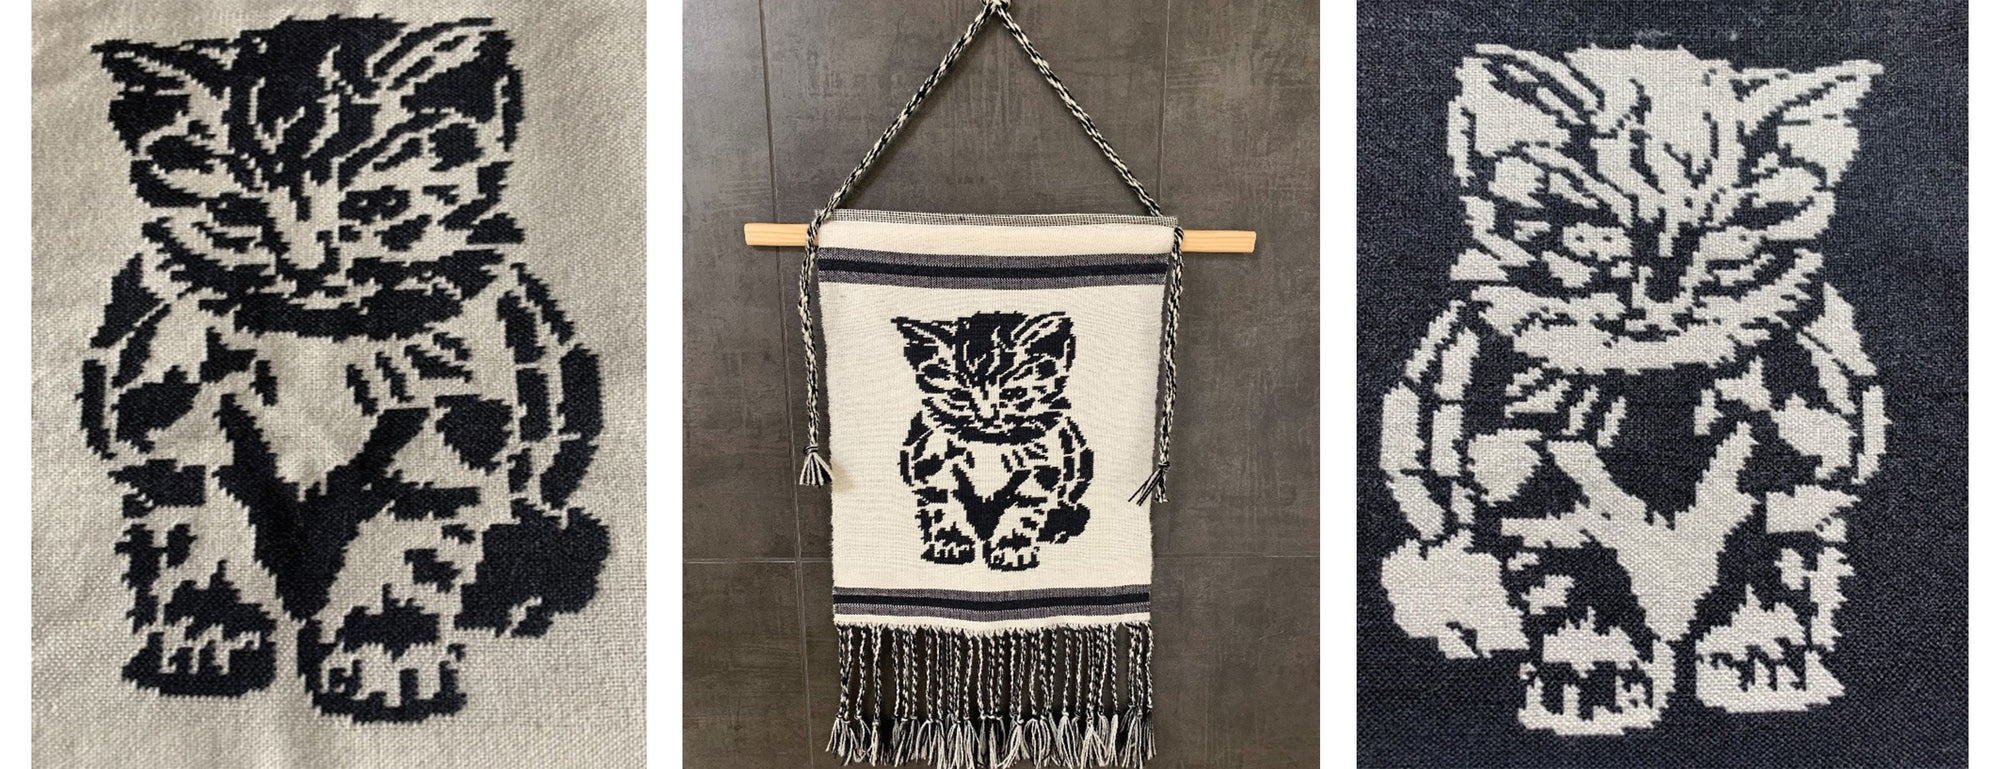
Leo The Cat Doubleweave Using Pick-up Sticks
Designed and woven by Anu Bhatia
After I temporarily closed my small weaving studio Kargha (The Loom) in March 2020, I suddenly had time to master new weaving techniques that had been on my bucket list for a long time. Each self-study included research and design of a project. In August, I returned to Jennifer Moore's books on doubleweave, the first edition published in 2010 and the revised expanded edition from 2019. A few years ago, when I worked through the first edition, I skipped the section on pick-up because it appeared a bit complex and too slow. Now I was ready for it!
In doubleweave, two layers are woven at the same time. In pick-up, weavers manipulate warp ends manually with a pick-up stick to create various weave structures. In doubleweave pick-up, weavers use two colors (woven in layers) and pick up threads from one layer or the other to create a design. The pick-up stick raises warp ends so the colors switch places on the top or bottom layer of the fabric. A graphed pattern, such as a cross-stitch pattern, works very well for this technique. Meticulously following the graph row by row and column by column, the weaver creates a pixelated graphic in fabric.
Doubleweave Pick-up
My research turned up several ways to work doubleweave pick-up. An old issue of Weaver's (Issue 24, 1994) explained two methods. The first method was similar to Jennifer Moore’s, alternating Light and Dark (L-D-L-D) threads in the warp and following the same order in treadling. This method requires counting and lifting warp ends using a pick-up stick with each treadling pick. The design edges turn out neater this way, but chances of making mistakes are high.
The second method uses pairs of light and dark threads in threading and treadling (L-L-D-D). Here the warp ends are picked up once for each color and transferred behind the reed. It seemed like a timesaving method, so I decided to give it a try for my project.
Design Inspiration
My wall hanging was inspired by a little kitten, Leo, that my daughter had just adopted. He was so tiny, Richa nicknamed him Chota, which means "Lil fella" in Hindi. Amused by this little kitty, I wanted to capture him in a weaving project.
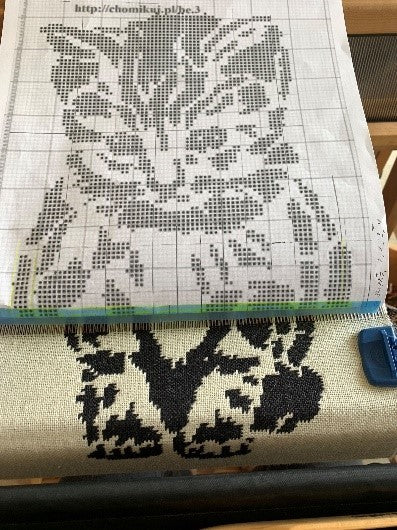
I searched for a cat cross-stitch pattern on Pinterest and found one available for free download. I enlarged it so I could see the graph clearly and count its "pixels." The level of detail seemed daunting at first, but I decided to try it out.
Planning the Project
I chose a laceweight silk and wool blend yarn in Ivory and Ebony for this project. On the top layer, an Ebony cat would sit on an Ivory background. These colors would be reversed for the bottom layer.
The graph of 73 columns by 122 rows came out to 8" x 14", including the empty spaces on four sides of the pattern. Each column denotes 4 warp ends (2 Light and 2 Dark). Similarly, each row marks four picks (2 Light and 2 Dark). I wanted a wider wall hanging, with more space on each side of the cat, so I used 119 pairs each of Ivory and Ebony.
Project Specs
Finished size: 11" x 17" (excluding 6" fringe on the bottom)
Weave structure: doubleweave pick-up
Number of warp ends: 476 ends, 238 ends of each color
Warp length: 2-1/2 yds, including 10" for fringe, sampling, and loom waste
Width in reed: 11.9"
EPI: 20 ends per inch per layer (40 epi for combined warp), threaded 4 ends (2 L and 2 D) in a 10-dent reed
PPI: 22–24 picks per inch
What You'll Need
-
Jaggerspun Zephyr (2/18 wool and silk) Ivory and Ebony, 600 yds of each color for warp, 150 yards of each color for weft
-
dowel cut 1" longer than finished width for hanging rod
-
Fray Check
-
sewing thread
-
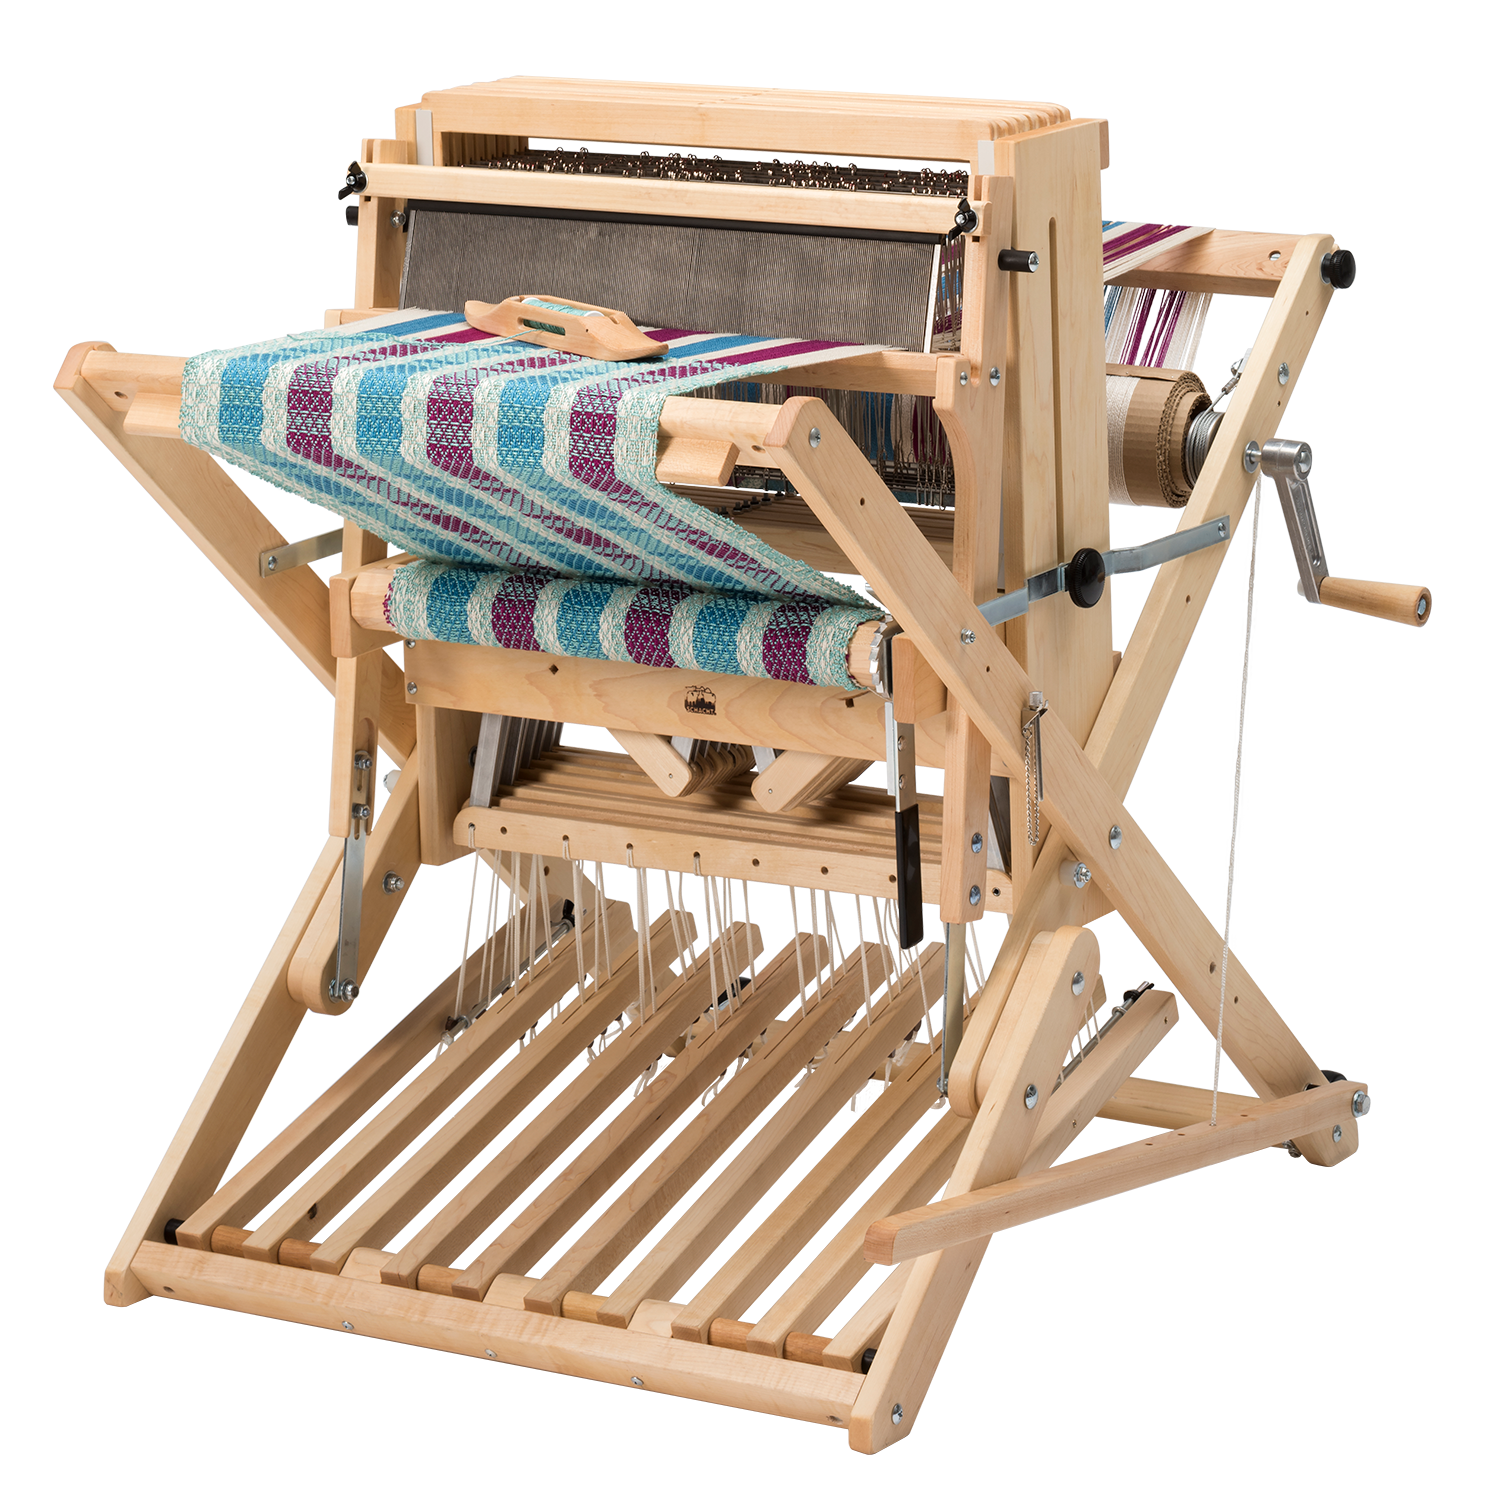
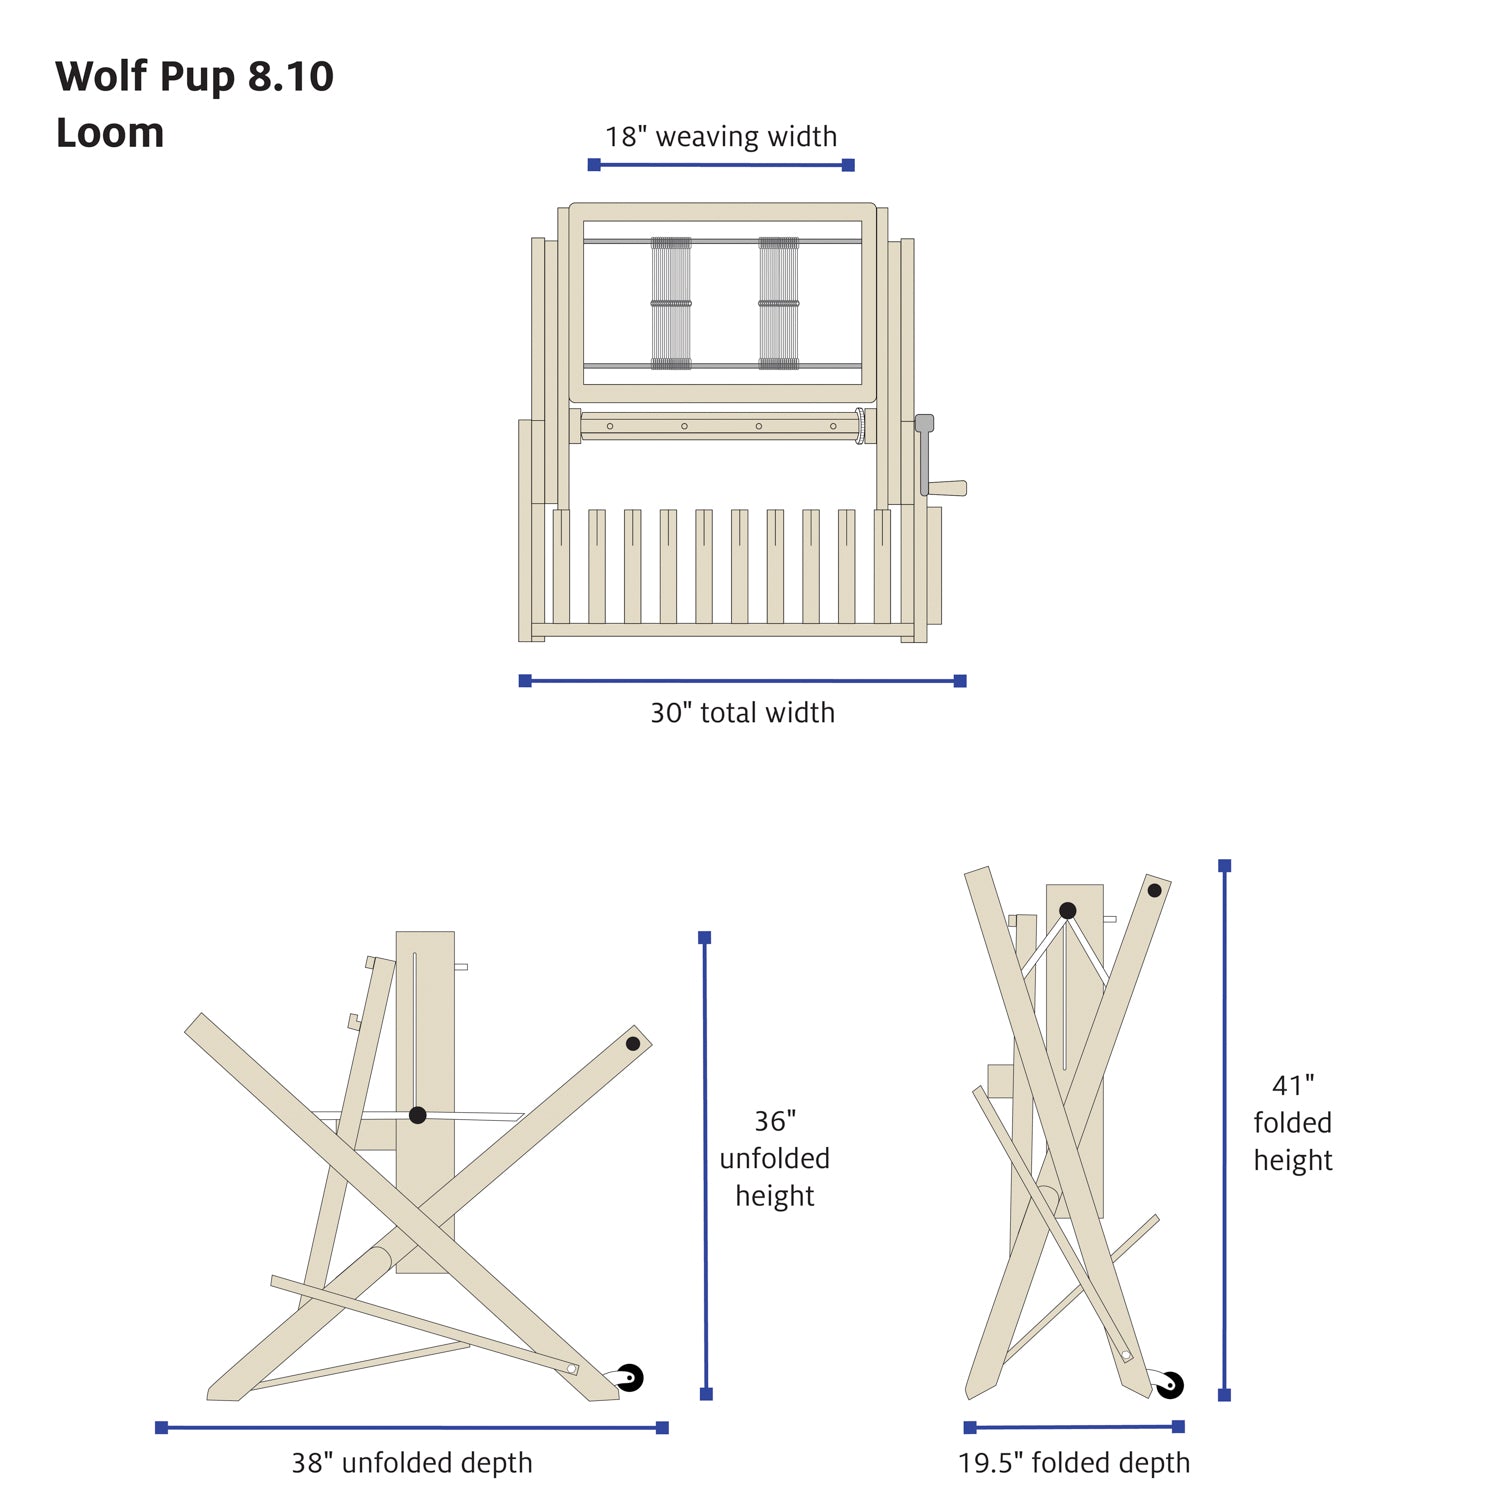
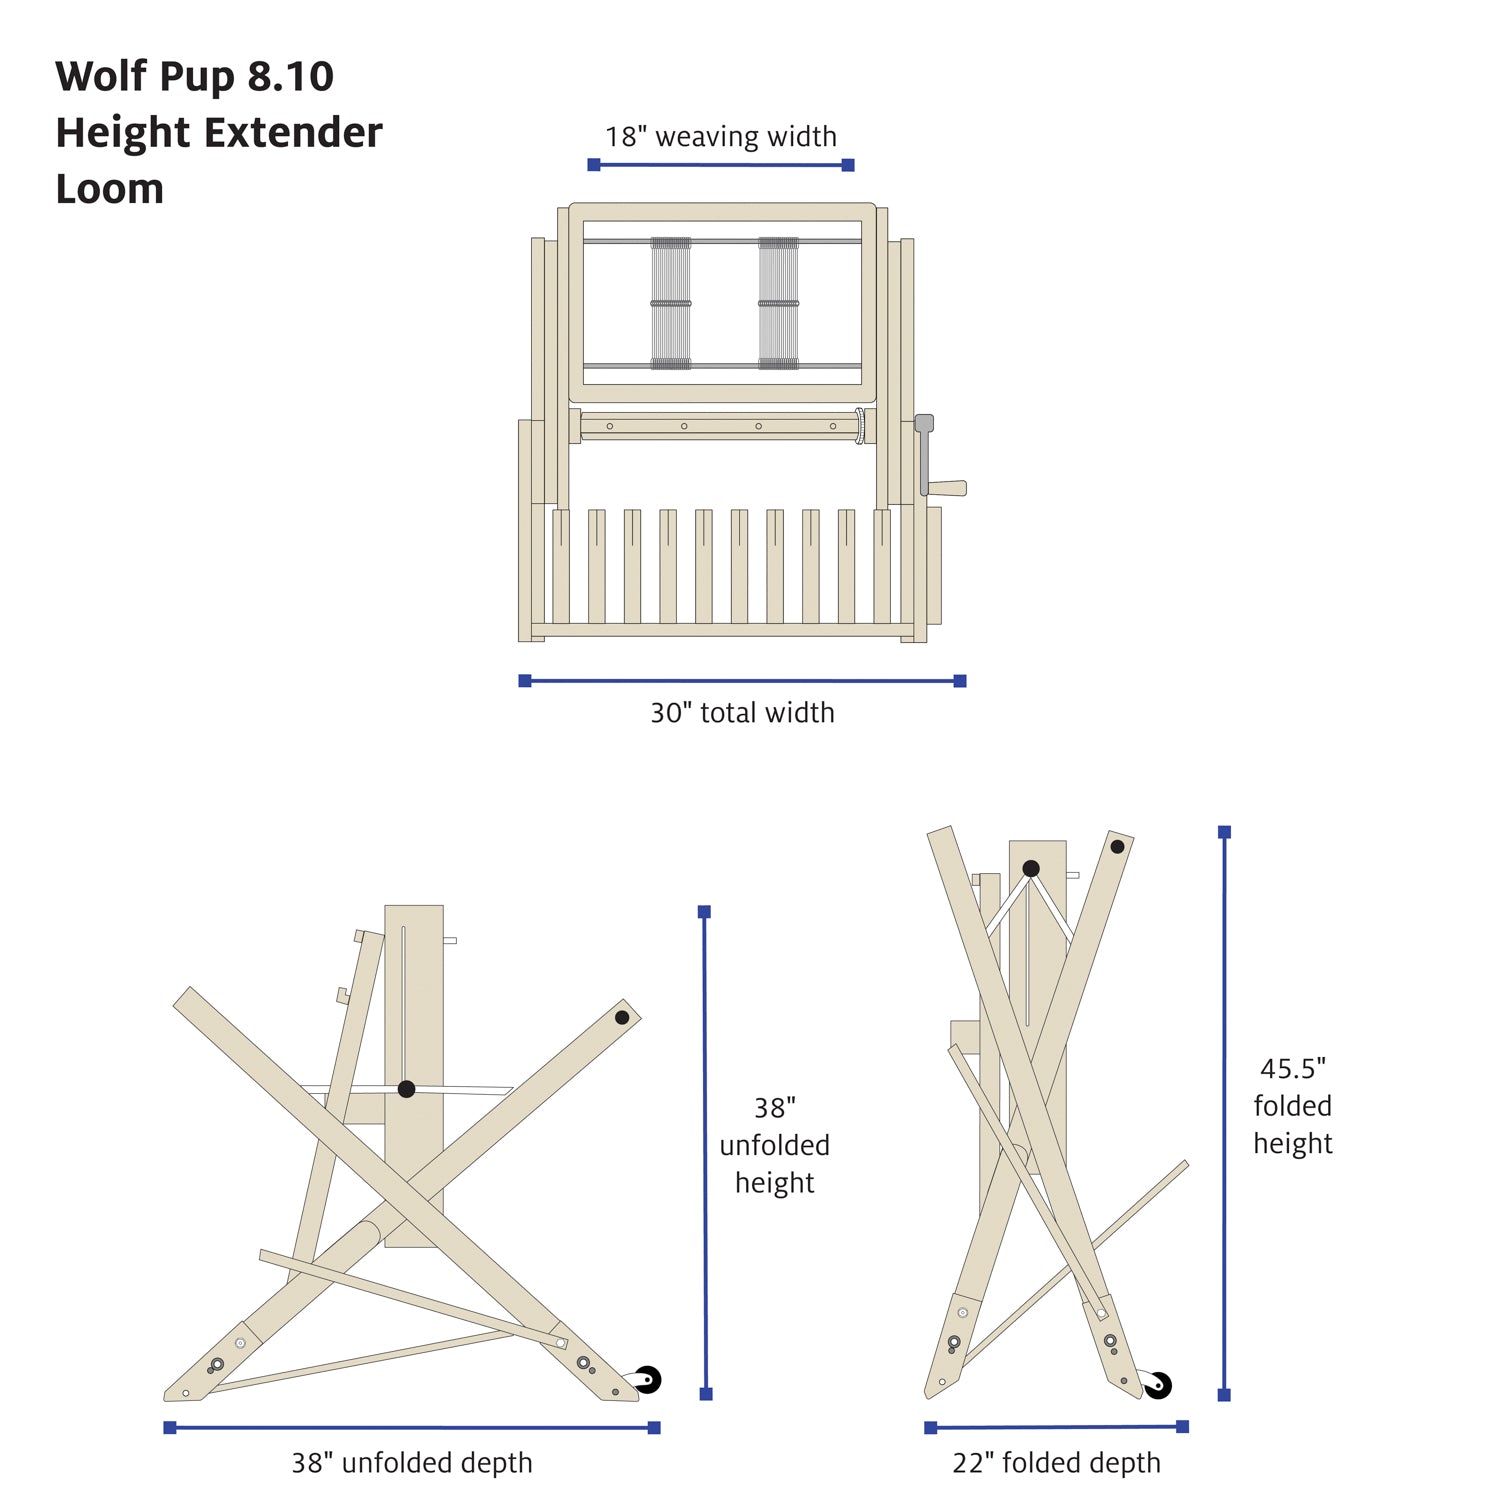
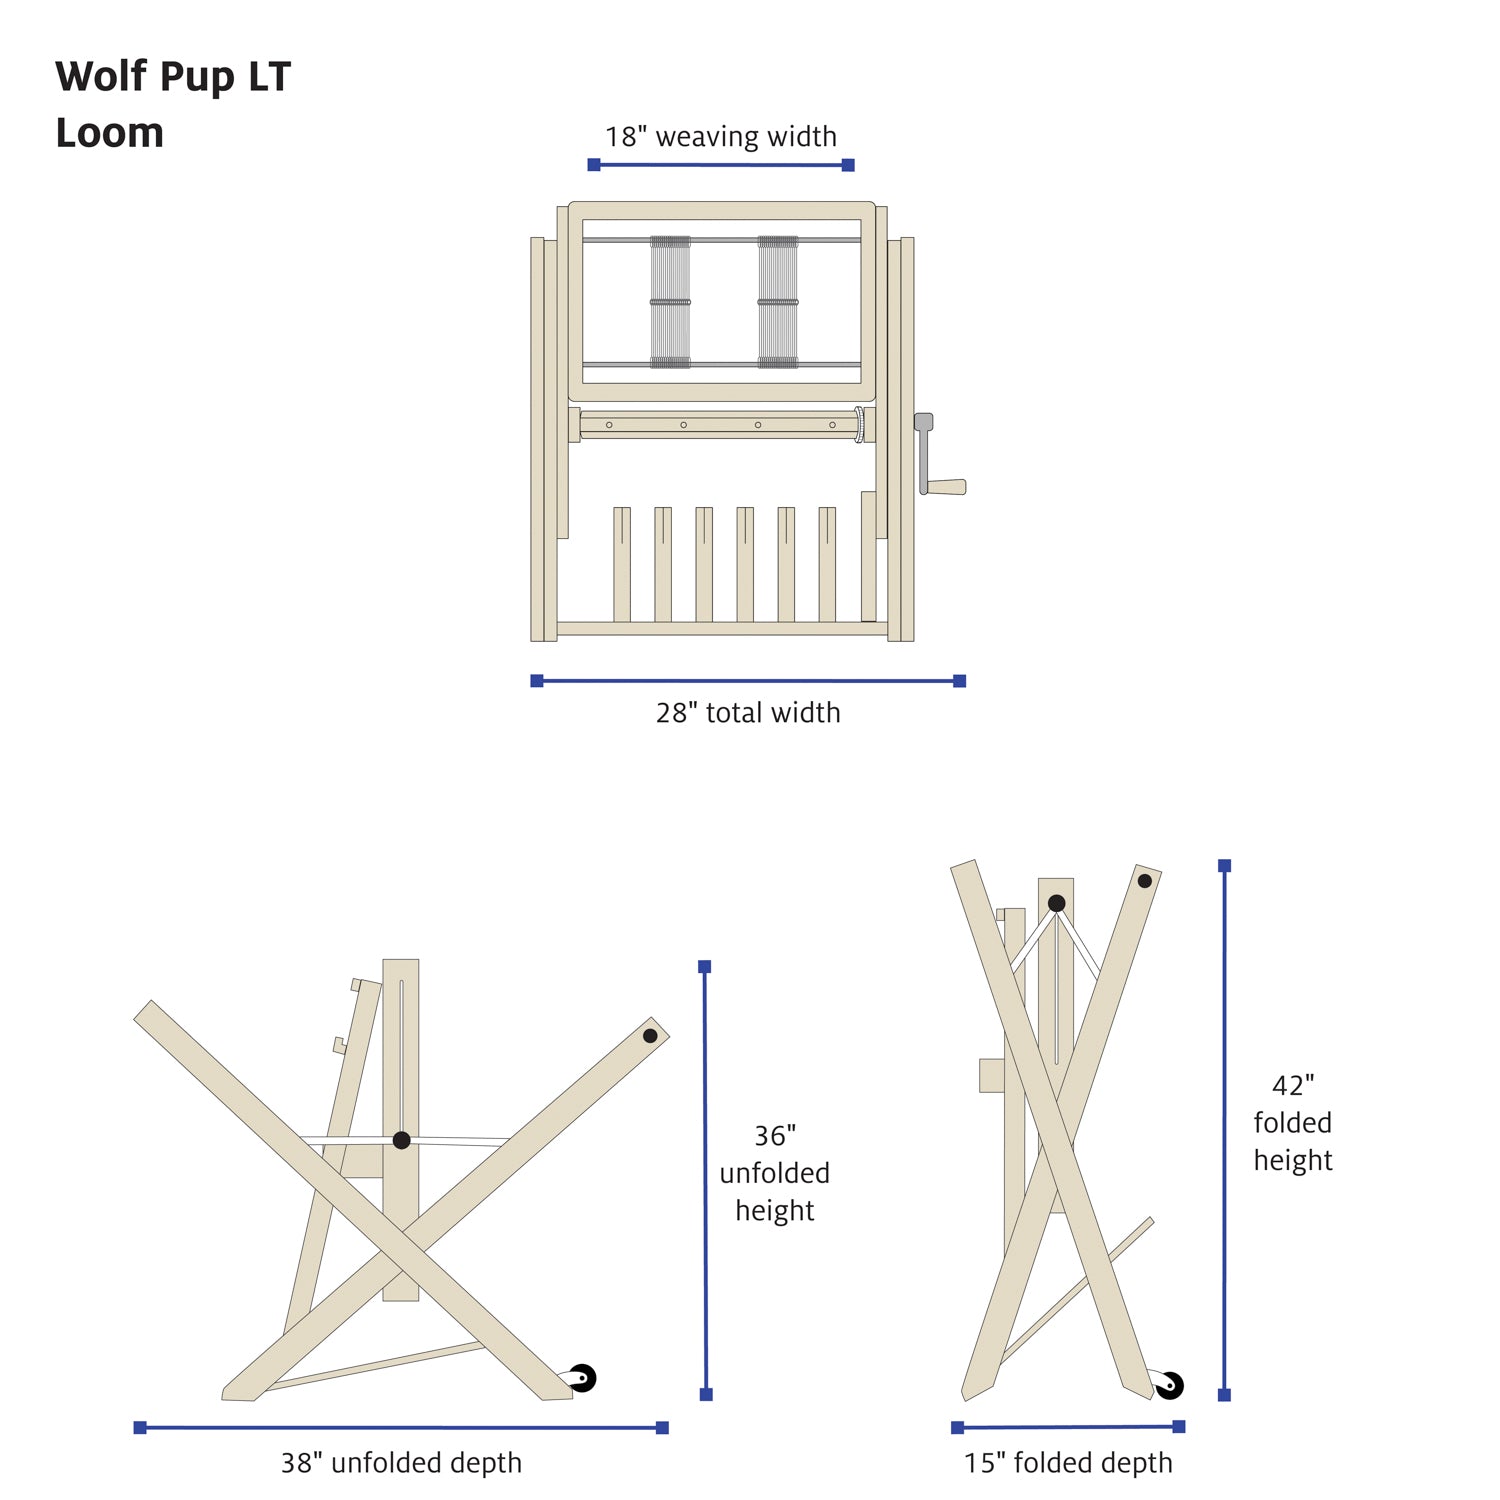
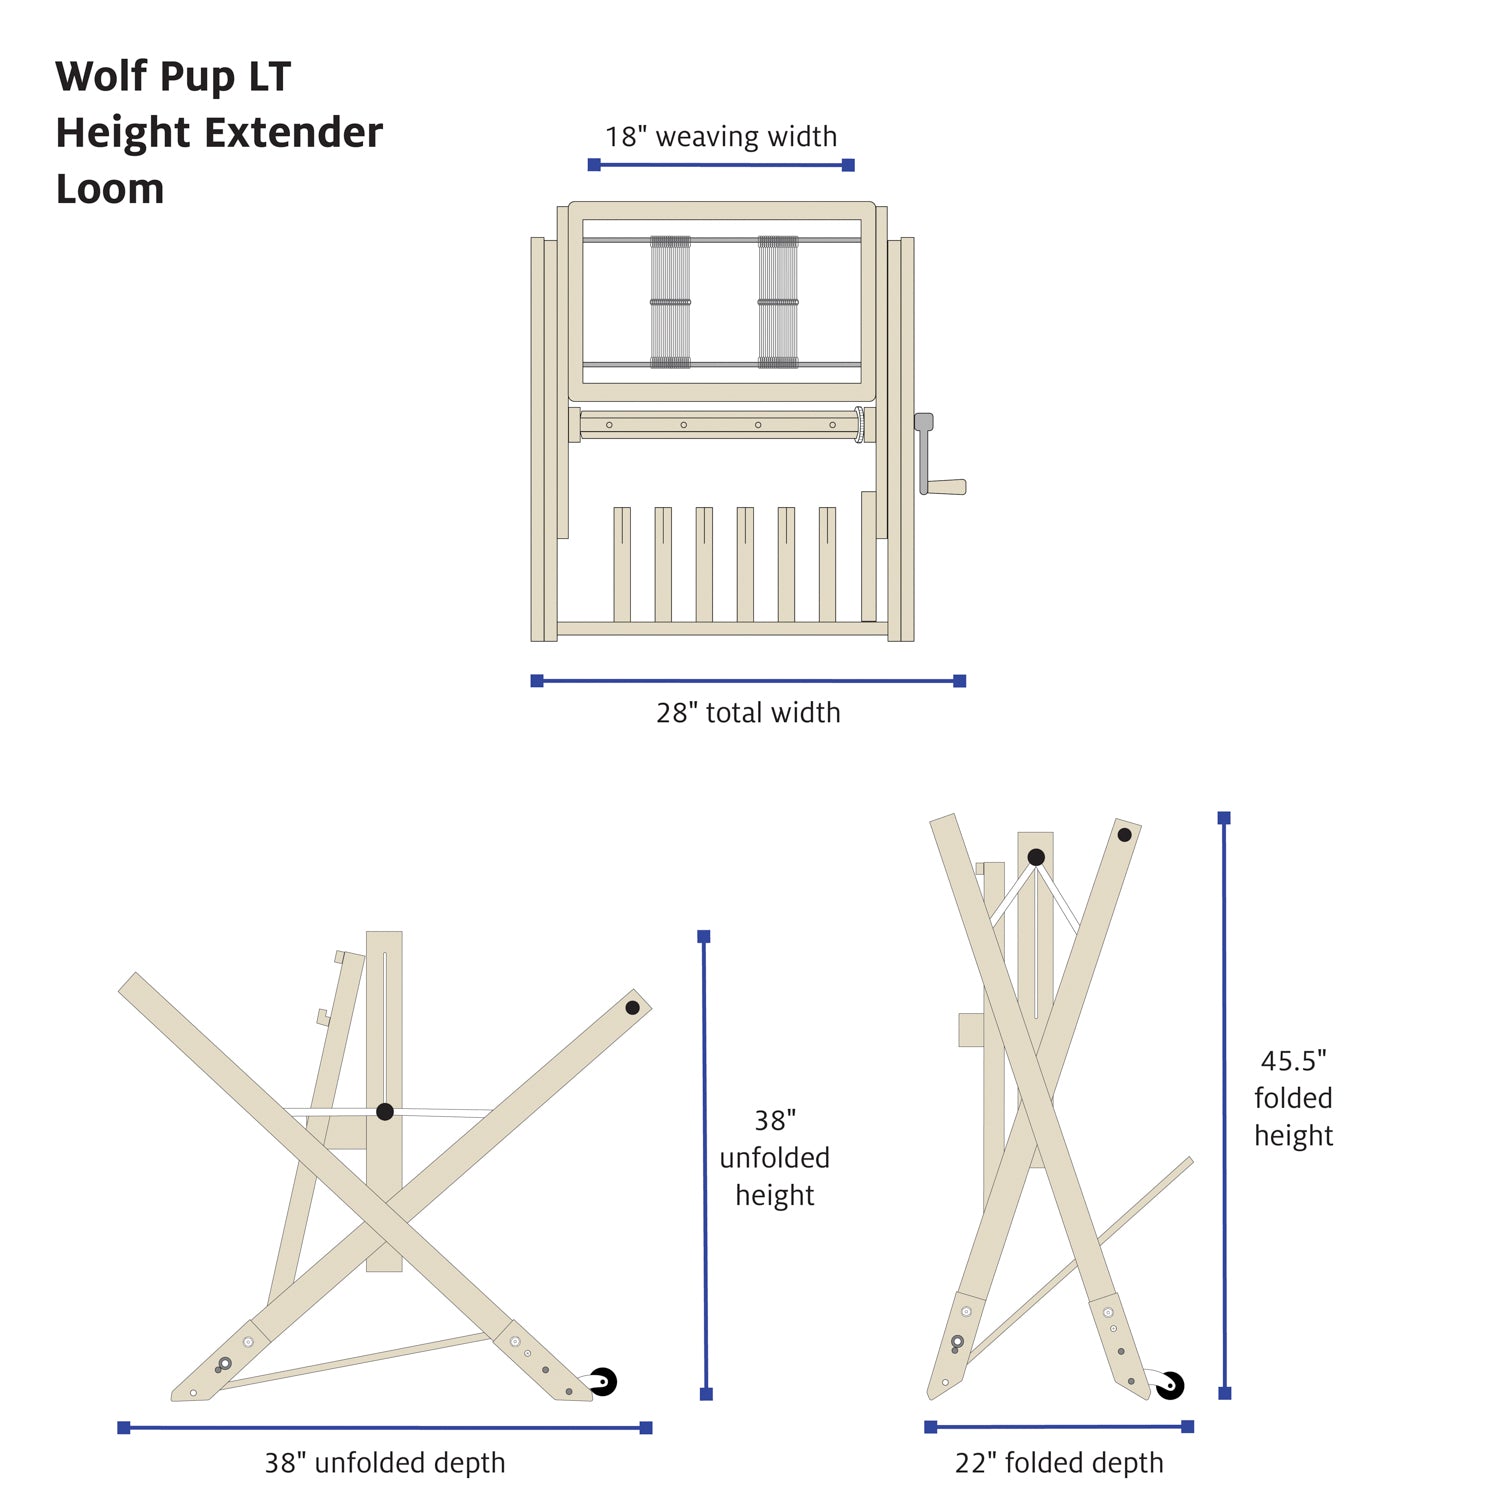
shaft loom with at least 12” weaving width; 119 heddles per shaft for 4-shaft loom OR 59 heddles per shaft for 8-shaft loom
-
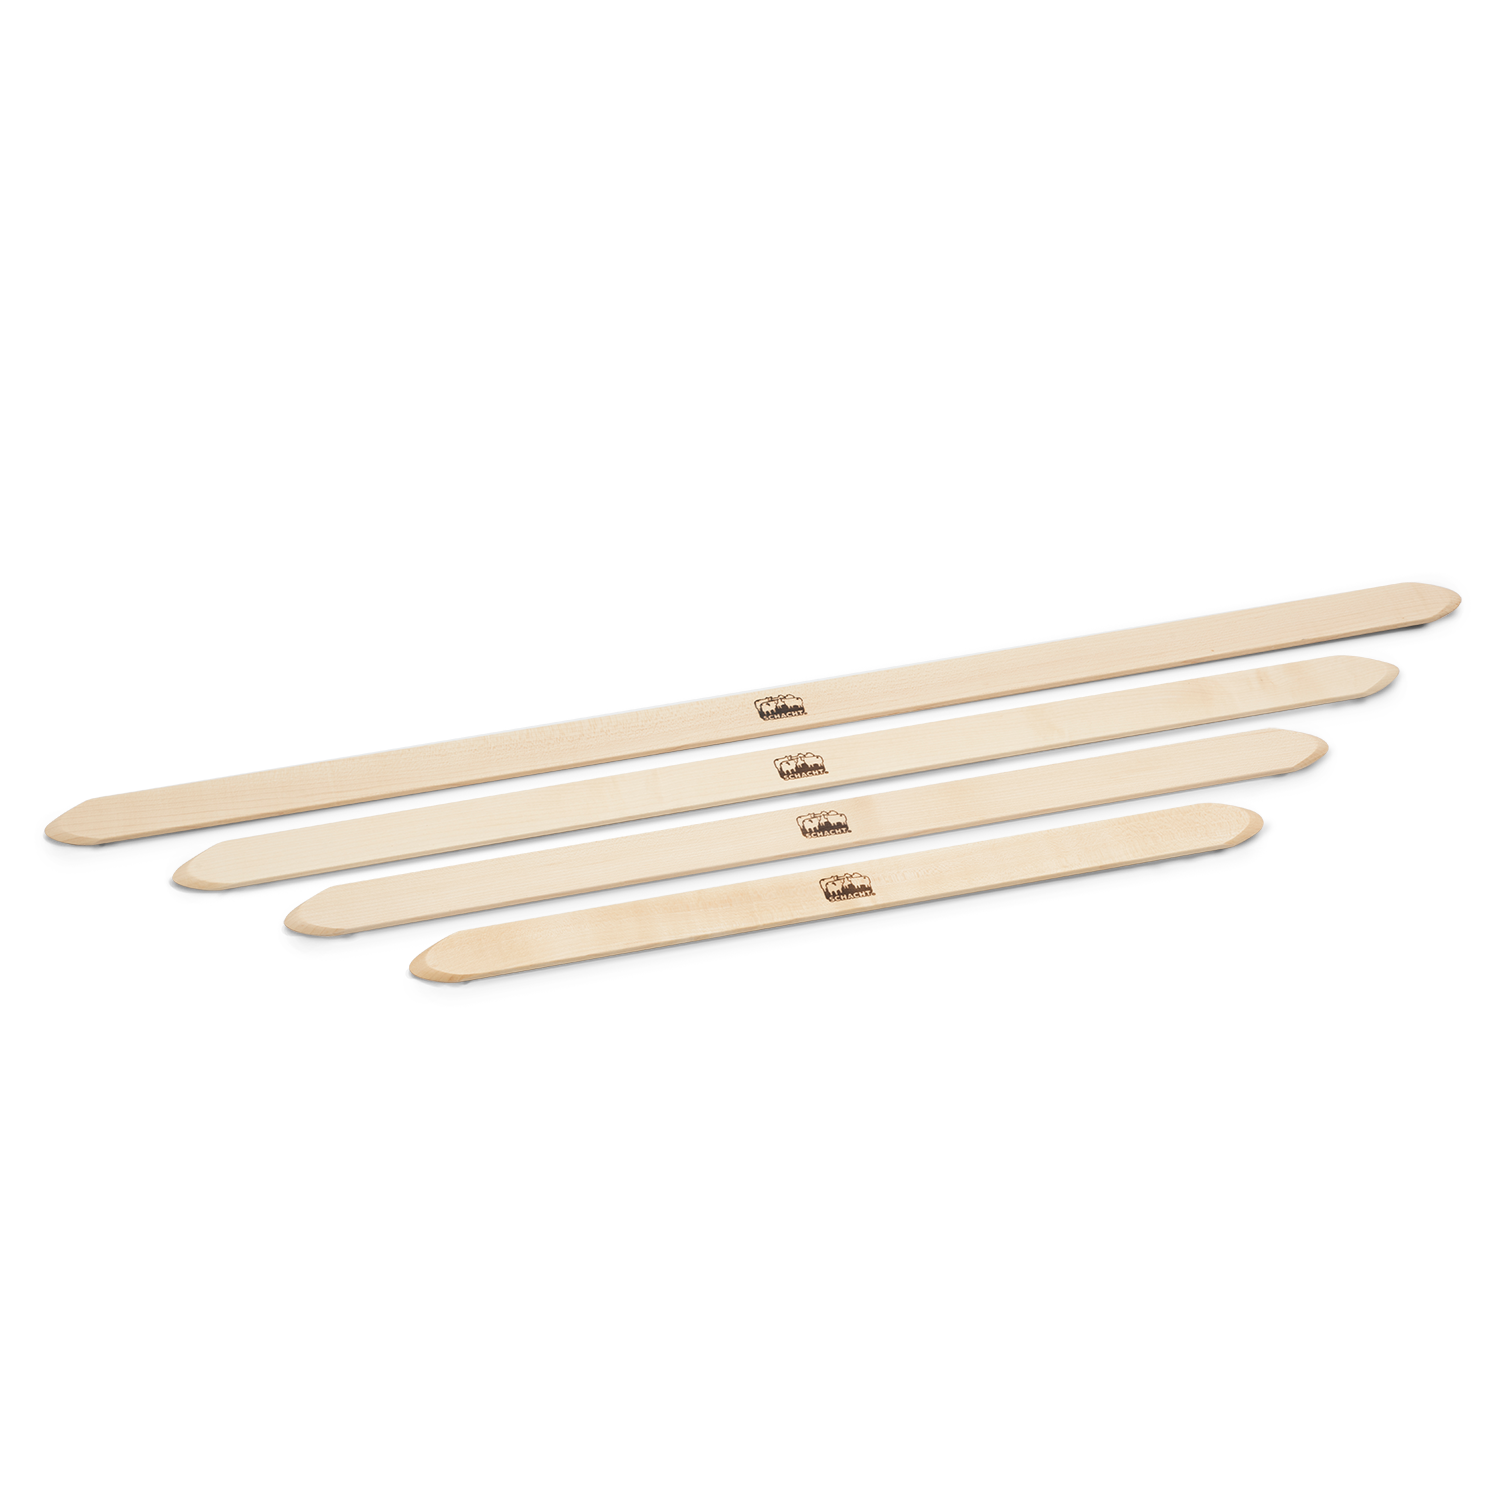
2 pick-up sticks
-
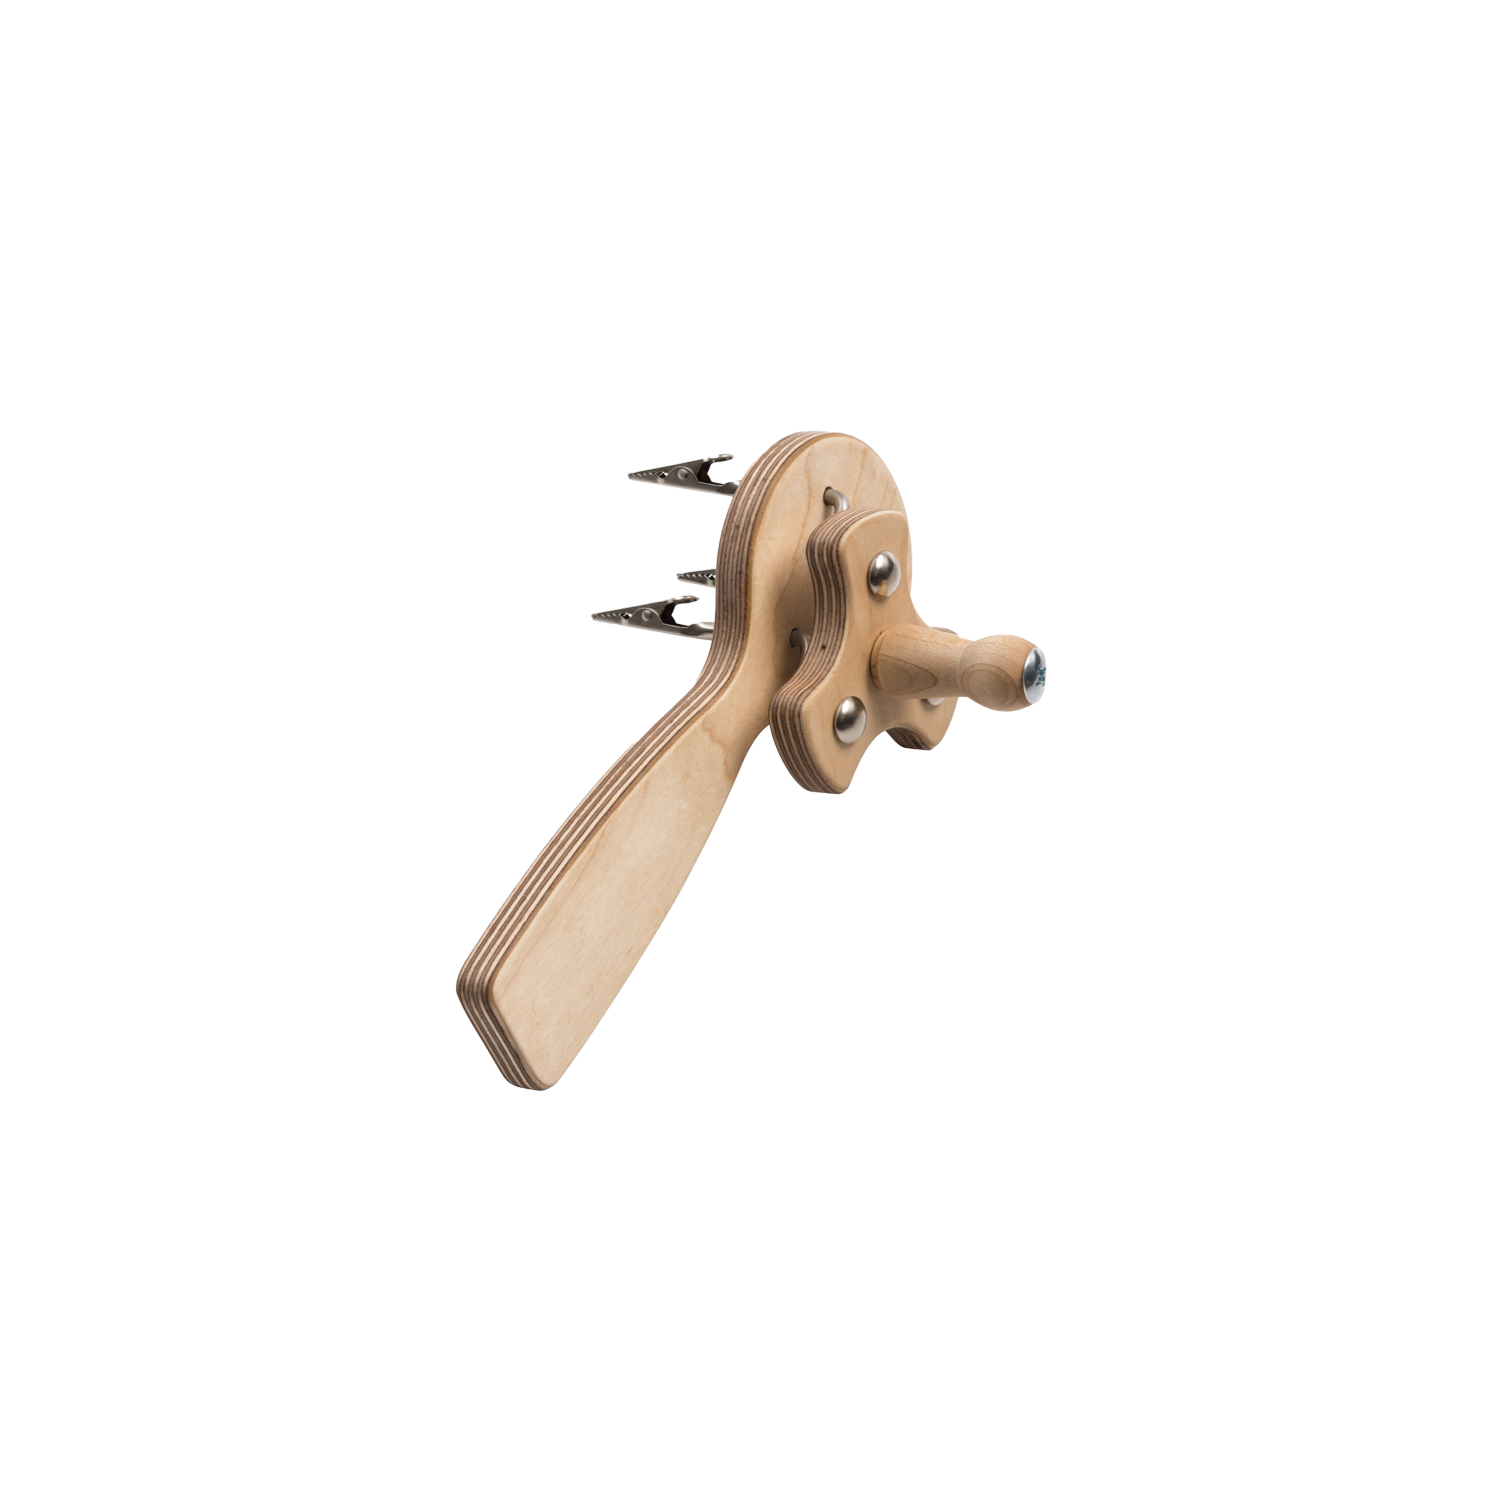
fringe twister
-
The Incredible Rope Machine for hanging cord
-
sewing machine or sewing needle for hemming
Materials
Equipment
Directions
Warping and Tie-up
- Wind a warp at least 2-1/2 yds long (or more depending upon your design), holding the two colors together. (Tip: Keep a finger between the colors to avoid twisting them.)
- Centering for 11.9", sley 4 ends (2 per color) per dent in a 10-dent reed. Selvedge ends are threaded 2 ends per dent to avoid crowding.
To weave this design on 4 shafts, you’ll need 119 heddles on each shaft. Thread heddles as shown in the weaving draft. Alternate pairs of Ivory and Ebony (Ivory on shafts 1 & 2 and Ebony on shafts 3 & 4).
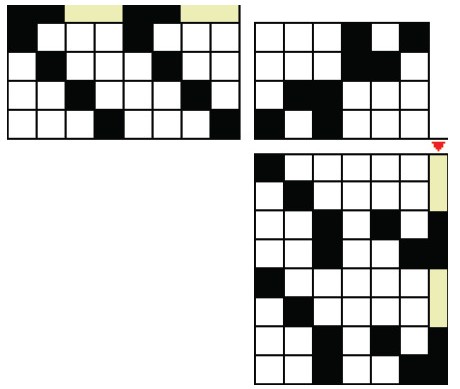
To weave this design on 8 shafts, you’ll need 59 heddles on each shaft. The process is essentially the same as weaving on 4 shafts; you can see me demonstrate on an 8-shaft loom in the video.
Alternate pairs of Ivory and Ebony (Ivory on shafts 1, 2, 5, & 6 and Ebony on shafts 3, 4, 7 & 8) as shown in the weaving draft.
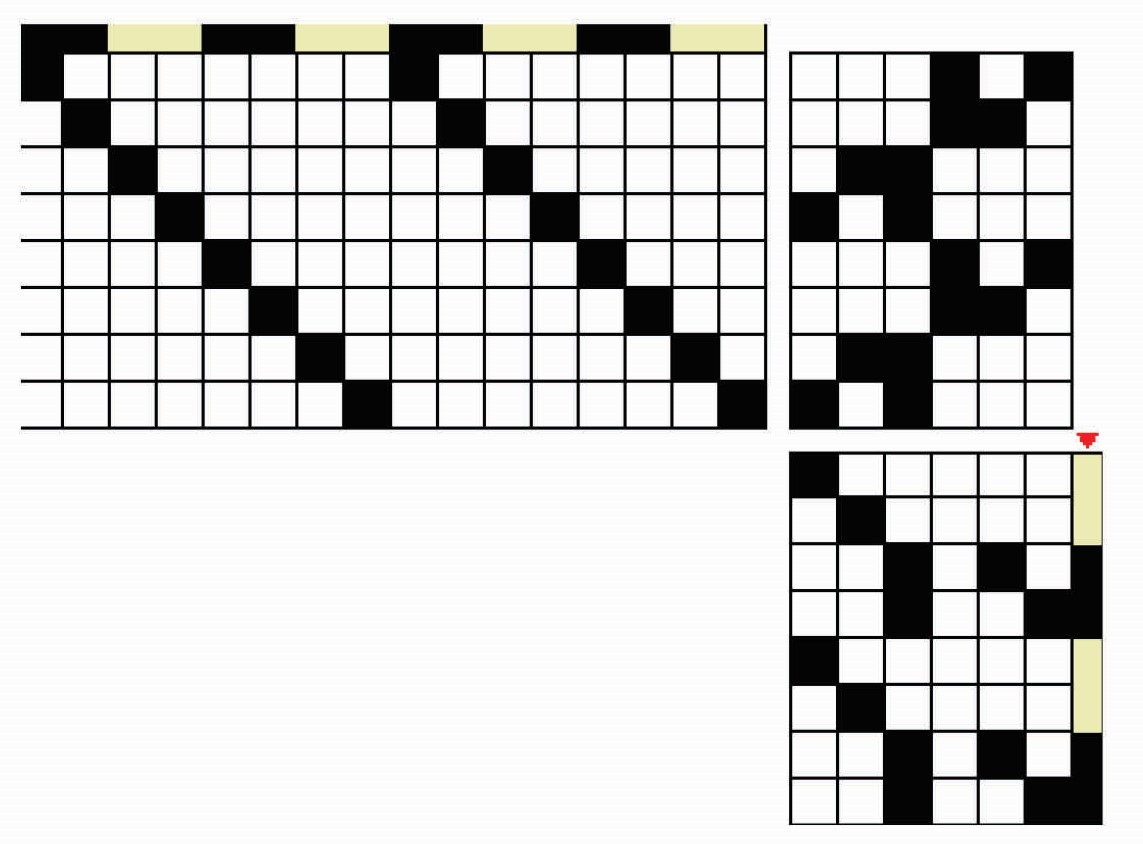
Tie up six treadles as shown in the weaving draft. Treadle 1 holds the first half of Ivory warp ends. Treadle 2 holds the second half of Ivory warp ends. Treadle 3 holds all Ivory warp ends. Treadle 4 holds all Ebony warp ends. Treadle 5 holds the first half of Ebony warp ends. Treadle 6 holds the second half of Ebony warp ends.
Border Patterns
For solid Ivory plain weave on the top layer, follow the treadling shown above:
Press treadle 1; throw the first Ivory pick. Beat.
Press treadle 2; throw the second Ivory pick. Beat.
Press treadles 3 and 5 to raise all Ivory ends and half of Ebony ends; throw an Ebony (bottom layer) pick. Beat.
Press treadles 3 and 6 to raise all Ivory ends and the other half of Ebony ends; throw an Ebony (bottom layer) pick. Beat.
For mixed Ivory and Ebony plain weave in both layers, follow Figure 4 but weave Ivory warp with Ebony weft and vice versa.
Press treadle 1; throw the first Ebony pick. Beat.
Press treadle 2; throw the second Ebony pick. Beat.
Press treadles 3 and 5 to raise all Ivory ends and half of Ebony ends; throw an Ivory (bottom layer) pick. Beat.
Press treadles 3 and 6 to raise all Ivory ends and the other half of Ebony ends; throw an Ivory (bottom layer) pick. Beat.
A variation of the mixed color border can be created by alternating colors in the above-mentioned steps. For the top Ivory layer, use Ivory for the first pick, followed by Ebony. For the bottom layer, throw an Ebony pick first followed by Ivory. This will create a pick-by-pick color effect.
For solid Ebony plain weave on top layer and Ivory on bottom, weave as follows:
Press treadle 5; throw the first Ebony pick. Beat.
Press treadle 6; throw the second Ebony pick. Beat.
Press treadles 1 and 4 to raise half of the Ivory and all Ebony ends; throw an Ivory (bottom layer) pick. Beat.
Press treadles 2 and 4 to raise the other half of Ivory and all Ebony ends; throw an Ivory (bottom layer) pick. Beat.
Doubleweave Pick-up Pattern
To complete each row of the graph, there will be two picks of Ivory (top layer) followed by two picks of Ebony (bottom layer). Start Ivory yarn from left and Ebony from right. Bring the shuttle in use around the one not in use to keep the layers joined on the selvedges.
The pick-up uses warp yarns in pairs.
- To weave the top layer, press treadle 4 to raise all Ebony ends. Use a pick-up stick (A) to pick up a pair of Ebony warp ends for each dark square of the graph. Move the pick-up stick to the fell line.
- Press treadle 1 (half of Ivory warp ends) and slide the pick-up stick to the reed. Throw an Ivory pick.
- Using a second pick-up stick (B), transfer the pick-up behind the reed, making sure no extra threads get picked up. Remove the first pick-up stick (A) and beat.
- Transfer the pick-up to the front of the reed on pick-up stick (A) and then remove (B) from behind the reed. Press treadle 2 (the other half of Ivory ends) and slide the pick-up stick to the reed. Throw the second Ivory pick and beat. Remove pick-up stick (A). This completes the light color picks.
- To weave the bottom layer, press treadle 3 to raise all Ivory ends. This time, still working on the same row of the graph, pick up the paired ends of Ivory for each blank square of the graph. Bring the pick-up stick (A) to fell line.
- Press treadle 5 (half of Ebony warp ends) and slide the pick-up stick (A) to the reed. Throw an Ebony pick.
- Using second pick-up stick (B), transfer the pick-up behind the reed as in Step 3. Remove the pick-up stick (A) in front and beat.
- Transfer the pick-up to the front of the reed using pick-up stick (A) again. Press treadle 6 (the other half of Ebony ends) and slide pick-up stick to the reed. Throw the second Ebony pick. Remove pick-up stick (A) and beat. This completes one row of the graph.
- Repeat steps 1 to 8 for each row of the graph to complete the pattern.
Weaving the Wall Hanging
Attach an enlarged copy of your graph to the castle of your loom.
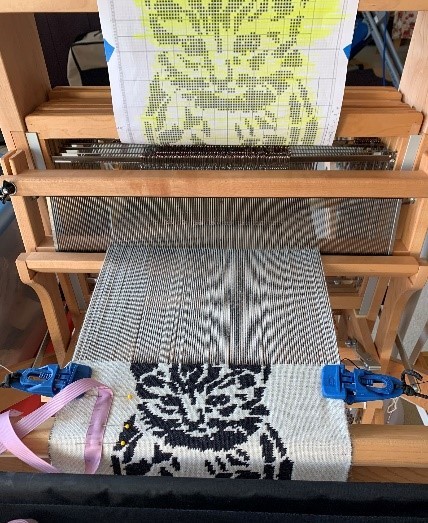
Beam the warp and tie the warp to front beam. Leave 10" unwoven for fringe. Spread the warp with scrap yarn and continue weaving with scrap yarn for at least 1".
Weave 2 picks in solid Ivory plain weave on top and 2 picks of Ebony on bottom; repeat 5 times.
Work the borders: Weave 2 picks of mixed plain weave on both layers using Ebony weft with Ivory warp and Ivory weft with Ebony warp; repeat 5 times.
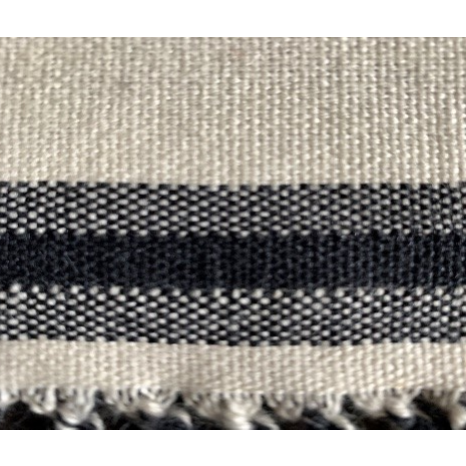
- Weave 2 picks of solid Ebony plain weave on top and 2 picks of Ivory on bottom; repeat 5 times.
Weave 2 picks of mixed plain weave on both layers using Ebony weft with Ivory warp and Ivory weft with Ebony warp; repeat 5 times. You’ve finished the borders.
Weave 2 picks in solid Ivory plain weave on top and 2 picks of Ebony on bottom; repeat 5 times.
Weave all rows of the doubleweave pick-up pattern following the graph. Tip: Highlight each completed row before moving on to the next row.
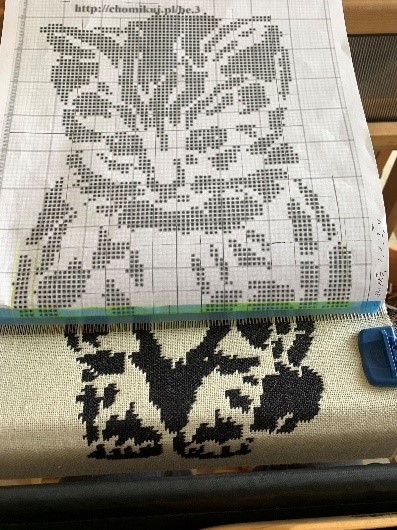
Weave 2 picks in solid Ivory plain weave on top and 2 picks of Ebony on bottom; repeat 5 times.
Weave top borders just like the bottom borders.
- Weave a 1-1/2" rod pocket in solid Ivory plain weave on top and Ebony on bottom. Do not twist the yarns on selvedges; this creates an opening for hanging rod or dowel to pass through.
- Work a mixed plain weave variation and weave each layer with both colors. For top ivory layer, use Ivory for pick 1 and Ebony for pick 2; for bottom layer, use Ebony for pick 1 and Ivory for pick 2. Repeat 5 times.
Work the hem: [Weave 2 picks in solid Ivory plain weave on top and 2 picks of Ebony on bottom; repeat 5 times.] Repeat the bracketed picks 10 times.
Weave 1" with waste yarn to finish weaving. Seal the edge with Fray Check before cutting the panel off the loom.
Finishing
- Cut off fabric from the loom and wash gently by hand in cold water with a few drops of wool wash or mild detergent. Lay flat to dry. Iron lightly to remove wrinkles. Use the Fringe Twister to make 30 twisted fringes of mixed colors on the bottom edge. Trim fringe to 6".
Fold back the topmost solid Ivory section (the hem). Press and hem in place, sewing by hand or machine.
- Make a hanging cord 45" long with the Incredible Rope Machine: cut two doubled 8' lengths of Ivory and Ebony for this rope.
- Insert the hanging rod into the rod pocket. Tie the hanging cord to each end of the hanging rod.
Video
Notes
References
Moore, Jennifer. Doubleweave. Interweave, 2010.
Moore, Jennifer. Doubleweave, Expanded Edition. Revised & Interweave, 2019.
van der Hoogt, Madelyn. "A pick-up handbook for handweavers," Weaver’s, Issue 24, 1994, p. 50.

